Play

Polly - Quilters' Playcation Adventure Sewalong 2022 in Prints

Polly

78” x 89”

Polly lived most of her life following the rules. Getting married when she was supposed to. Having kids when she was supposed to. Baking all the things, keeping a clean house, volunteering at church. Her life was as it should be. It was also painfully boring and Polly had no idea who SHE was in the midst of everyone else’s expectations. Finally, with the kids gone and her husband on the golf course Polly had a chance to explore herself. That meant figuring out what she actually liked in bed to what food she wanted to eat for herself. She took herself out almost daily and explored the world around her one little trip at a time. It’s not that she hated her life, but she didn’t know if she actually liked it. Little by little she explored, experimented, and learned to enjoy what she, herself, could give and get out of the world. She finally knew who she was, who she wants to be.

This quilt is a culmination of the Quilters’ Playcation Adventure Sewalong 2022. Each week for the year I shared how to make a unique improv quilt block. One version shared was a three colour solid and this version was love affair with prints. When I started the year and I stressed leaving open the finished block size so layout possibilities were endless. By the end of the year I knew this version would have blocks all the same size. After measuring my blocks I picked a 10.5” square as my default size and got down to the business of cleaning everything up. 52 blocks, however, does not make for even sides on a quilt, so I used scraps to make a handful more blocks to get to 56 blocks. This gave me a 7 x 8 block layout. Sashing in this collection of red-orange prints framed out each block. I’m not generally a sashing girl, but I think it absolutely works here!

She’s a big quilt so I knew that quilting her would not be easy. I had a friend baste her on the long-arm to save me some time. Turns out that this layout and the use of sashing actually simplified the quilting a lot. I used the curvy stitch that comes on the Bernini in the sashing. That was easy. Then I just quilted each block on its own. Free motion quilting is very manageable when you only work one block at a time. Each block got quilted uniquely. Sometimes it was an all over design, sometimes that outlined or directly highlighted the piecing. The decision was most dictated by my mood when I got to that block. I switched out threads between peach, pale grey, light blue, and an olive green. I filled a bobbin and when that or the spool ran out I switched to another colour. All the threads blended very well on the wide back Kaffe Fassett I used on the back.

The original plan was for a dark binding, with a bit of green piping. I did not have in my stash nor could I find anything in the store that was a good blue that worked for this. Grey washed things out too much. Also, I had deadlines for a local show. So I used more of one of the sashing prints and extended that orange line. The green did make an appearance in my stitching though. I chose to use a Perle thread (from Valdani) to stitch down the binding in a visible manner. I love this way of finishing a quilt. It’s fast and has a great effect.

Polly is ready to explore the world now.

View all the free tutorials here.

Check out the layout discussion for all the quilt blocks.

Sew along with the 2023 Quilters’ Playcation Adventure Sewalong.

Morning Make 2023 - Stitched Mosaic Portrait

For the third quilt portrait I turned to Timna Tarr. I first encountered Timna’s map quilts back when I judged QuiltCon. Her work is creative and unique. When she starting making her mosaic quilts I, along with many others, was transfixed. She started with barnyard animals but has progressed to some very unique portraits. Without a doubt, I had to try this technique in my year of portraits.

There is a book out, Stitched Photo Mosaic Quilting. I signed up for her on demand class via Creative Spark instead. The class was great. Timna broke down the technique into simple steps with clear instructions. It was easy to watch it once then head straight to the fabric.

Once you’ve picked your starting image you go right ahead and draw a grid over it. The diagonal grid is a suggestions of Timna’s technique, but not a requirement. Each square of the grid is one 2.5” block. Some will only be one fabric, others are made up of sometimes five! I don’t want to teach the technique myself that Timna gets paid to do, but she breaks it down into a layered machine appliqué to construct each block. I will admit, this was new to me, as was using invisible thread to sew.

I can’t lie it really was not a technique I enjoyed. Sure, I love the end results and overall look, but I didn’t really enjoy making it. So, so fiddly on some of those pieces! And I can honestly say I do not like the look of invisible thread. Yes, it is not that invisible. Partway through the project I kept thinking how much more I would enjoy this if I took the grid effect and then improvised instead. Stay tuned…

The picture I used was from a ski trip this past winter. We were skiing in clouds that day and everything was covered in a layer of frost, including me. It is such a happy memory and translating it into a quilt is a great way to capture it.

Morning Make 2023 - Collage Portraits

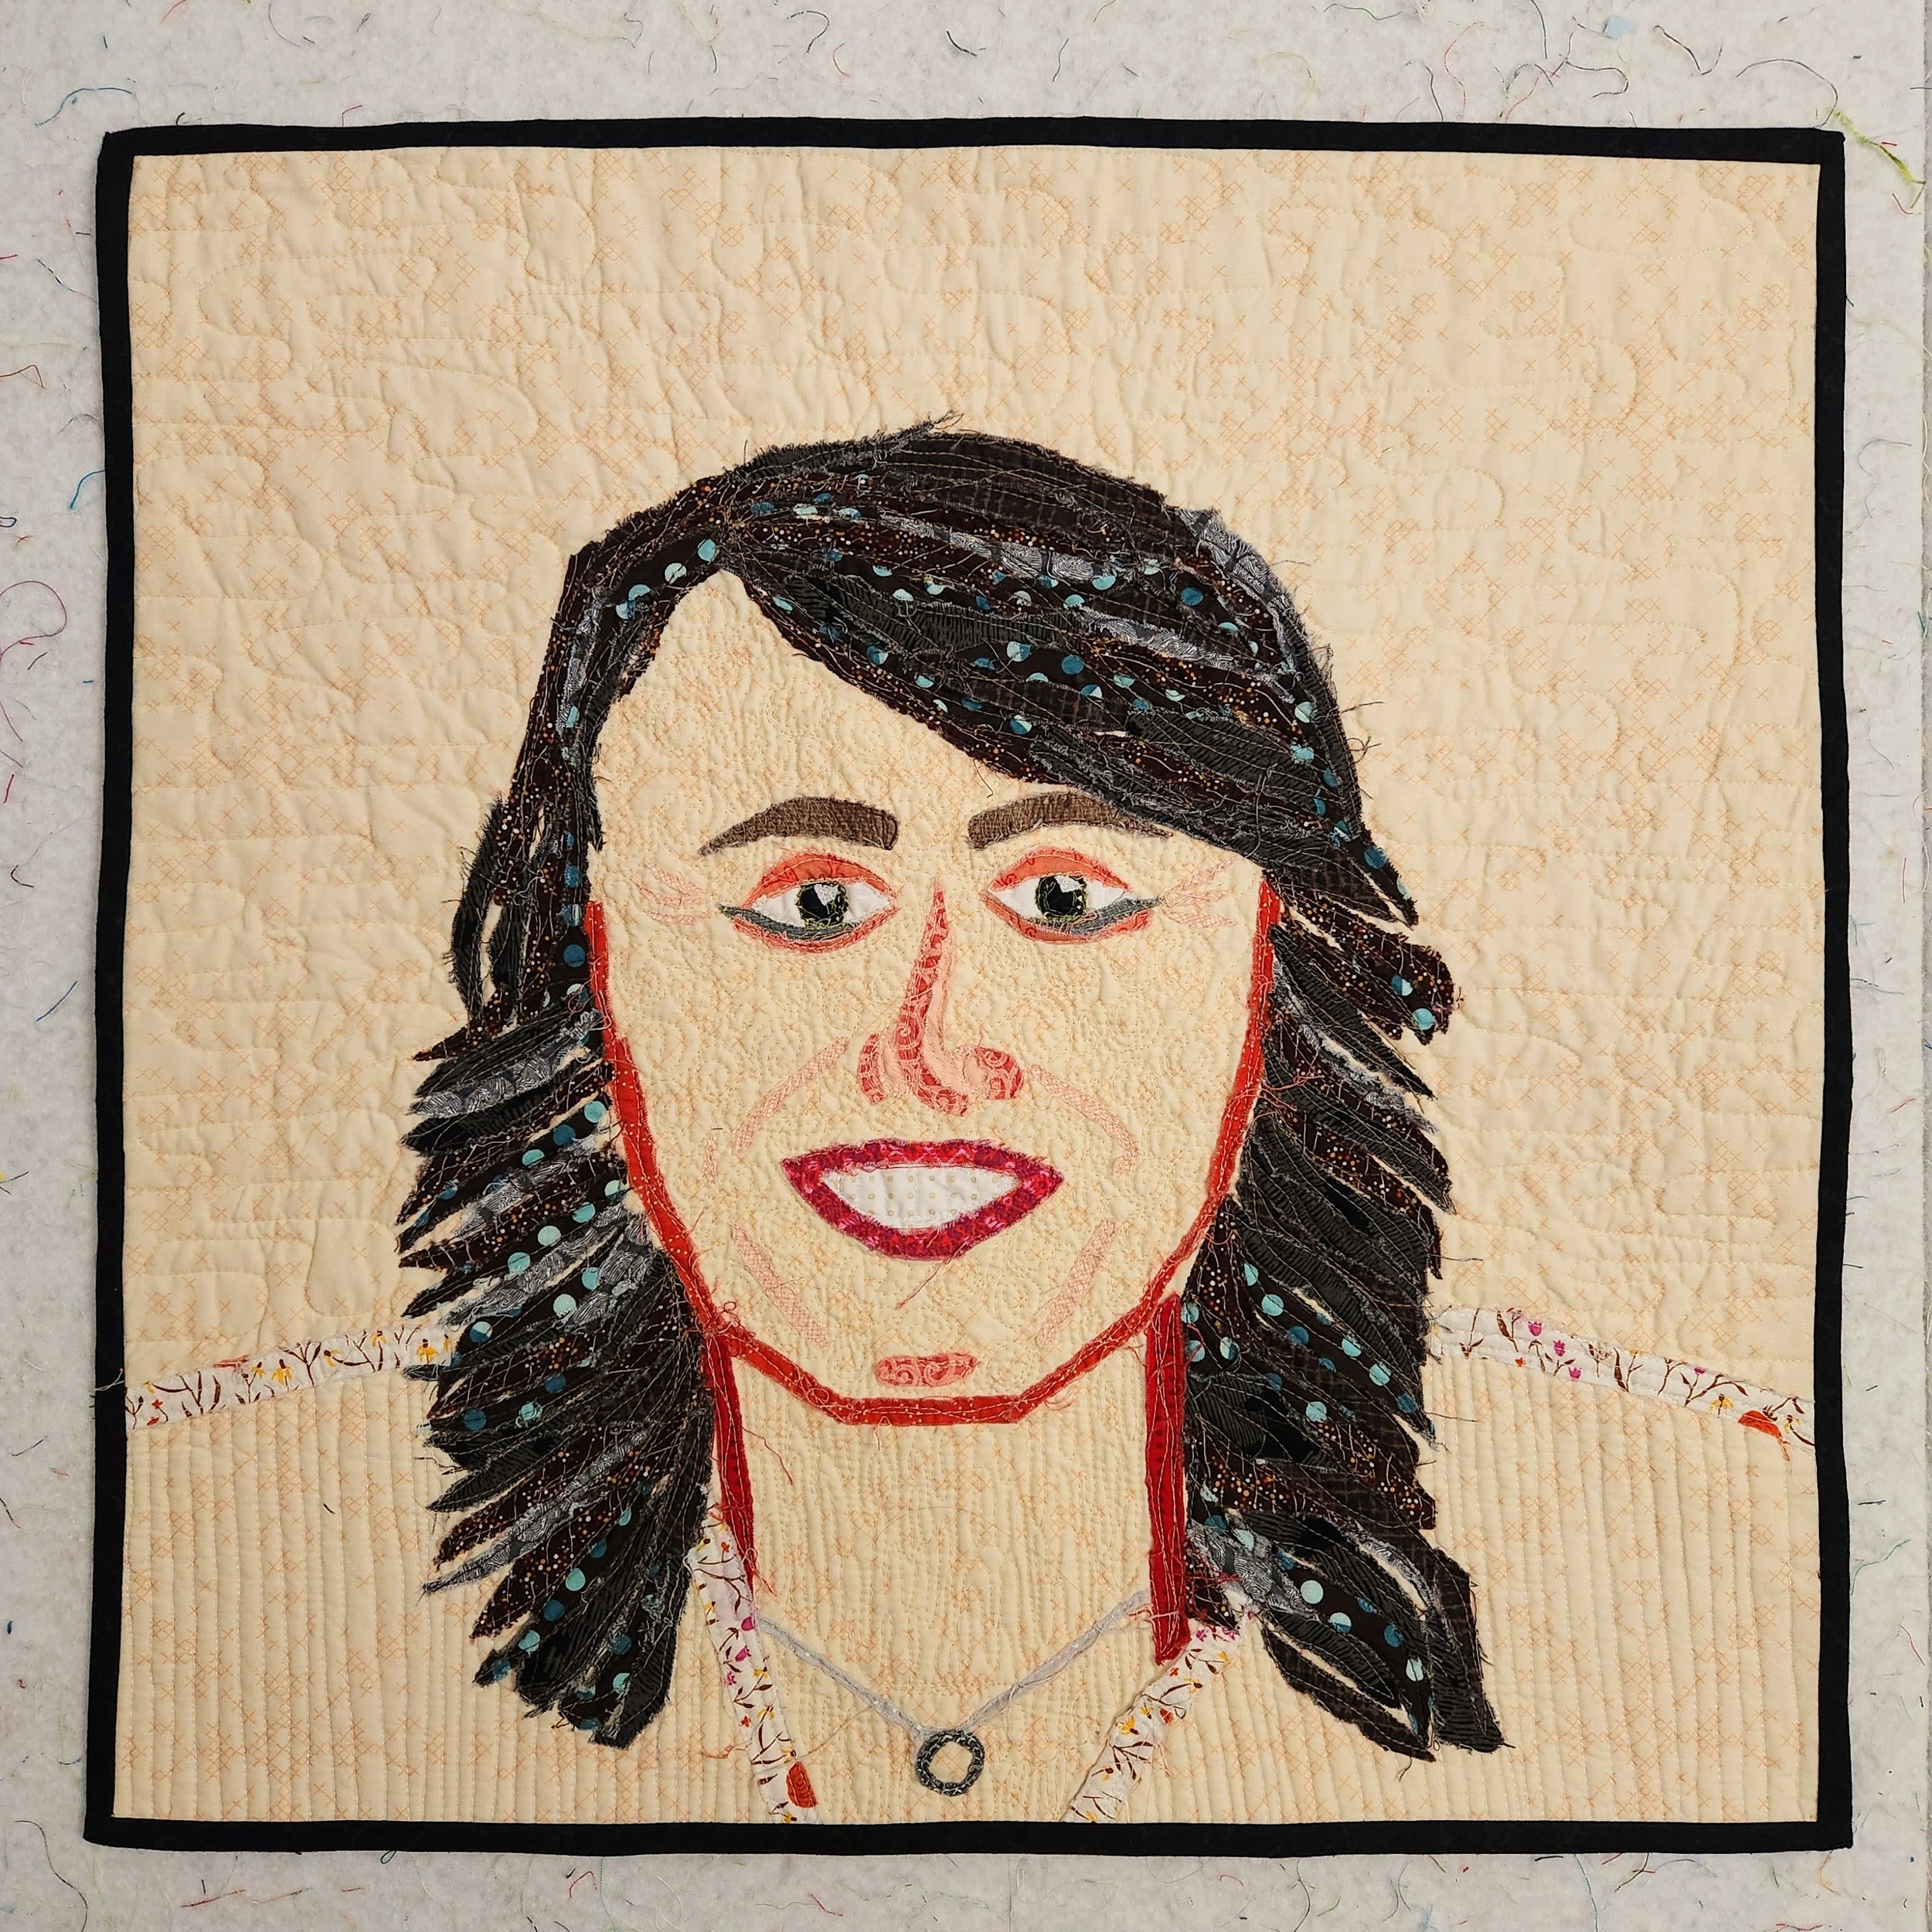
Up first in my portrait making, aside from learning how to draw, was something I was just a bit familiar with. Back in 2017 I took a class with Melissa Averinos on making faces in fabric. I made one face, loved the process, developed some grand ideas, then promptly did nothing about them. Needless to say, that’s why I chose to start with this technique. Also, I was using her book to learn the drawing basics so it was a natural extension.

In the book Melissa walks us through the basics of anatomy and shape. She outlines many ways your can interpret this with fabric, then encourages you to go for it. It’s all so very approachable. She also has tonnes of examples. You can see the myriad ways people, her students, took to the portraits. You also get to see a big selection of her own work. It is all inspiring.

The first photo I took to interpret in fabric was my headshot, the main photo on the homepage here. I found it an interesting challenge because it is hard for me to convey depth in the collage. It’s obvious in the photo but in the collage the shoulders look a little off. But can we take a moment to celebrate my hair?! She is quilted with a million thread colours and stops and starts, providing texture and depth.

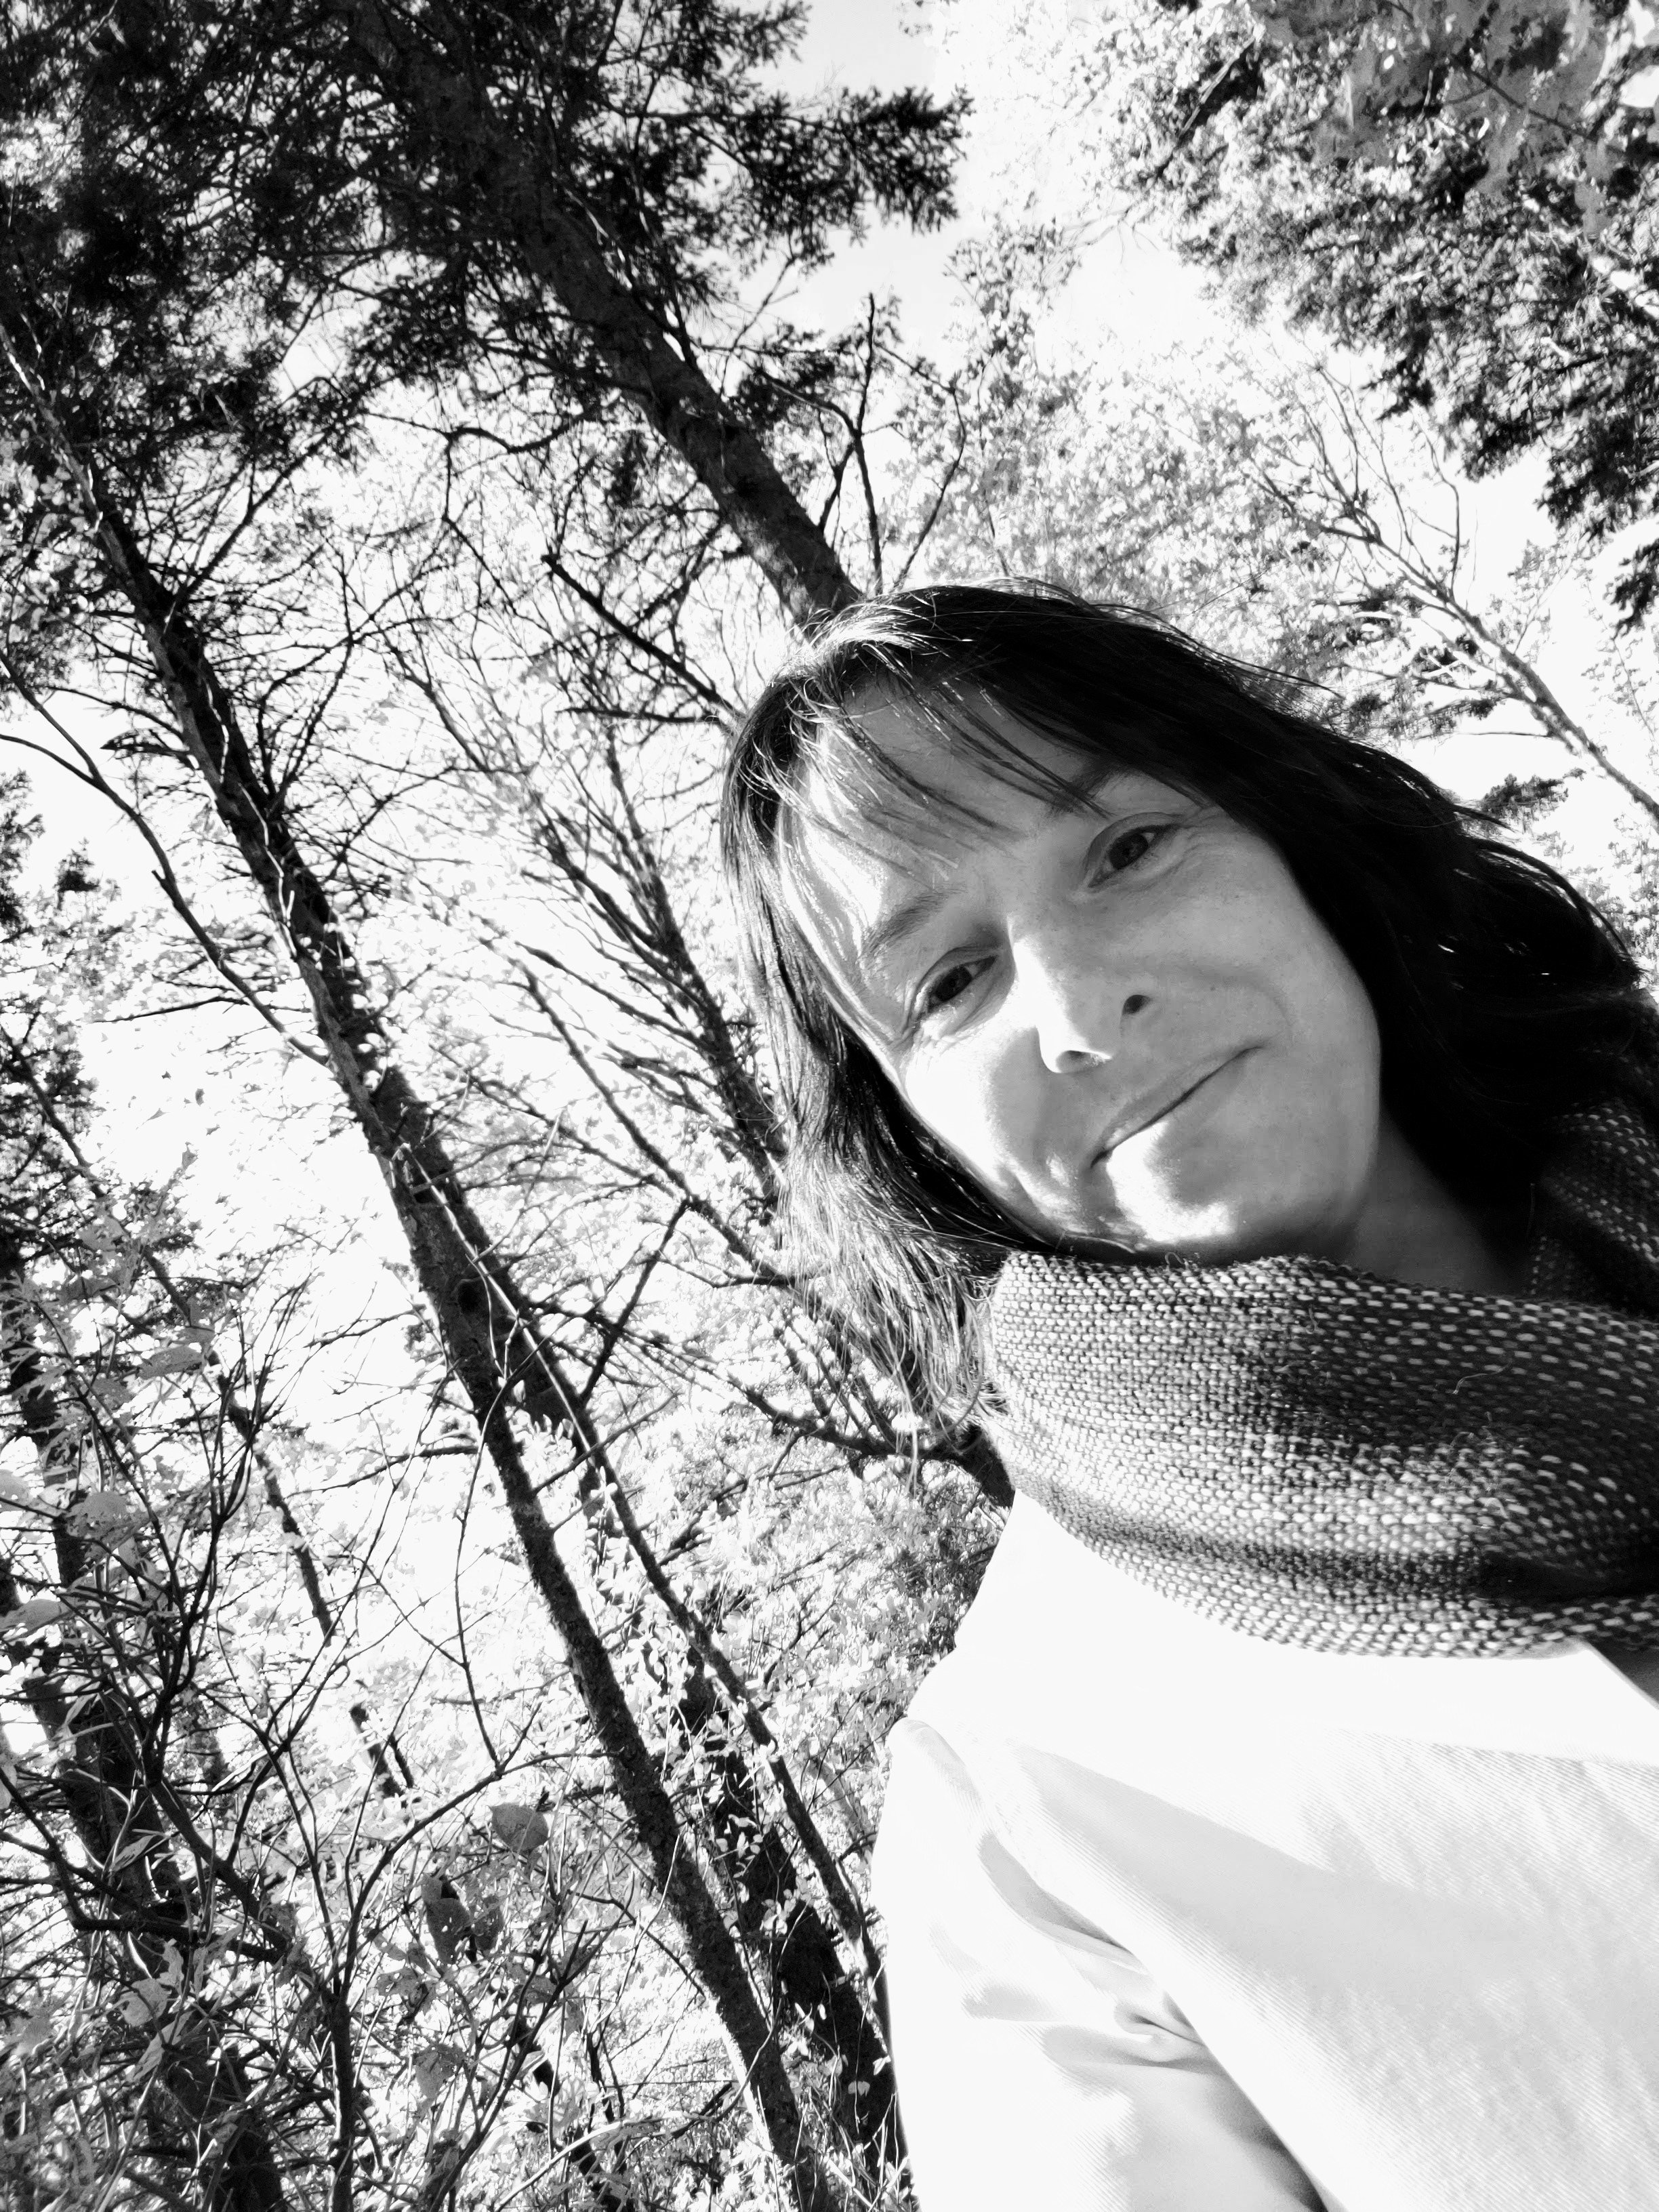
The second collage portrait I did was in black and white. I took a colour photo from when I was visiting Lucy Maud Montgomery’s house in PEI. I was just to happy on that entire trip and it shows in the original photo. I think the collage does not quite show that. In fact, it feels a bit skeletal to me. That being said, I still really like it. I played with being a bit more abstract in shapes and with value. To soften the whole thing I used a pale pink thread for quilting.

To finish both quilts I did give them a quick soak and blocked them. They are small (less that 20” on any side) but had got a bit misshapen in handling. This roughed up the fabric and I discovered places I hadn’t quilted as well. A few repairs with both glue and the sewing machine were needed. Then the mini quilts are bound with a single fold binding in a black on black print. I decided to be consistent among all my self portraits with binding and treated it like a picture frame.

These quilts were an excellent first start to this Morning Make adventure. Fundamentally, I am a quilter so fabric portraits are the way to go for me. Will I make more fabric collages? I’m not sure. the technique is freeing and effective, yes, but I don’t love the roughness of the raw edges. You do get ultimate freedom in cutting your collage though. I think this is a great technique for play and it may instead stay in the repertoire for that reason, even if I don’t make another full portrait quilt with it.

Odetta

Odetta

52” x 52”

A few years ago I was privileged to go through some of the antique quilt collection of Heritage Park. Heritage Park is our local historical village. At the end of May they host a quilt show, where the quilts are all displayed outside, on fences, in the historical buildings. It’s a great affair. As part of the show they showcase a few quilters and have some classes. I was supposed to teach back in 2020 but, of course, the show was cancelled. In 2021 I was able to teach. My goal was modernize one of the quilts from their antique collection.

The original quilt was a repeat of the great Tree of Life block, simply two fabrics. The blocks were placed without sashing and on point, so that they stood tall and proud on the quilt.

In the class we talked about different ways to explore a modern version of this quilt. The main block is a half square triangle, so that became the basis of play. Exploring colour and scale were the two most common ways to play. As was playing with fabric. In the end, we had a collection of very different blocks in a rainbow of colours.

This version is made with 4.5” Half Square Triangles. The quilt is essentially one big block, floating in some extra patchwork. I used a collection of purple fabrics from my stash for the Tree and a wide assortment of black and white, low volume fabrics for the background. This is quite the update from the original ditzy floral and solid white background.

For quilting I stuck with straight lines and a wider than my usual distance between the lines. As this is a good size for a baby I kept it simple and softer. Another move to modern is that I chose a pale pink thread for quilting. Not purple, not white.

The backing fabric is a voile from my stash. I’d actually started making a backing for a different quilt but made a mistake. Because it is voile fabric and I didn’t have any other in my stash I assigned it to this quilt, so that none got wasted. It ended up being perfect. When I went shopping for the binding in my stash I liked the contrast of the magenta with the purple. It’s close, but not the same. And it goes perfectly with the backing! Interestingly, both of those fabrics are by Rashida Coleman Hale. Very different fabric collections, made years apart, but both hers.

The quilt is finished in time to be in the special Trees exhibit at the Heritage Park Quilt Show this year!