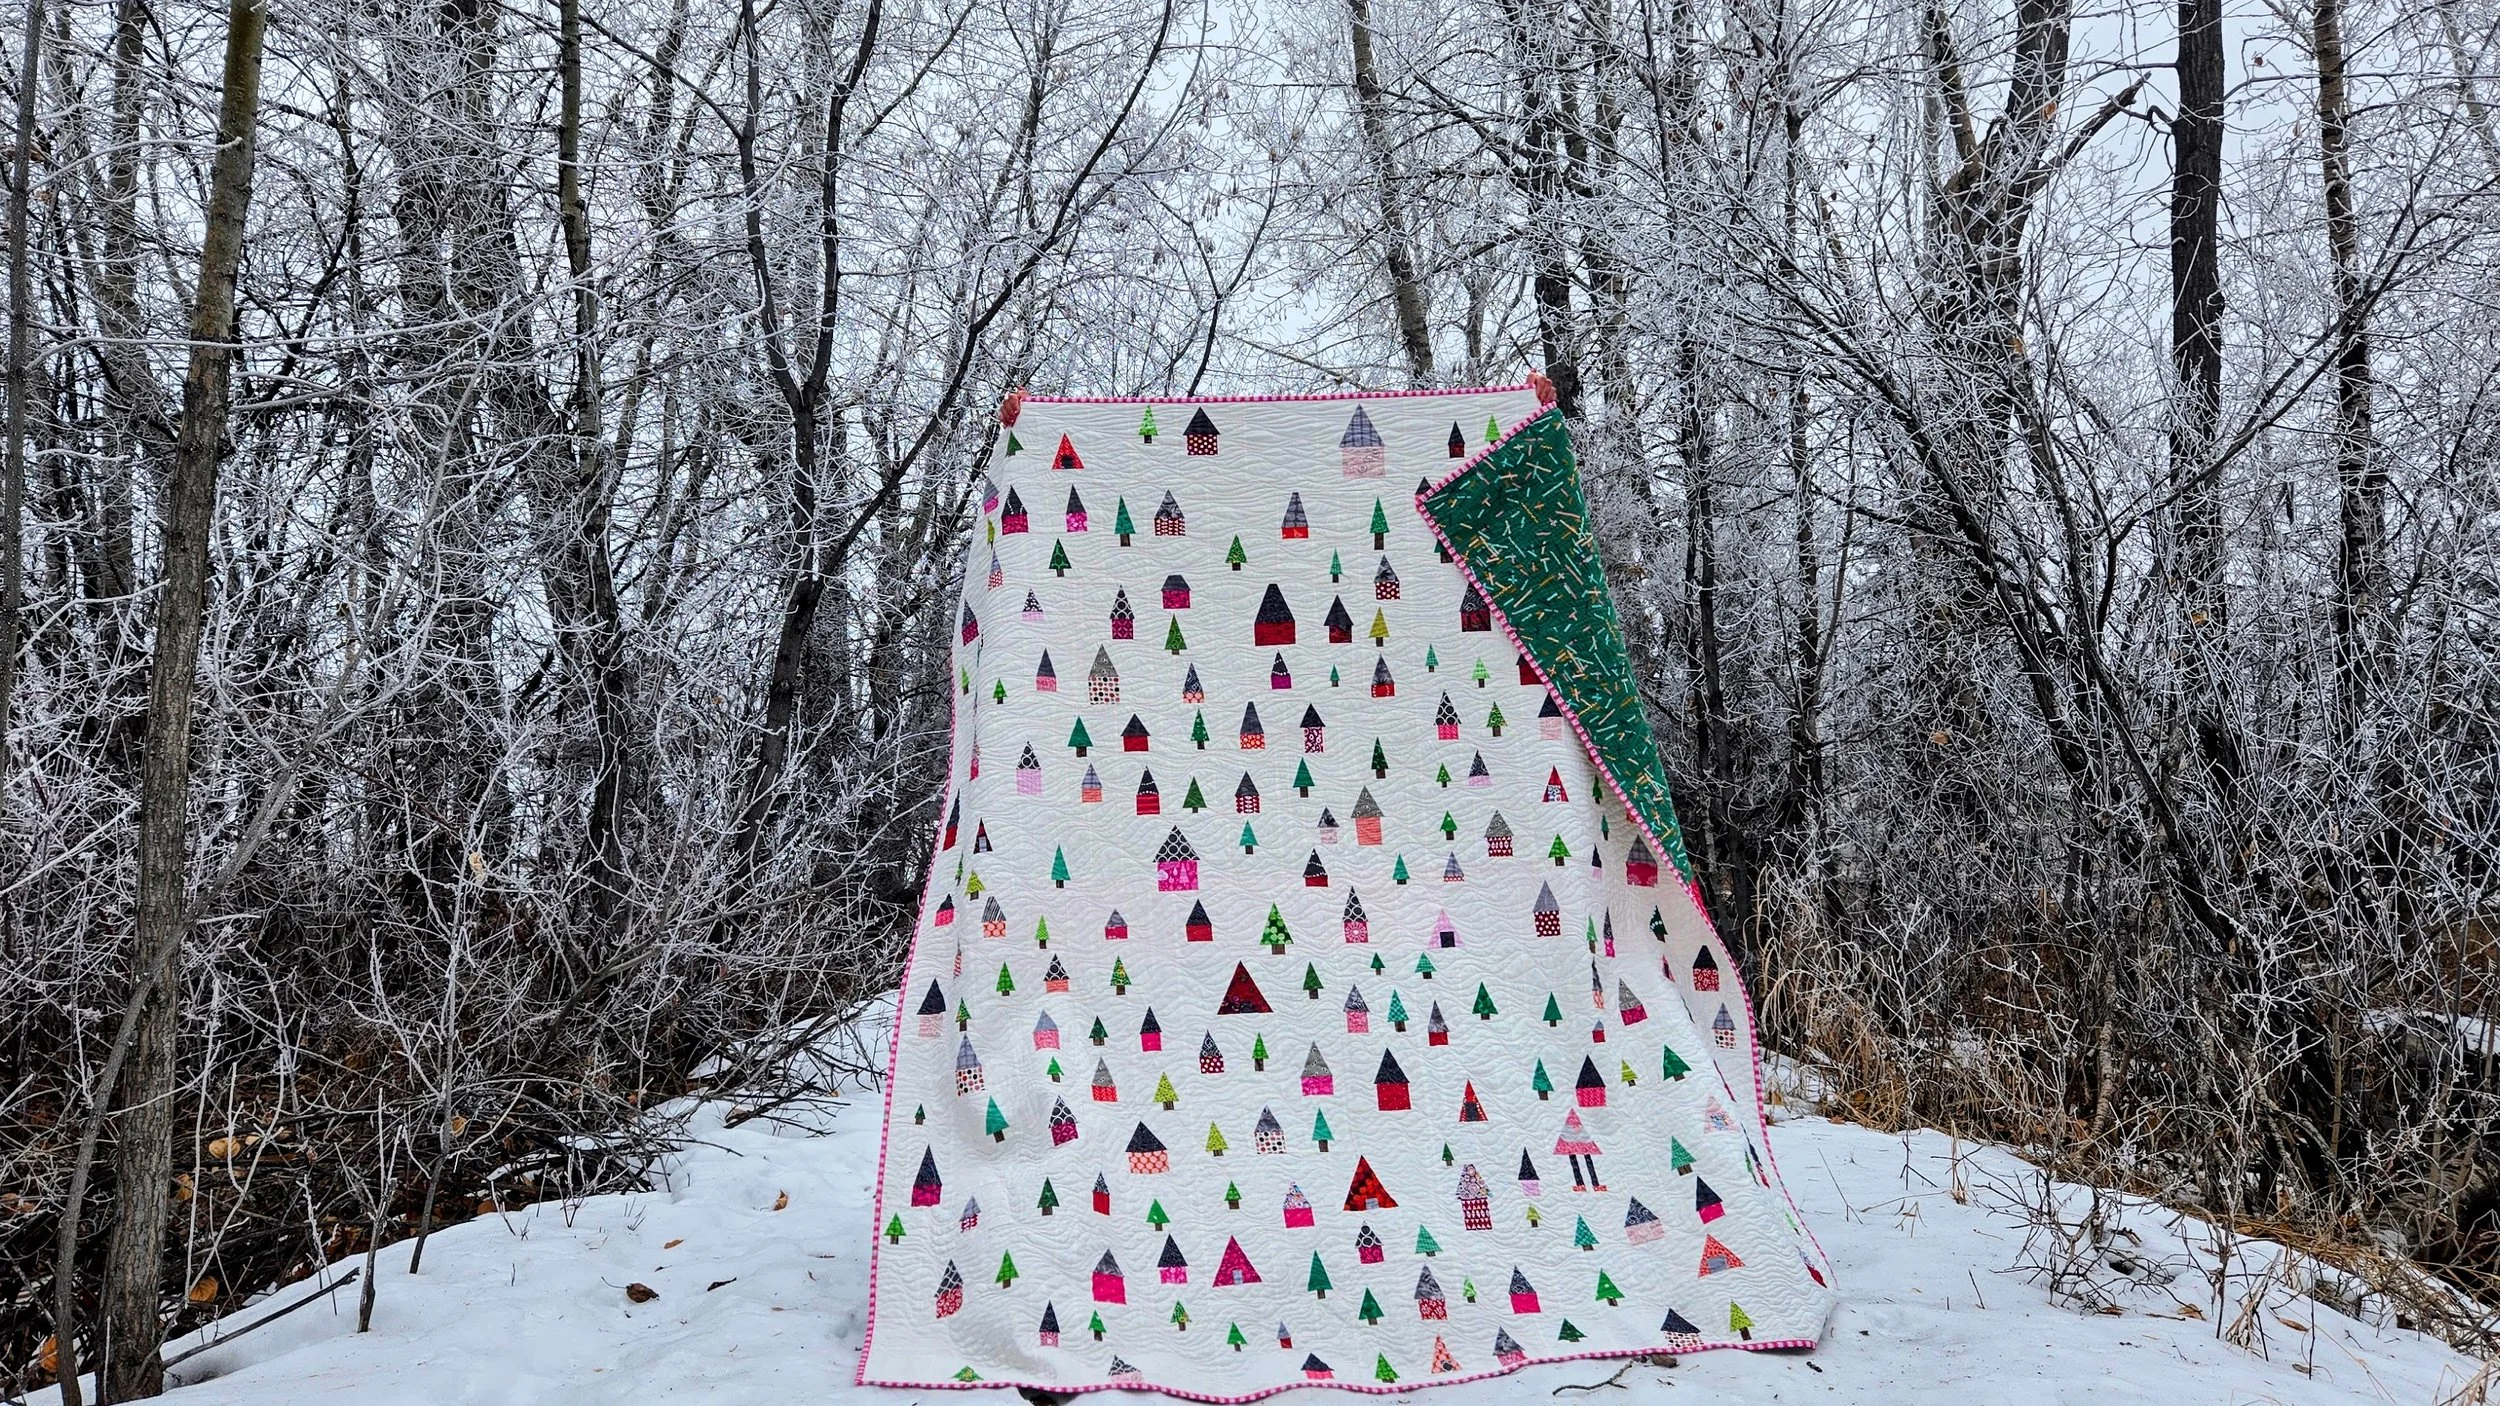
improv quilts

Blobs of Improv Applique

At some point in the last few years I made one of these blobs. I was using it as a sample for an Improv Applique class I was teaching online. I probably made another one in another class. These were only ever intended to be samples.

Intentions and reality rarely meet in my quilting play.

Now that I have the studio and no machines at home my Morning Make is always handwork, when it comes to stitching. As I uncovered these blocks during the move they came to mind as one thing to play with as the morning grew cold and dark. It turns out they are a fun spot of joy! Now I keep making them.

This was my initial plan for layout: random. Just the four colours and laid out in no particular order. As soon as I decided to turn these blocks into a quilt this was my plan. I also wasn’t expecting to make a large quilt, only 5 x 5 blocks. As the background pieces are 10'“ squares, this would make a simple little baby quilt.

But then… but then I laid out the blocks by colour. It was actually only so I could ensure I wasn’t repeating the background fabrics in each colour way. Seeing them together was easier than thinking through that. And oh! Did that change everything!

This layout is amazing. It is so much stronger in showing off the blobs, giving them colour order. I still get randomness in the various fabrics, but the structure of columns is a much stronger design. There is no going back now.

What I do need to do, however, is add more columns. I’ve currently got 7 of each colour. If I add one more colour I now get a small lap quilt (47.5” x 66.5”). If I add 2 then I get a bigger lap quilt, especially if I make 8 blocks of each colour (57” x 76”). I could add 3 colours, stick with 7 blocks, and get a classic square (66.5” x 66.5”). I’m torn, to be honest. So, I will add 1 colour and see how I feel about it.

Who knows? I may change my mind completely again.

Wren - A Scrap Quilt of Happiness

Wren

78” x 80”

She’s the joyous girl of sunshine. She grew up in a hippie community on an island. It’s easy to be easy going when you grow up surrounded by peace and love. Sure, there is always an underbelly to that and life is always far from perfect. She chooses to move forward with love, however, no matter what happens. As a result, she spreads that calm and joyous nature to the people around her. At night, she retreats and regroups, a little bit alone in her personal sorrow. But without pain you can’t feel joy, right?

This quilt was a wonderful bit of therapy. I mean that both in the making and the end result. She started from a literal pile of scraps that my son threw on the floor as a toddler. Rather than put them away I started sewing them together right from the floor! Fast forward a decade and I pulled it out to make it bigger through some play.

You see, a few eyers ago I faced a rather deep hole of depression. No specific trigger or anything, but life was hard and I turtled. It happens and I am grateful for the support of family and friends and therapy and medication that helped me through. But there I was laying in bed one day, the quilt over me reflected in the light fixture above. The pinks in the chrome with the spots of crystal struck something in me. At that moment I decided to pull out some pink fabrics and play. Why pink? It’s simply a happy colour to me. I made one quilt top, then I decided to play with another. The first one I am in the midst of hand quilting, the second took a trip to the long arm rental with me. She’s done now.

That light fixture has seen some things! It was such a splurge for a light that we don’t actually turn on much (I am one of those people who doesn’t like to be in a room with overhead lights on.) Despite that, she brings me joy every day, reflecting the room around her and the light itself.

After making the initial quilt top a functional size, I set out to make a back that gave me as much joy as the front. I used some precious, favourite fabric from Denise Schmidt I’d been holding on to plus a few others from the stash. Life’s too short for an ugly quilt back!

Yellow and pink quilt on a yellow floor

This was not the quilt for fancy quilting. It is essentially one giant slab quilt with a riotous mix of fabrics. Quilting is for texture here more than anything. That being said, I ended up getting a bit fancy! I started with wavy lines across the quilt in pink, peach, and yellow. Sometimes they overlap, mostly they don’t. It wasn’t until I was off the long arm that I decided on some additions. My first thought was the odd line of hand quilting in waves, just for fun. Then I decided on some words. If this was the quilt that helped me through my depression, then I wanted some reminders to keep my mental health in a good state. So I started stitching words right in to the quilt. Both embroidery and quilting in one.

Relax stitched into a peach quilt square
Laugh hand stitched into a quilt square
Walk hand stitched into a grey square
Make Love stitched into a grey quilt square

Connect

Relax

Laugh

Walk

Make Love

These are the actions I need to remember moving forward. As I healed, I learned that I need these things (plus creating, but that is a given) to help me on a regular basis. If I do these things, I can make it through anything. Stitching them through the quilt was a good moment of reflection, and their subtlety in the quilt is like a little message for me - or anyone else - using the quilt.

Of course I wasn’t quite done with the hand stitching. After finding the perfect pink binding (an old favourite from Emma Jean Jansen) in my stash, I went with the big stitch for closing the binding. Yes, this works well and holds up to washing, in case you were wondering. It’s a rather nice way to put a finishing touch on a quilt full of love and joy.

Pink, grey, yellow, and orange scrappy quilt

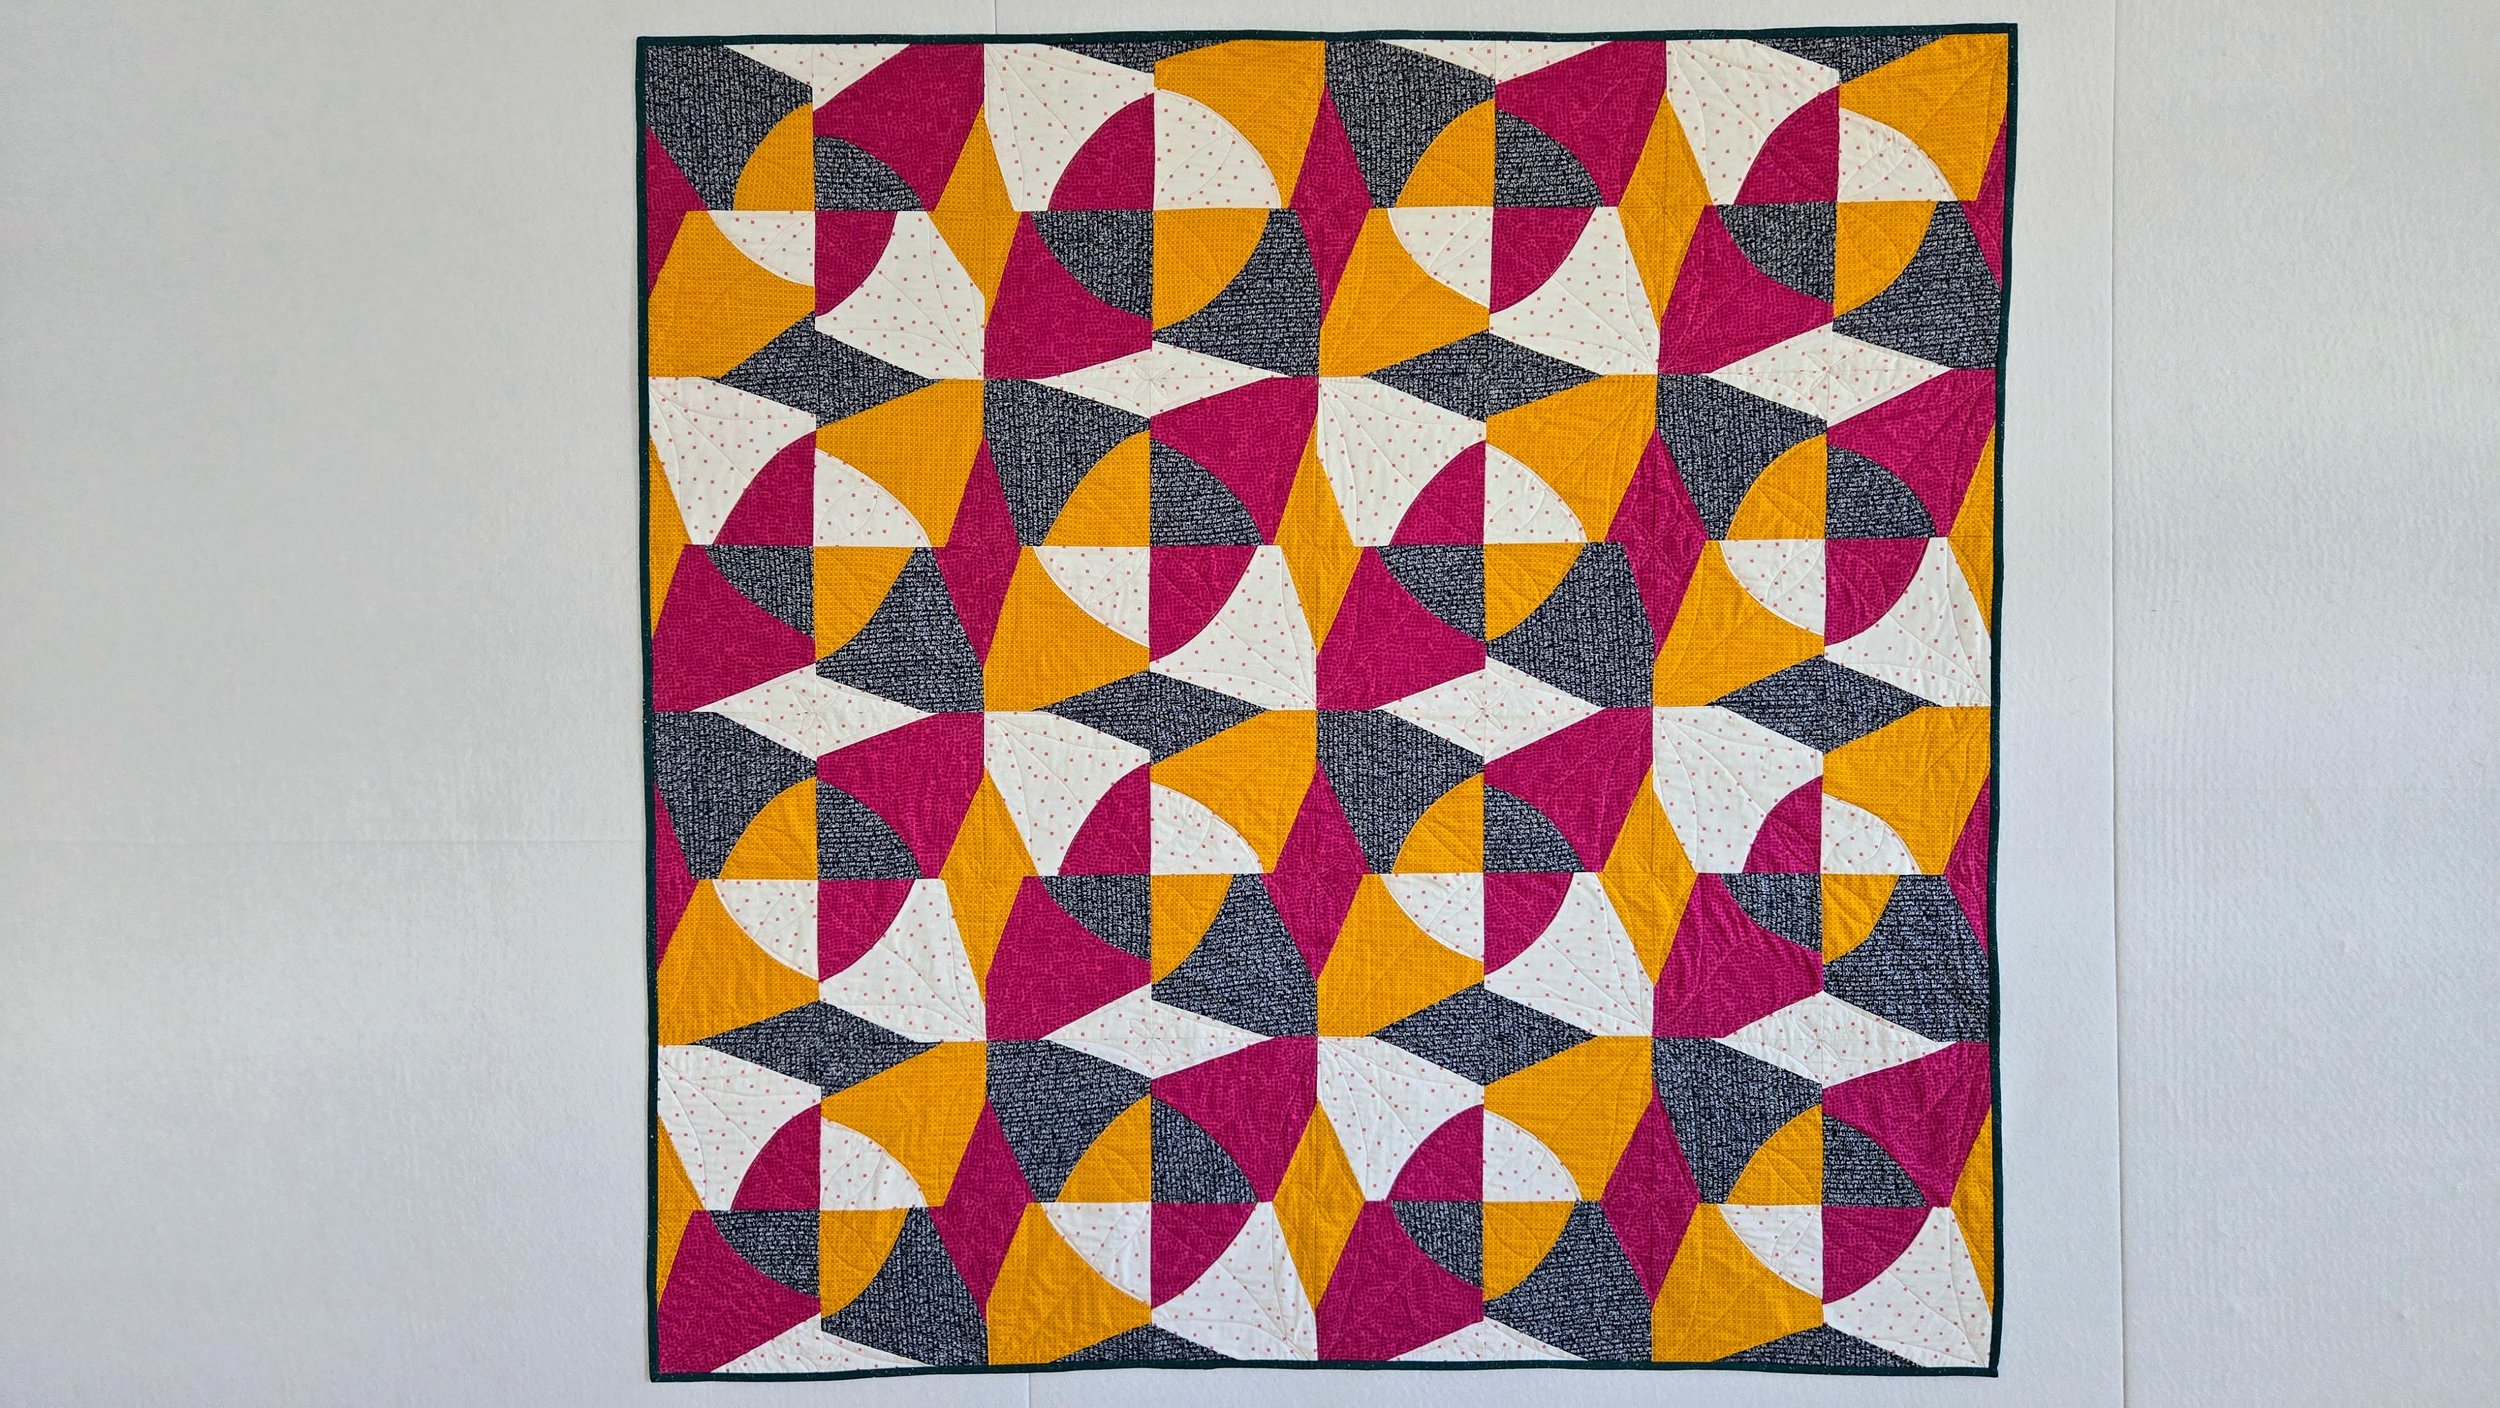
Desktop Inspired Quilt Top

Old wooden desktop art installation

From this…

To this…

Black, white, pink and red quilt top inspired by old wooden desktops

Back in 2018 I had the opportunity to go to Montreal to teach at Courtepointe Quebec, a lovely quilt show held in the suburbs of Montreal. I had to lean on my very shallow memory of high school French as my driver and many students didn’t speak English at all. We were in an old school with no air conditioning in a heat wave. Despite all that, we had a fabulous time! One day, on a break with some students, we discovered the art installation made from old desks. We were talking about being inspired by the world around us, including these desks. I remember coming home and experimenting just to see if I could make a block that referenced those desks. A little improv curve action made it happen. I made a few then folded them up and put them in the closet.

Now, as I am in the process of cleaning, sorting, and getting ready to move my sewing room, these old projects are seeing some light of day. That, and I updated my list of Quilts Under Construction after these recent finishes. I wanted to work on something “new” but not really start something new. A dive into the vaults served that purpose.

I didn’t like the blocks just plain. Right idea, ineffective design. Going back to the original inspiration I decided to try setting them so they popped off the background. Honestly, I have no idea why I chose the pinks/reds, but I think they work. I did not have enough of any one colour, so used 3 different ones. Their placement is random, but all being so close in value they read well together.

For me, this is a small quilt. It finishes a bit over 40” x 50”. So, really, just a baby quilt. But I didn’t have any more of that dominant alphabet print to make more blocks. Plus, this size keeps it as a quick finish. I have no idea when I will touch this quilt again, but for now the memories can live more strongly than my French skills!

Yes, You Can Change Your Mind While Making a Quilt

Collection of rectangular quilt blocks in scrappy, multicolour layout
Multicoloured Scrap Quilt Blocks

Did you know that you are absolutely allowed, even encouraged, to change your mind while making a quilt? Far too often folks think that because they started down a certain path in the quilt making process they are not allowed to veer from it. This isn’t school and standardized testing. Or, as my husband likes to say when the children complain about him changing his mind: I’m an adult and I can do whatever the eff I want!

Definitely applicable to quilting.

These blocks started as class samples. I use them in my Scraptastic class as one option for when you are playing with scrap strips. I make one in a class, put it with the others and move on with life. I had zero plans for the blocks, they served as a teaching tool.

Last month I was teaching a virtual workshop with the Thompkins County Quilters’ Guild out of New York. I had a pile of these blocks on my cutting table and starting arranging them to show possibilities. Quite quickly I was struck by a certain layout of 8 blocks. I don’t think I even had 8 blocks at the time, but I could see potential.

After the class, I finished up those 8 blocks and quickly sewed them together. Smitten, I decided to make more blocks. A lot more blocks. My initial plan was that top picture there. Every 8 blocks sewn together with them all assembled in an alternating layout. In my mind it was perfect.

Not so much on the design wall. My seemingly brilliant idea looked a hot mess.

When I am lecturing and teaching about using scraps one of my big messages is about finding order. When people complain that scrap quilts look messy it is often because they do, because they are lacking order. You can find that order with colour selection, playing with value, or through shape. My blocks are multicoloured, improvised, and made without regard to the value placement of the fabrics. That meant that shape matters the most.

Now my initial blocks - an improv variation on the Prairie Braid - are all trimmed to the same size. That helps. I thought the block layout made with 8 blocks would be totally fine in repeat. As you can see in that top photo, I was wrong. Even with the repetition of the original block shape/size and the repetition of making the larger square block, it still looks messy.

Here’s the thing, nothing was sewn together or set in stone. Even if it was, I would have taken it apart. If it’s not working, it’s not working. If you subbed salt for sugar in your cake would you still eat it? If you installed a bathtub too small for the space you framed, would you just live with it? No matter what, you aren’t tied to finish something that isn’t working.

So I tried something different. I played around and realized the second layout was much stronger, way less messy. Better yet, it used the exact same amount of blocks that I had planned to make!

That is, until I changed my mind again.