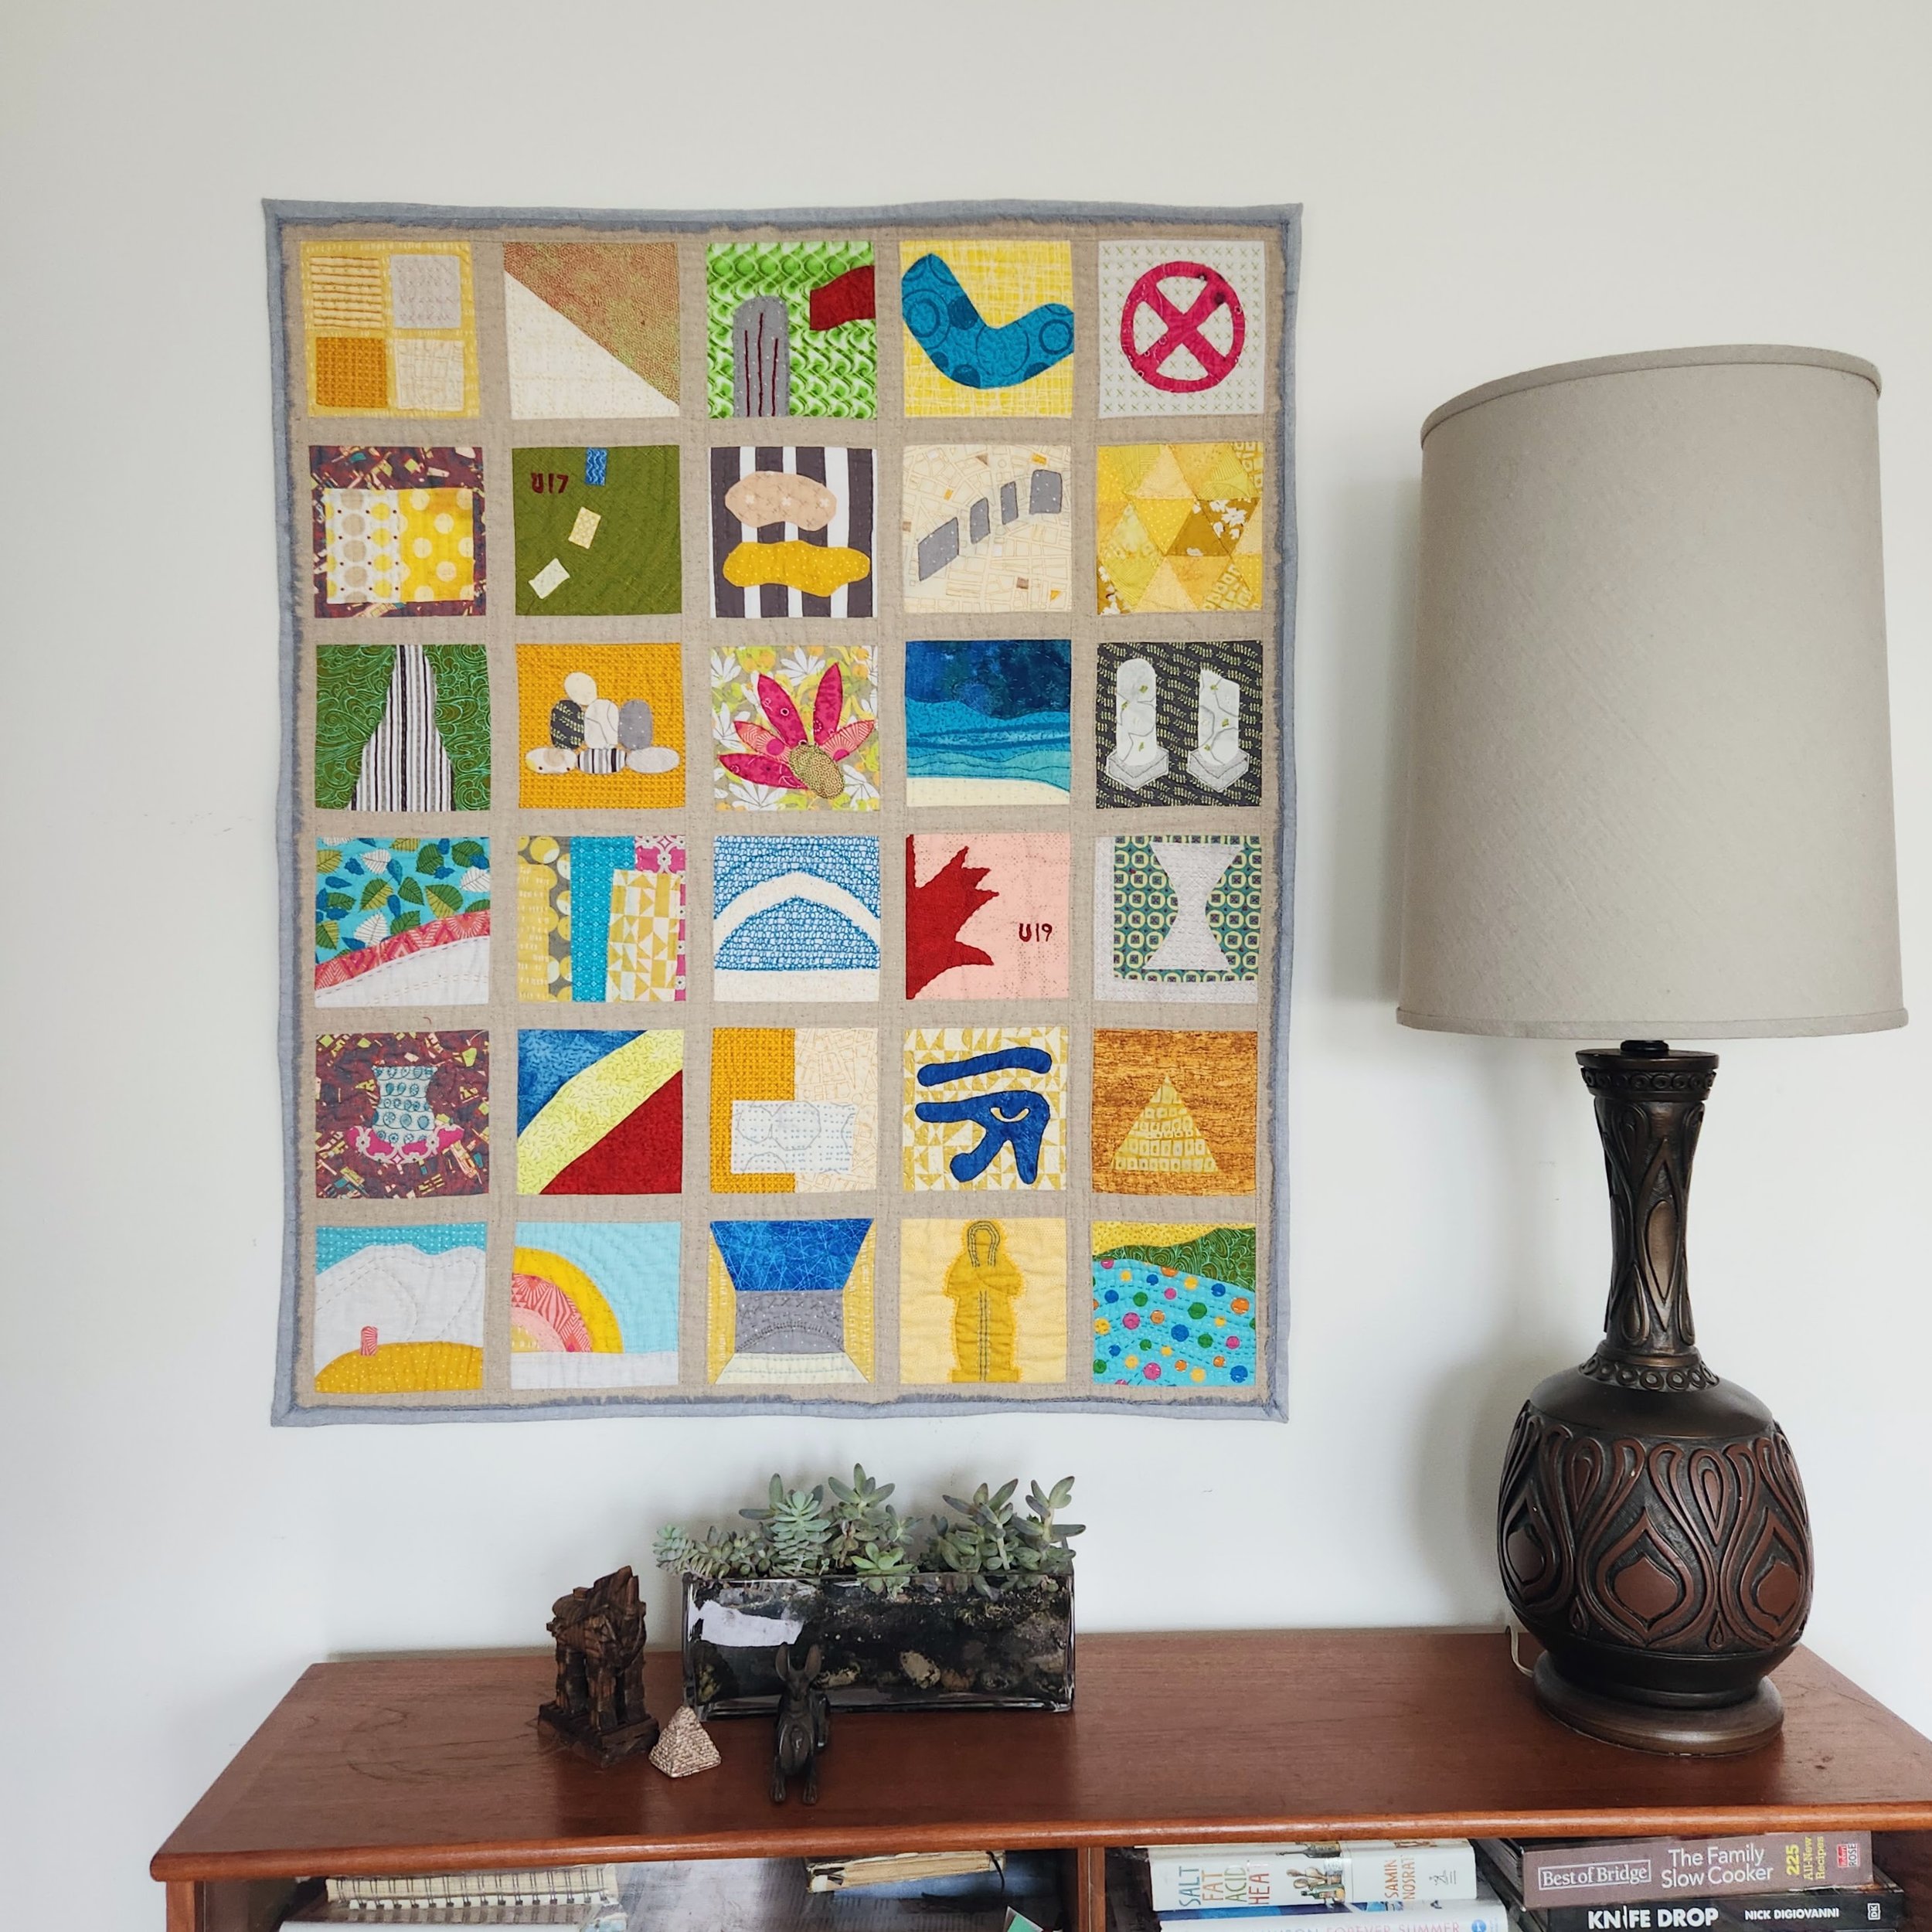
applique

Sadiya - Our Trip Diary Quilt from Egypt and Turkey

Sadiya

36”x 42”

Our trip is long over, the tastes gone from our mouth, the smells disappeared, the noise in the distance. All we have left are our memories.

Our journey to Egypt and Turkey this summer was beyond memorable. I am so glad that my last minute decision to bring sewing supplies resulted in this special piece. I’ve been sitting with all the memories as I stitched it. Opting for hand quilting/embroidery in all the blocks meant I’ve been sitting with it nearly daily for a few months. Bit sad to be done, really, because that means the trip is truly in the past.

Make sure to check out the post I made right after the trip with block and trip details.

To see details of the stitching on each finished block, I made a reel that you can see here. It was a lot of fun to pick stitches and patterns to both highlight block elements and sometimes reference the original block inspiration. I played around with thread weights, brands, and colours. Not to mention, a collection of stitch options!

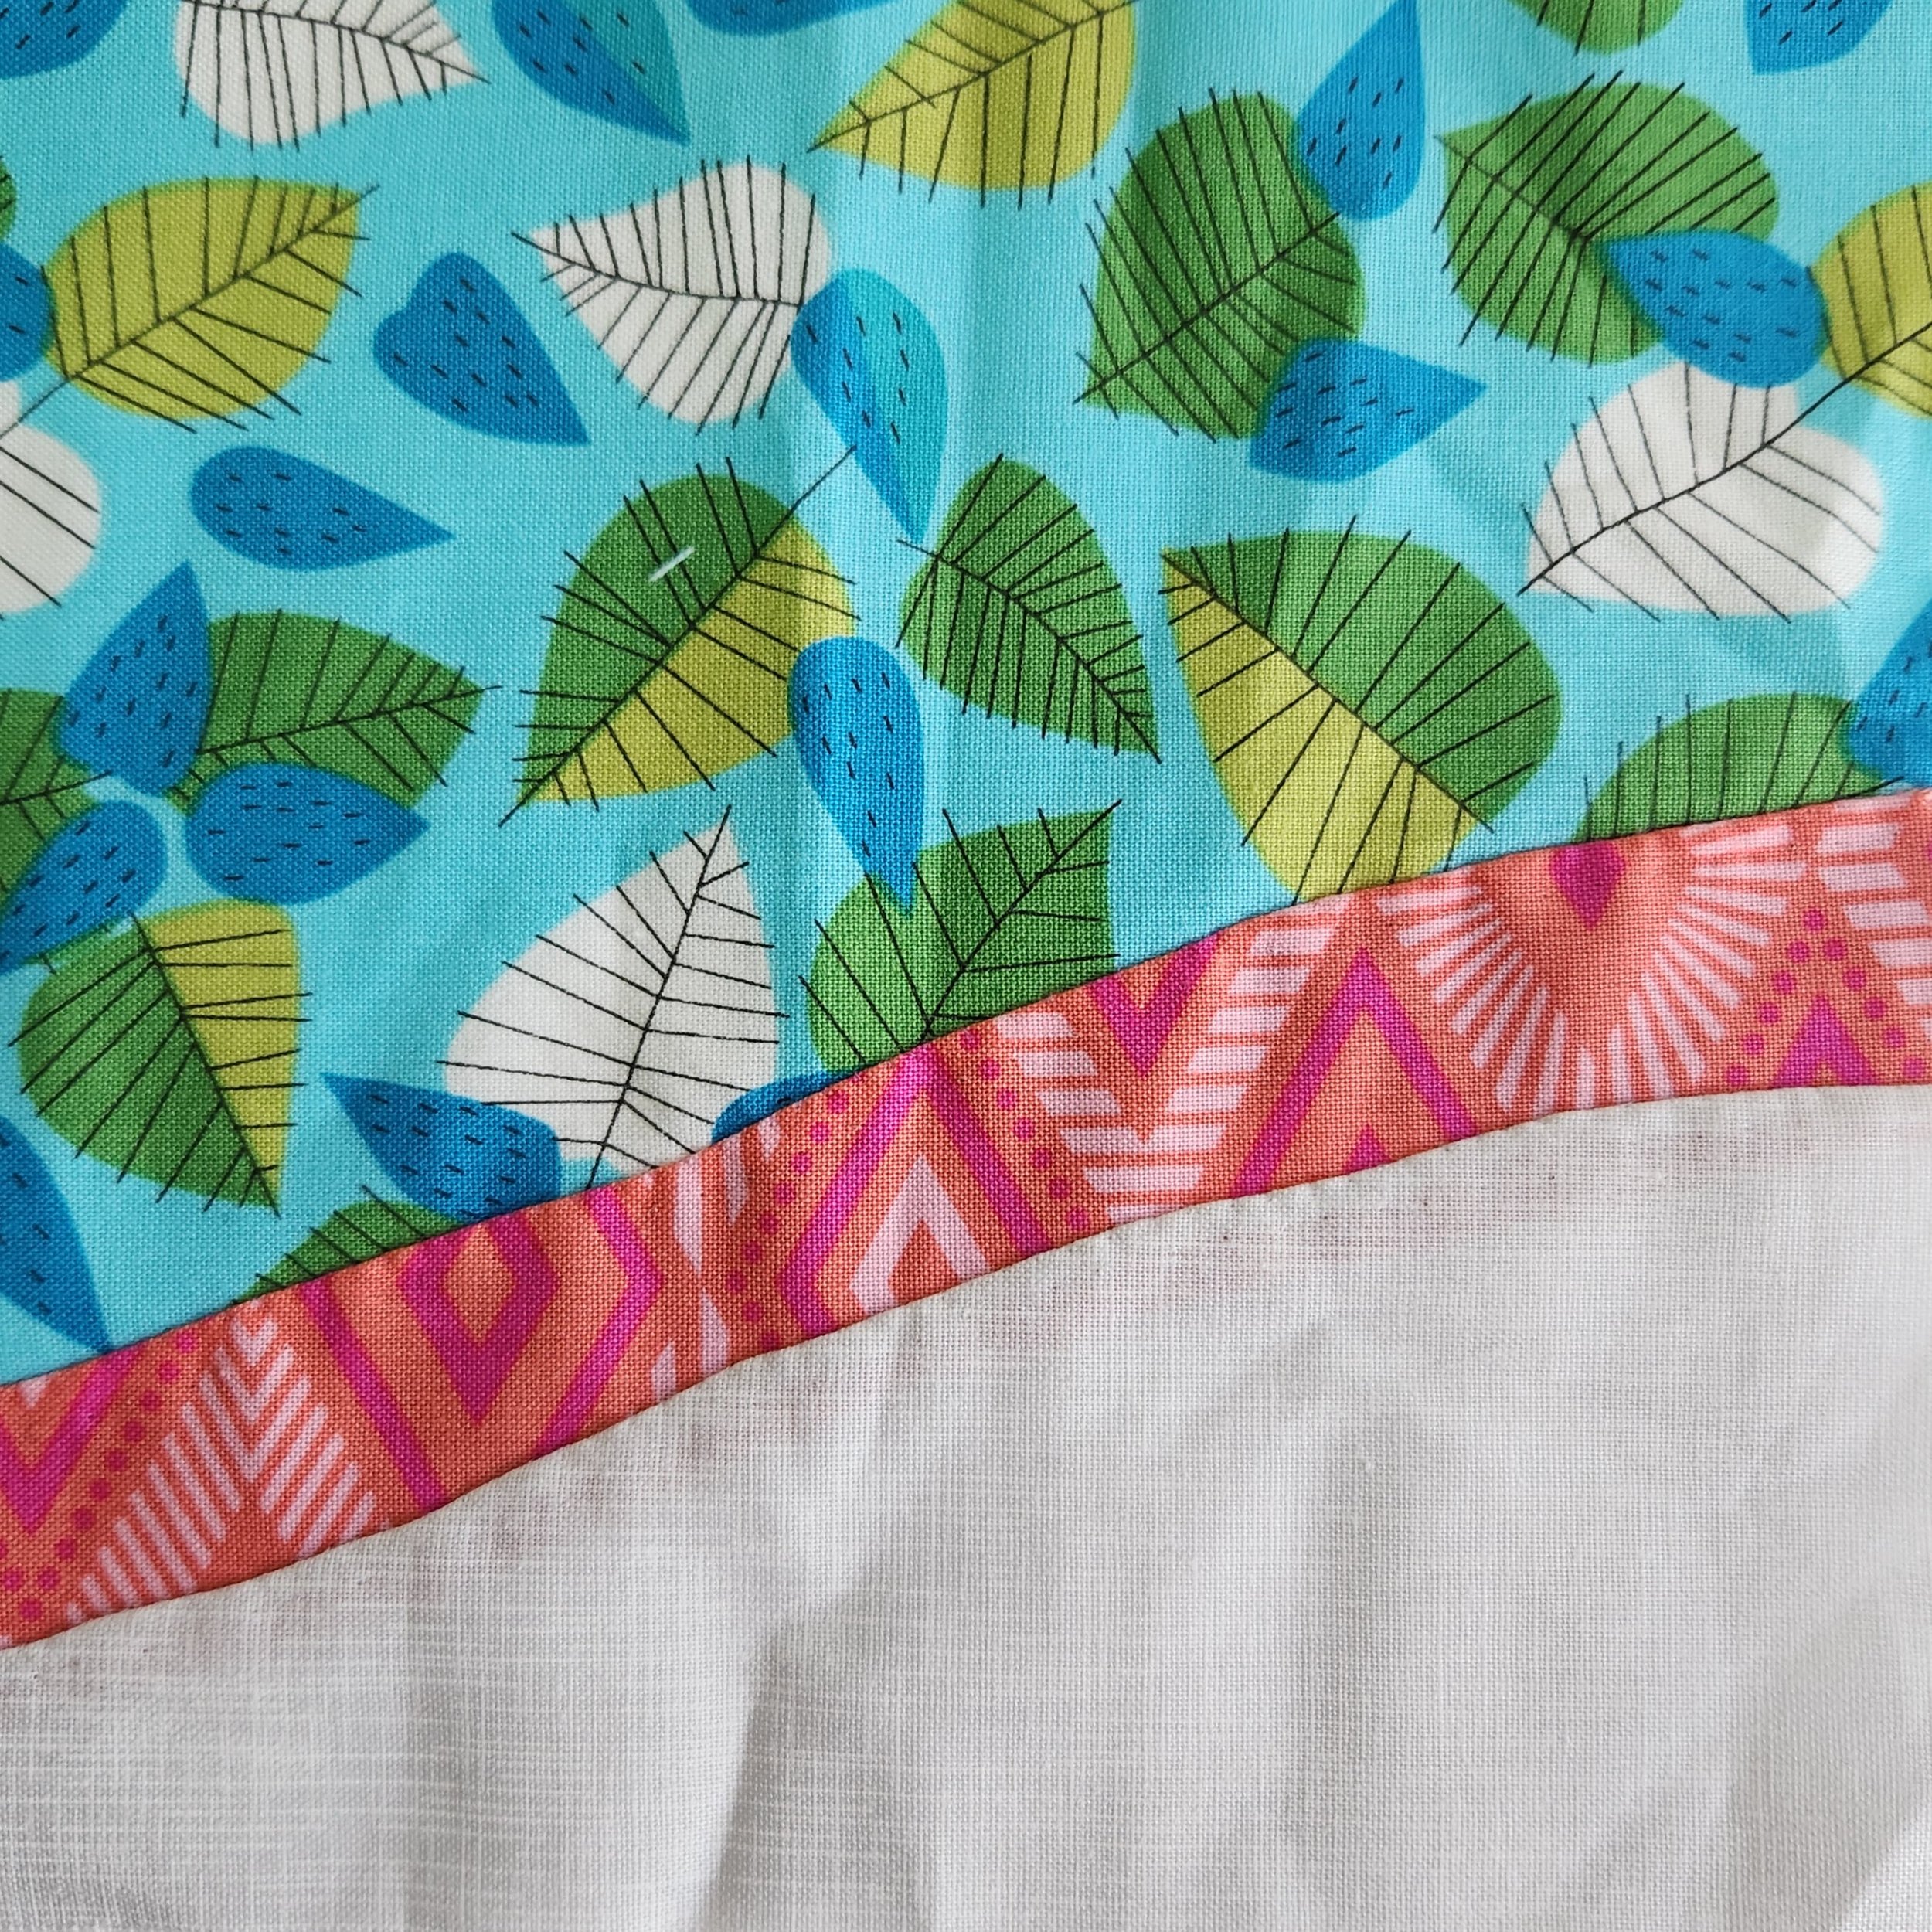
While the back of the quilt is not a perfect reflection of the front, I did try hard to be as neat as possible. This meant thinking through my movements as I stitched, burying knots, and a constant aiming for consistency. Oh, and a pick a busy print to give yourself a break!
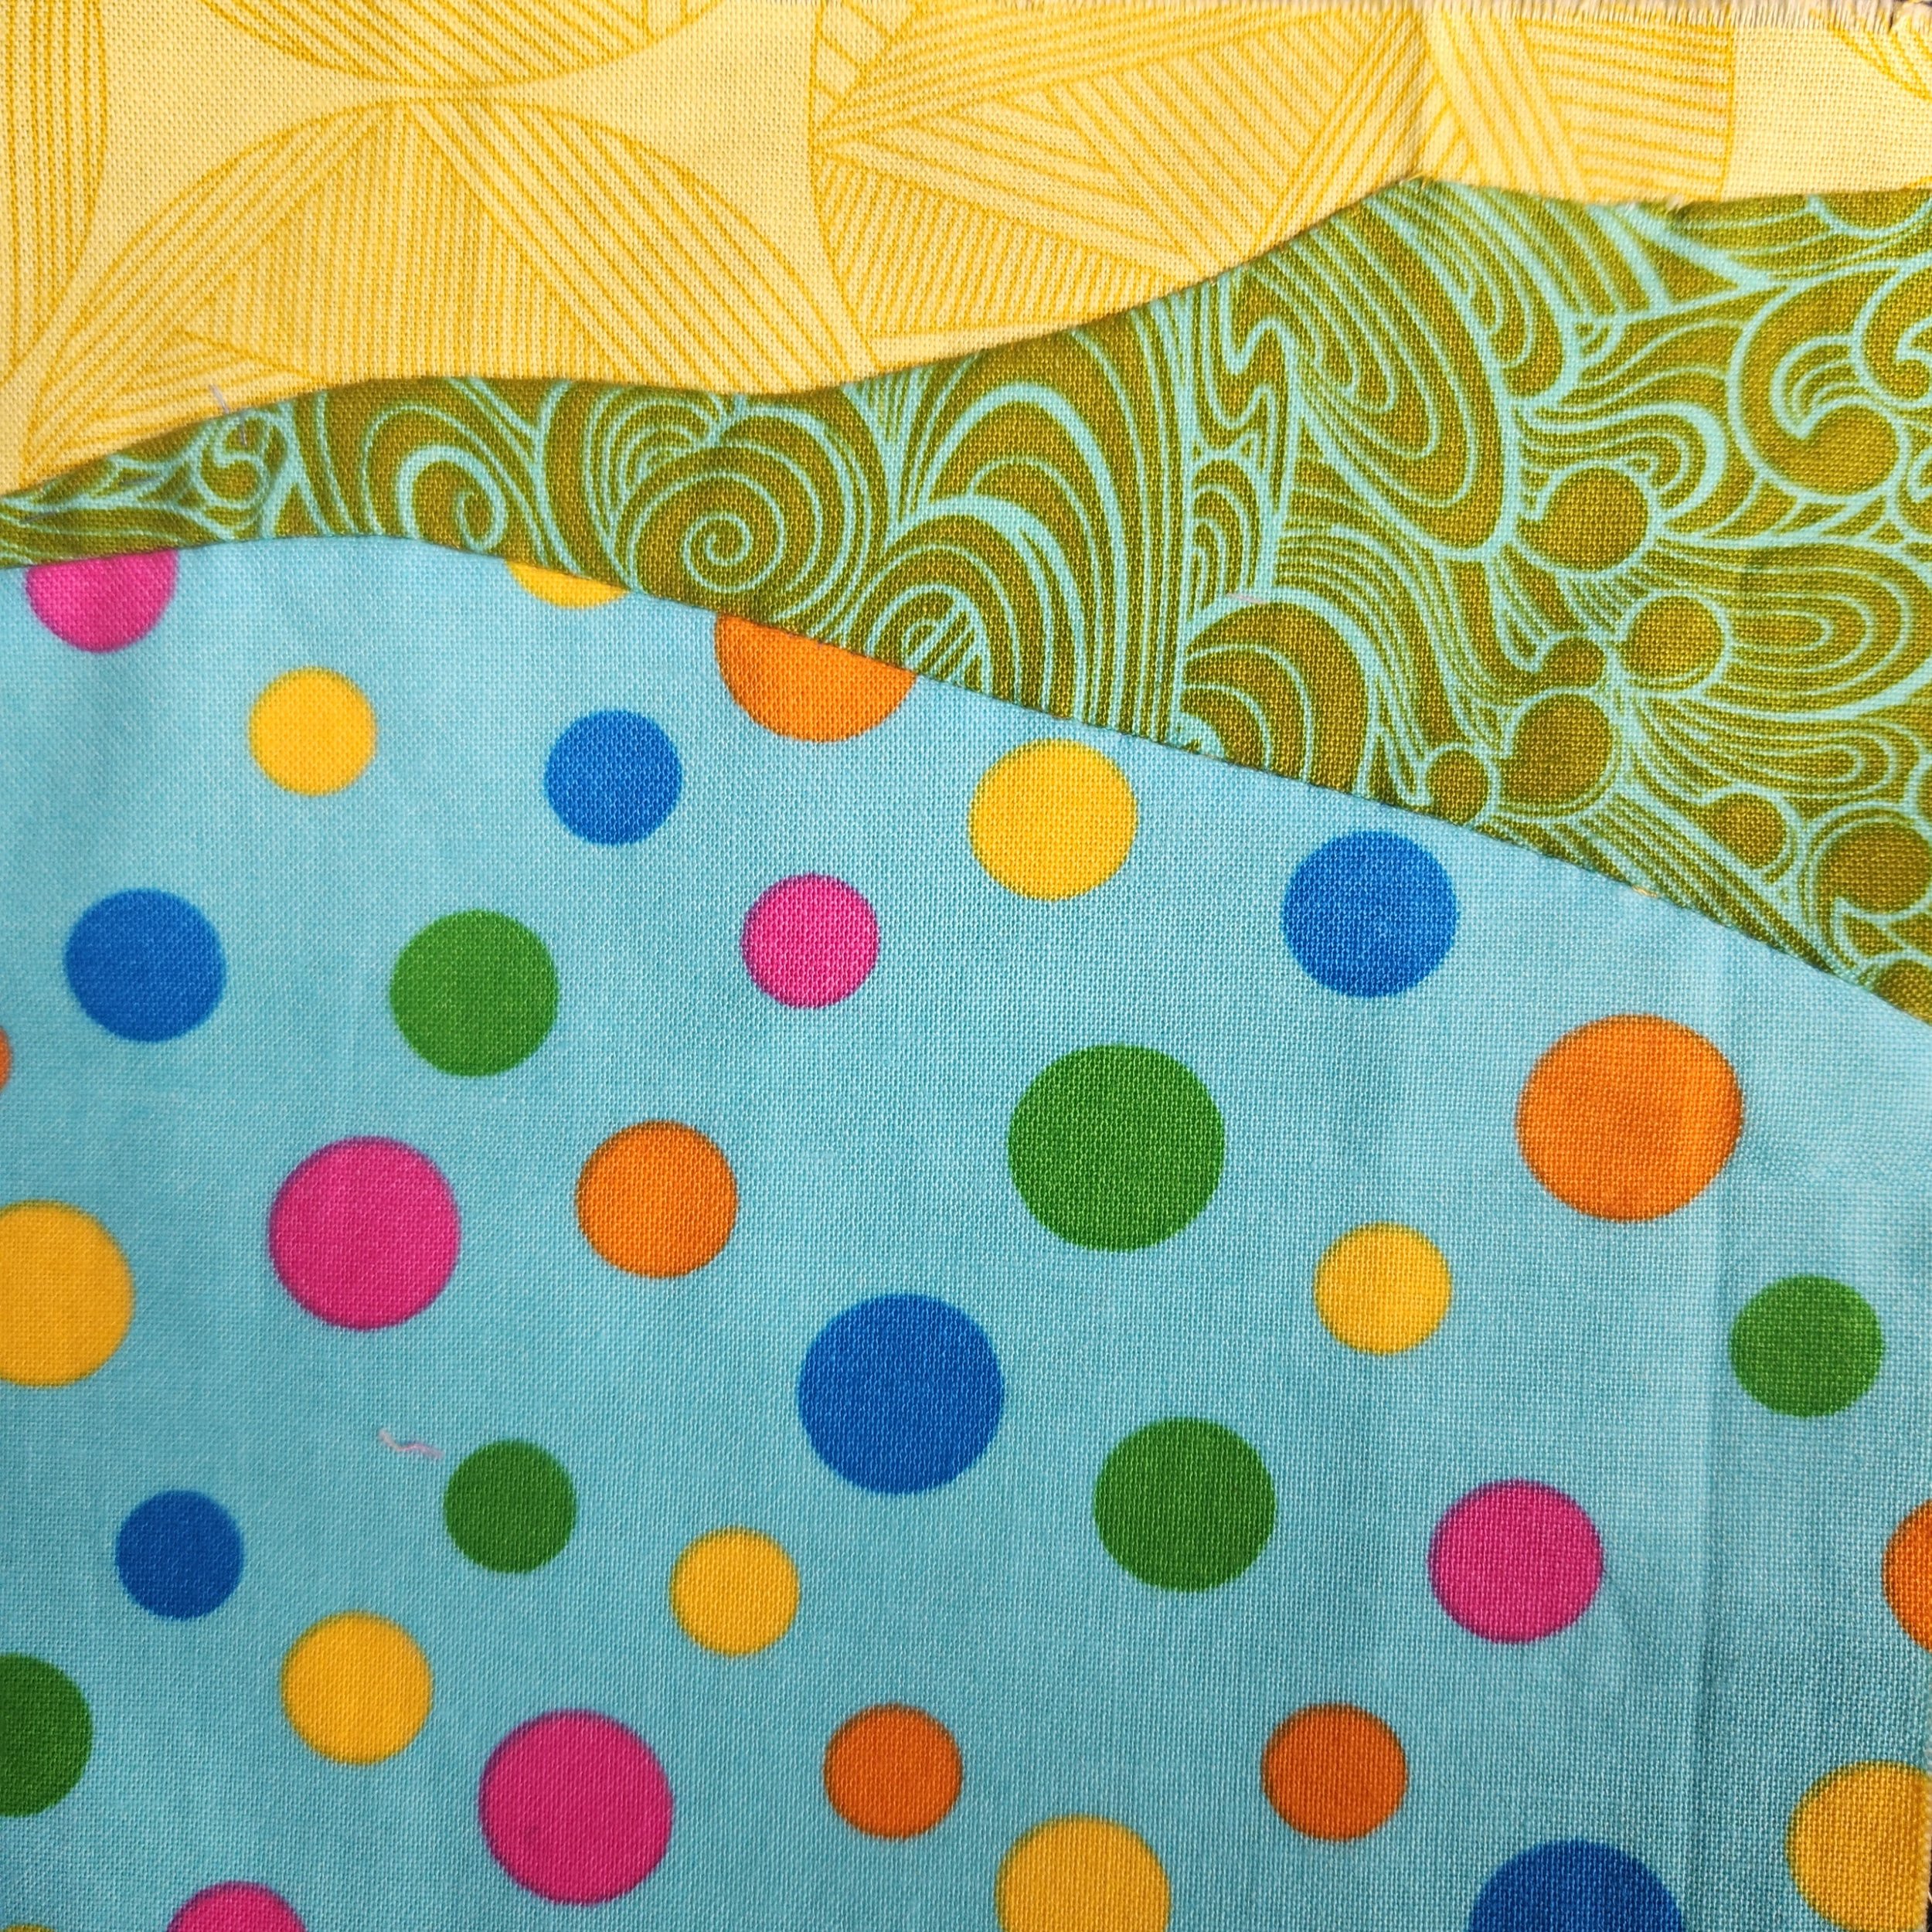
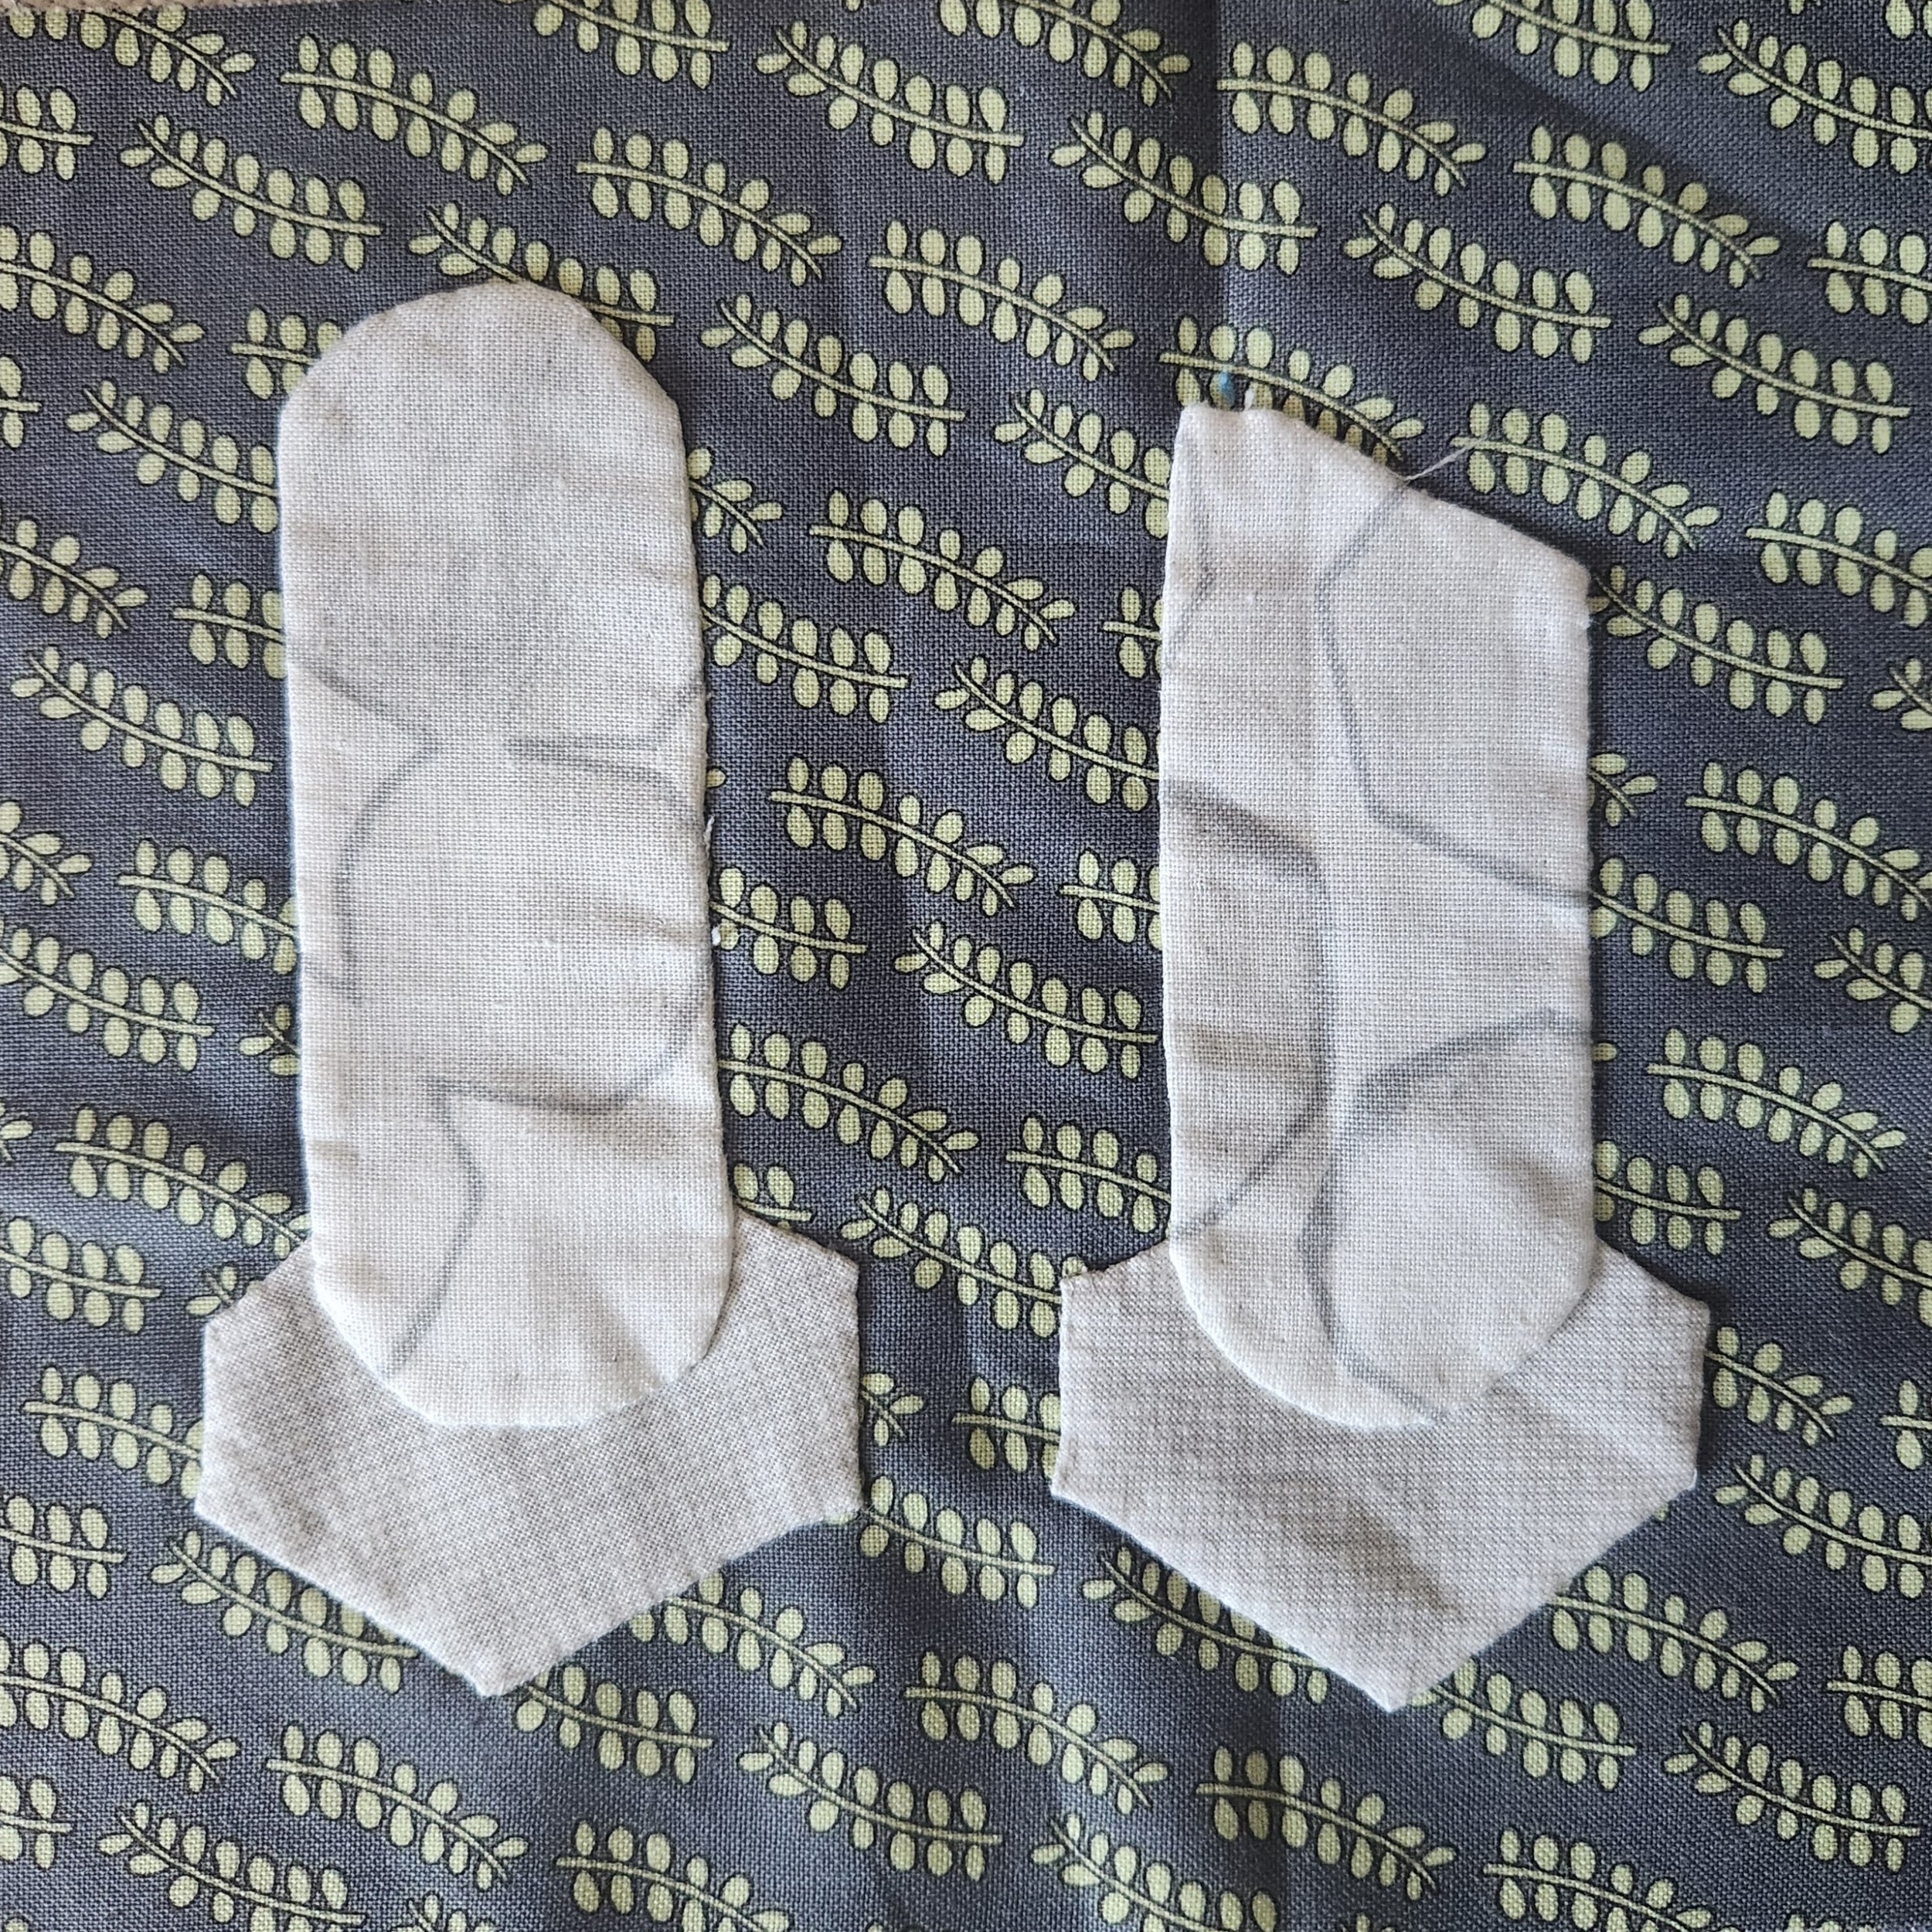
The binding was a special experiment. Inspired by ancient linen seen in the Grand Egyptian Museum I wanted a fringe element. Knowing that linen frays so nicely I embraced this instead of fighting it. Stay tuned for a tutorial on that.
In our house we have a no quilts on the wall rule. Considering that vast number of quilts here, I think it is a pretty fair rule. But even my husband agreed we could break it for this special quilt. Now to find the perfect spot to hang it so we can all smile at our shared memories. Oh wait, I guess I have to sew a sleeve on it first!

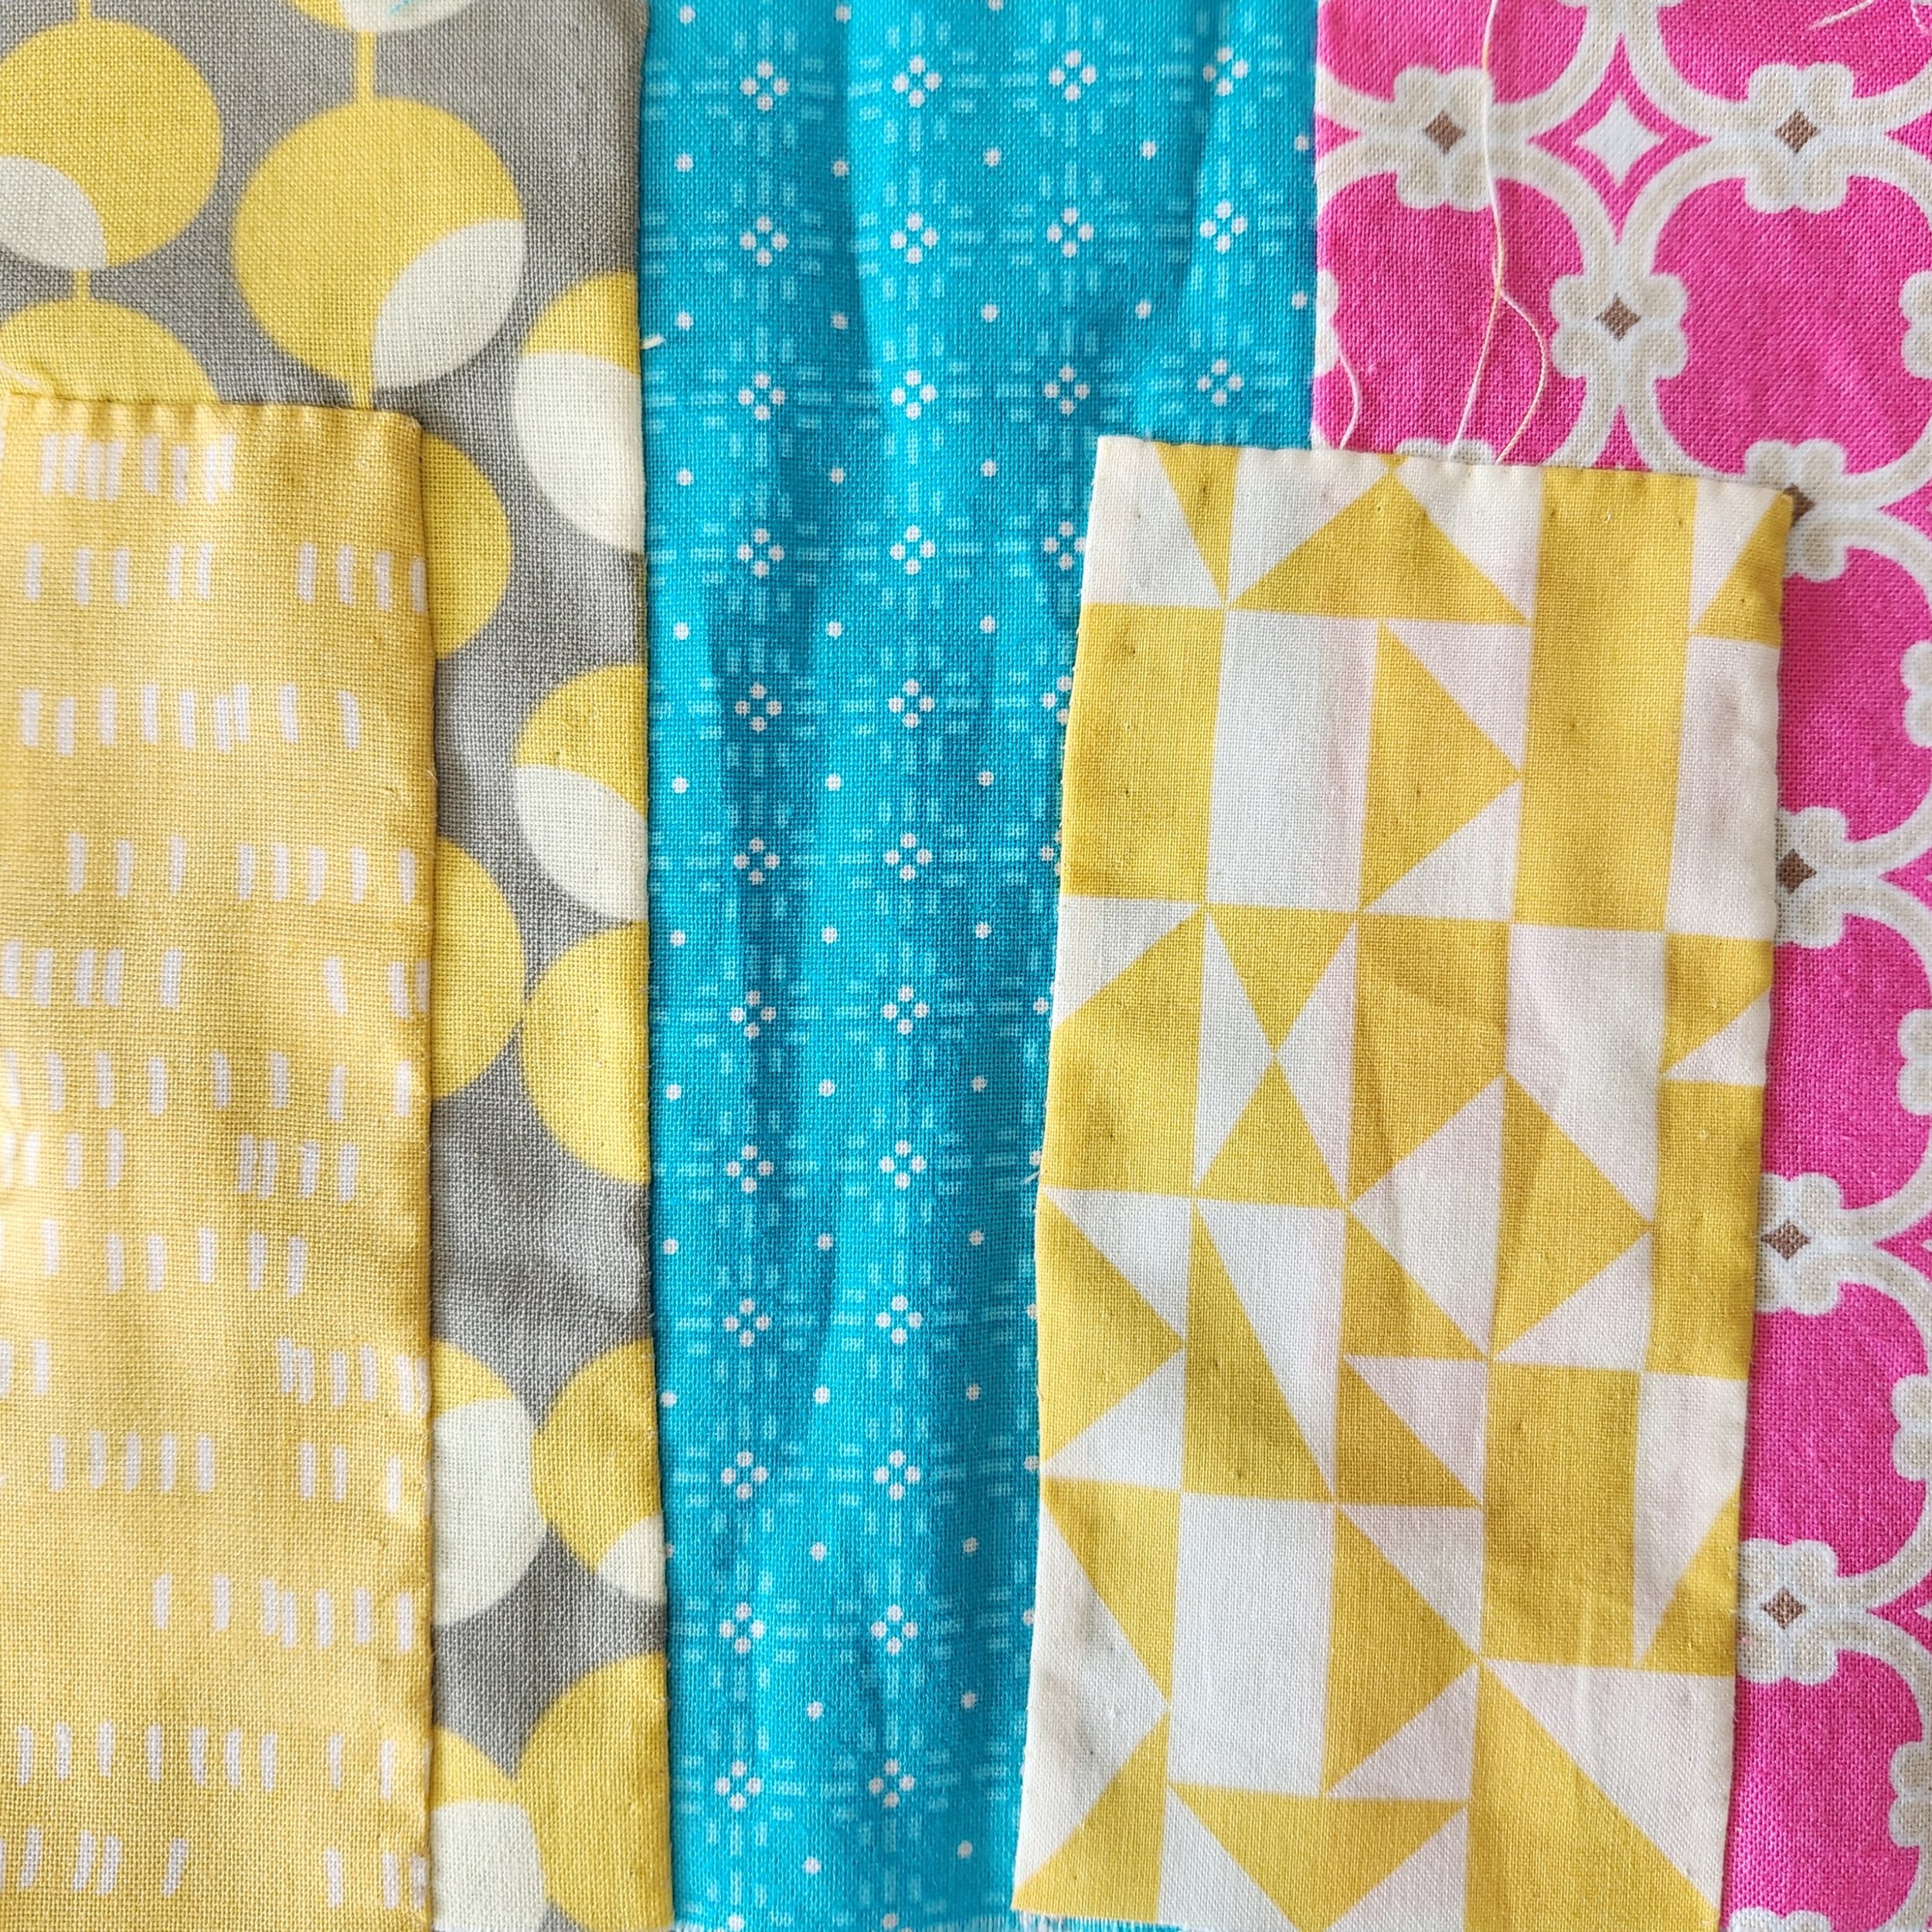
In case you missed it, here is the small quilt I made with the scraps from this one.

Quilt Block Diary of Cheryl Arkison in Egypt and Turkey

It would be a cliche to say ‘there are no words’ to describe our epic trip to Egypt and Turkey this summer. But this is a blog and that makes no sense. I could also say something about a’ picture says a thousand words’ but again, you probably want more info than that.

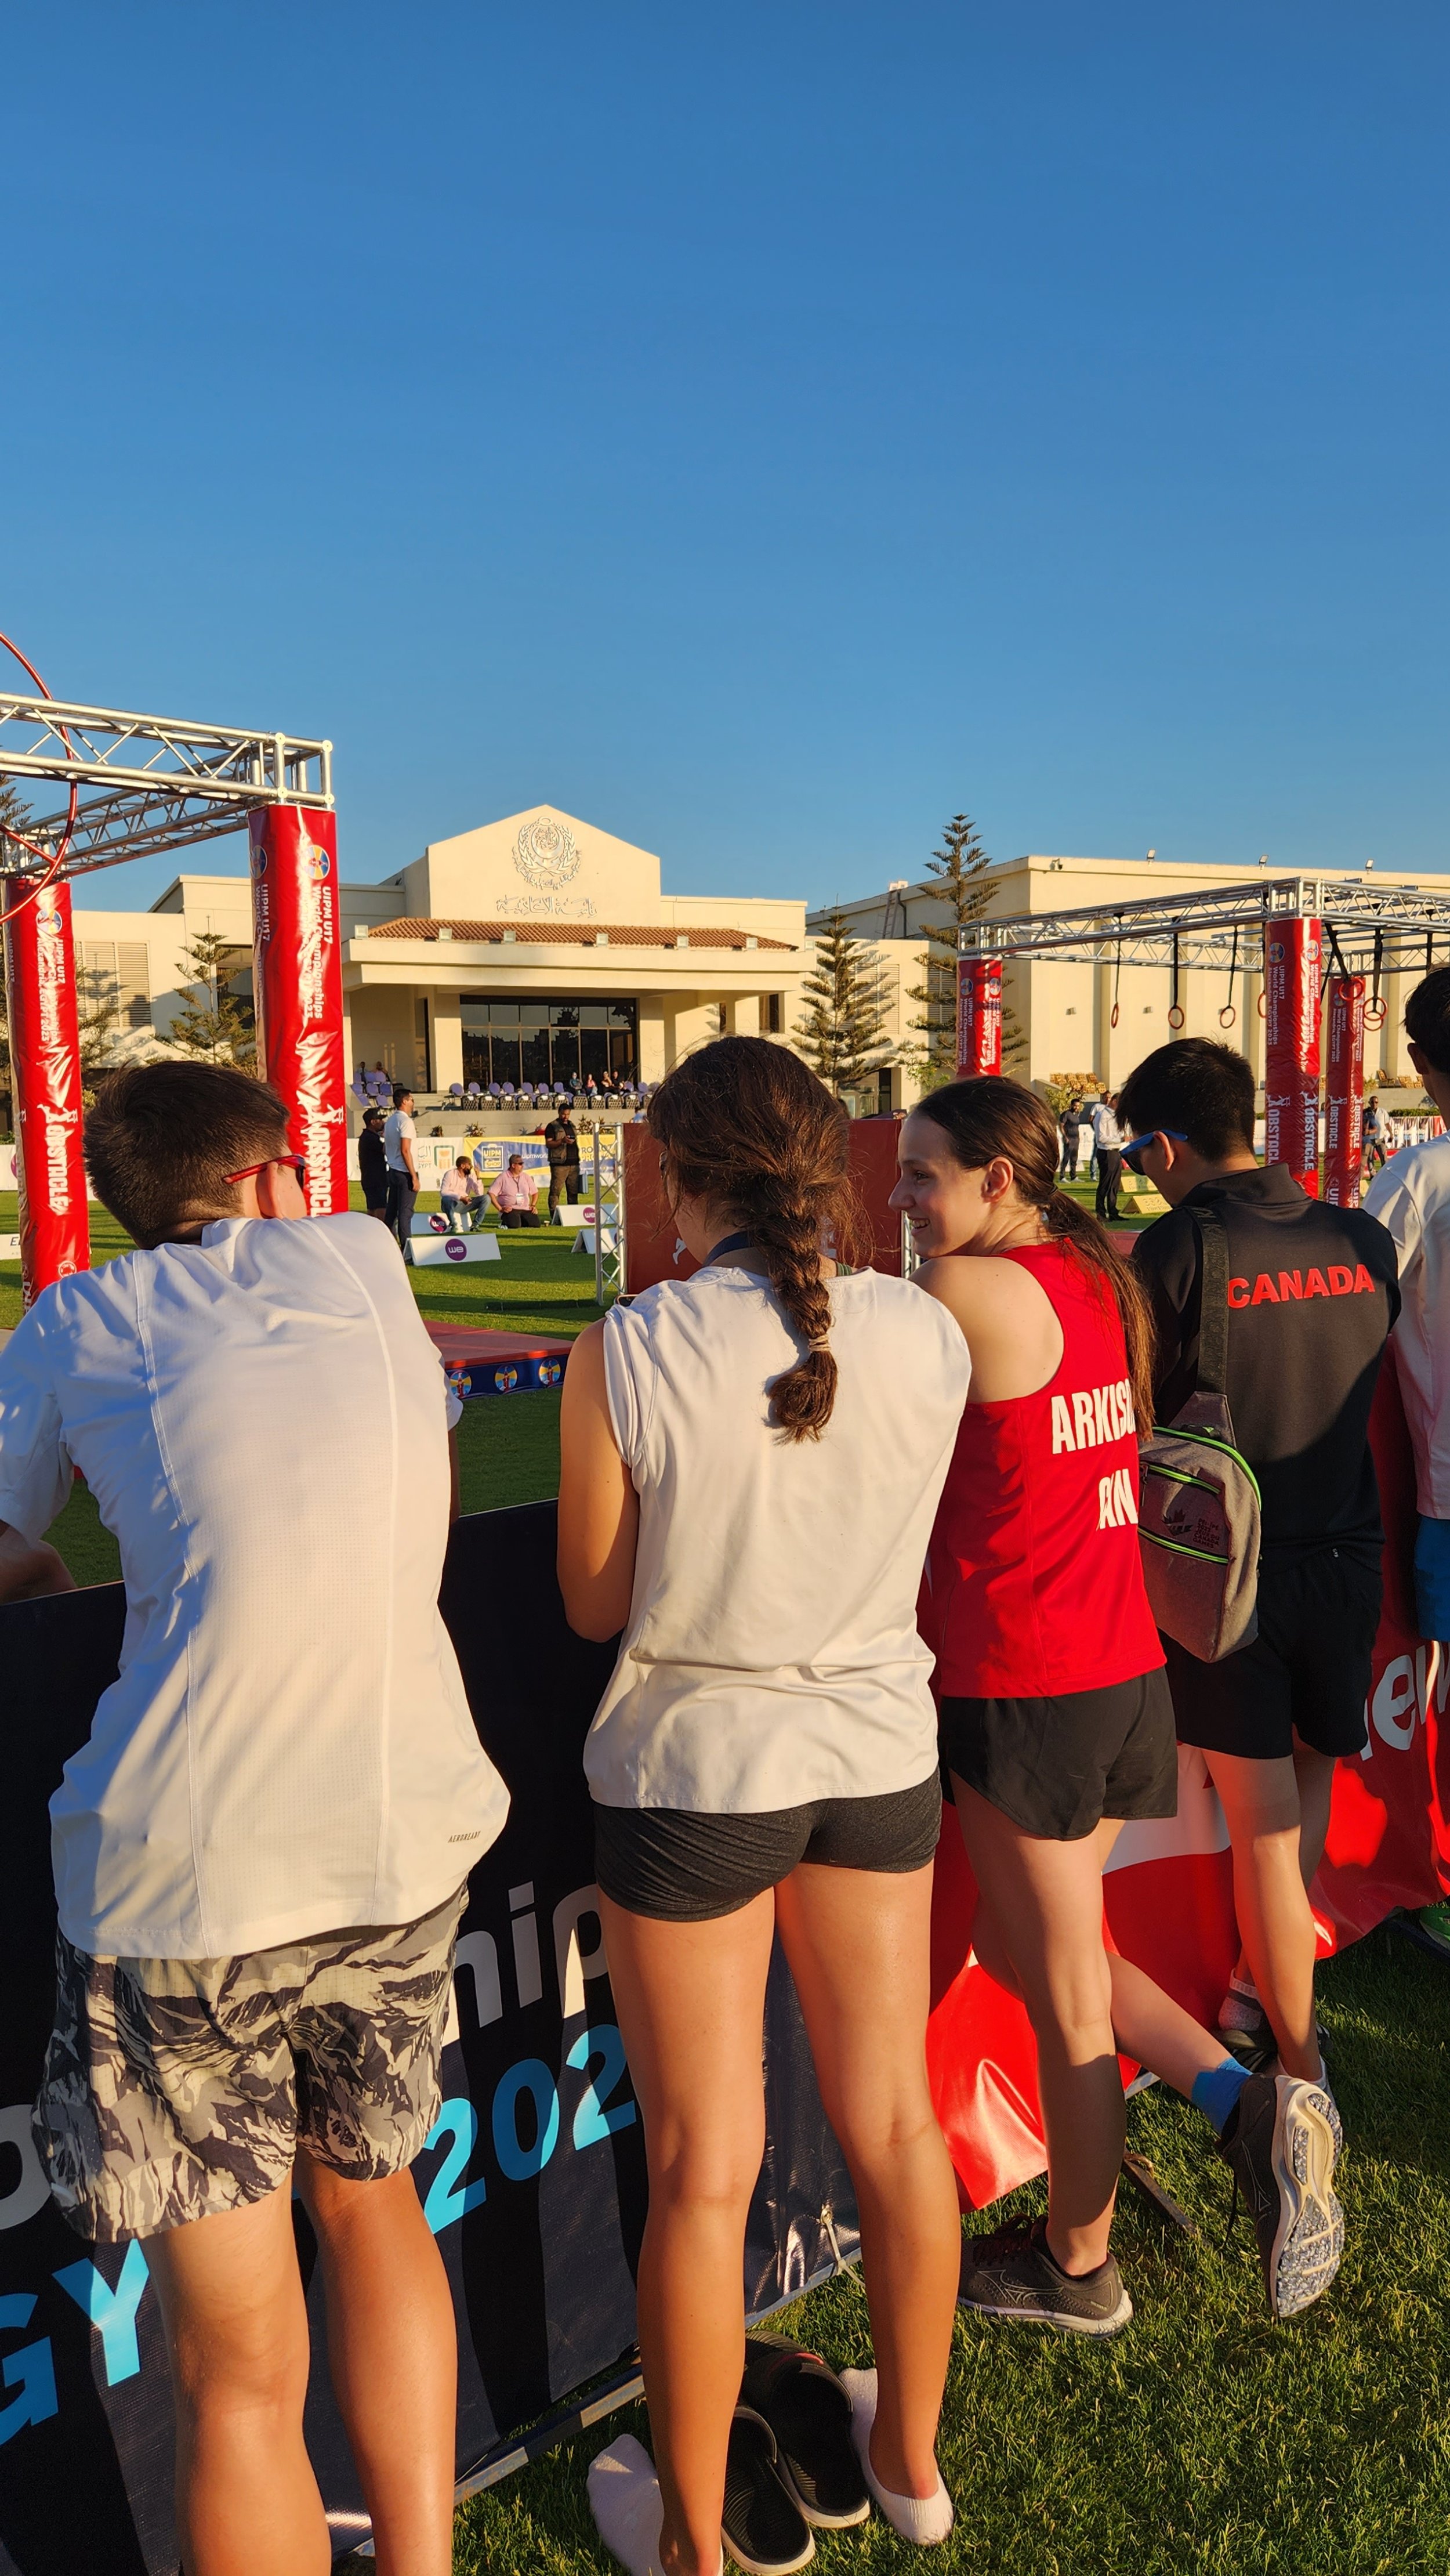
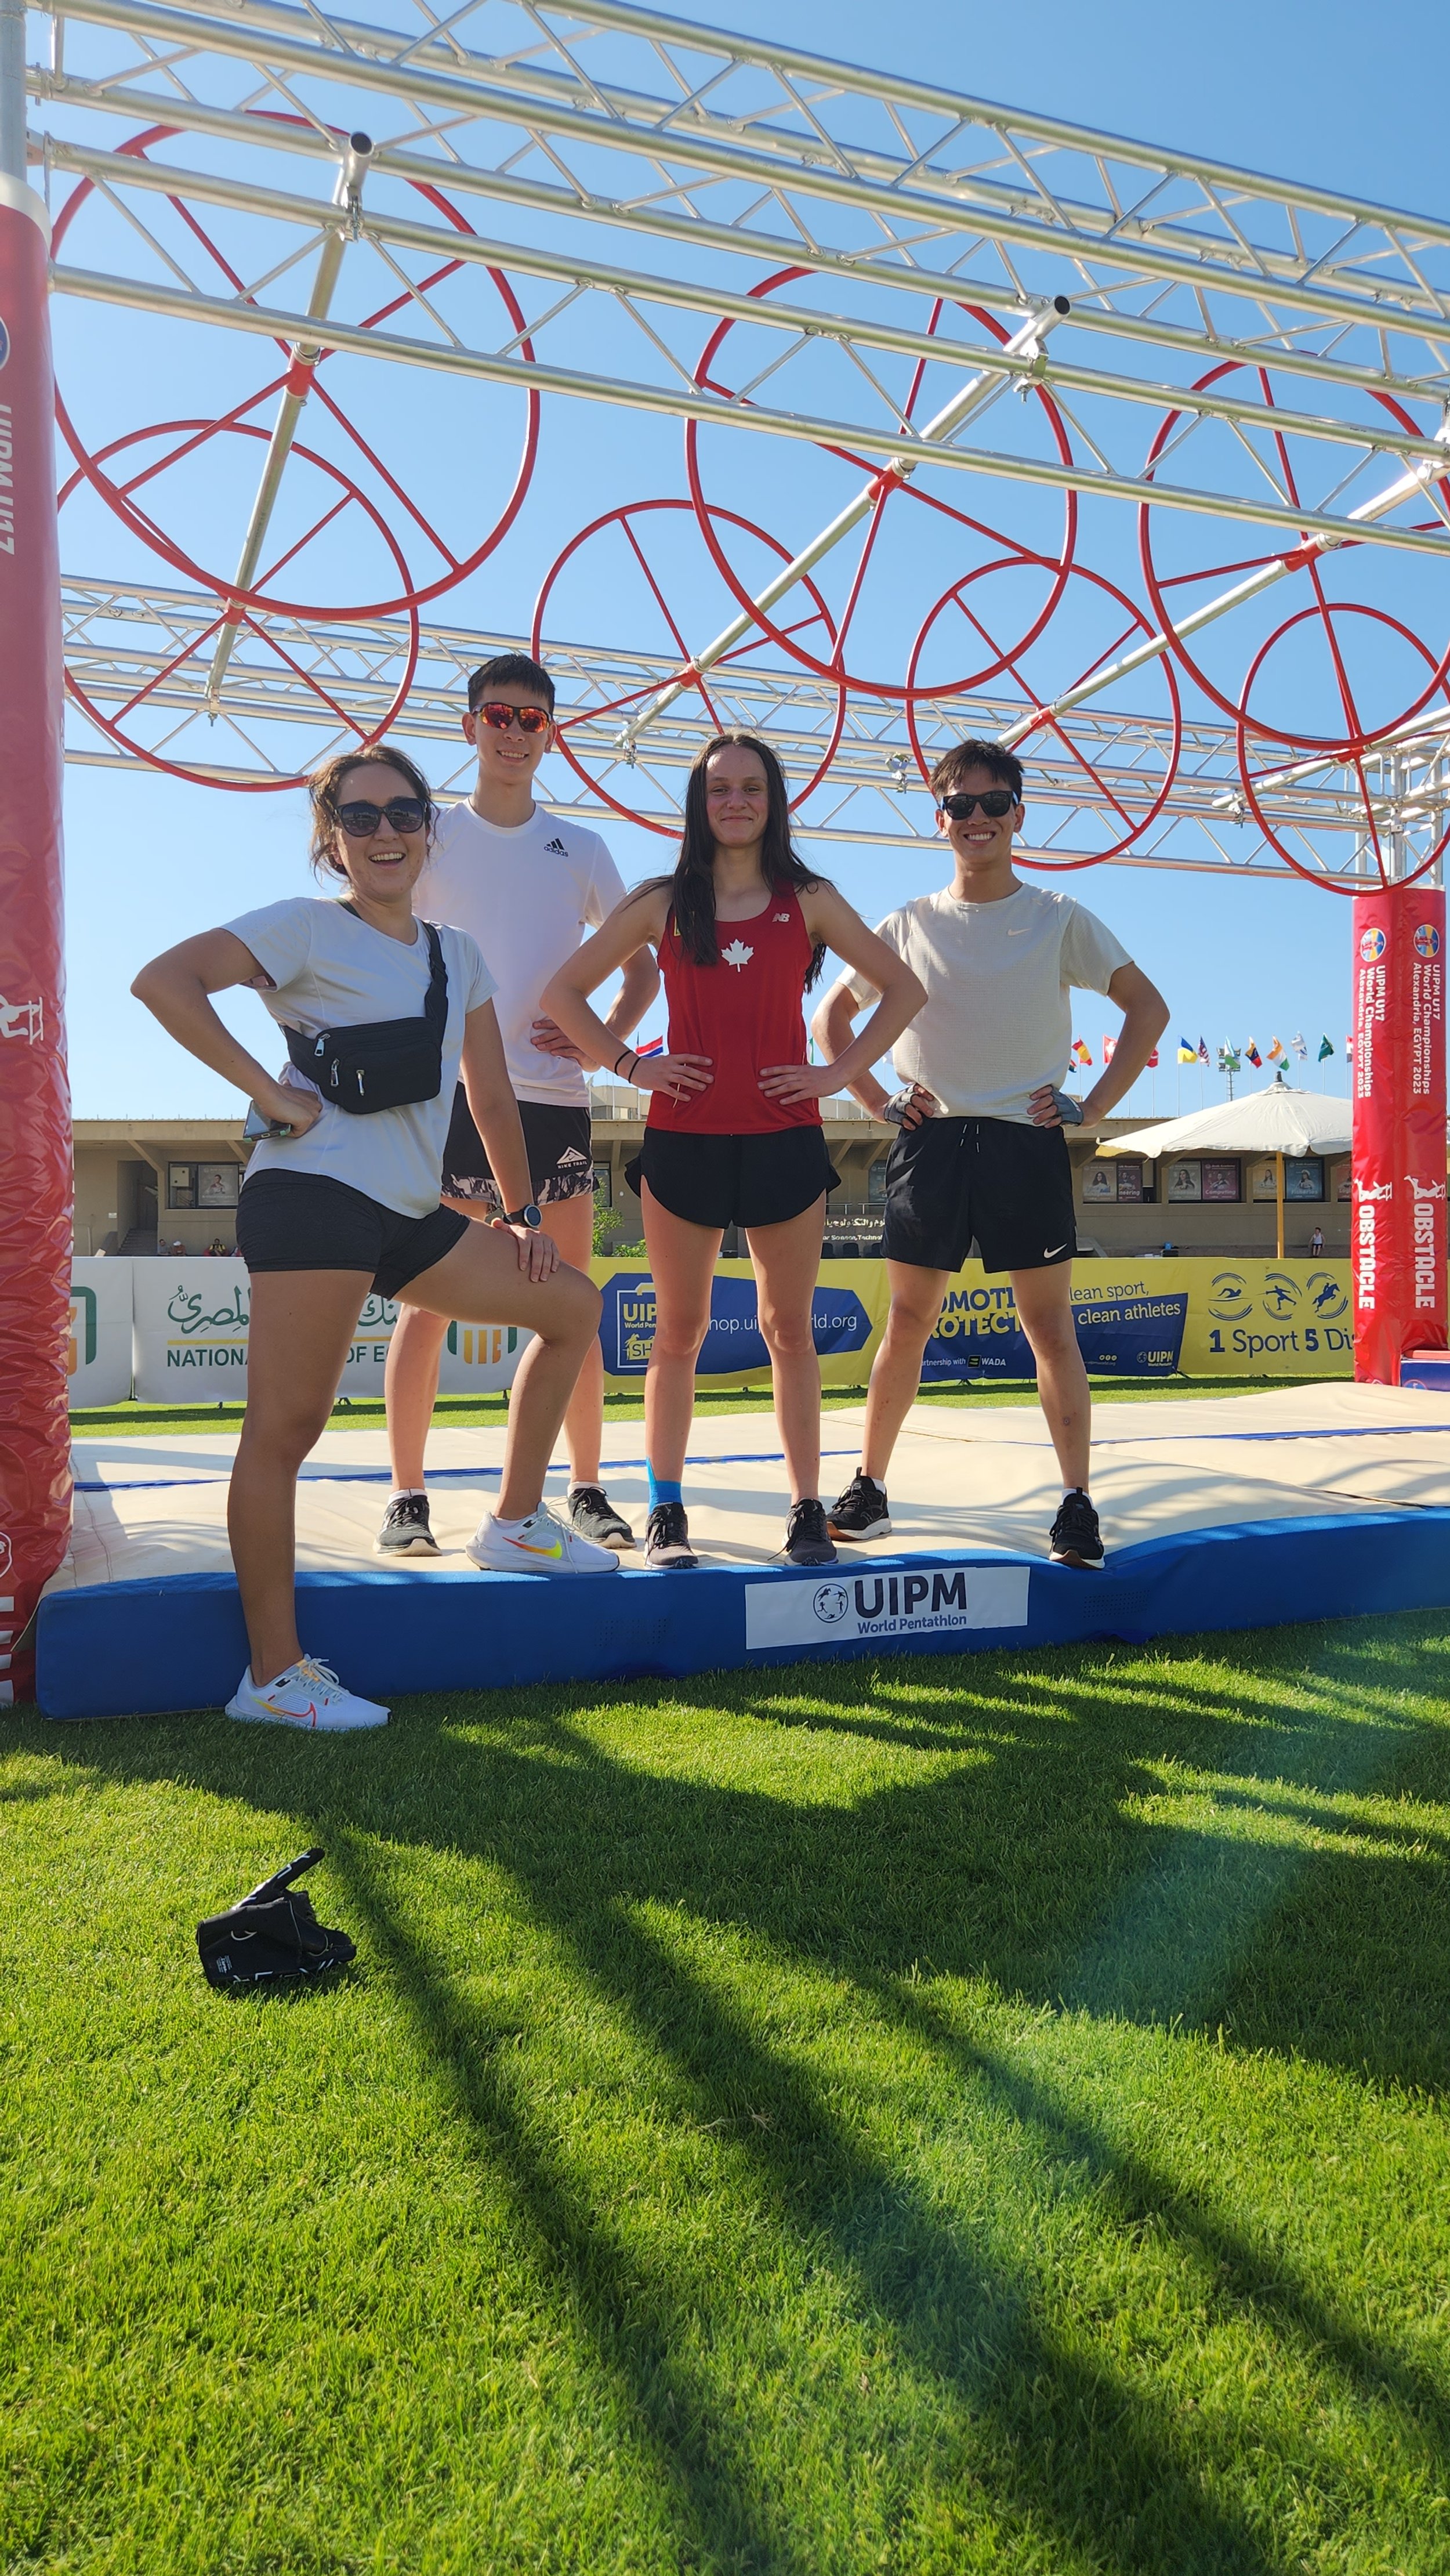
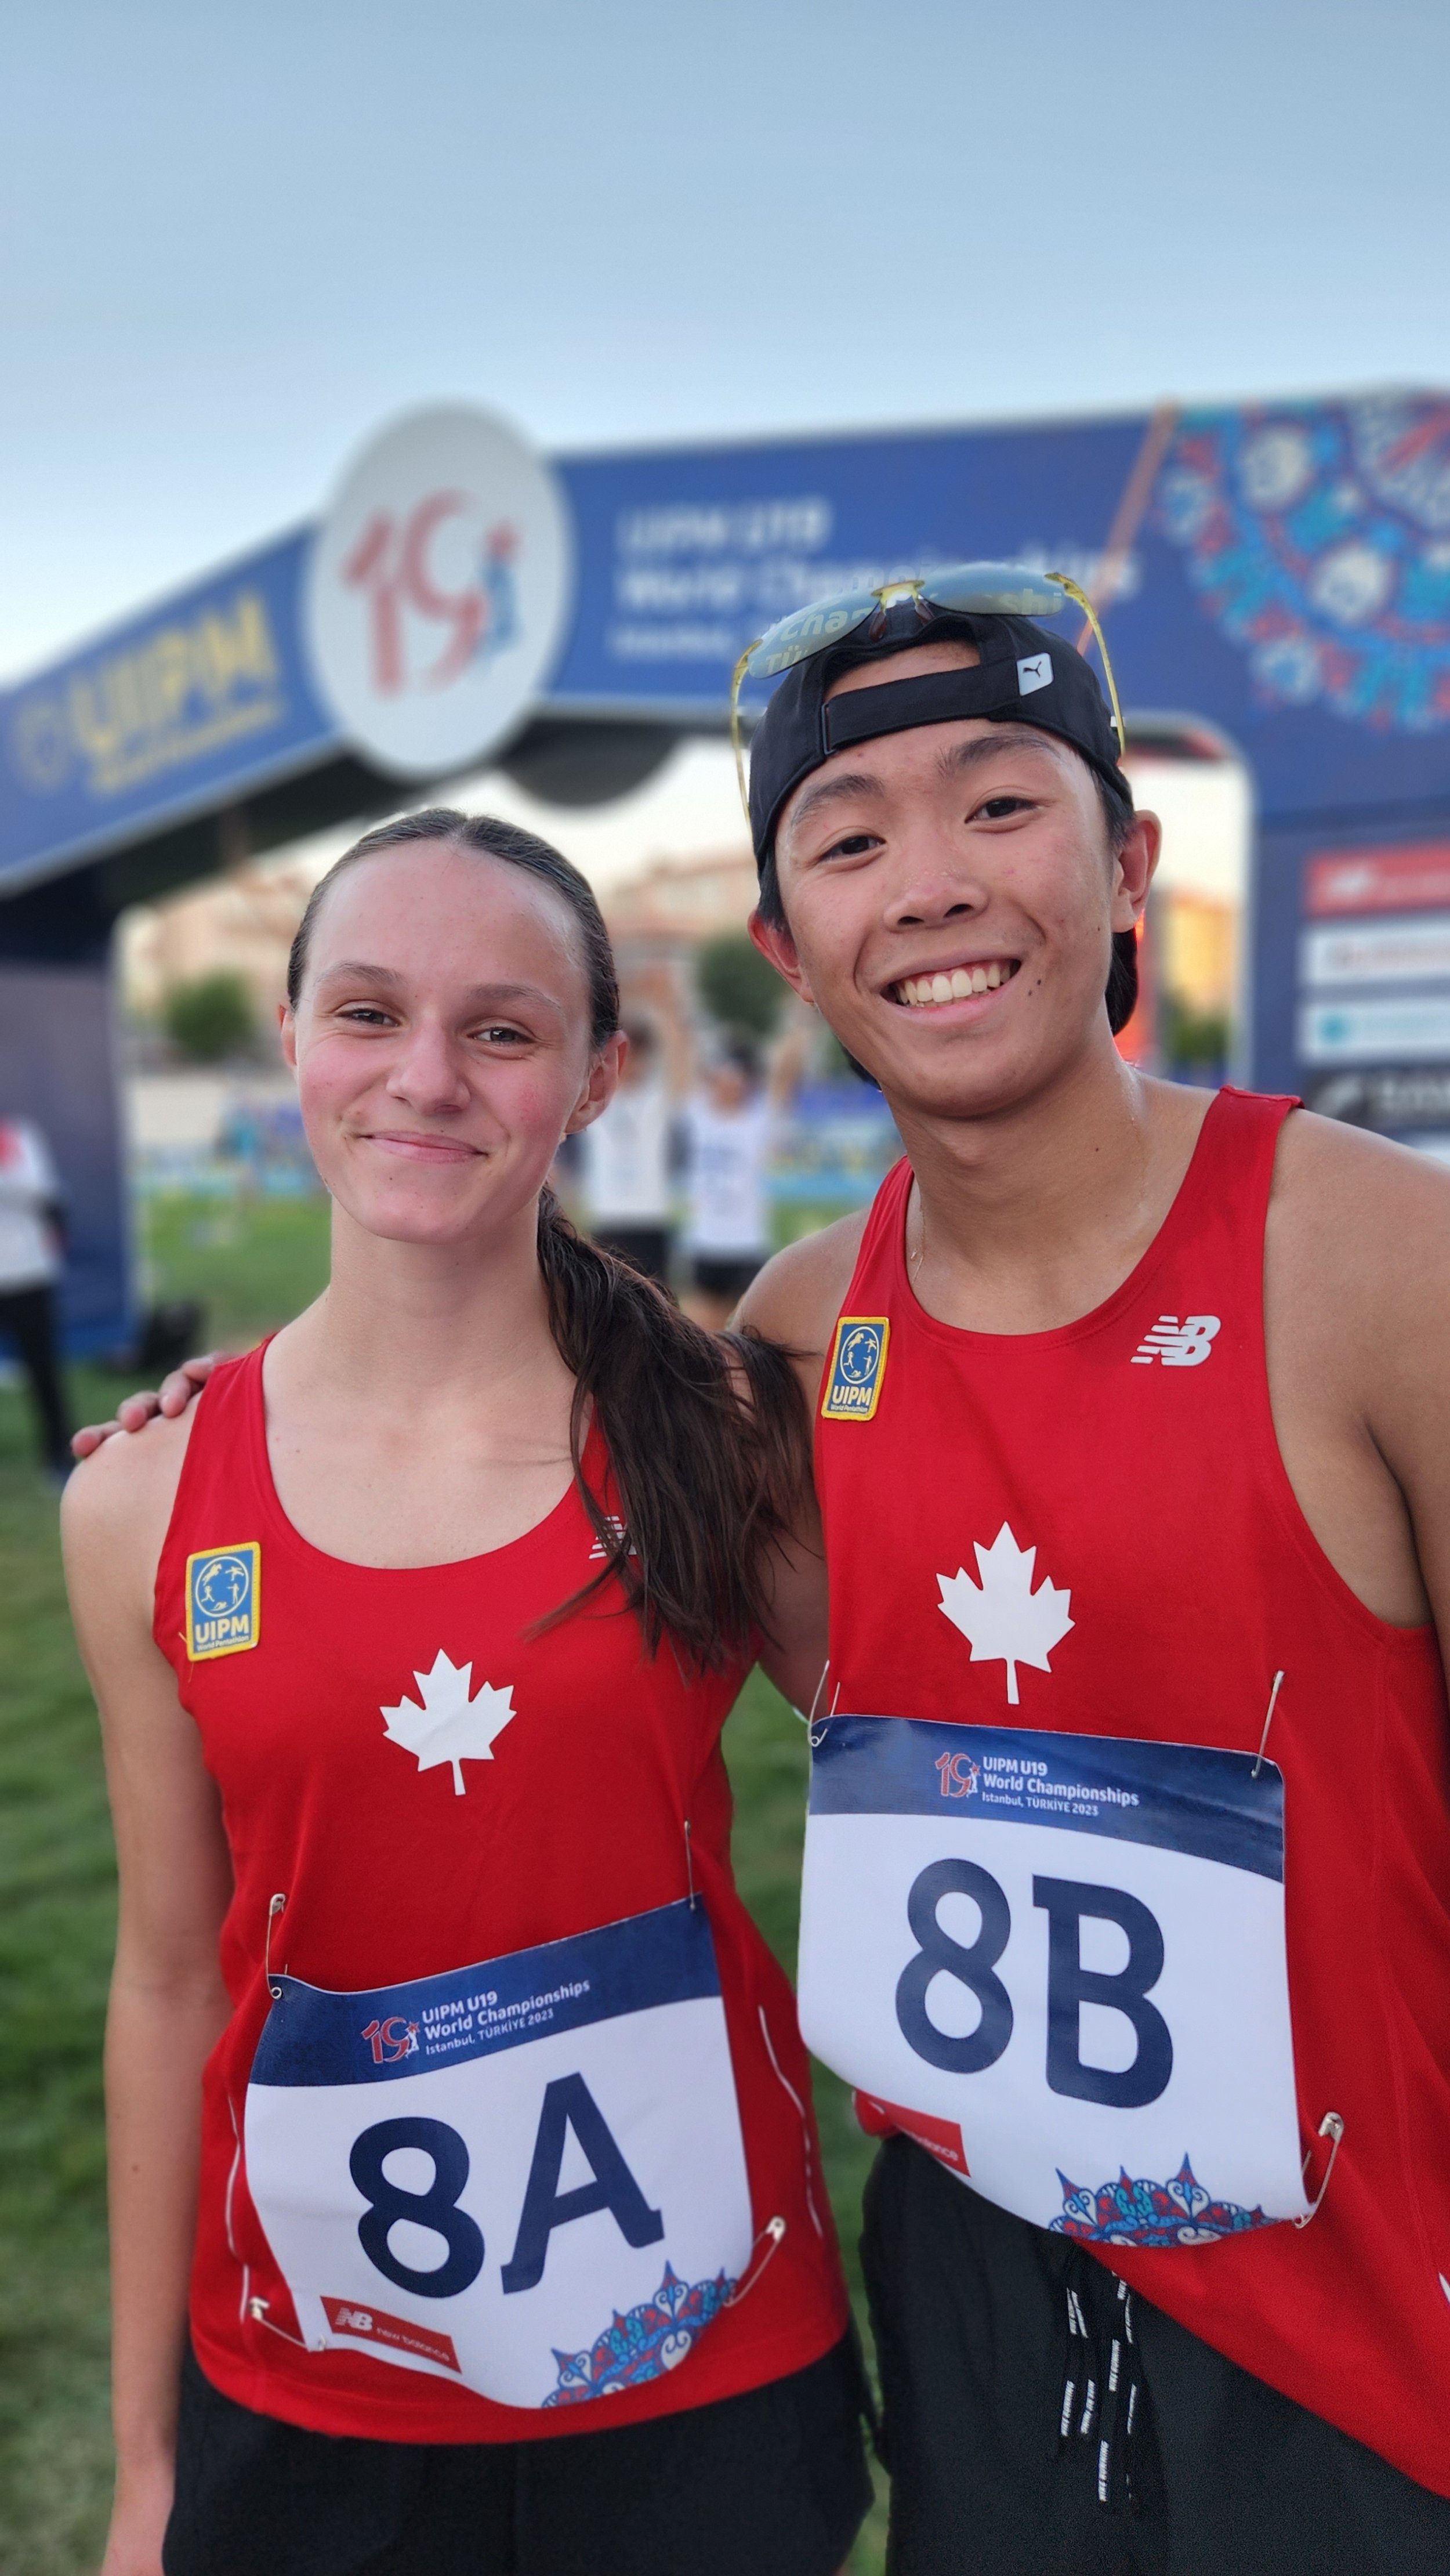
My daughter, long time readers will know her as The Evil Genius, qualified for world championships at both the U17 and U19 level in her chosen sport: modern pentathlon. This is a five sport event that includes fencing, swimming, obstacle course, shooting, and running. Not wanting her to have all the fun, and because we were nervous about sending our 15yo halfway around the world alone, we planned to go with her and make it a big family affair. Egypt has long been a bucket list trip for me, so I was extra excited.

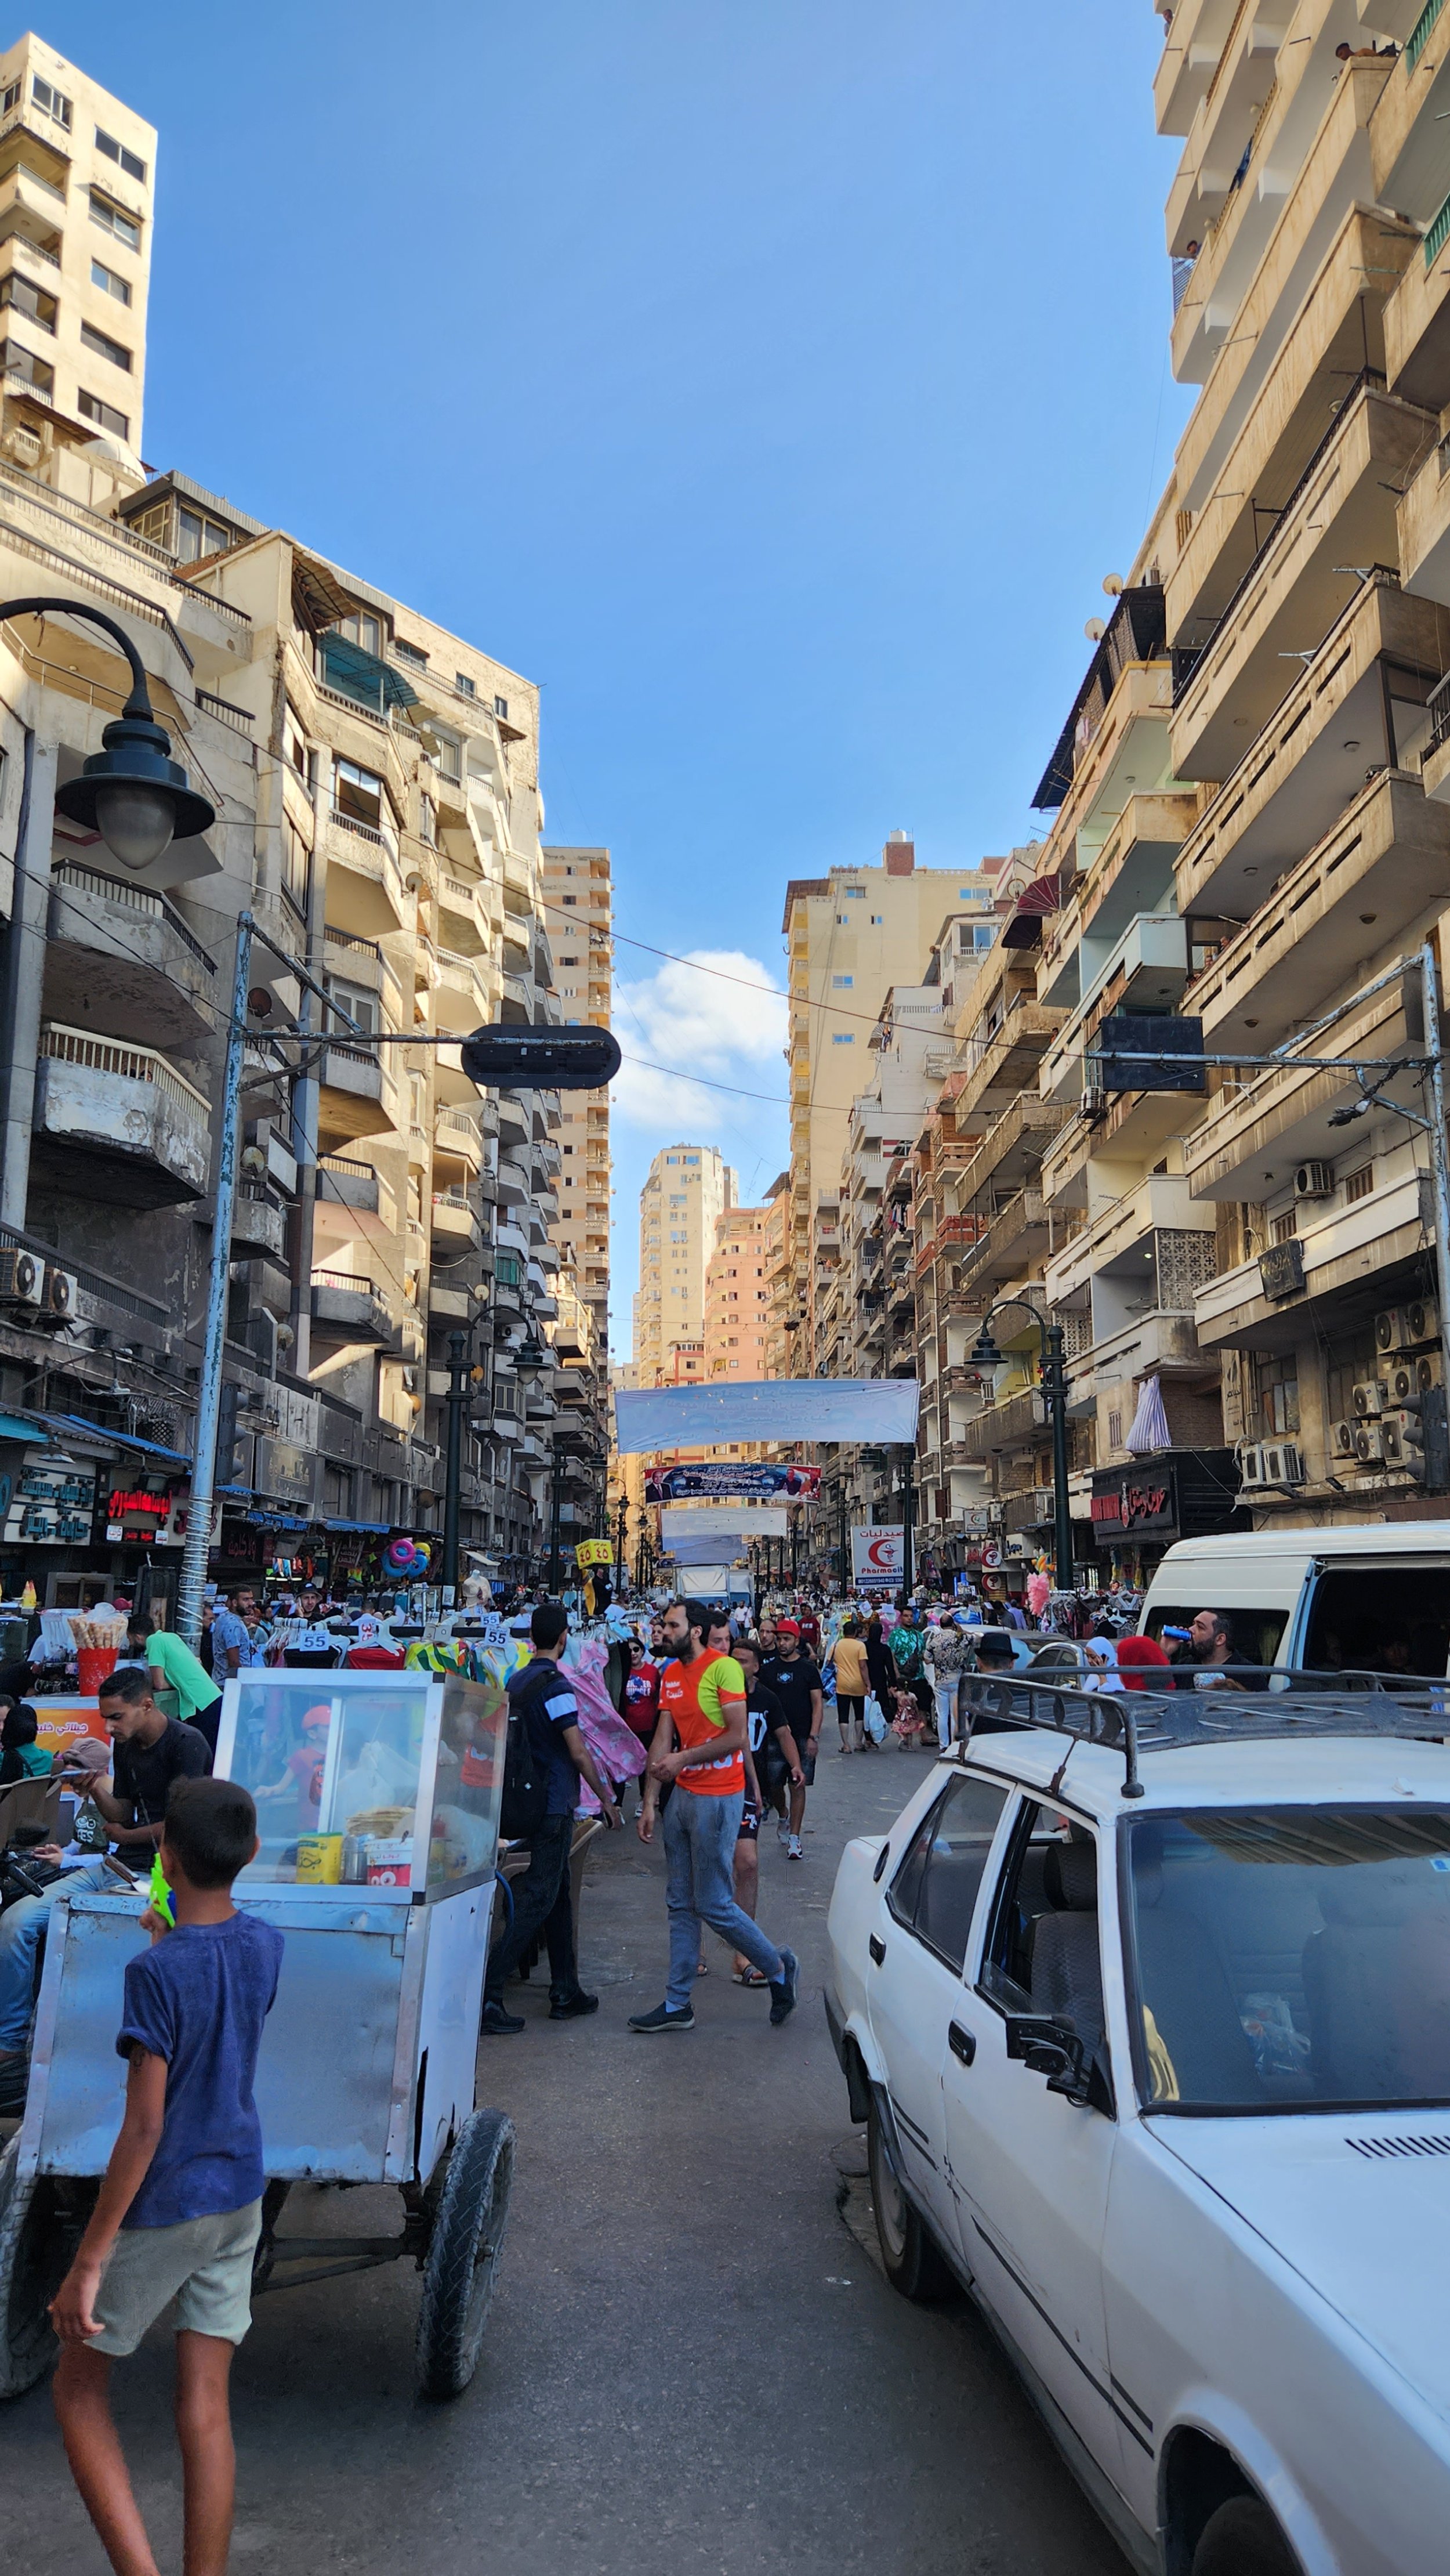
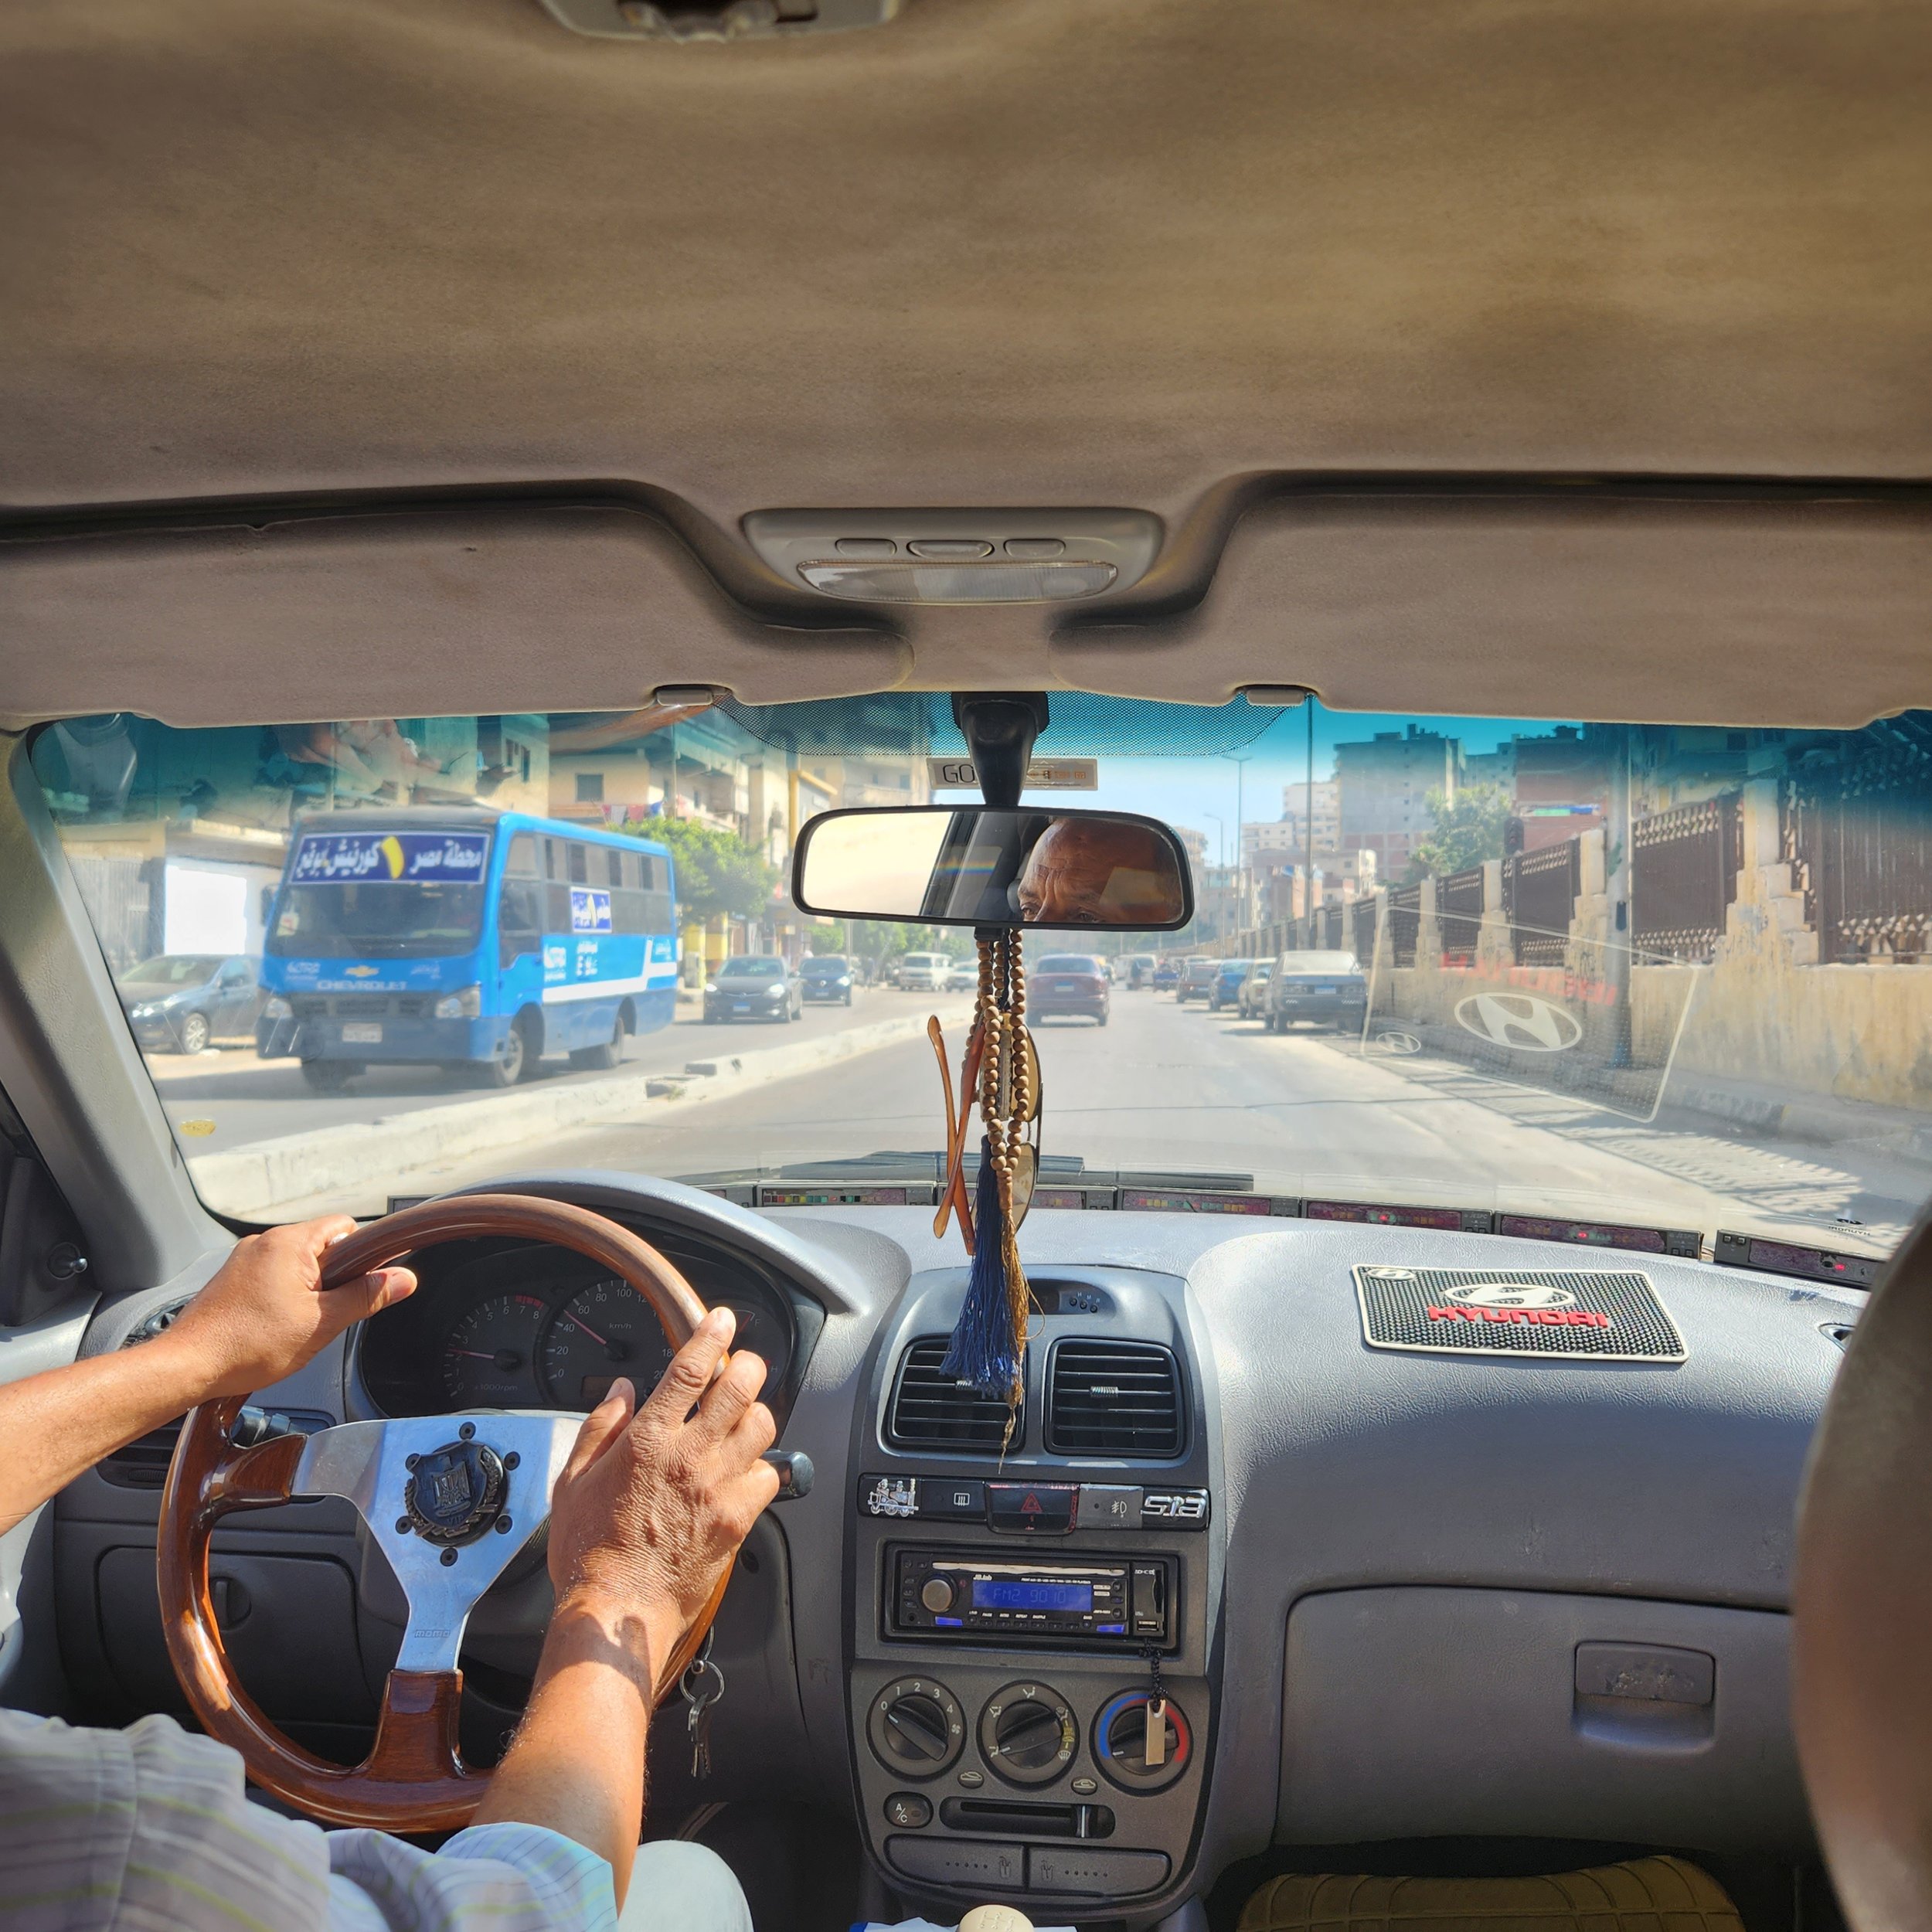
It was a packed month between the competitions and exploring. We started at the first event in Alexandria. Staying in an apartment and not the venue with the rest of the teams was certainly an experience! We were not in an area with any other Western tourists. A little bit exciting in the Ubers each day. But we were comfortable and felt safe, even if the city is very loud, active, and dirty. The competition went better than expected, especially considering she fell on the first day of training there and badly sprained her ankle. We gave her the choice of competing or not and she decided to persevere. As a mother I was both proud and horrified. Mostly proud.

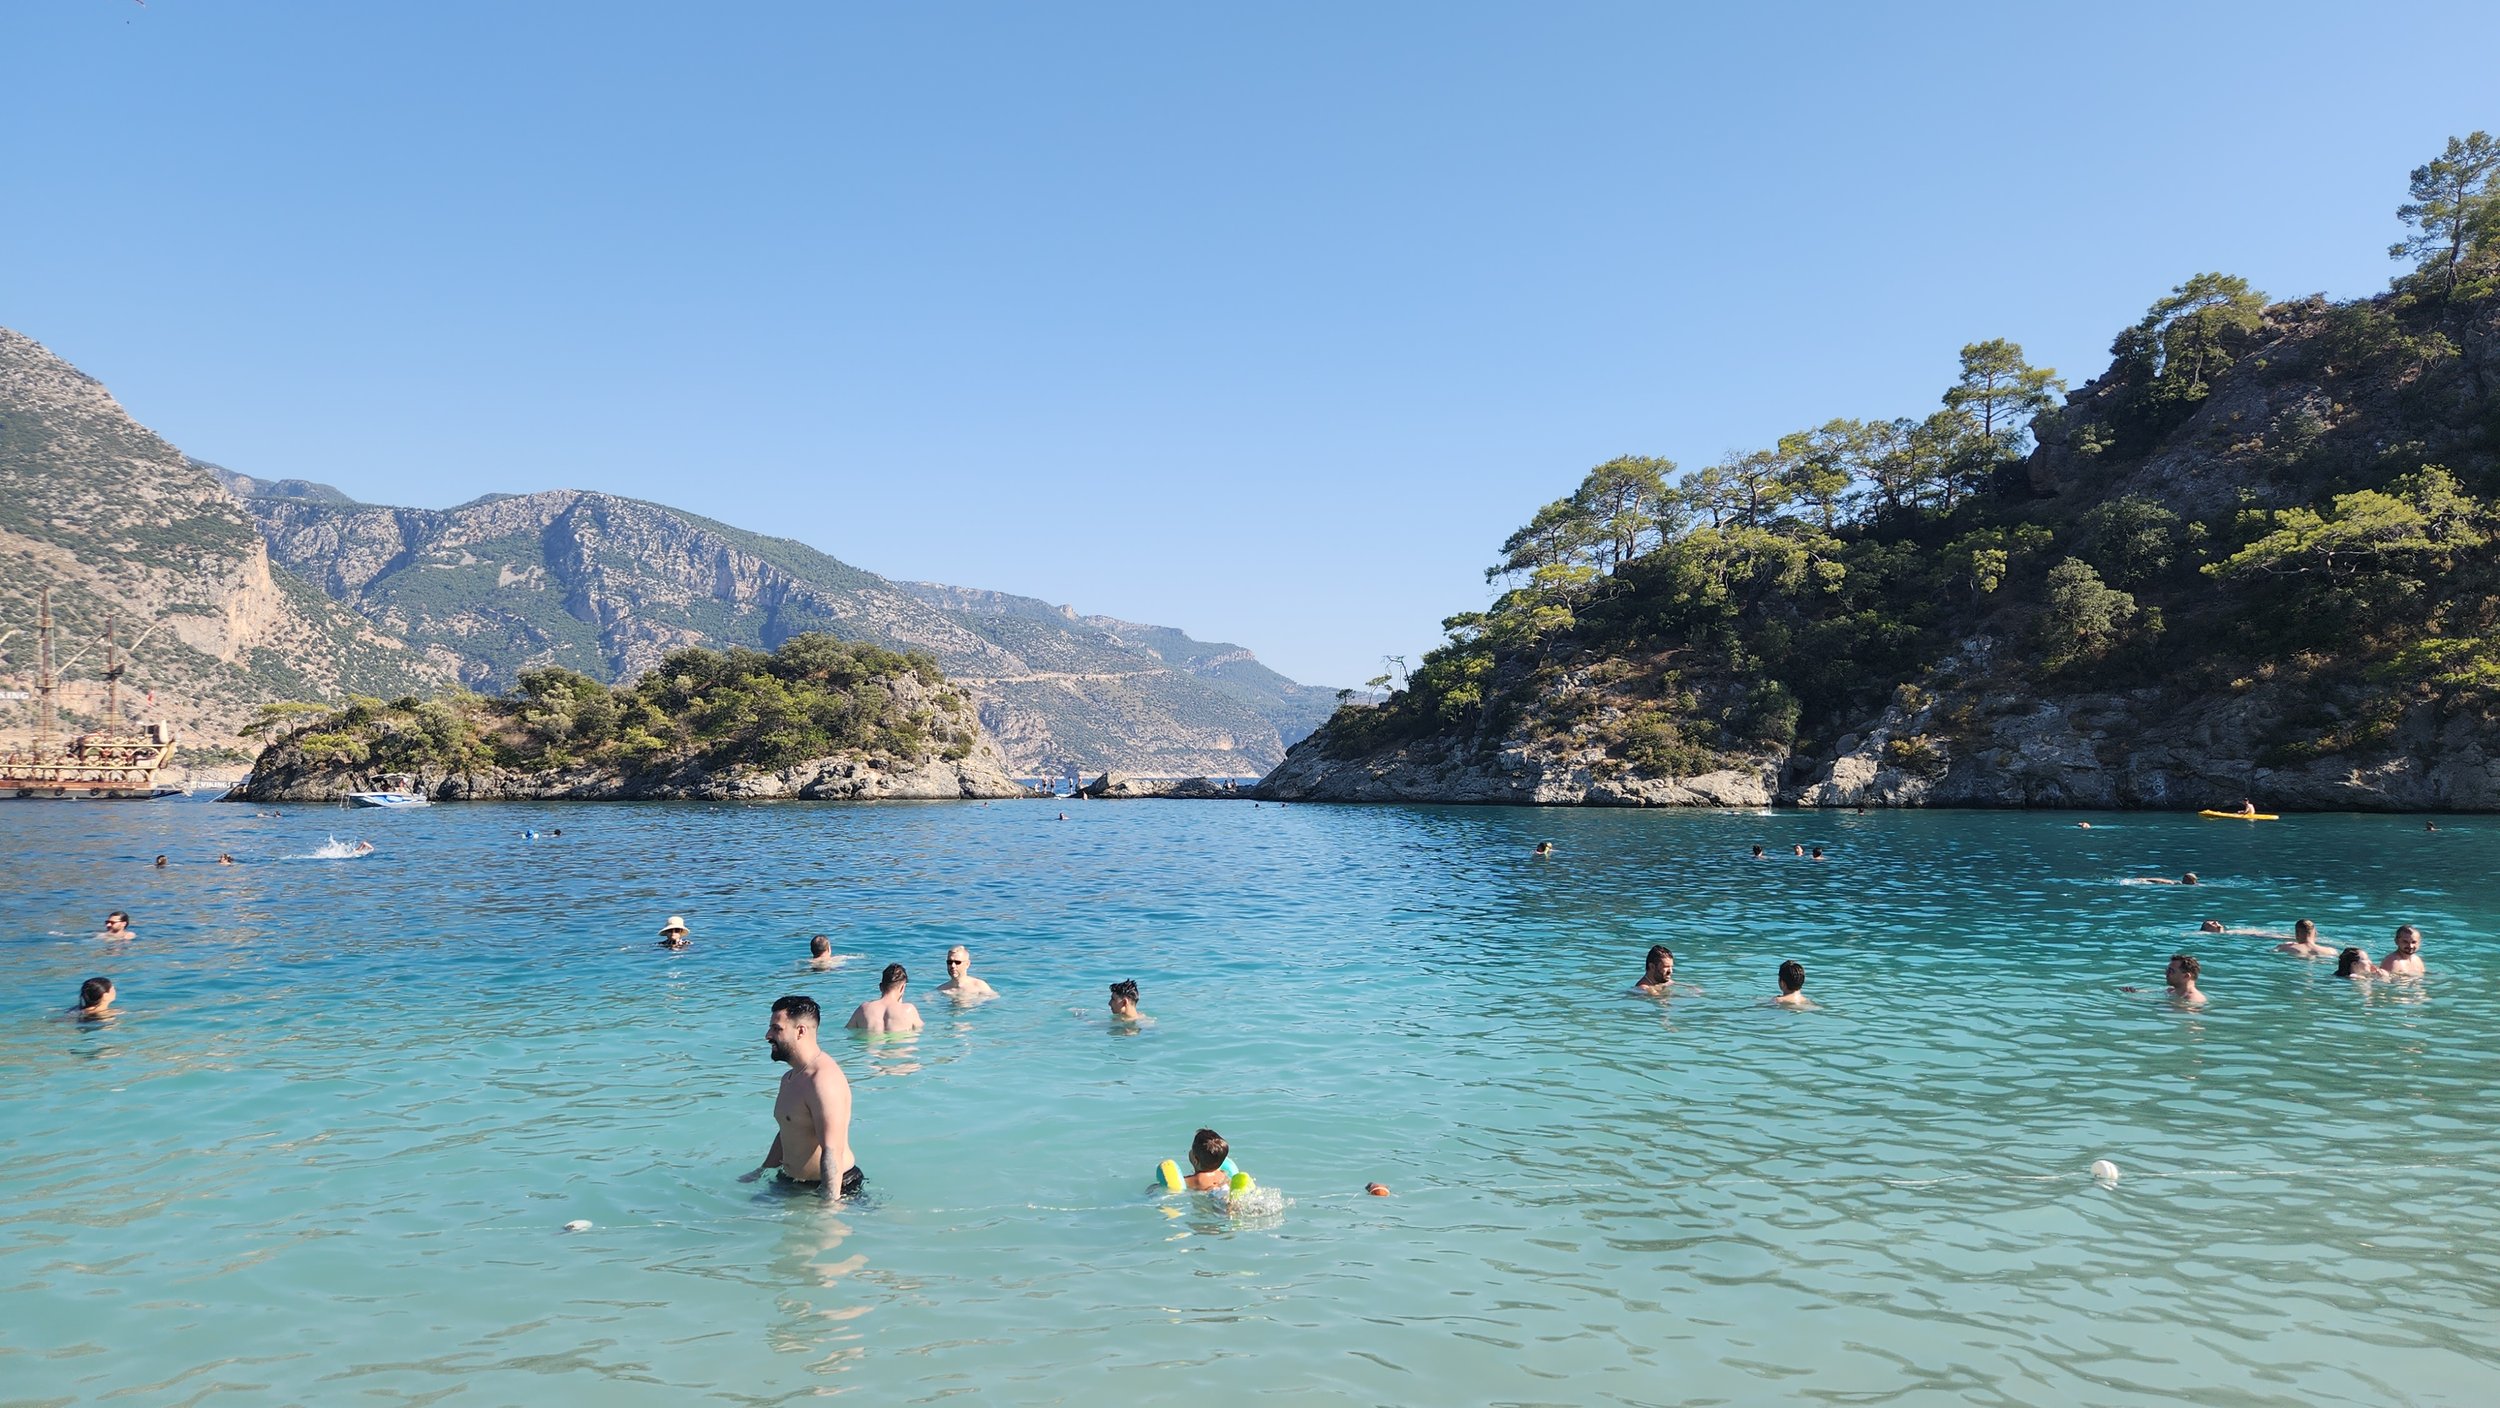
After Alexandria and a few days in Cairo to recoup, train, and slightly be touristy we met up with the rest of the family in Turkey. I had travelled with my daughter to Alex, the rest of the family was at a wedding. There we road tripped through the beautiful countryside to the Aegean Coast. We swam in turquoise waters, ate all the food, visited mind boggling ruins, and laughed our butts off. We had an extra kid (one of the other athletes) and my MIL. And yes, we all got along.

The next competition was in Istanbul. My daughter stayed with the rest of the team there and we had fun exploring this massive and cool city when not watching the Canadian athletes. We were there a week and I feel like we barely scratched the surface of what there is to experience.

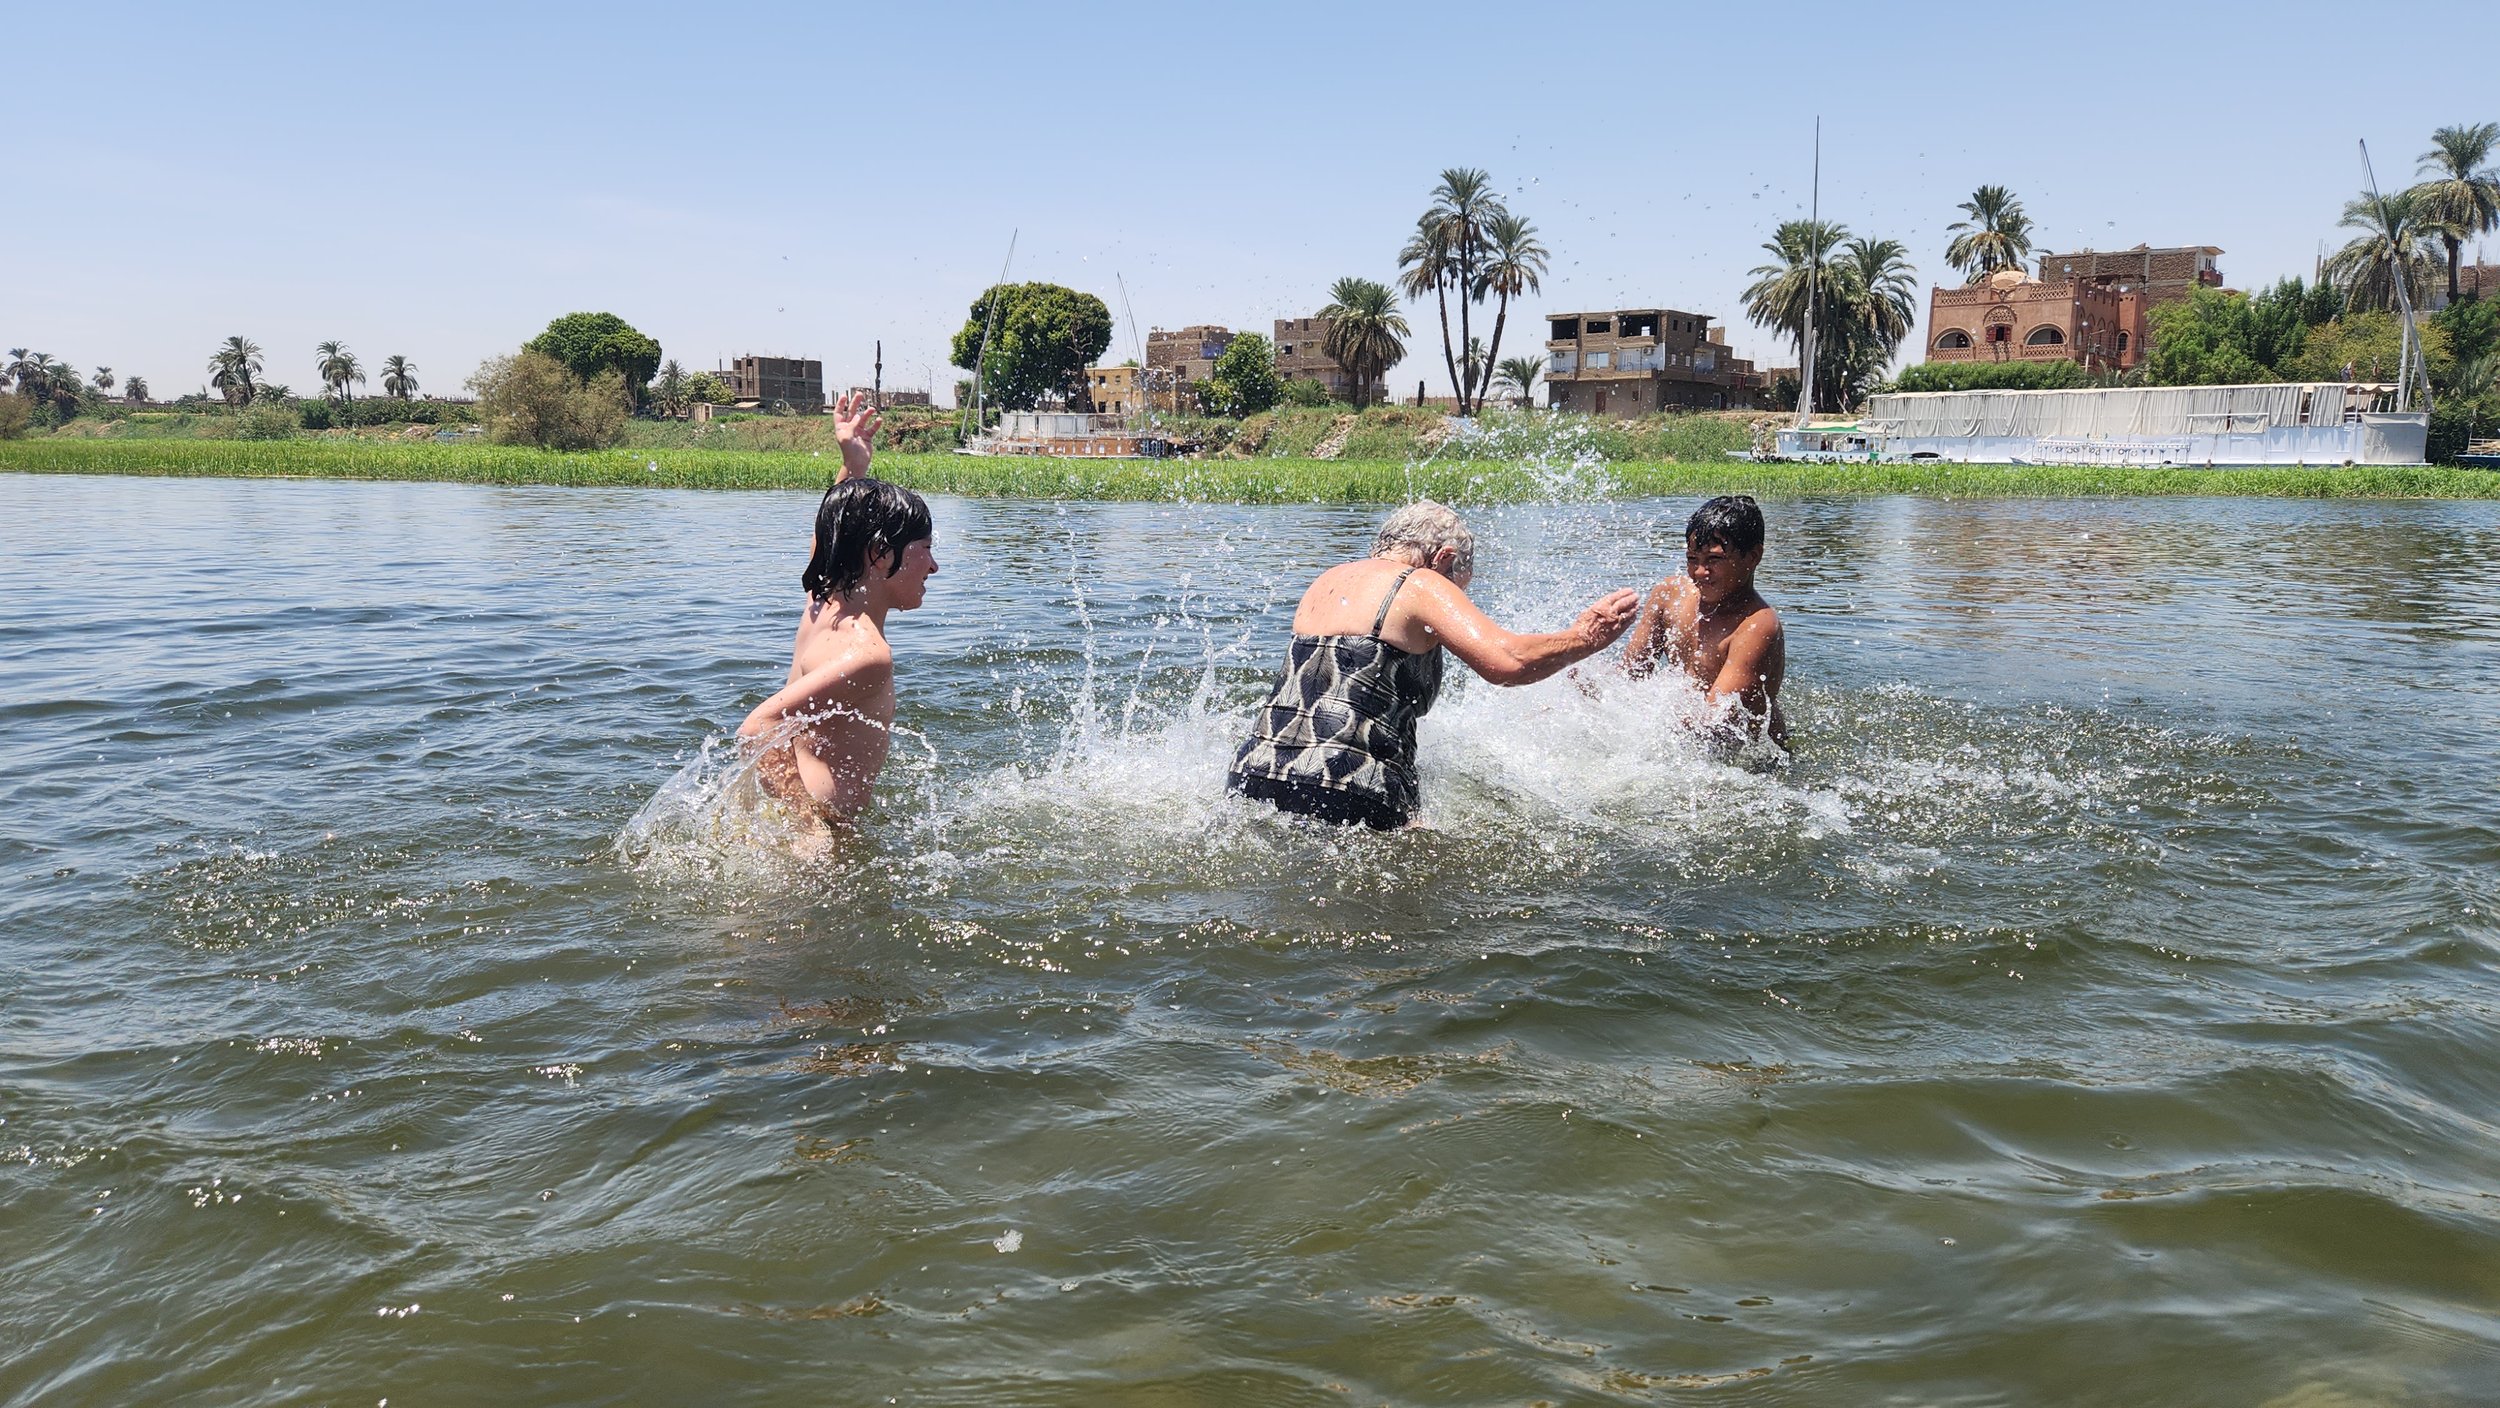
When the competitions were over and the rest of the team went home or on to other events our family travelled back to Egypt. This was our time to see all of the ancient sites. We got to go IN some pyramids, felt humbled by the craftsmanship, engineering, and detail of the ancient Egyptians, and then finished our trip on a houseboat on the Nile. Not a cruise, but a houseboat moored in Luxor where we even got to swim in the famous river (don’t worry, there are no crocodiles since they build the Aswan Dam).

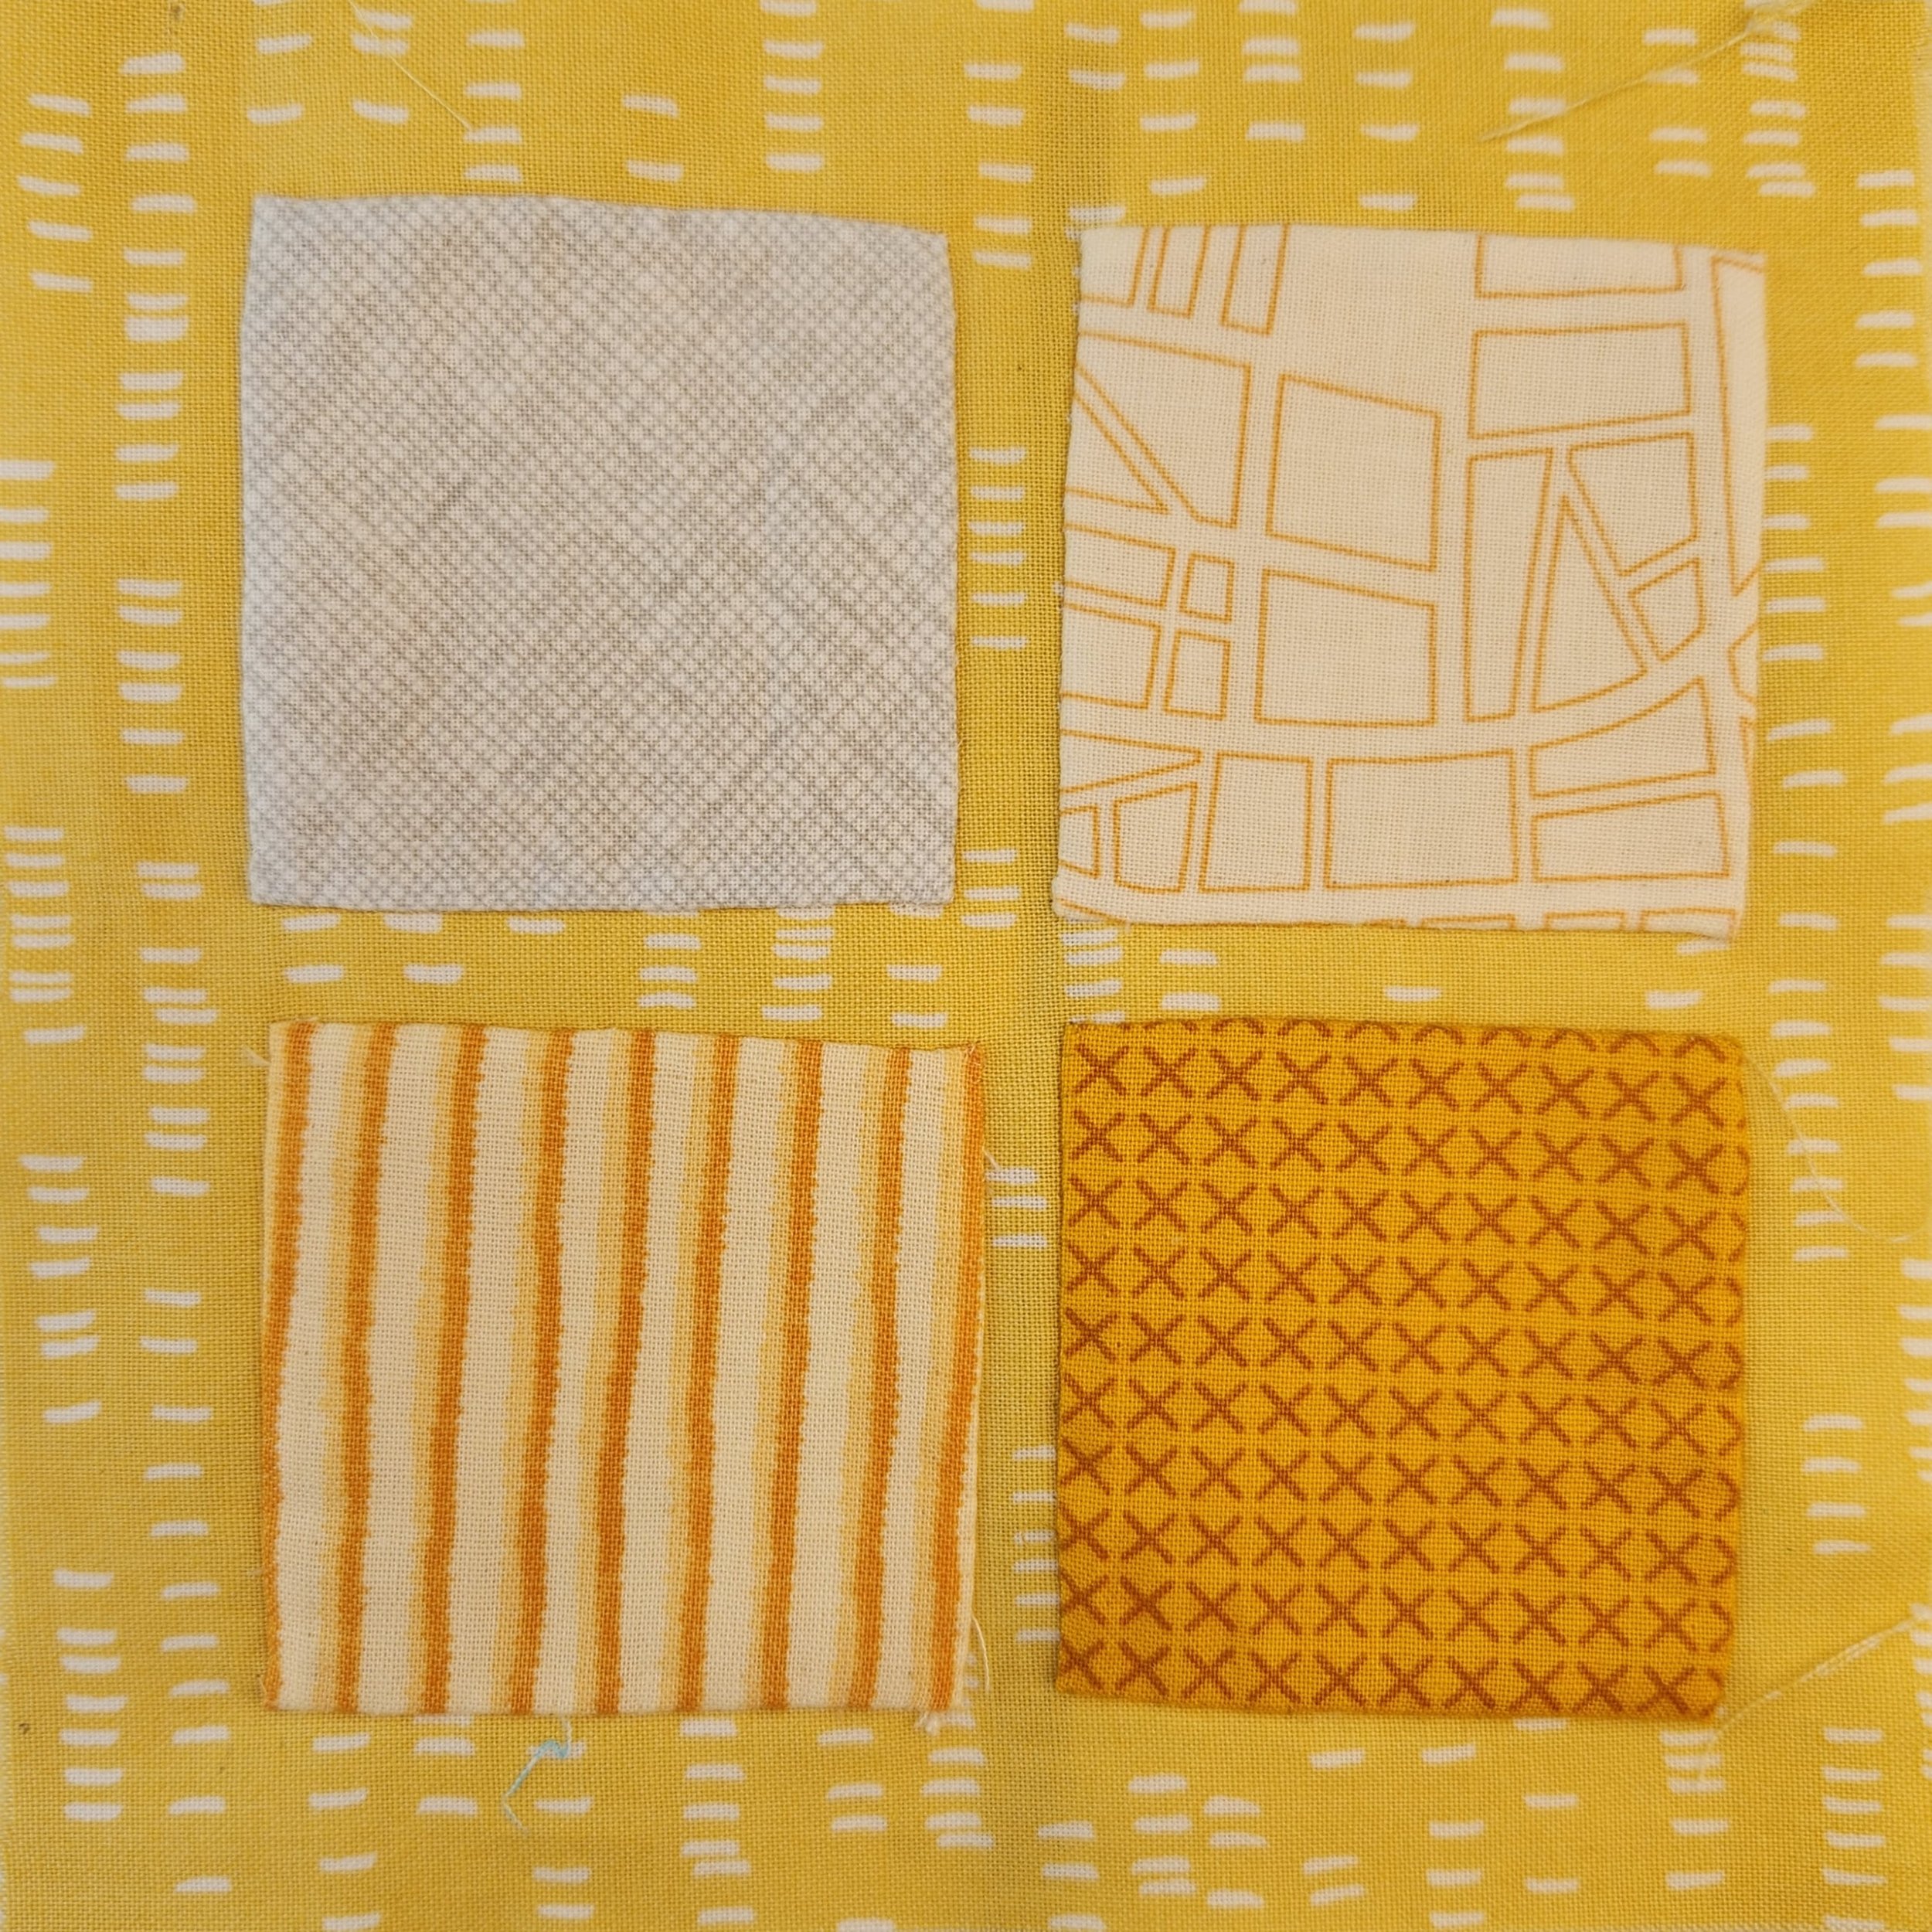
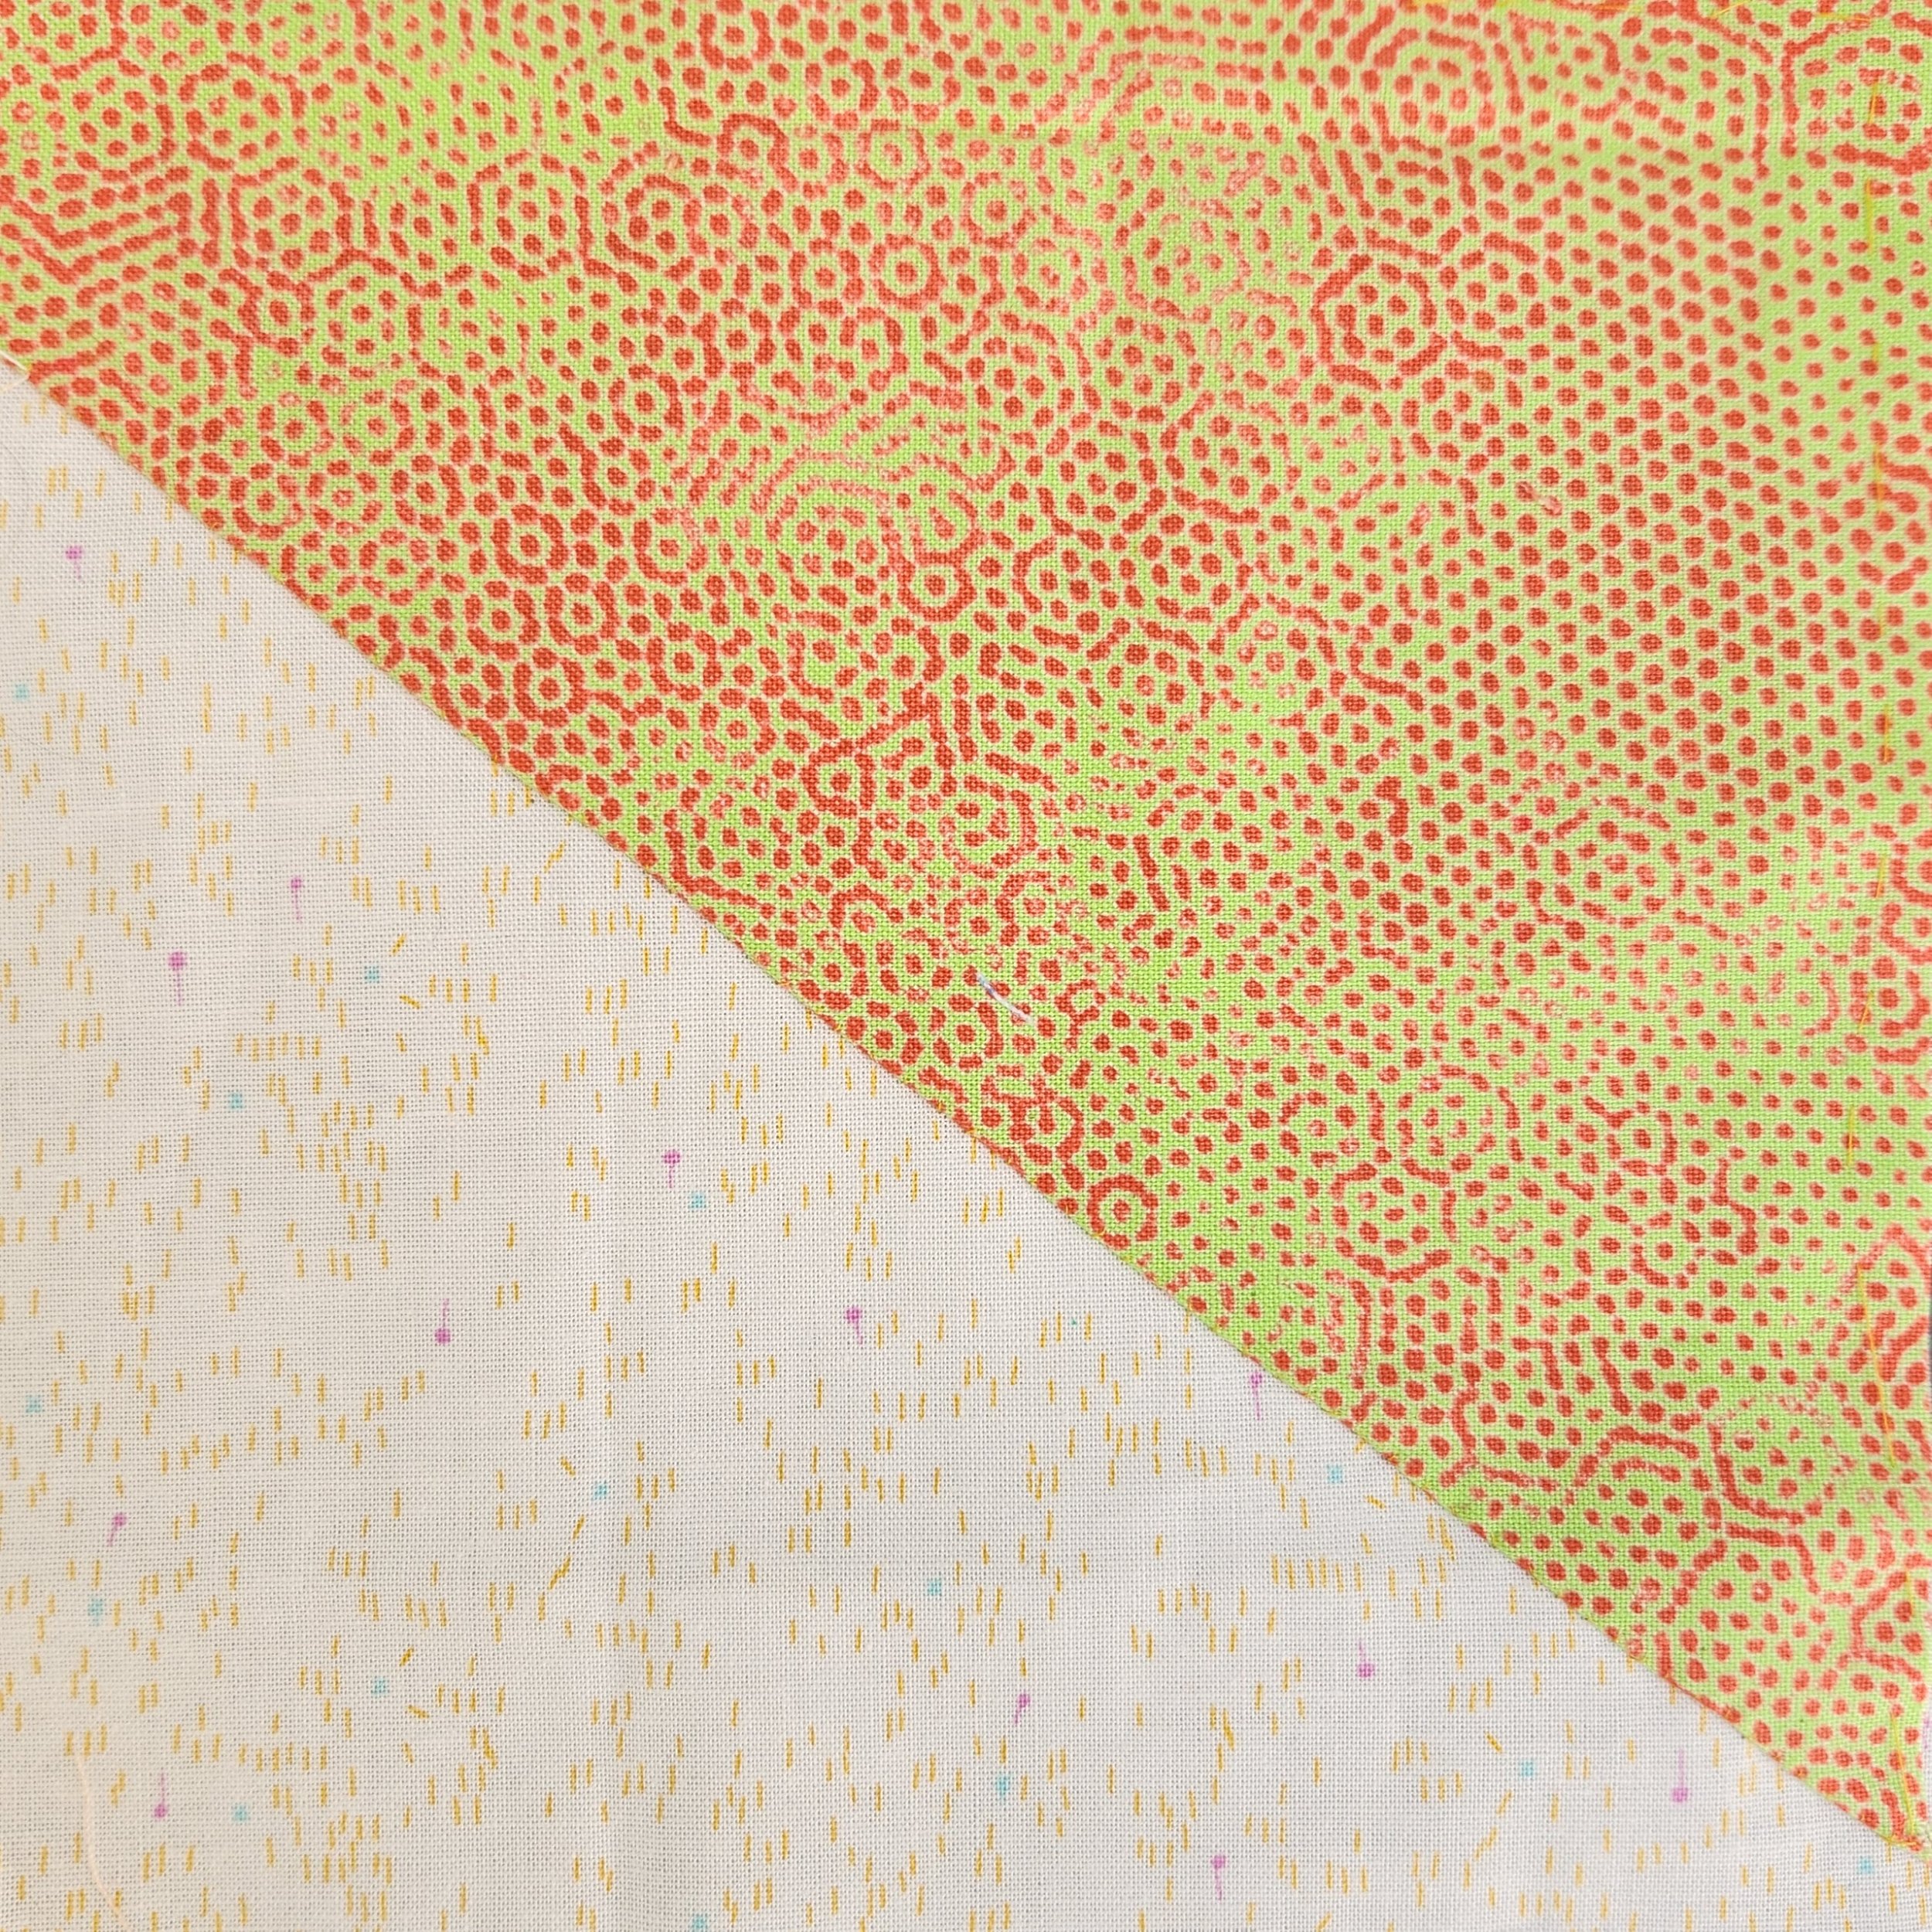
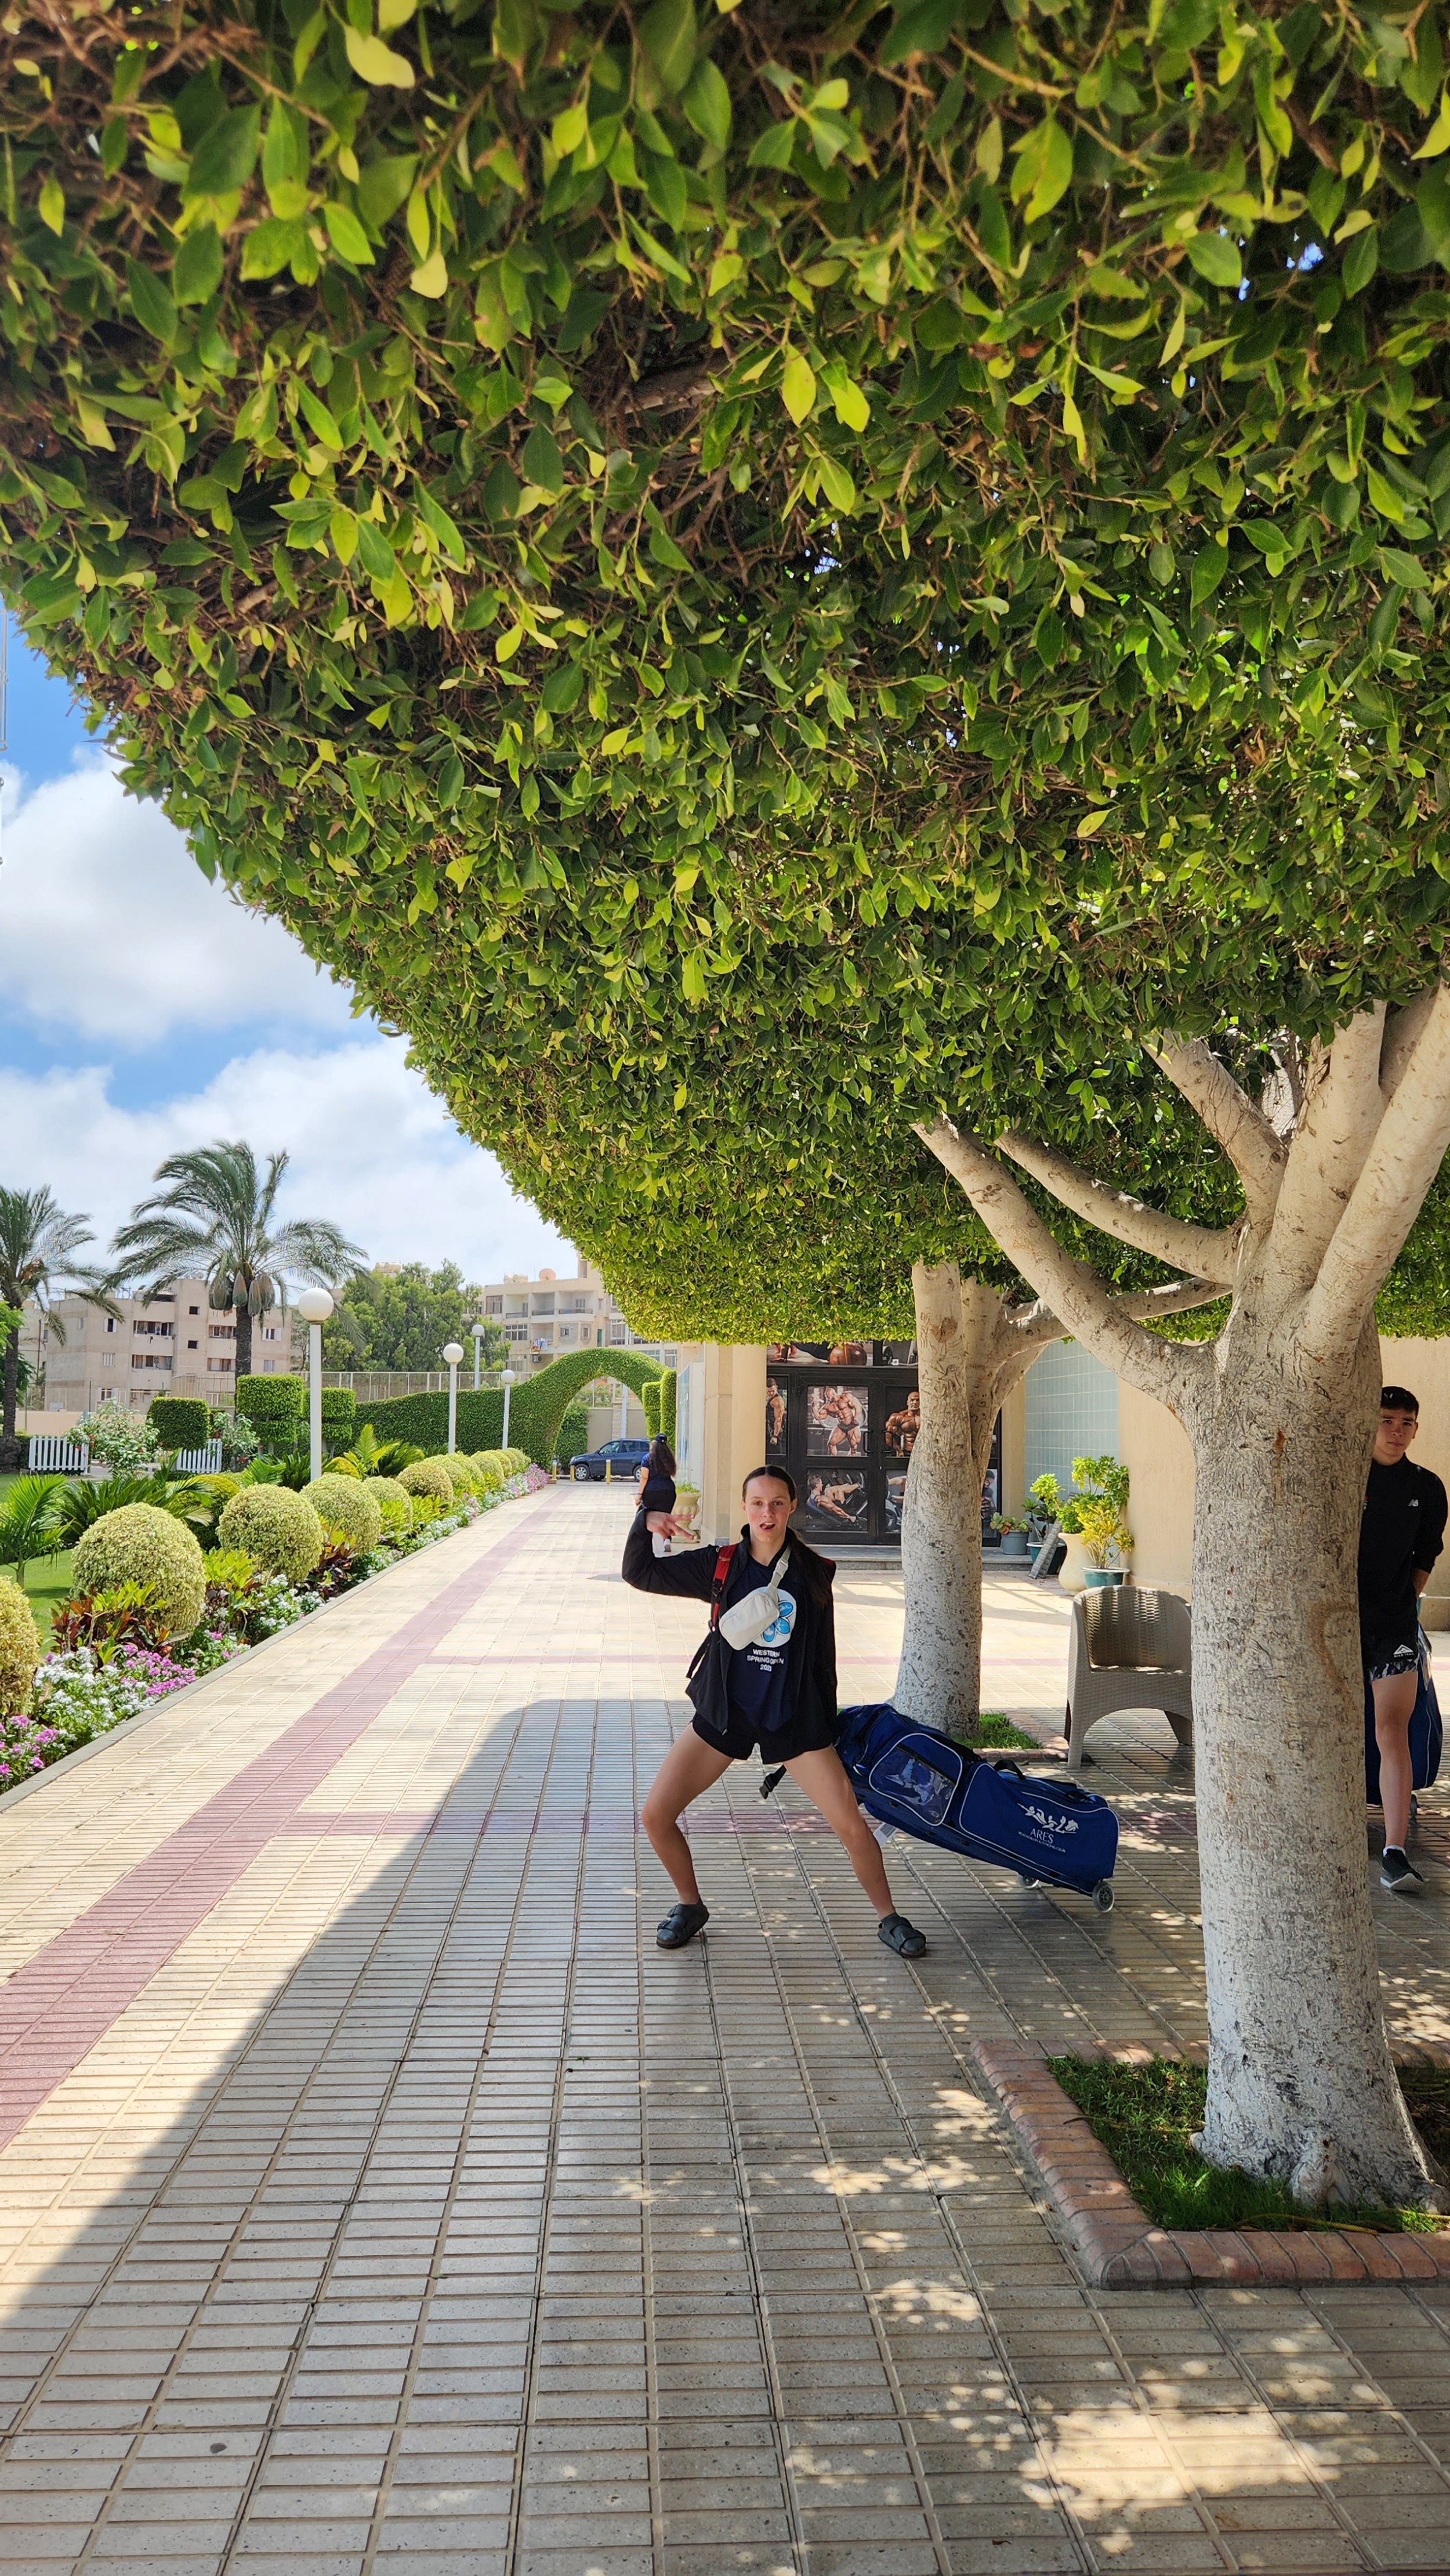
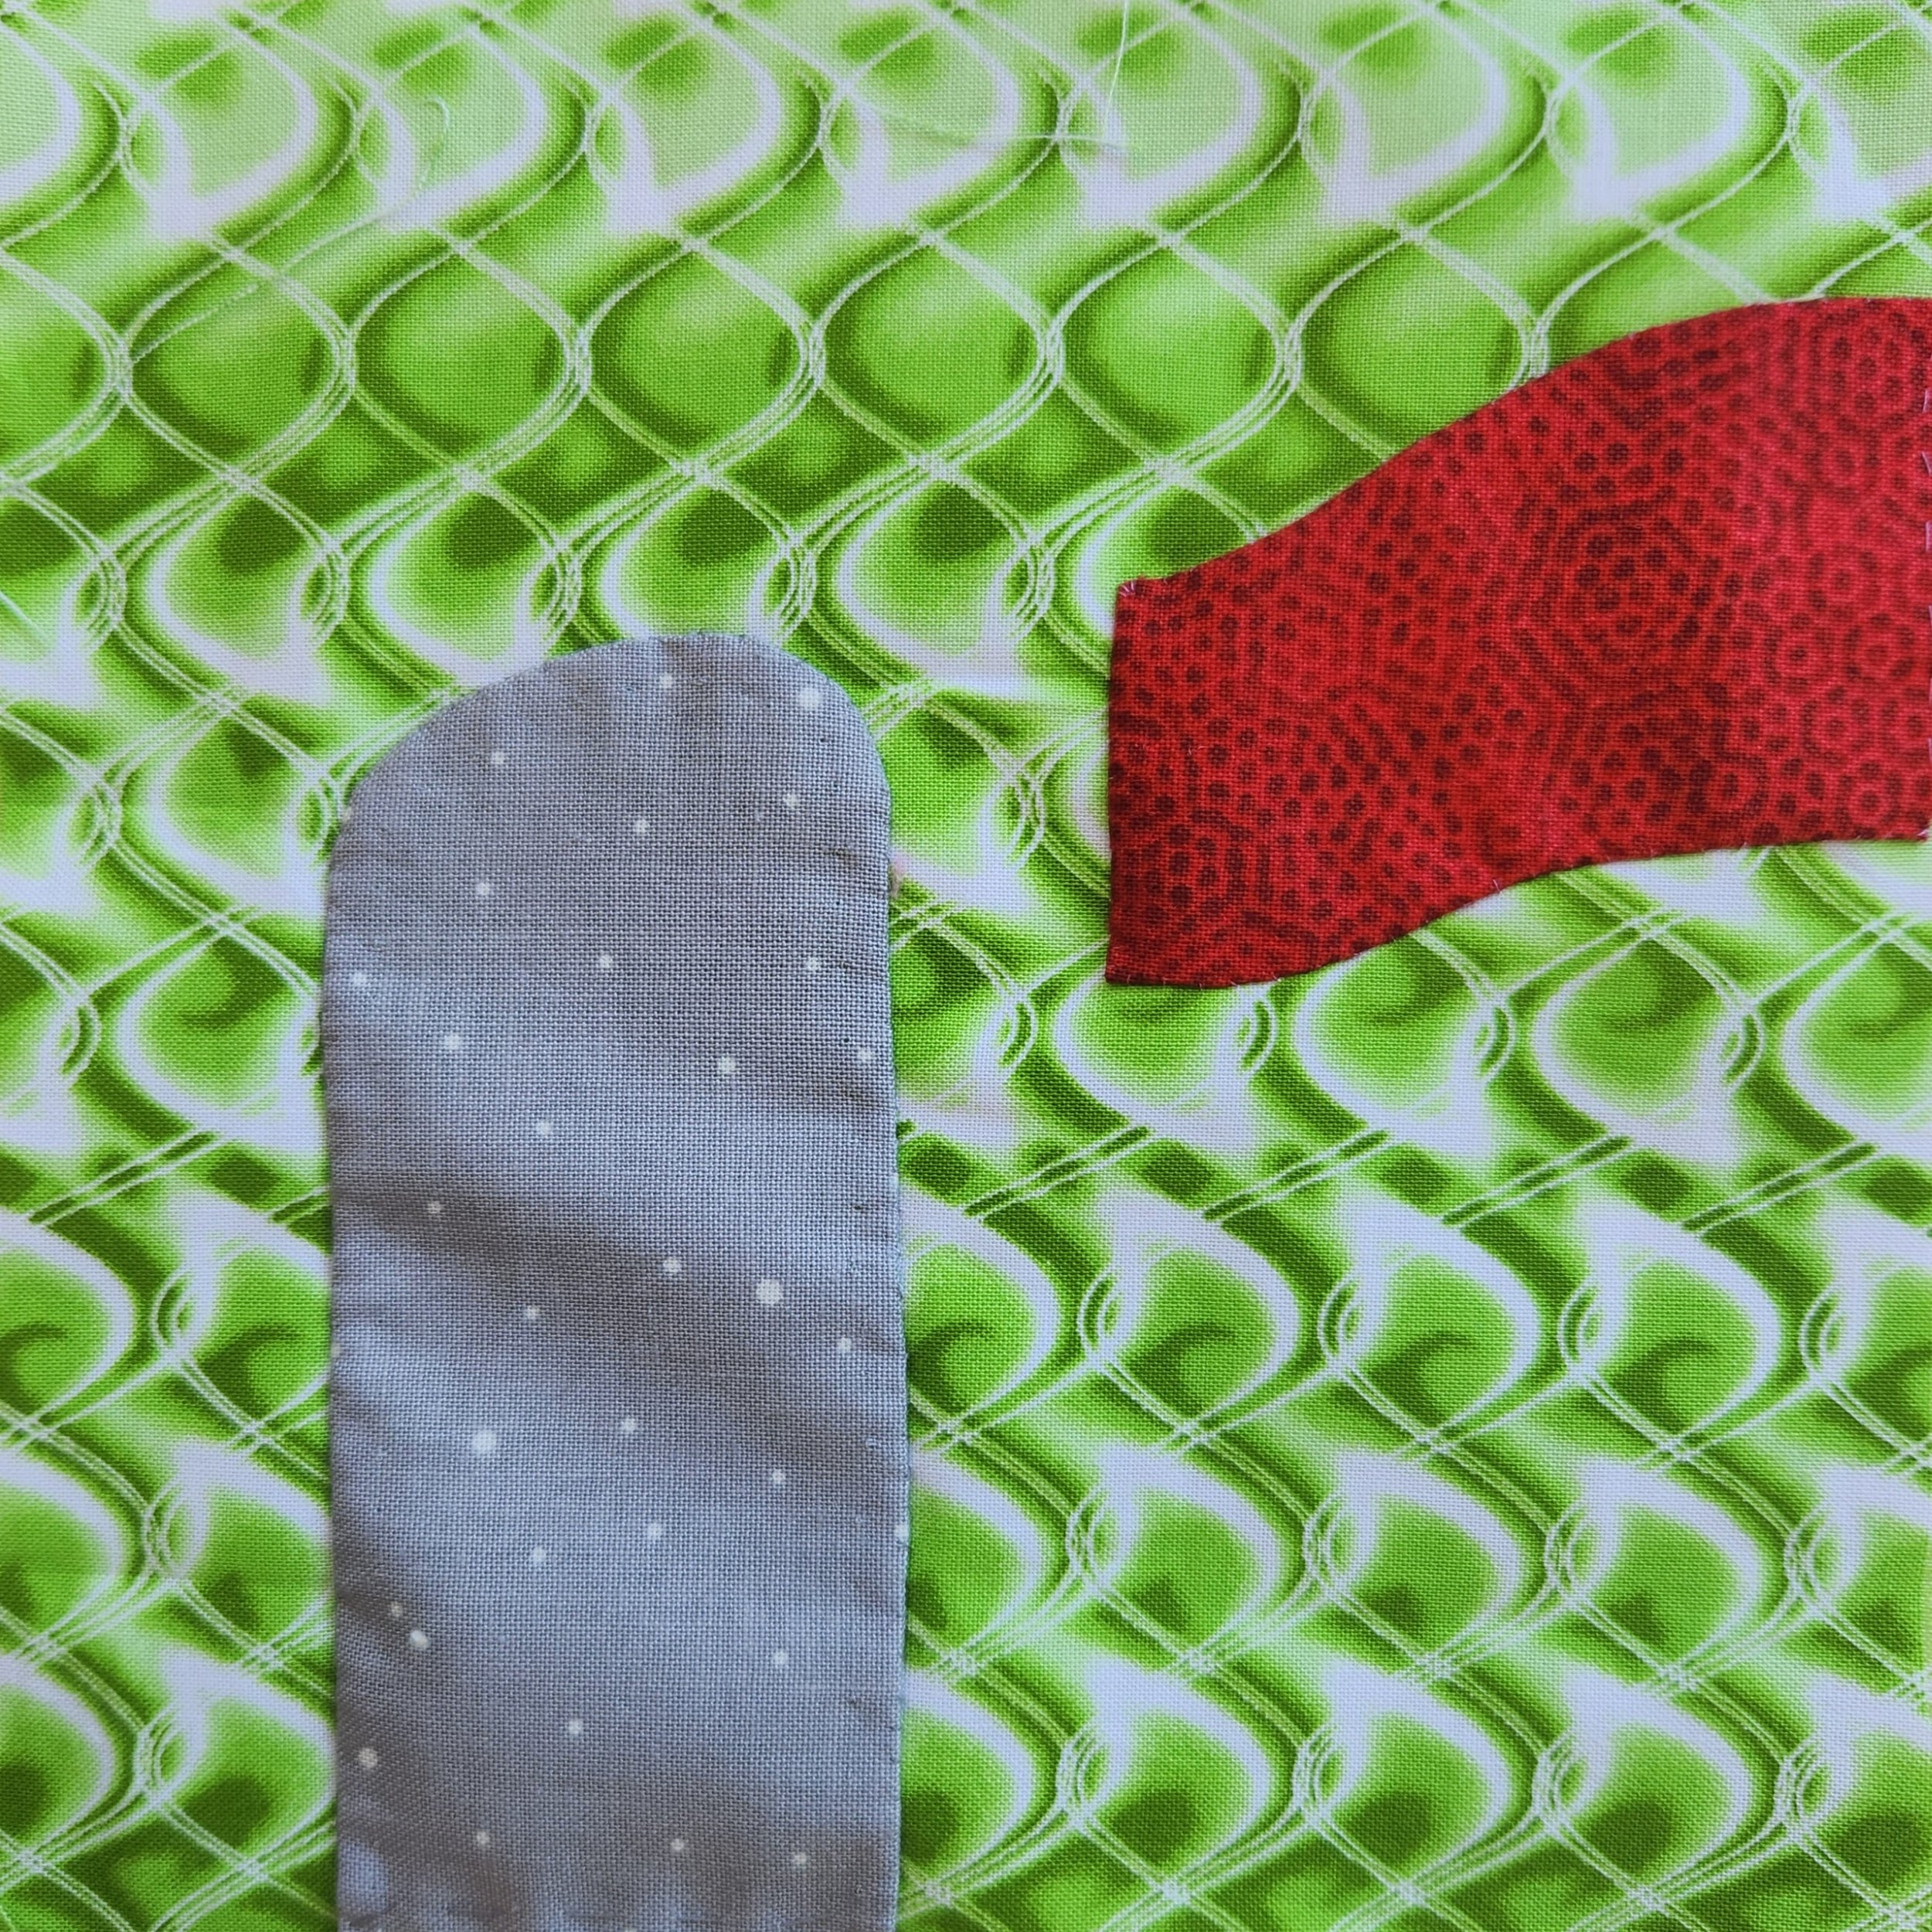
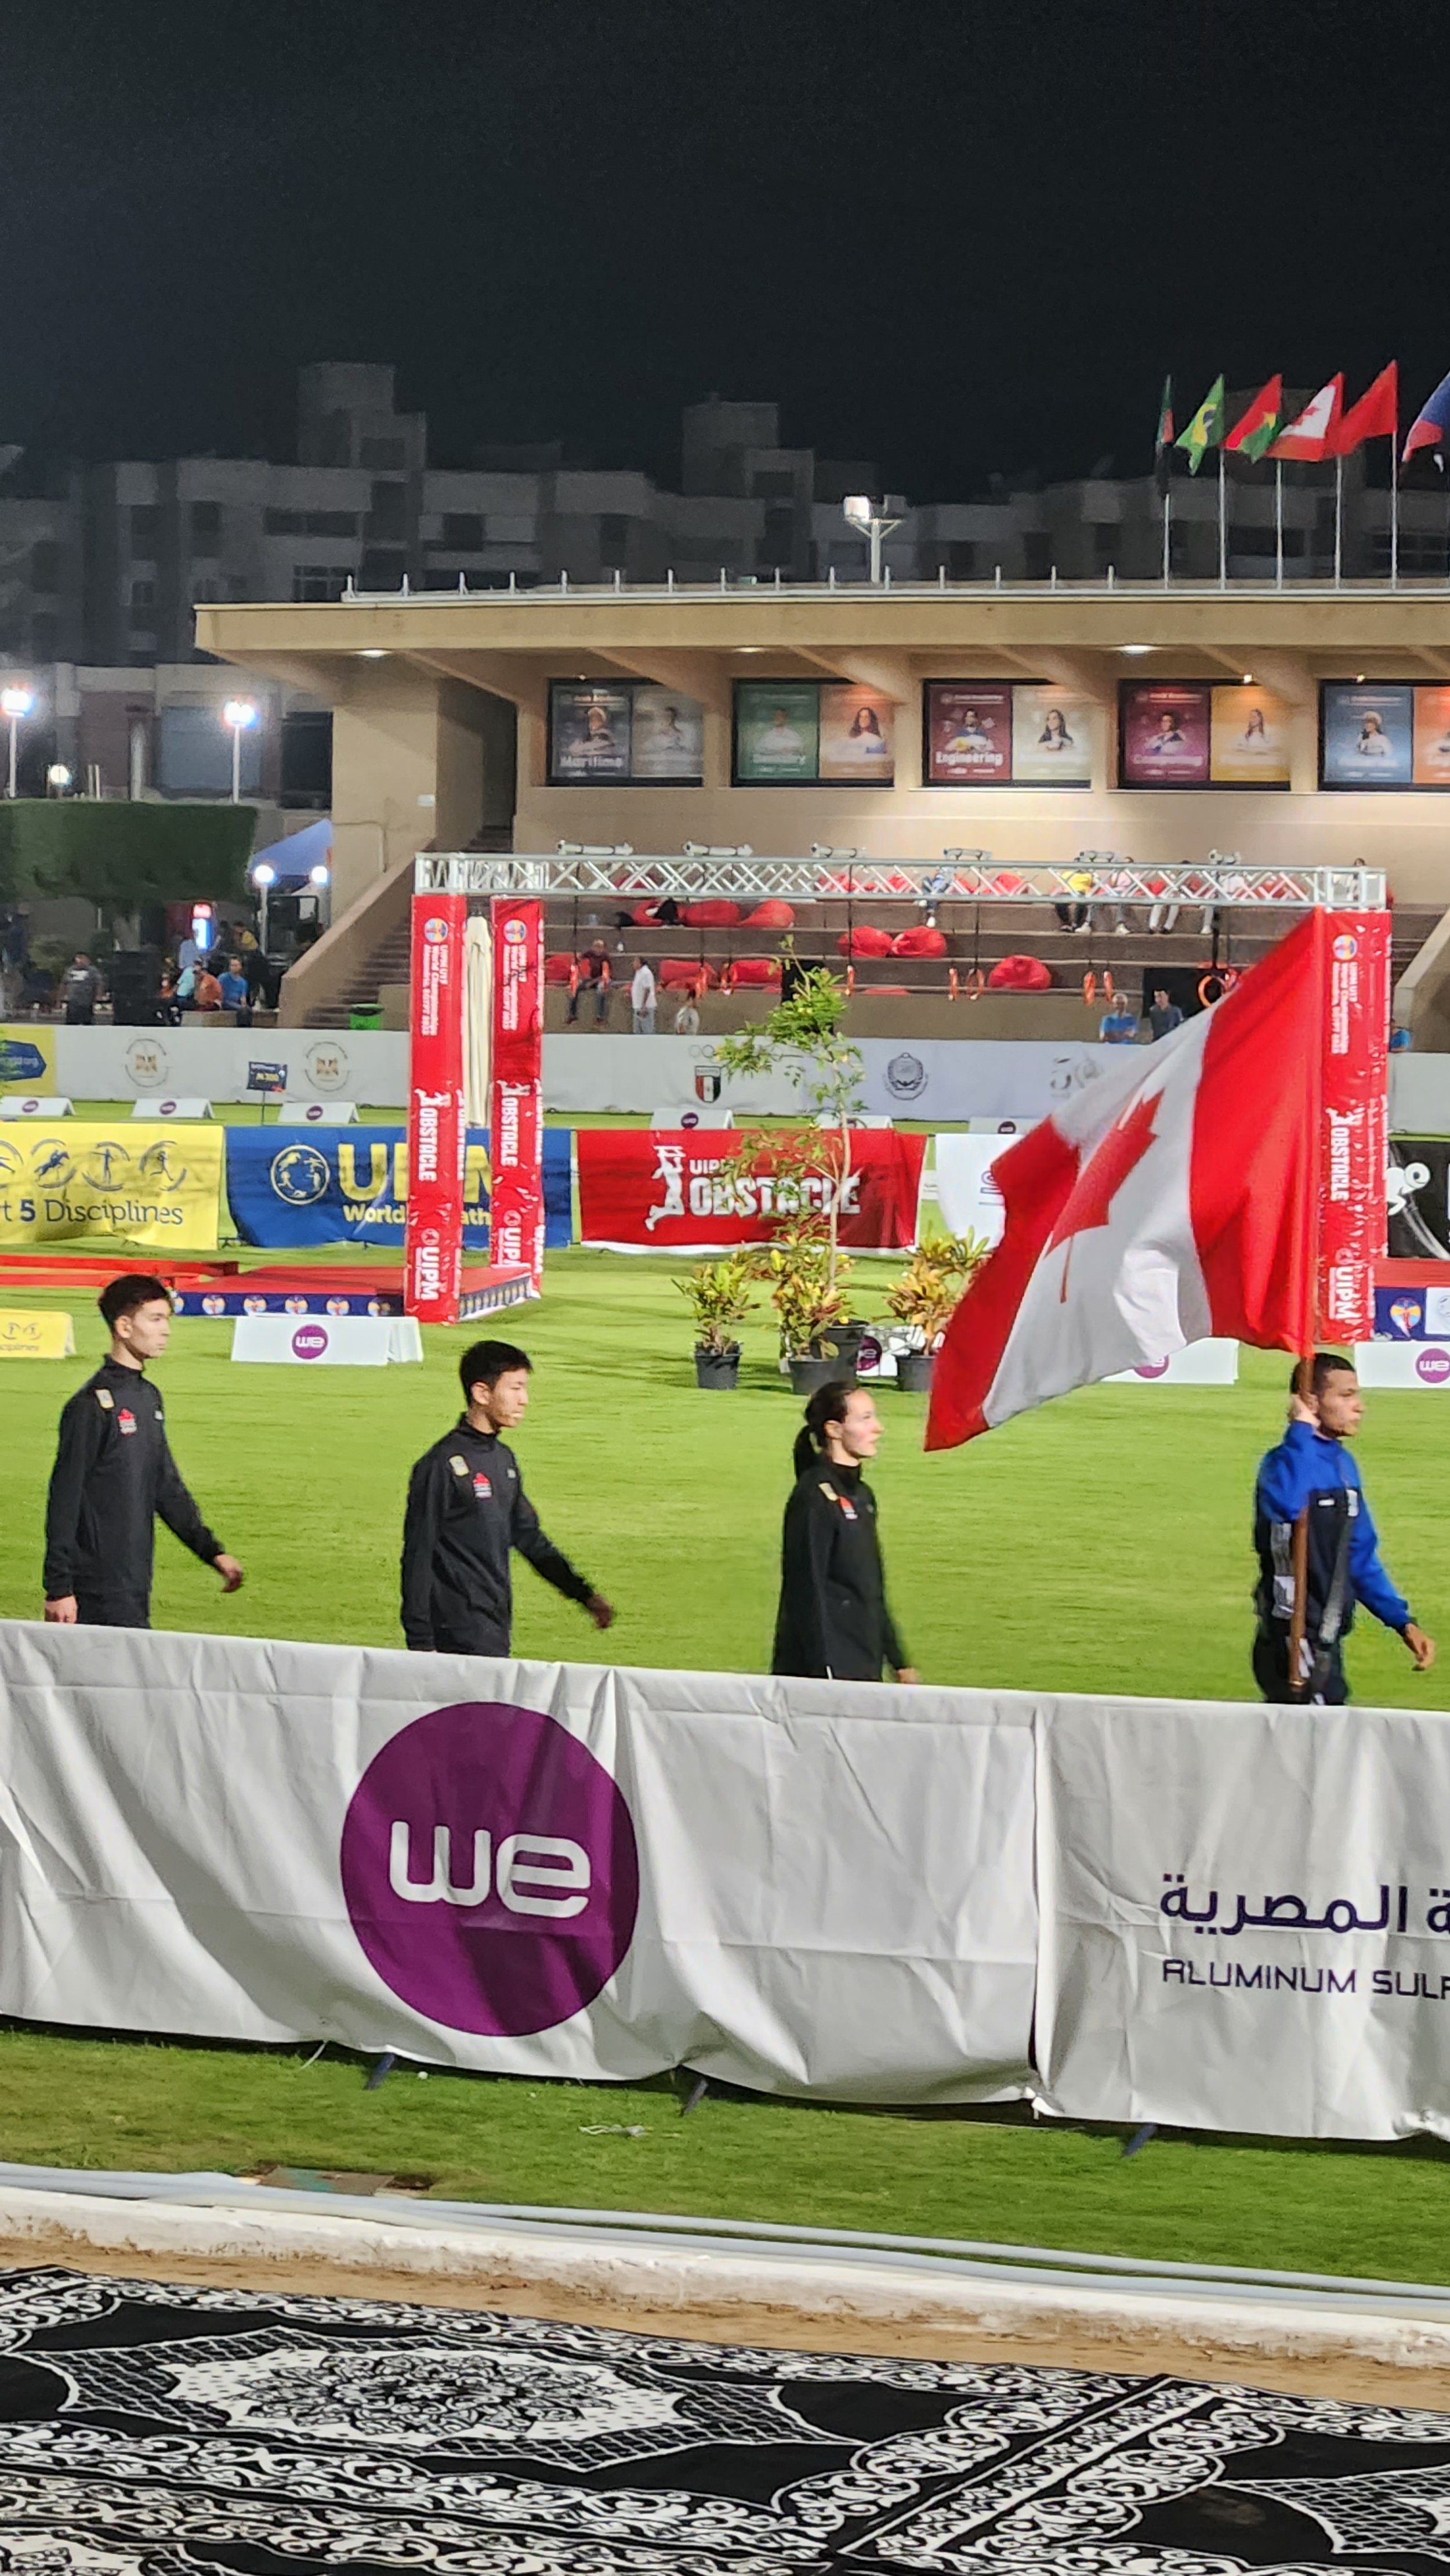
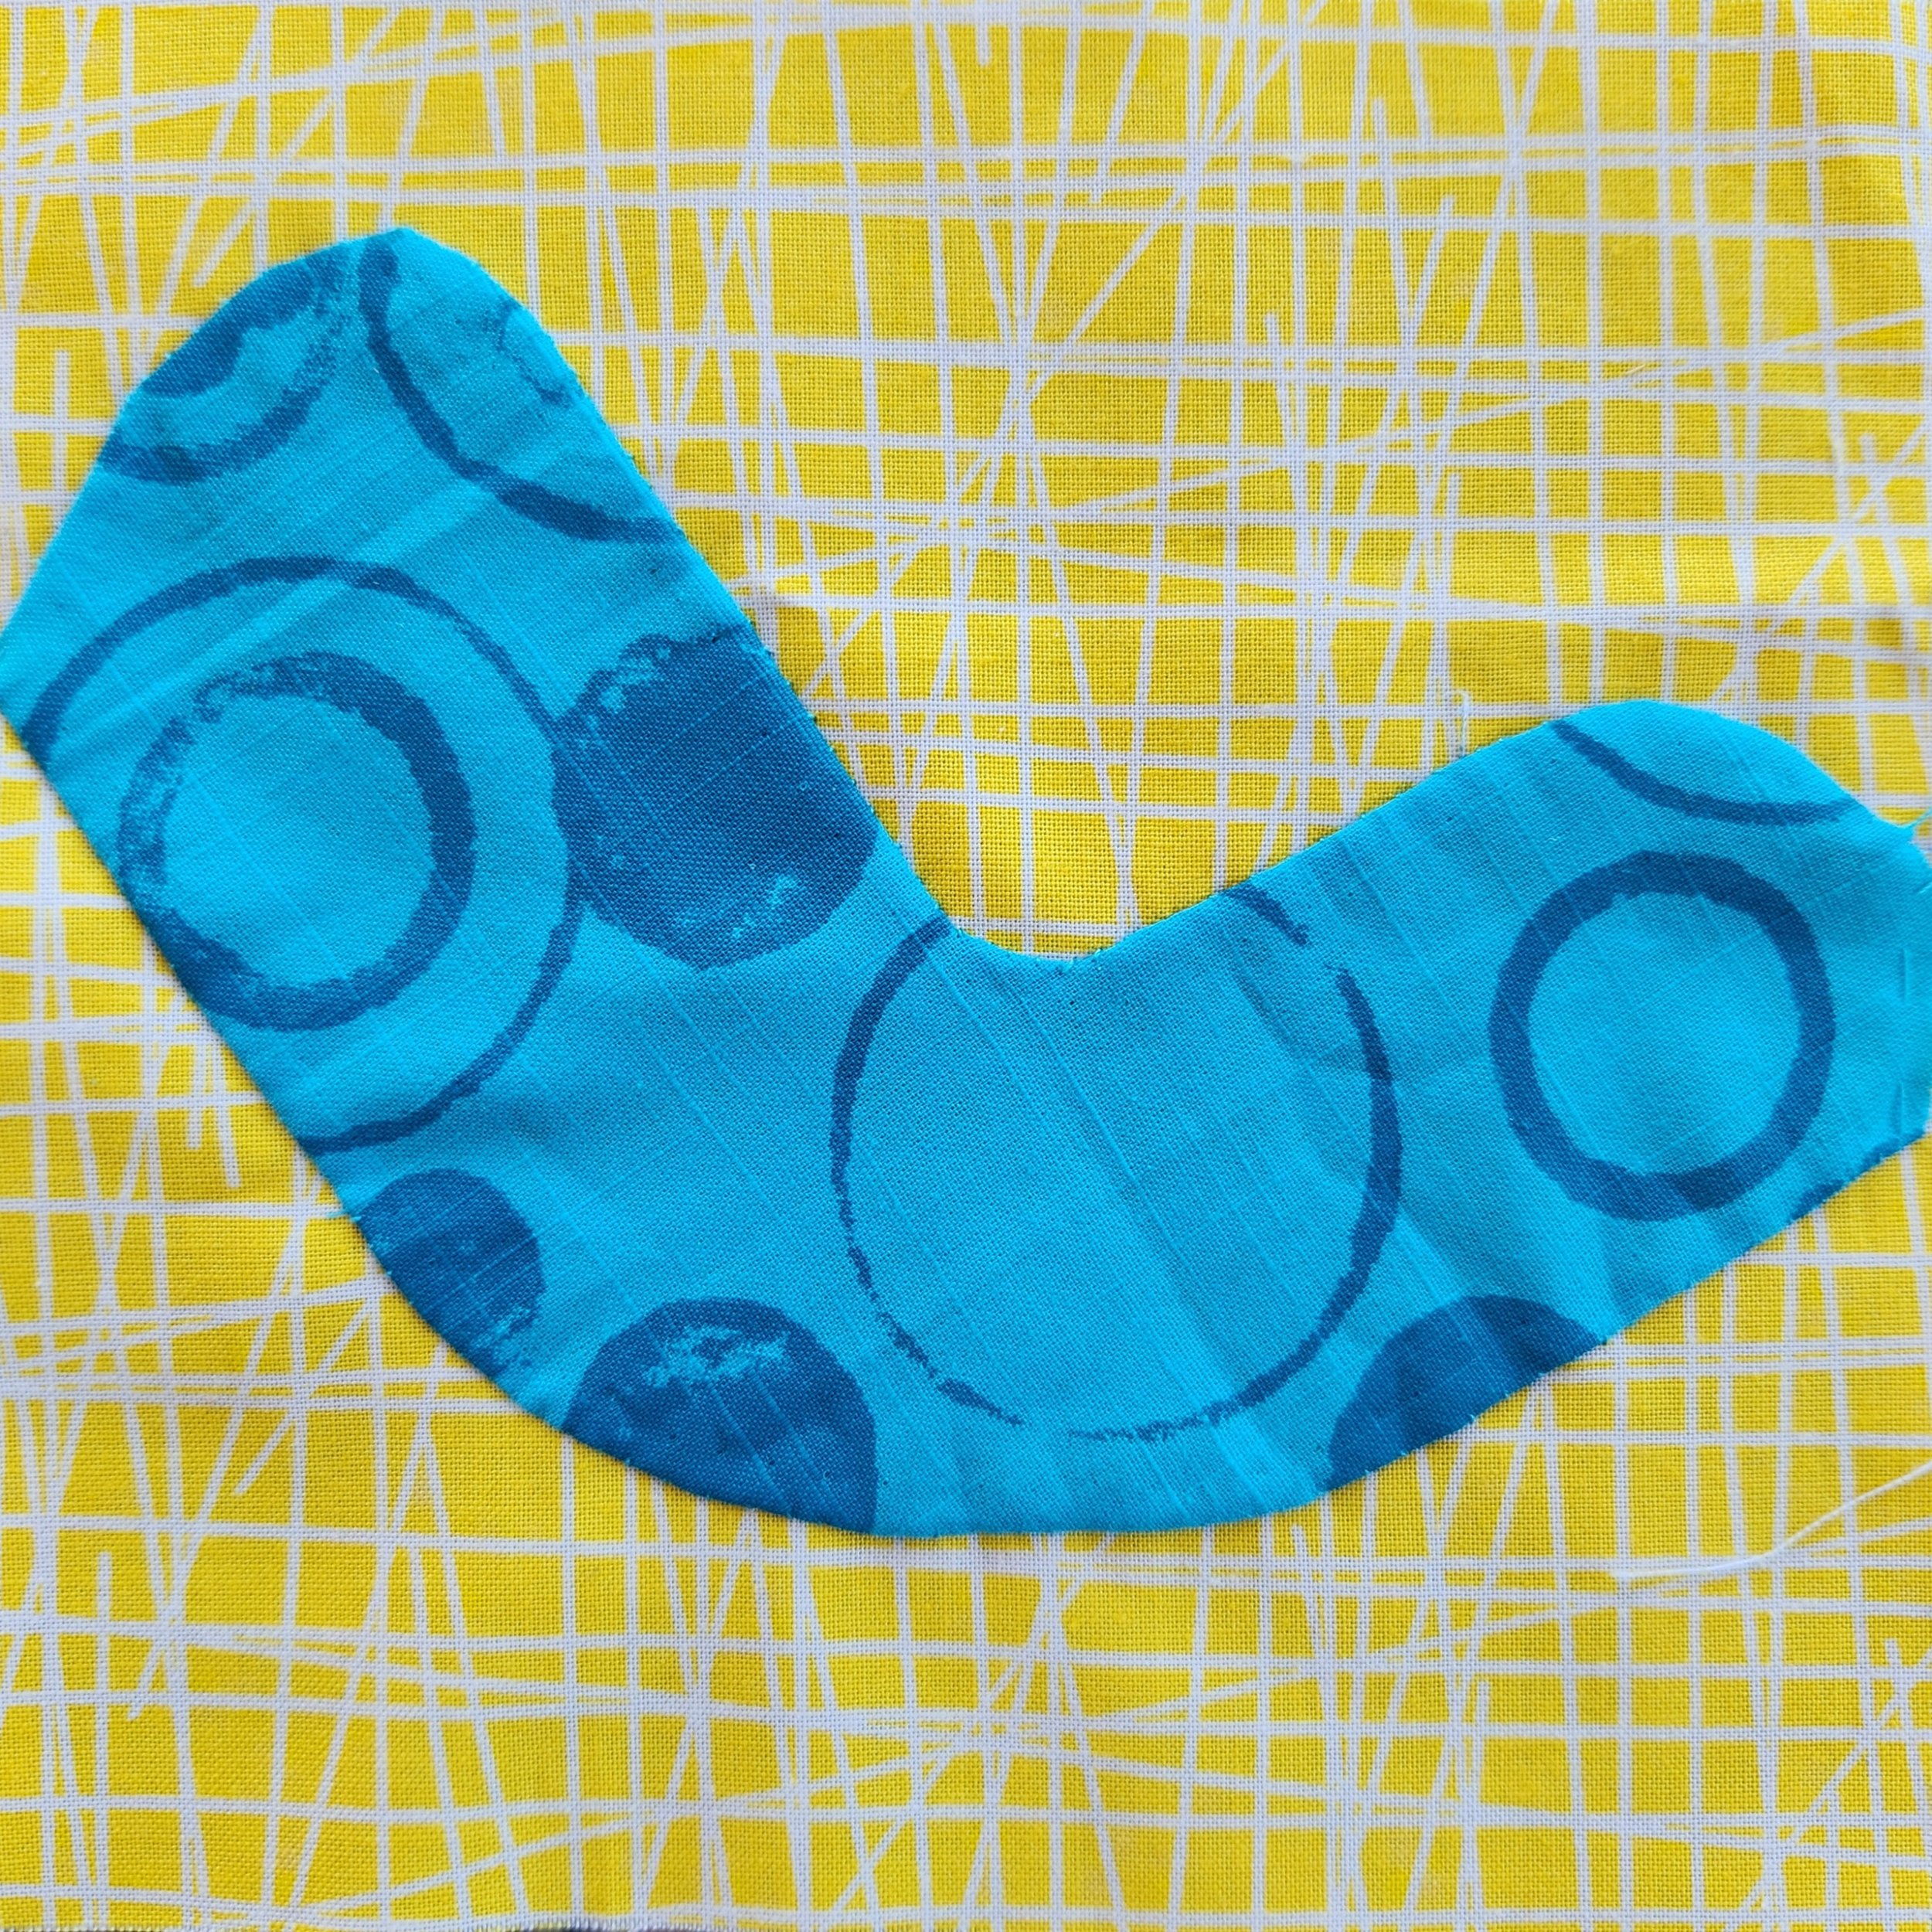
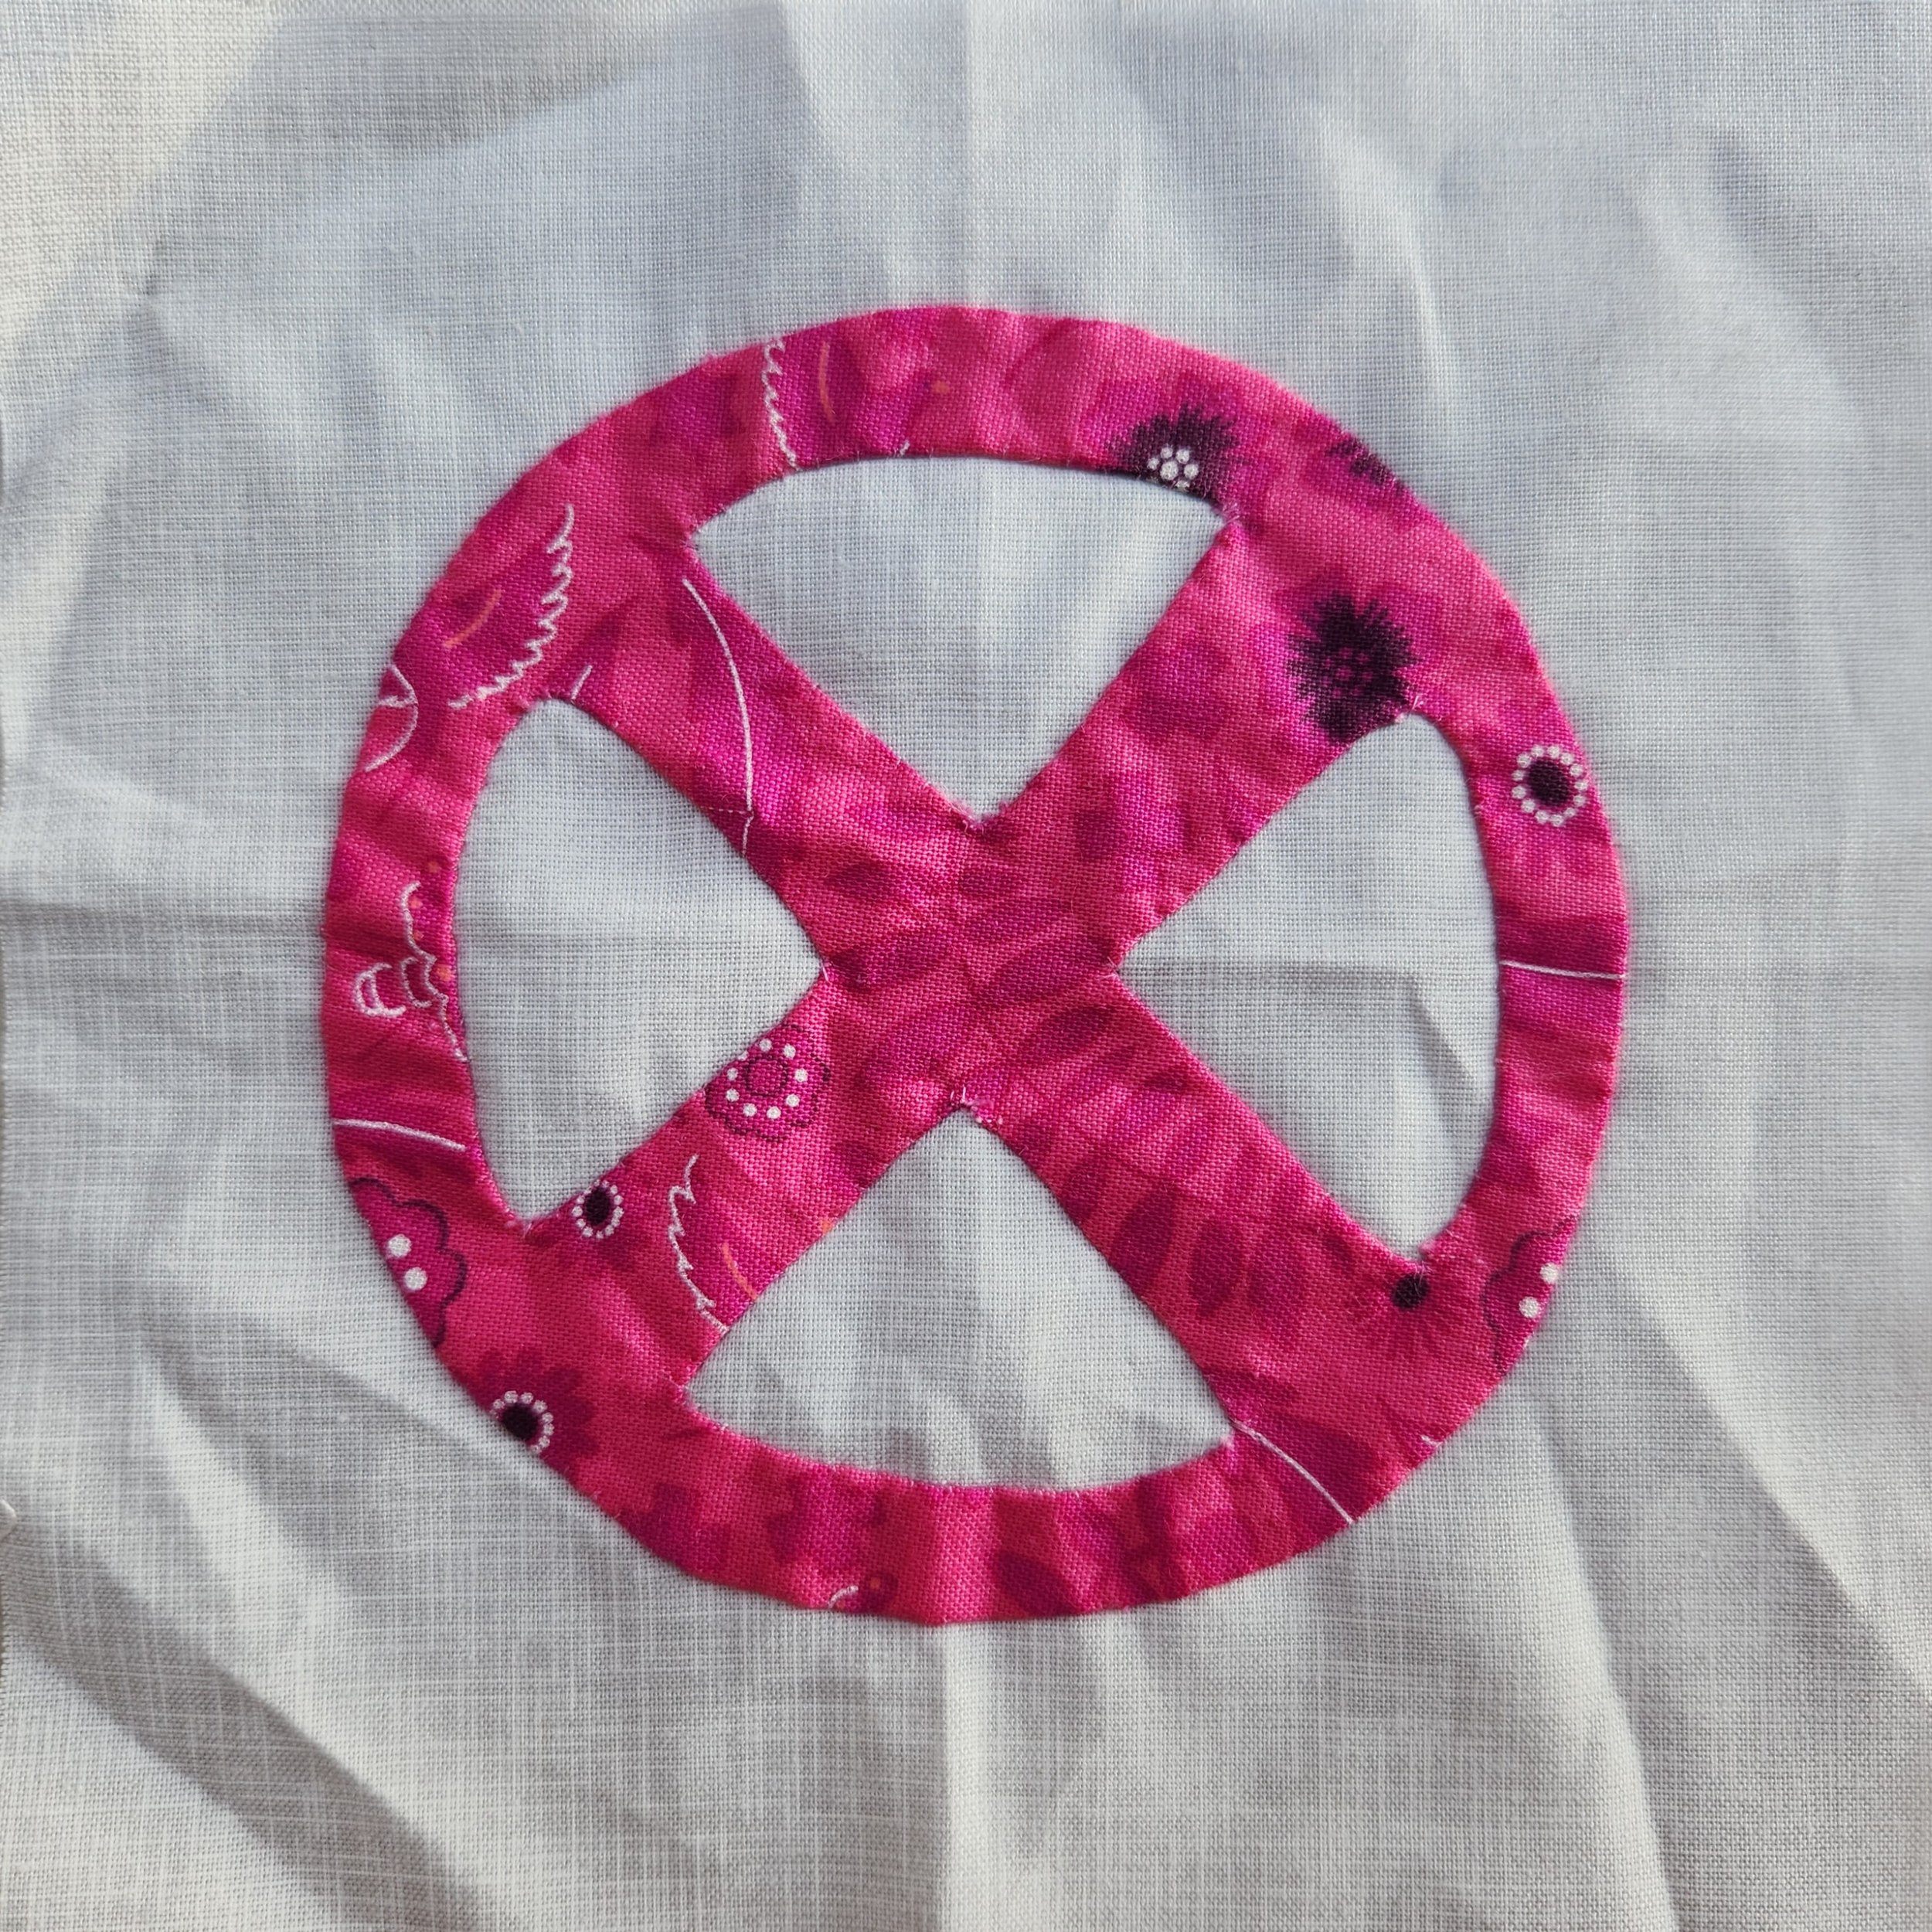
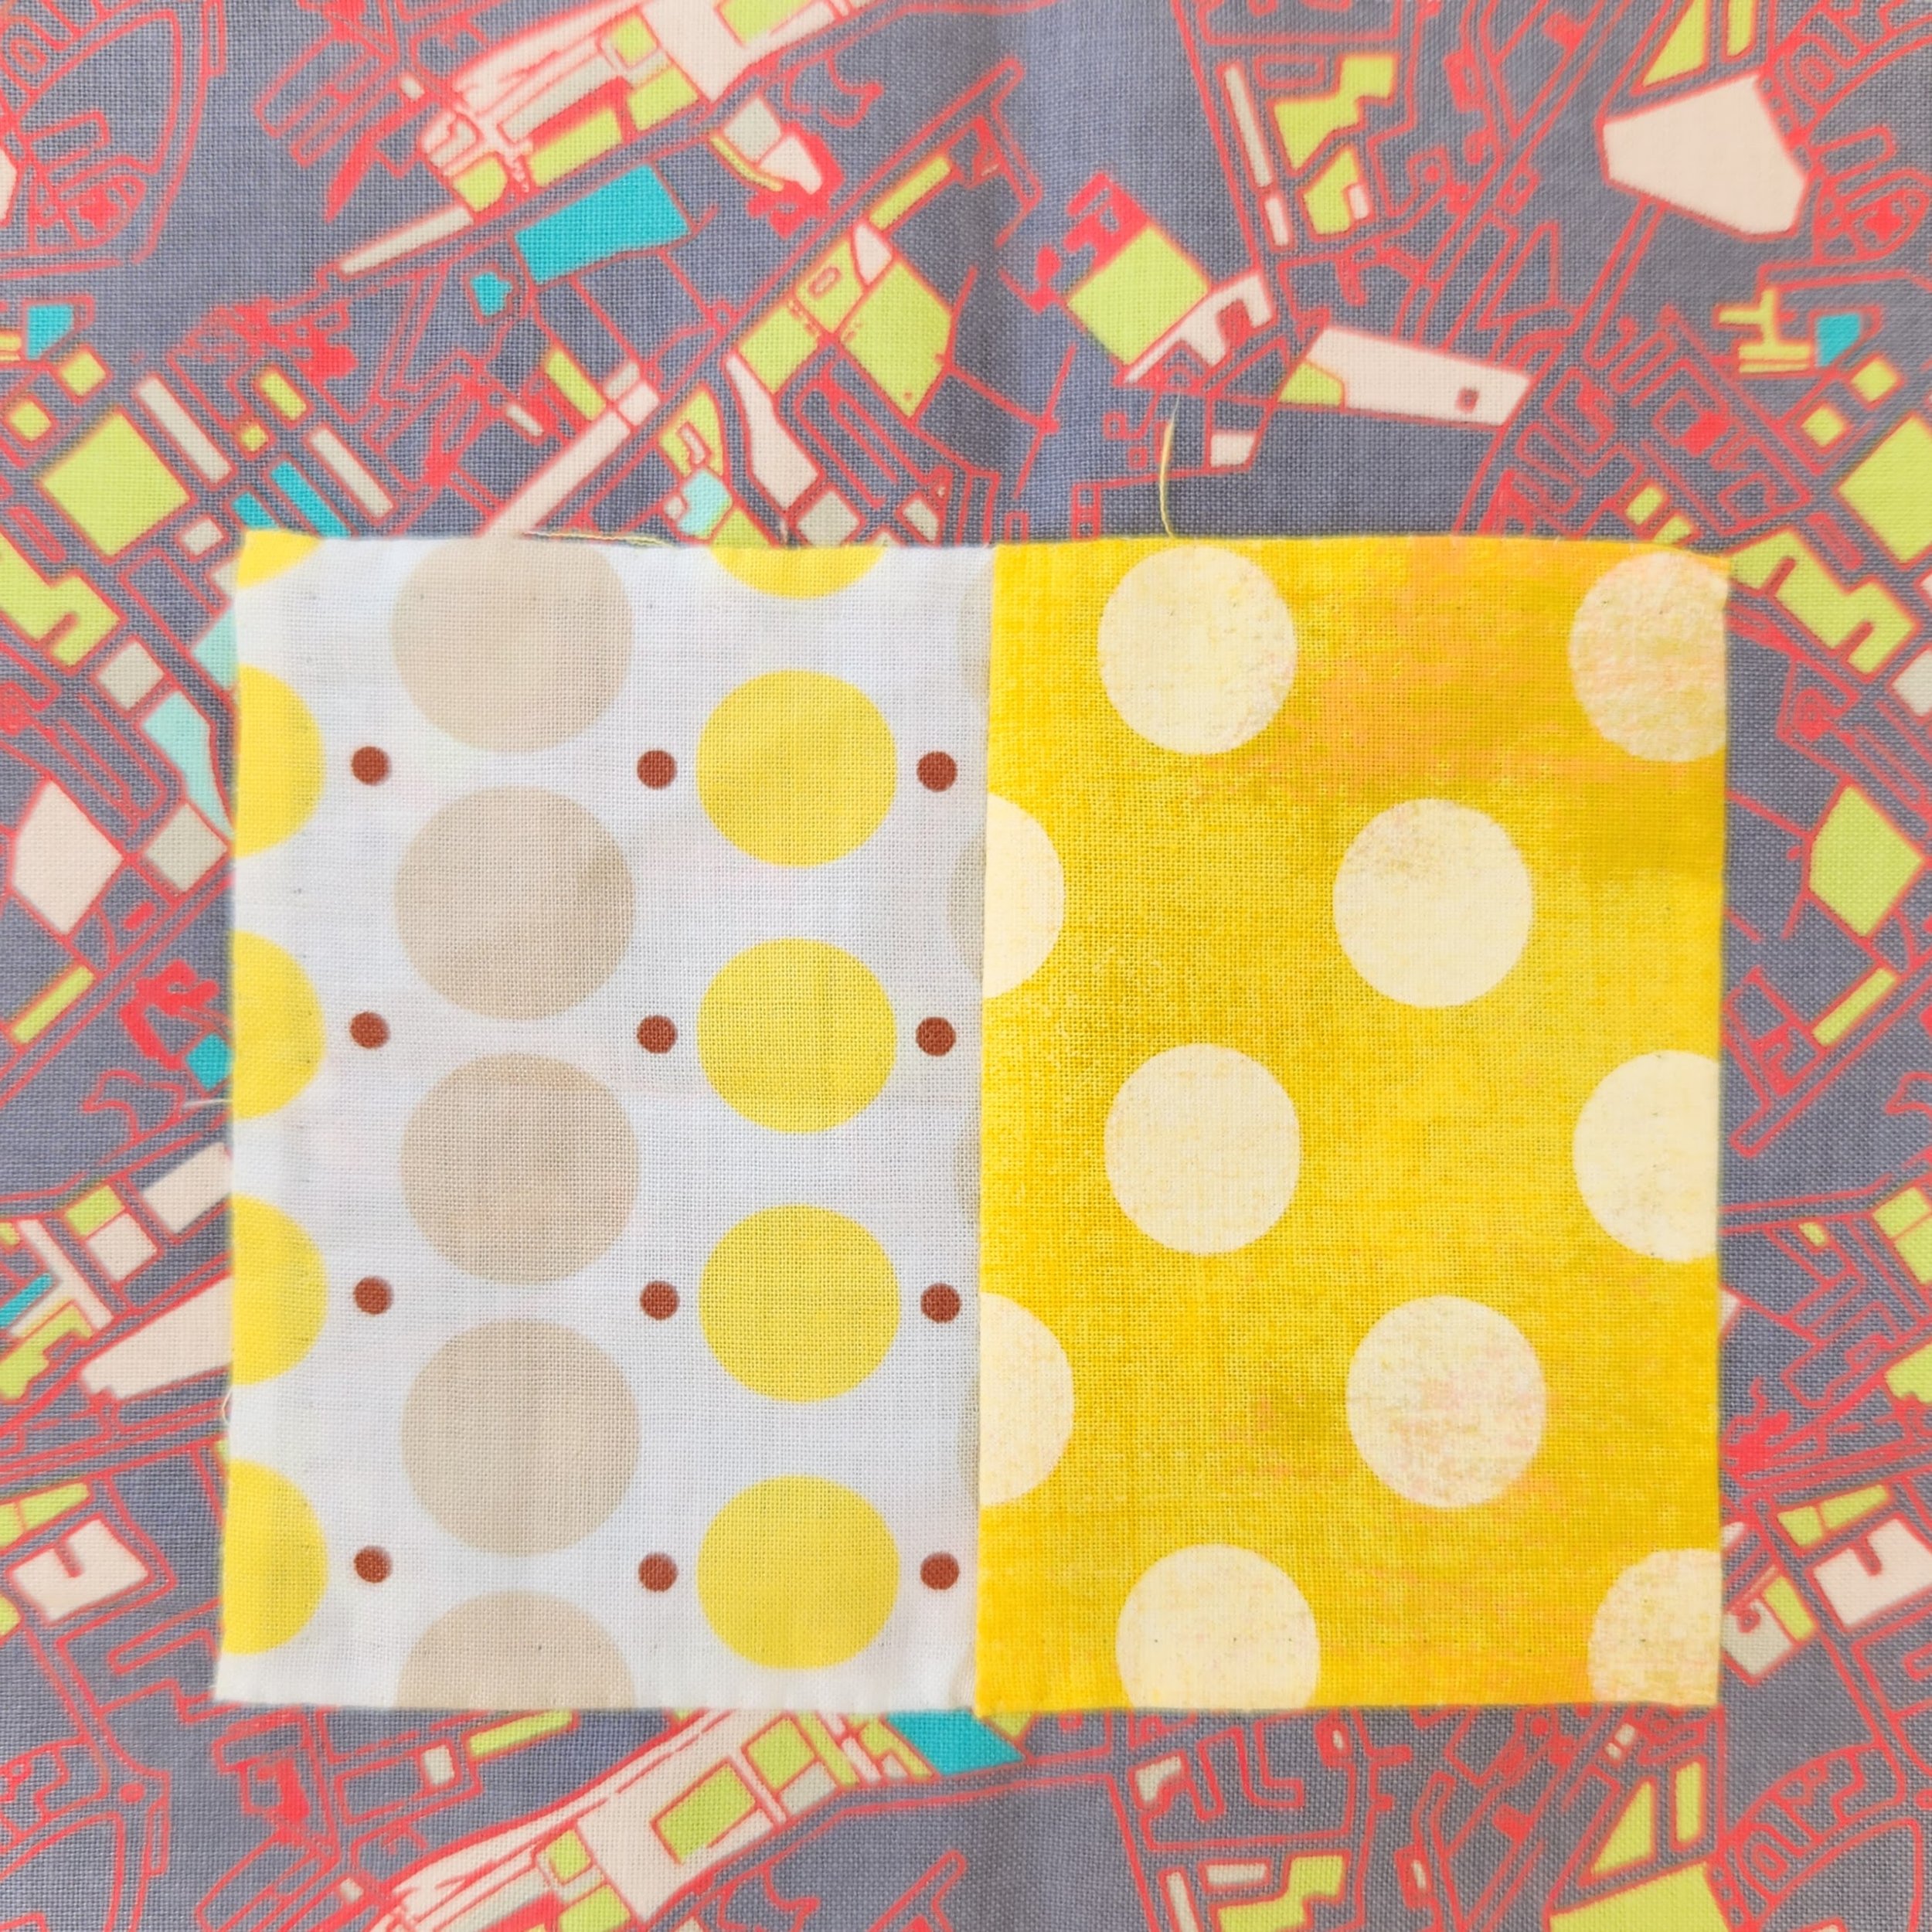
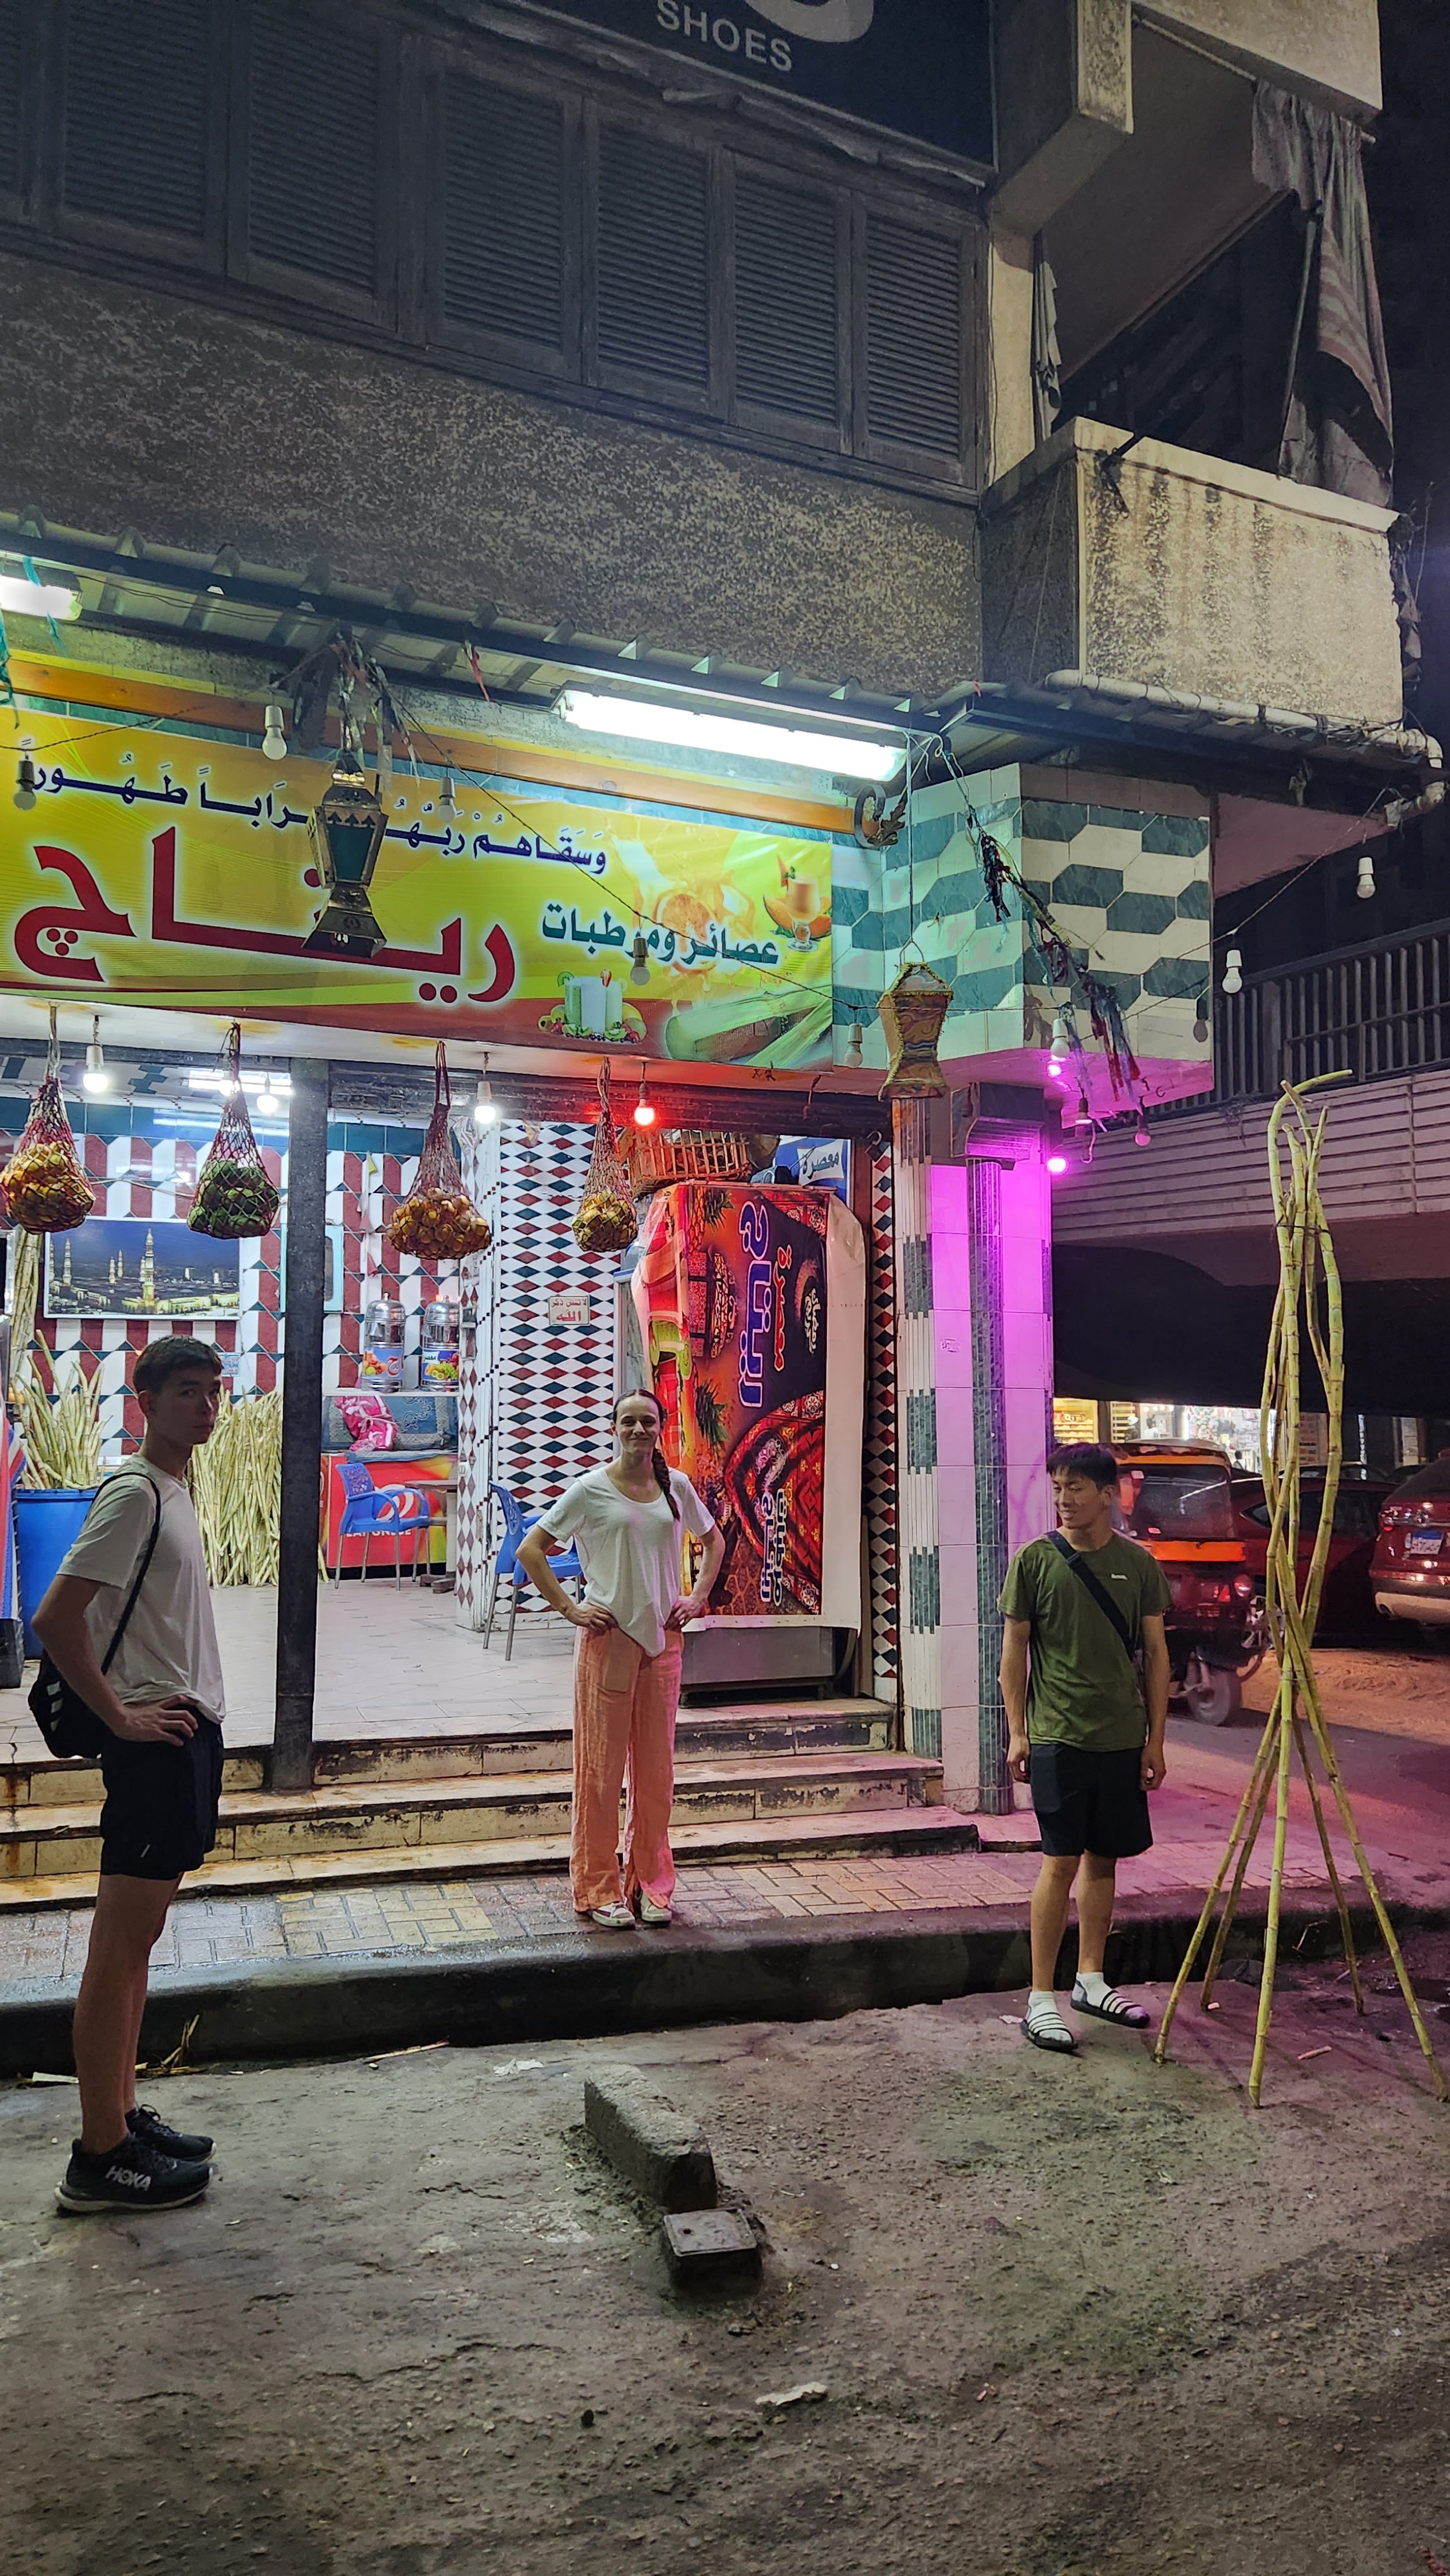
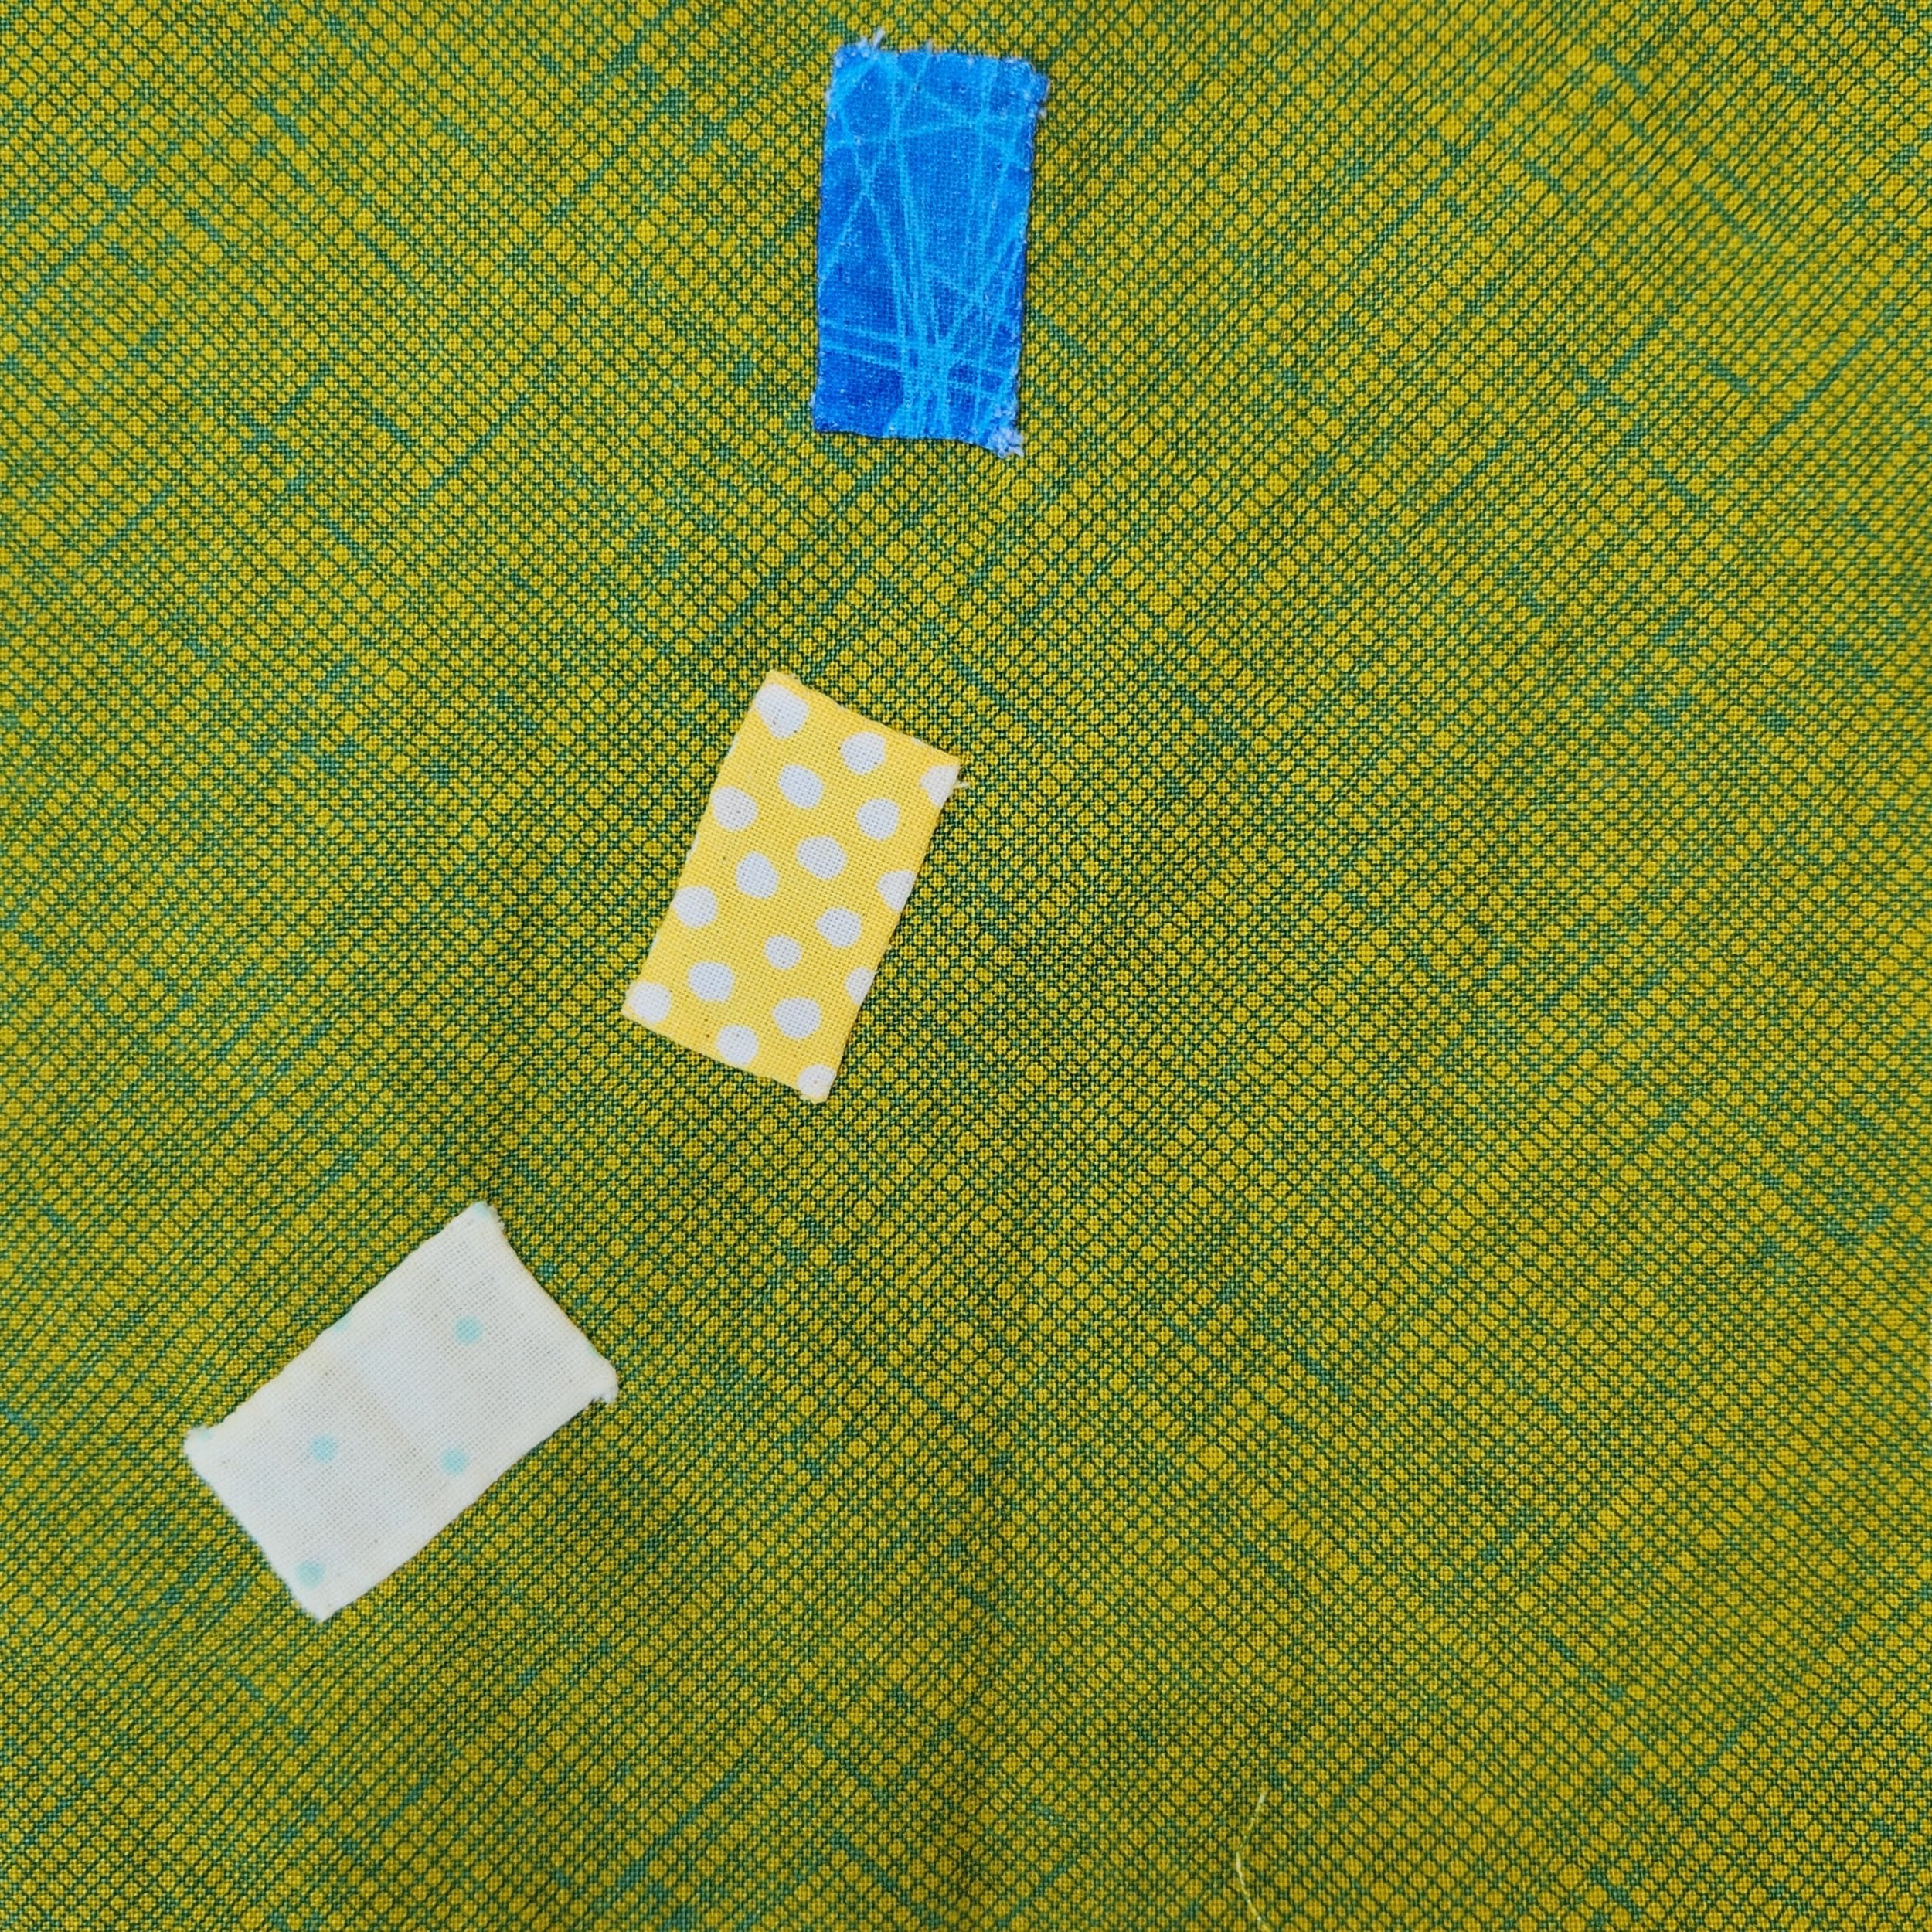
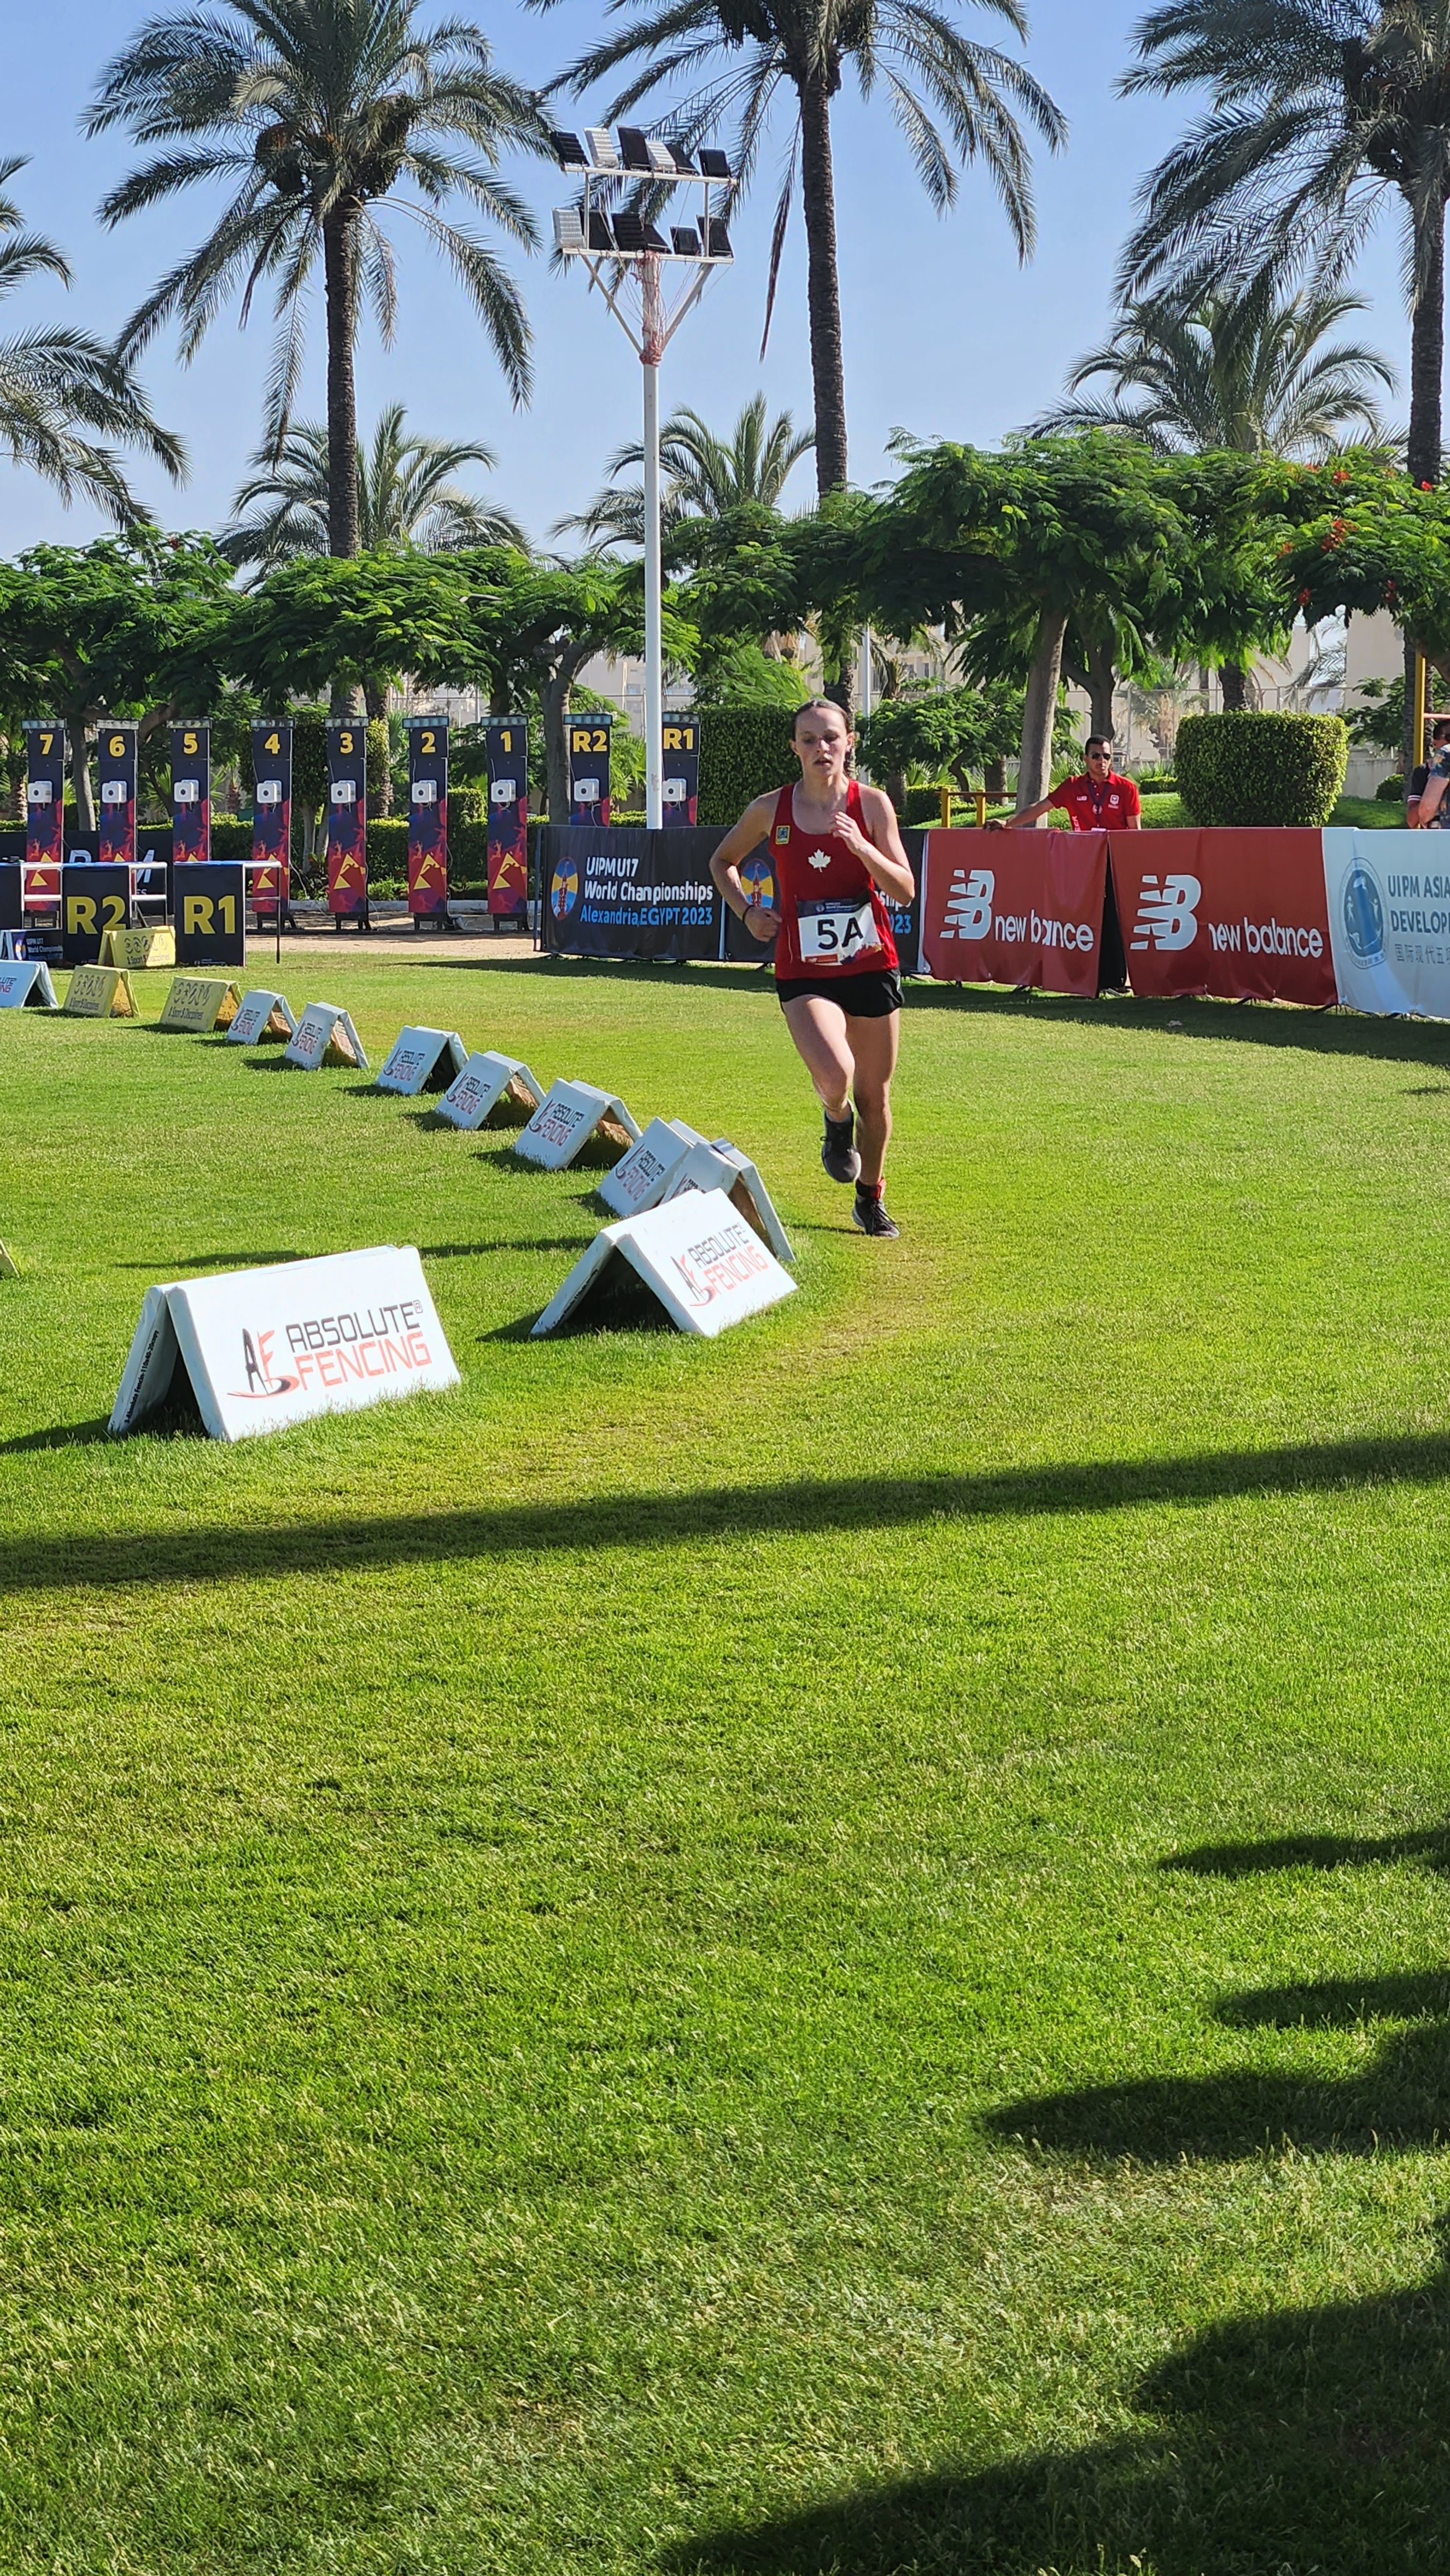
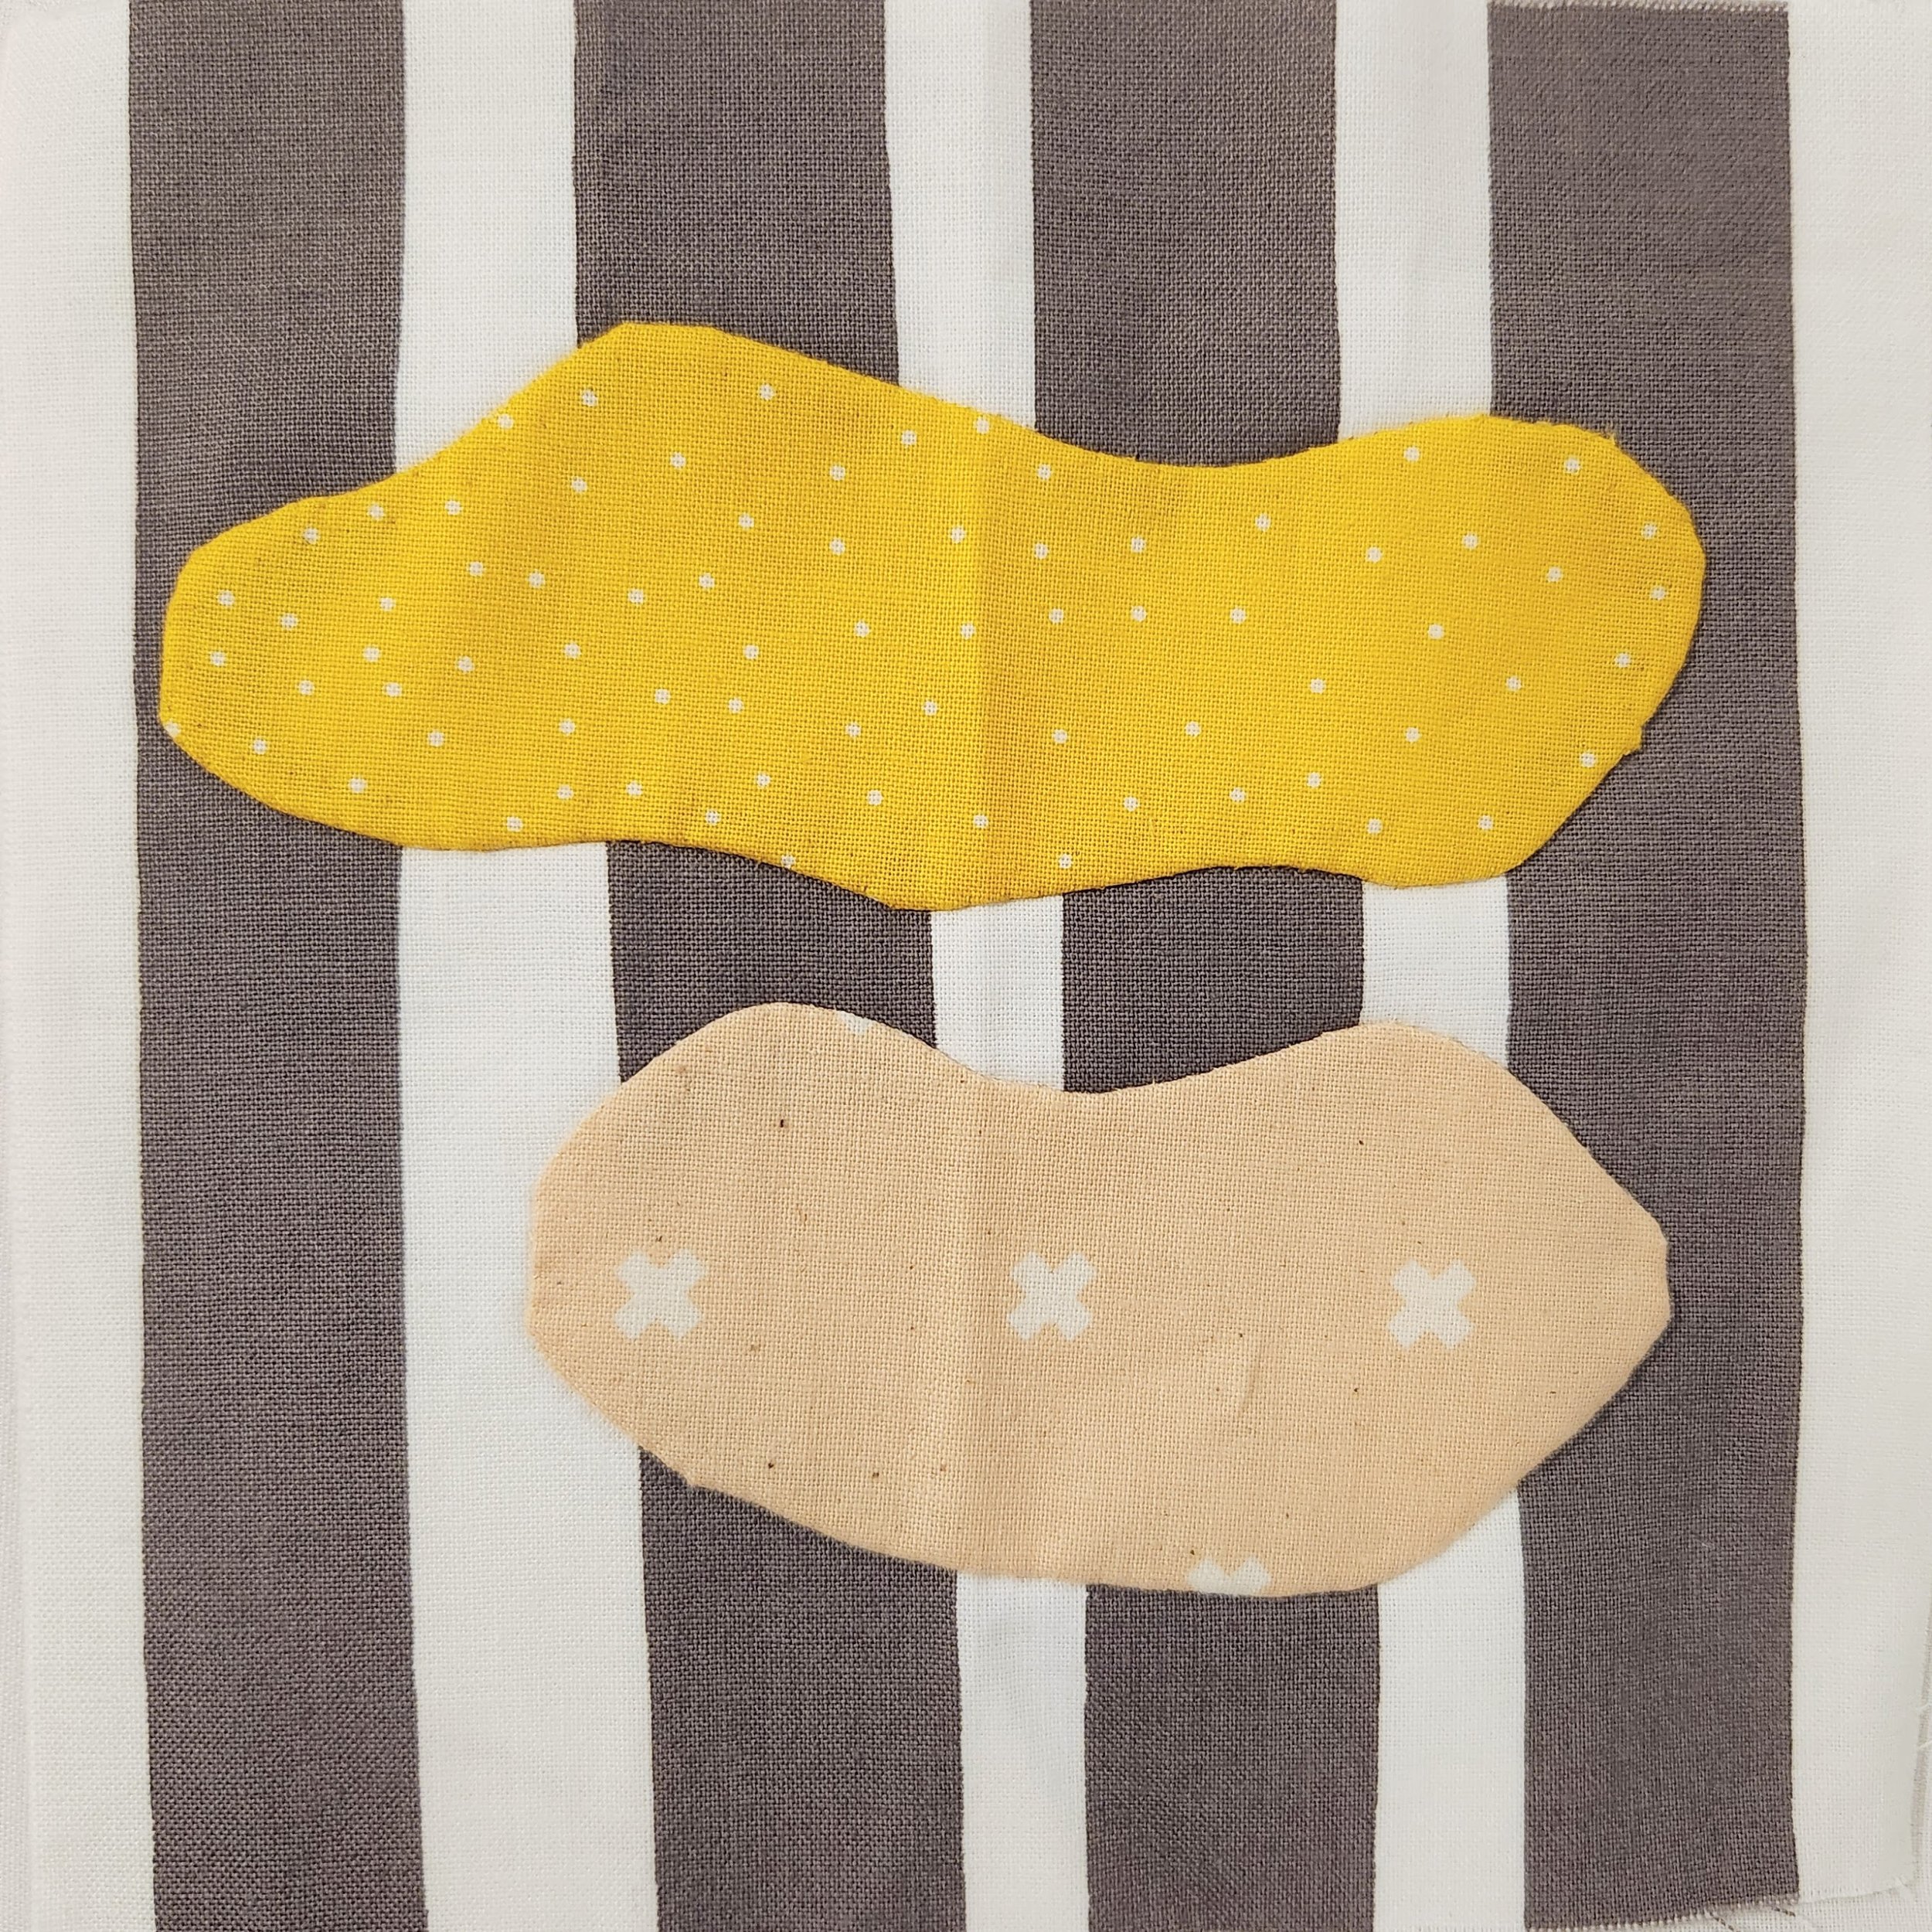
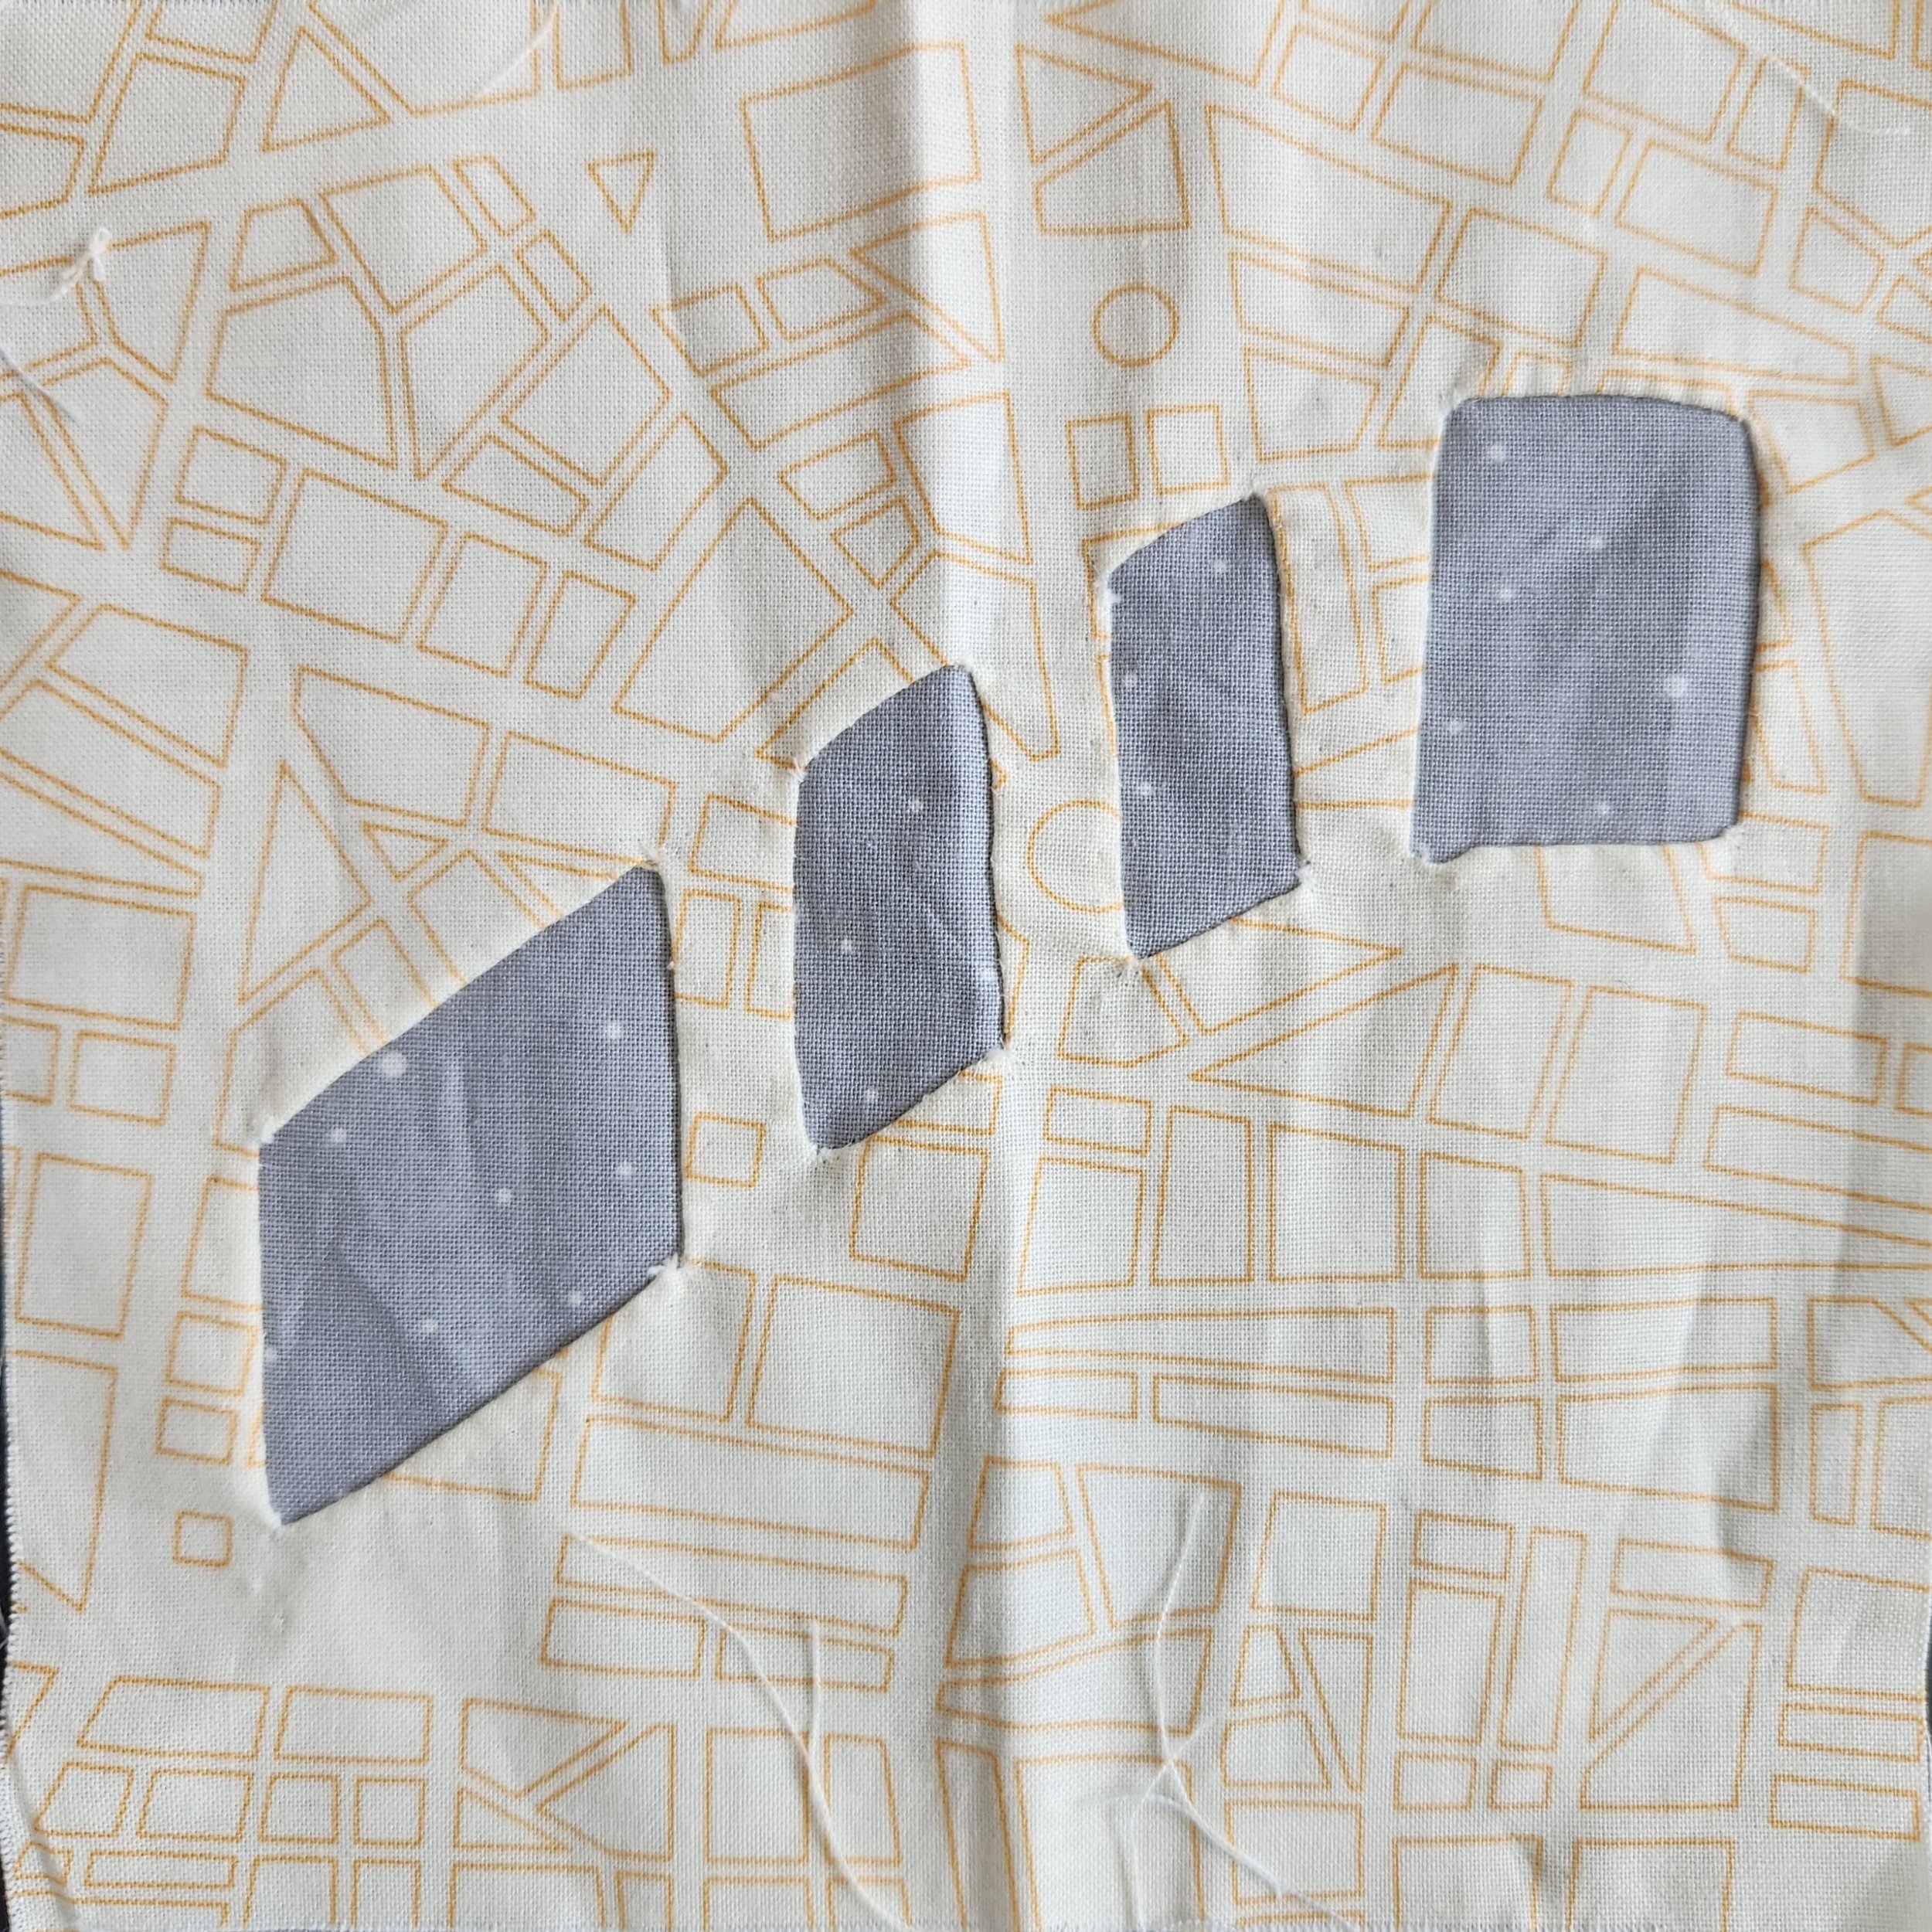
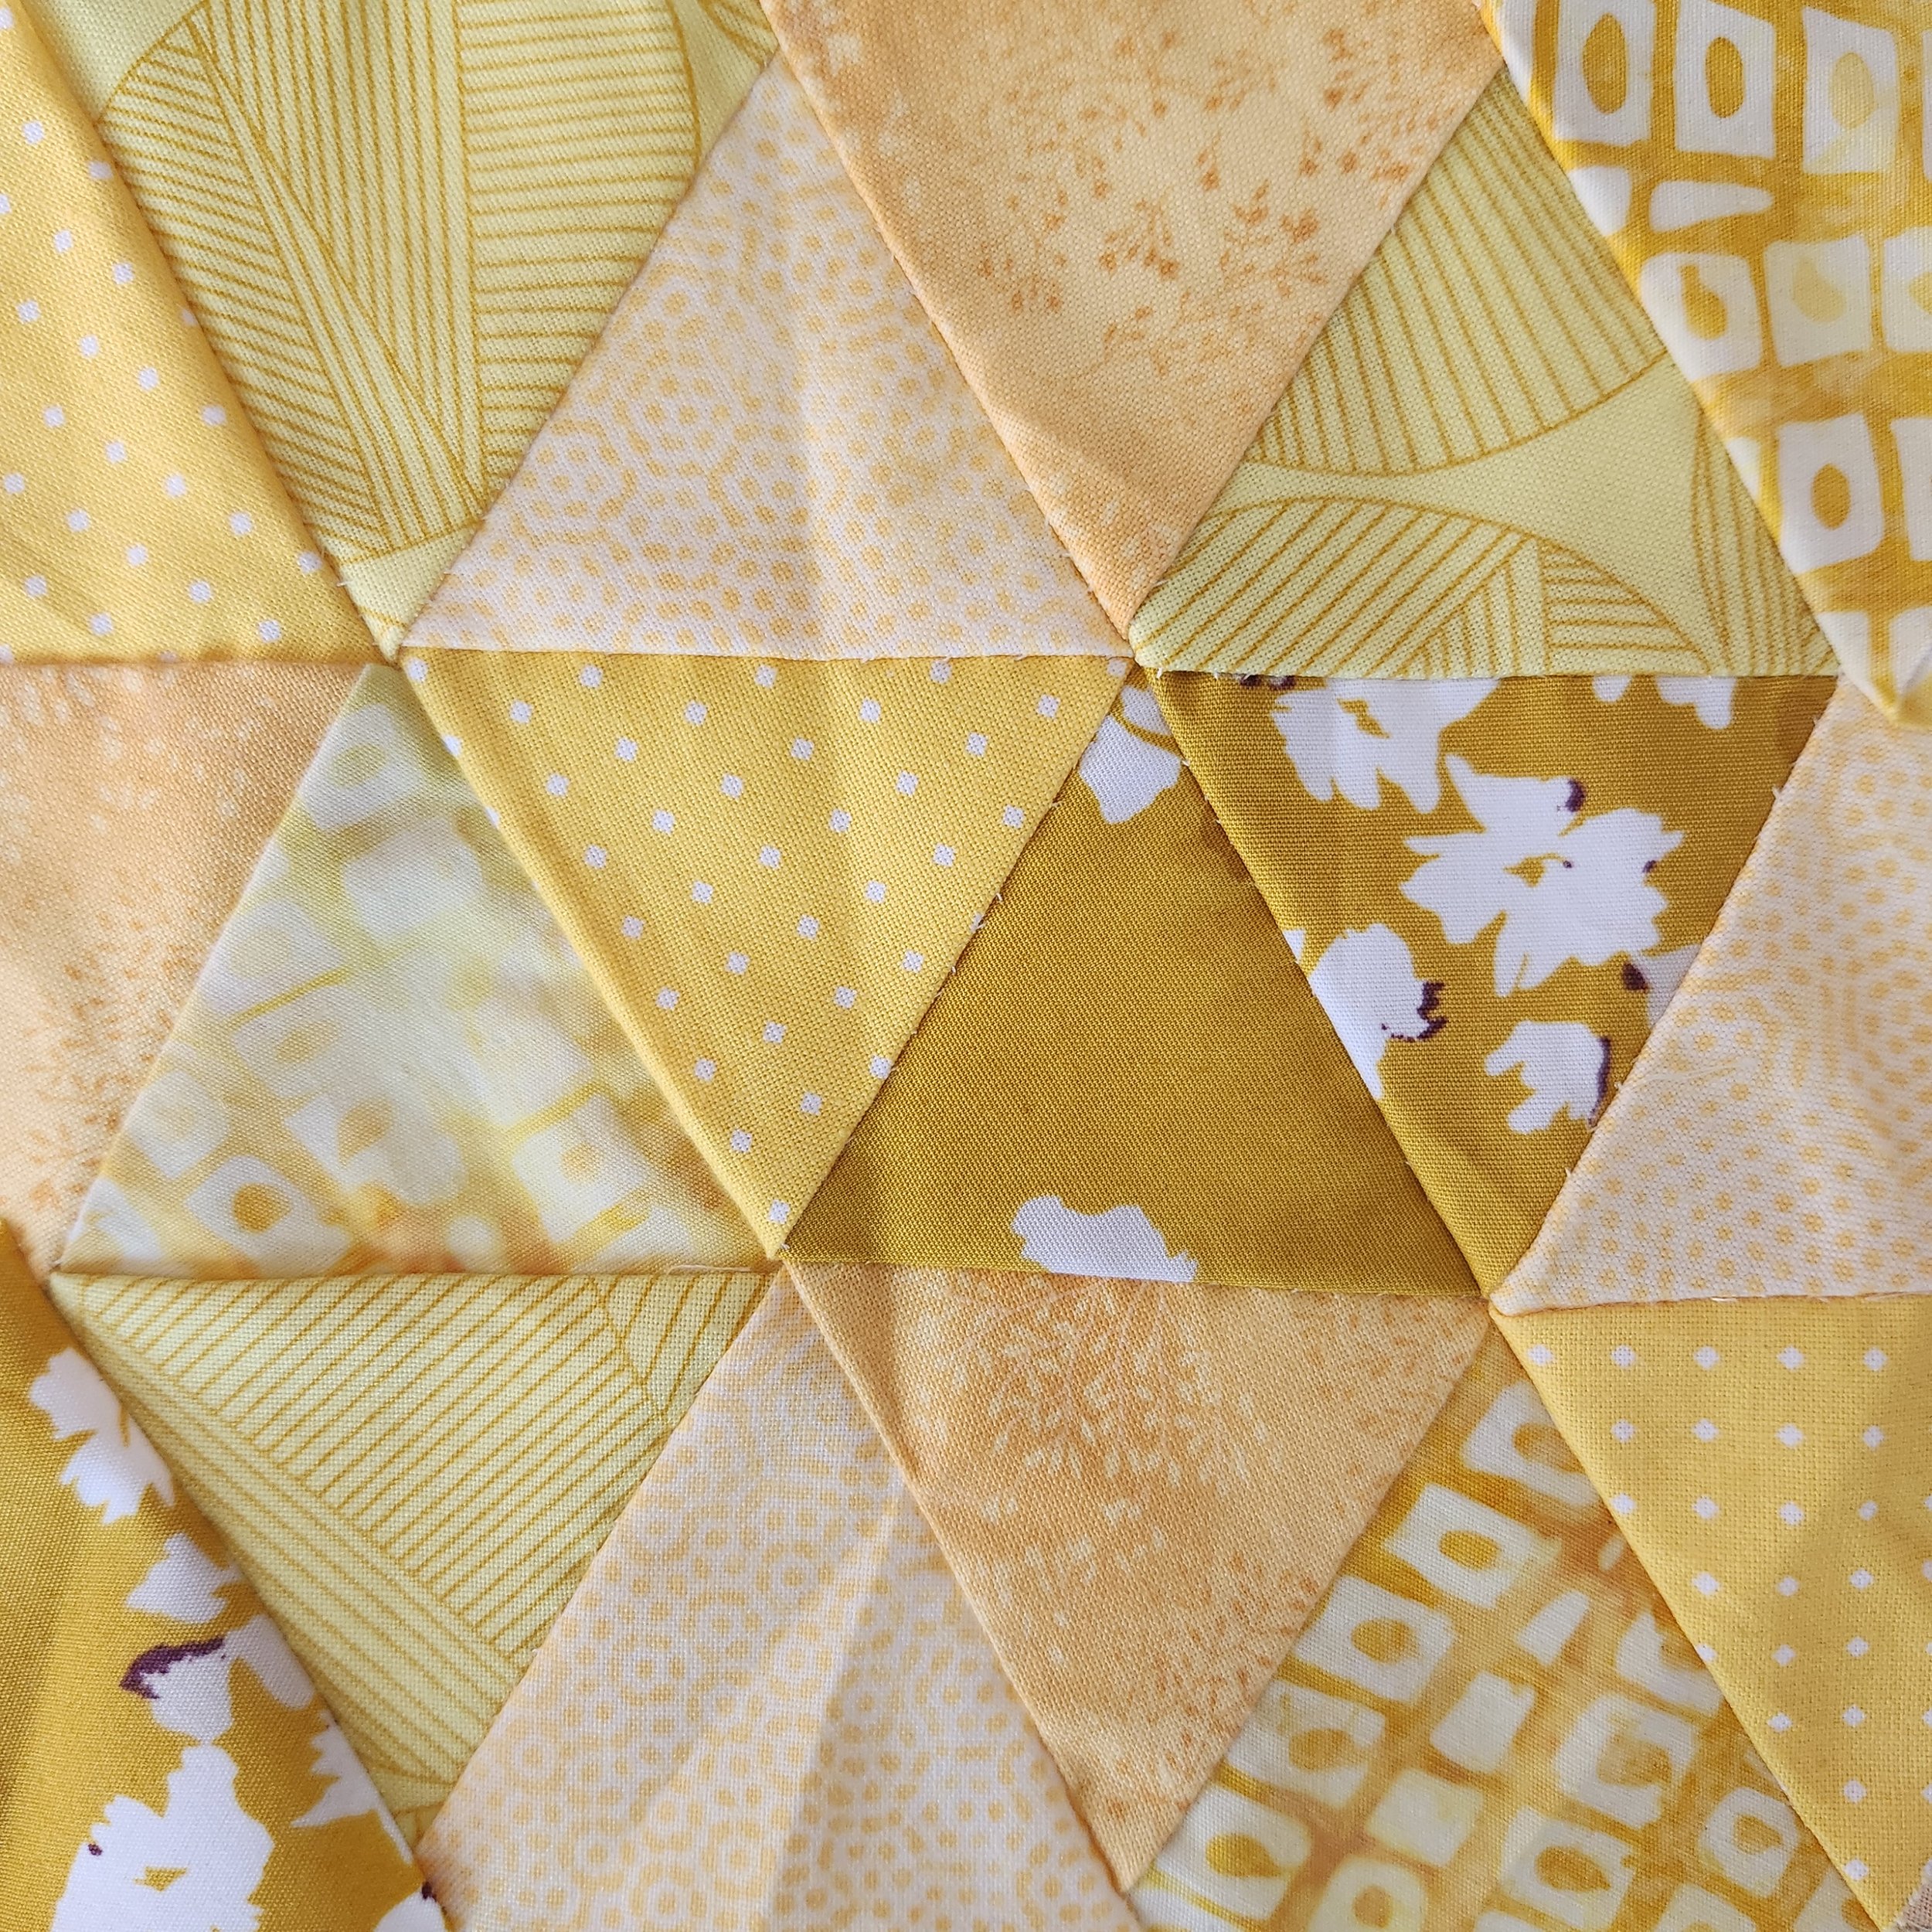
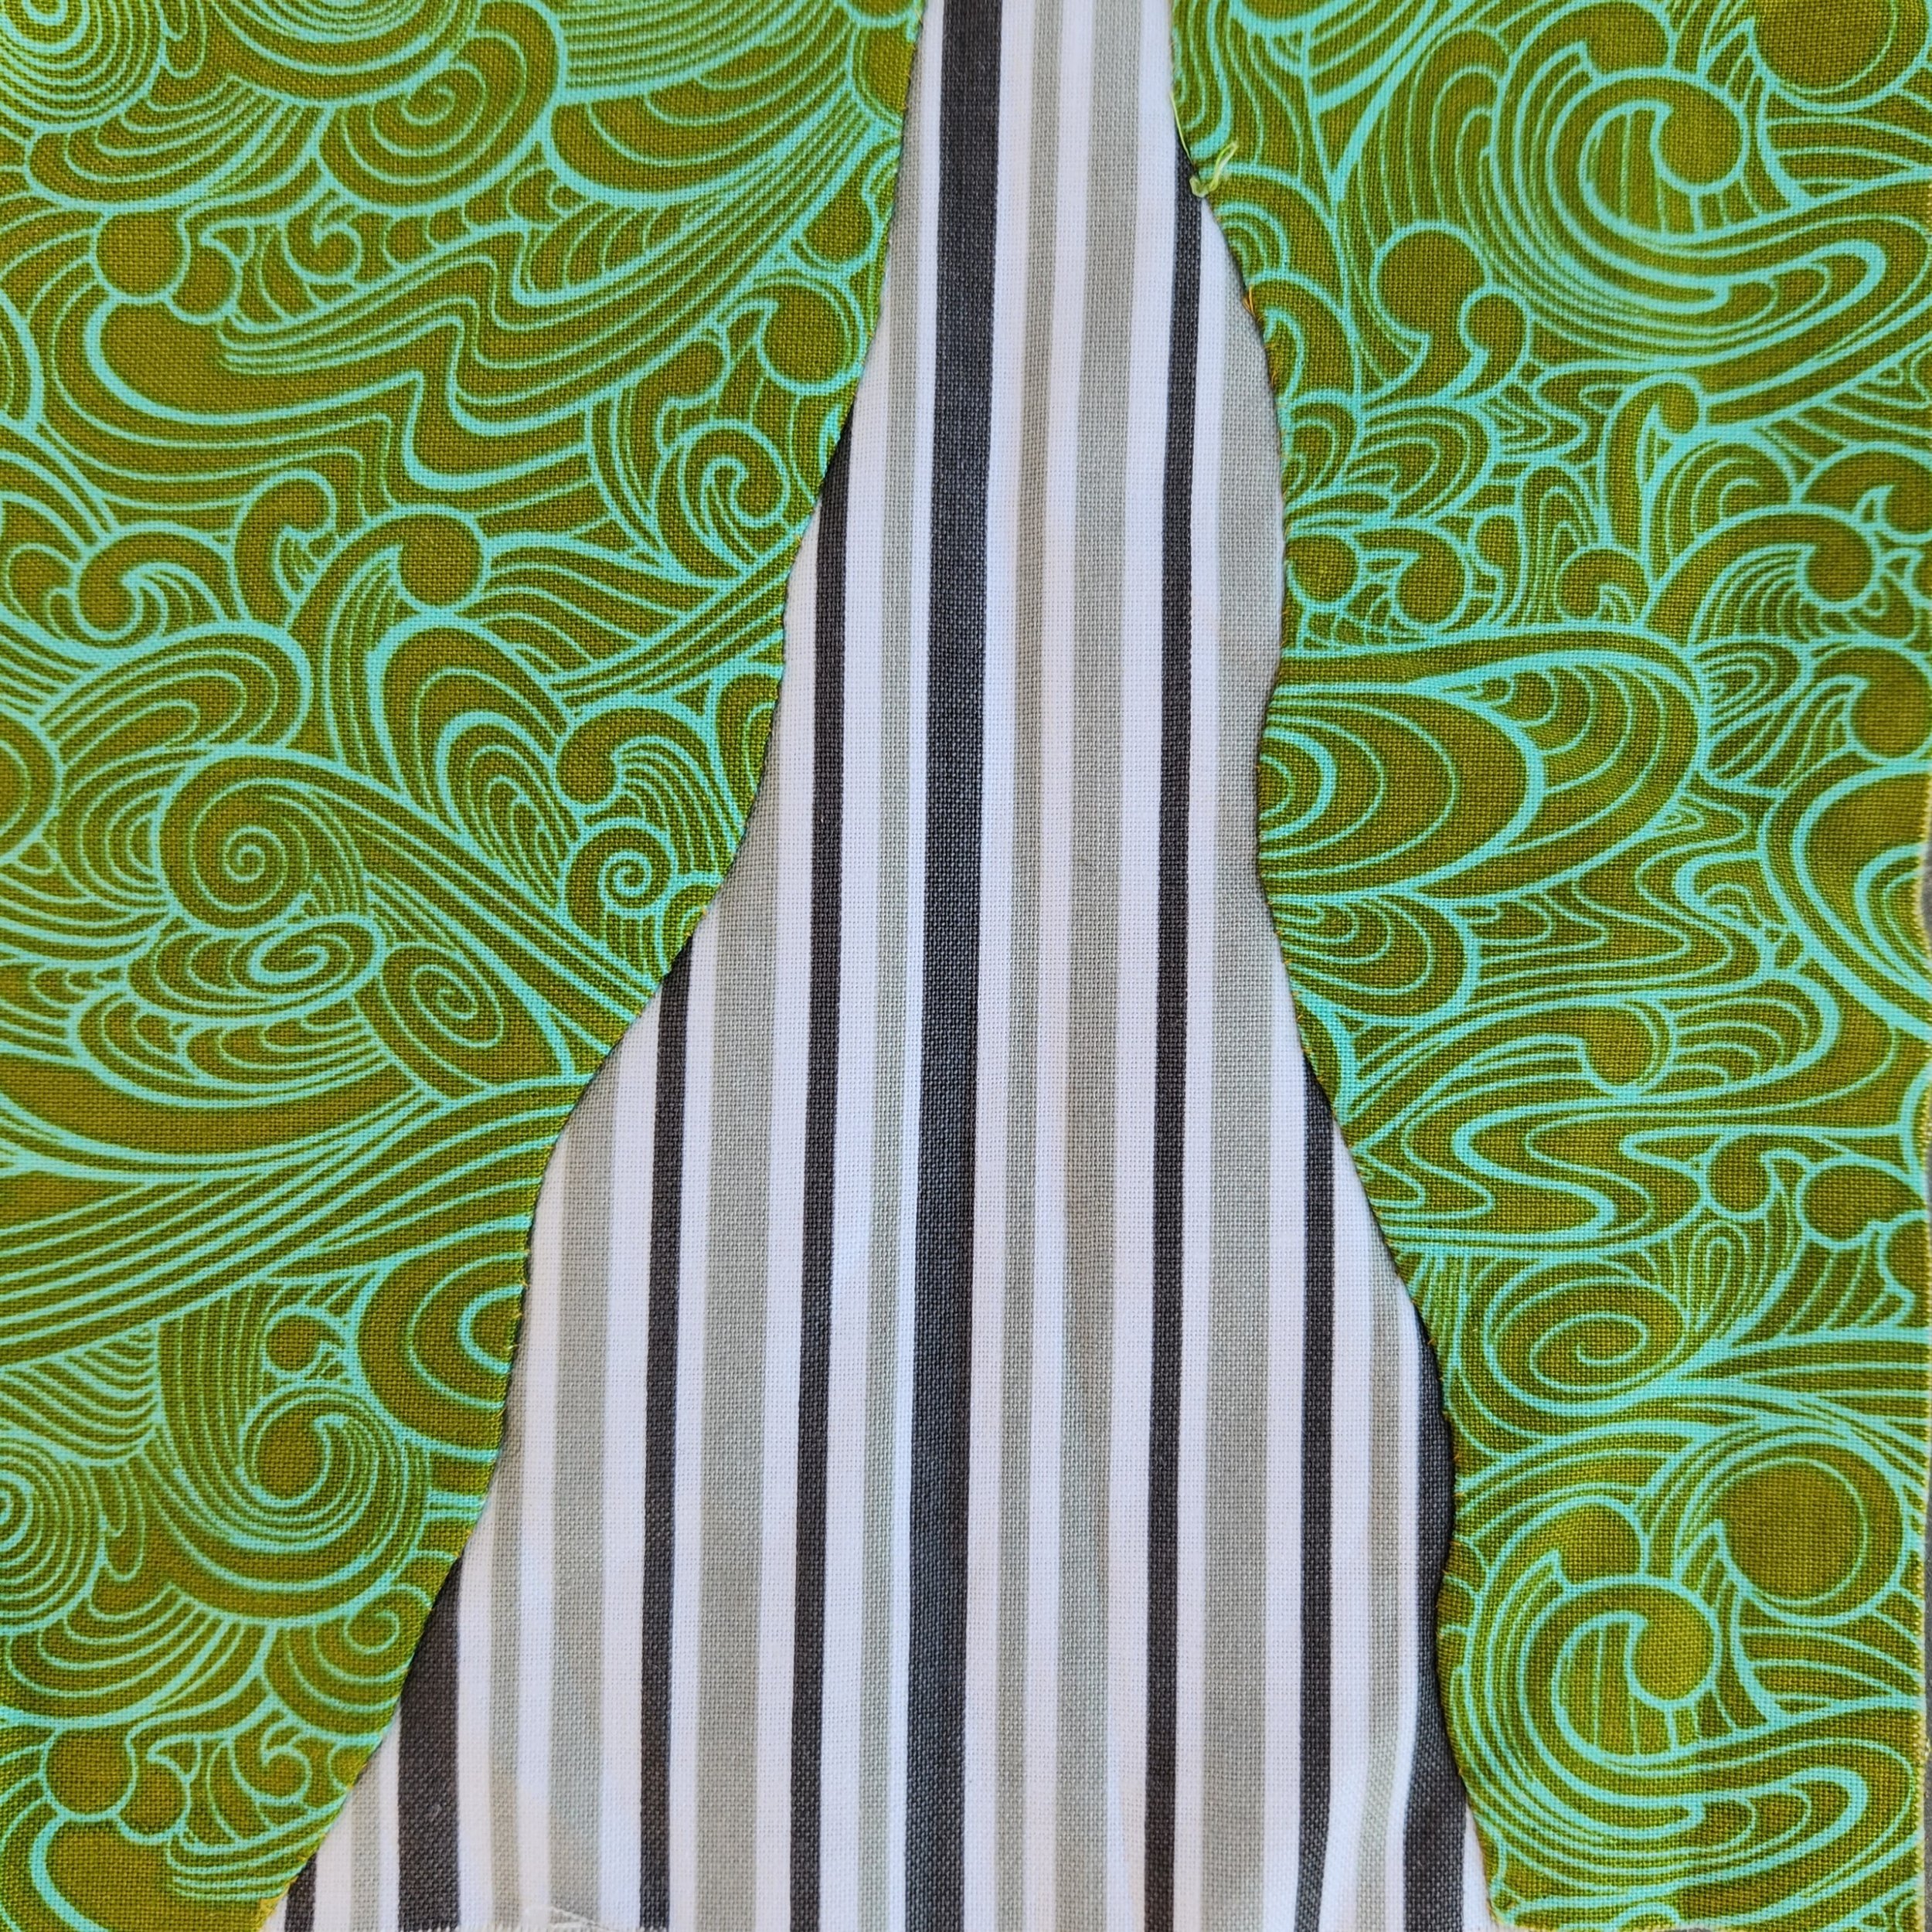
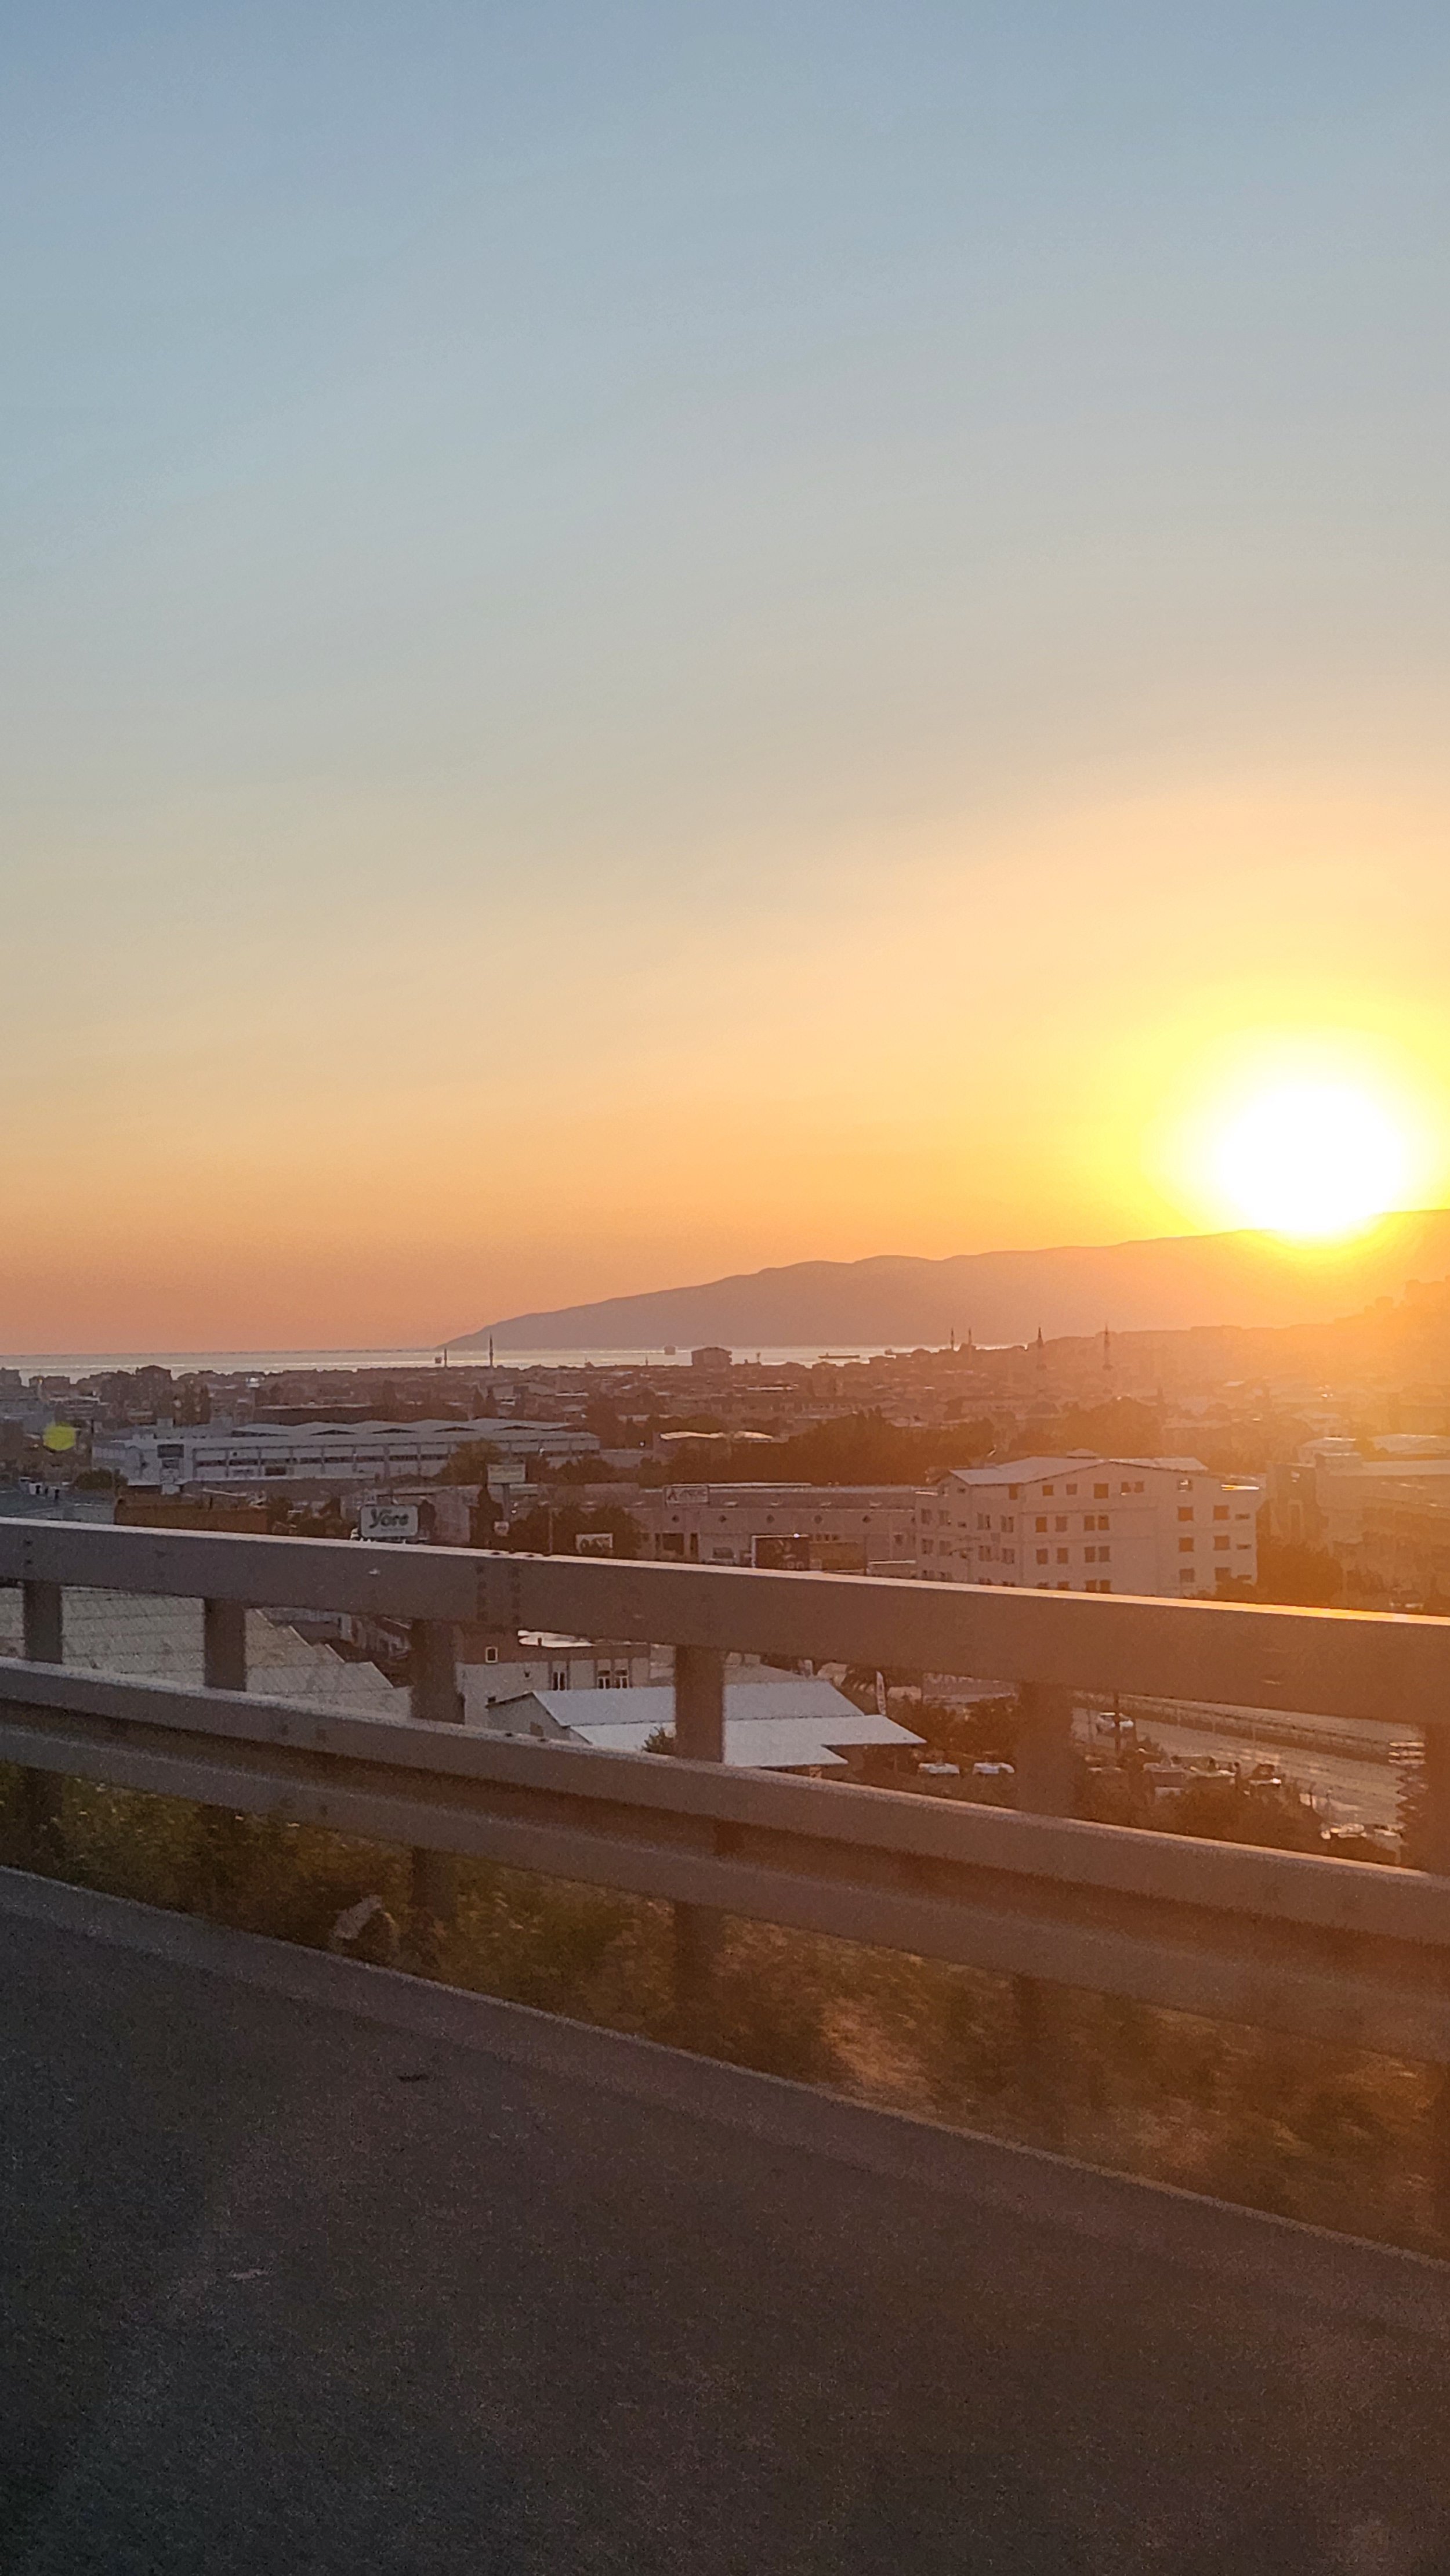
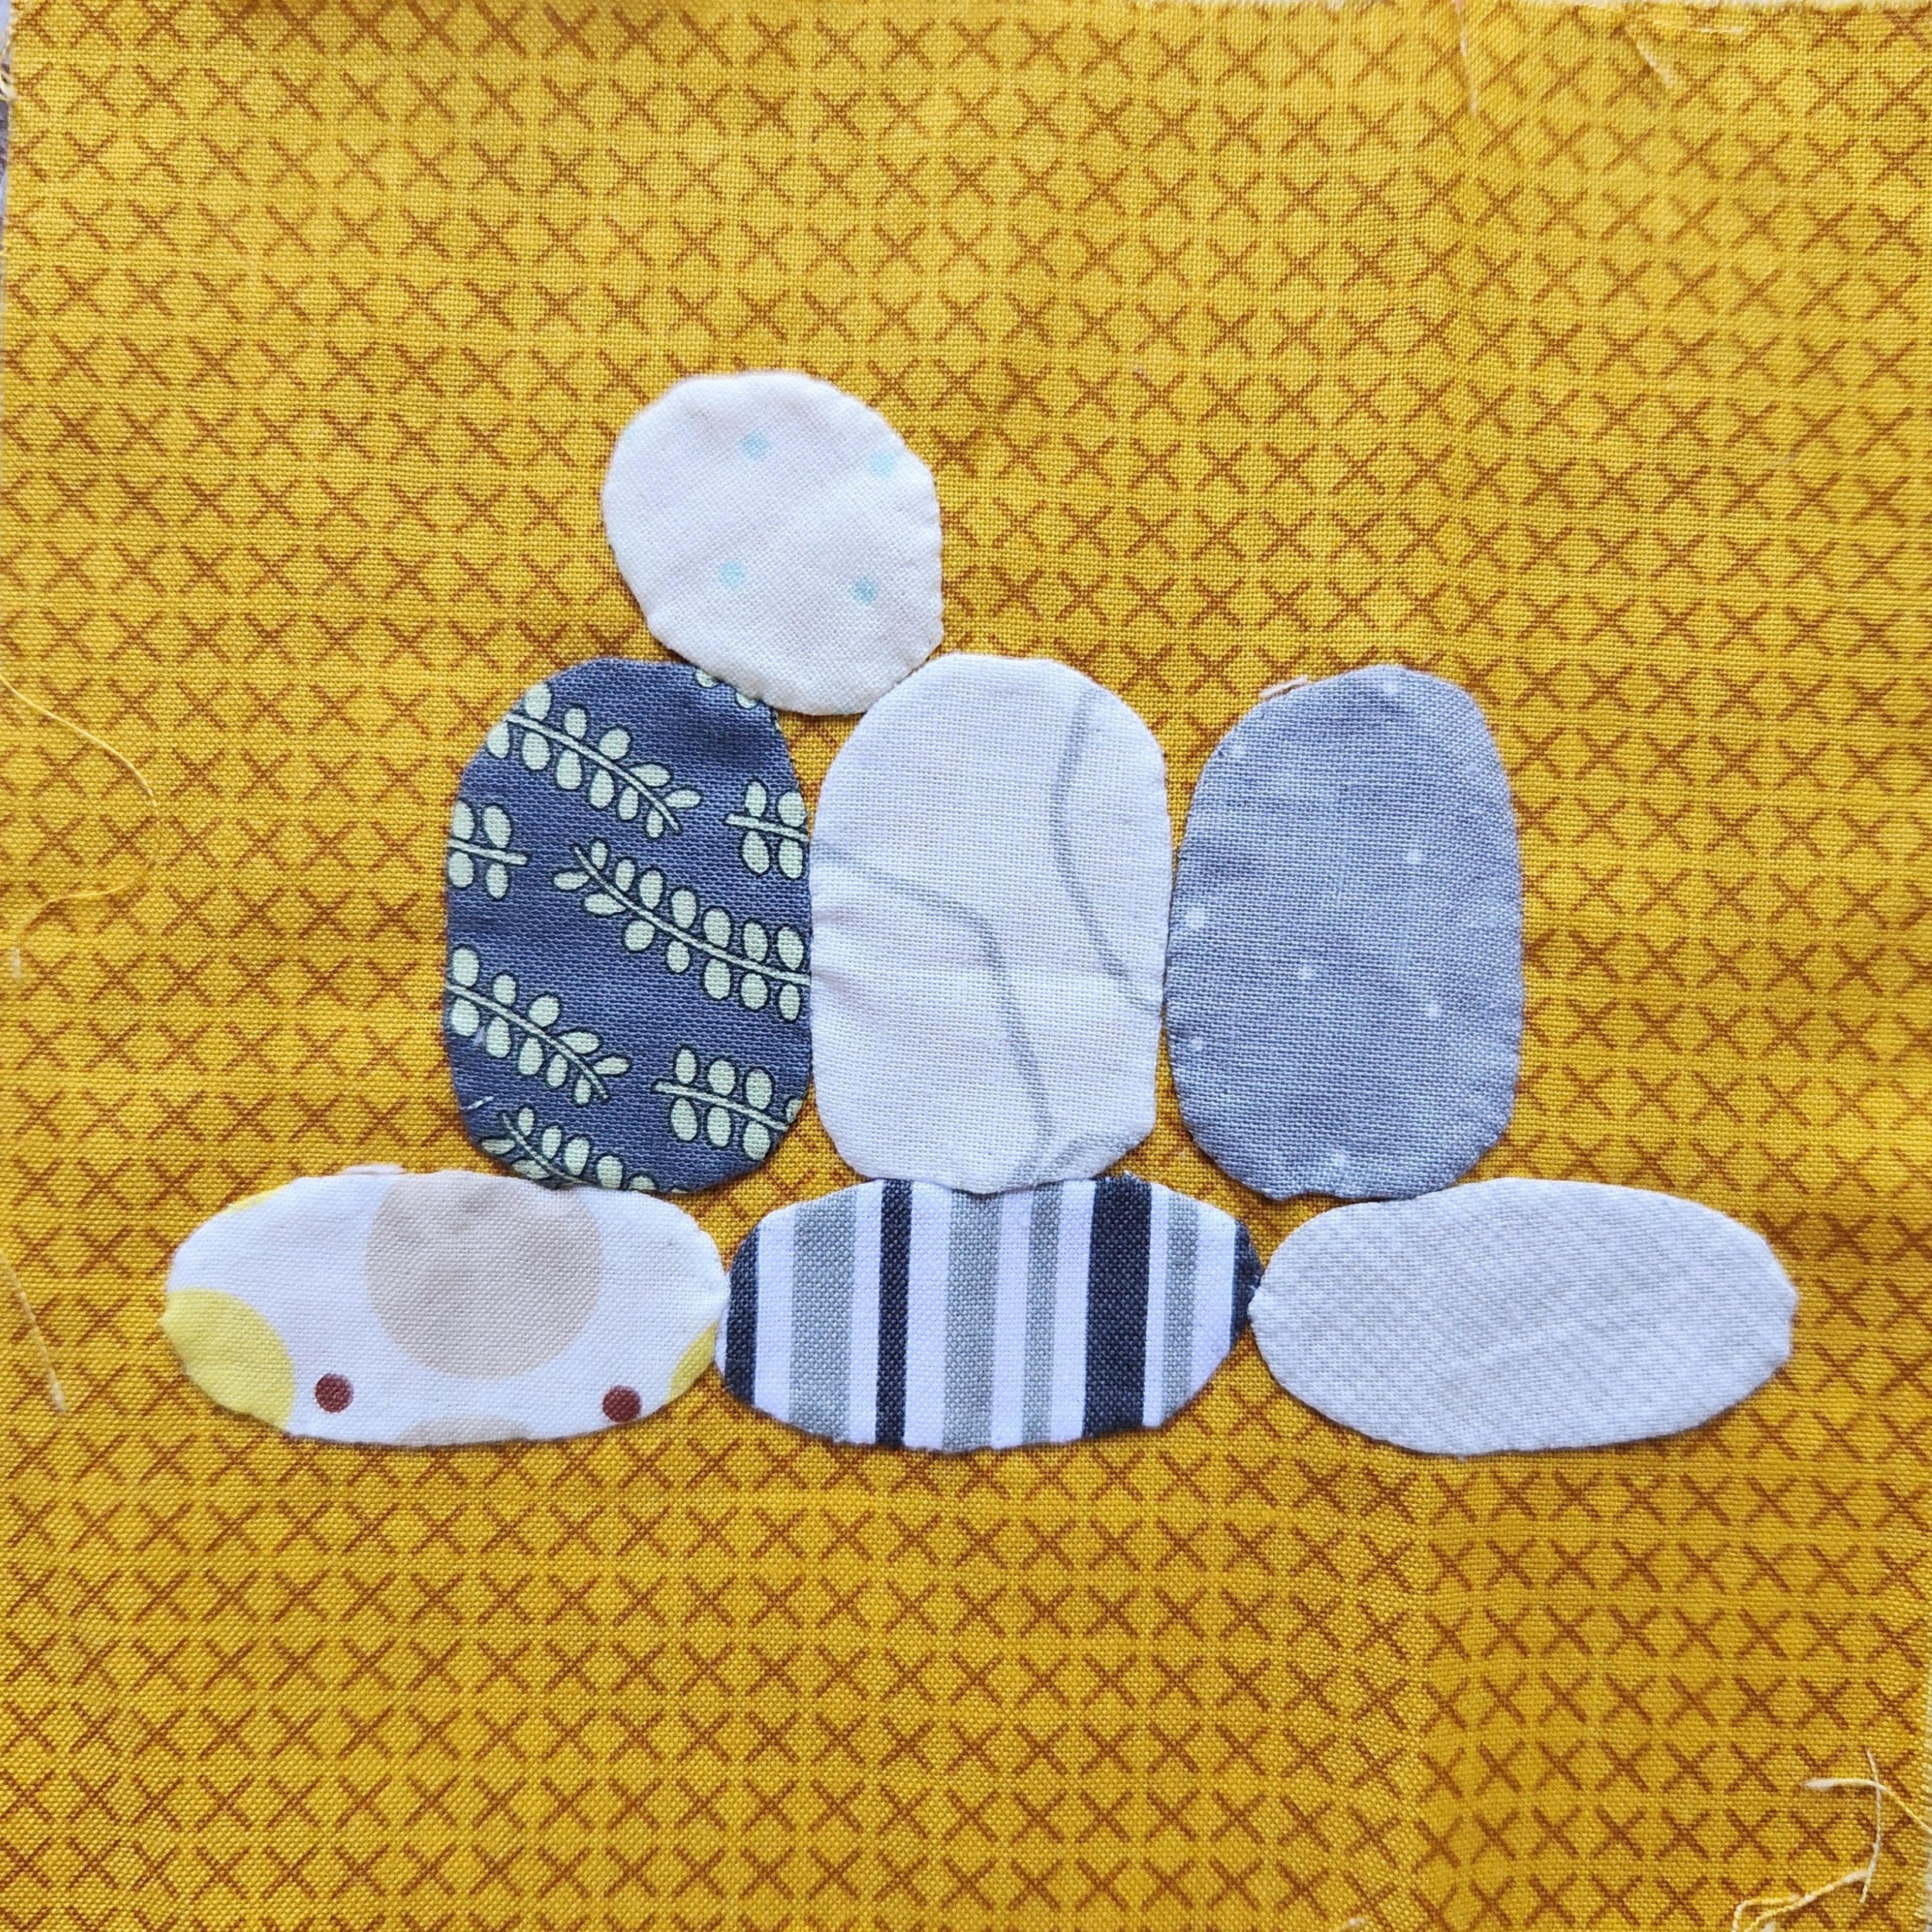
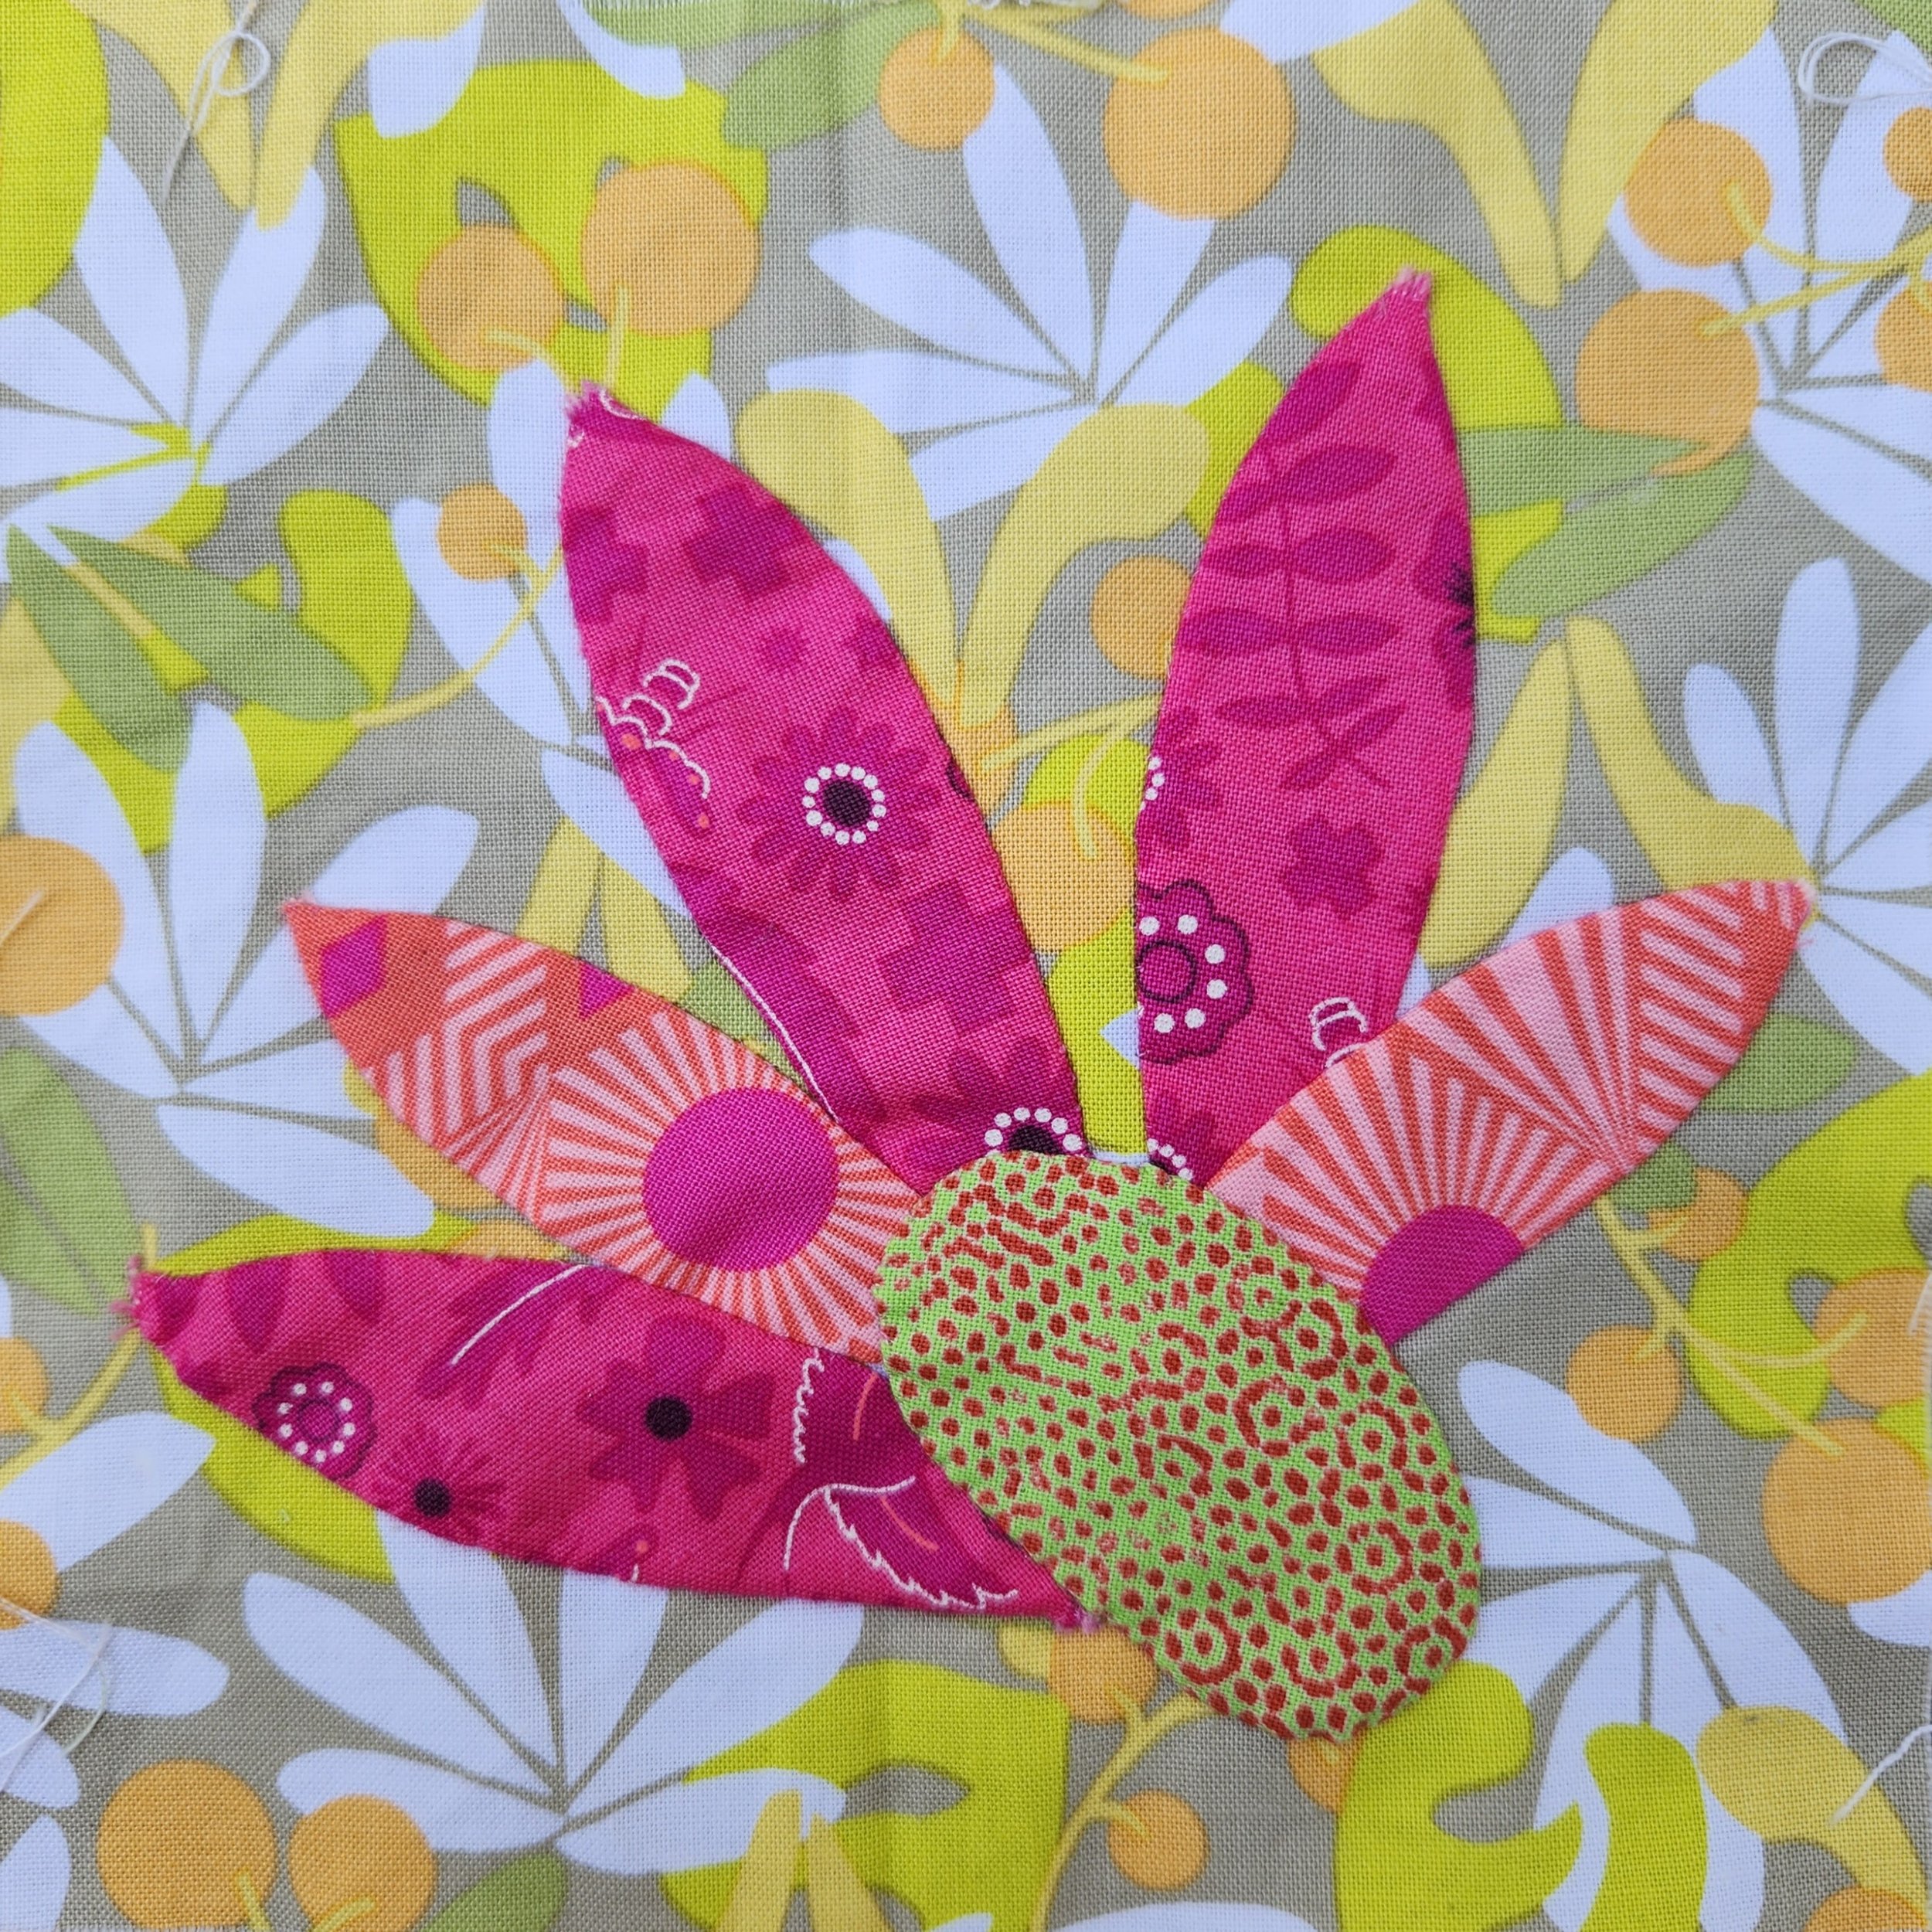
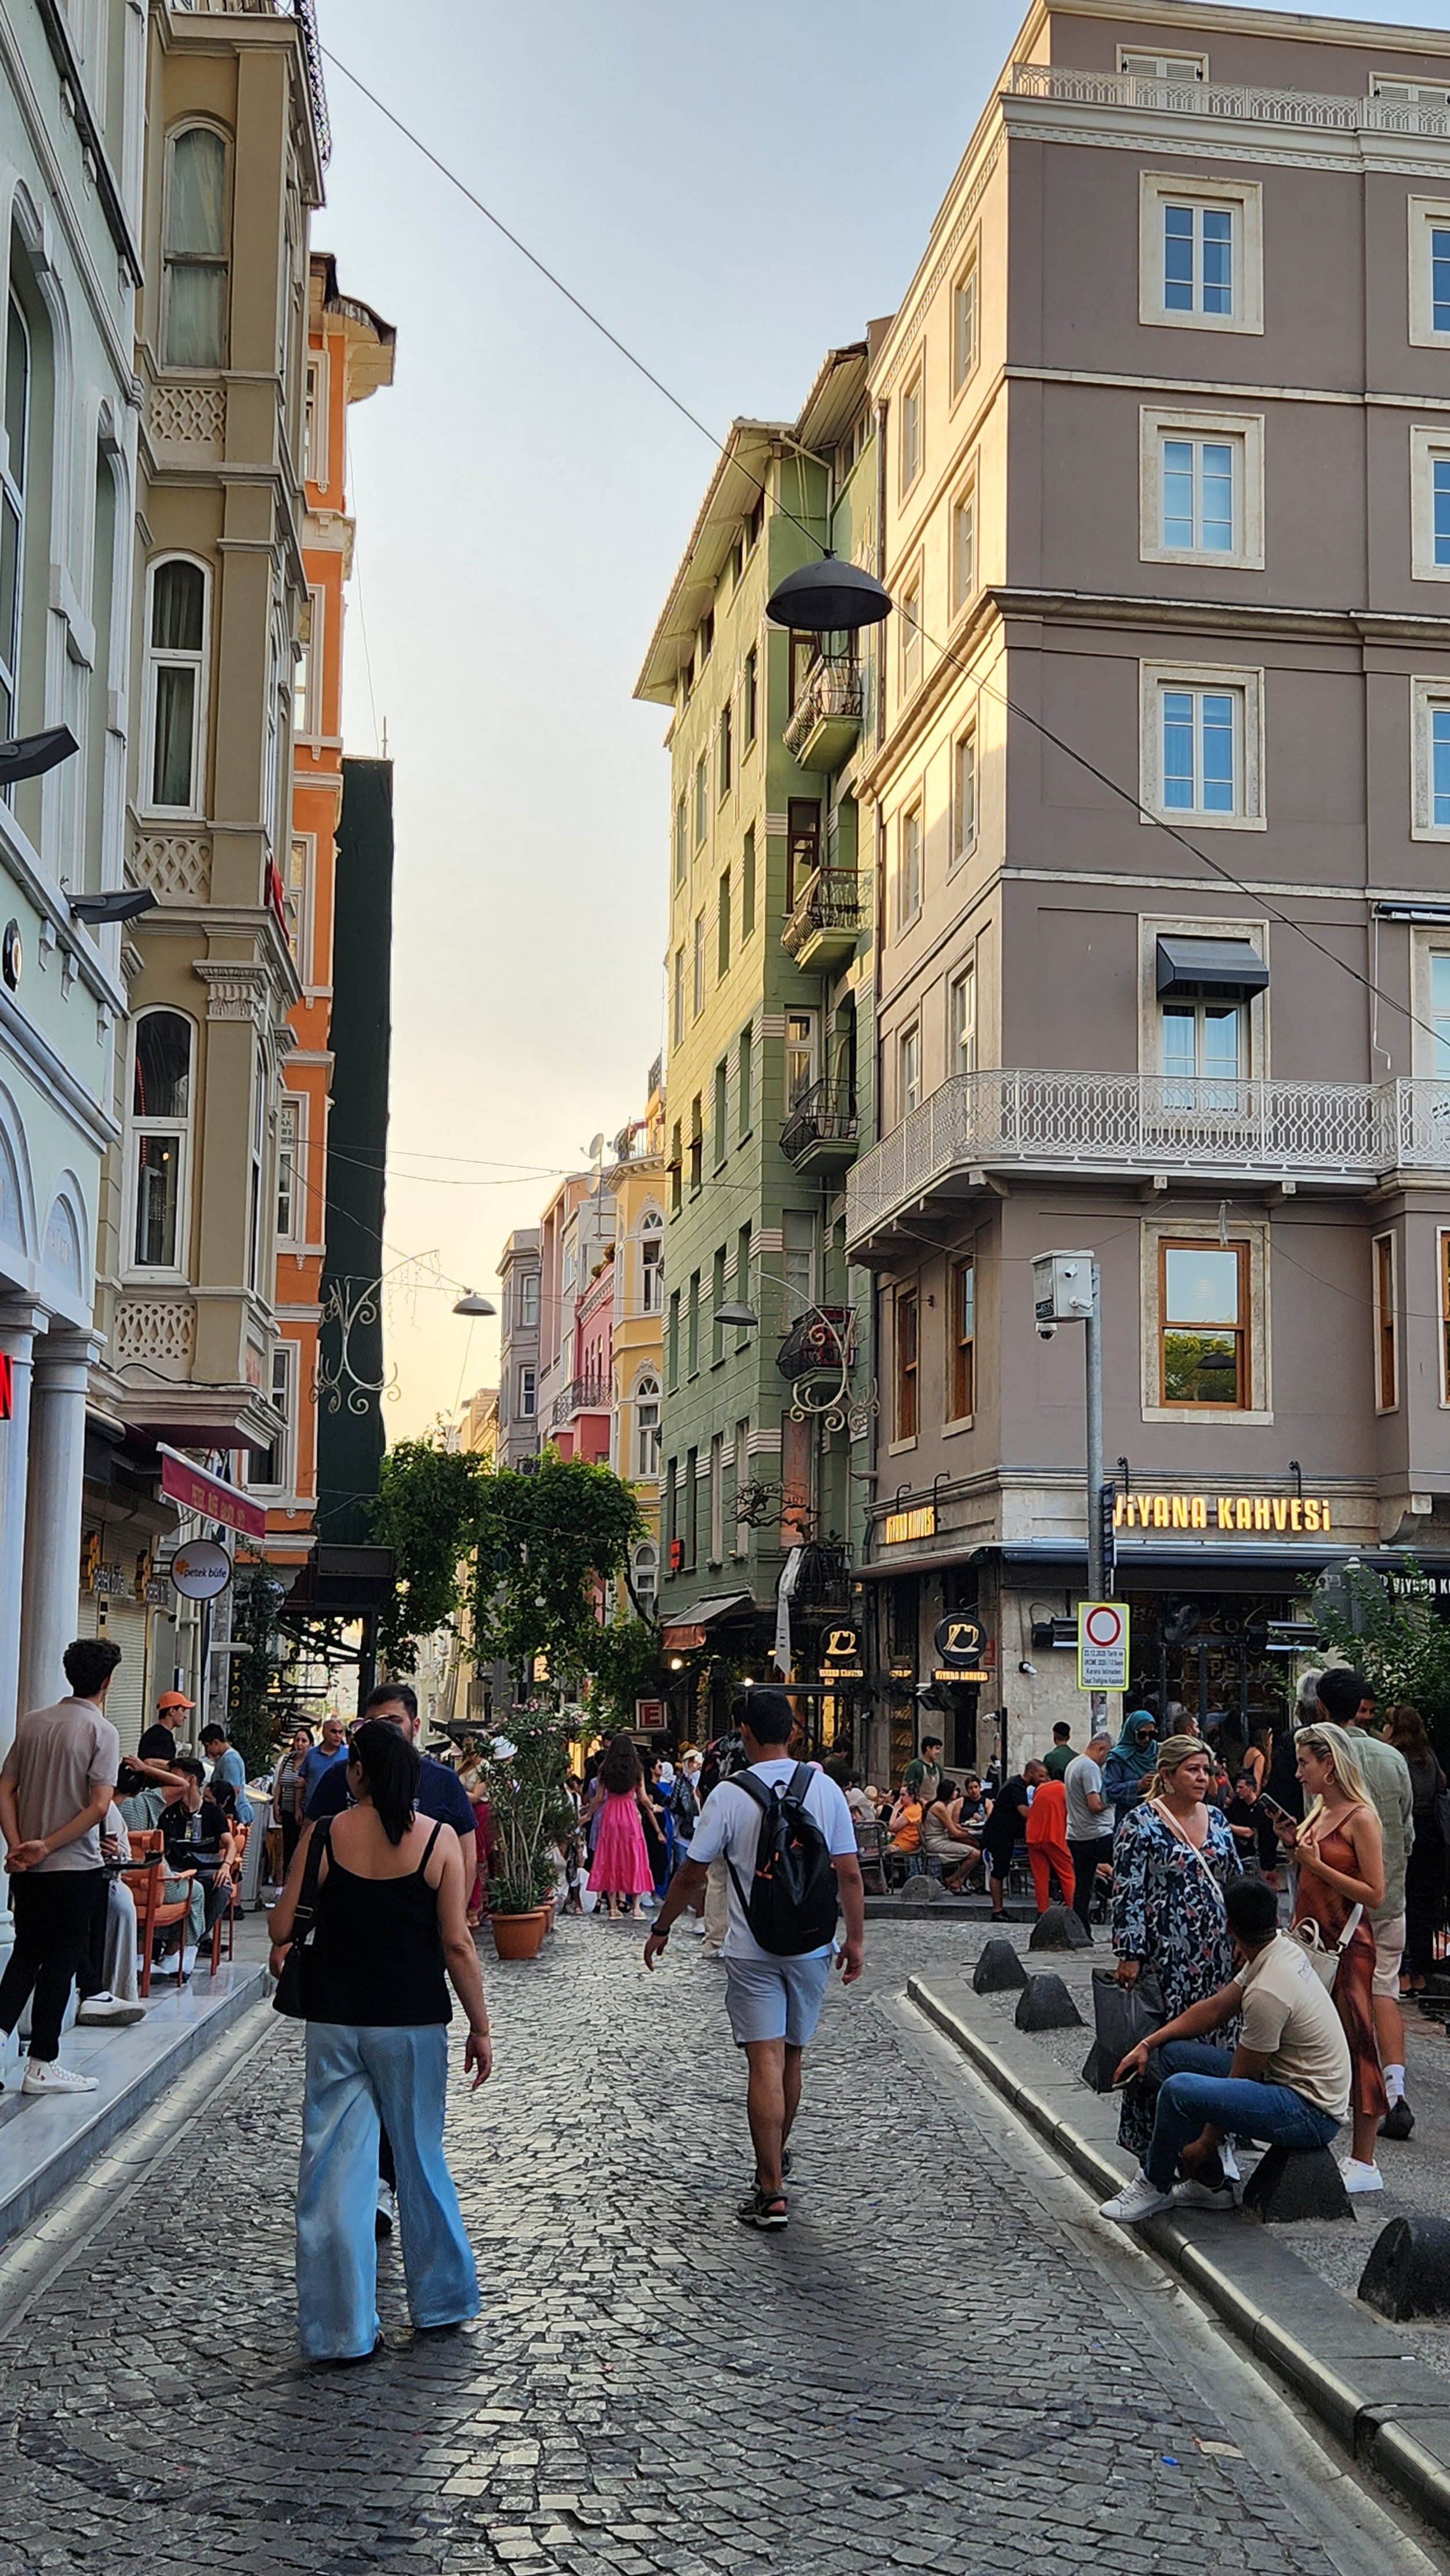
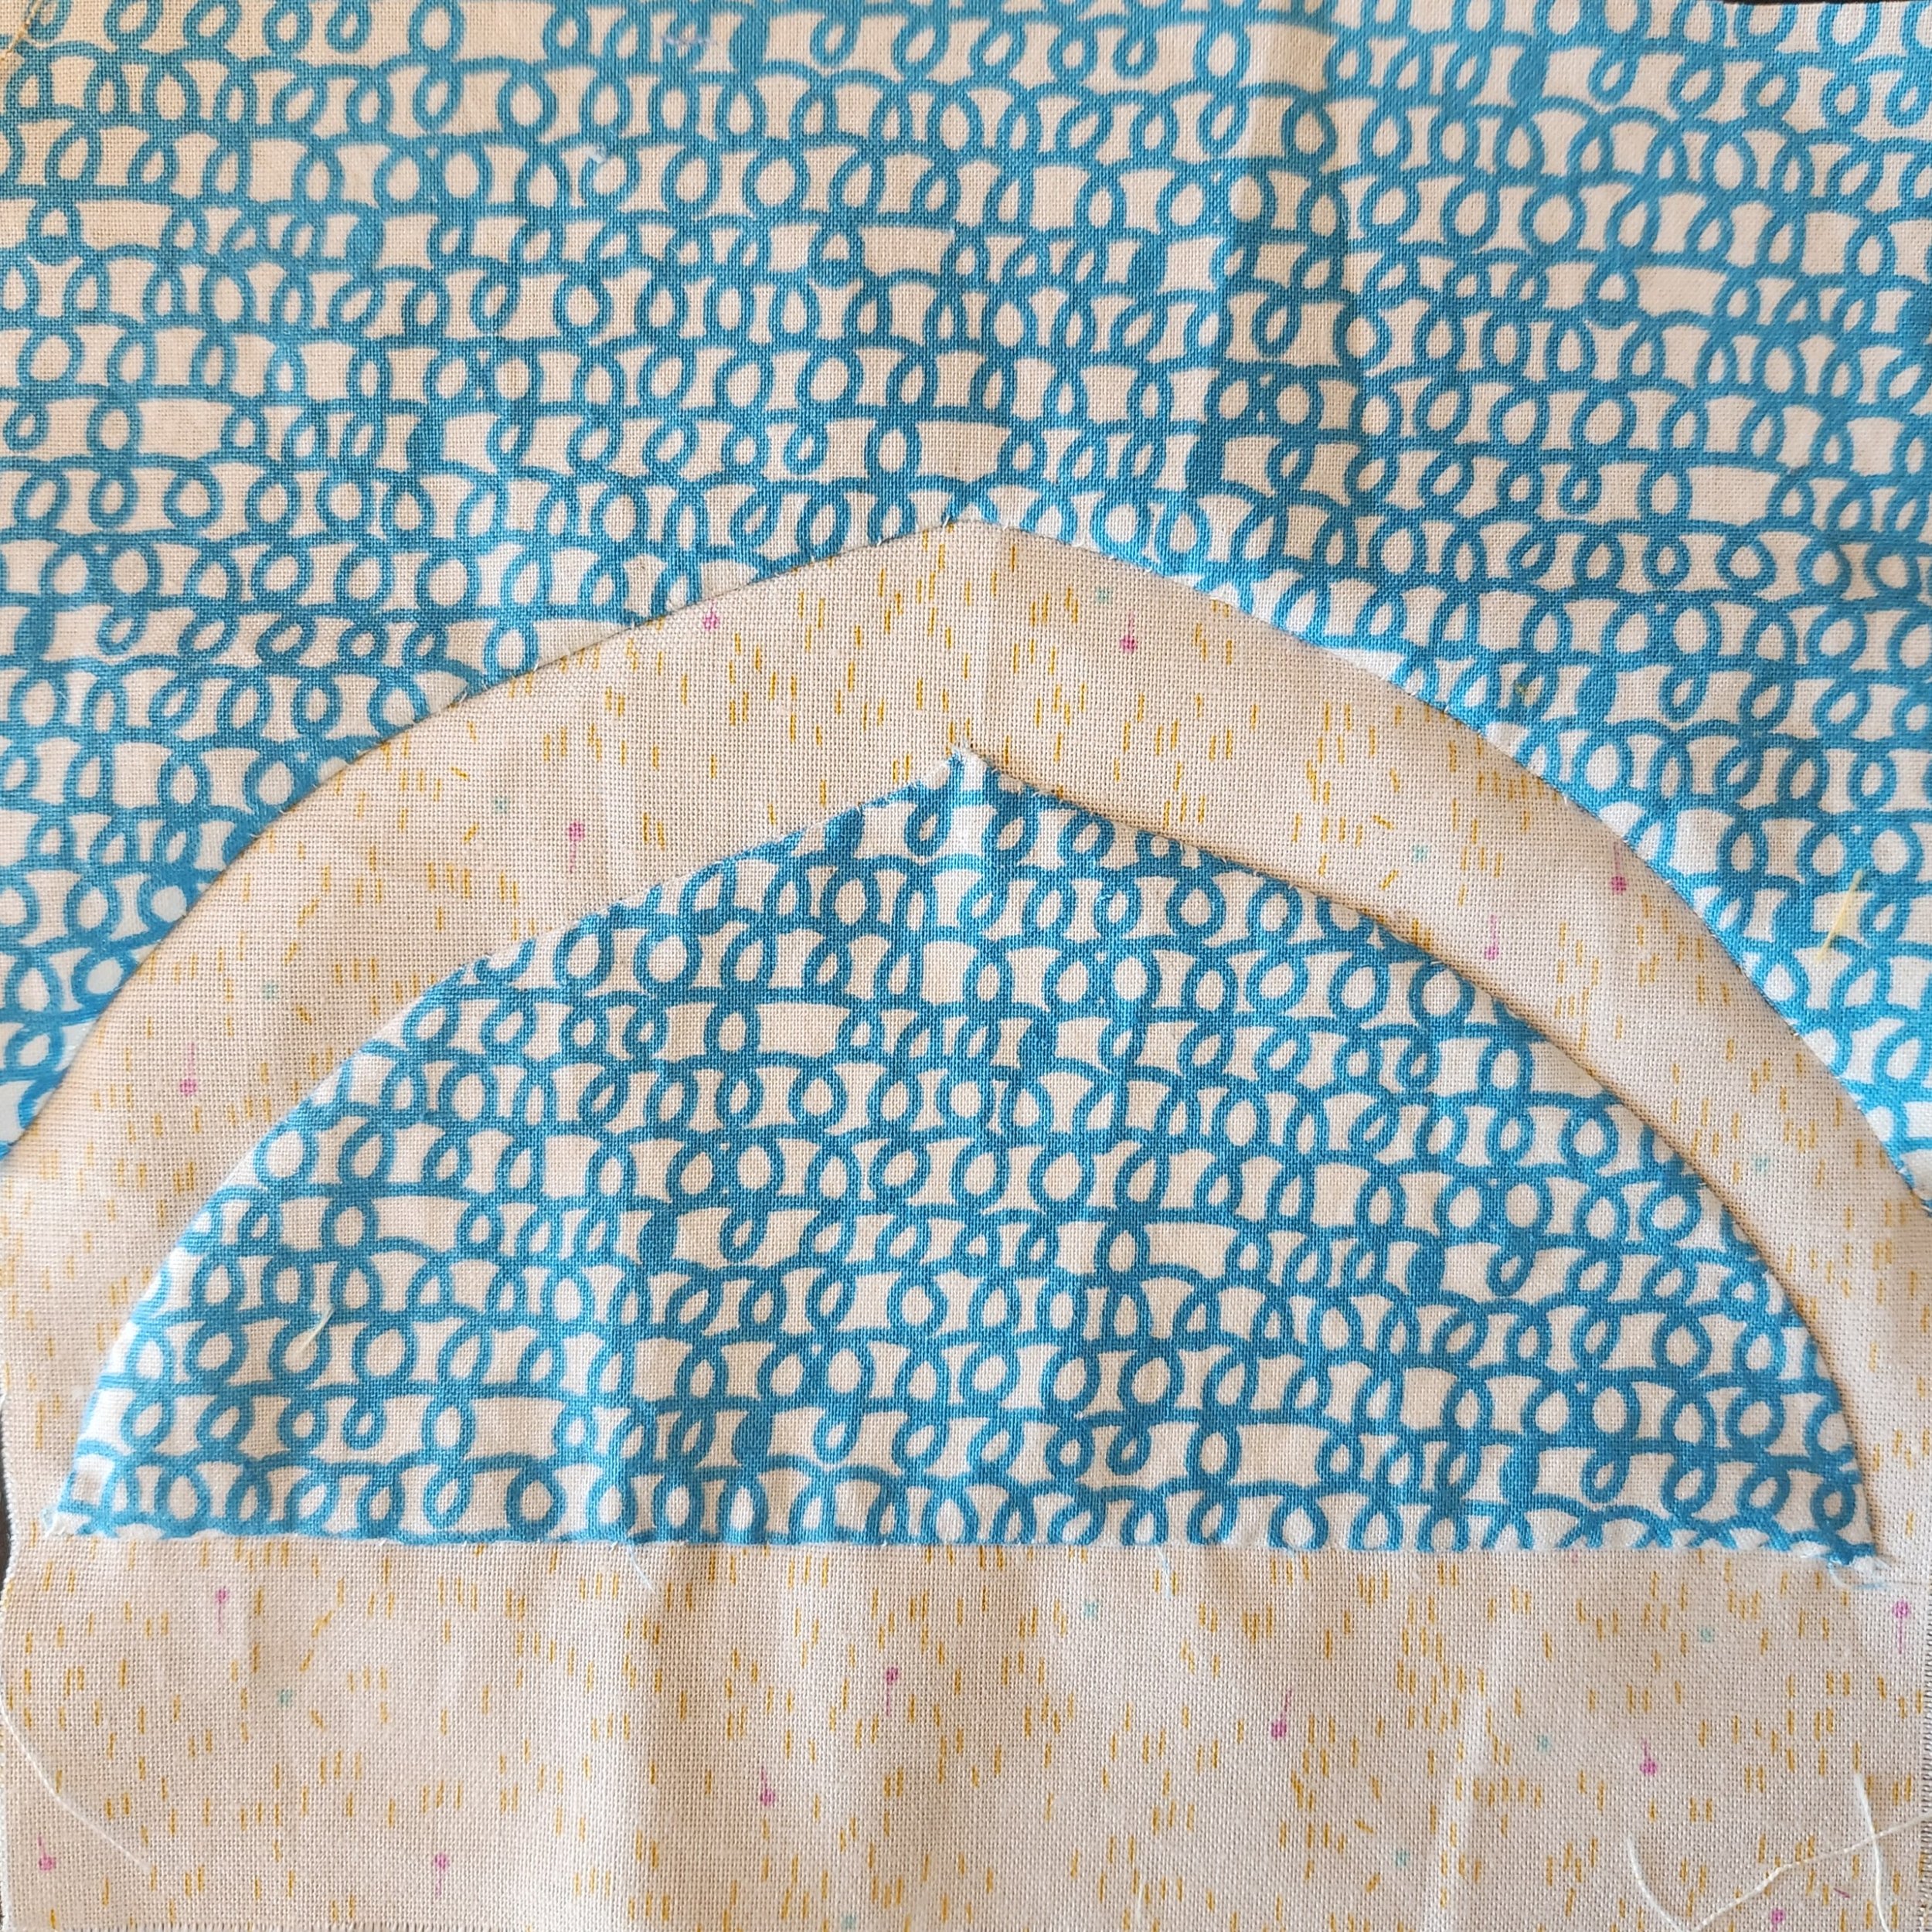
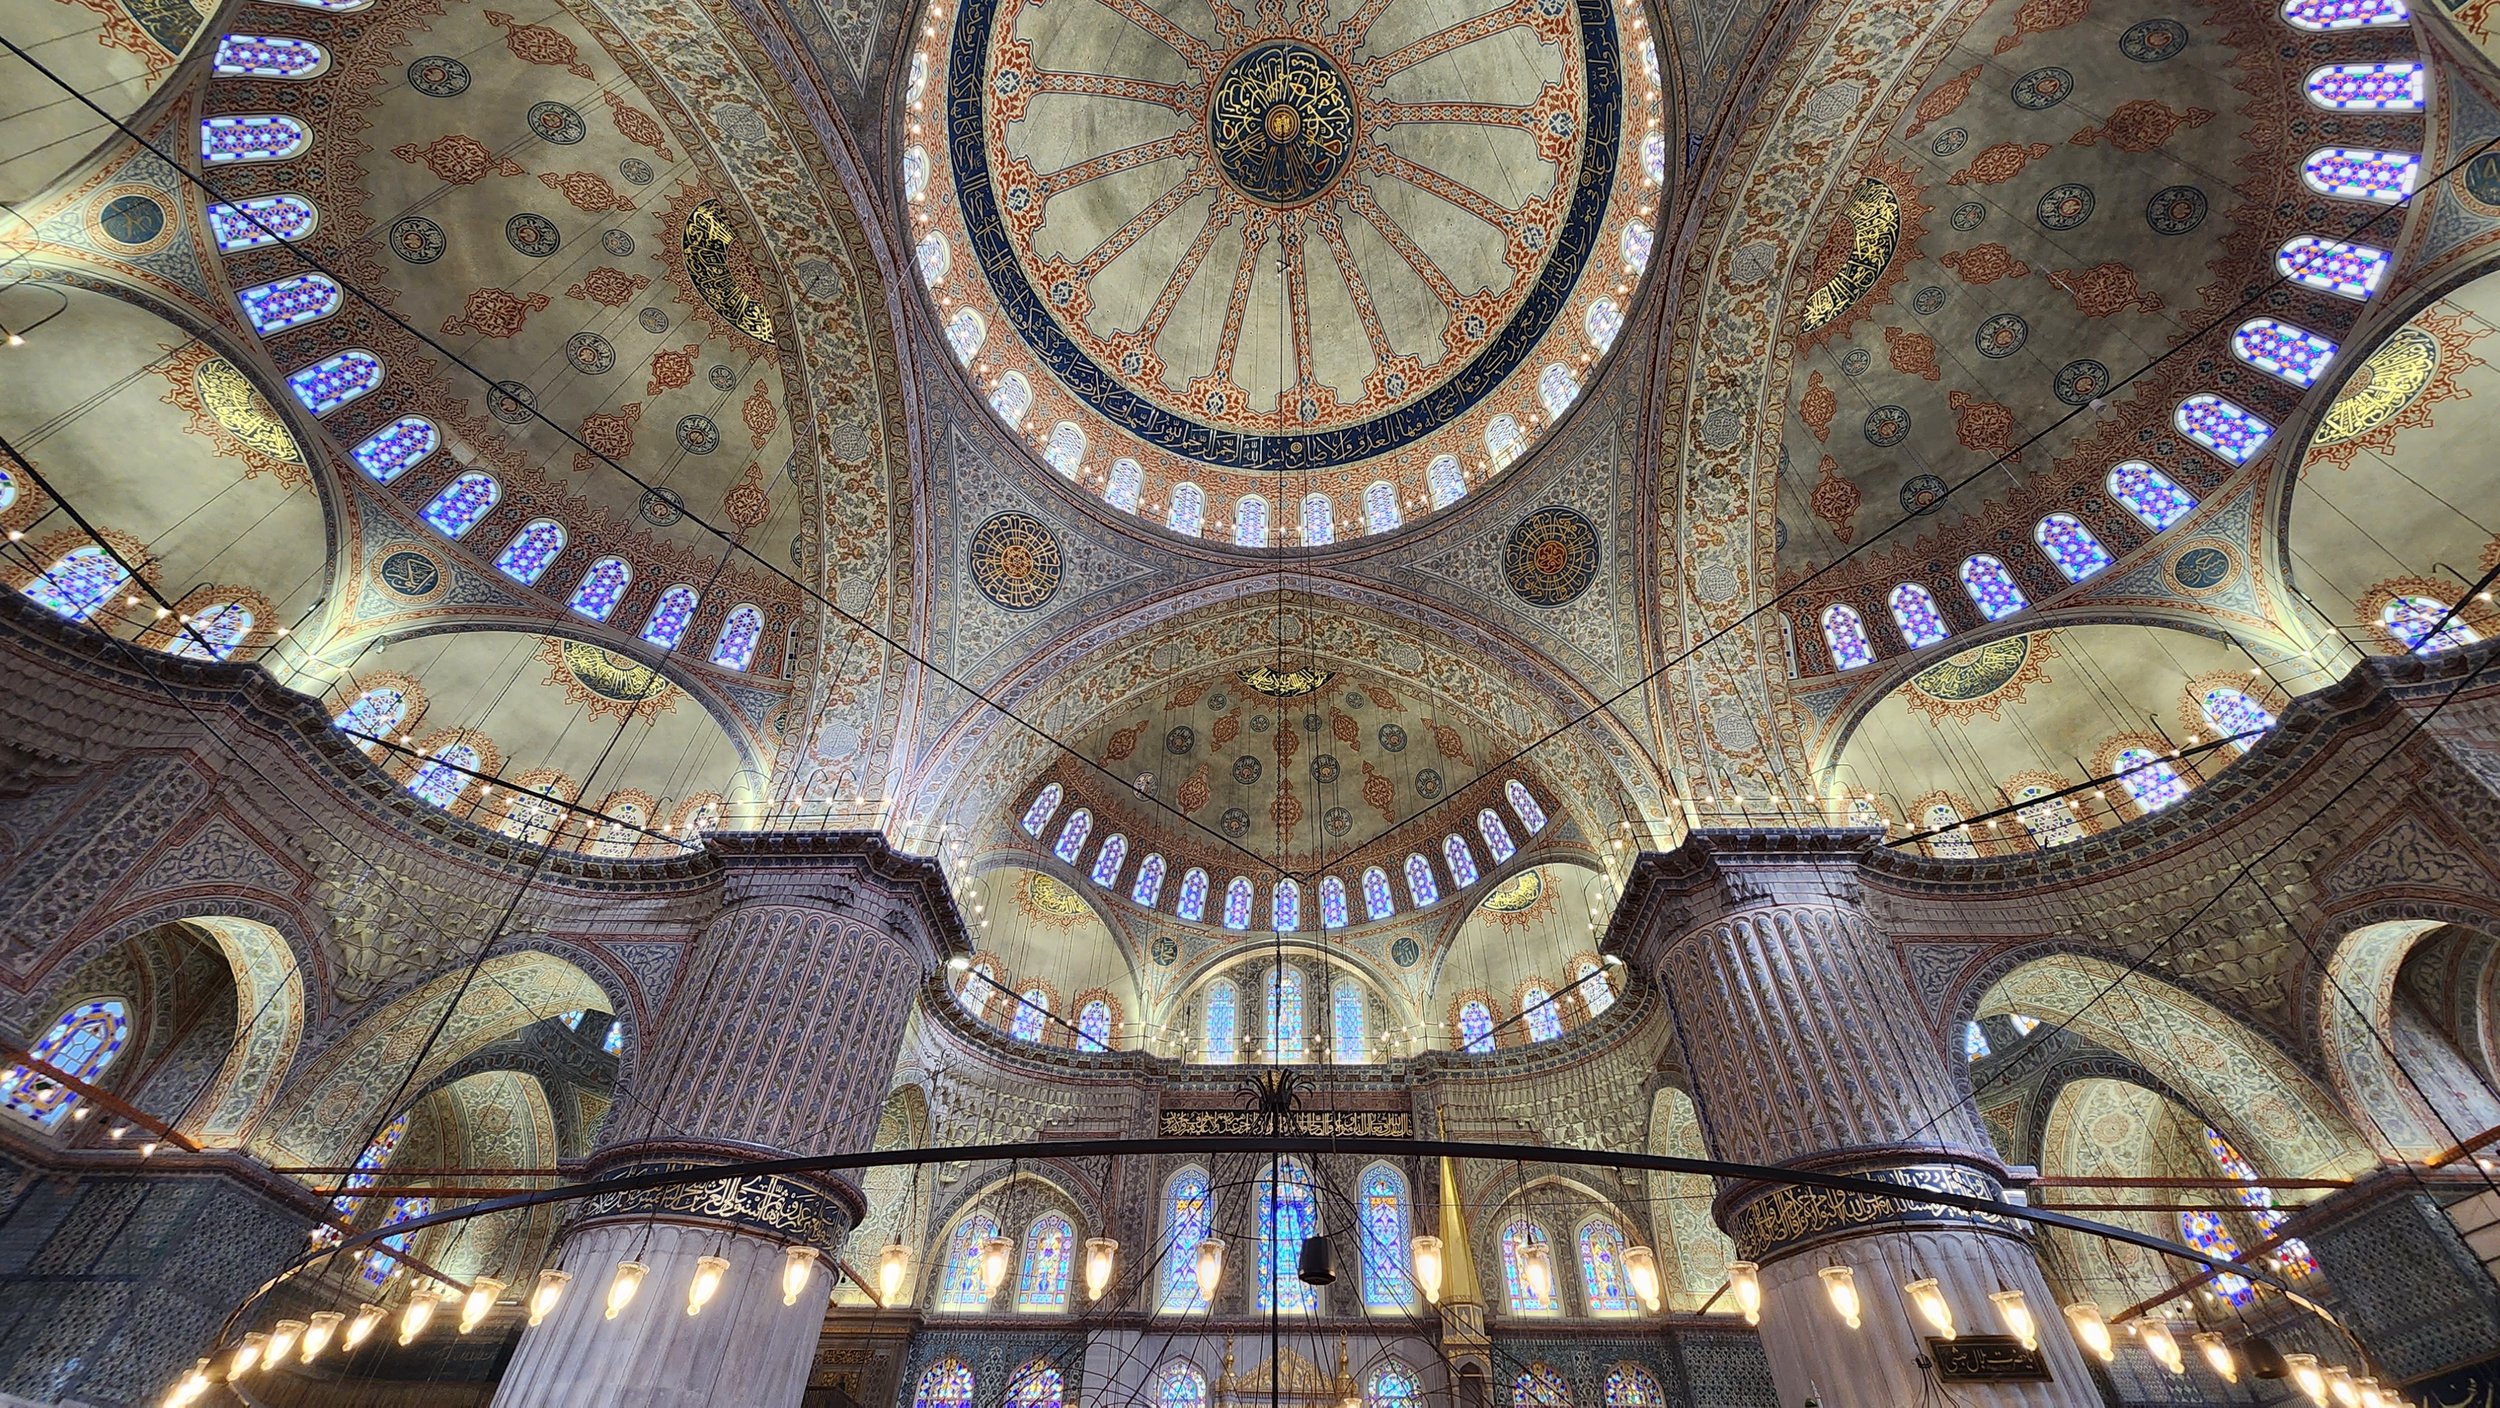
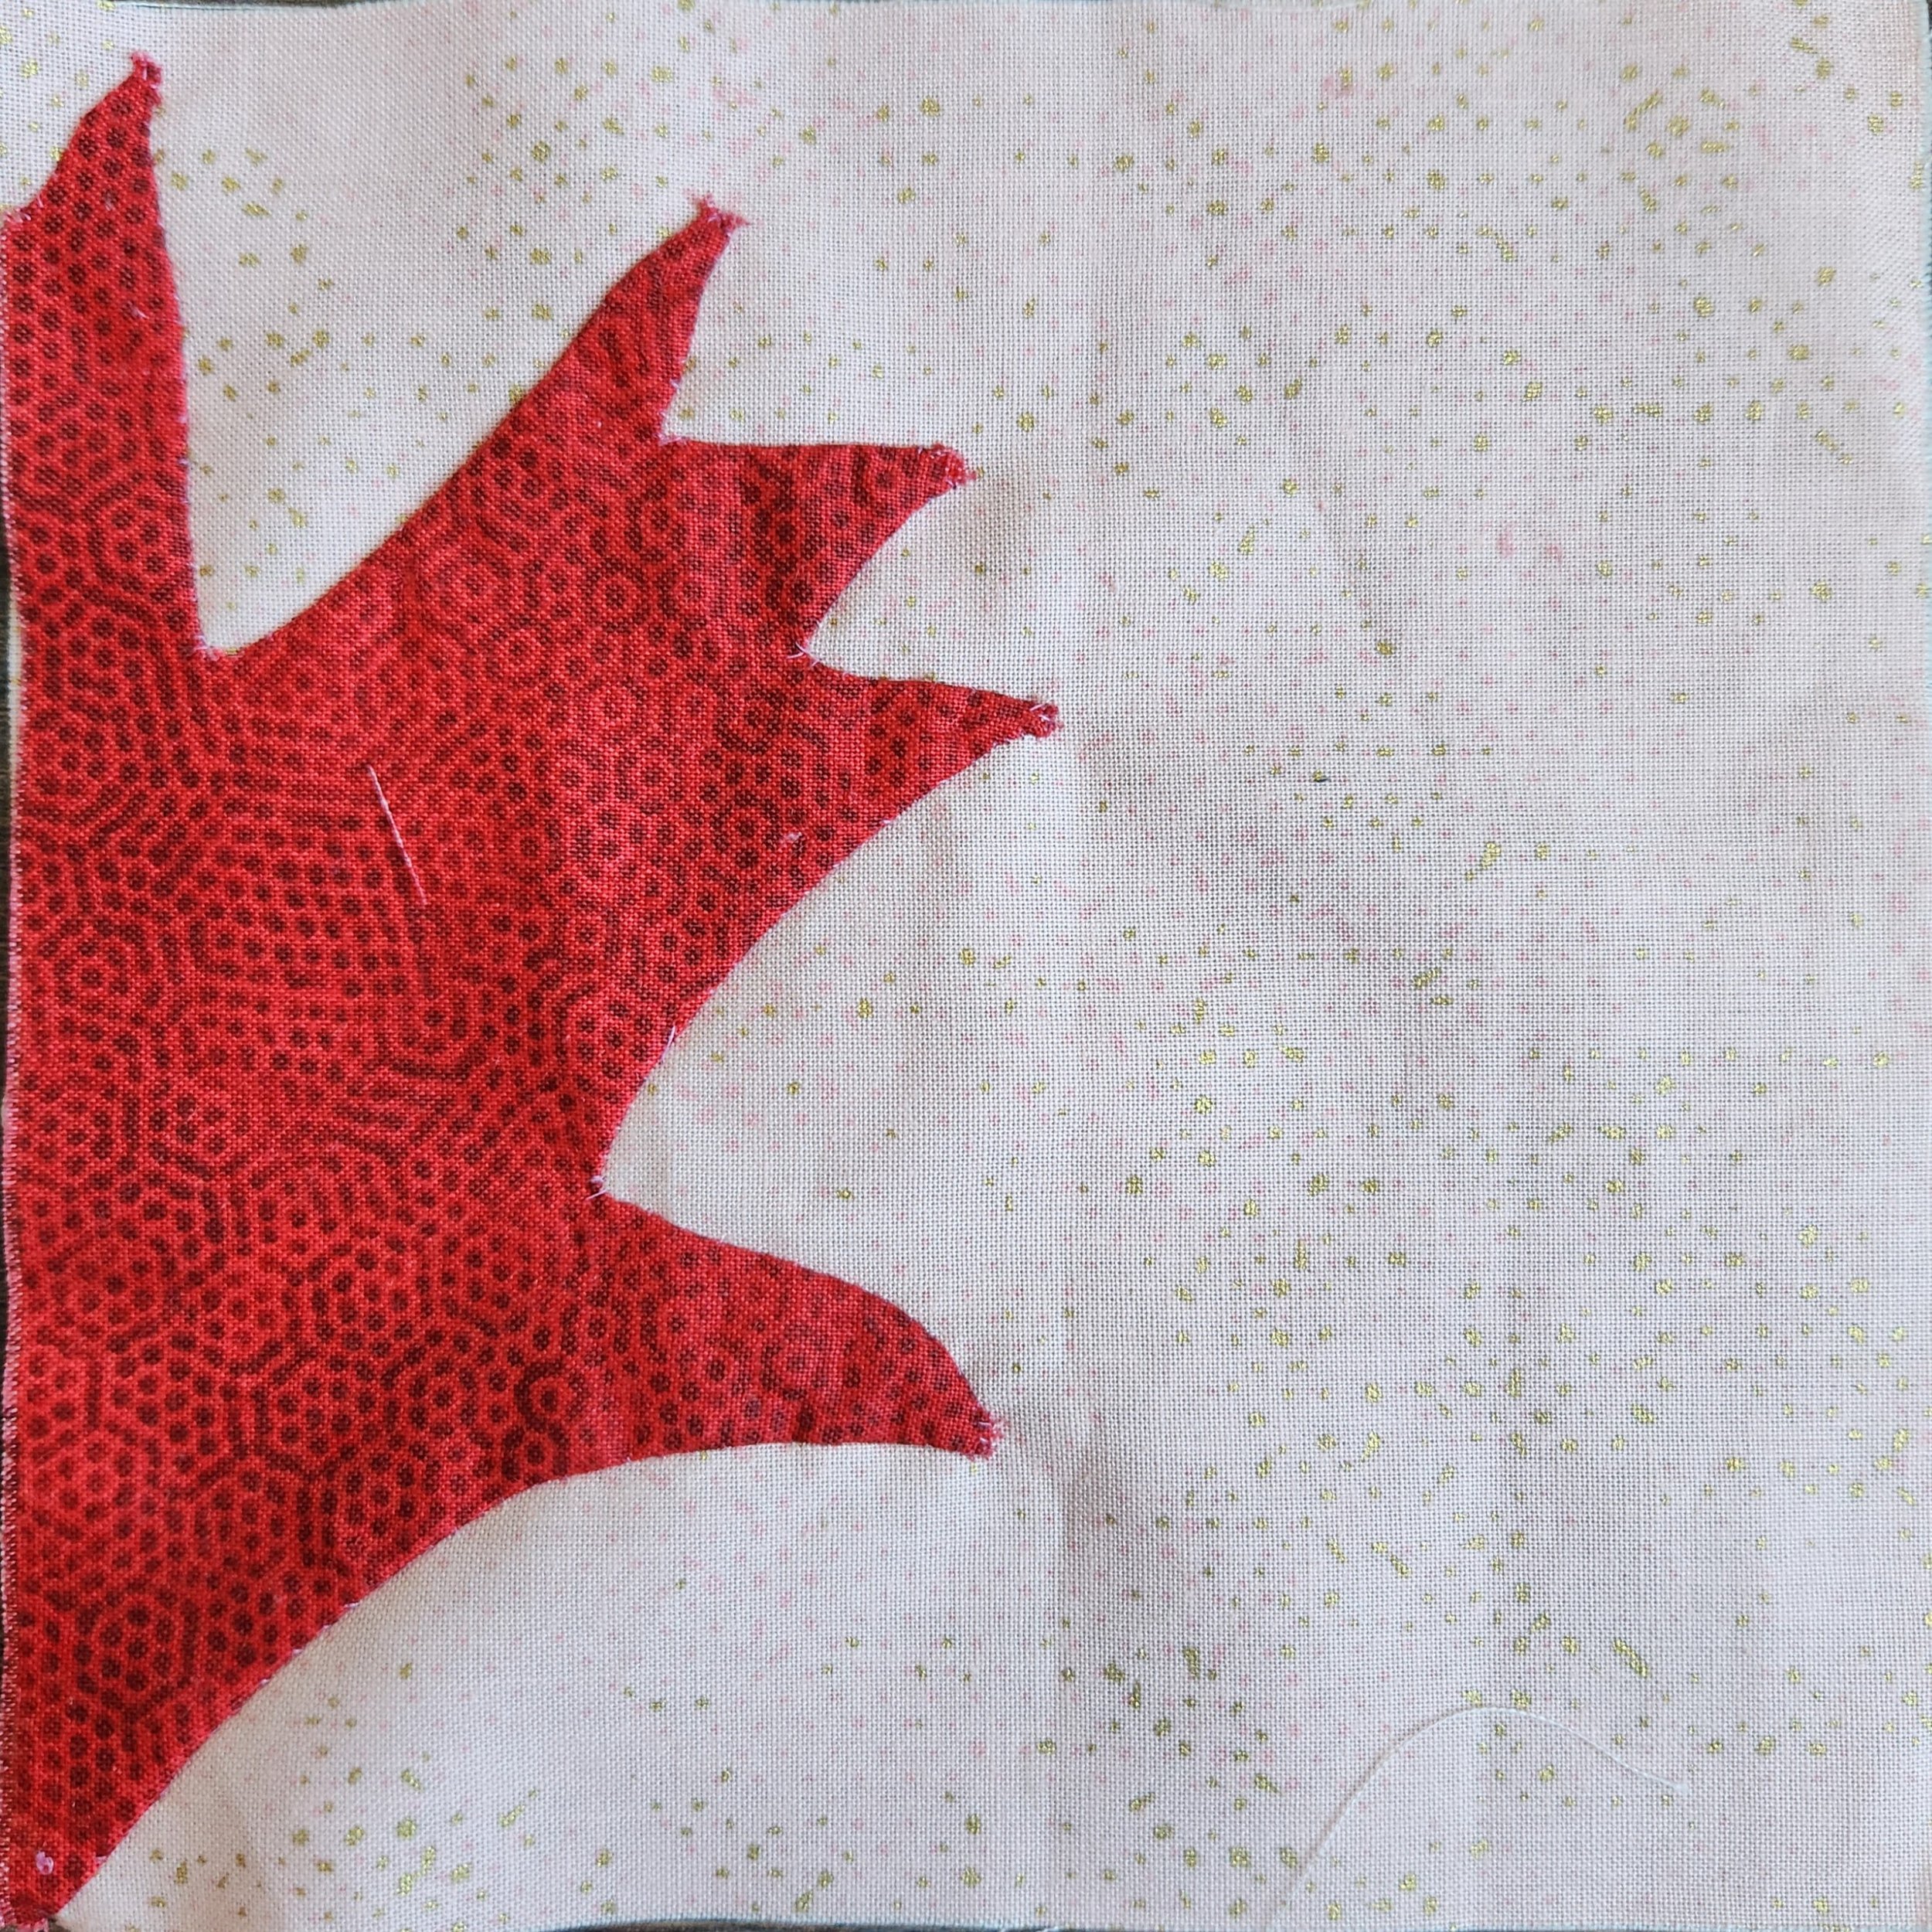
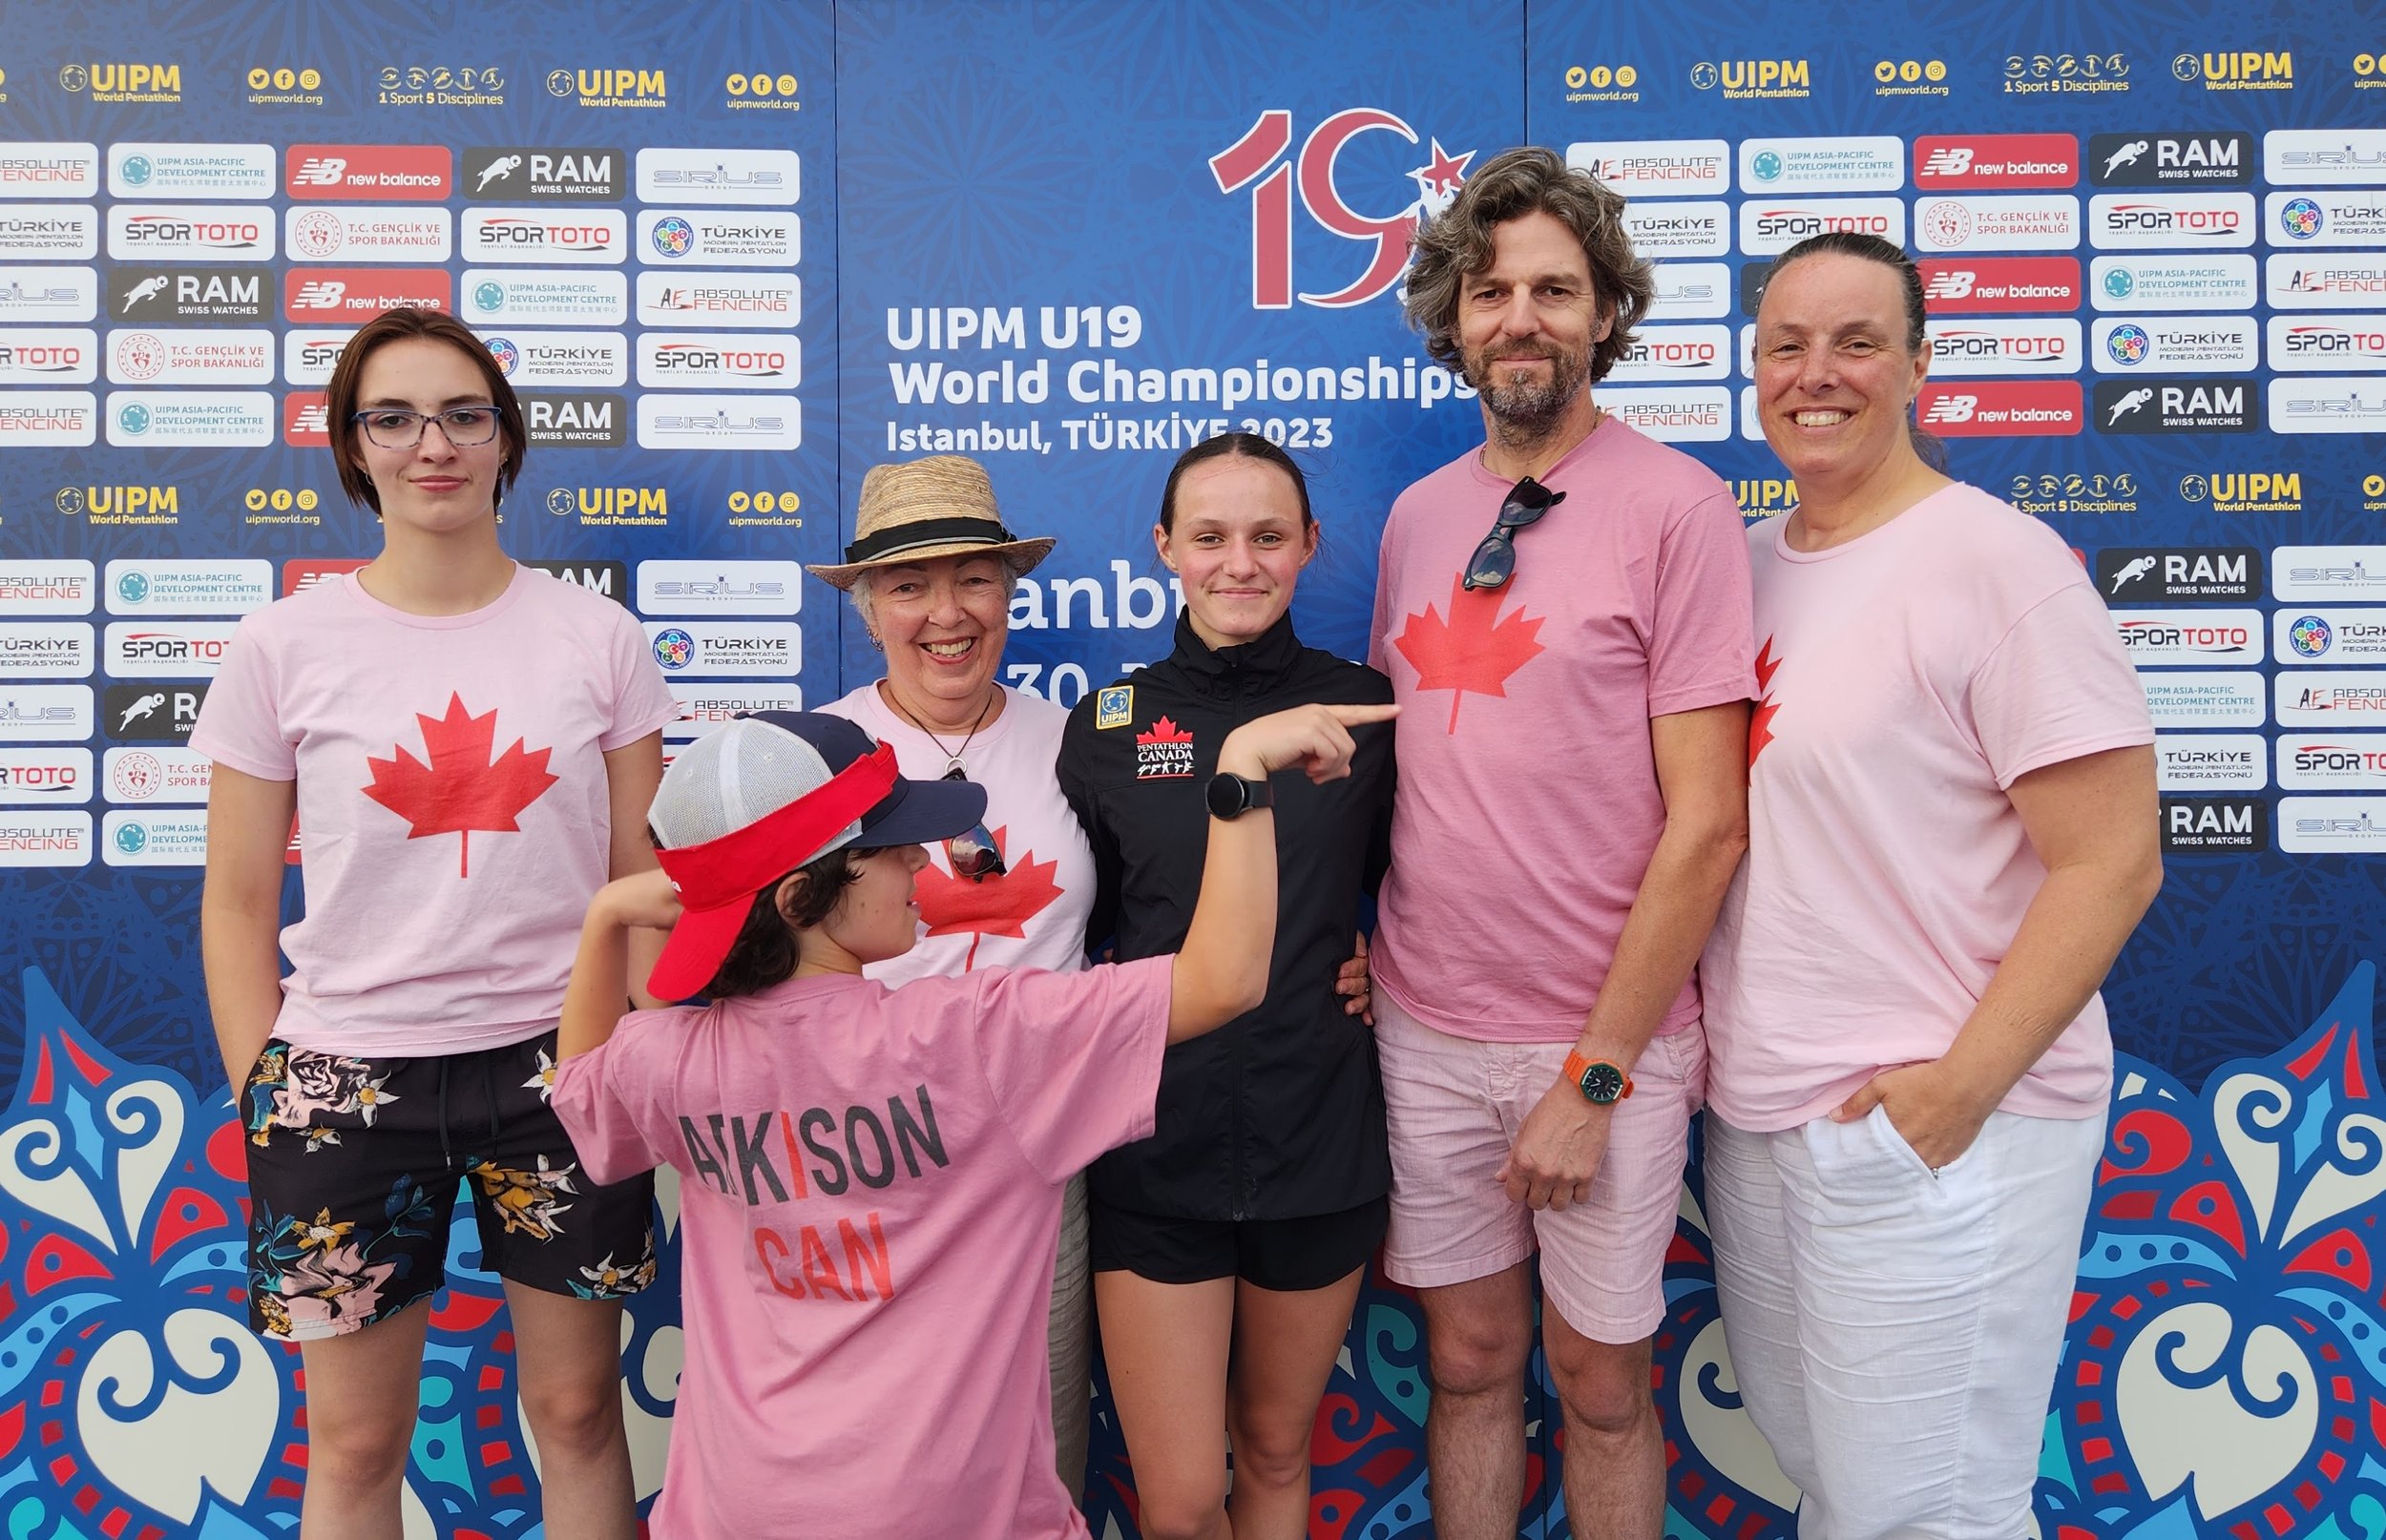
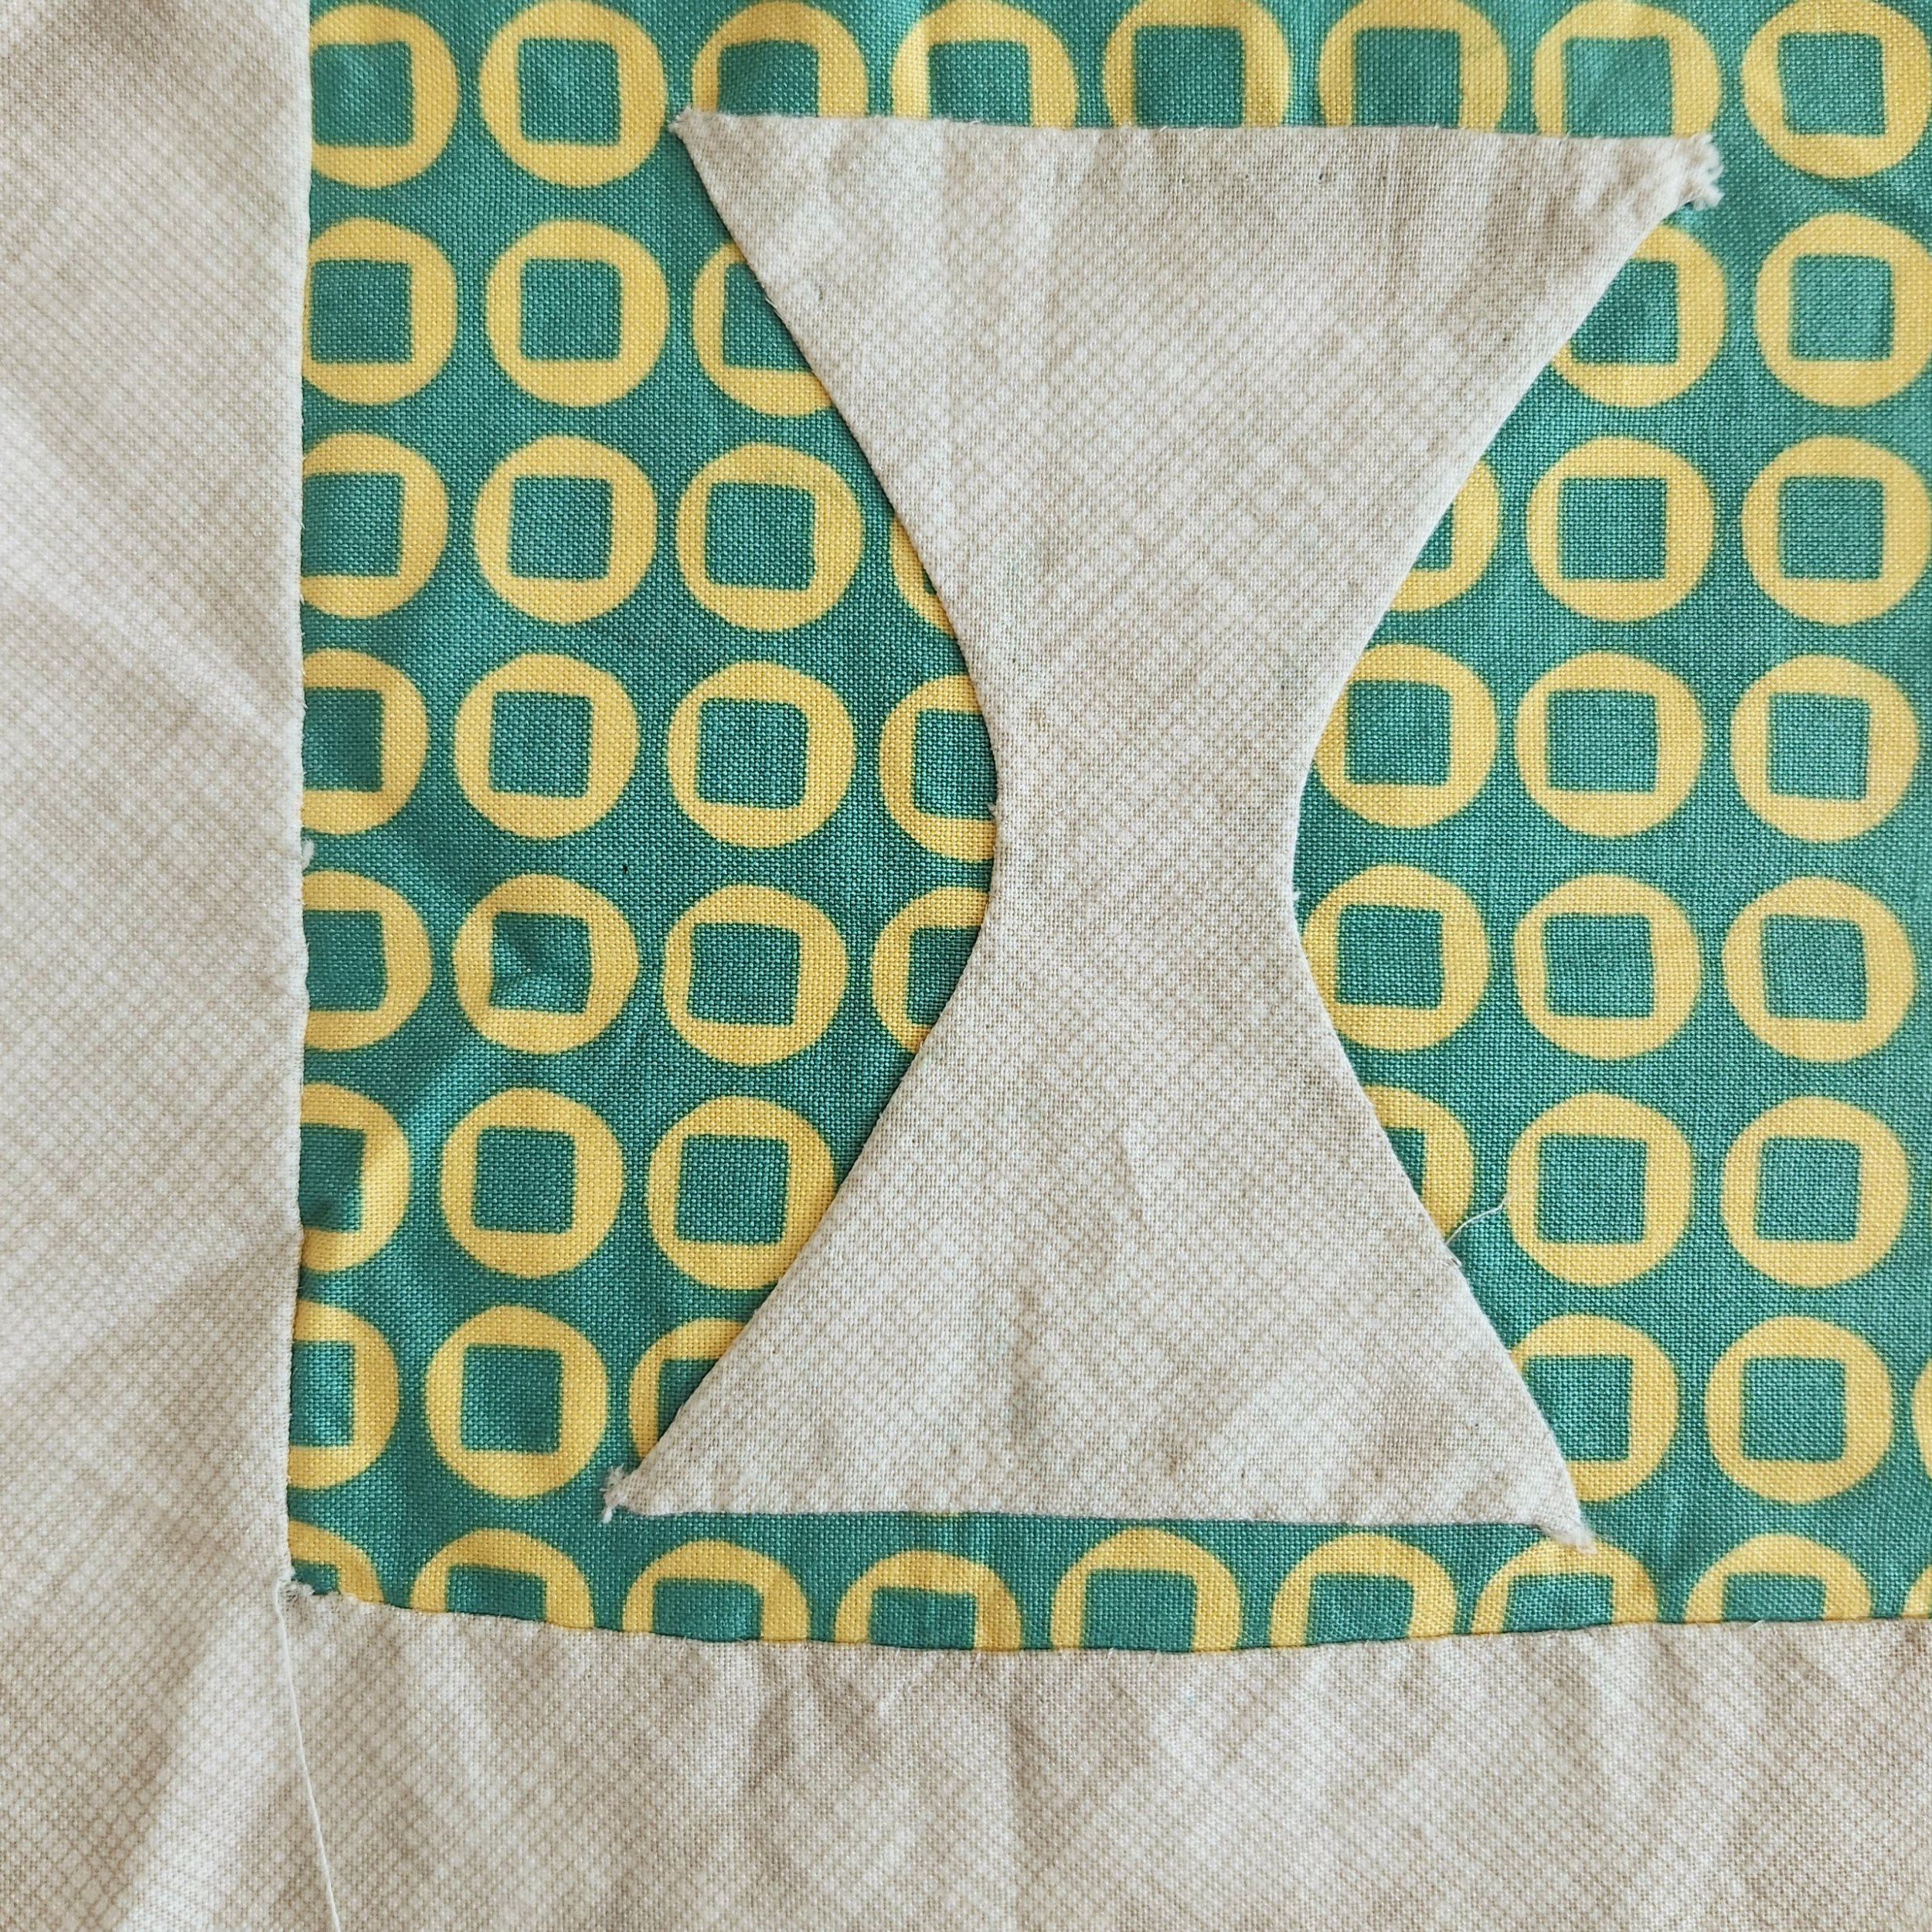
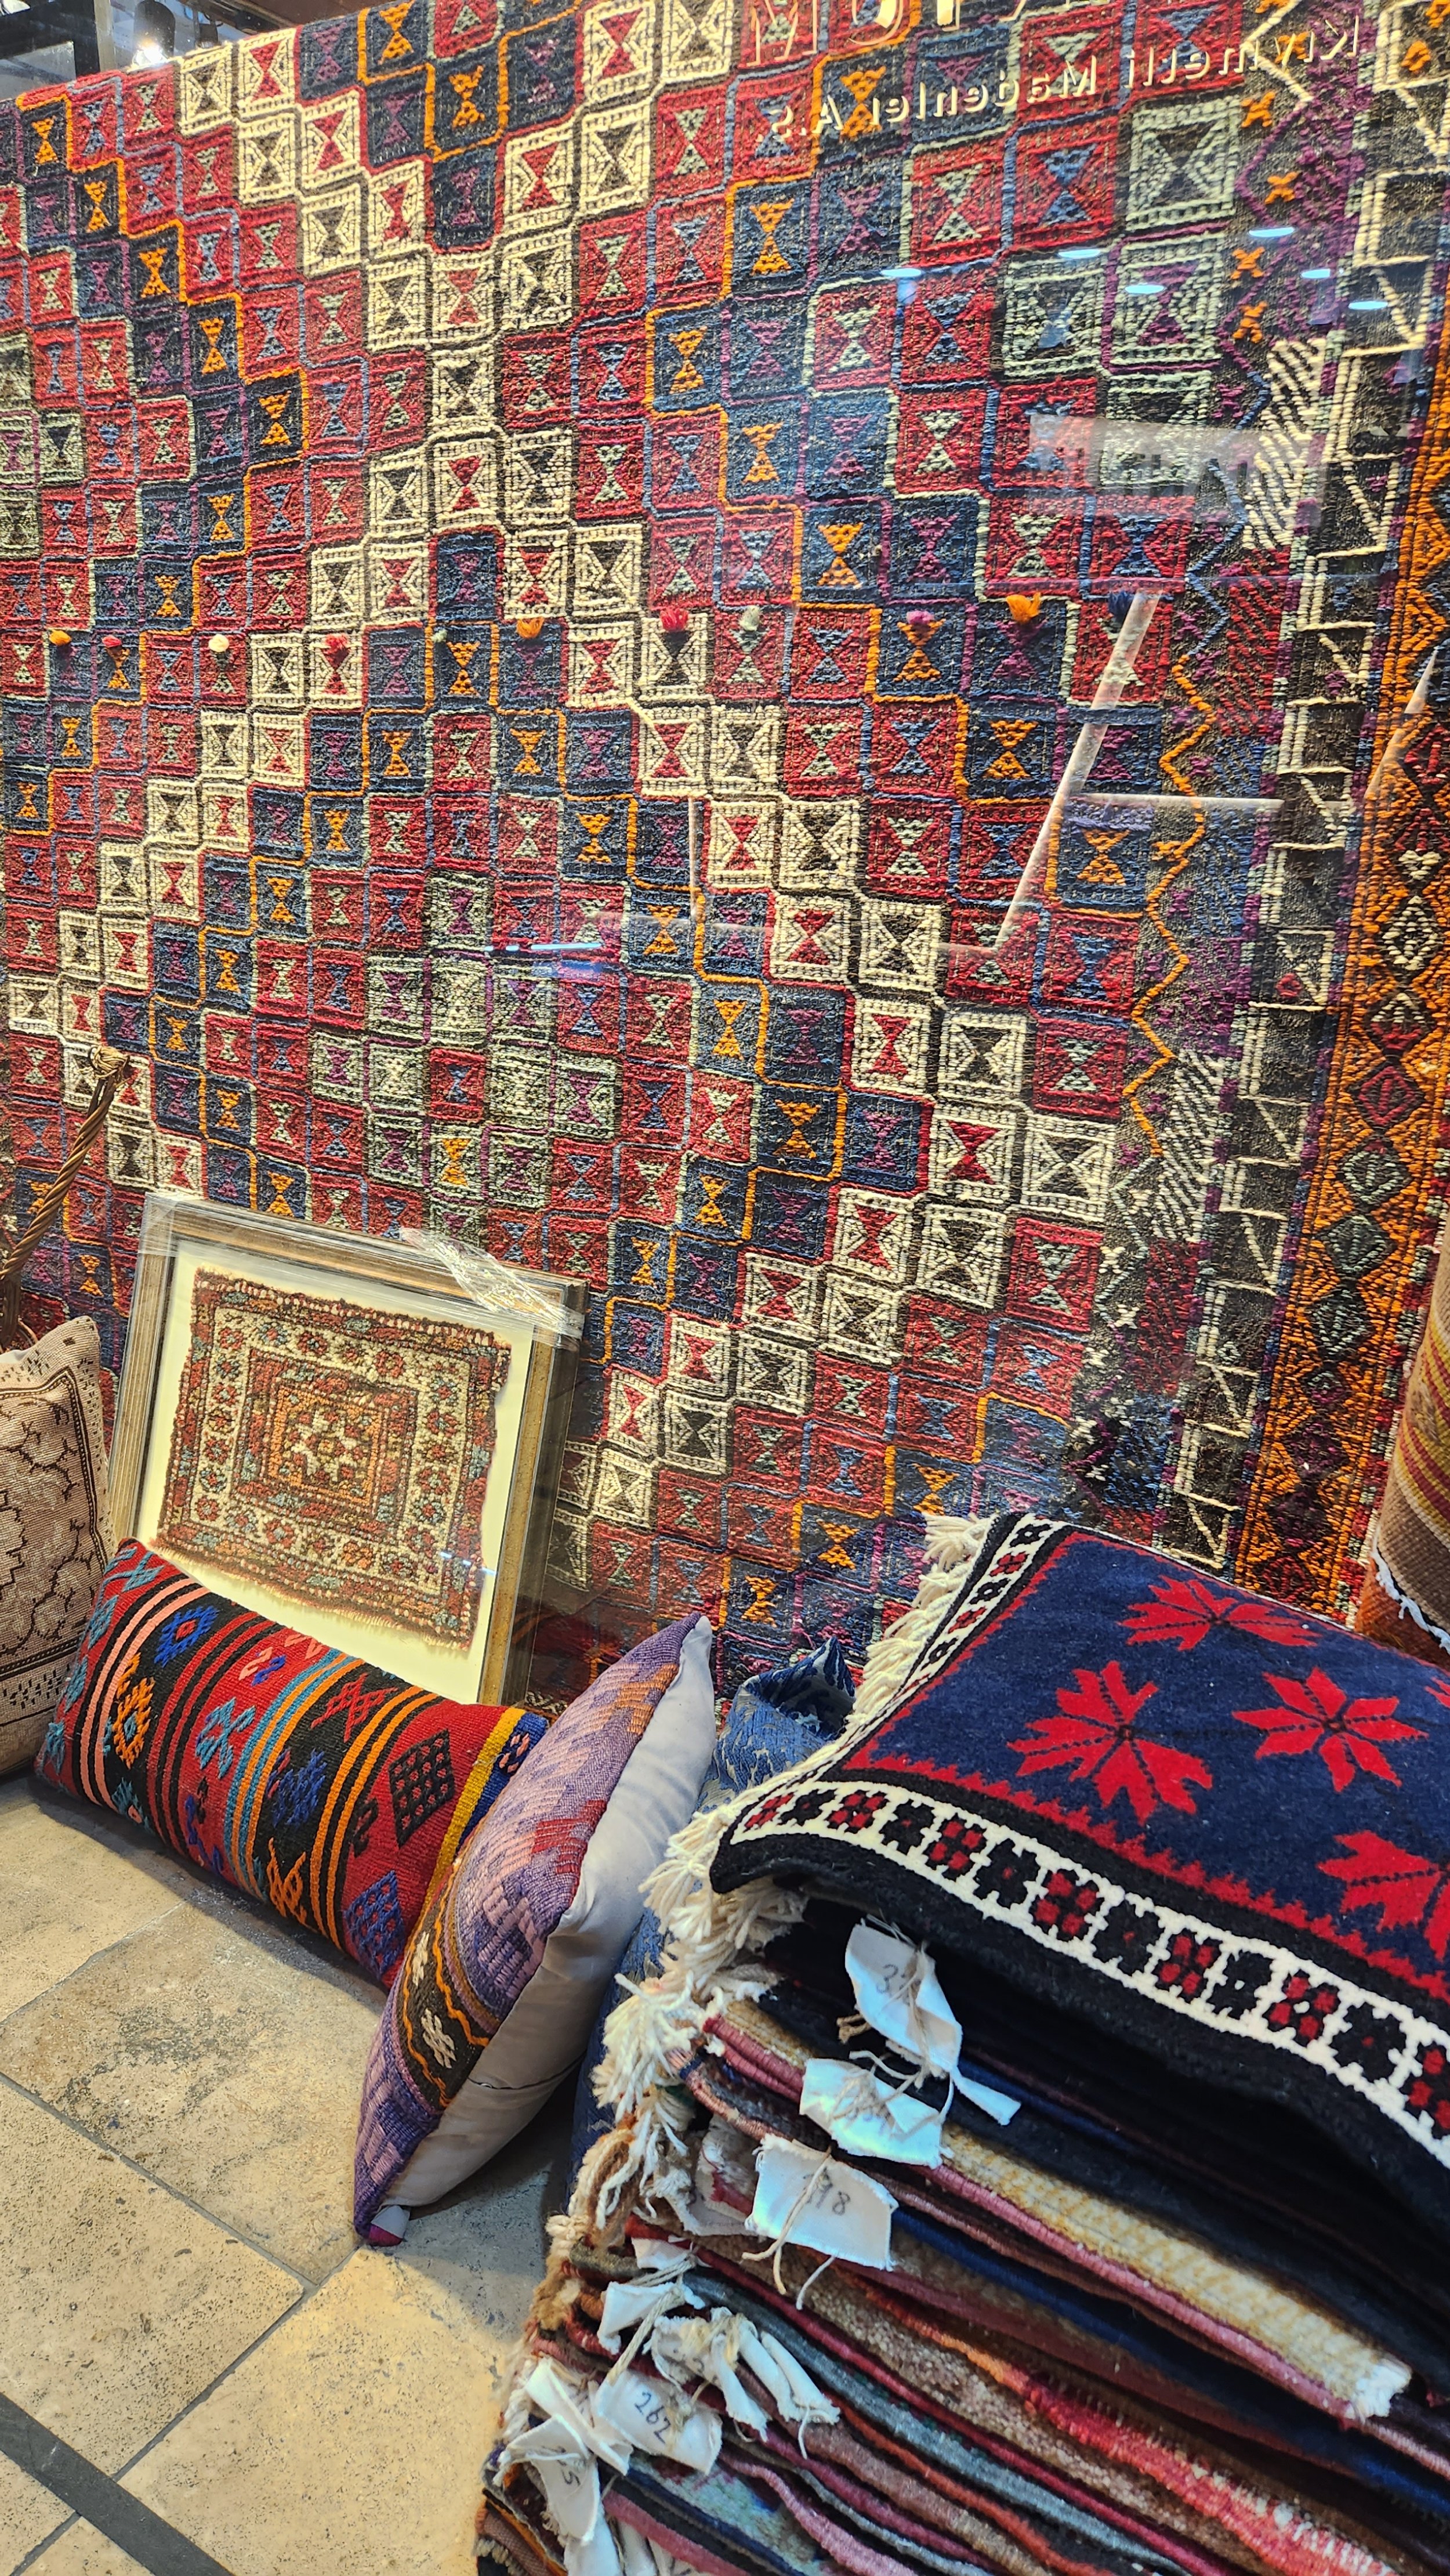
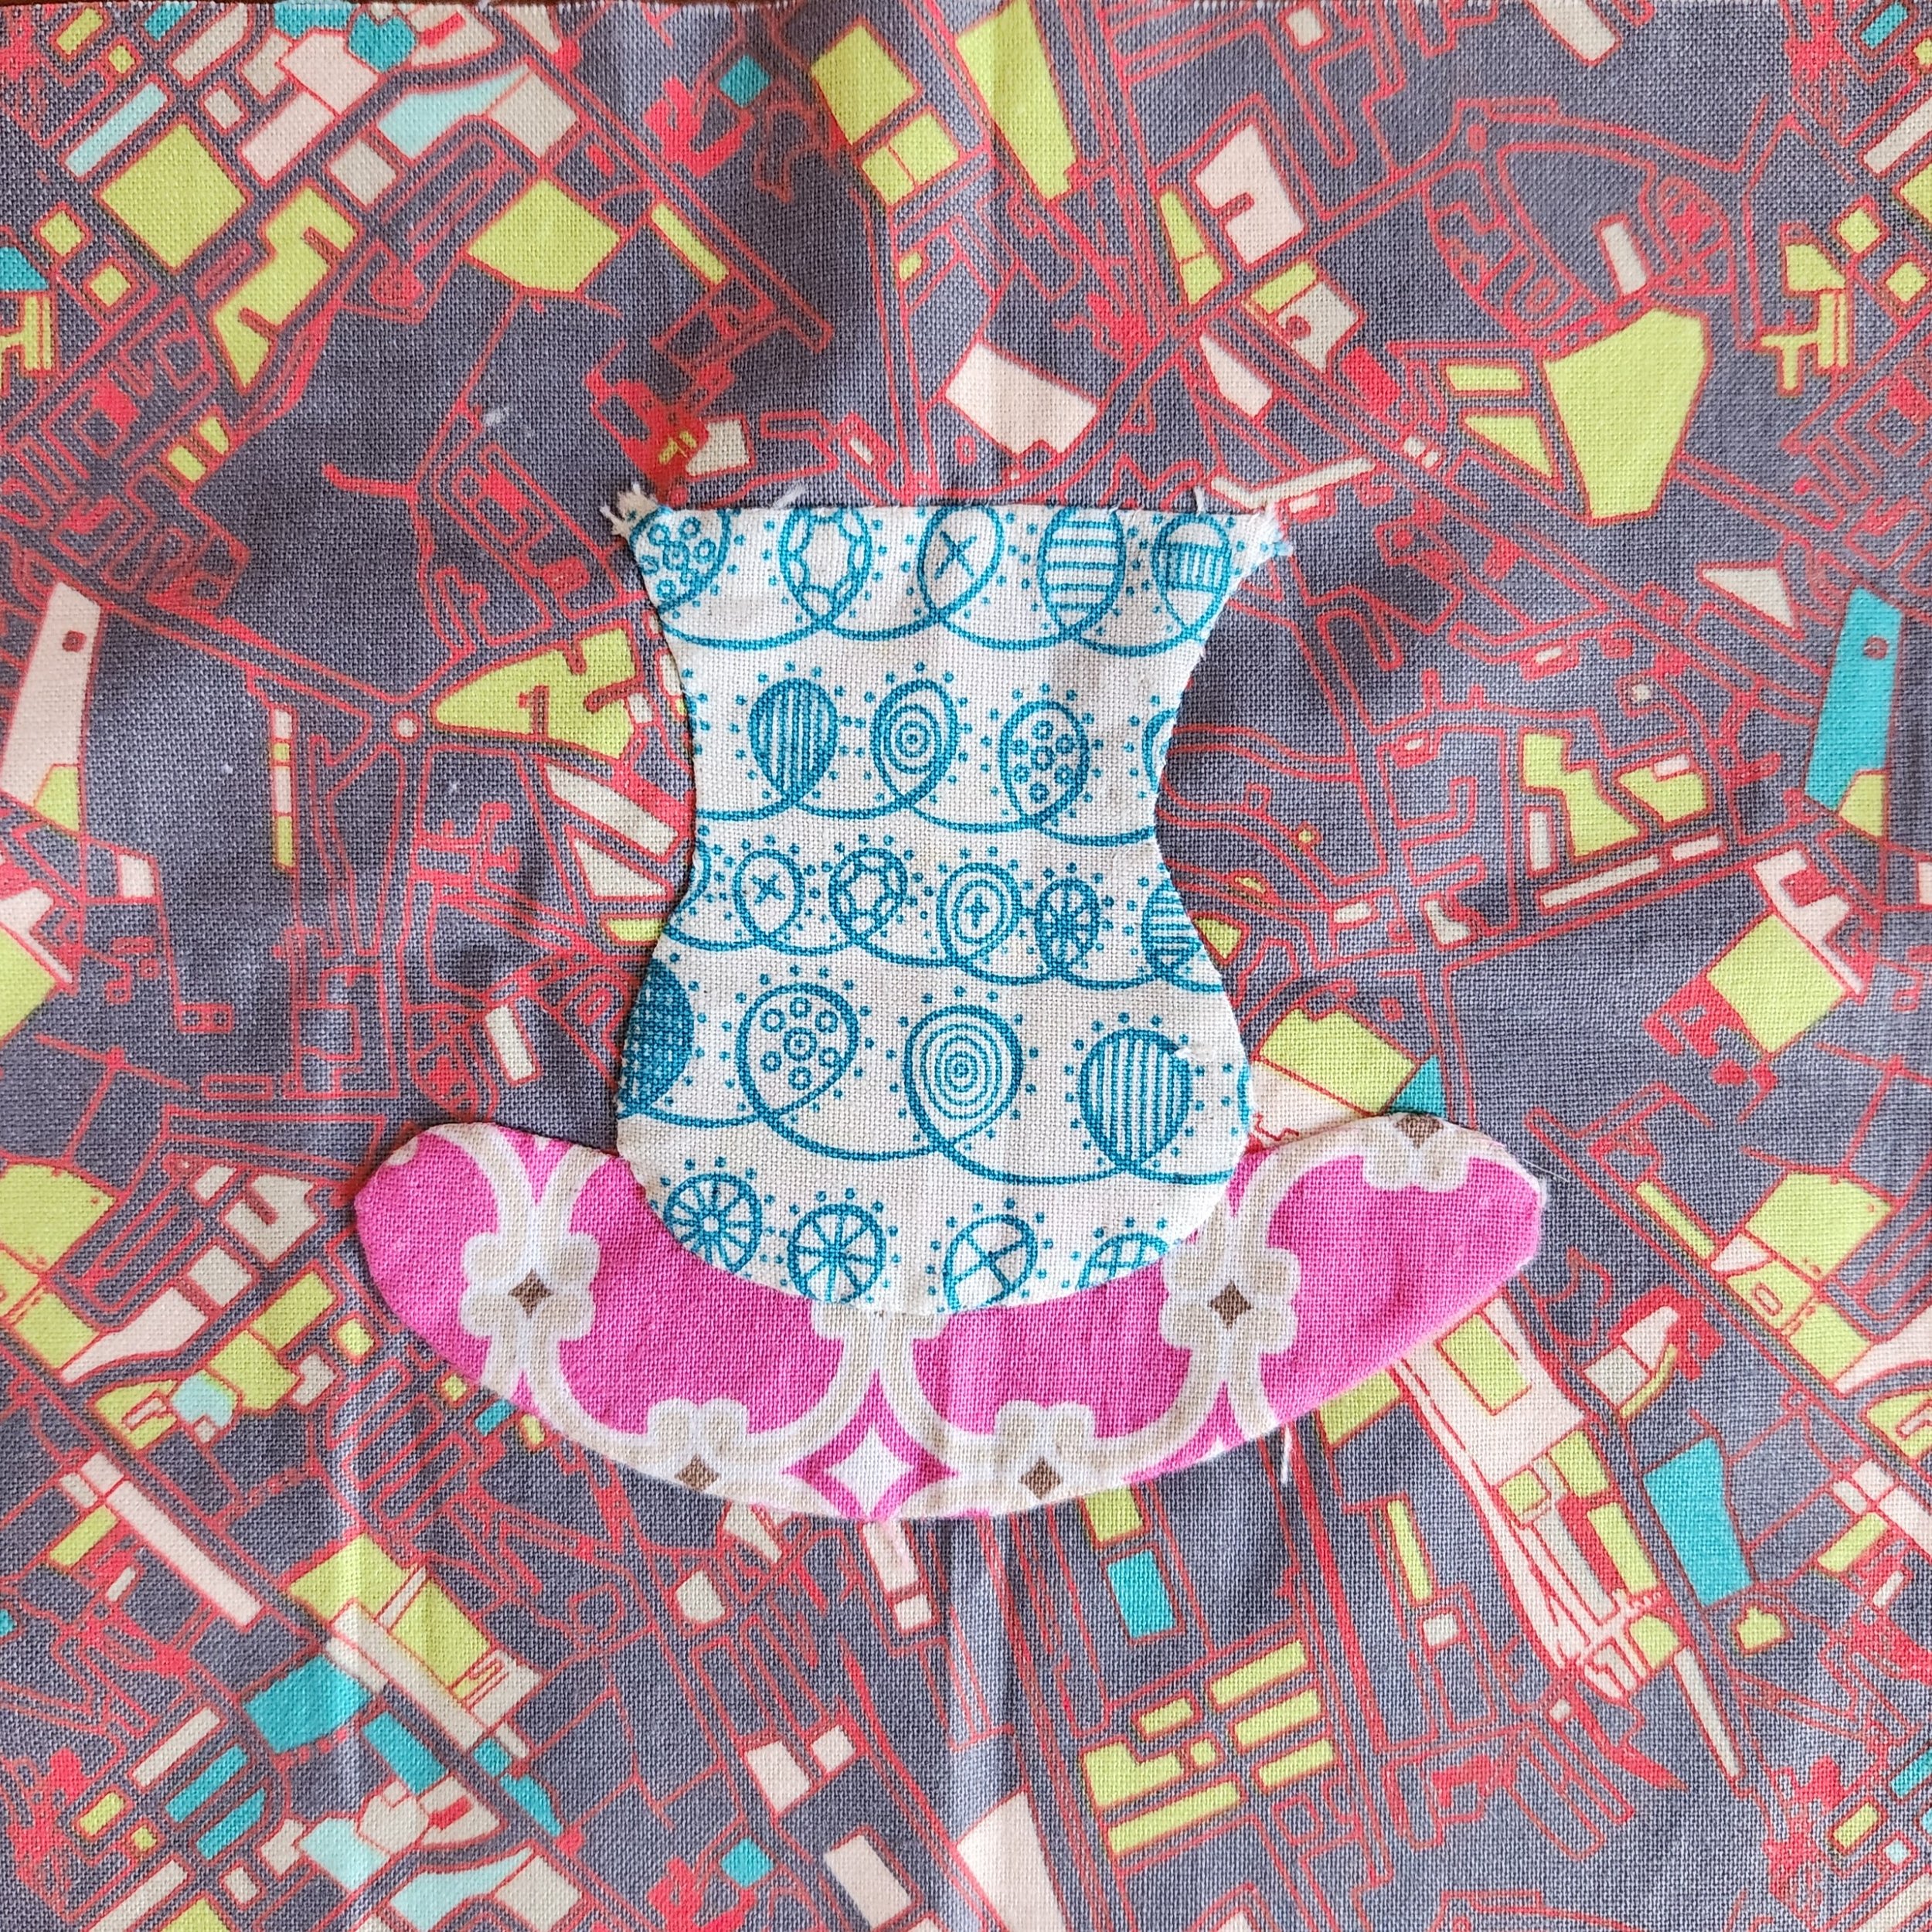
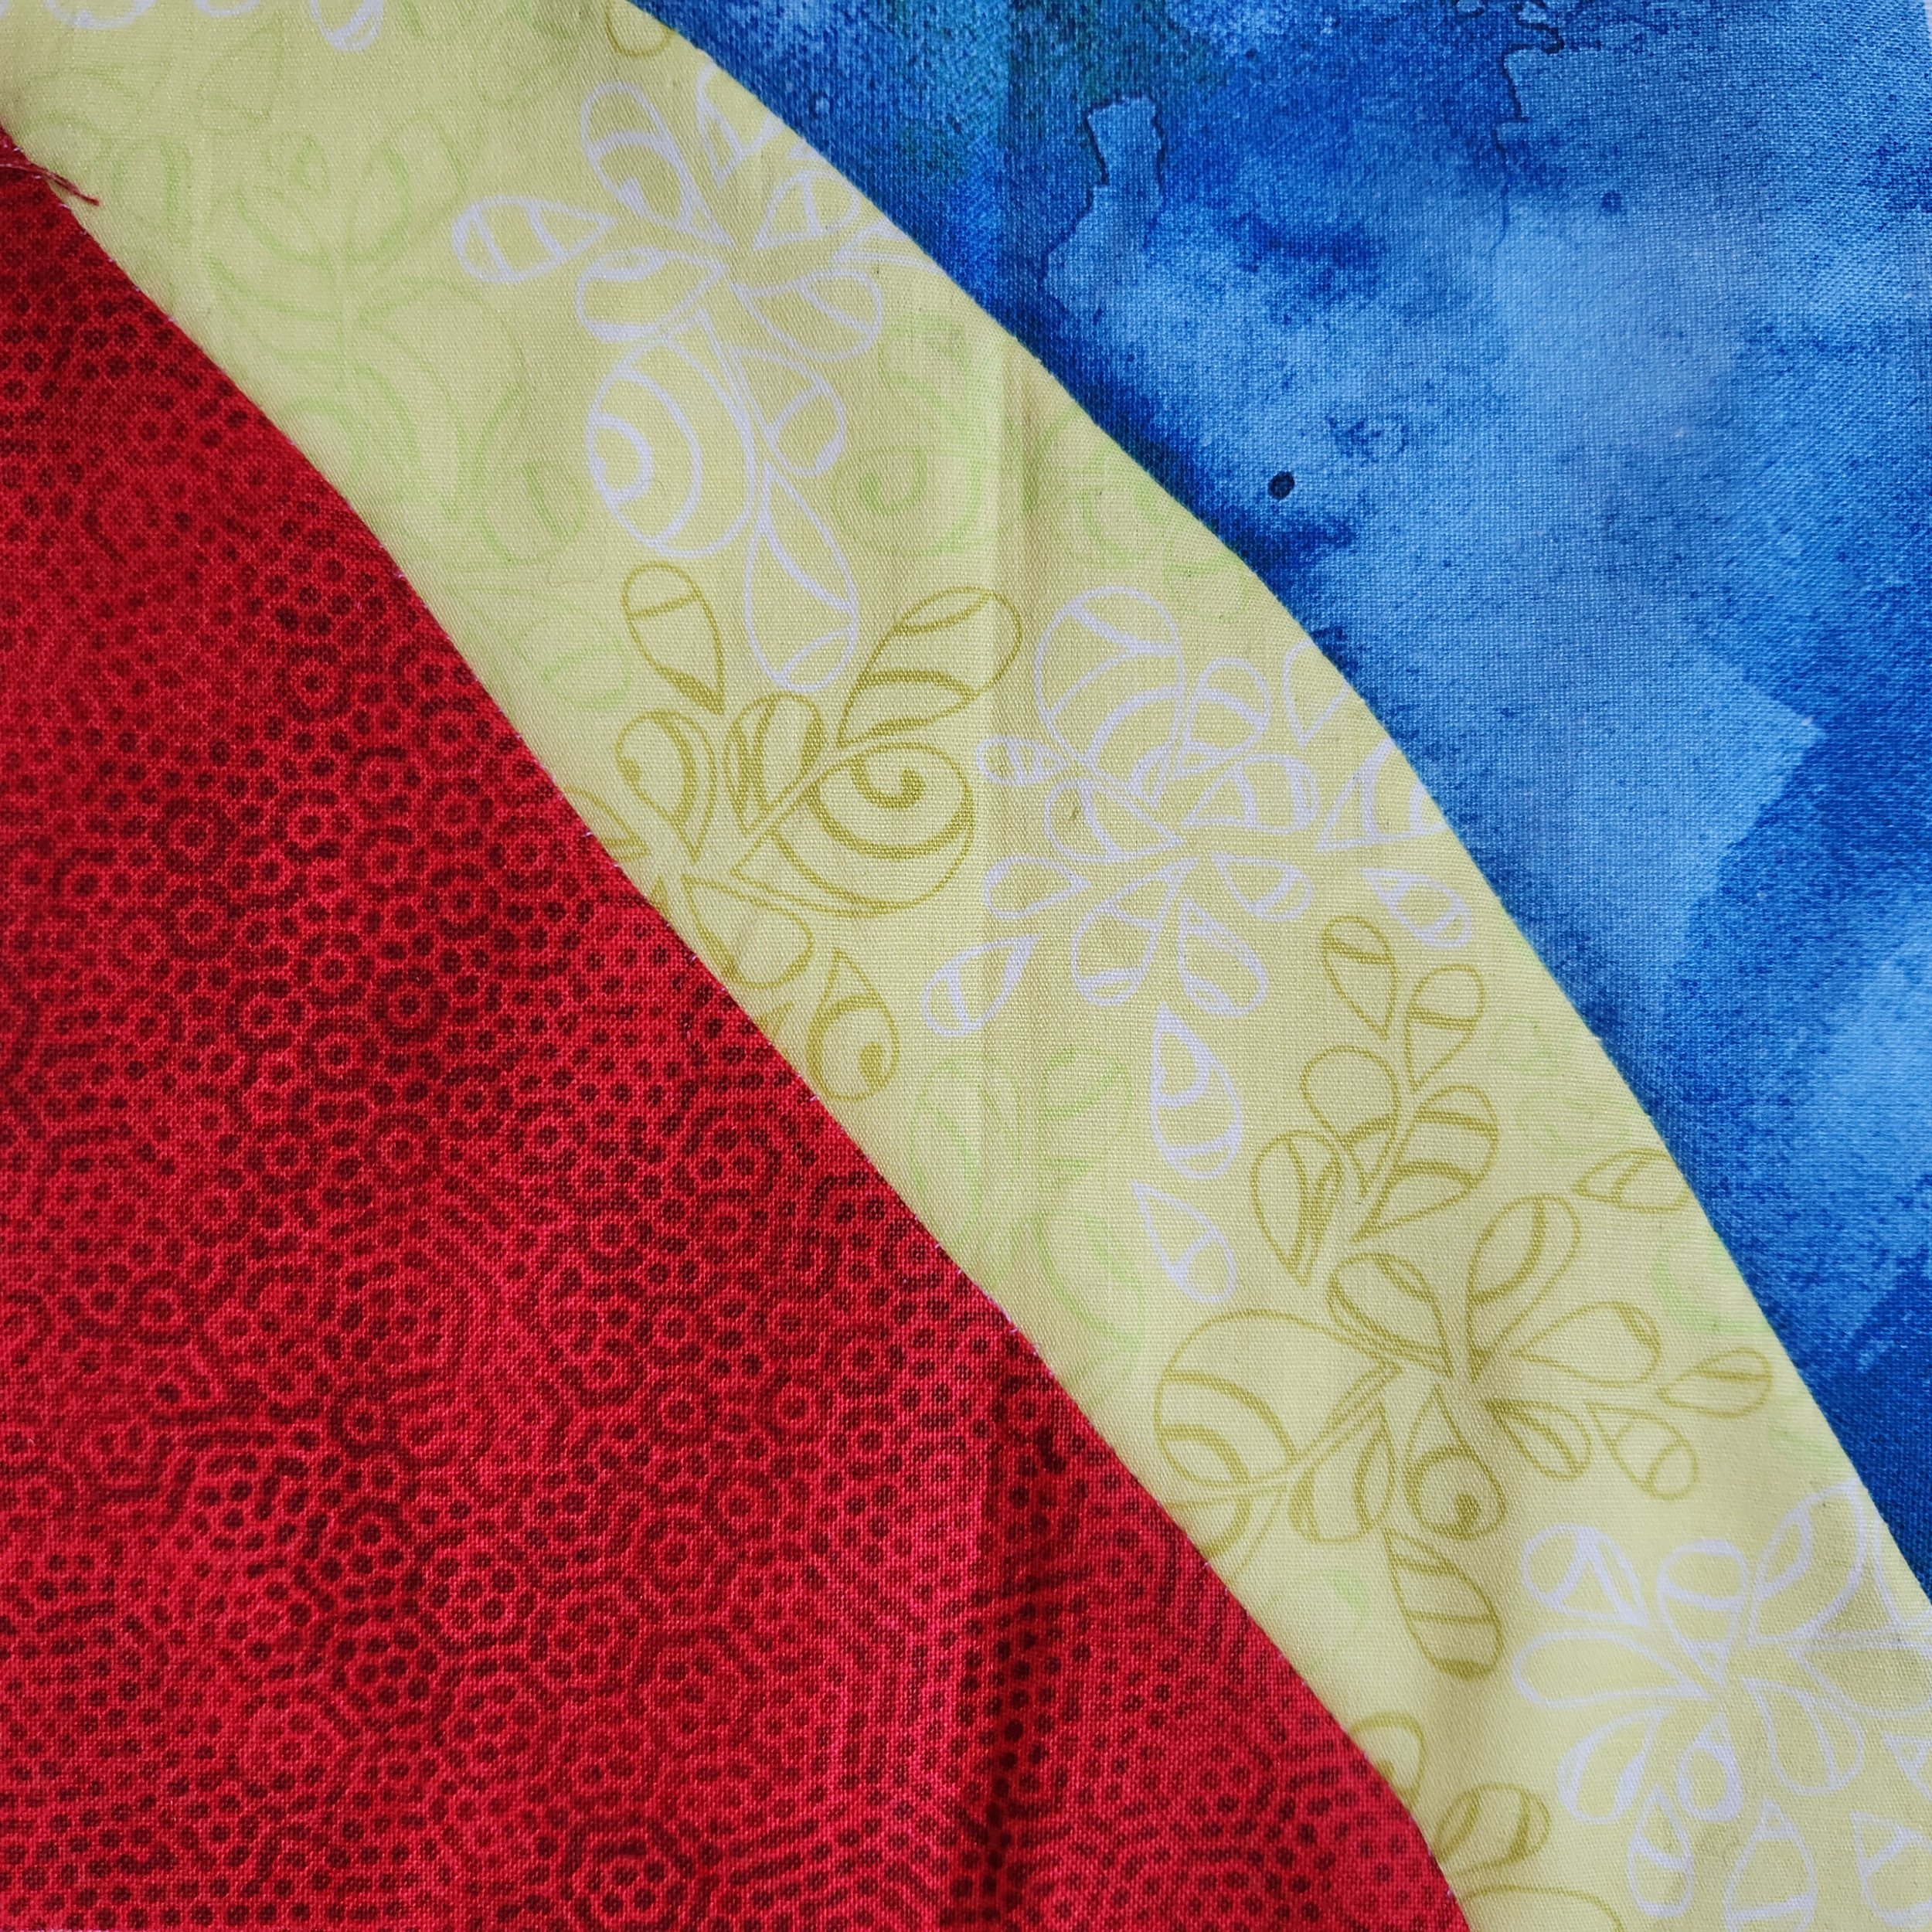
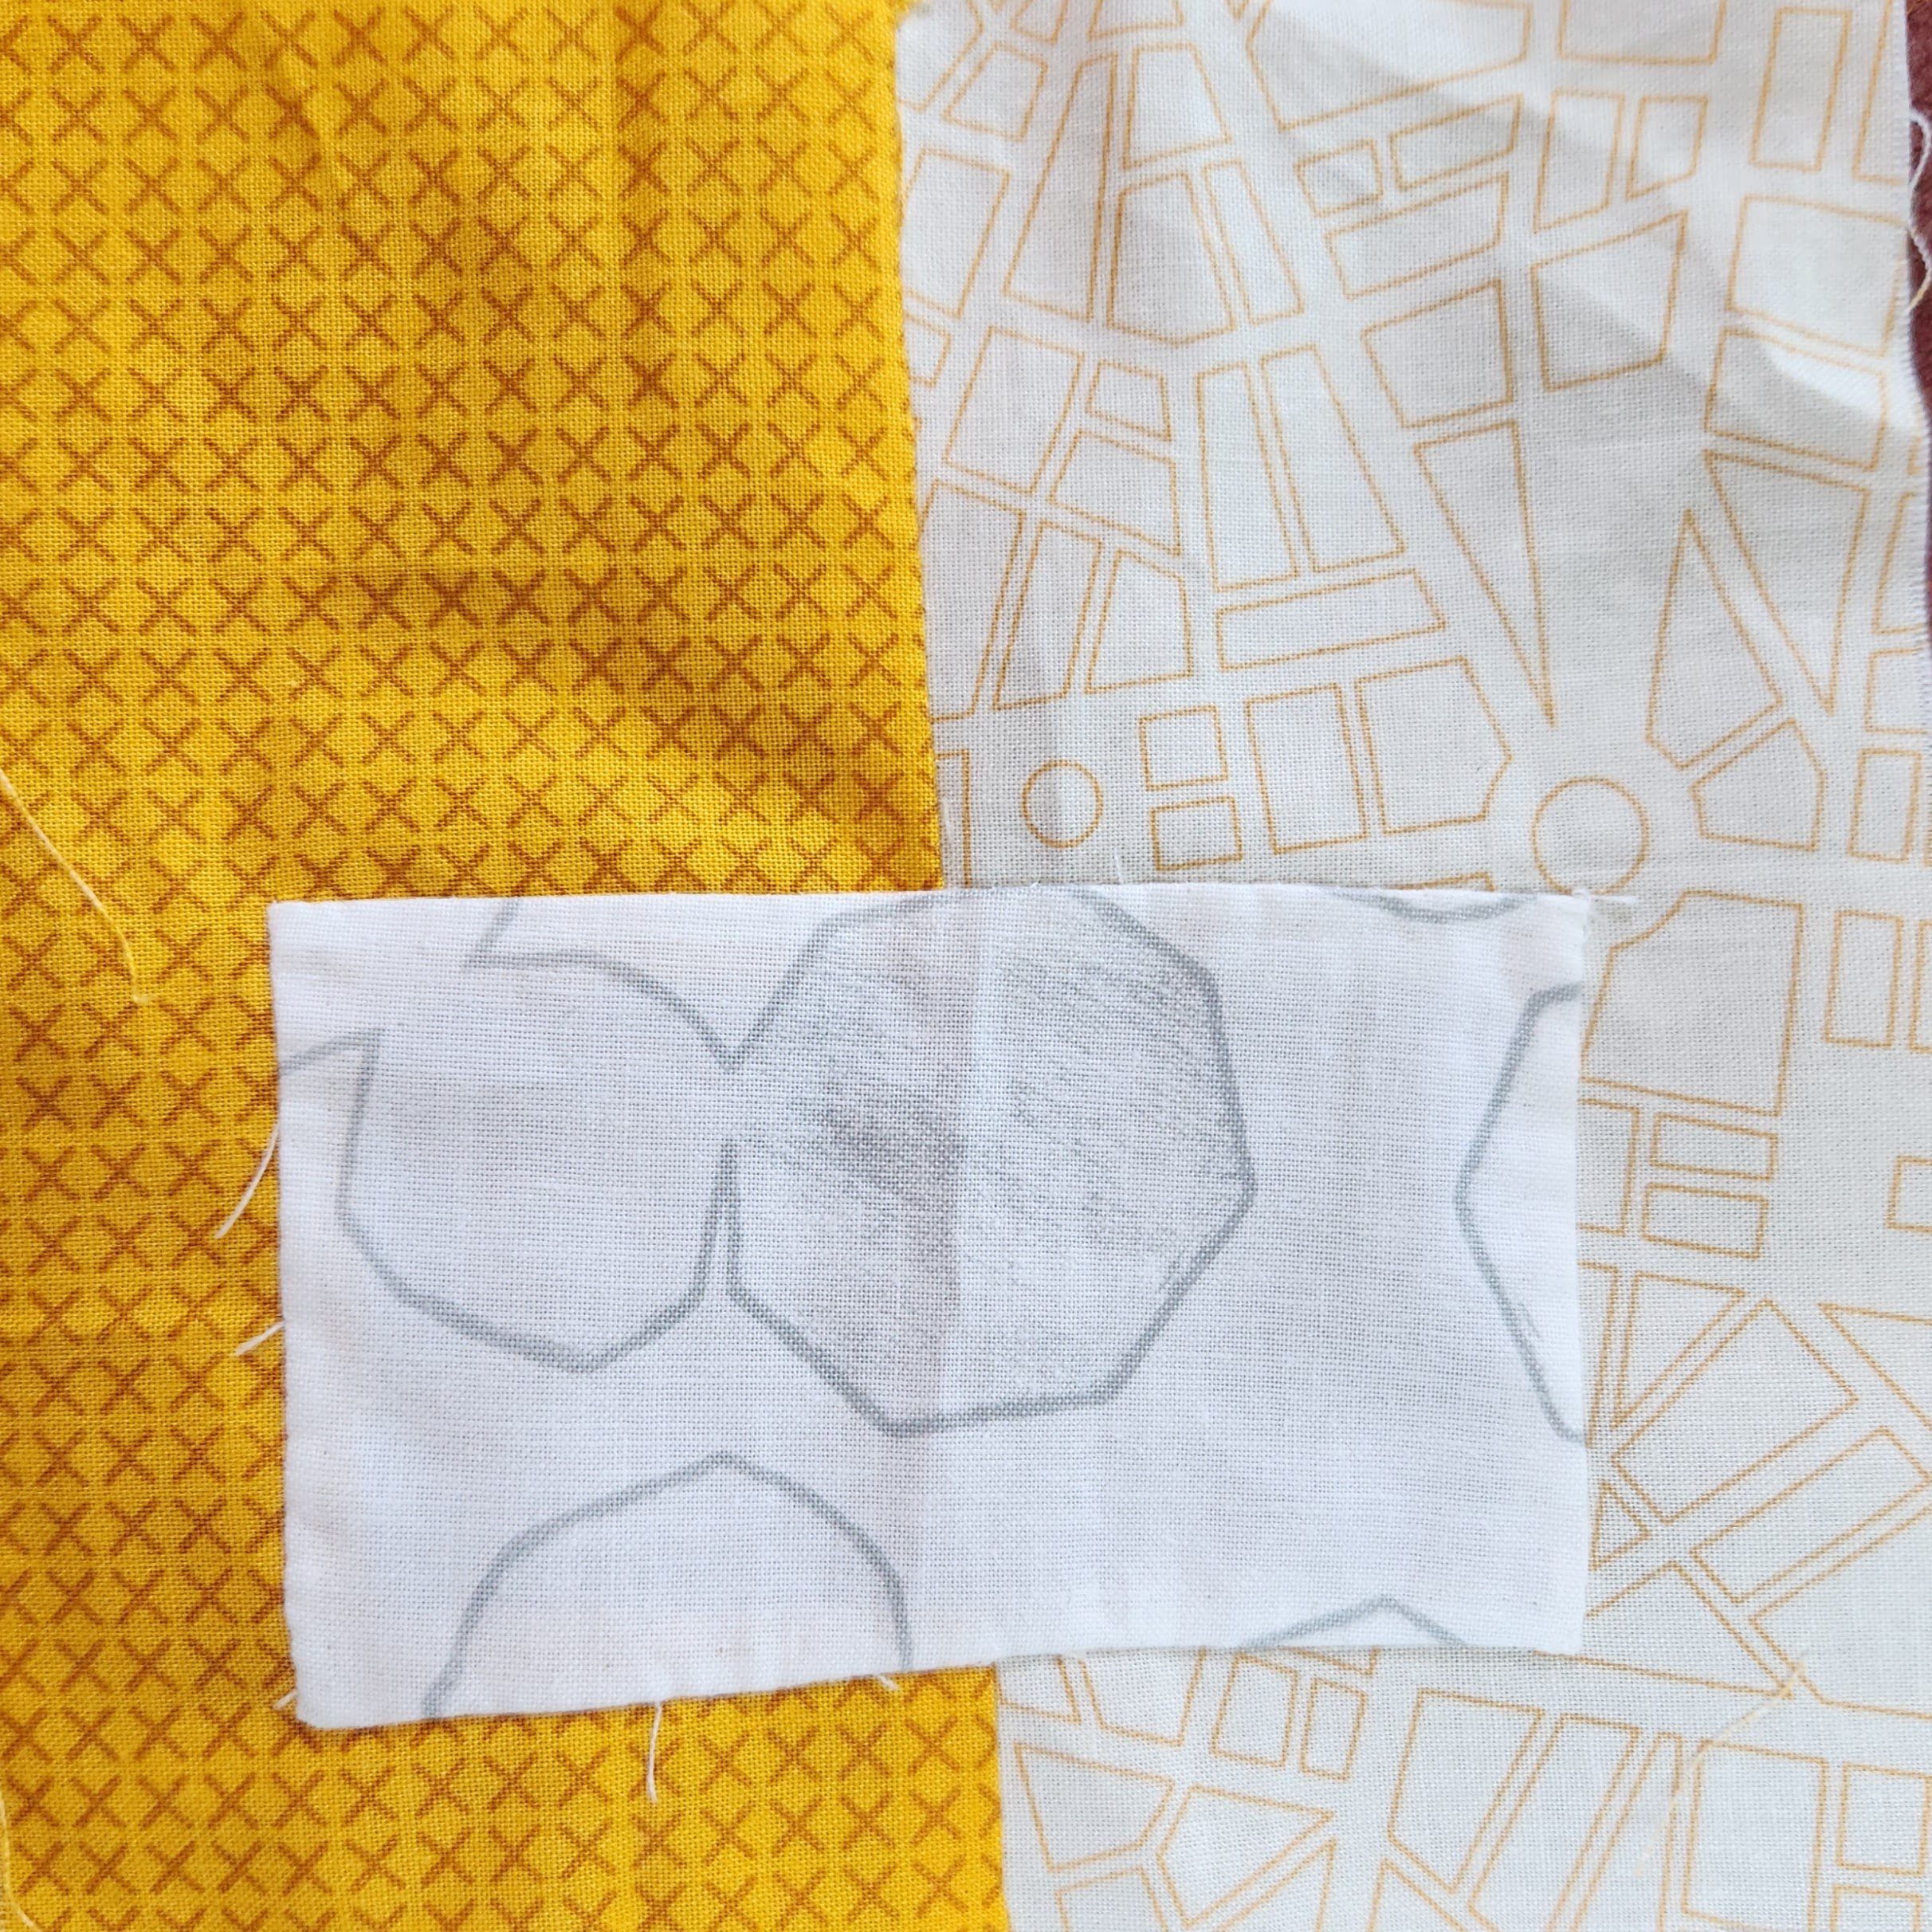
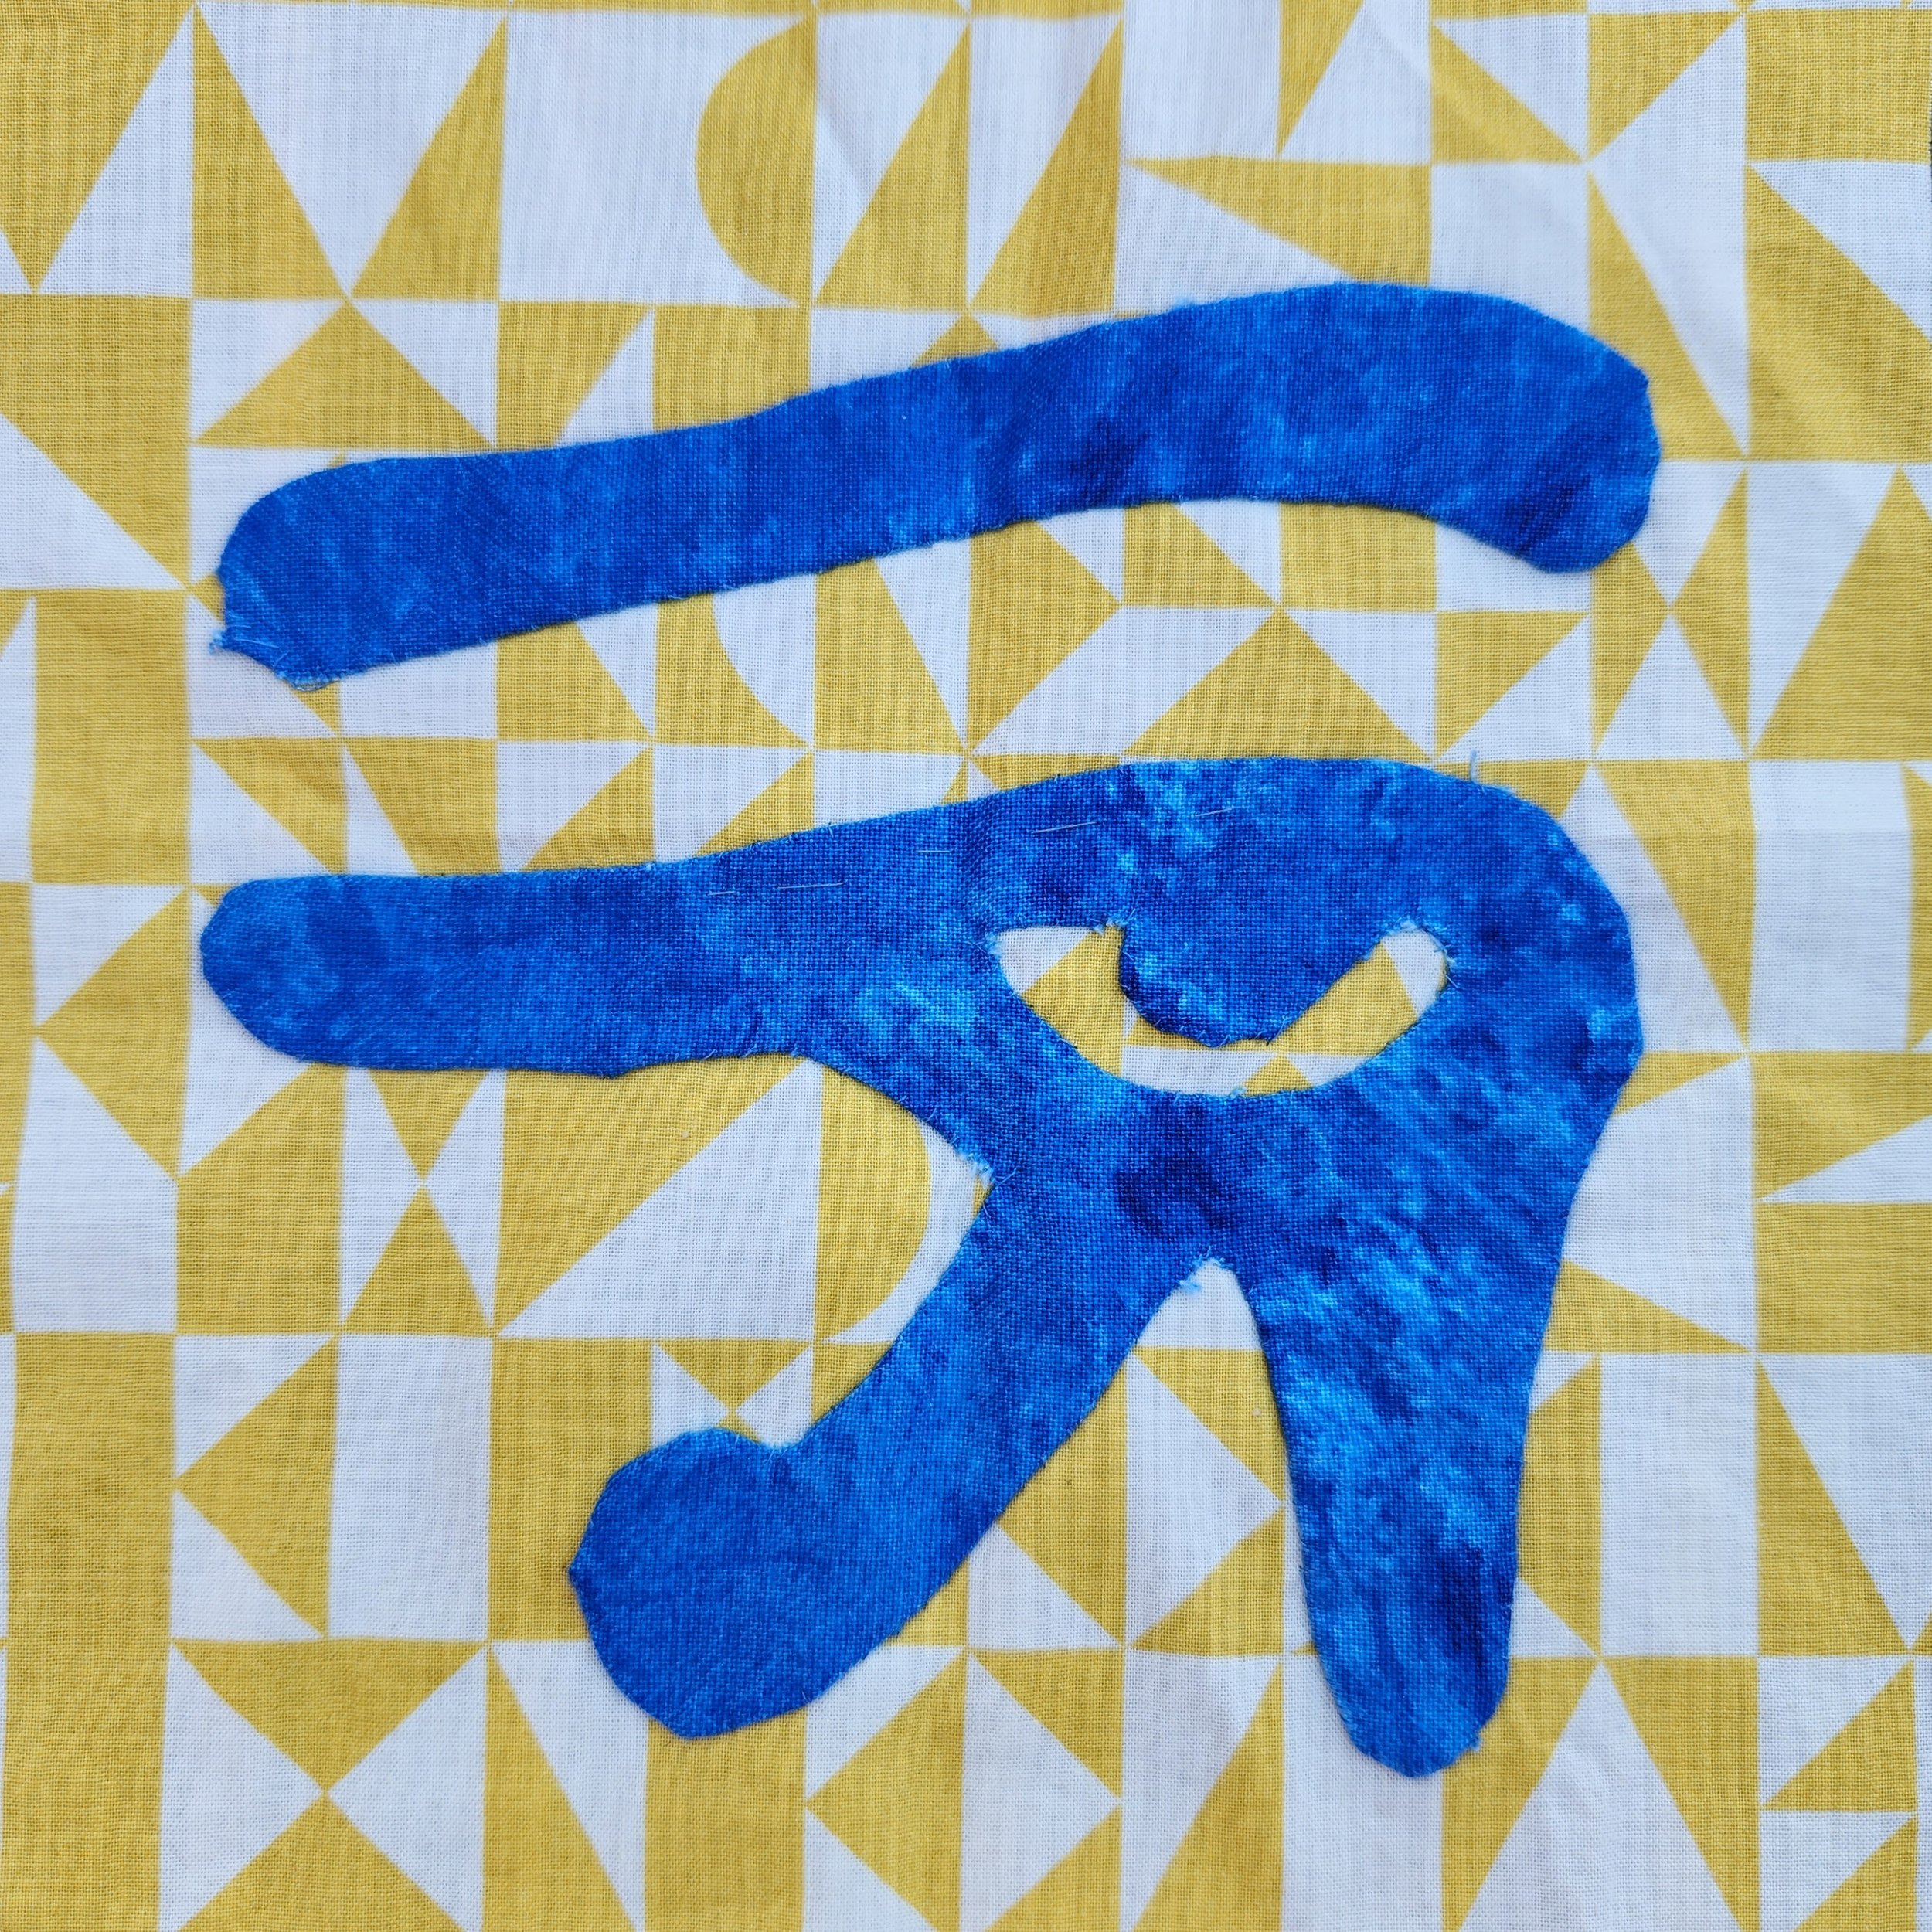
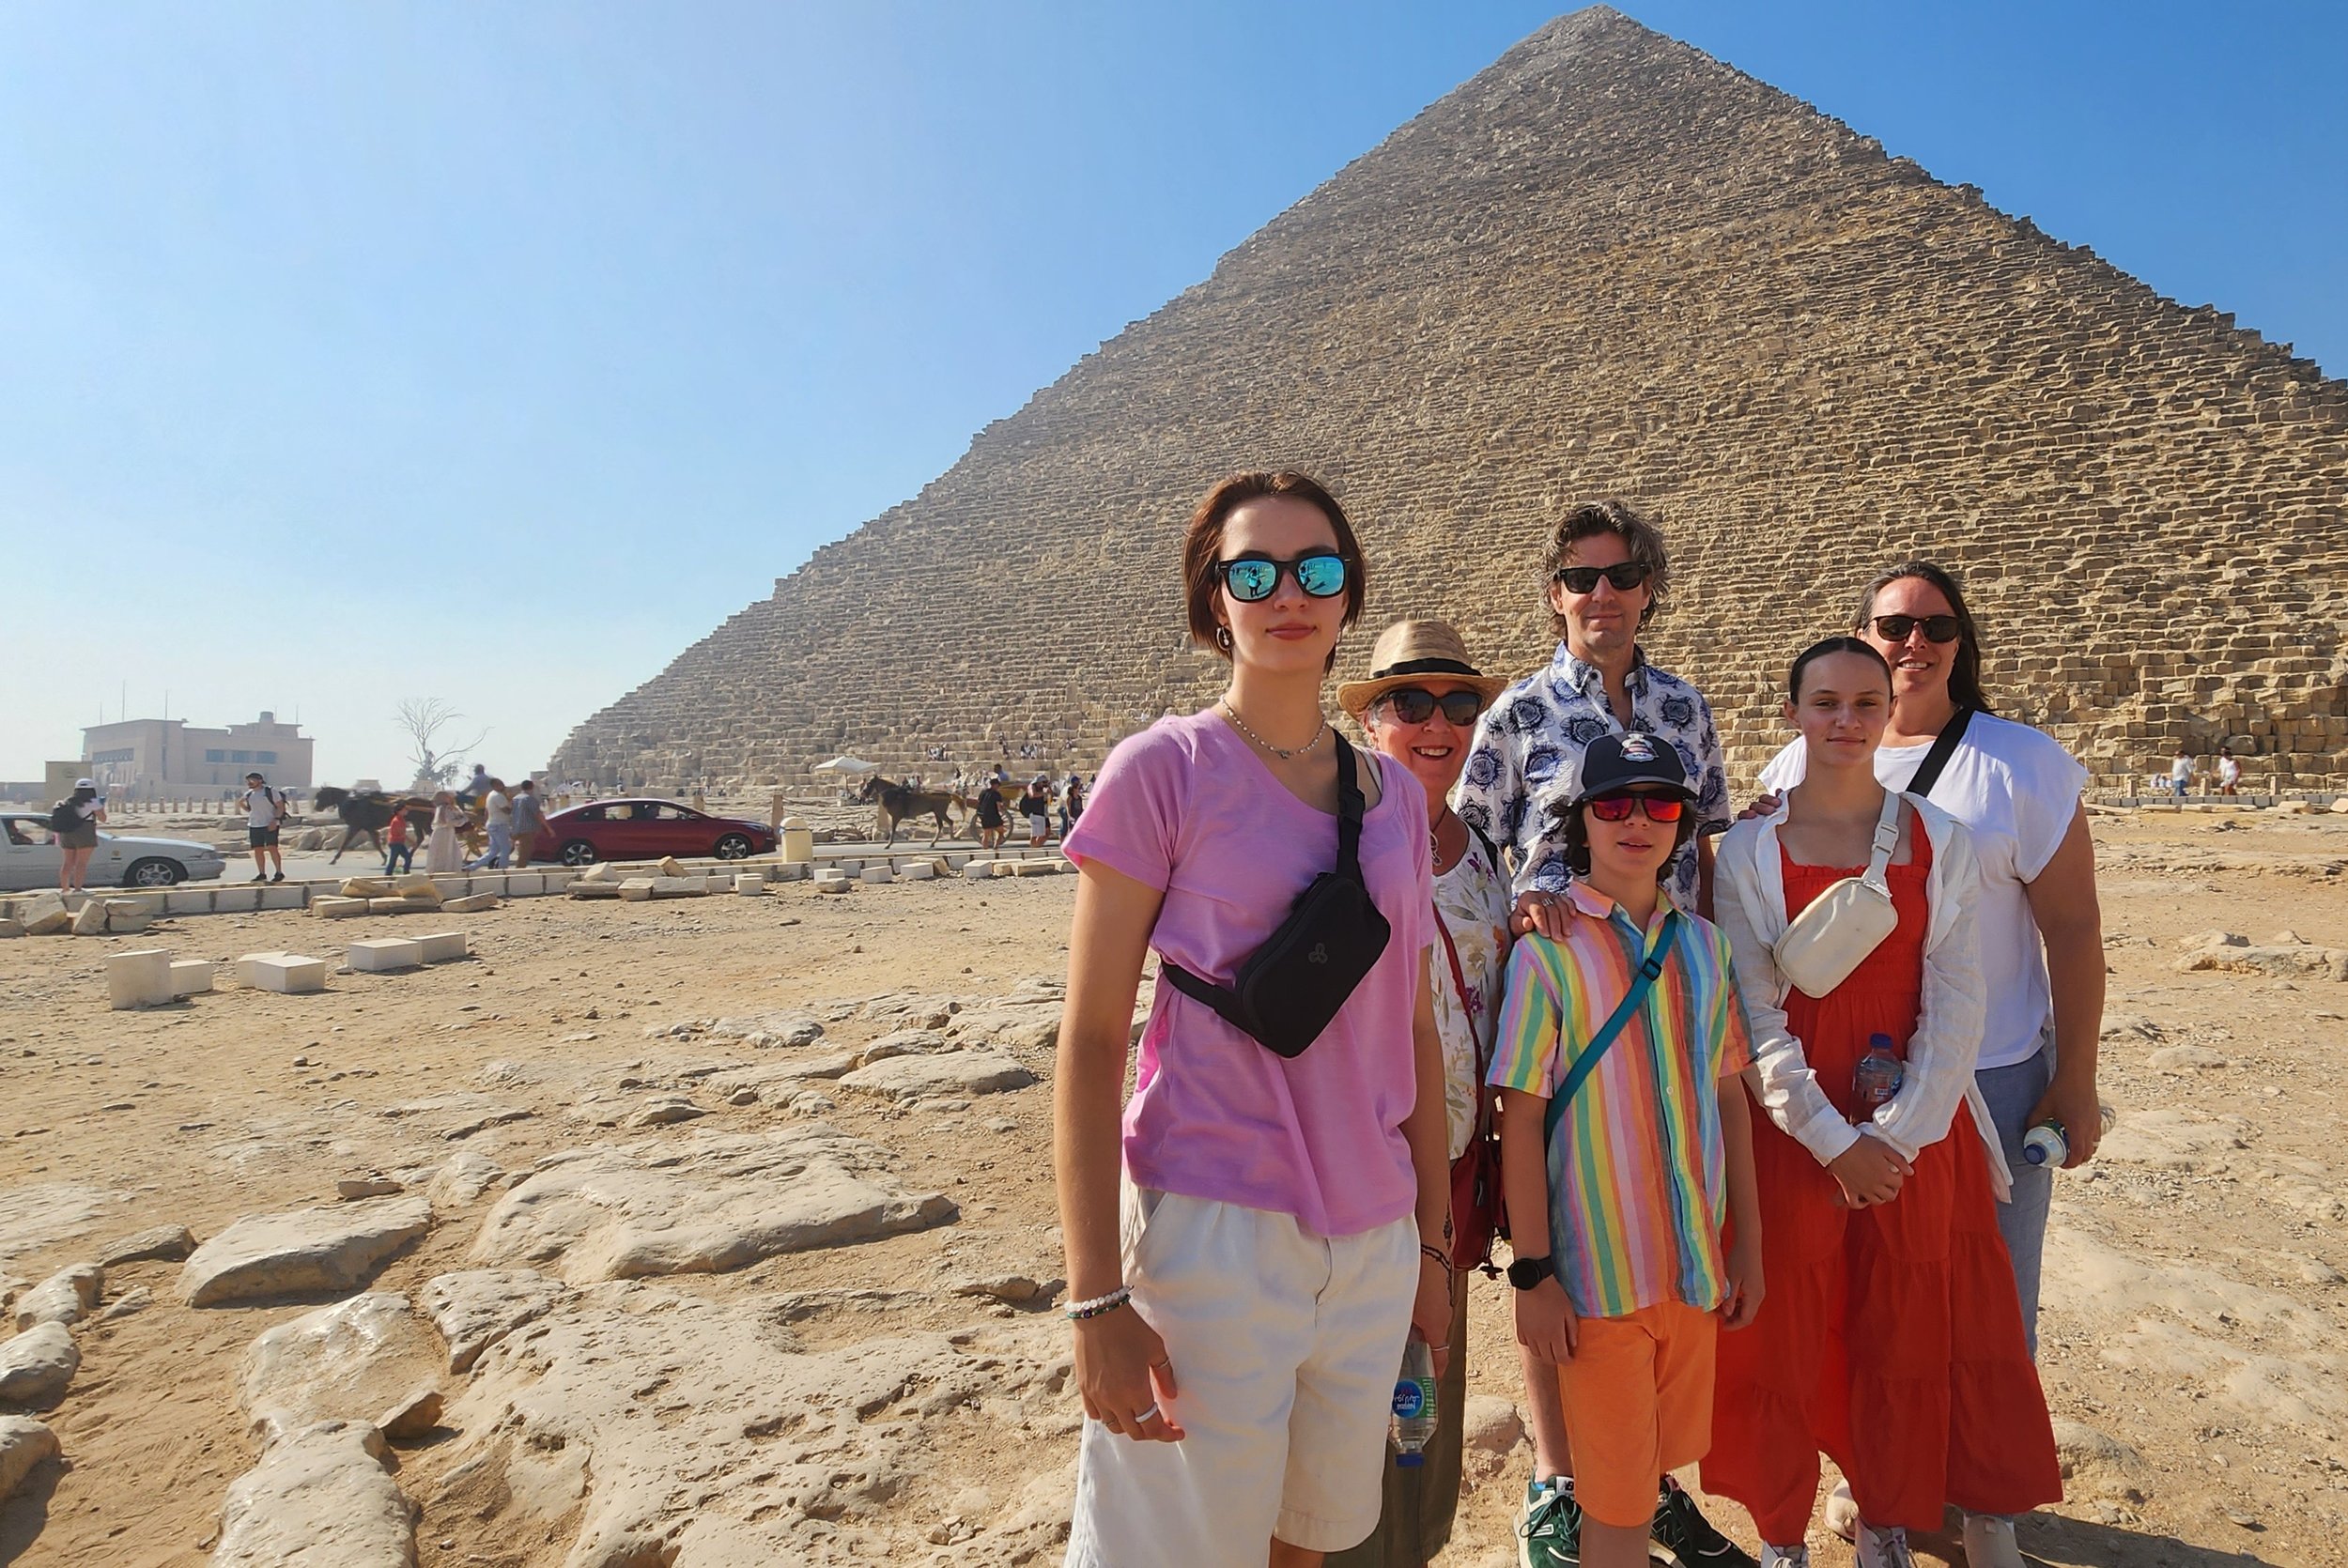
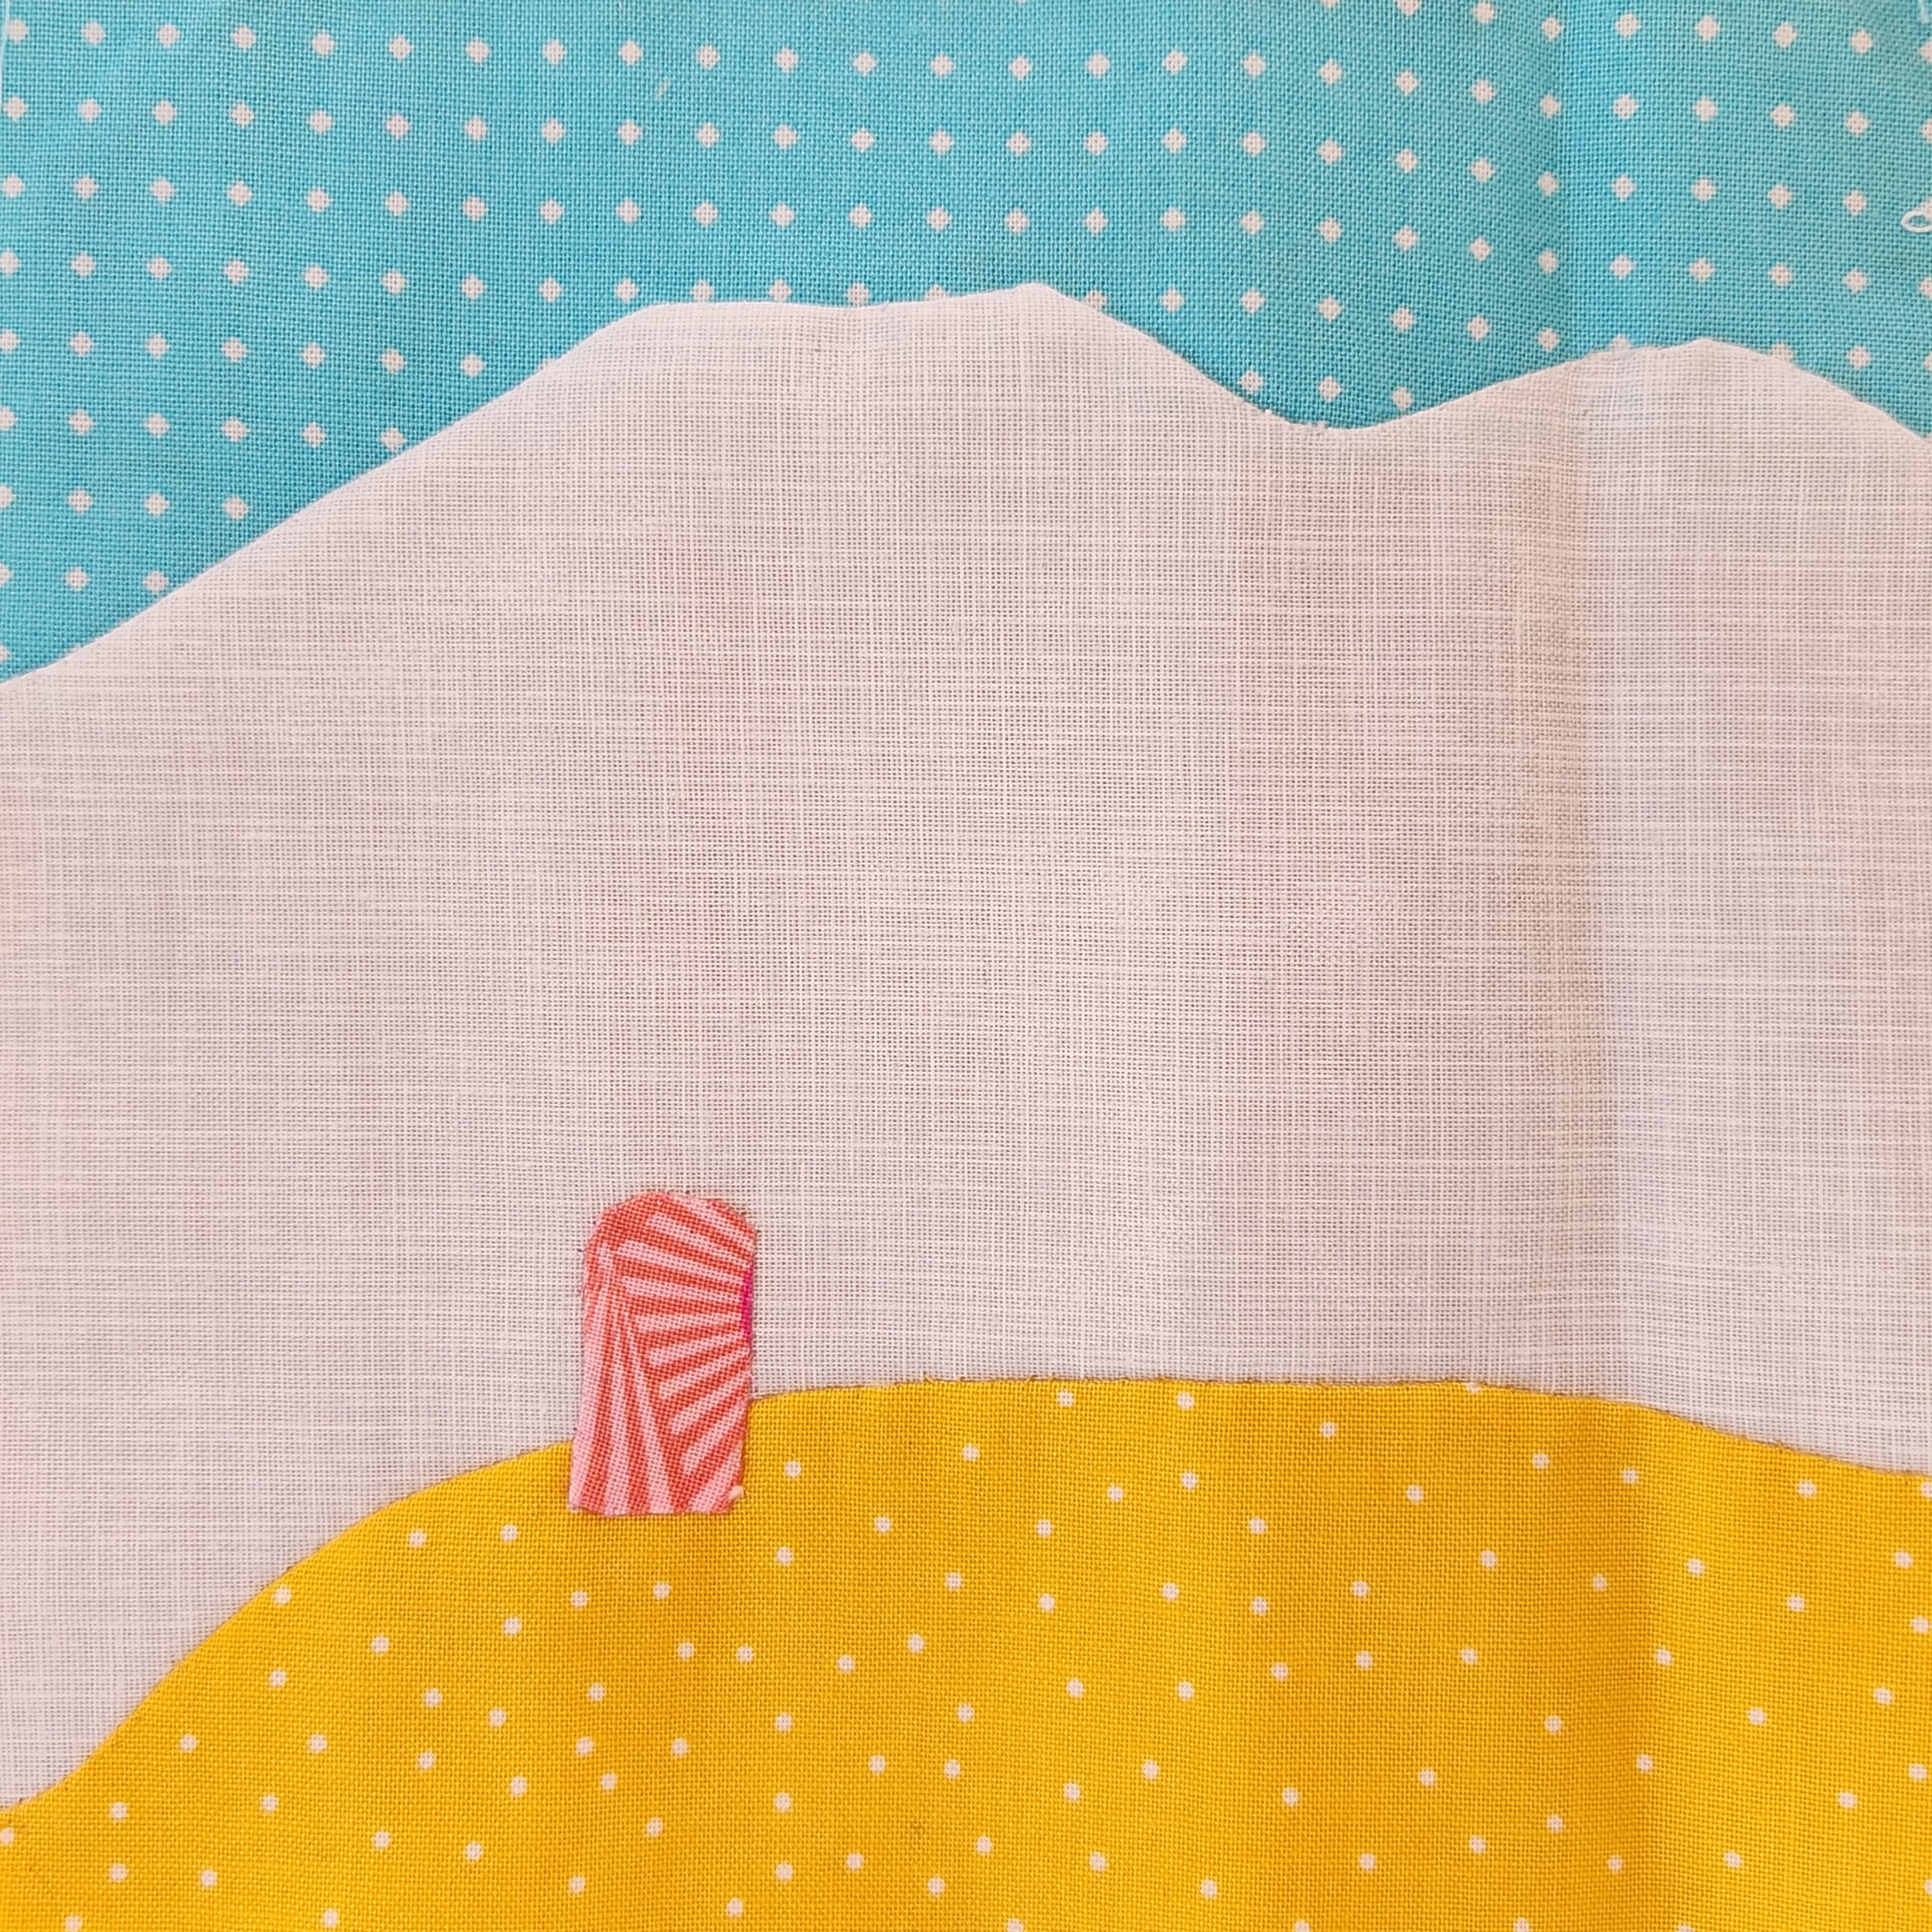
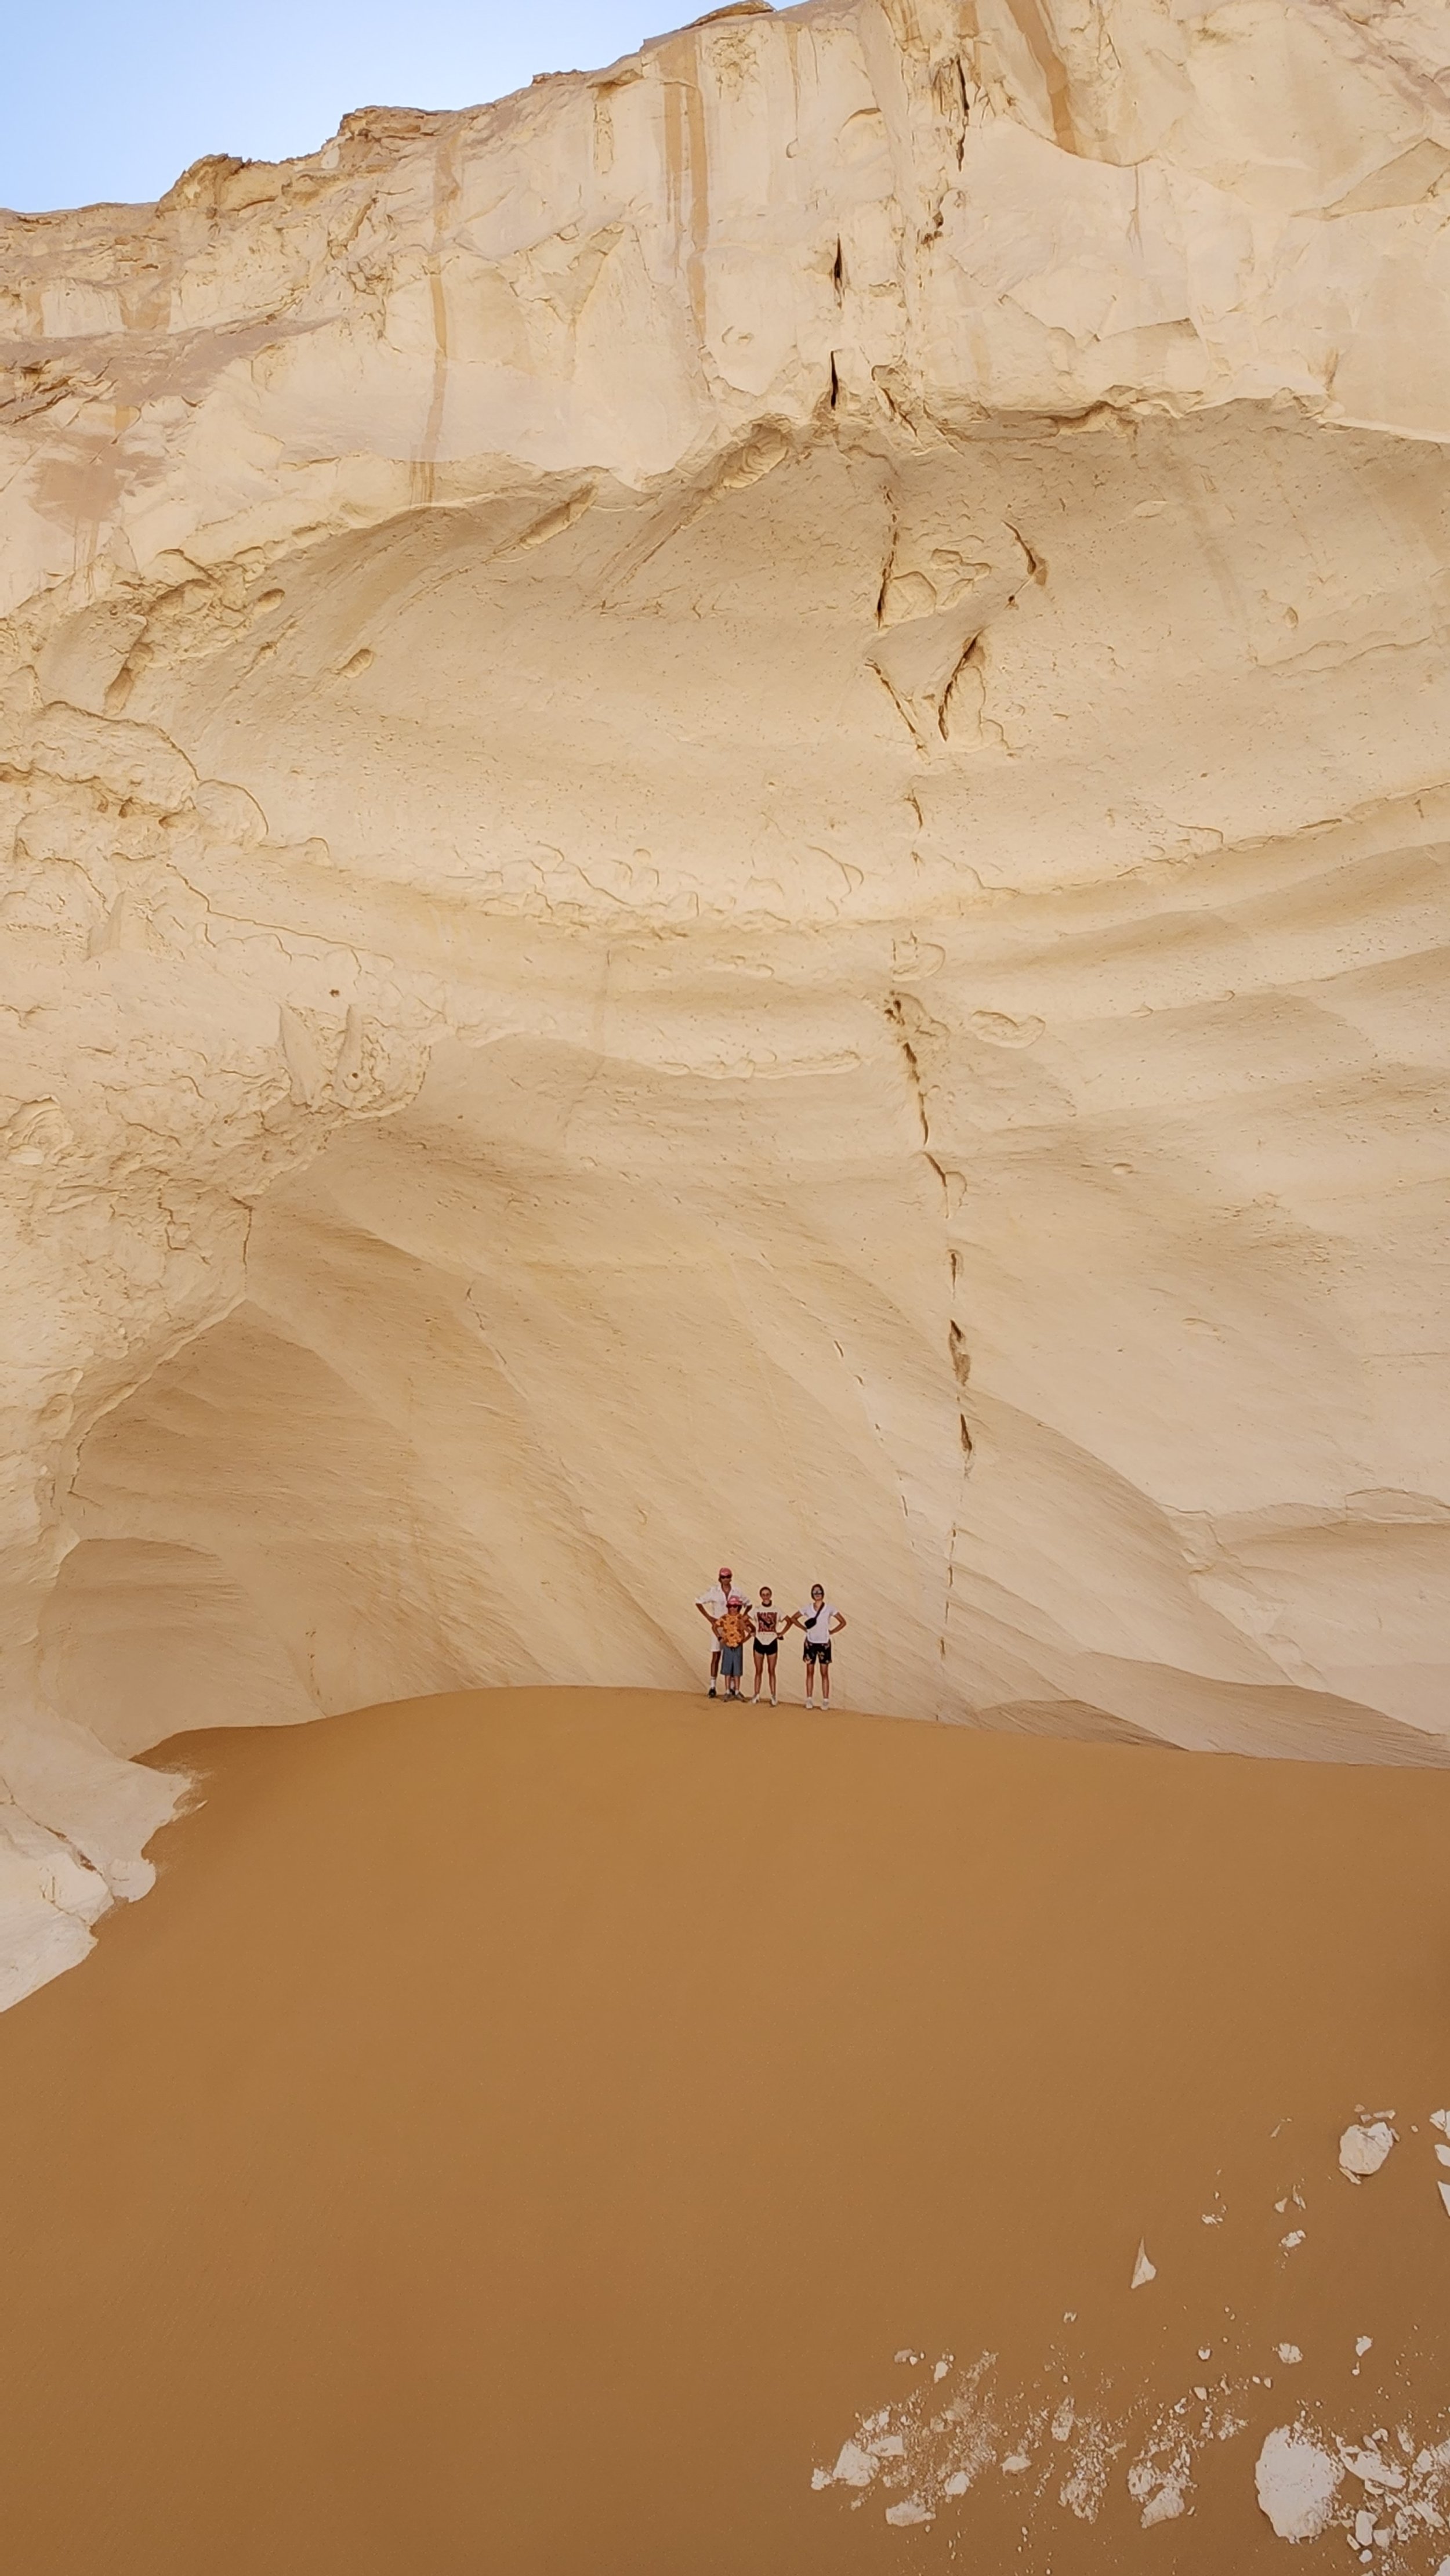
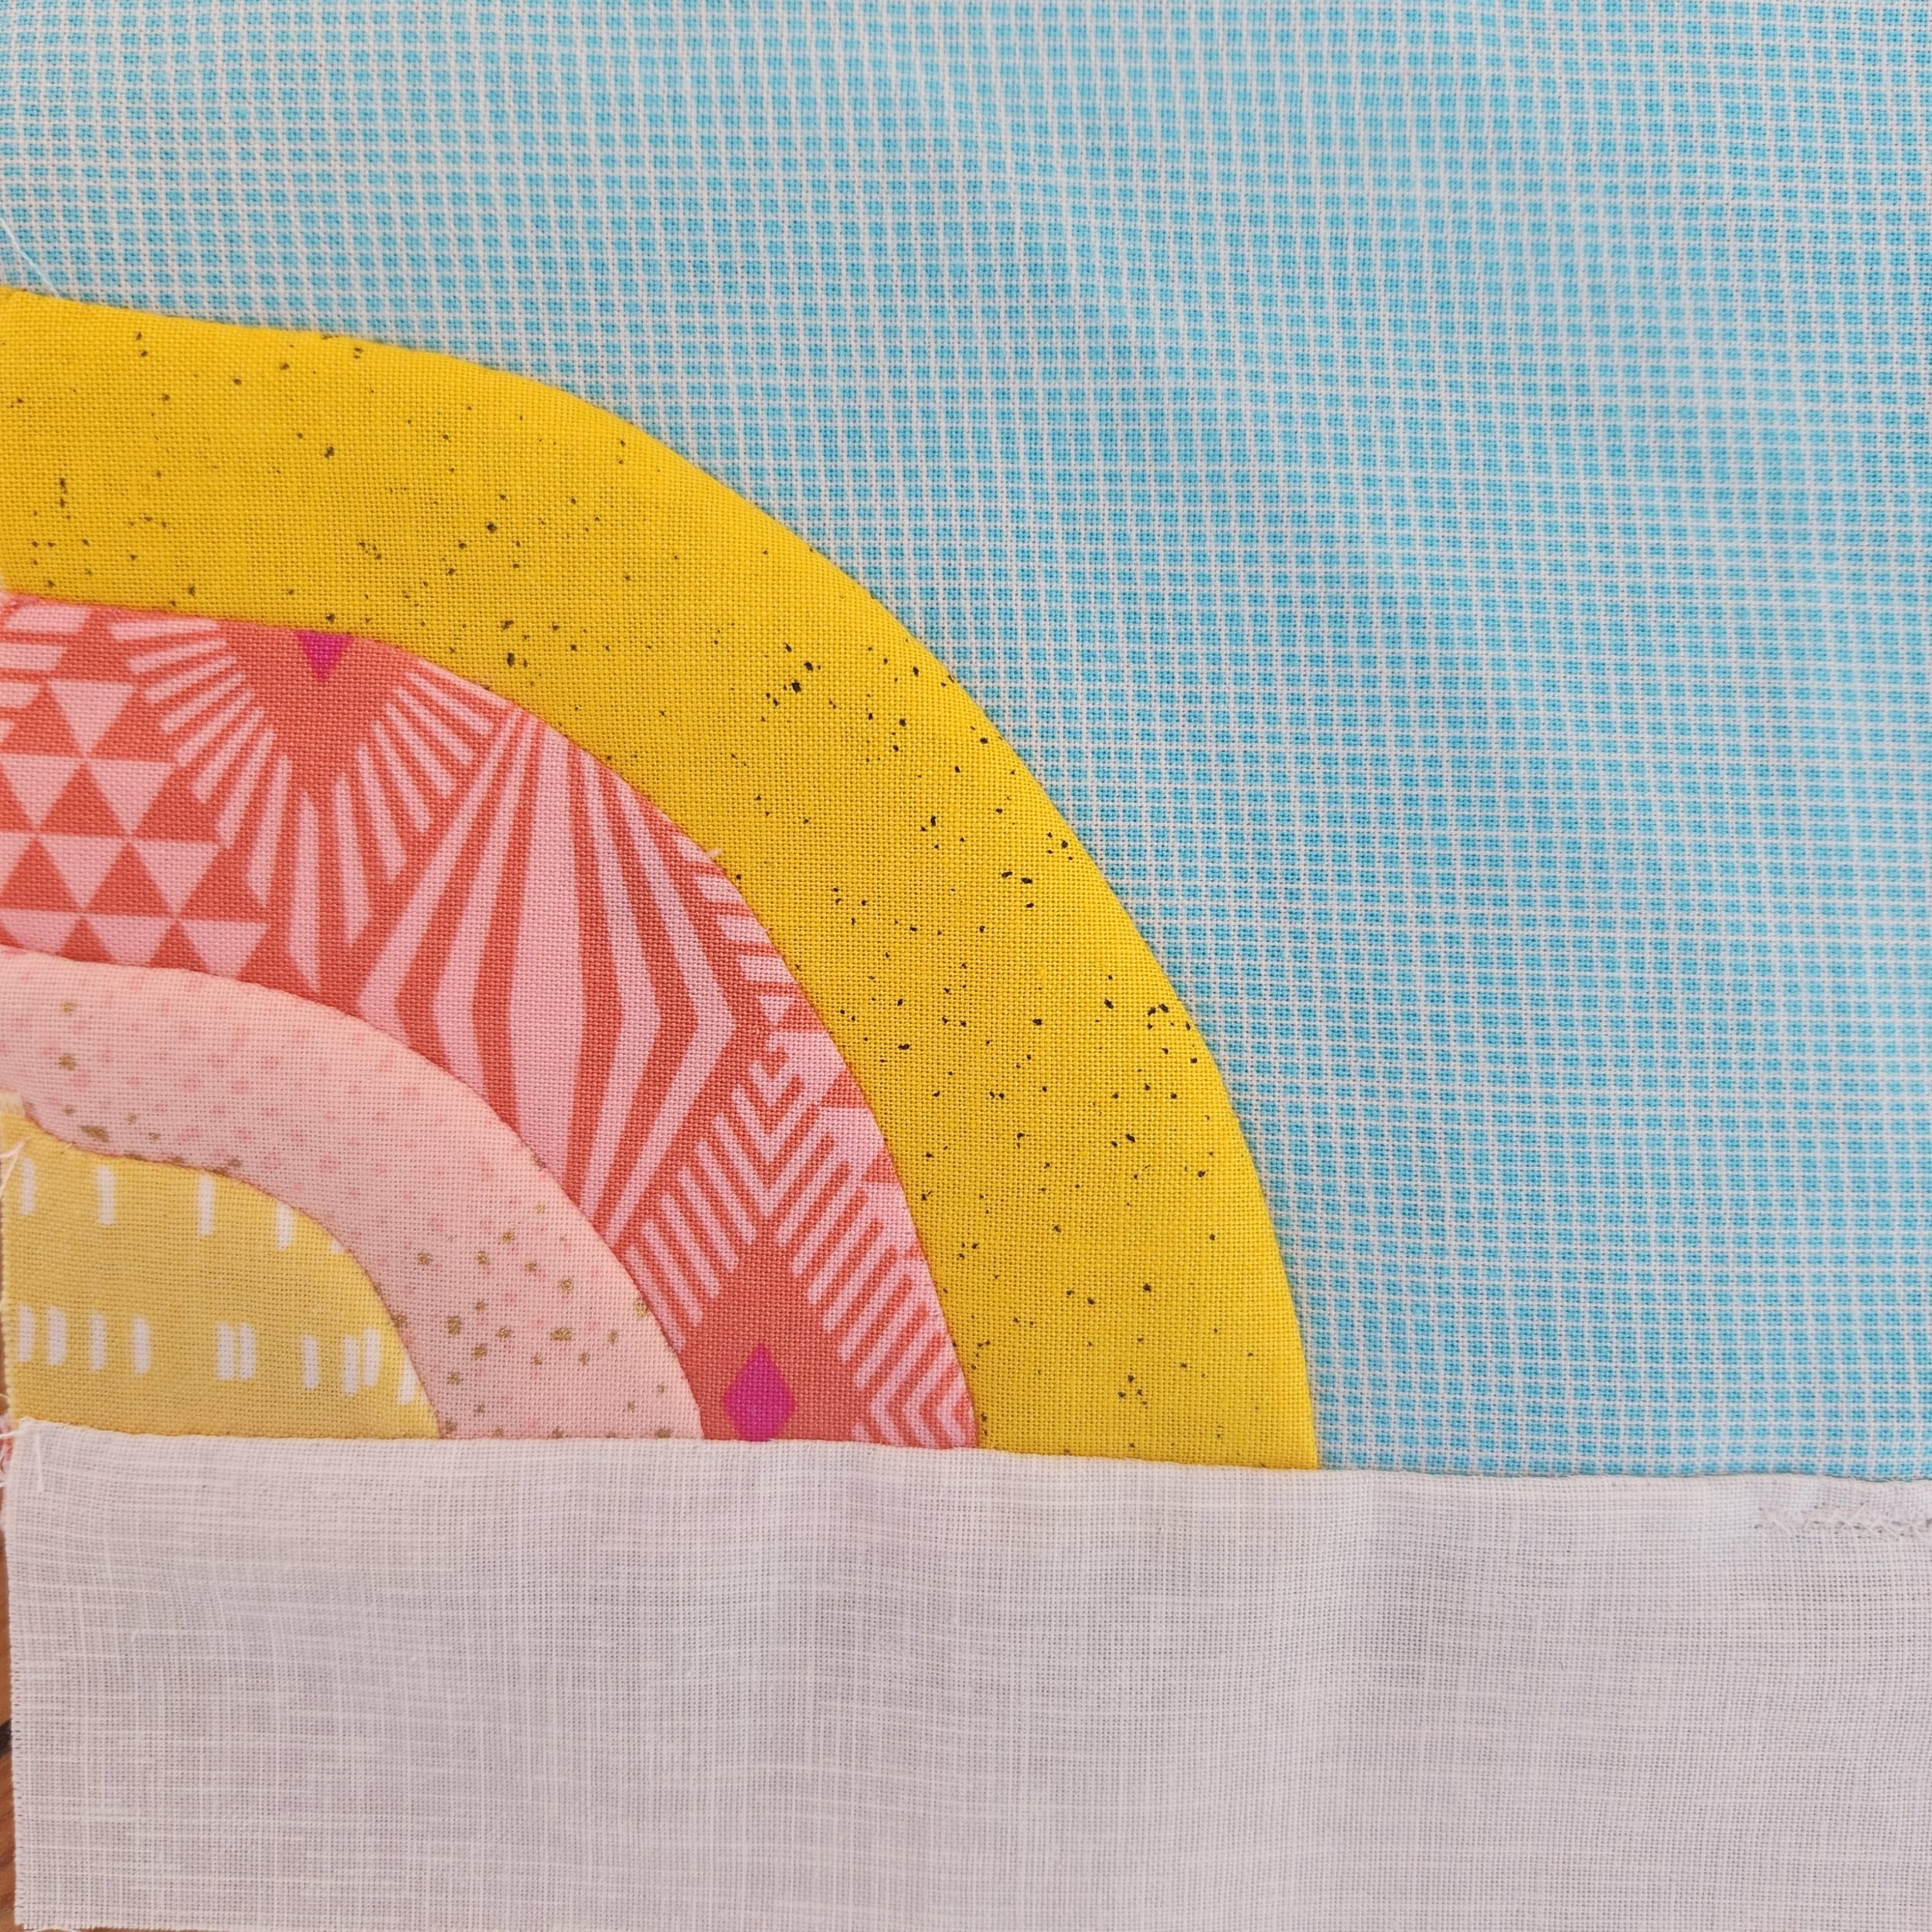
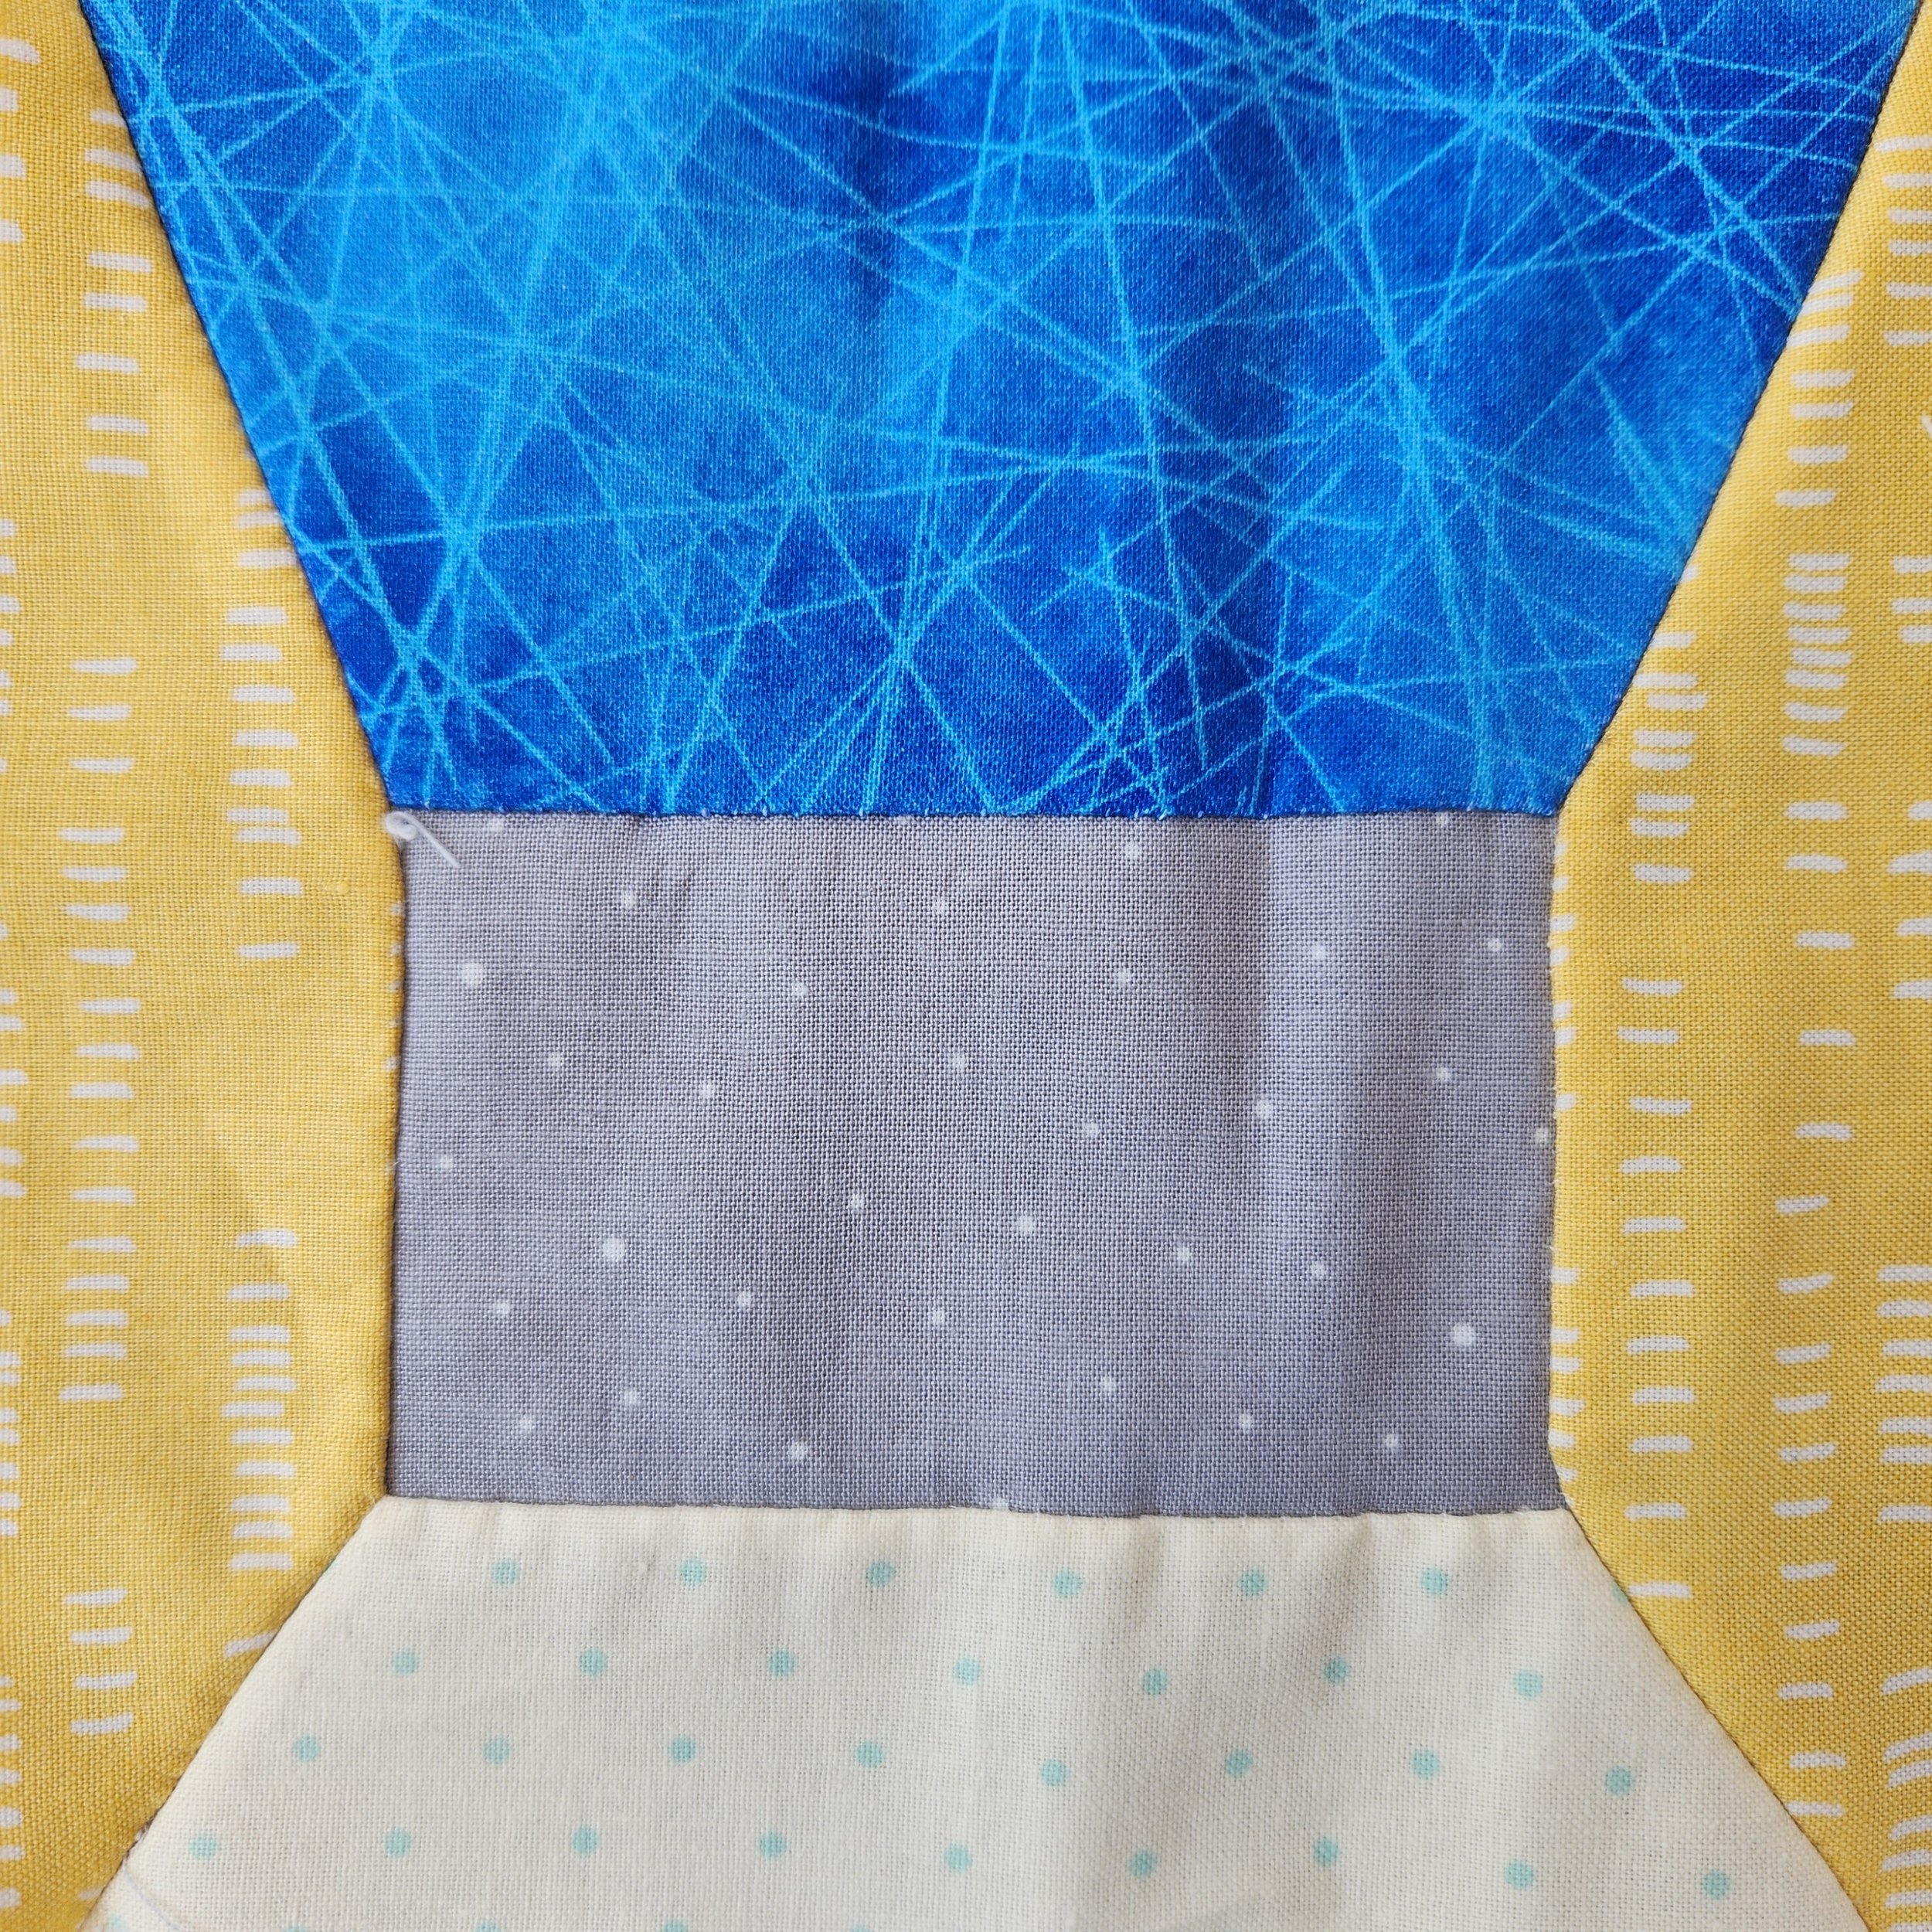
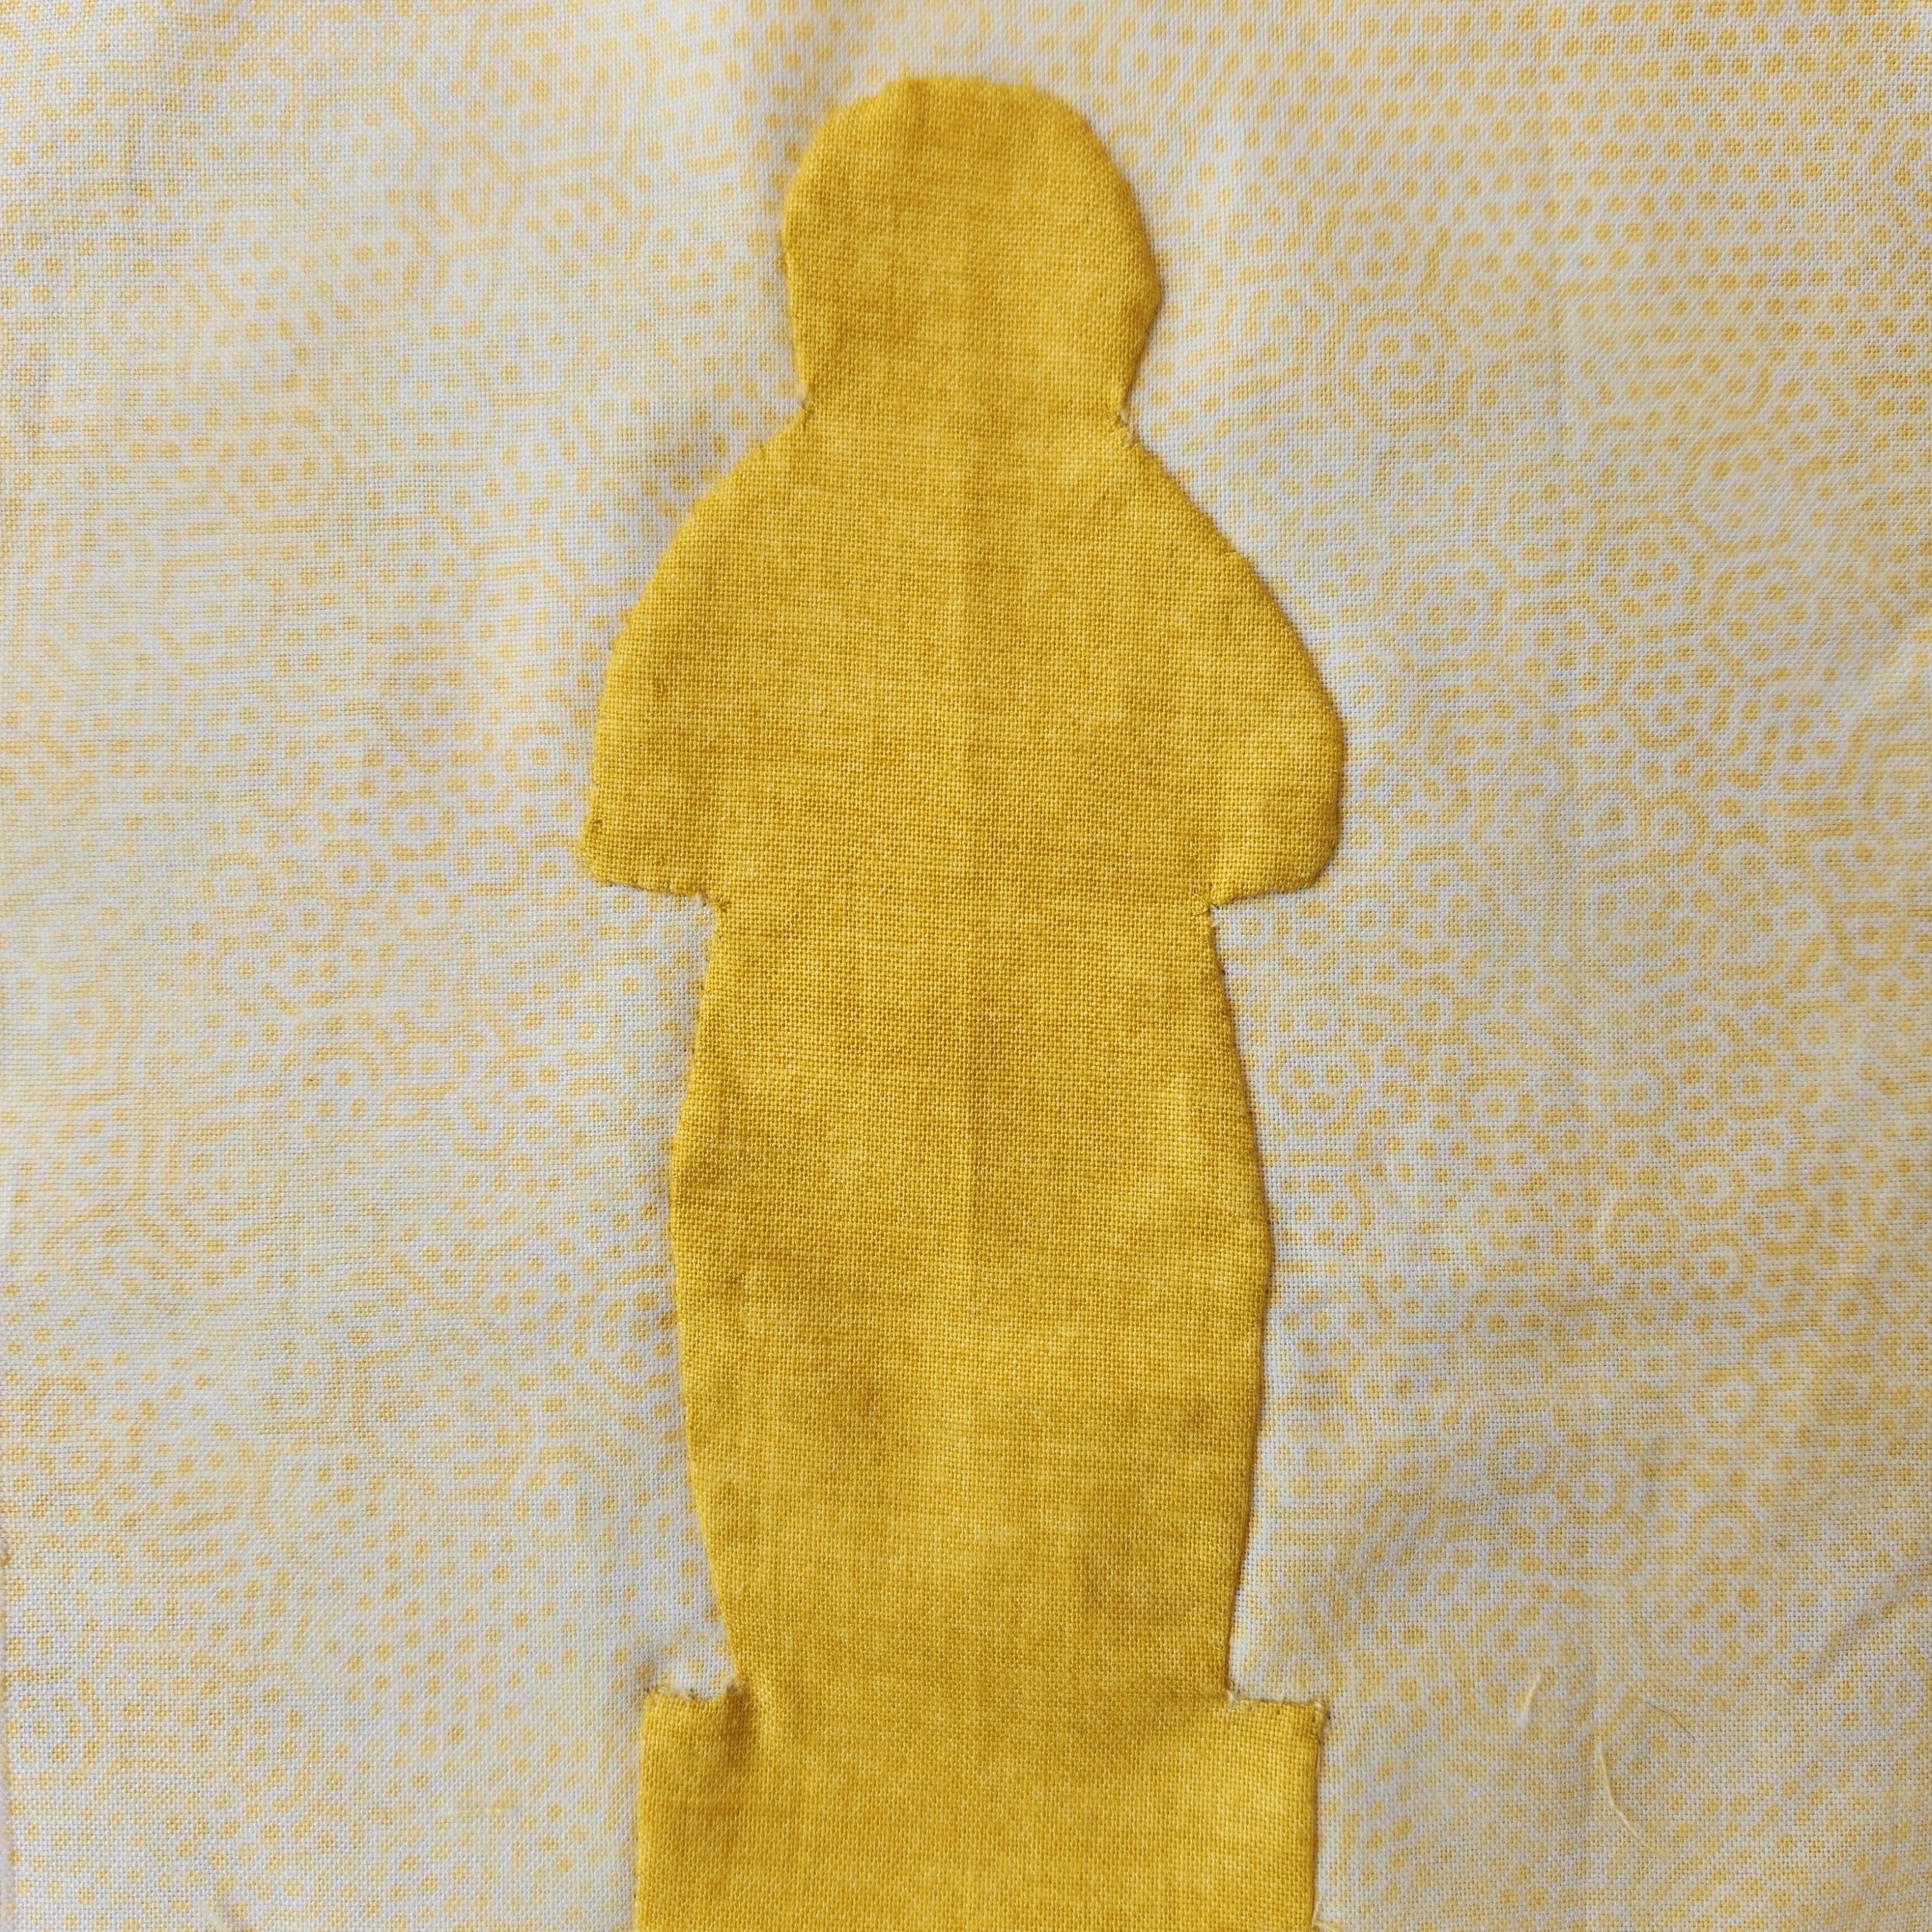
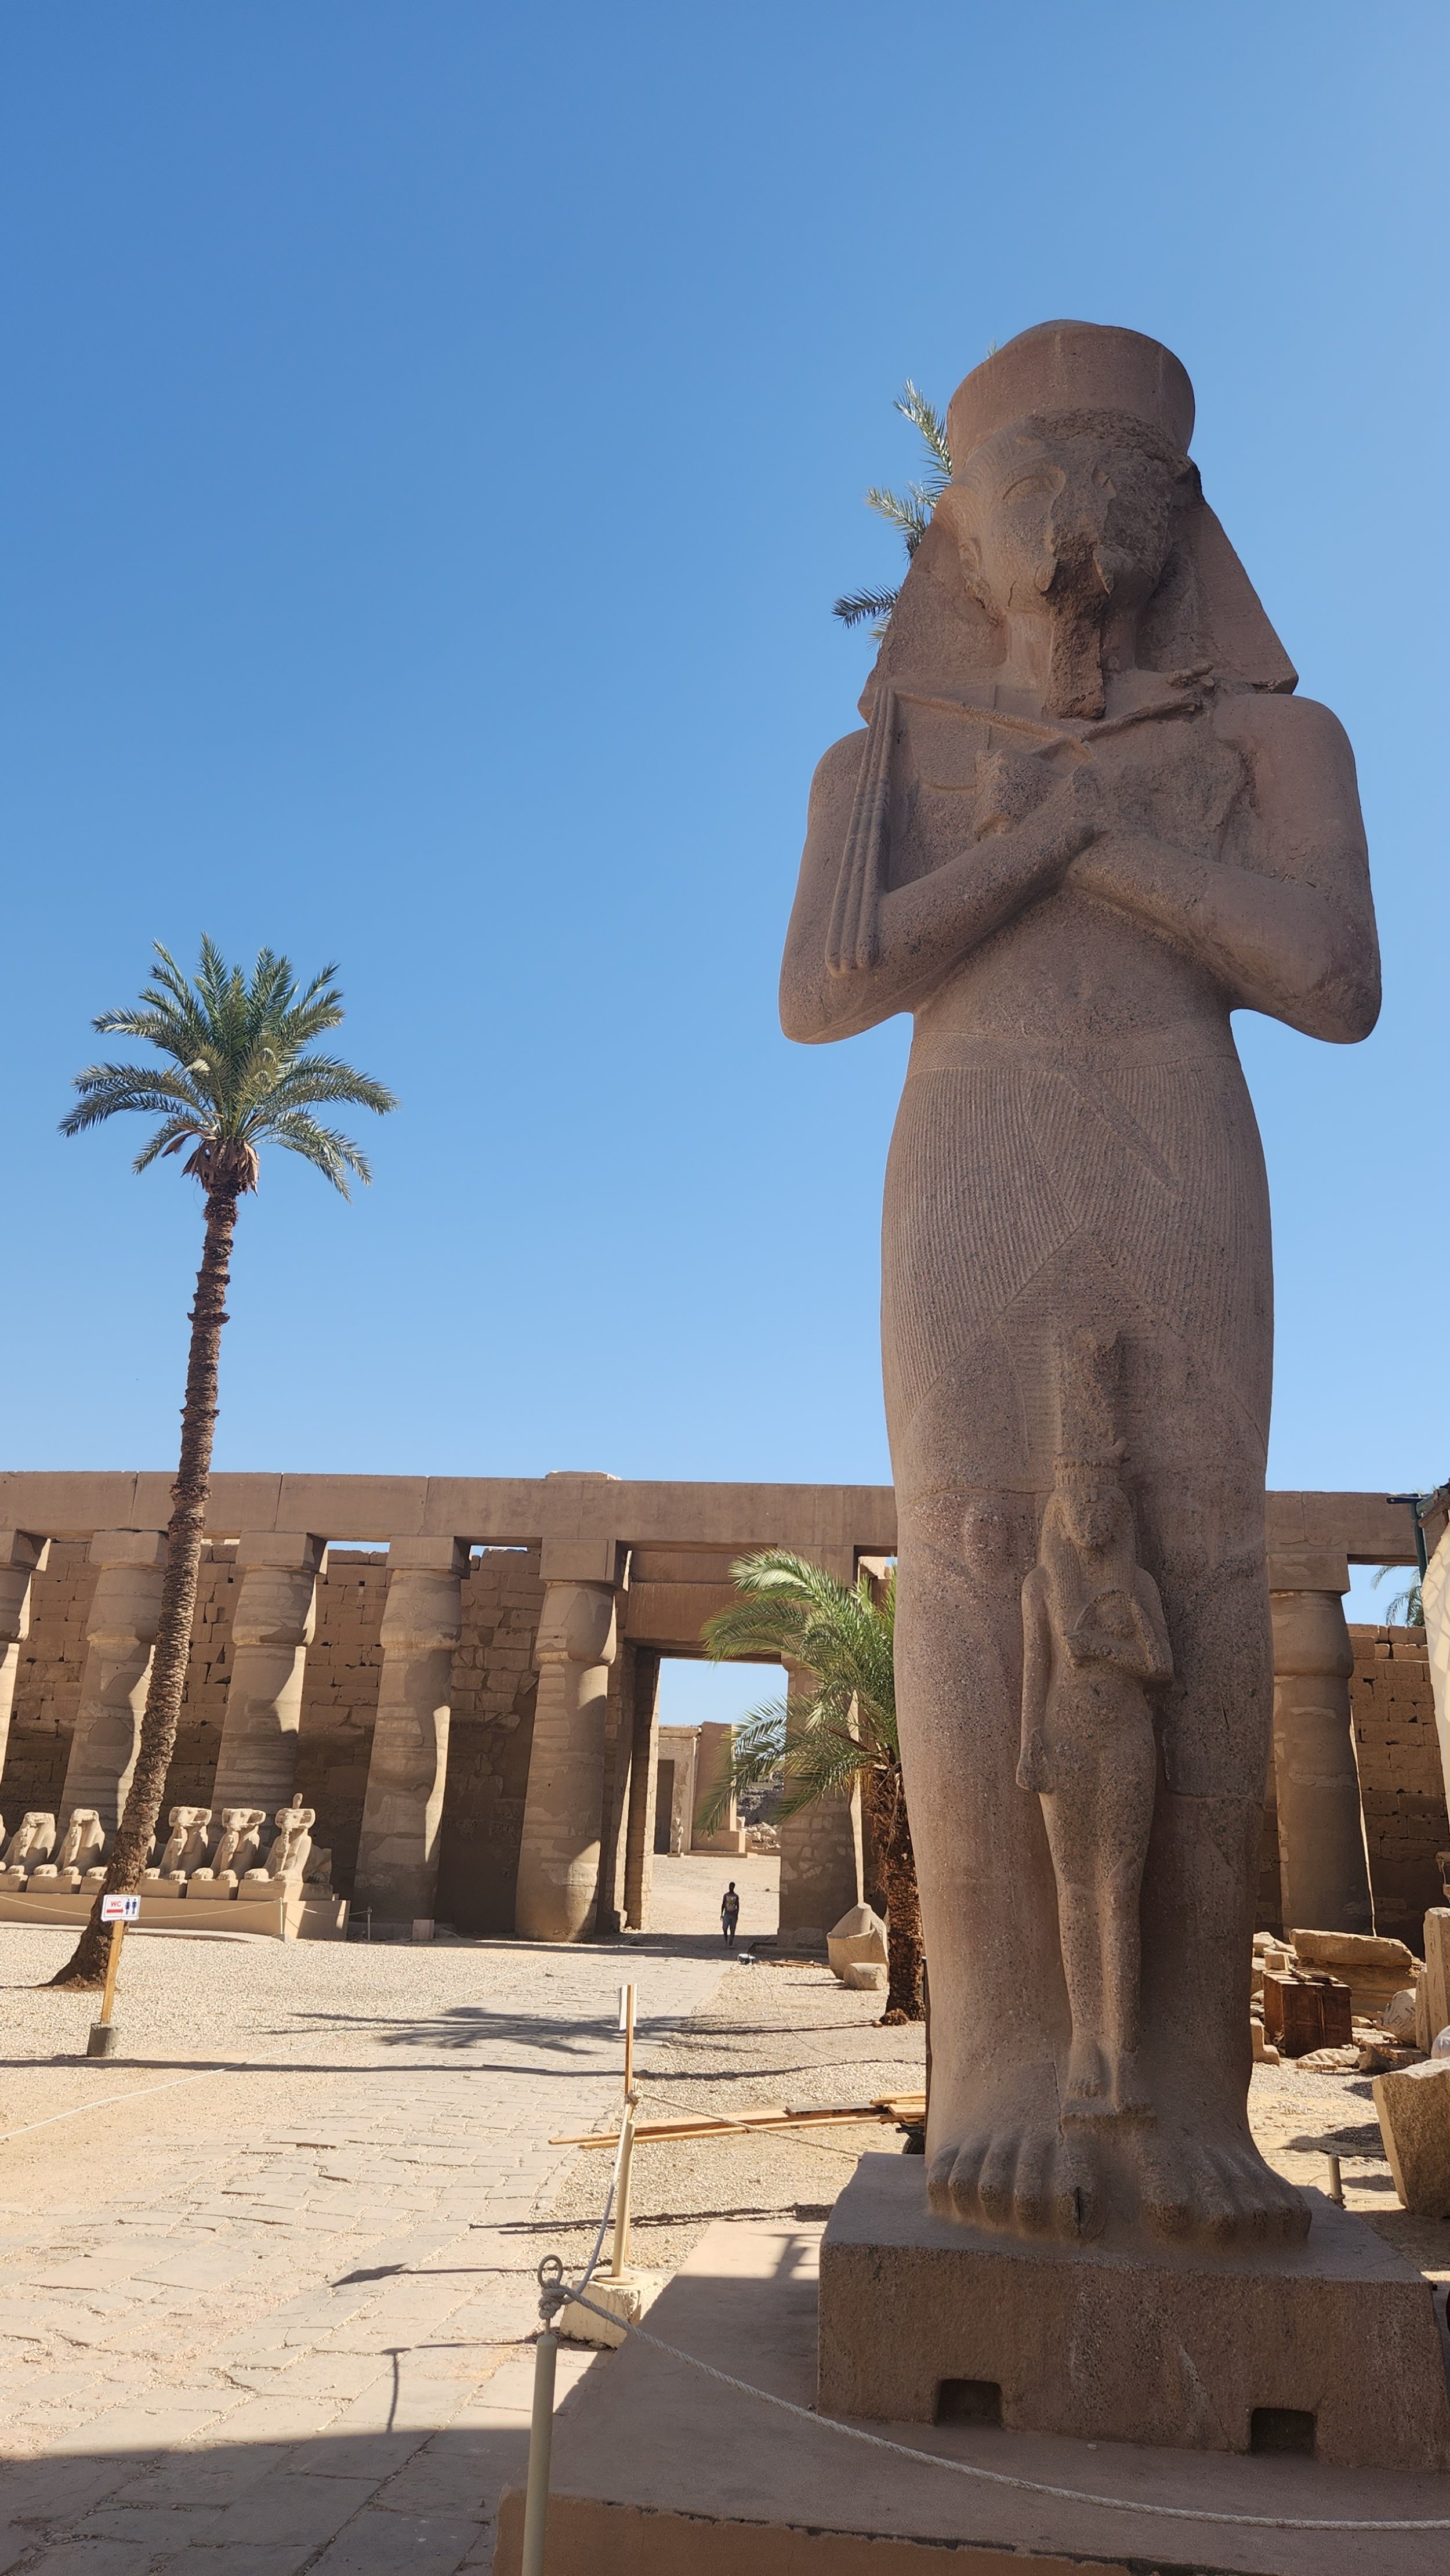
Prior to leaving I decided to bring along a stack of fabric squares. My plan was for a block a day. I wasn’t entirely sure how this would play out, but I wanted to try. Surprisingly, I was very motivated and did indeed make a block for every day. I even finished the last one as we were boarding the flight home. The blocks serve as a bit of a trip diary. They are all appliqued in one way or another with freehand cut shapes. Oh, except one, you’ll be able to figure that out. Each block is inspired by our experiences, our sites, or events of the day. Most interpretations are abstract, some a bit more literal. The gallery above shares the block and just one inspiration photo.

Day 1 - Arrive in Alexandria via Cairo.

Day 2 - Training Day in Alexandria, where we discover the importance of shade and KT Tape.

Day 3 - First day of competition and opening ceremonies.

Day 4 - Competition for my girl and her sprained ankle.

Day 5 - Canada is killing it on the obstacle course!

Day 6 - Less events today so we explored Alexandria a bit into the evening.

Day 7 - Finals competition. All three Canadian athletes made finals.

Day 8 - Mixed relay and one last ride in an Uber in Alexandria’s crazy, potholed and crowded streets.

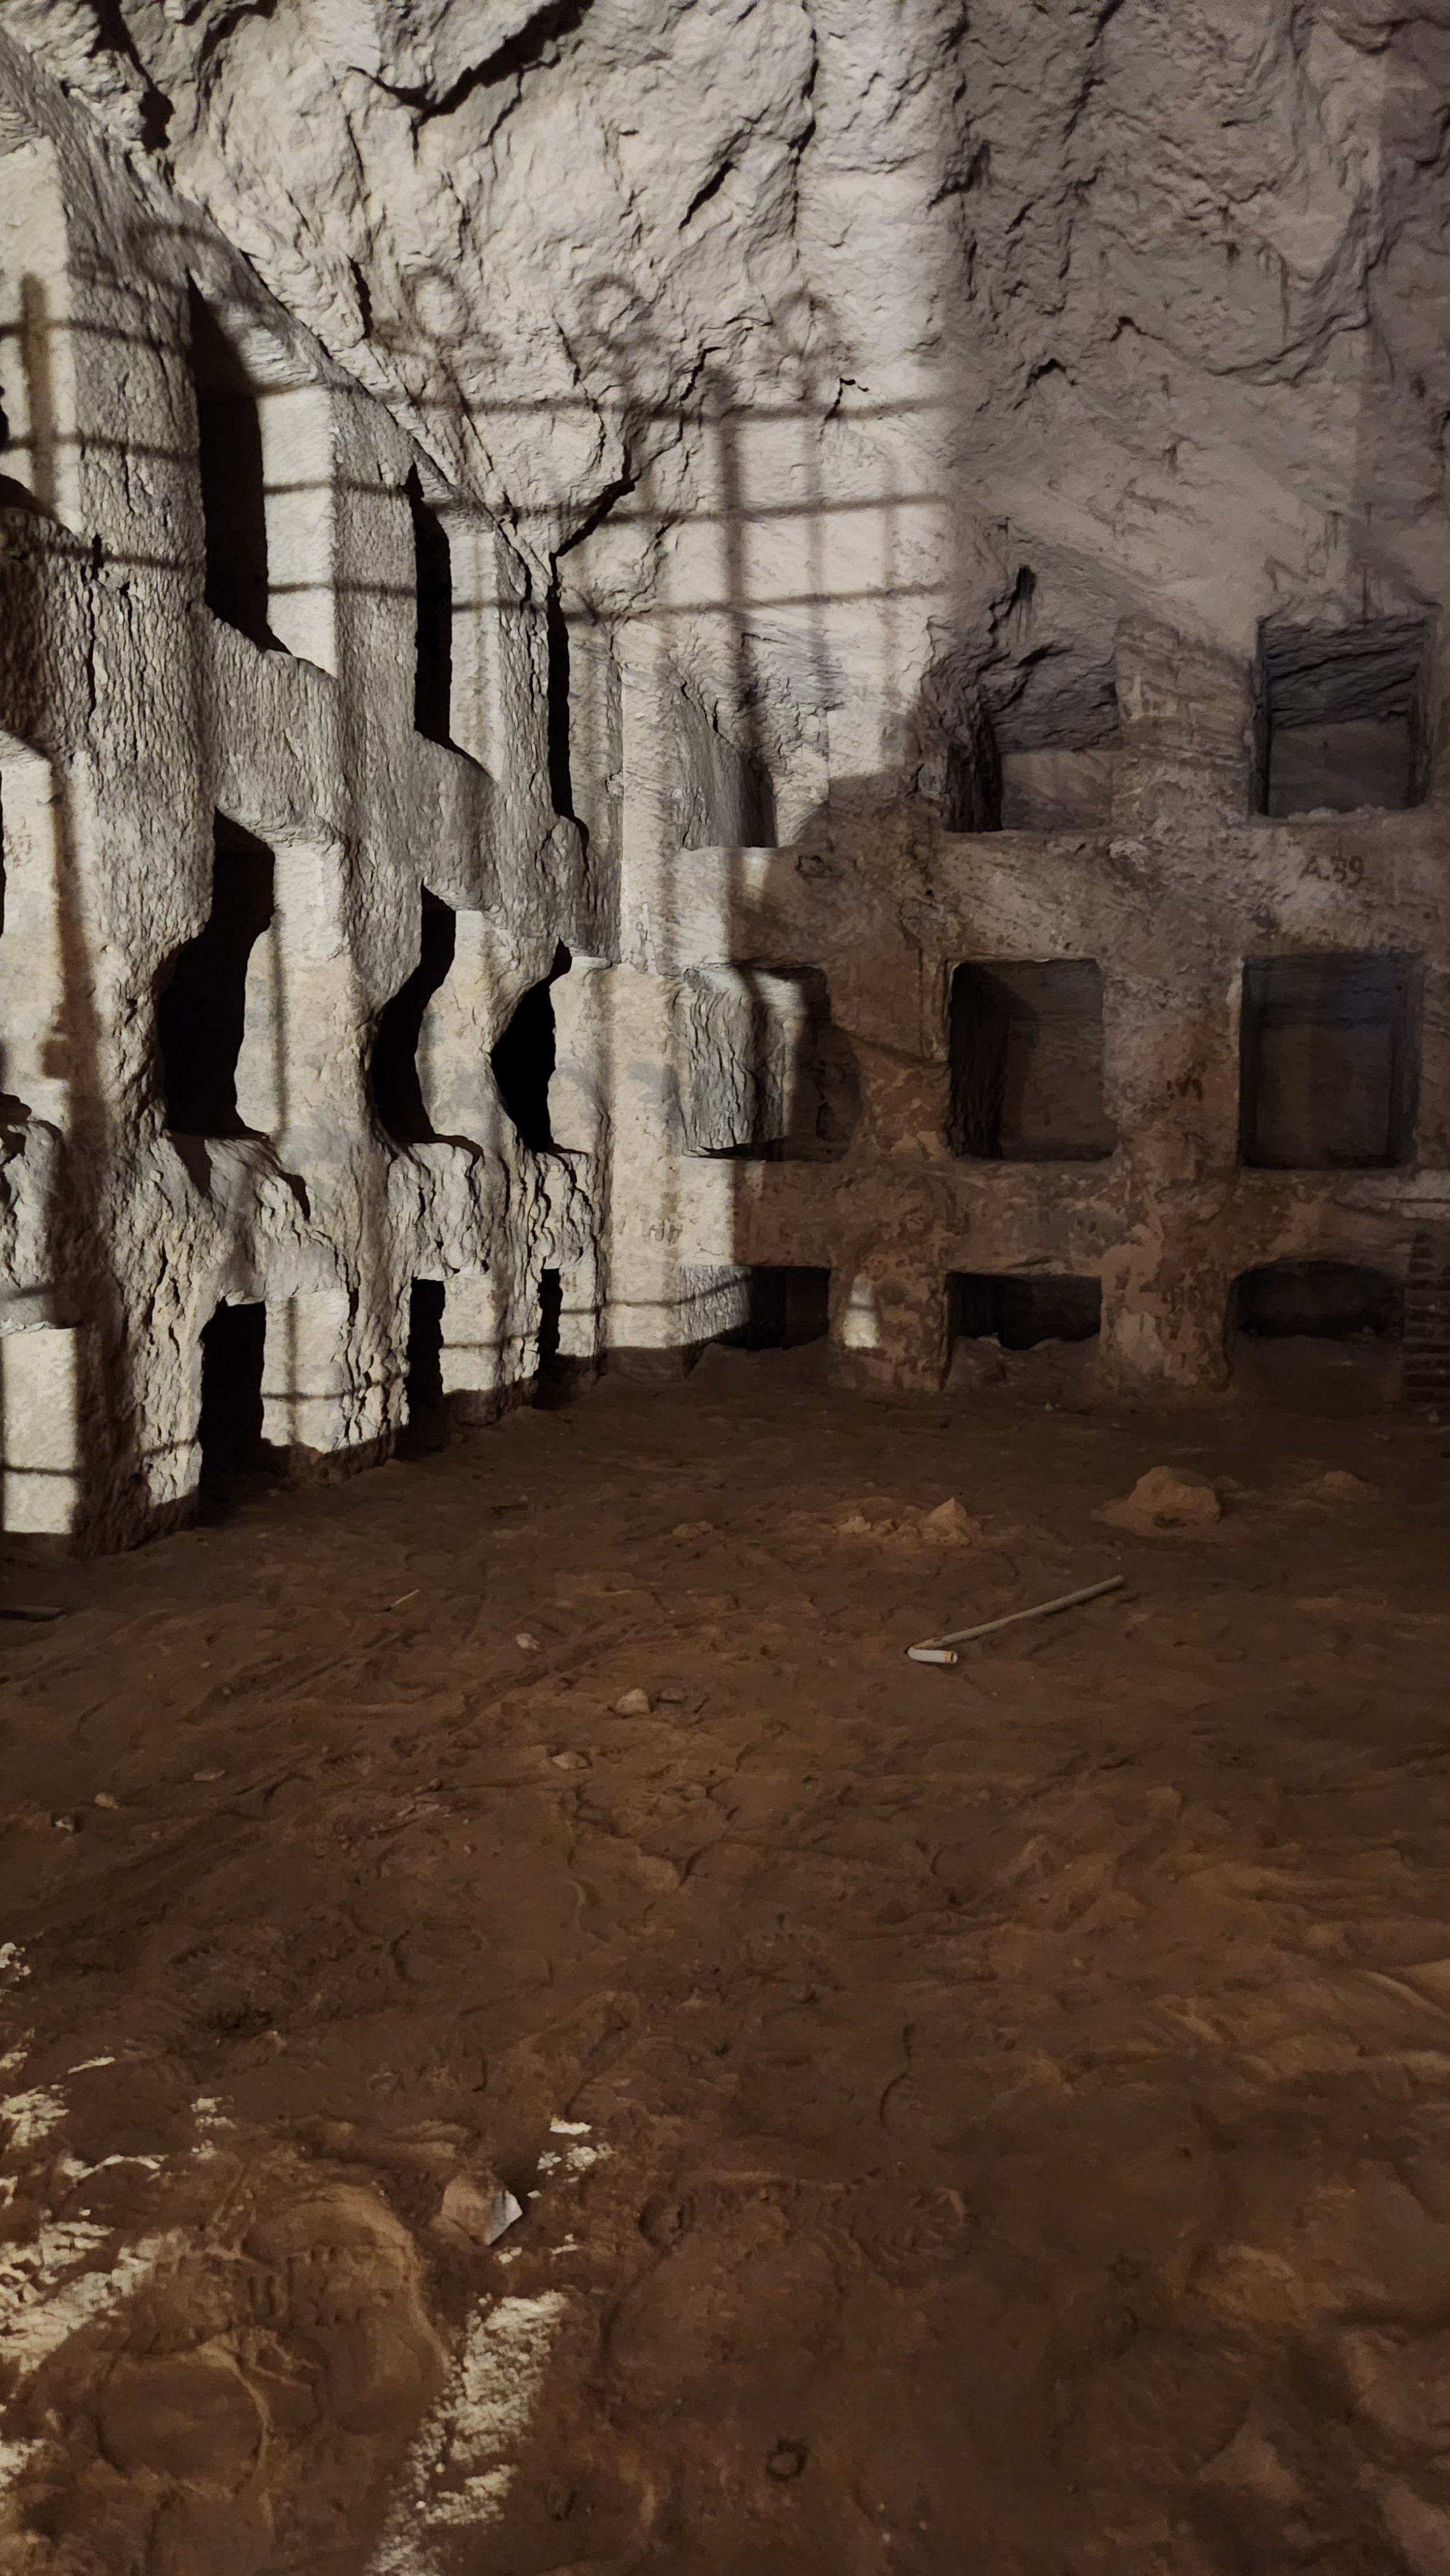
Day 9 - A bit touristy in Alex, the famous Library and the Kim el Shoqafa Catacombs

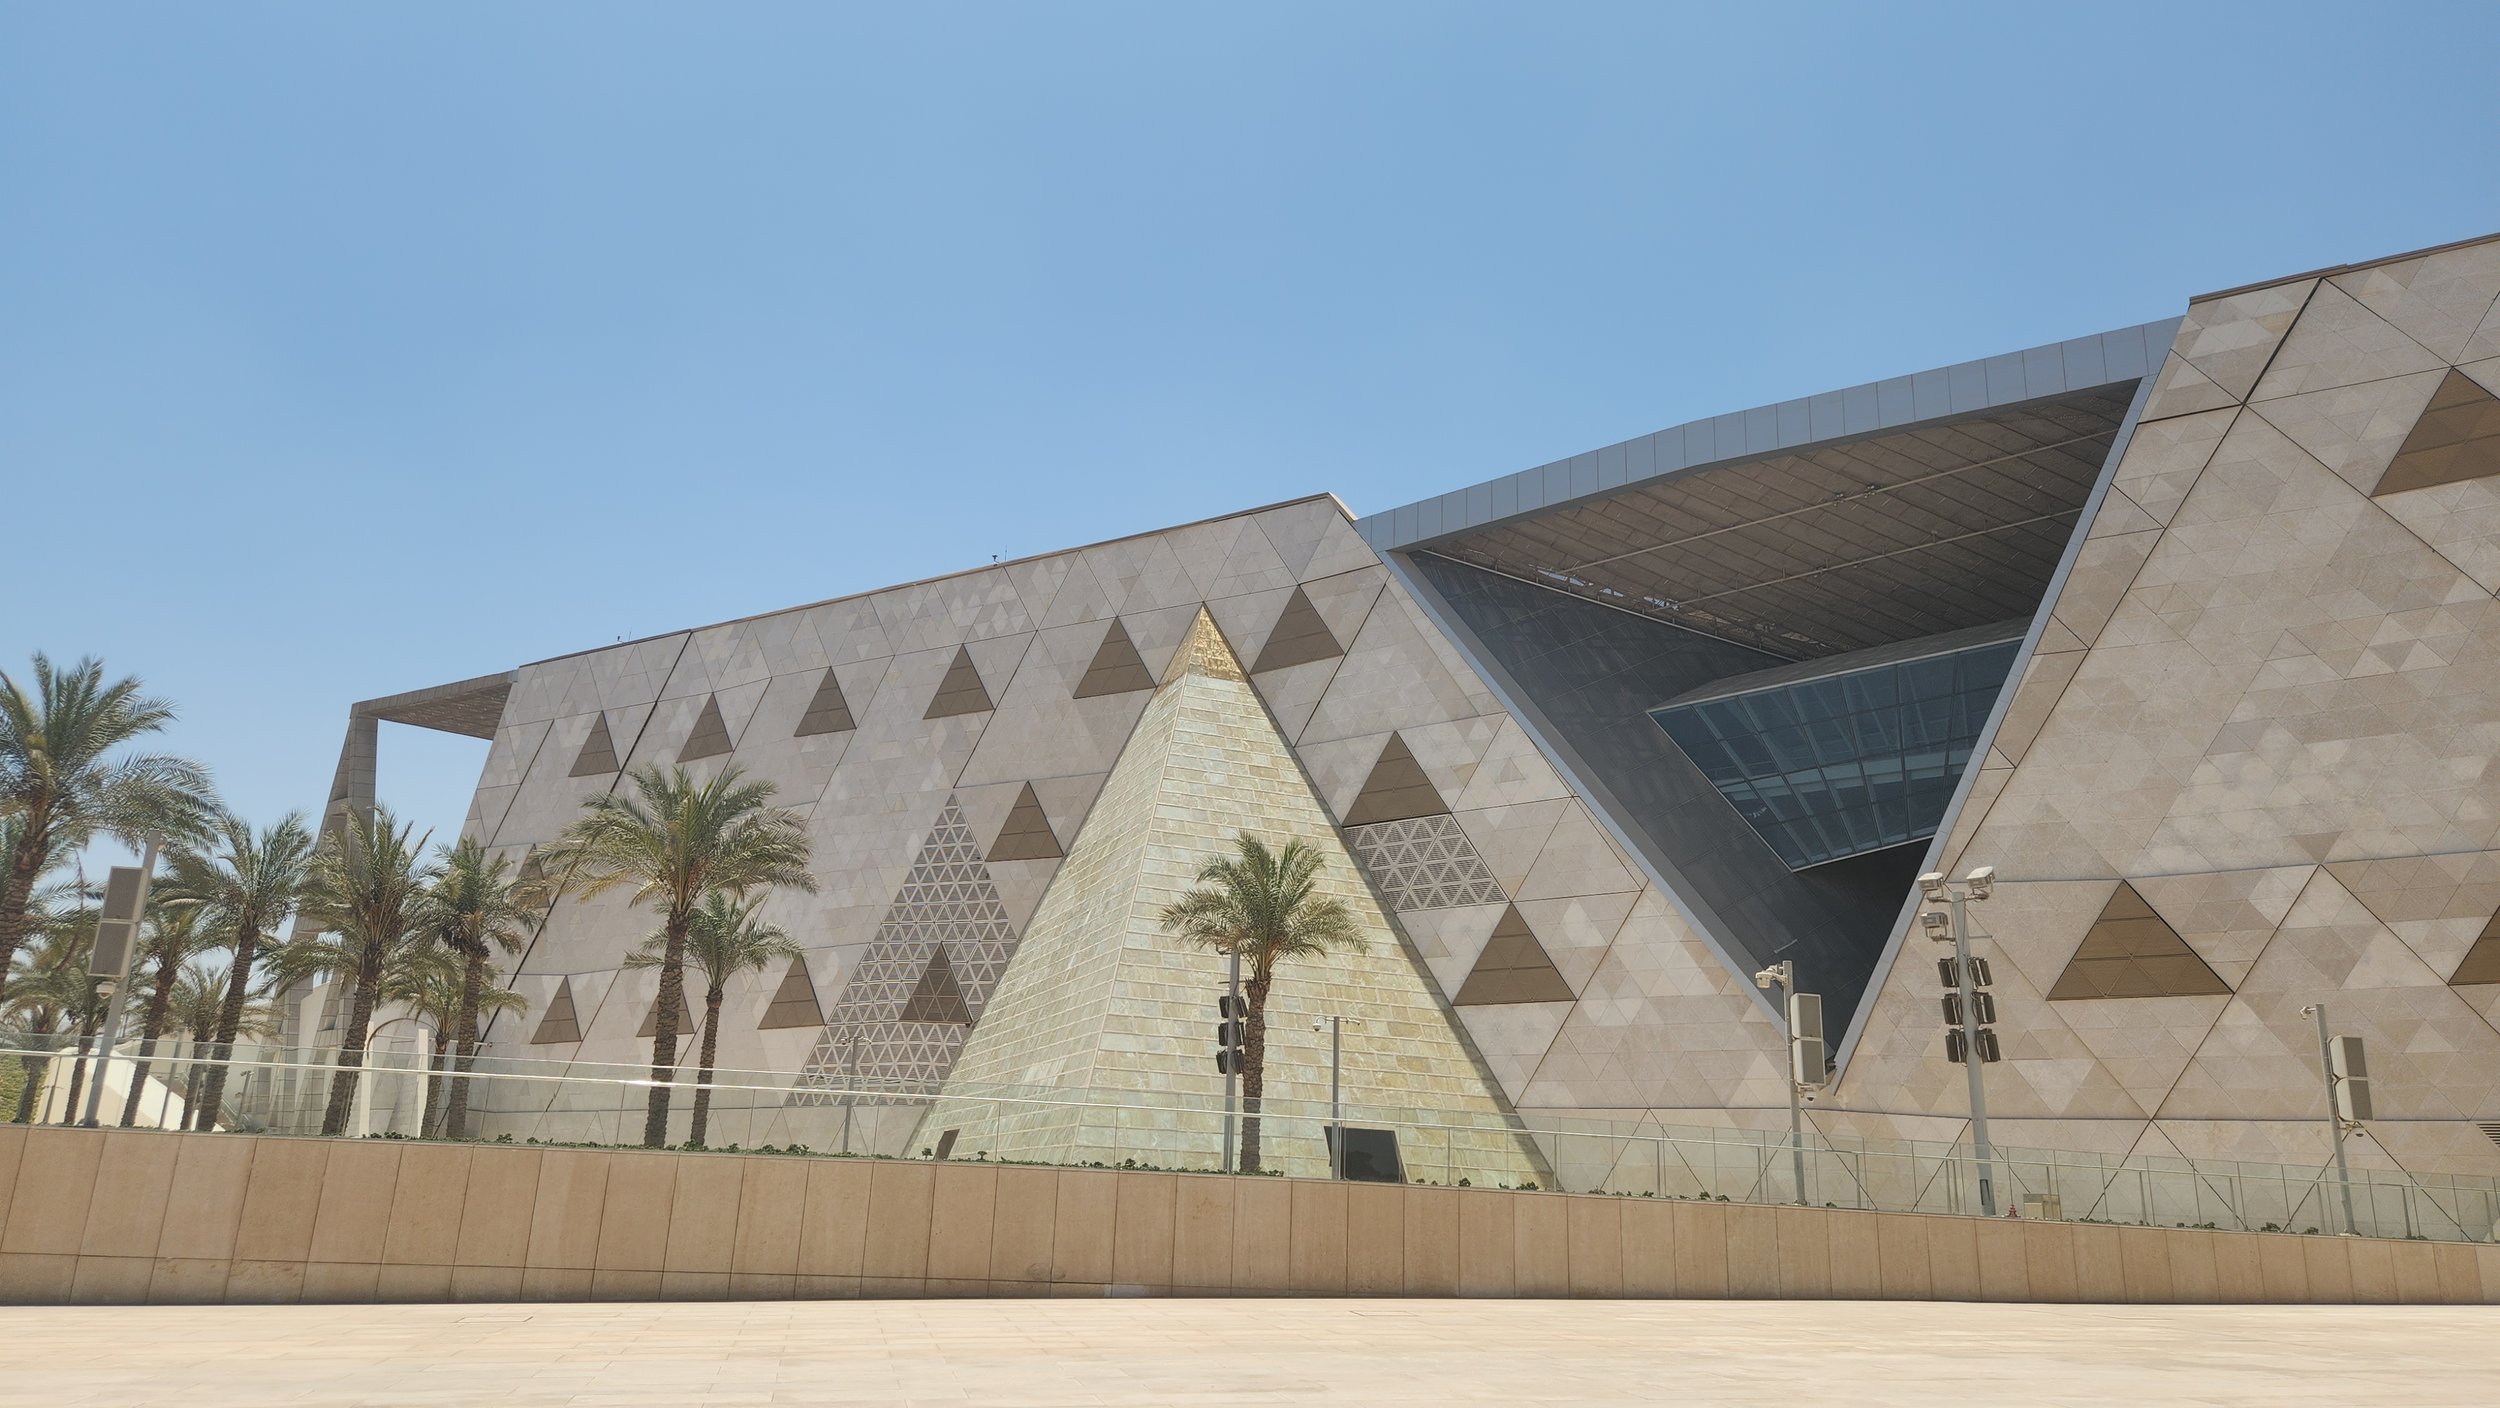
Day 10 - The new Grand Egyptian Museum is a cool building, but not really open yet.

Day 11 - Stressful travel day that ended with a gorgeous drive through Turkey and an amazing meal, plus all the family is back together!

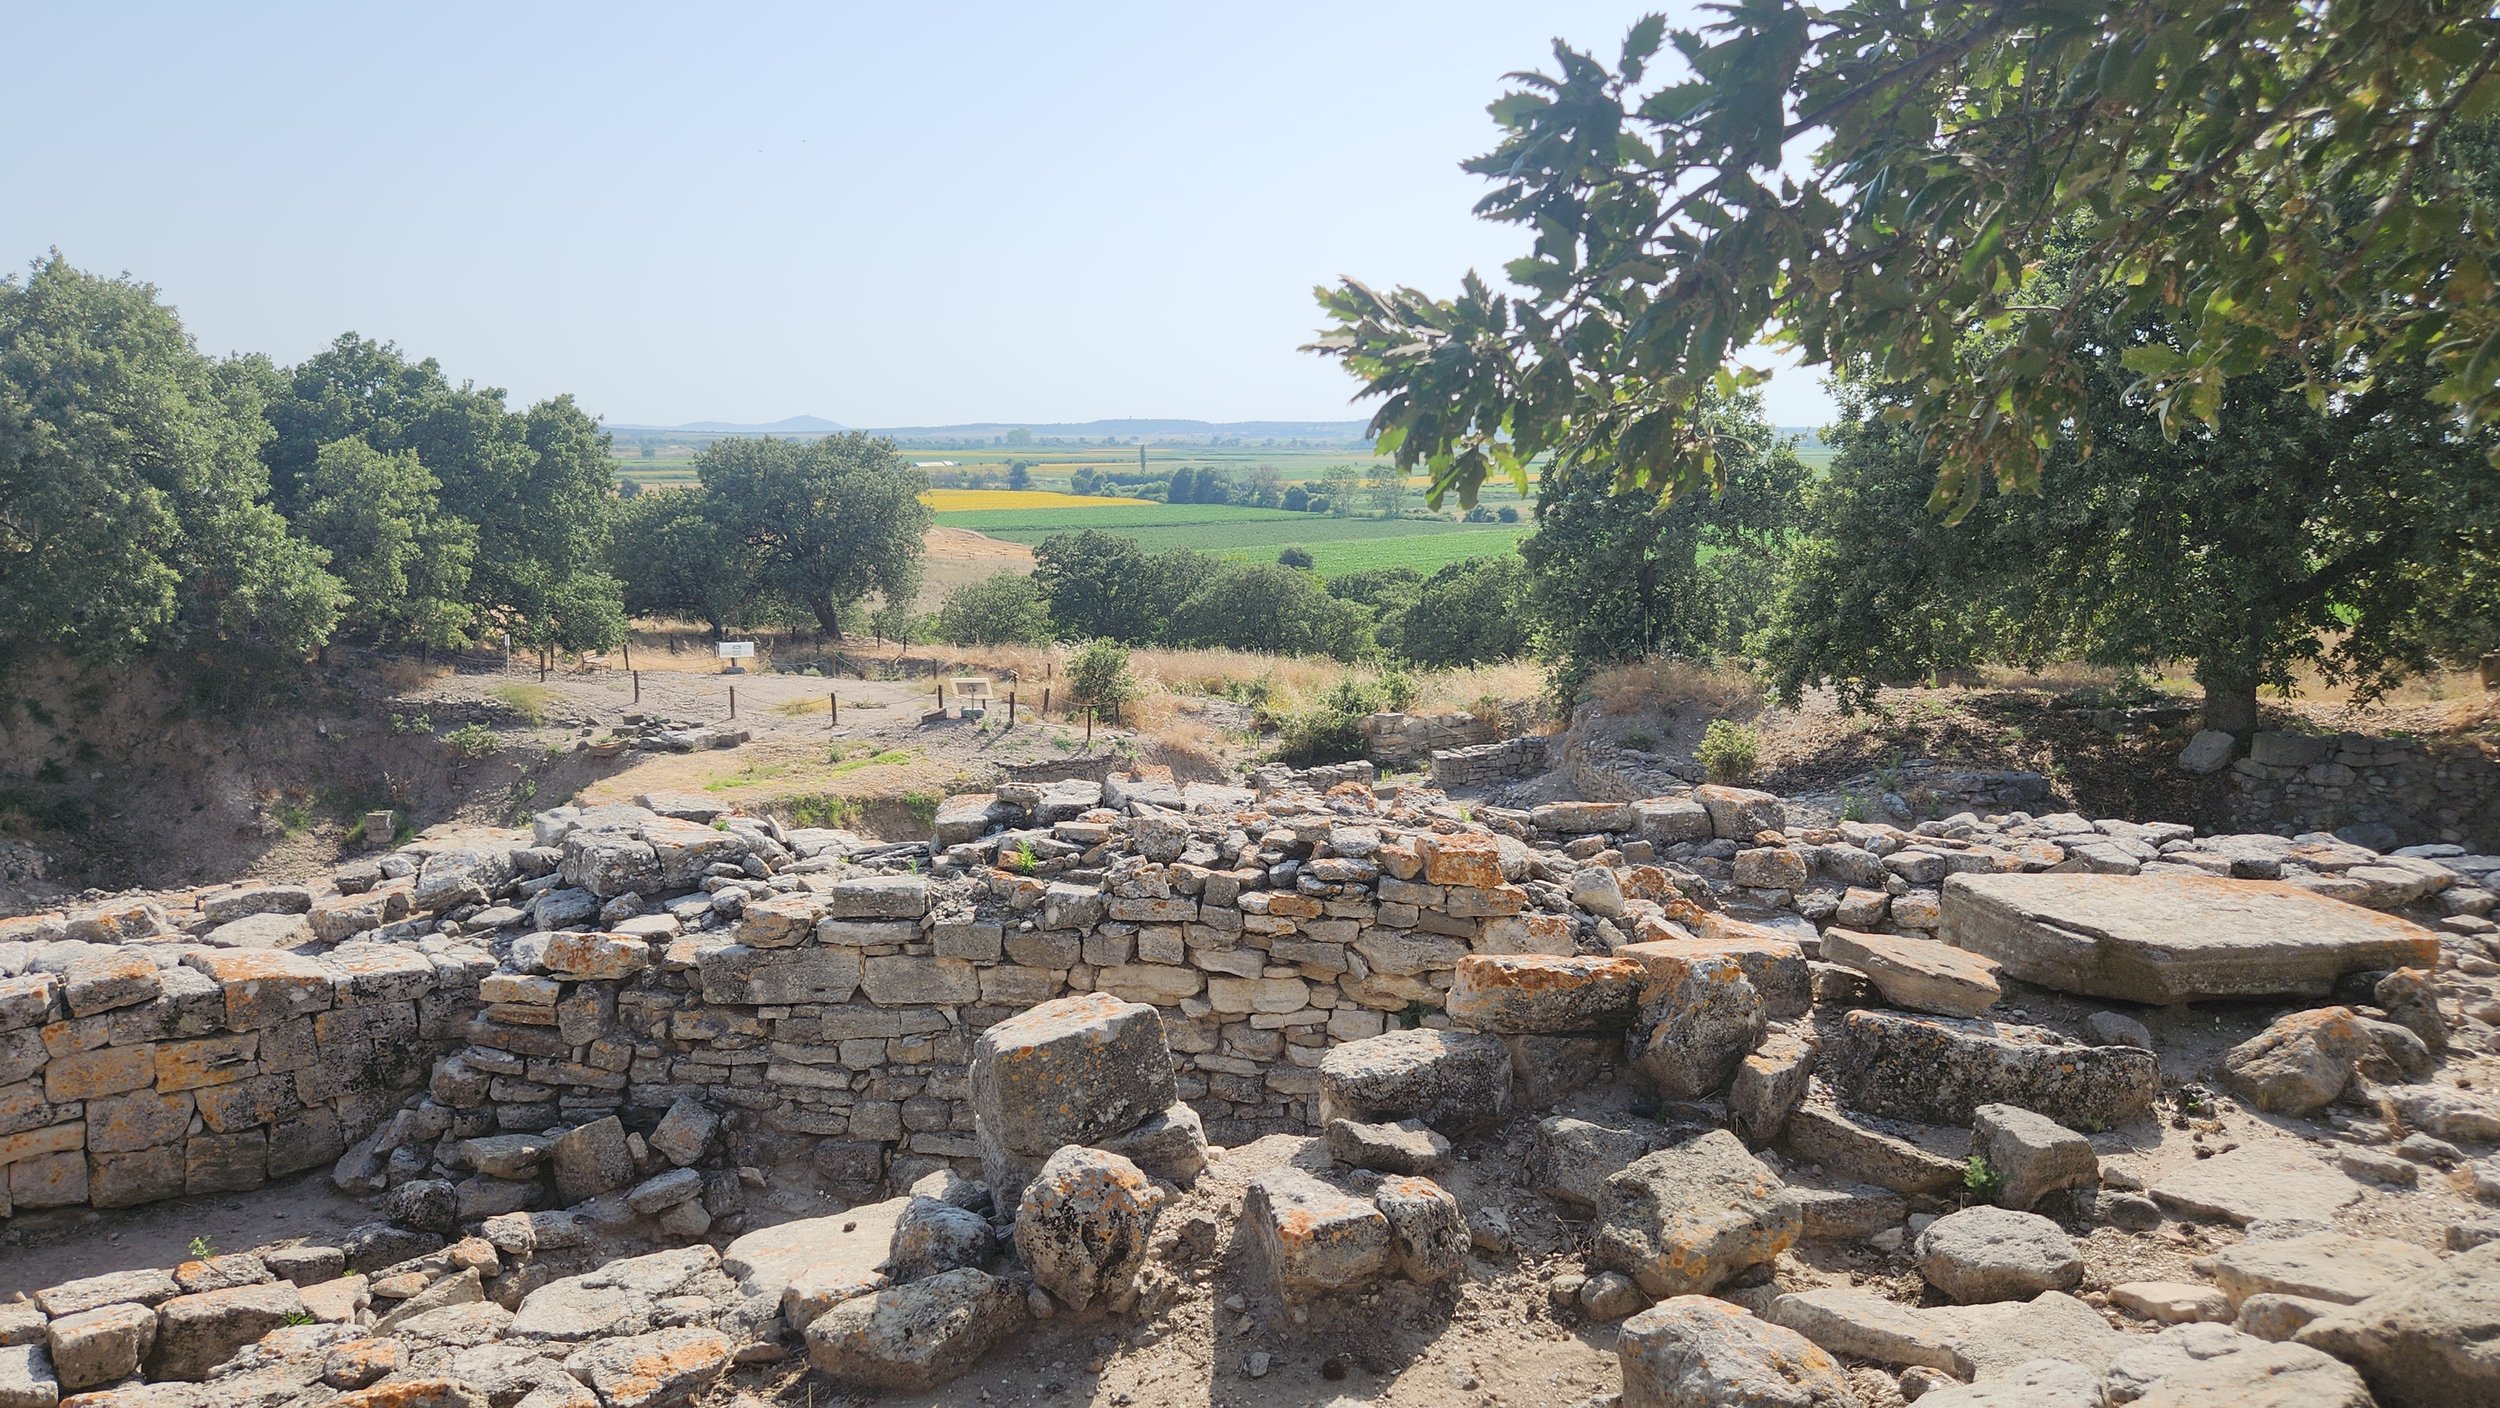
Day 12 - Sidetrack to see the ruins at Troy.

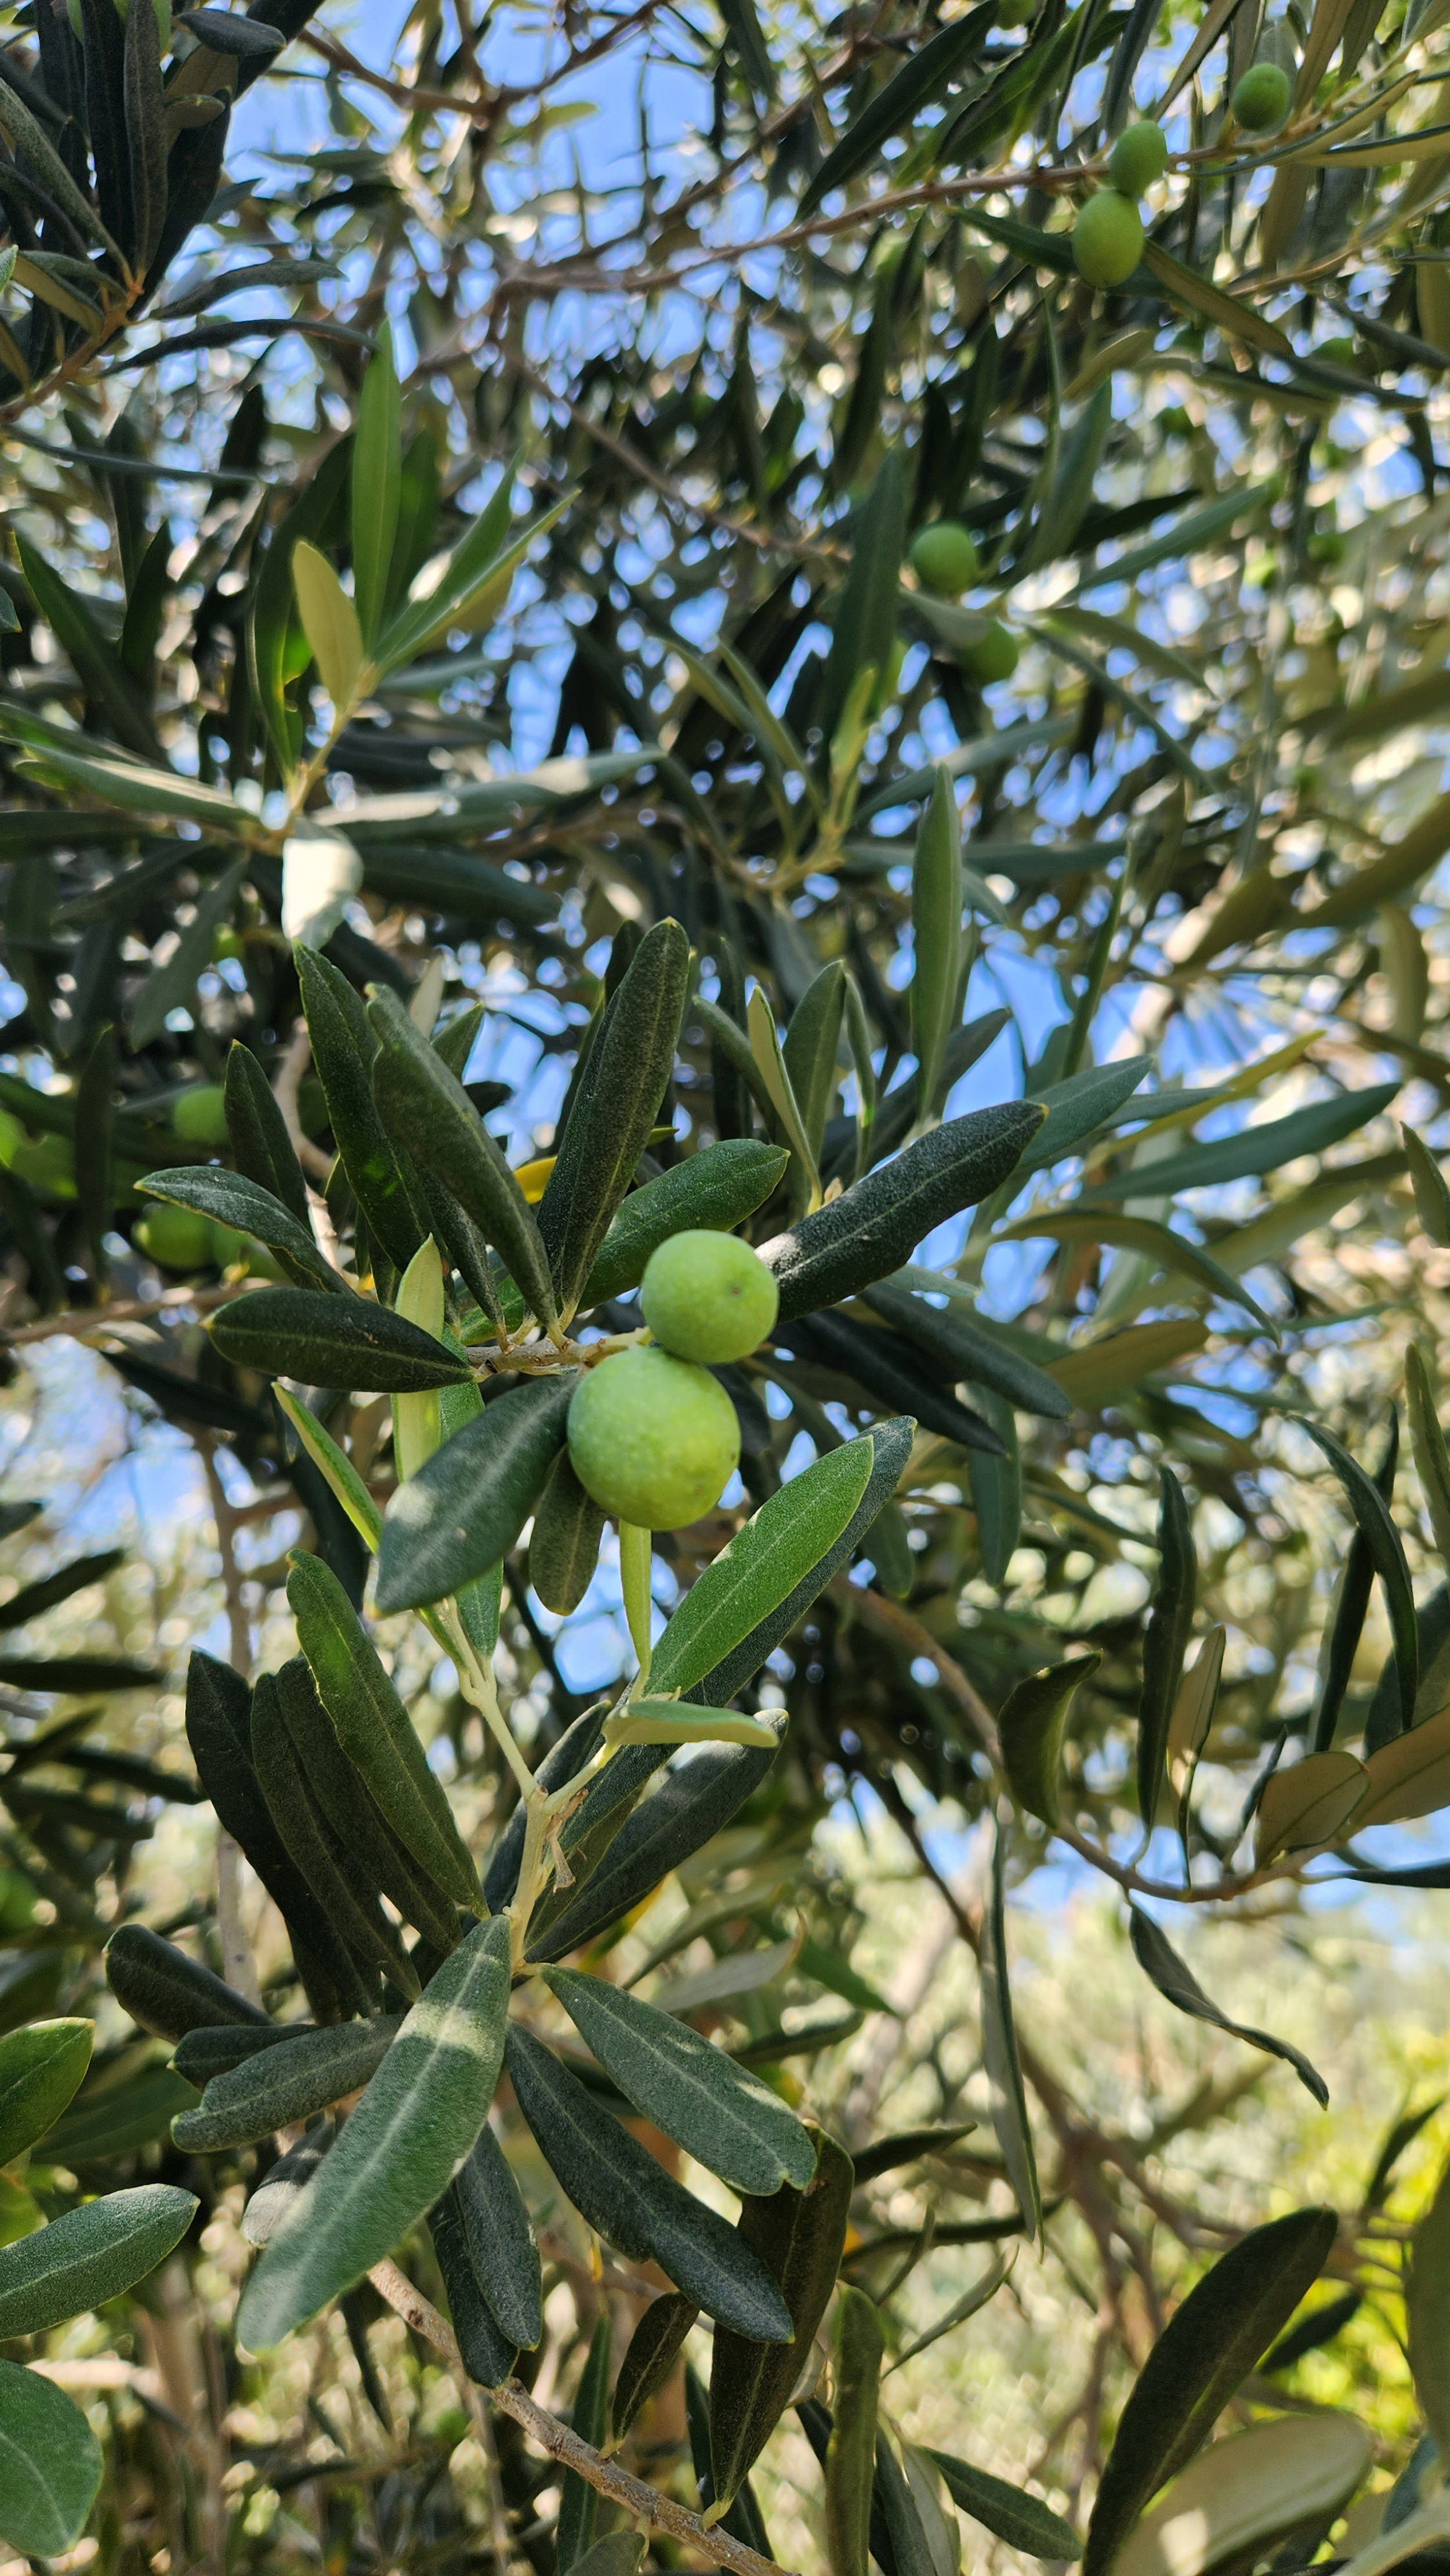
Day 13 - Road tripping to Fethiye through mountains of olive groves.

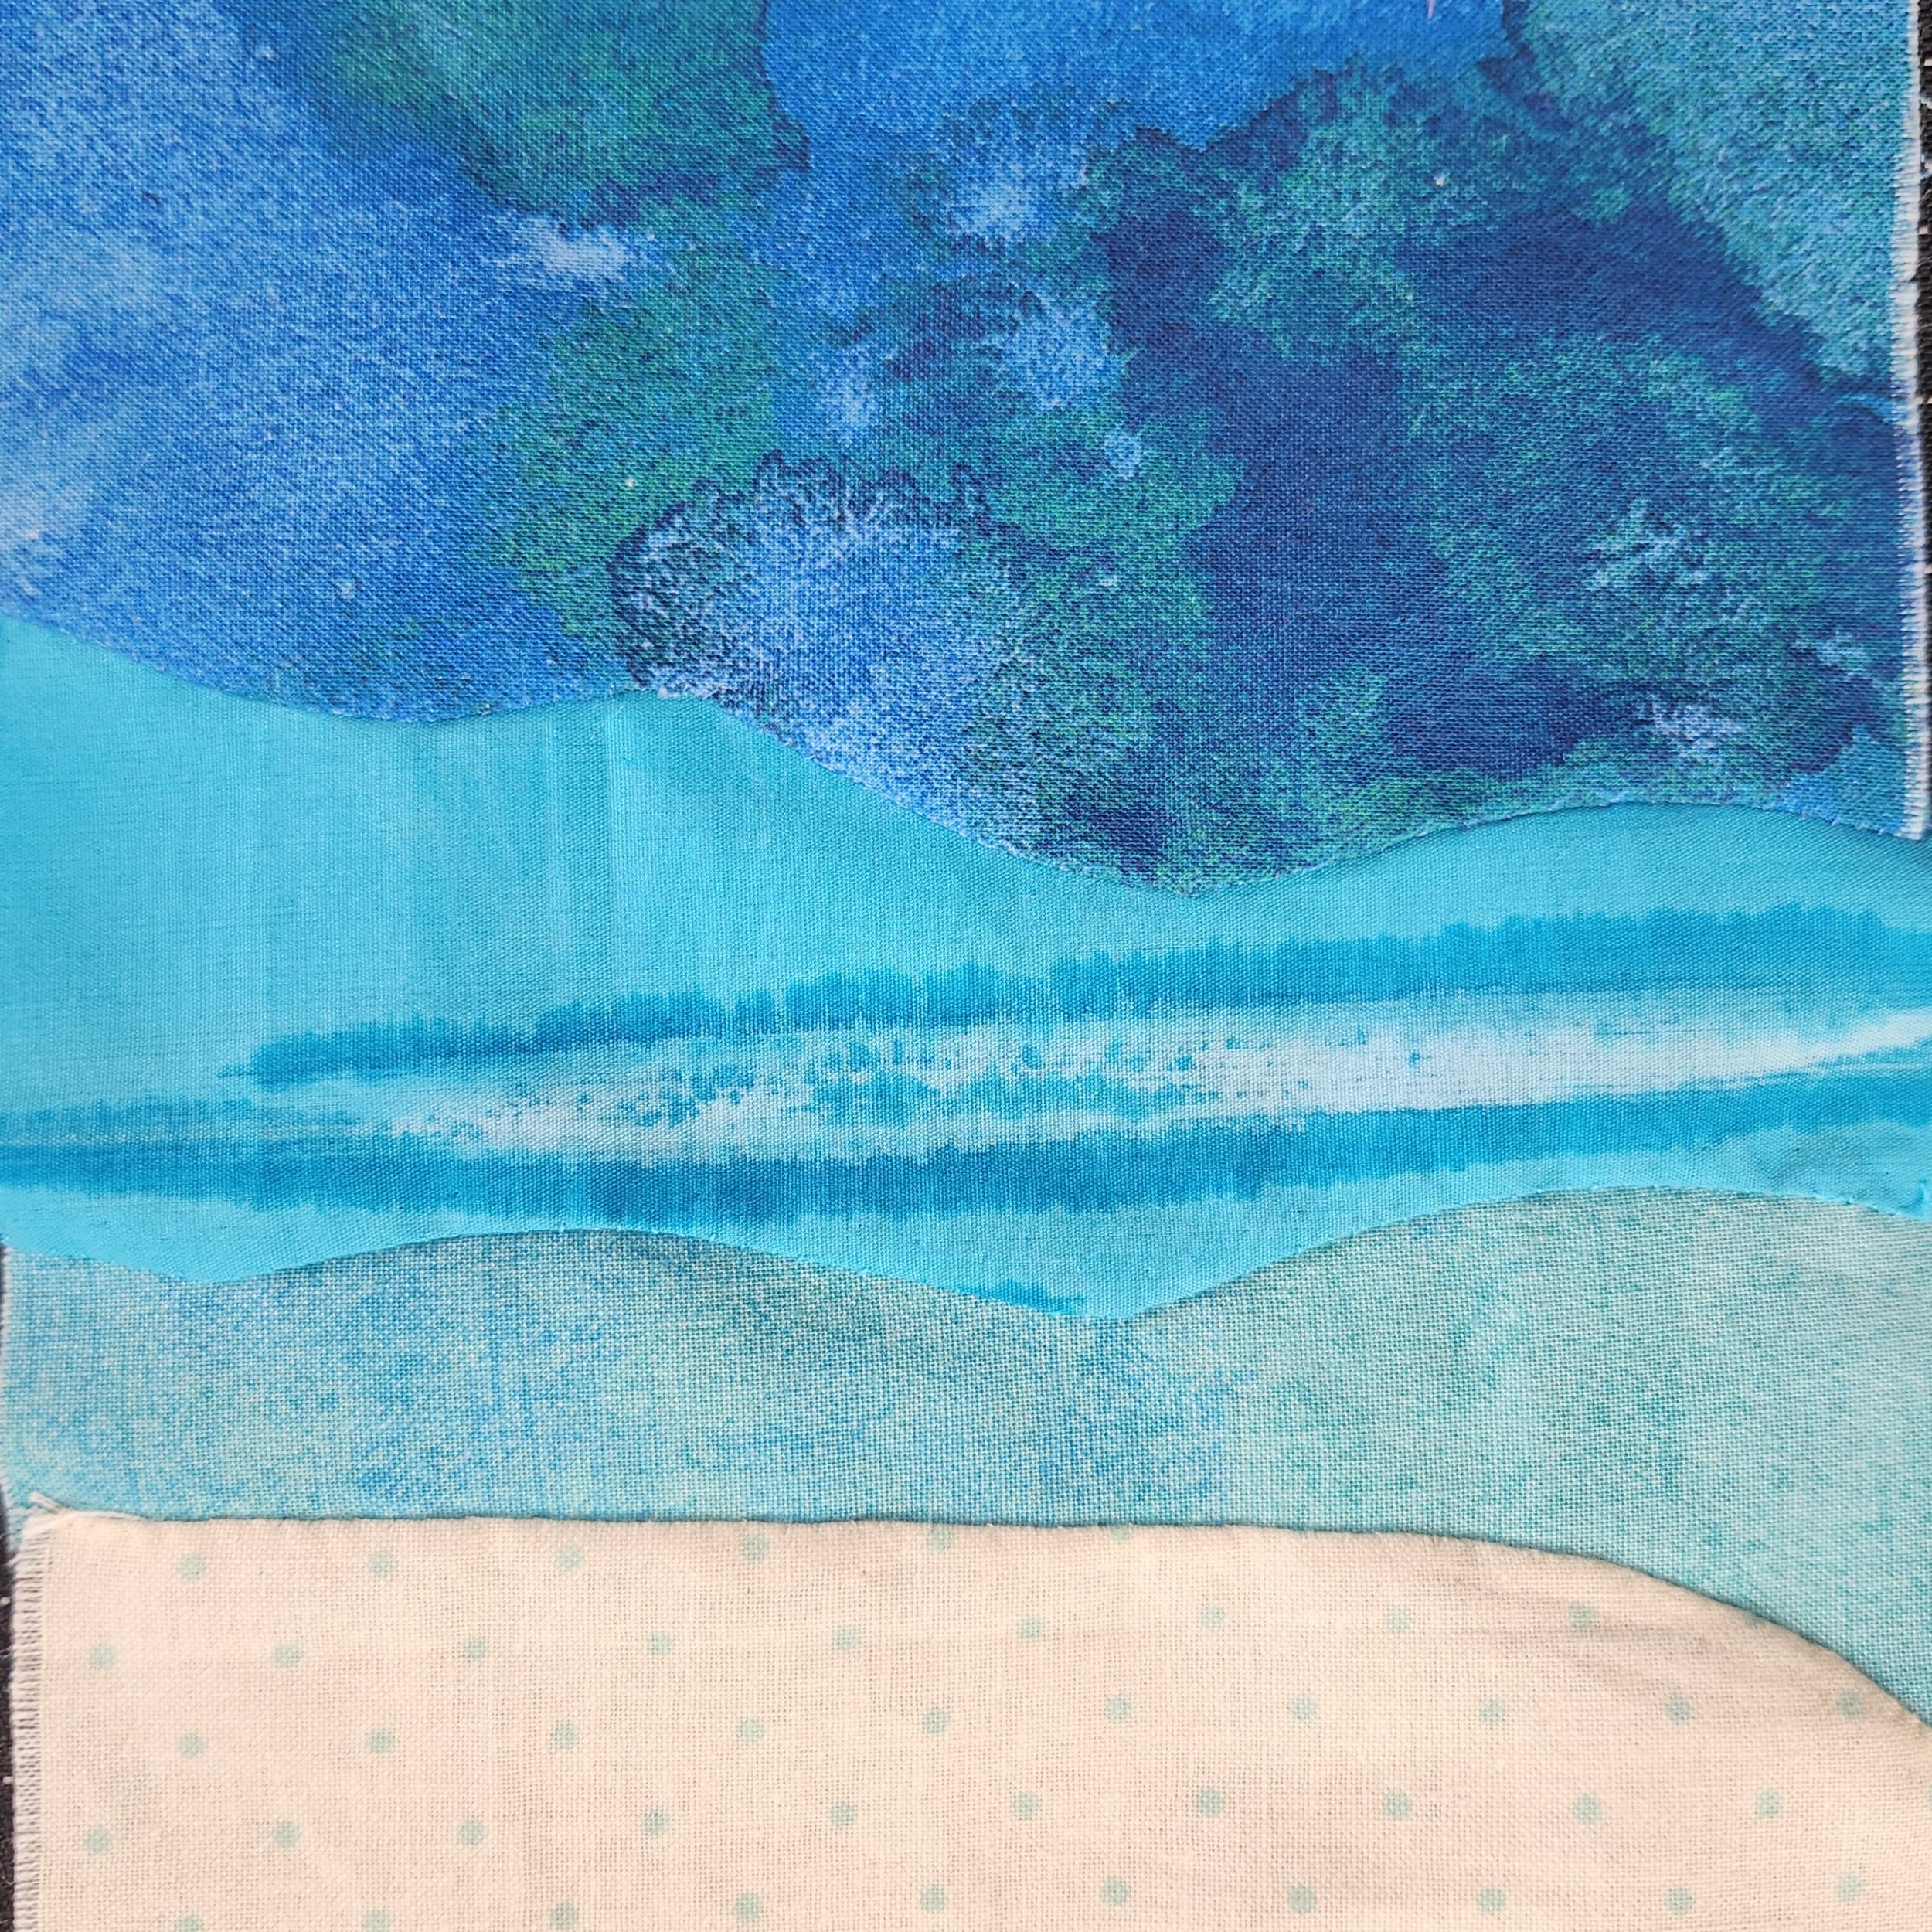
Day 14 - Ah, that Turquoise Coast.

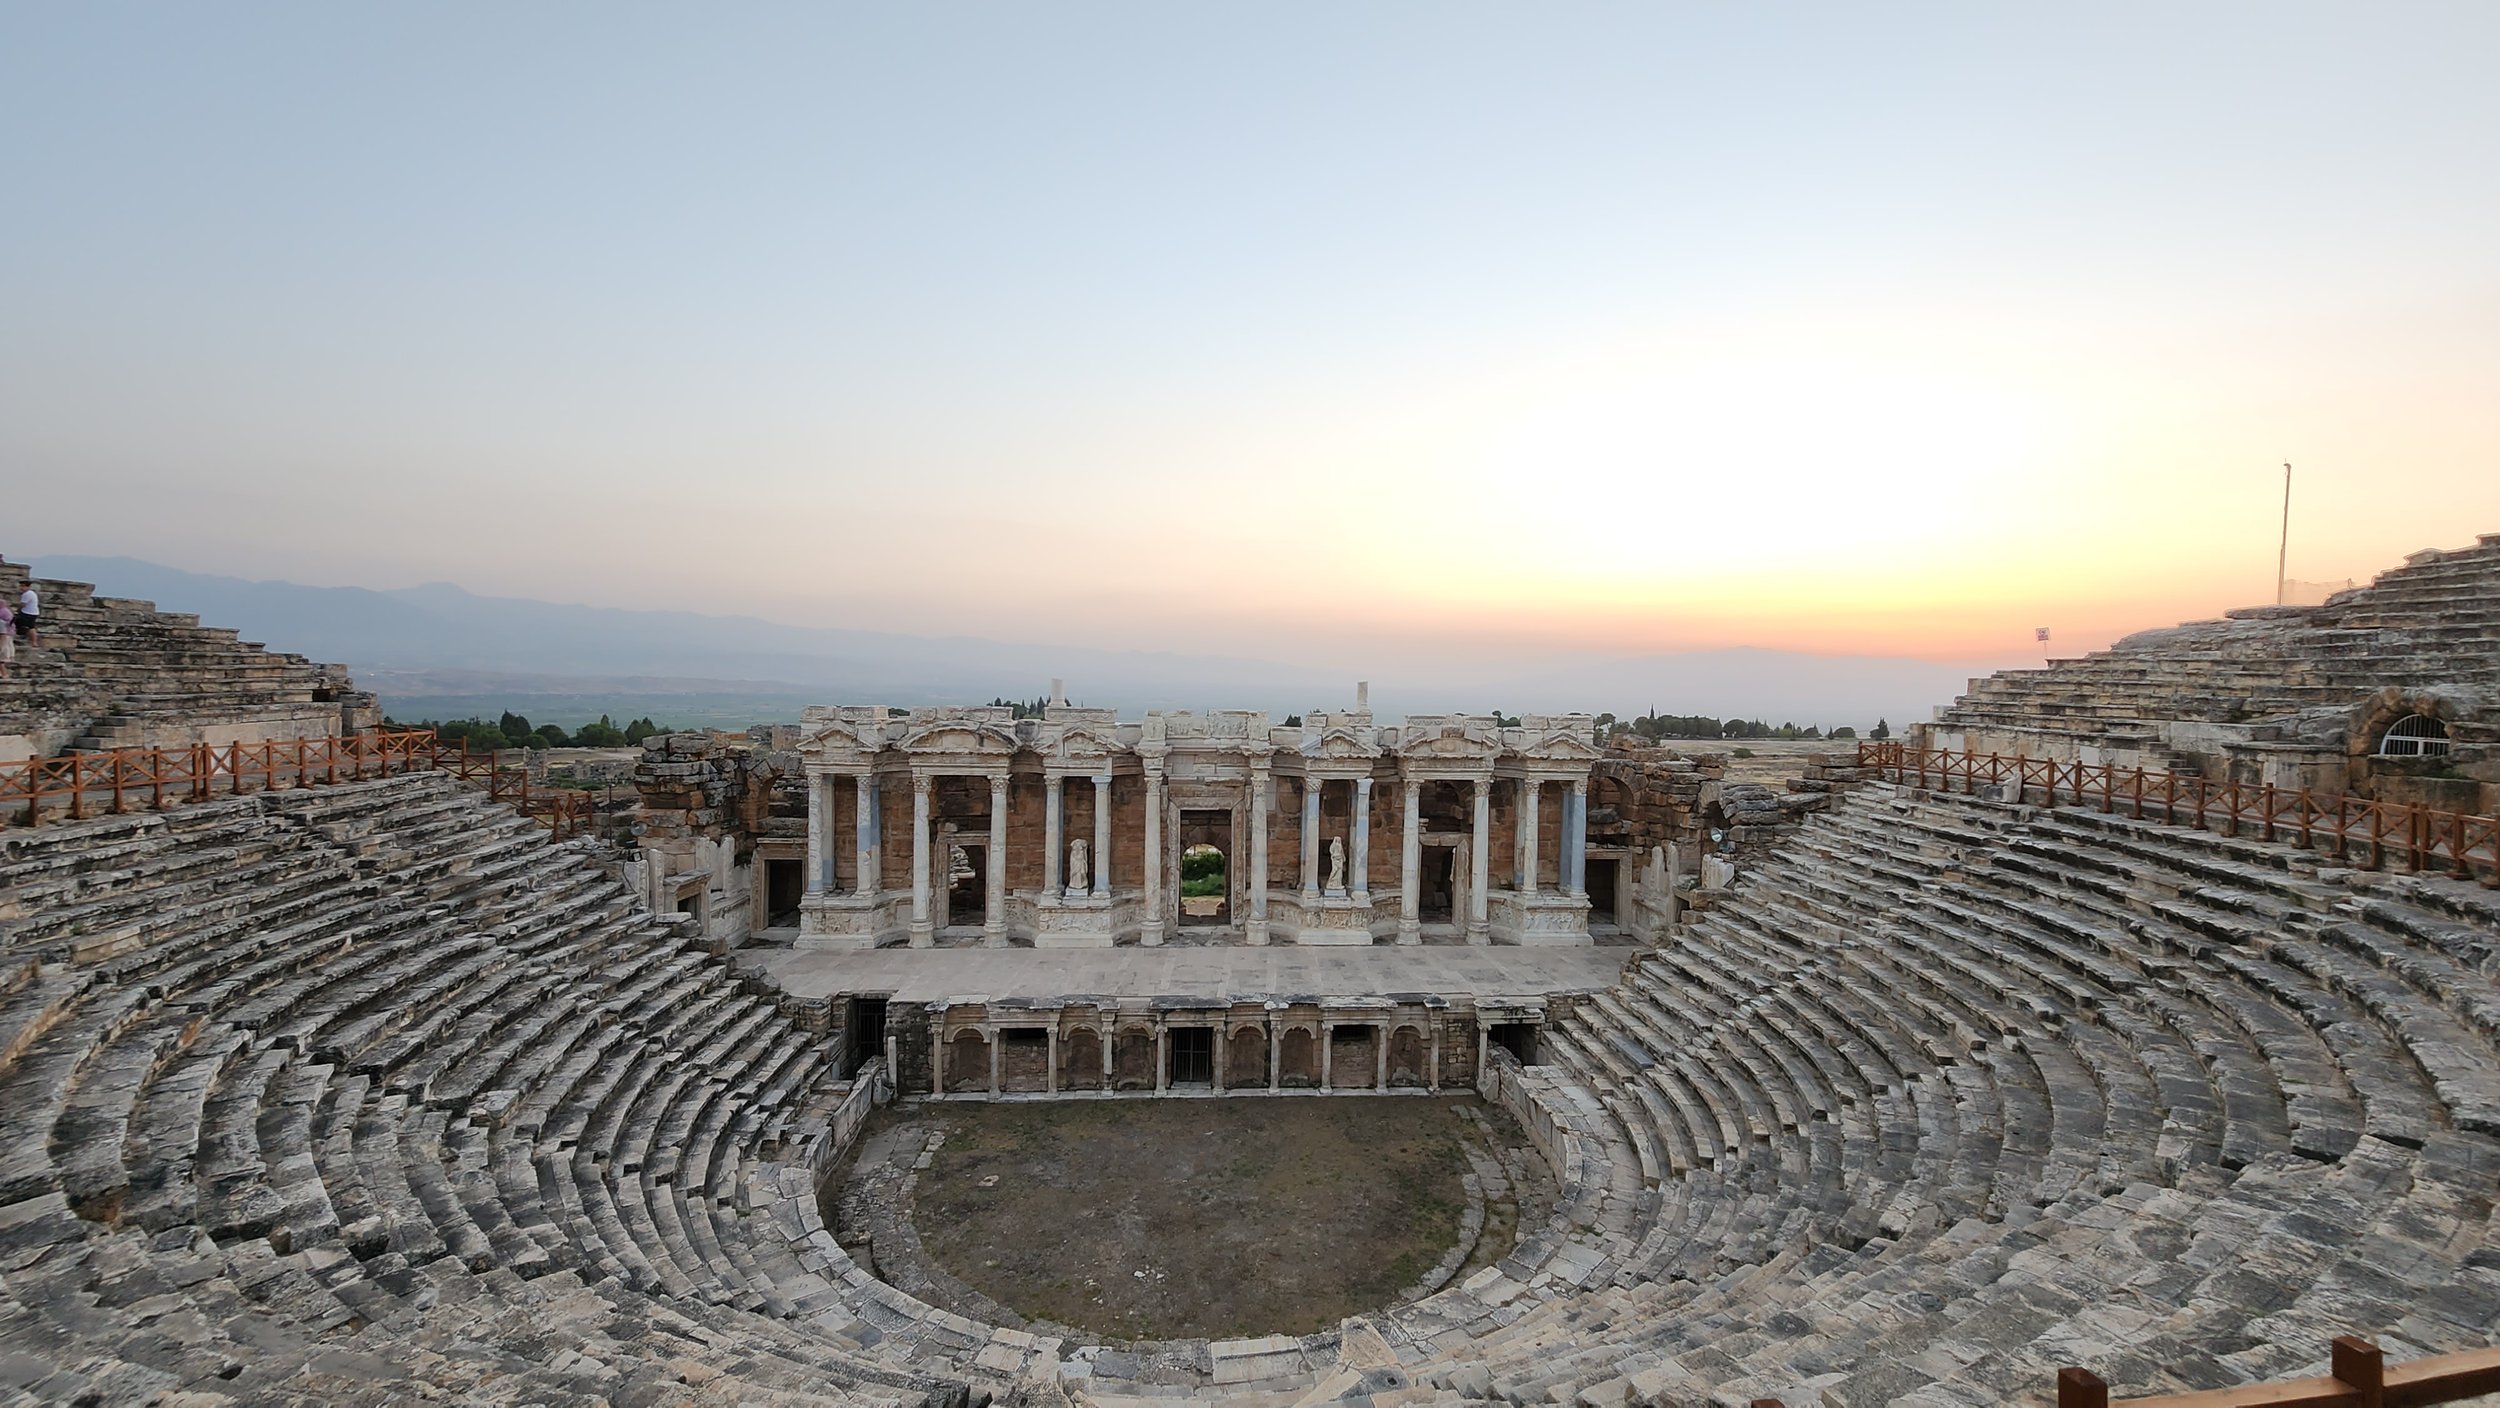
Day 15 - Pammukale, swimming in Cleopatra’s temple and the most beautiful coliseum.

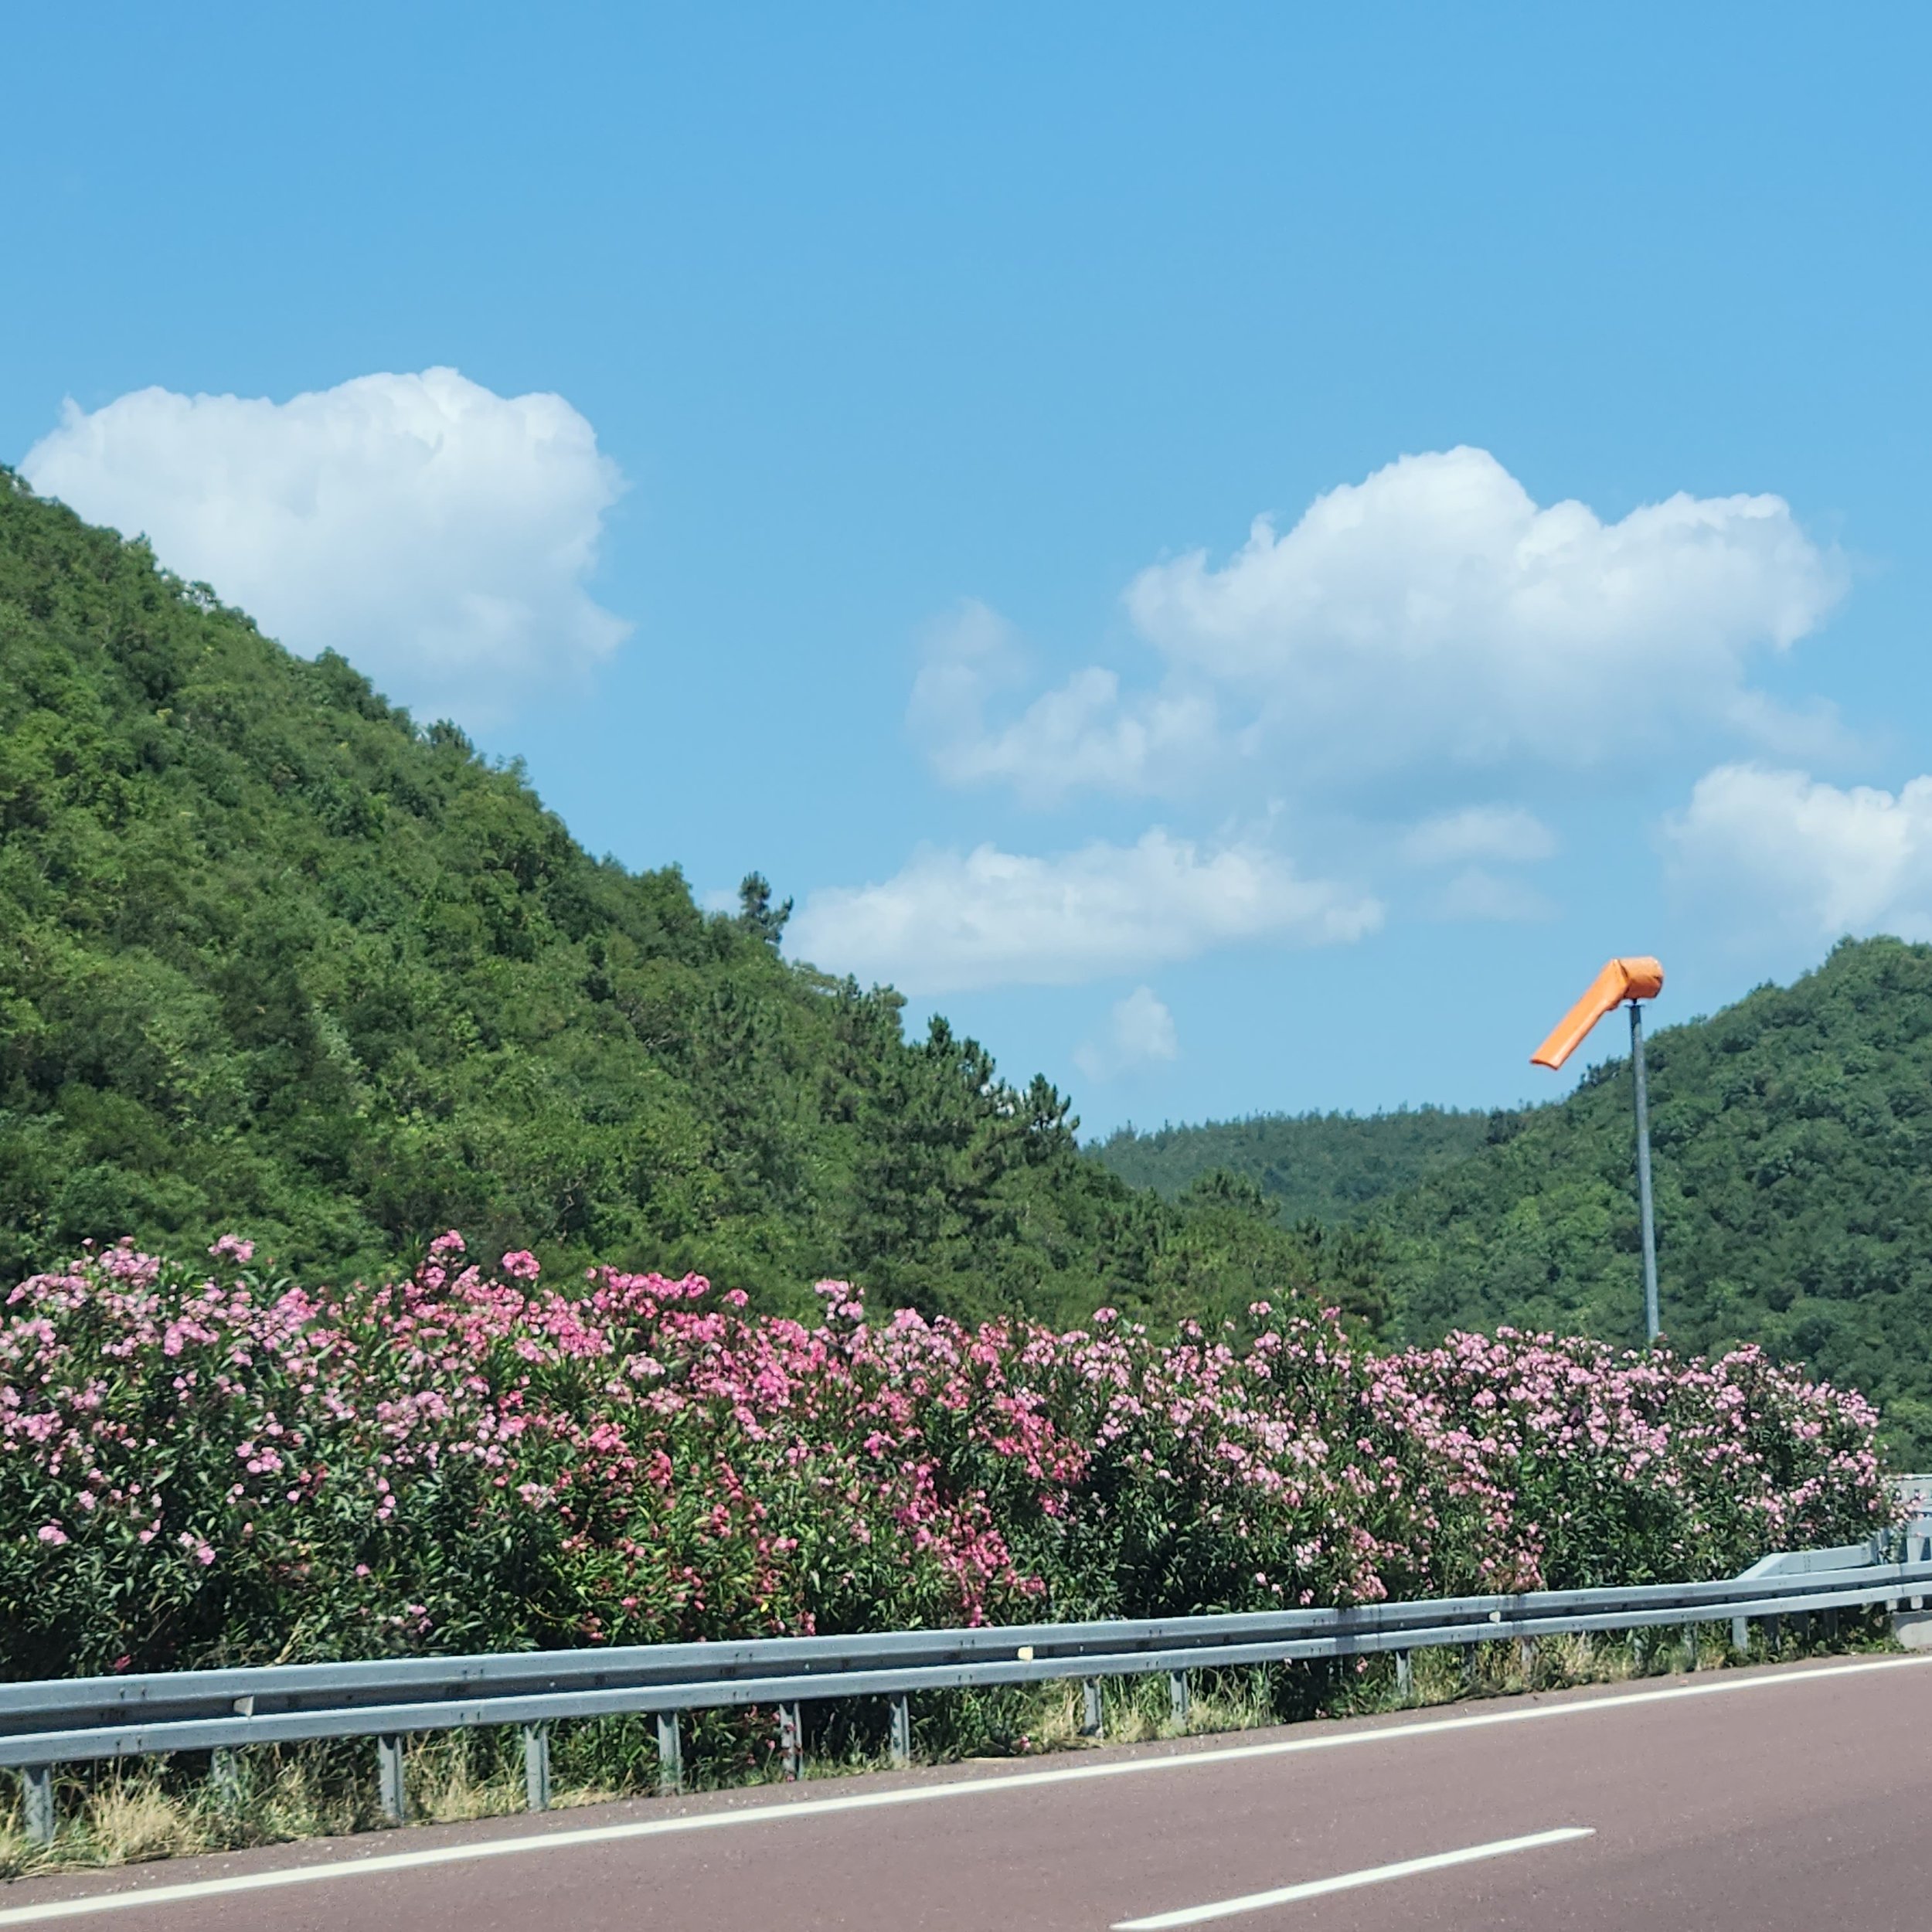
Day 16 - From the coast up the mountains and arriving in Istanbul on the great Turkish highways.

Day 17 - Up the Galata Tower and exploring the streets of Istanbul.

Day 18 - The Blue Mosque and Hagia Sophia plus Sultanahmet Square and more delicious food.

Day 19 - Cheering on our girl at her second competition!

Day 20 - Wandering the Grand Bazaar and it’s surrounding streets.

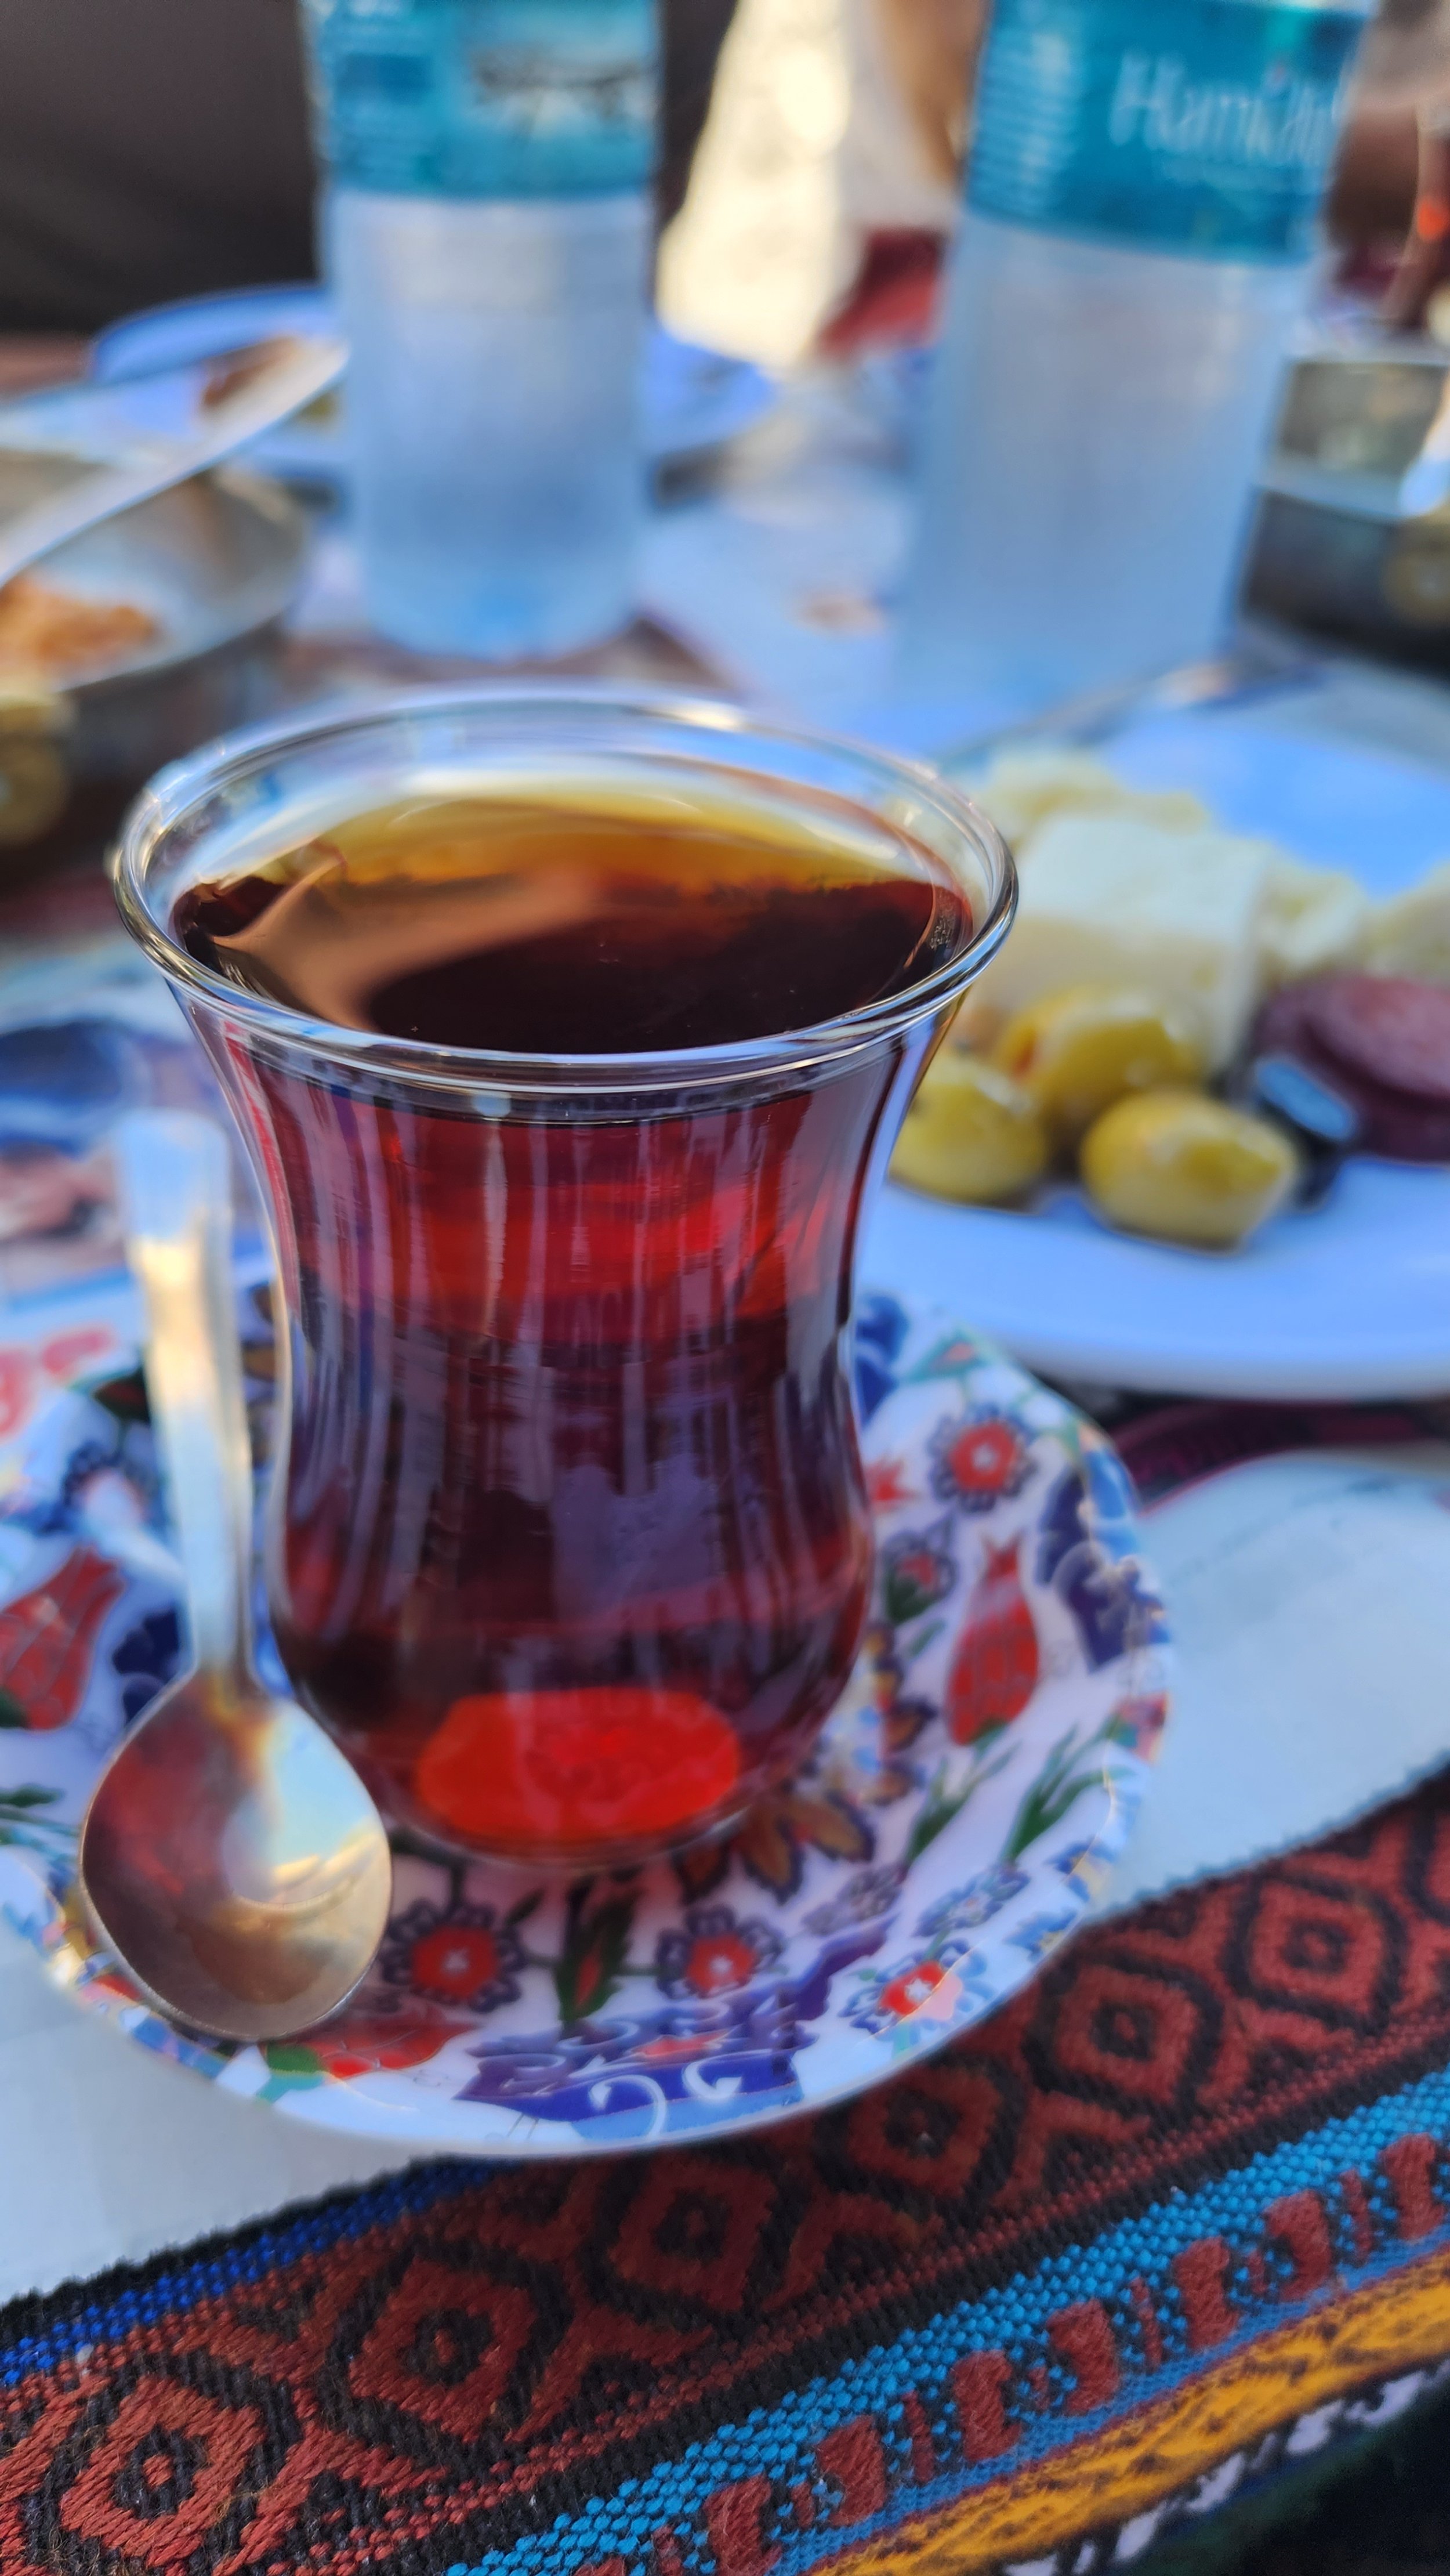
Day 21 - Food tour of Istanbul means more delicious food. Oh, these little cups of tea.

Day 22 - Another competition day, with a side trip to explore a bit more of Istanbul in-between events.

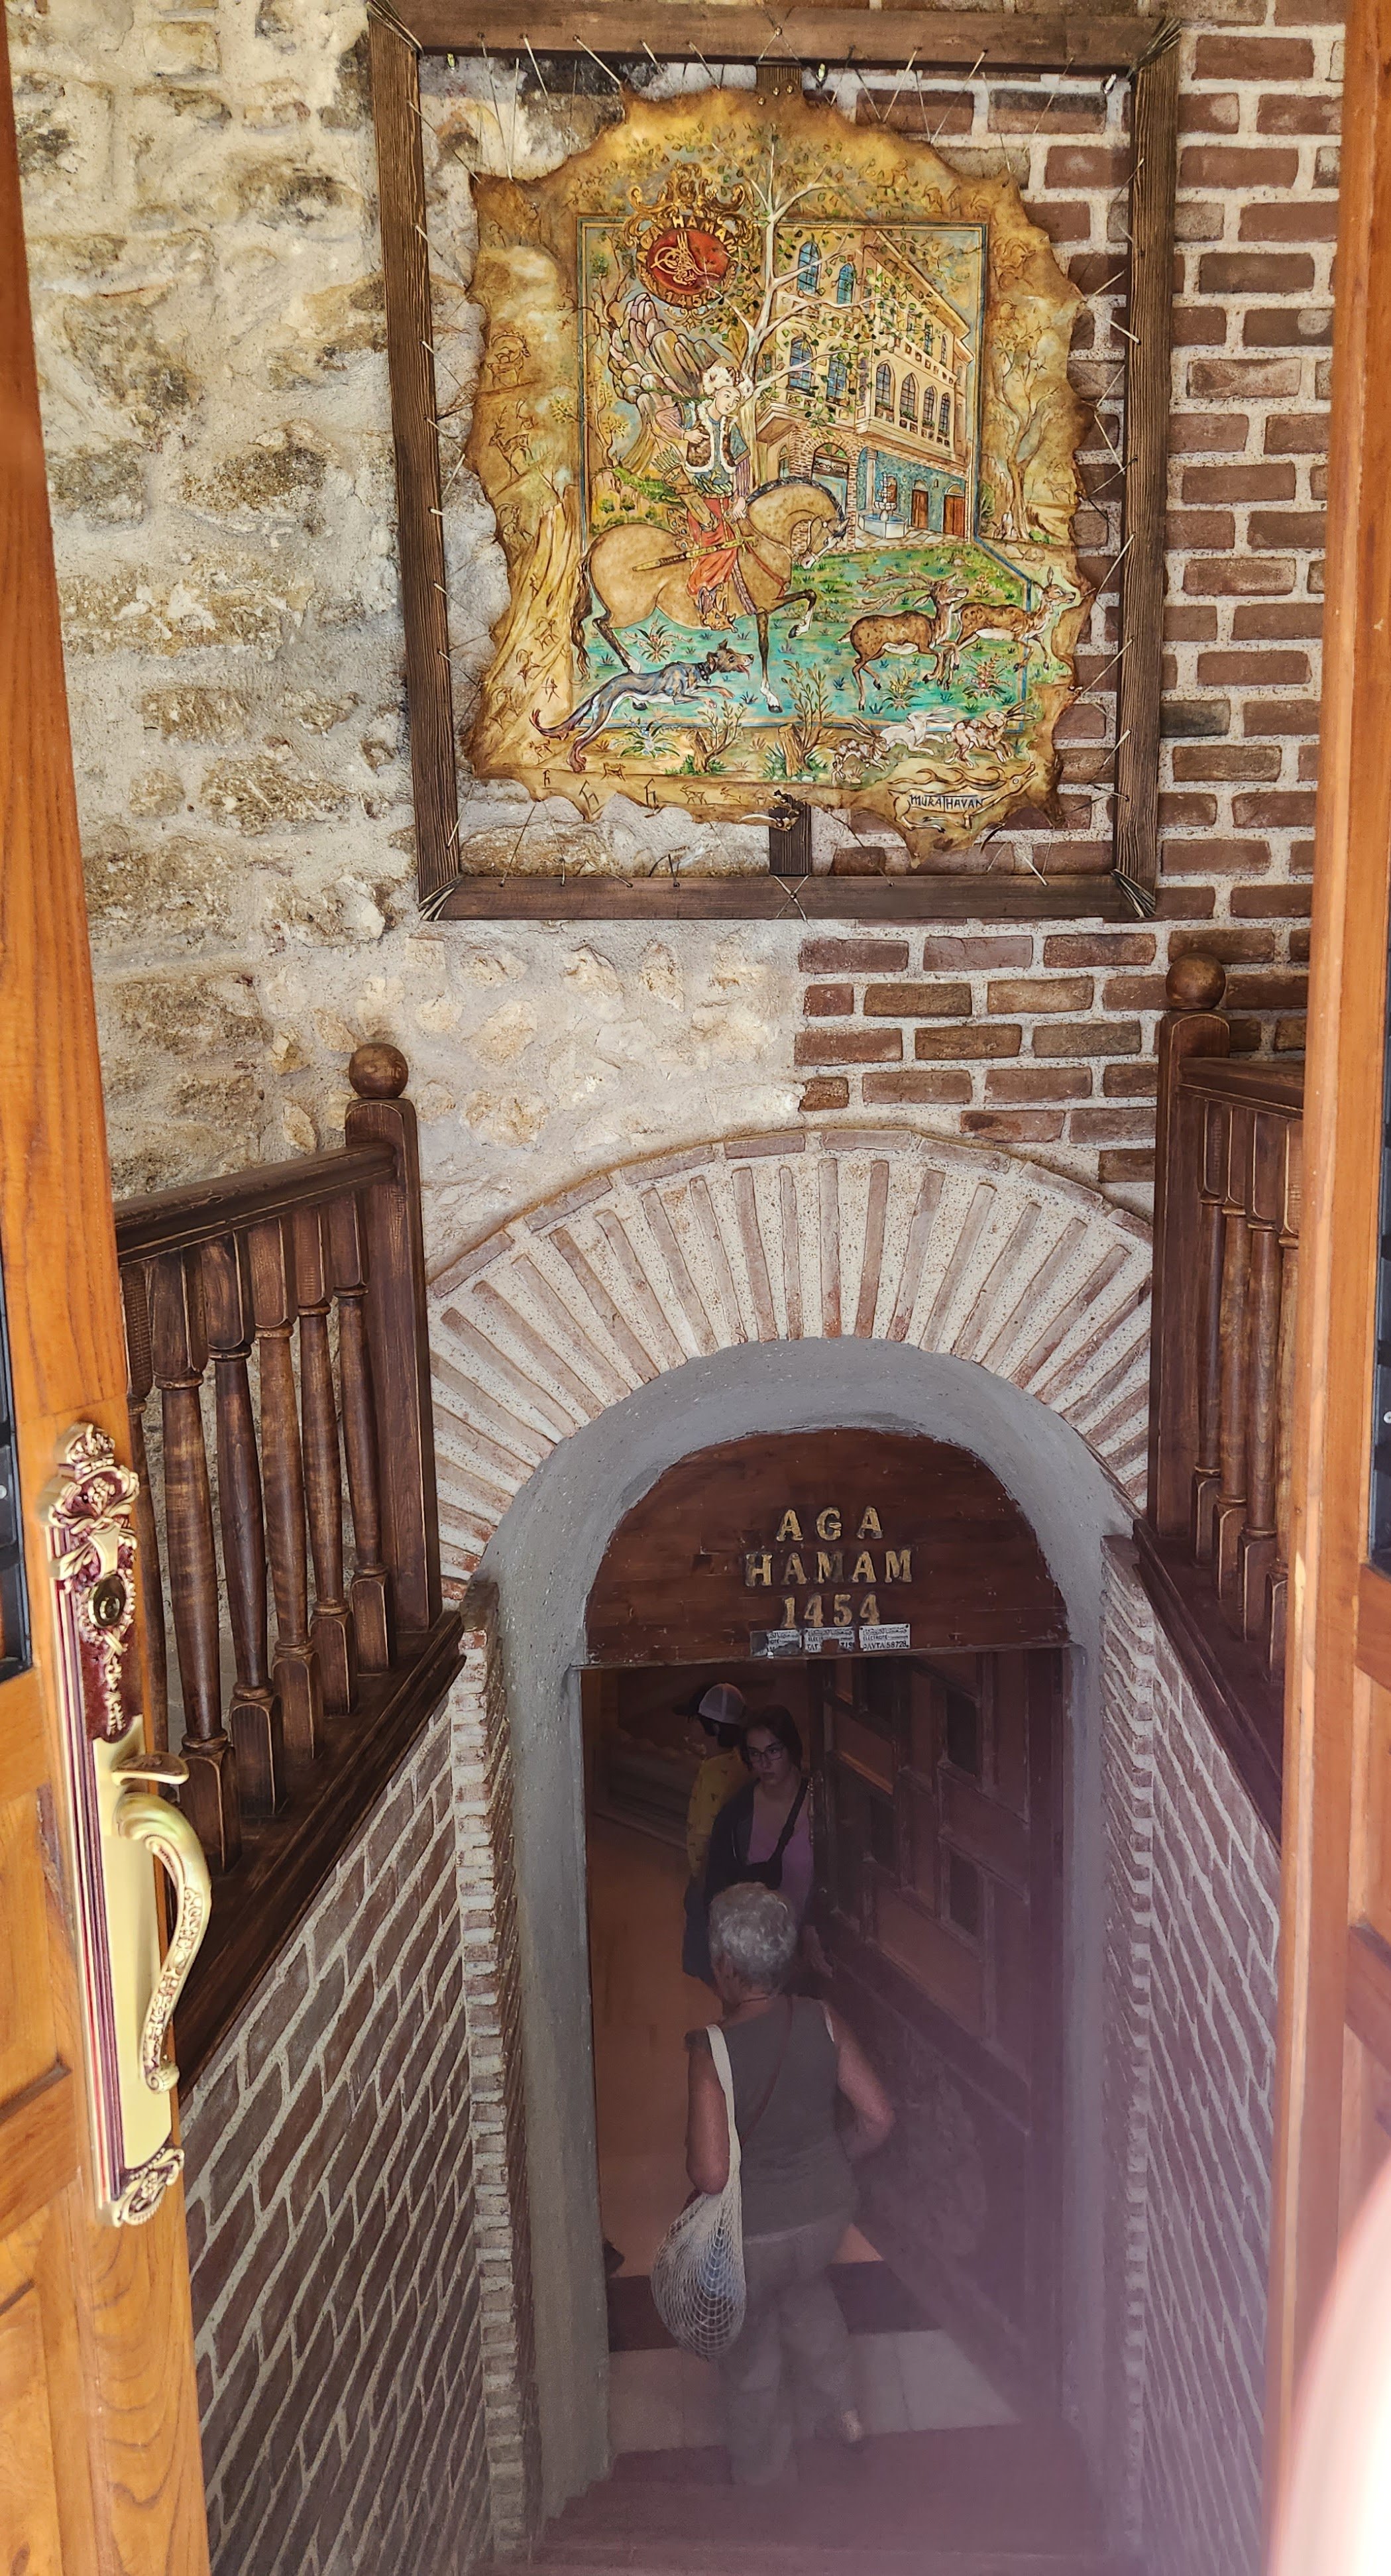
Day 23 - Relaxing on the marble of a Turkish Hammer is glorious.

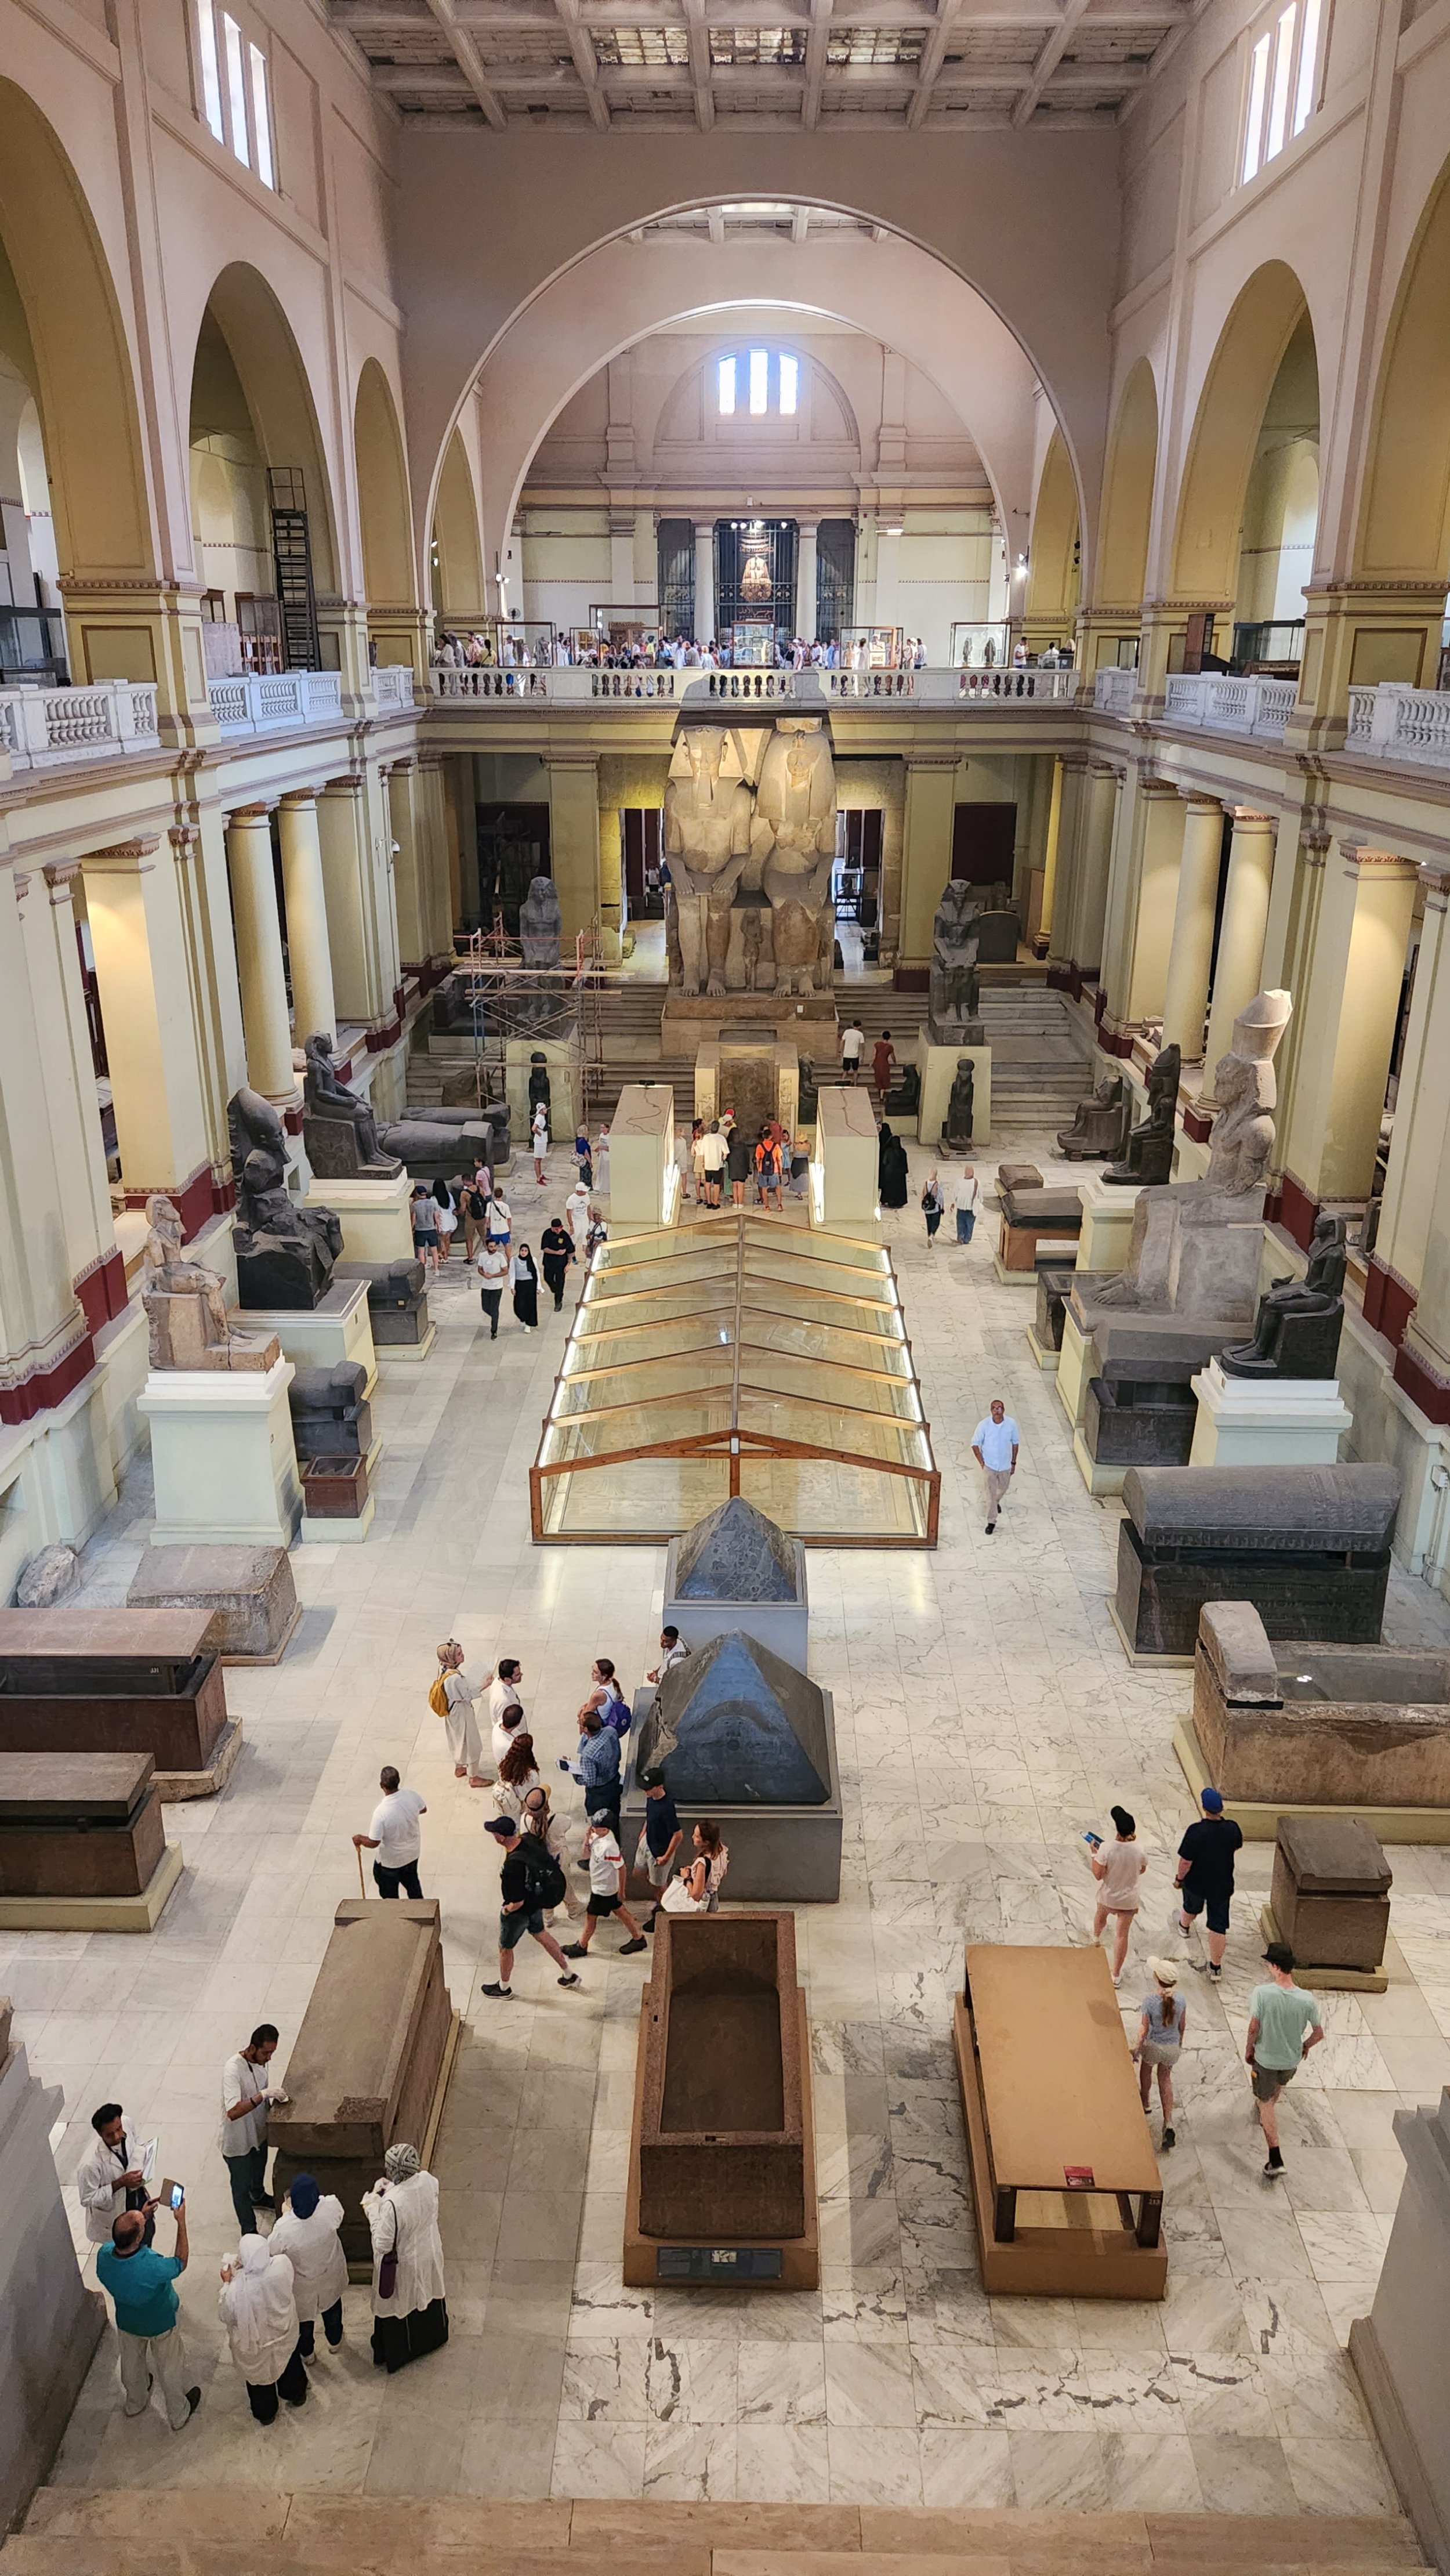
Day 24 - In Cairo again, exploring the old museum and the city

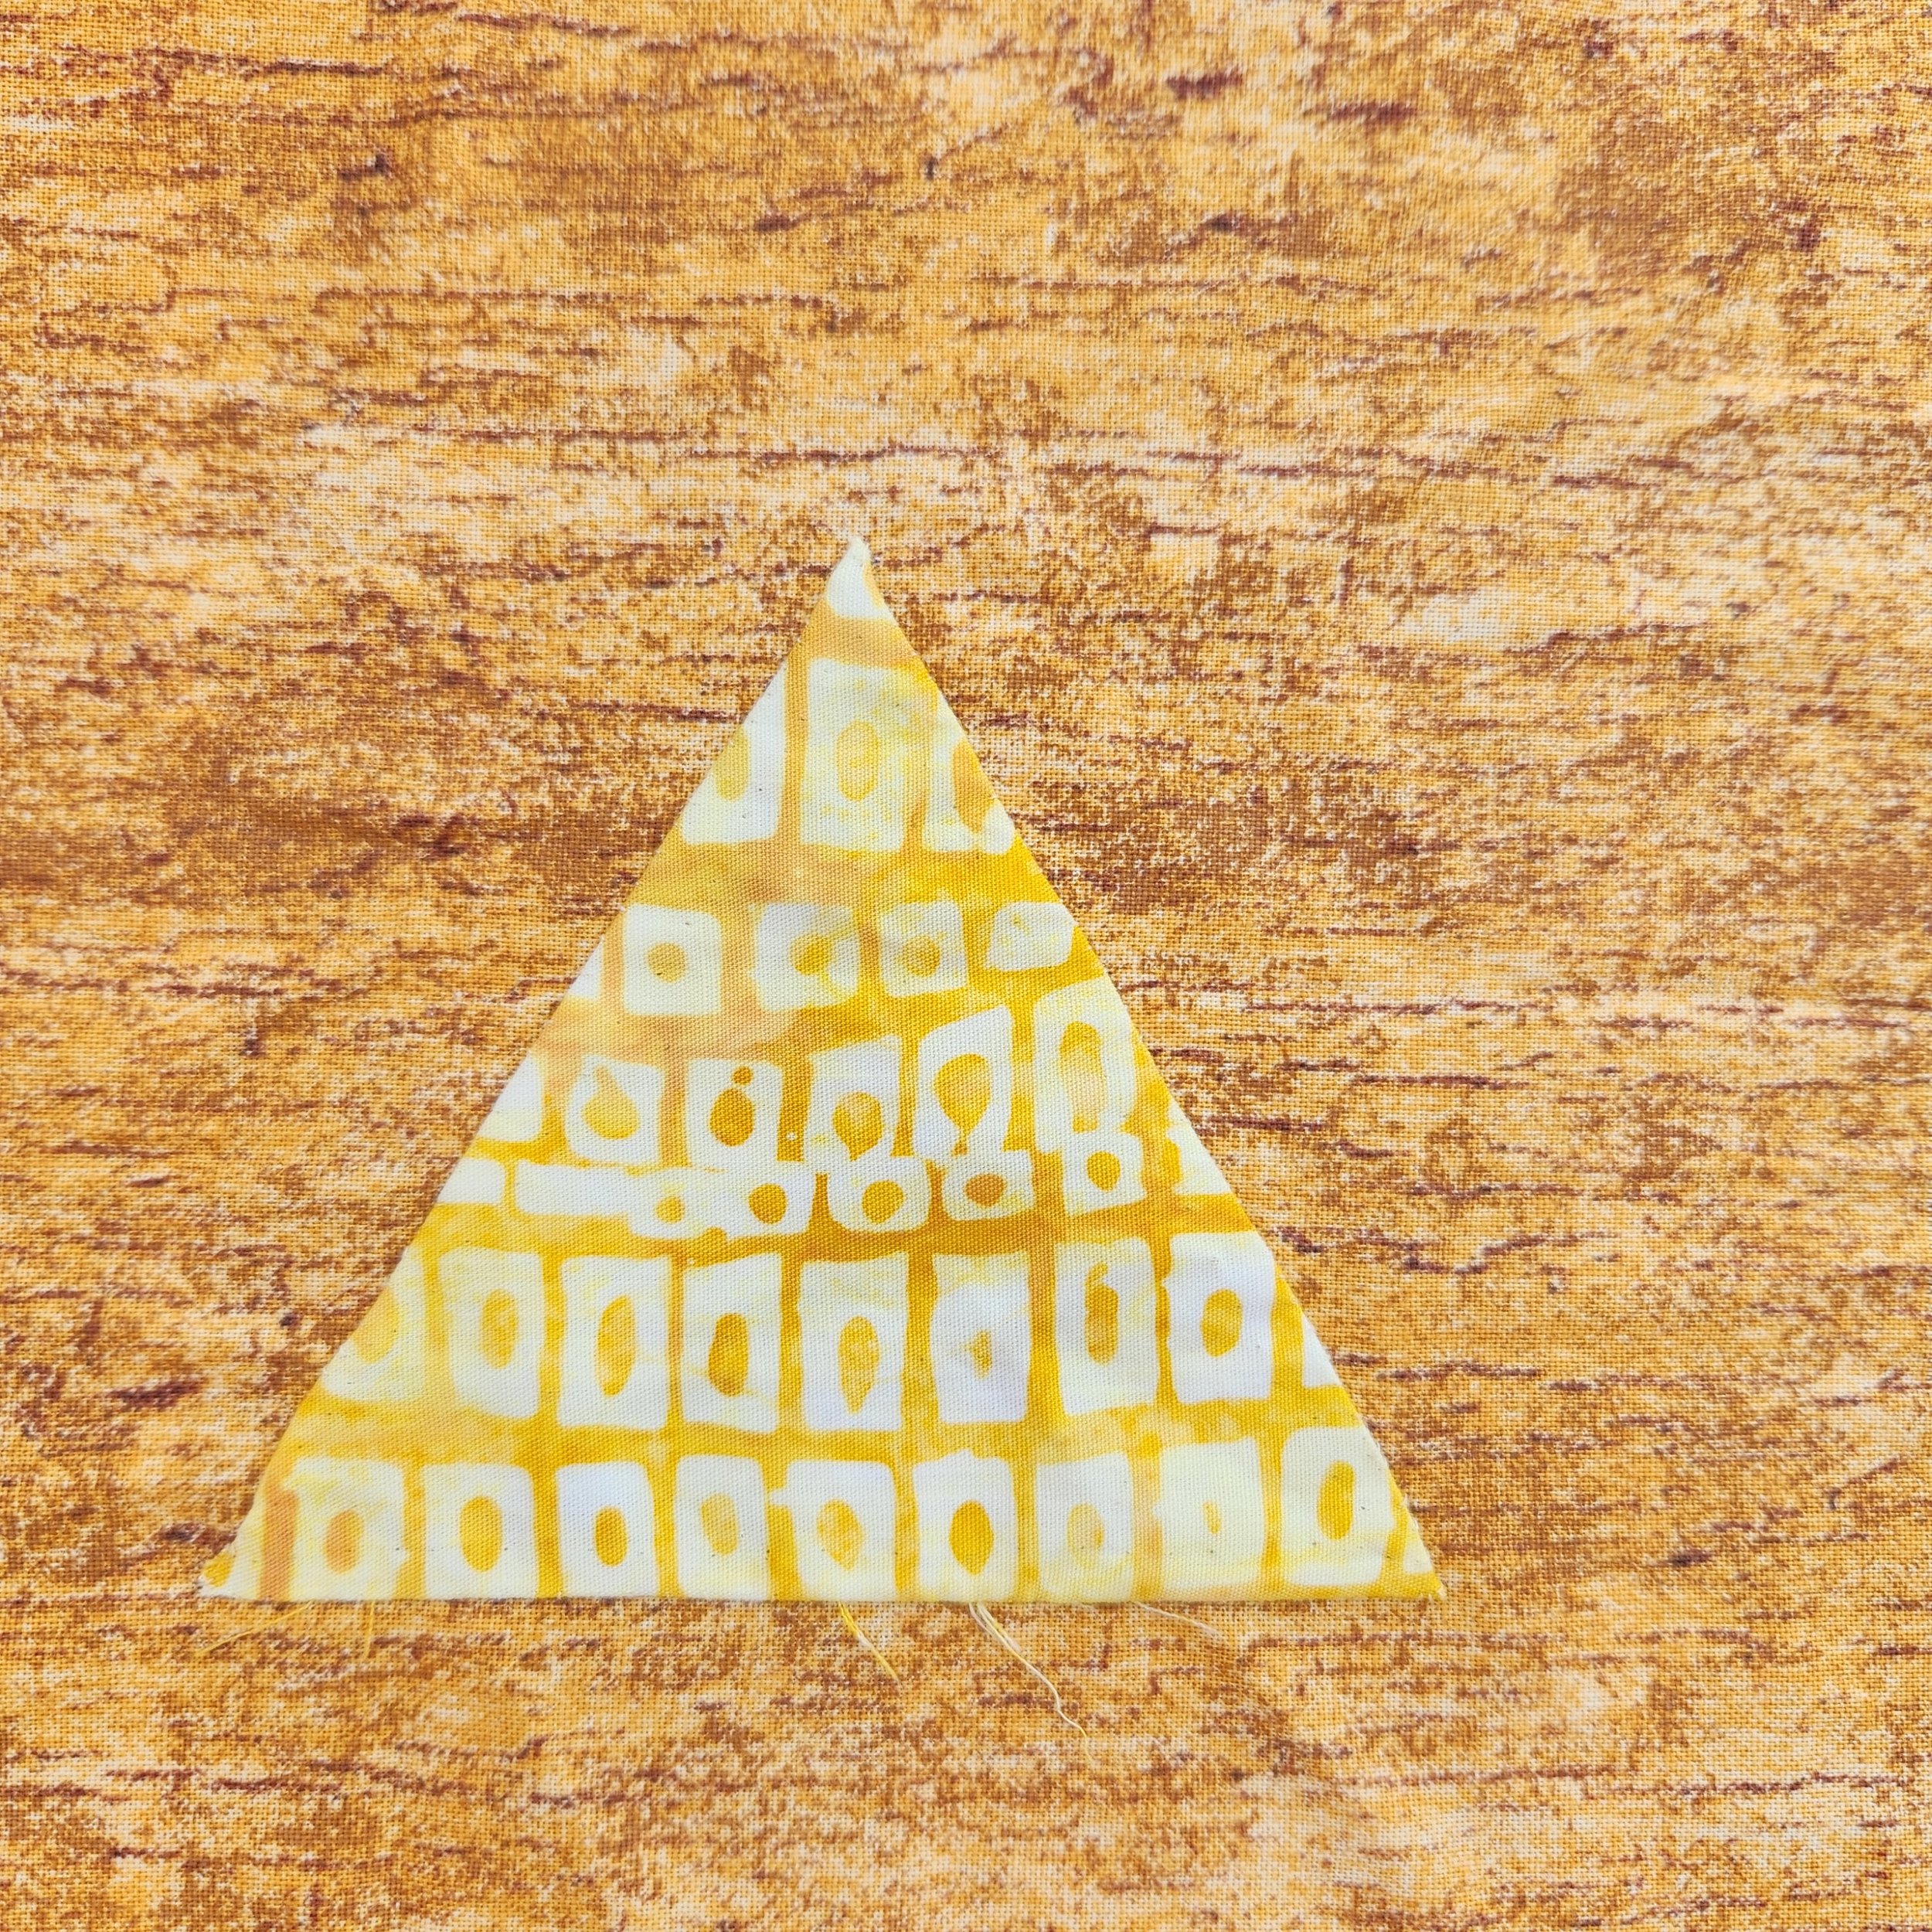
Day 25 - The pyramids!!!!!

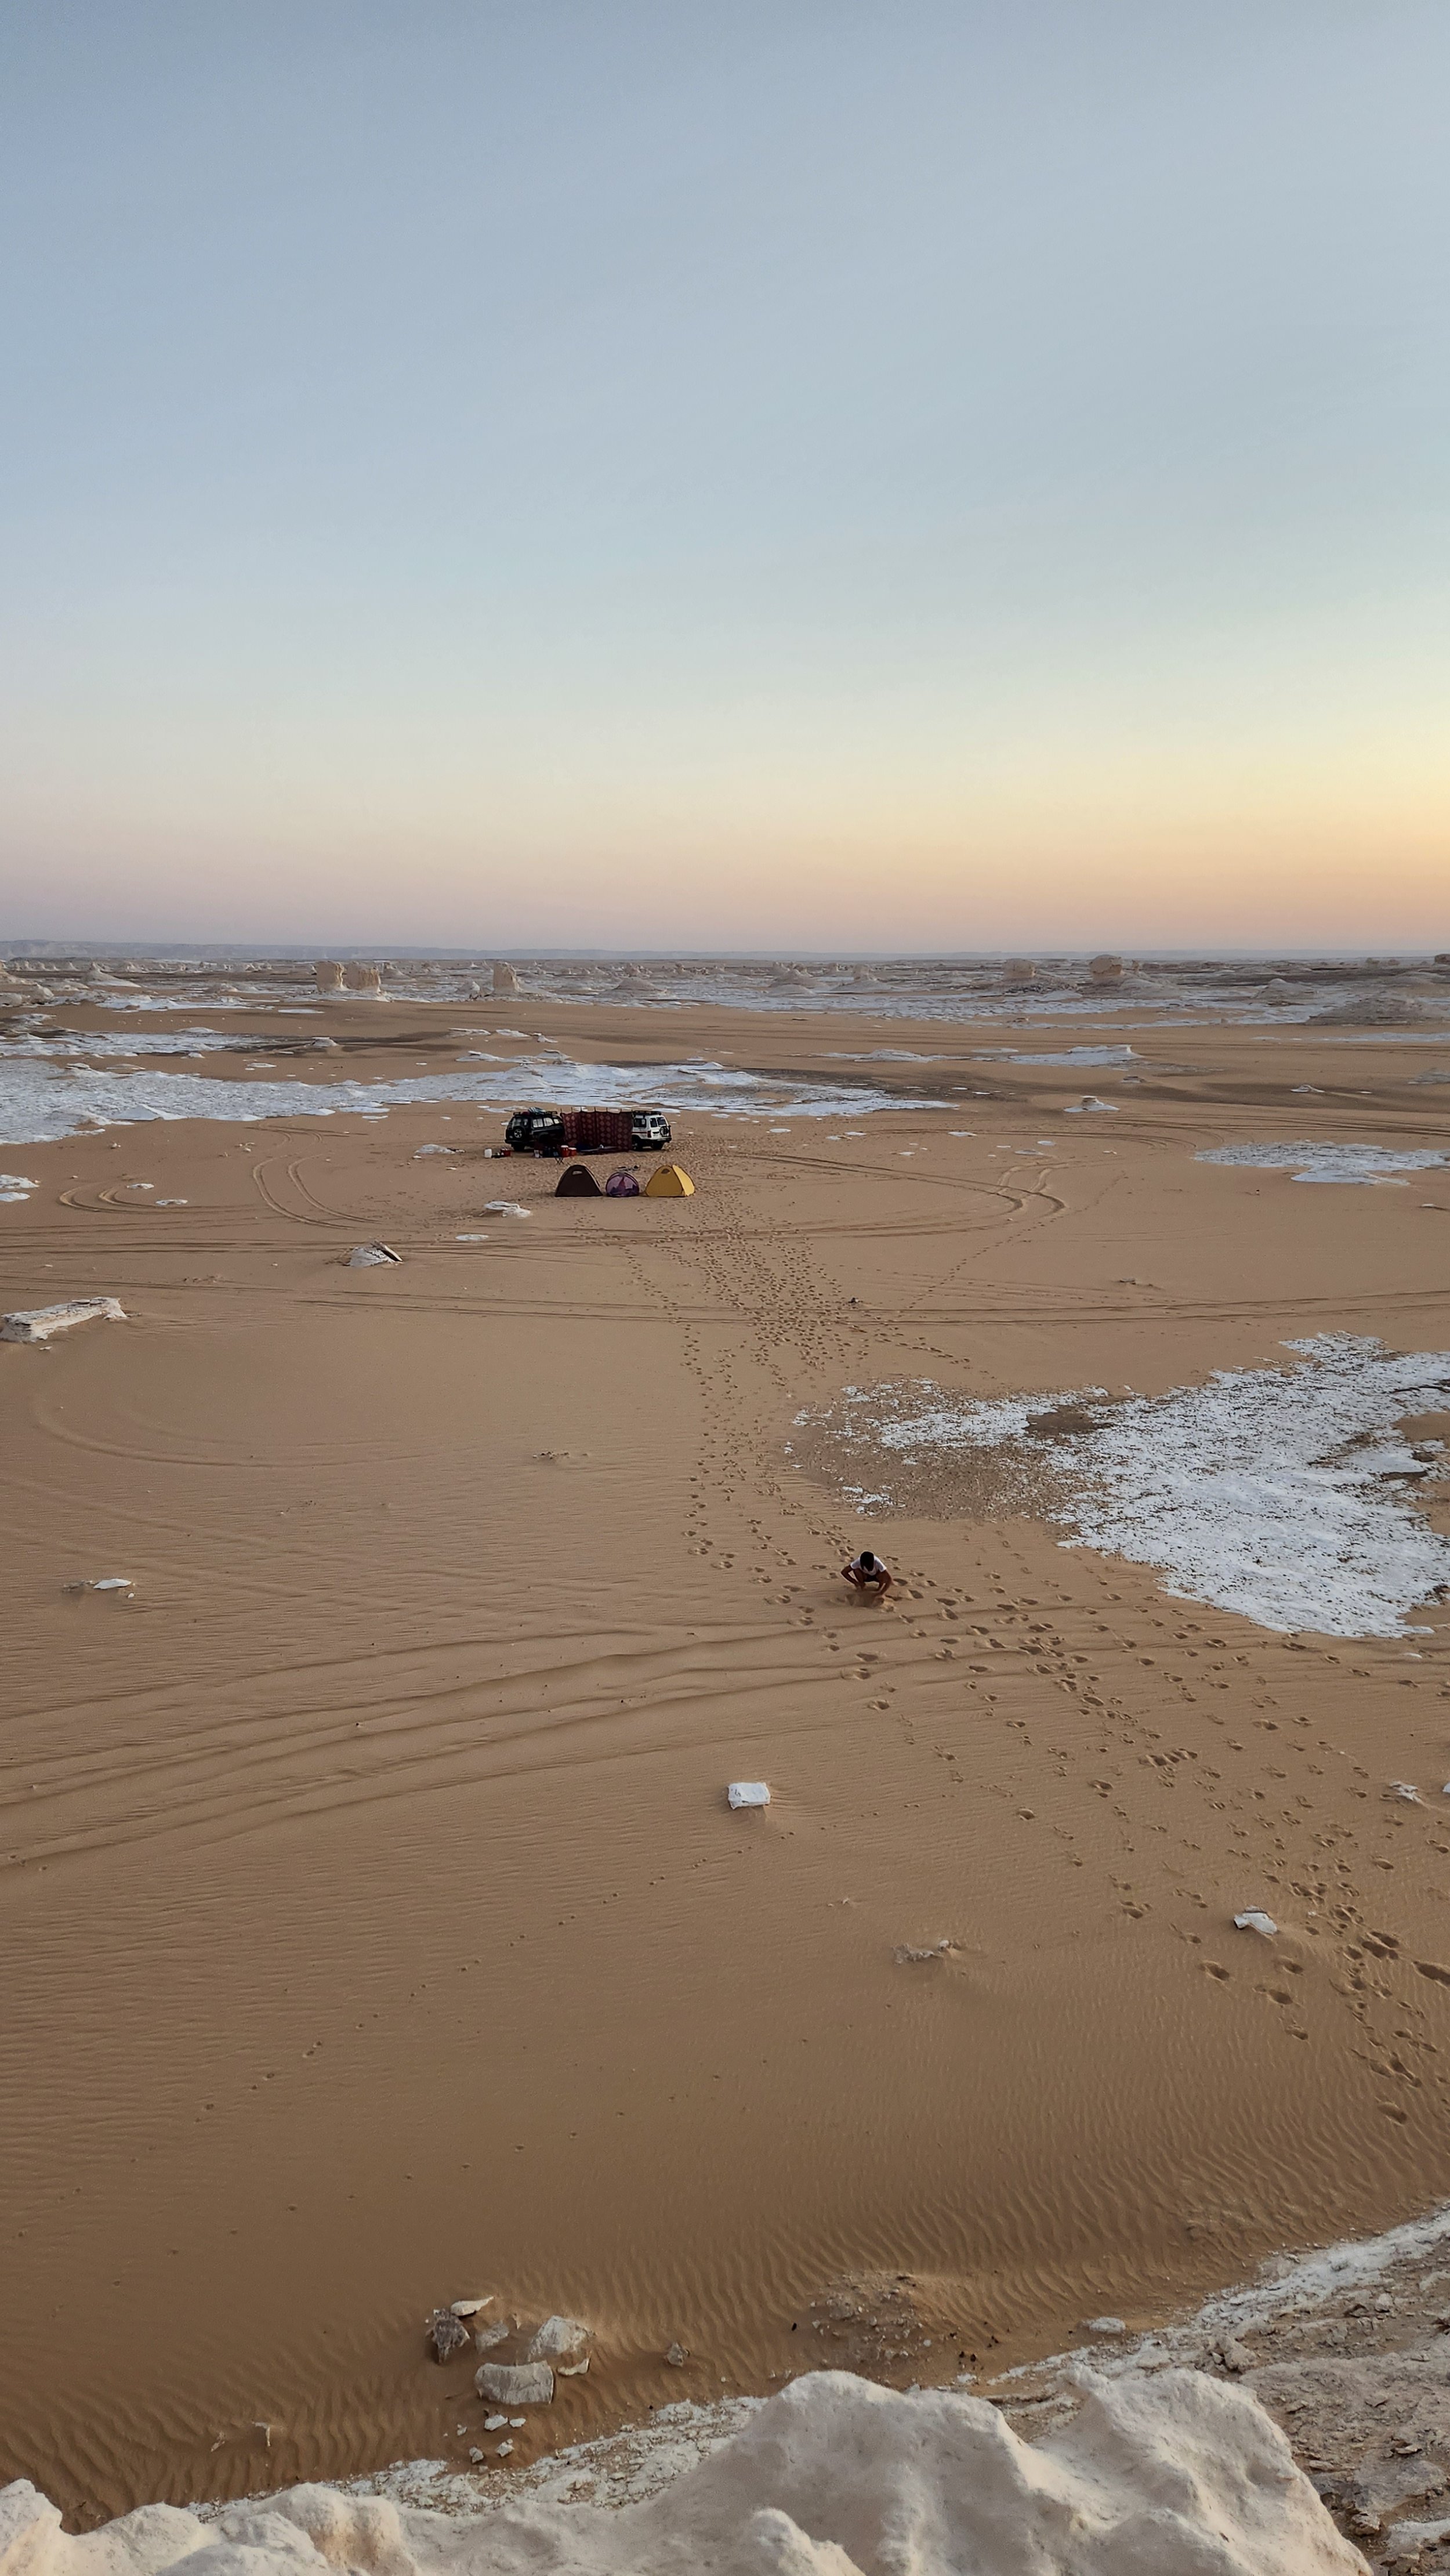
Day 26 - Exploring the Black Desert, the White Desert, the Baharyia Oasis and camping under the stars.

Day 27 - Sunrise in the White Desert then a travel day to Luxor

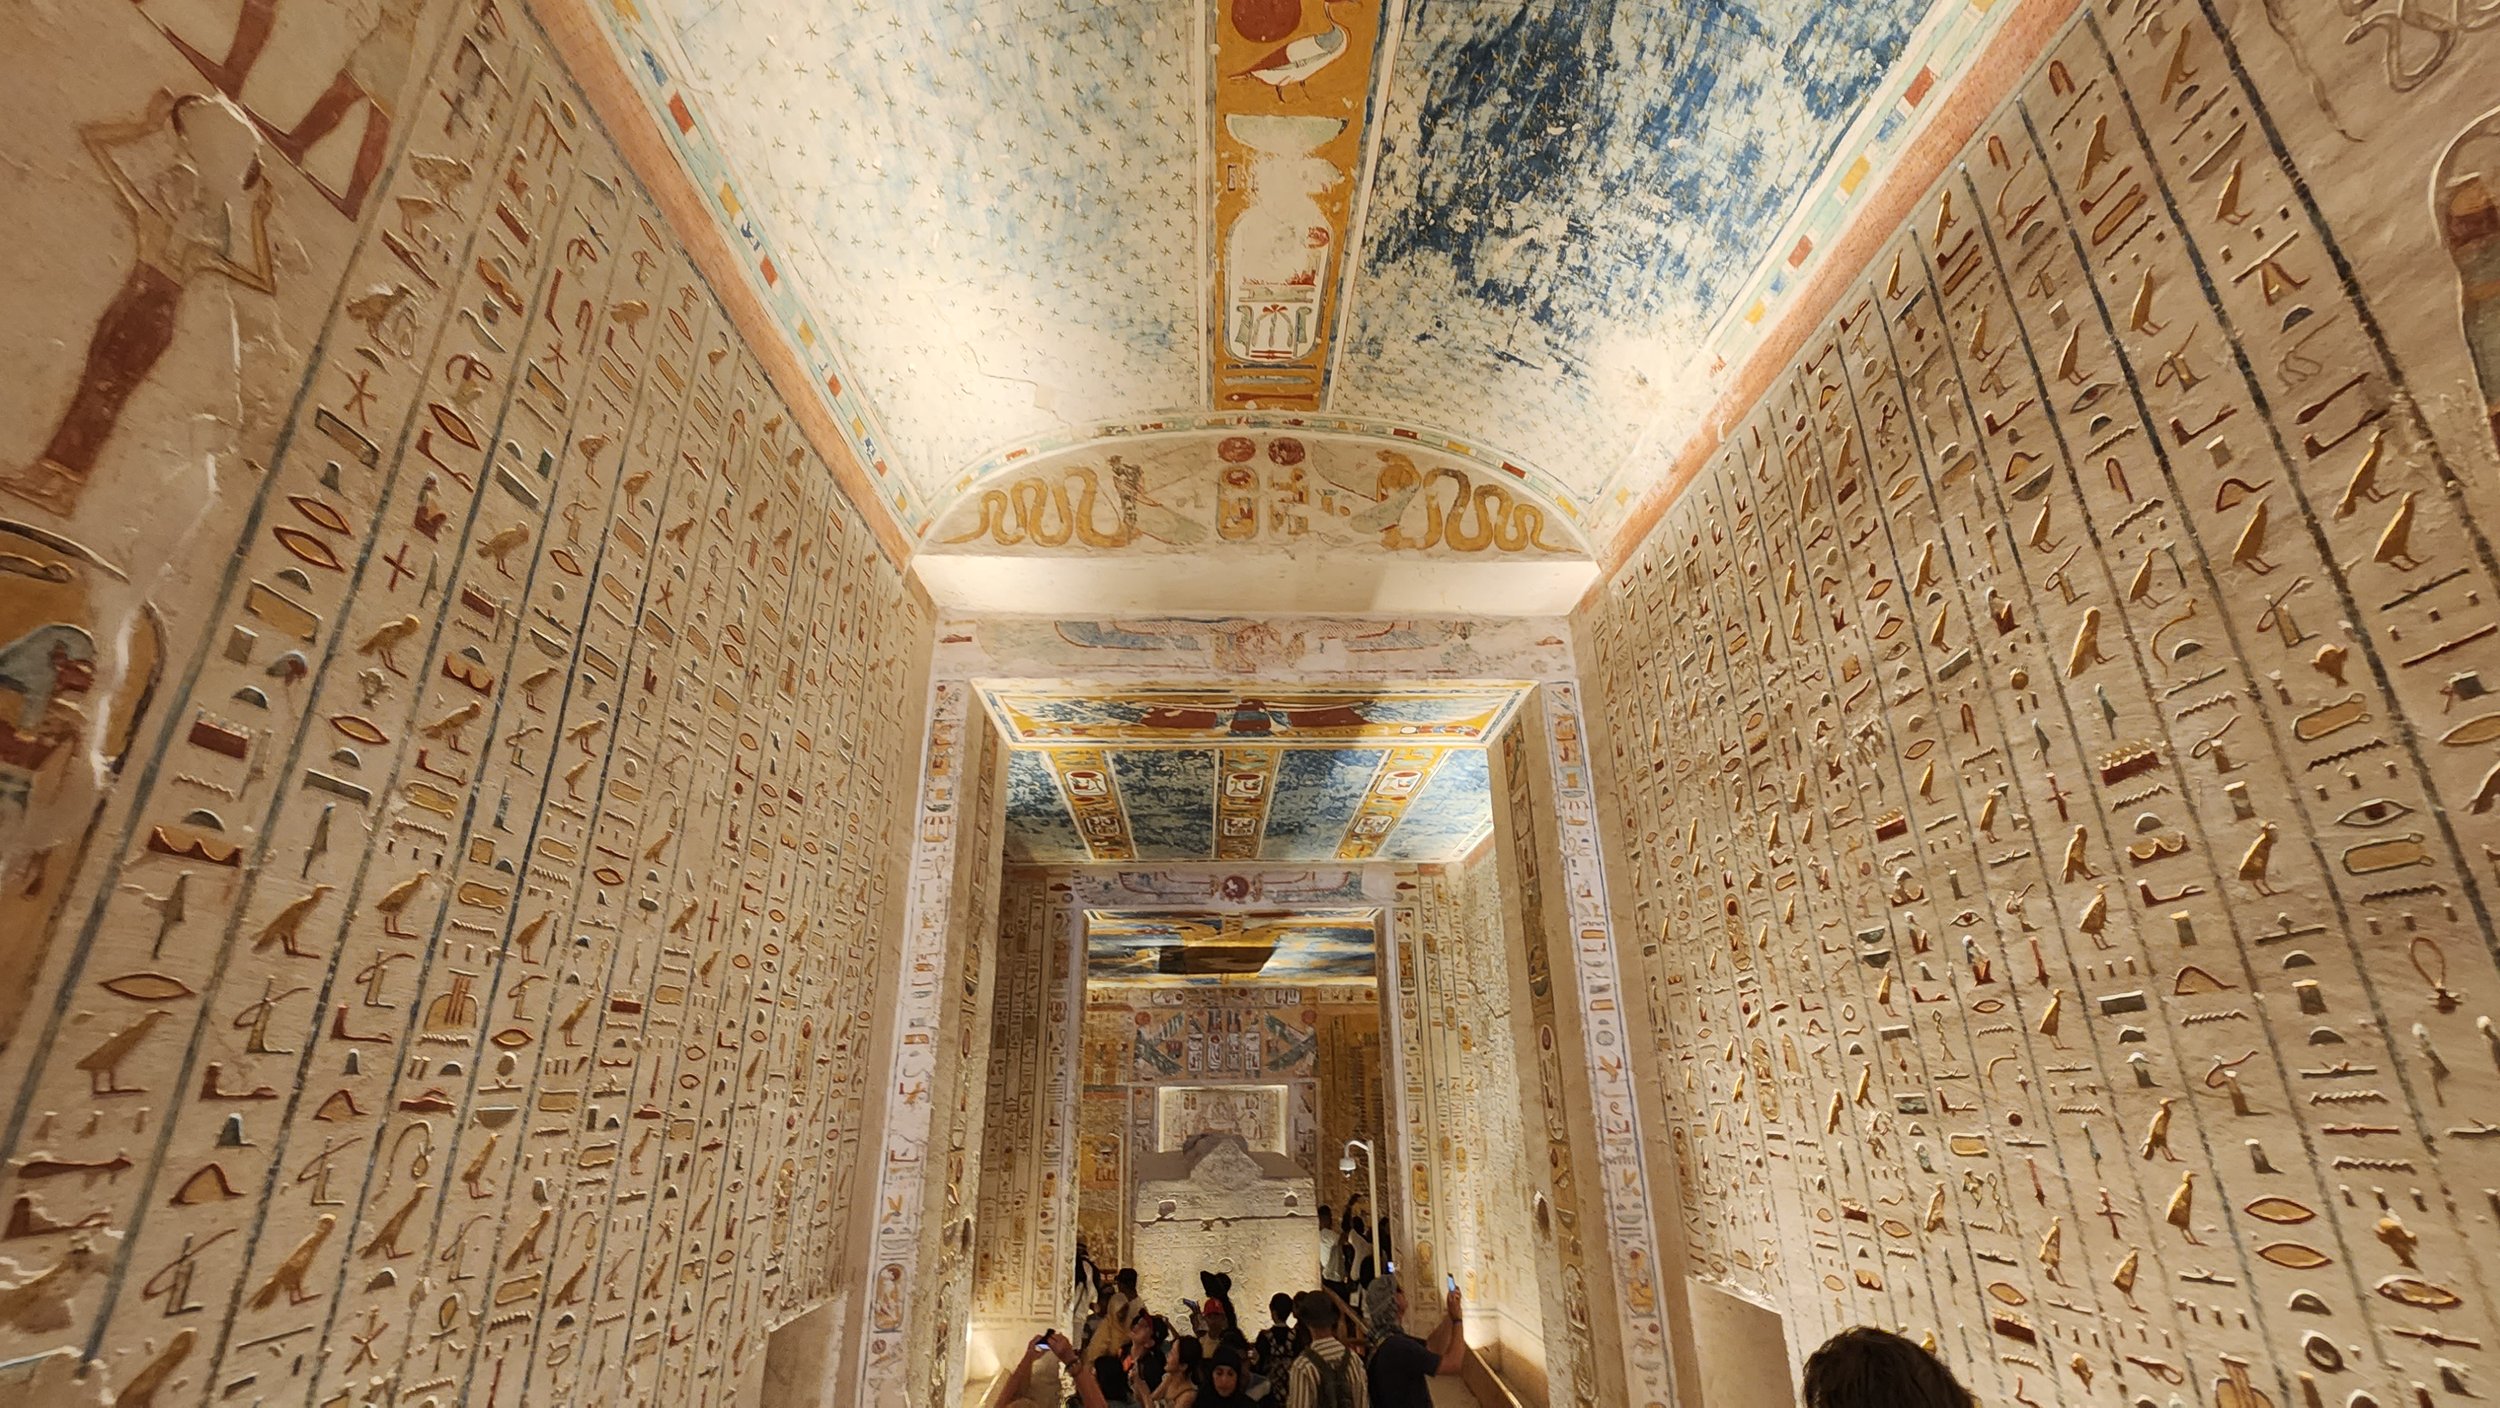
Day 28 - So many tombs in the Valley of the Kings, and the Queens, but I was really there for the Temple of Queen Hatshepsut

Day 29 - The temples at Karnak and Luxor exceeded my imagination, the Mummification Museum? Not so much.

Day 30 - Saw the sunrise hot air balloons then swam in the Nile and began the long journey home.

As I worked through the jet lag on our return home I pieced the quilt top together. Stay tuned for that. If you want more details and photos you can always check out my daily posts on Instagram.

Morning Make 2023 - Raw Edge Appliqué Portrait

This portrait feels a little more me. I don’t mean the likeness, although I think that is there. Rather, as a quilt it feels more me. To complete the portrait I made up the process. Enough years of play and exploration gave the confidence to just go for it. Well, that and a willingness to try a few things in the hopes of success. Also, very me.

Since my drawing skills are lacking, albeit improving, I took a different tact to create my actual portrait. I printed out a photo of myself and traced it. I reduced the lines to those necessary to get a likeness and some interest, with a hope that it wasn’t too much of a cartoon. I just printed the photo off at the office, on the regular inkjet printer. After tracing my lines I scanned the new drawing to create a digital image. This I sent to my local print shop to have printed at a much larger scale. I think we used their 18” x 24” printer.

Once I had the drawing I reversed it and traced it on to some double sided fusible. In this case, Wonder Under. I’ve had good luck with it in the past so was confident using it here. More on that shortly. I debated a glittery purple for the appliqué but ended up with a tone on tone black from my own fabric collection.

With the lines traced I pressed the fusible and fabric together. I cut out the appliqué from the fabric. In hindsight I would have made less cuts, like where the jaw line and hair meet, but I was a bit unsure of how it would come together at the beginning.

For the background I decided I wanted something that felt more me. The previous portraits were great, but I wanted a bit more of my kind of quilting in there. Instead of making something new, I dug out all the crumb blocks I’ve made over the years and put together a handful to create the background. Knowing I was using black for the appliqué I tried to use pieces with as few black or dark pieces in it, so that there was always contrast with the appliqué. Without a purpose built selection of crumb blocks this is mostly, but not all the way successful. I’m still happy with it. And one dark scrap ends up mimicking the scar on my neck from last year’s thyroid surgery.

After playing with the positioning I removed the backing from the fusible and pressed the appliqué into place. And pressed it into place, and pressed it into place. It would stick for a while then come undone. Rather frustrating. I’ve never had trouble with Wonder Under before. I even bought new stuff in case what I had was too old. If I do this again I will be choosing a different fusible.

The drama with the fusing led to my quilting plan. I didn’t want to zig zag stitch around every piece. I just don’t like that look. But with the appliqué misbehaving I needed a dense quilting plan to keep everything in place. Matchstick quilting was the obvious choice, but I don’t like to be too predictable. I marked a few lines and decided to do rays from one corner. A lot of rays.

WIth a strong multicolour background I knew that thread colour wasn’t super important. With dense enough quilting it would also hold the appliqué down and provide varying contrast on the black fabric. Embracing my inner and outer scrap quilter I pulled out all the partially filled bobbins that I had. Finding their coordinating spools I went nuts with multicolour rays. And I cleaned out 6 bobbins to open them up for new thread choices without wasting any thread!

All of my self portrait quilts are bound with the same tone on tone black fabric using the single fold technique. It creates a sharp edge on these smaller quilts.

Since finishing these quilts I’ve been practicing my drawing and painting some more. I recently started an embroidered portrait too. Perfect for on the go. I’ve got my next quilted portrait planned out too. I want to continue to explore how I can make these more me.

Morning Make 2023 - Stitched Mosaic Portrait

For the third quilt portrait I turned to Timna Tarr. I first encountered Timna’s map quilts back when I judged QuiltCon. Her work is creative and unique. When she starting making her mosaic quilts I, along with many others, was transfixed. She started with barnyard animals but has progressed to some very unique portraits. Without a doubt, I had to try this technique in my year of portraits.

There is a book out, Stitched Photo Mosaic Quilting. I signed up for her on demand class via Creative Spark instead. The class was great. Timna broke down the technique into simple steps with clear instructions. It was easy to watch it once then head straight to the fabric.

Once you’ve picked your starting image you go right ahead and draw a grid over it. The diagonal grid is a suggestions of Timna’s technique, but not a requirement. Each square of the grid is one 2.5” block. Some will only be one fabric, others are made up of sometimes five! I don’t want to teach the technique myself that Timna gets paid to do, but she breaks it down into a layered machine appliqué to construct each block. I will admit, this was new to me, as was using invisible thread to sew.

I can’t lie it really was not a technique I enjoyed. Sure, I love the end results and overall look, but I didn’t really enjoy making it. So, so fiddly on some of those pieces! And I can honestly say I do not like the look of invisible thread. Yes, it is not that invisible. Partway through the project I kept thinking how much more I would enjoy this if I took the grid effect and then improvised instead. Stay tuned…

The picture I used was from a ski trip this past winter. We were skiing in clouds that day and everything was covered in a layer of frost, including me. It is such a happy memory and translating it into a quilt is a great way to capture it.