"stash"

Improv Quilts Can Be Precisely Pieced

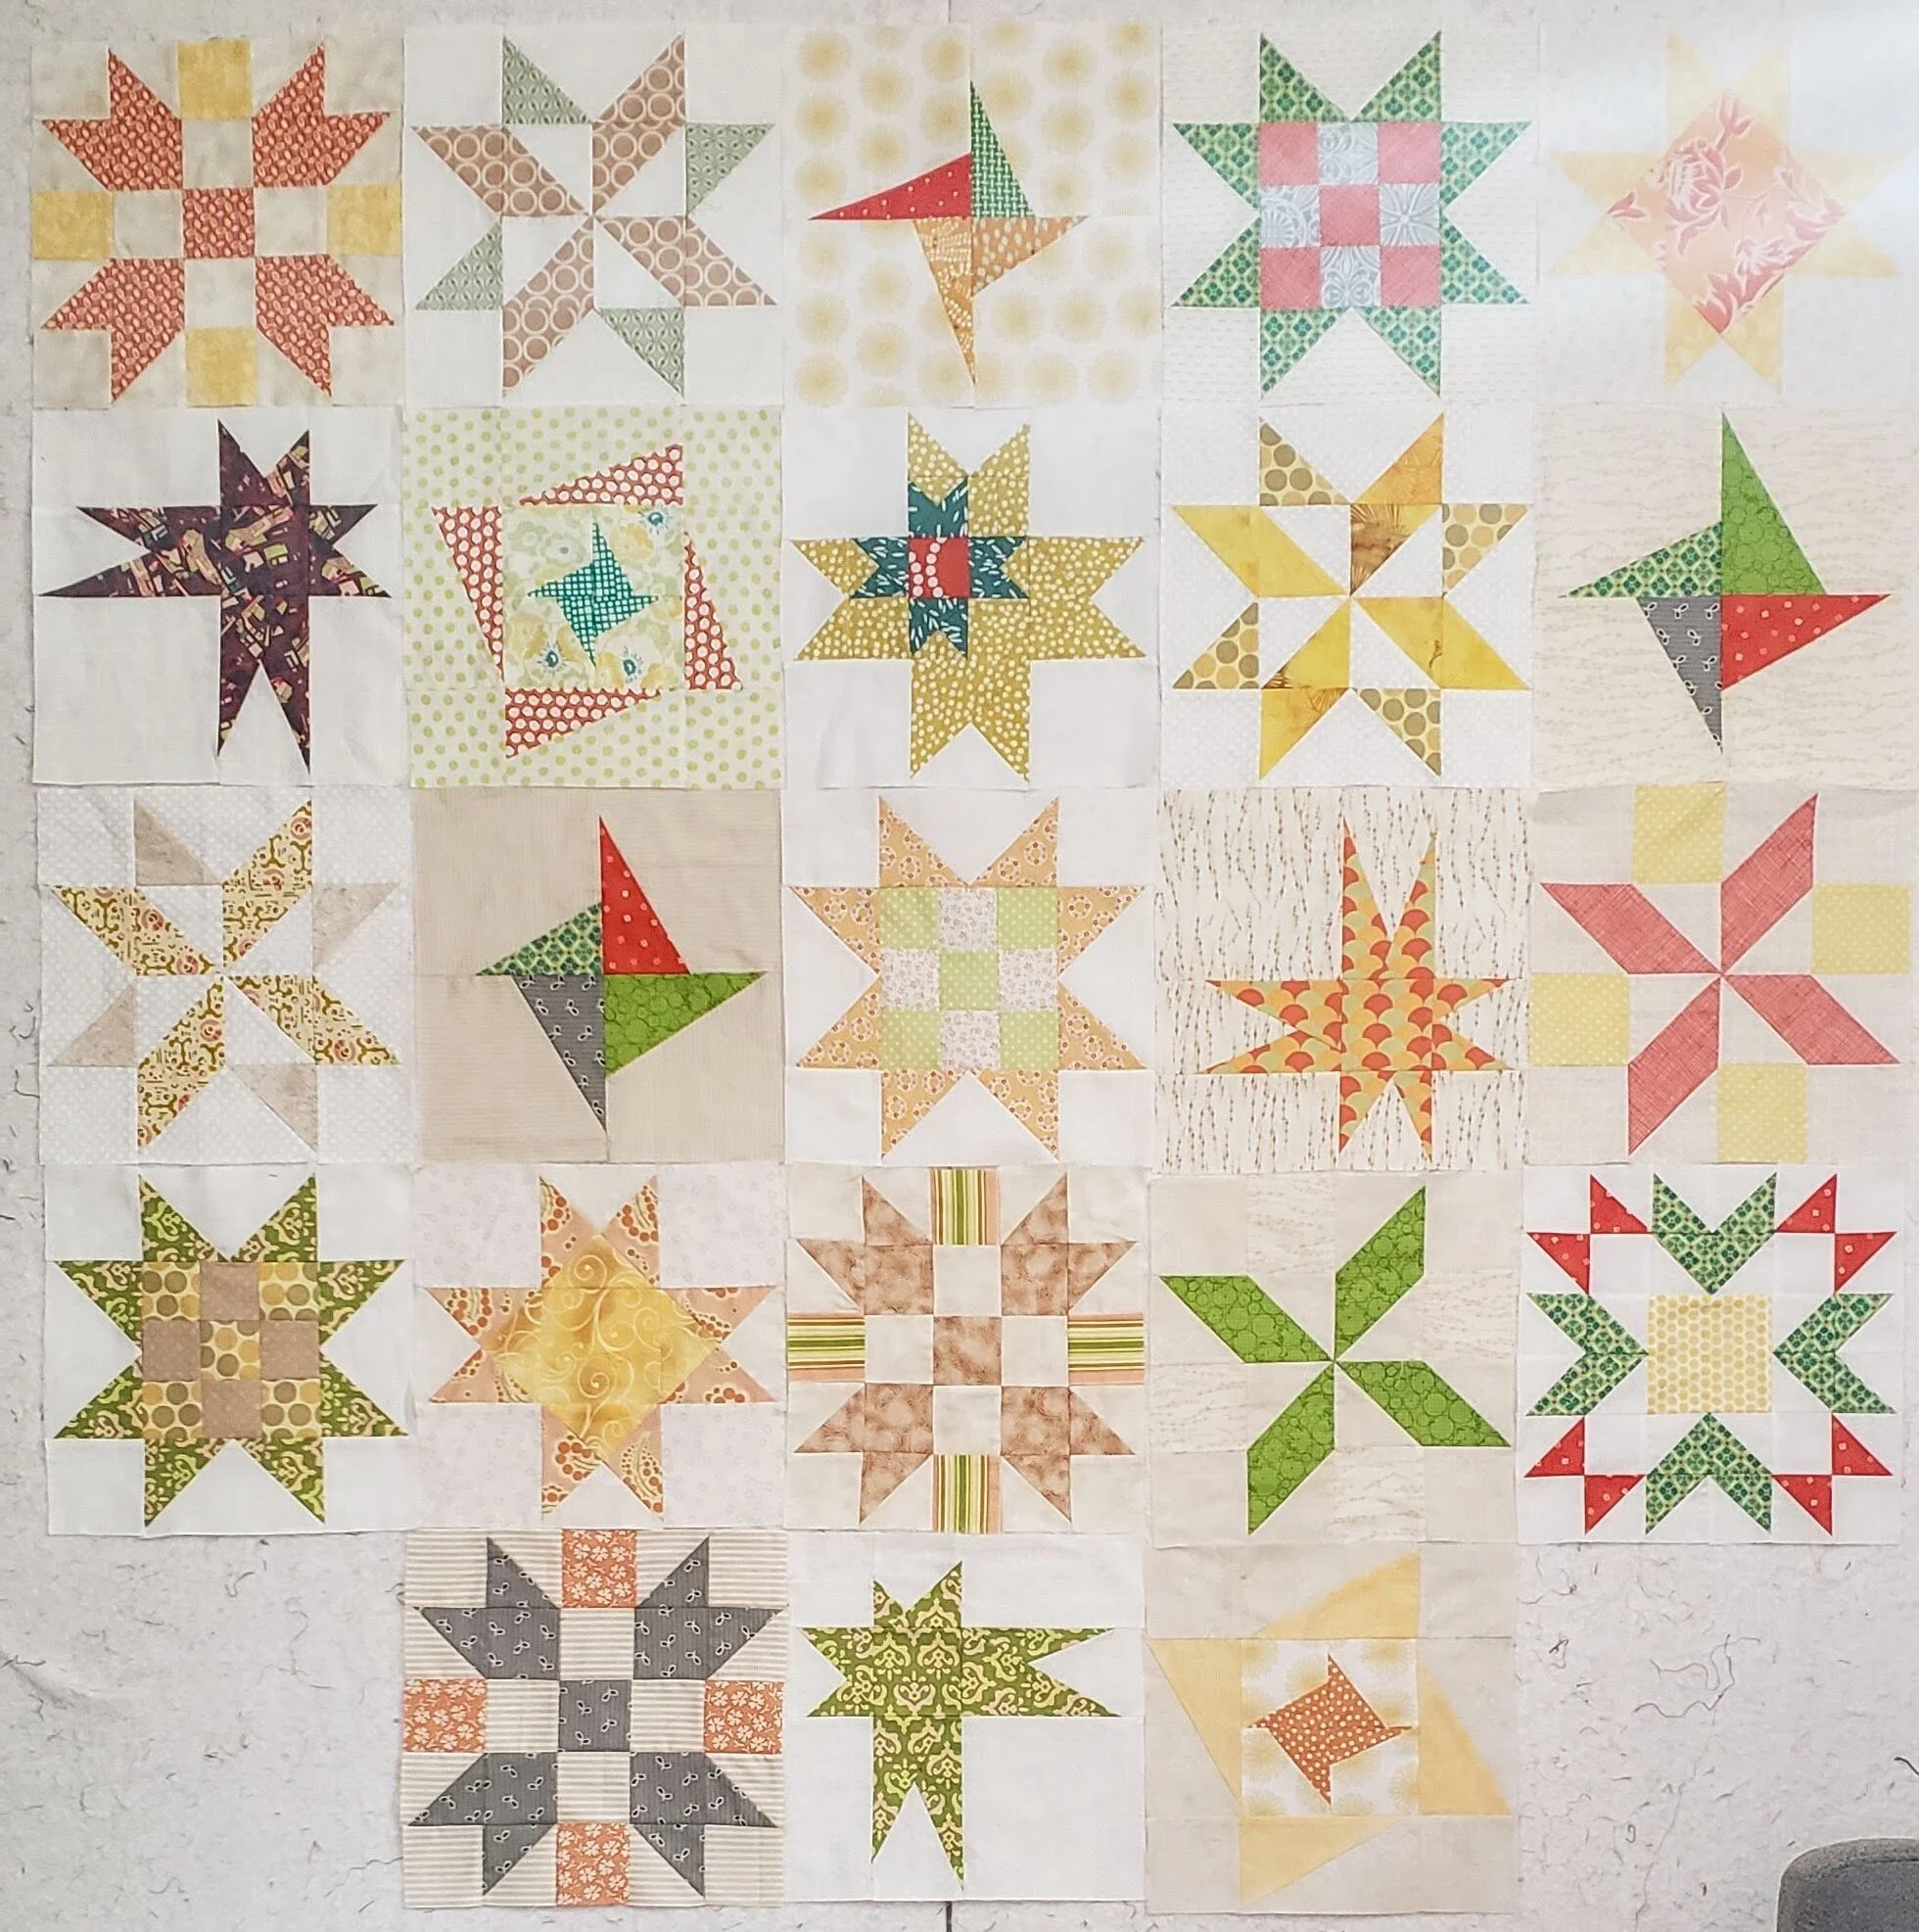
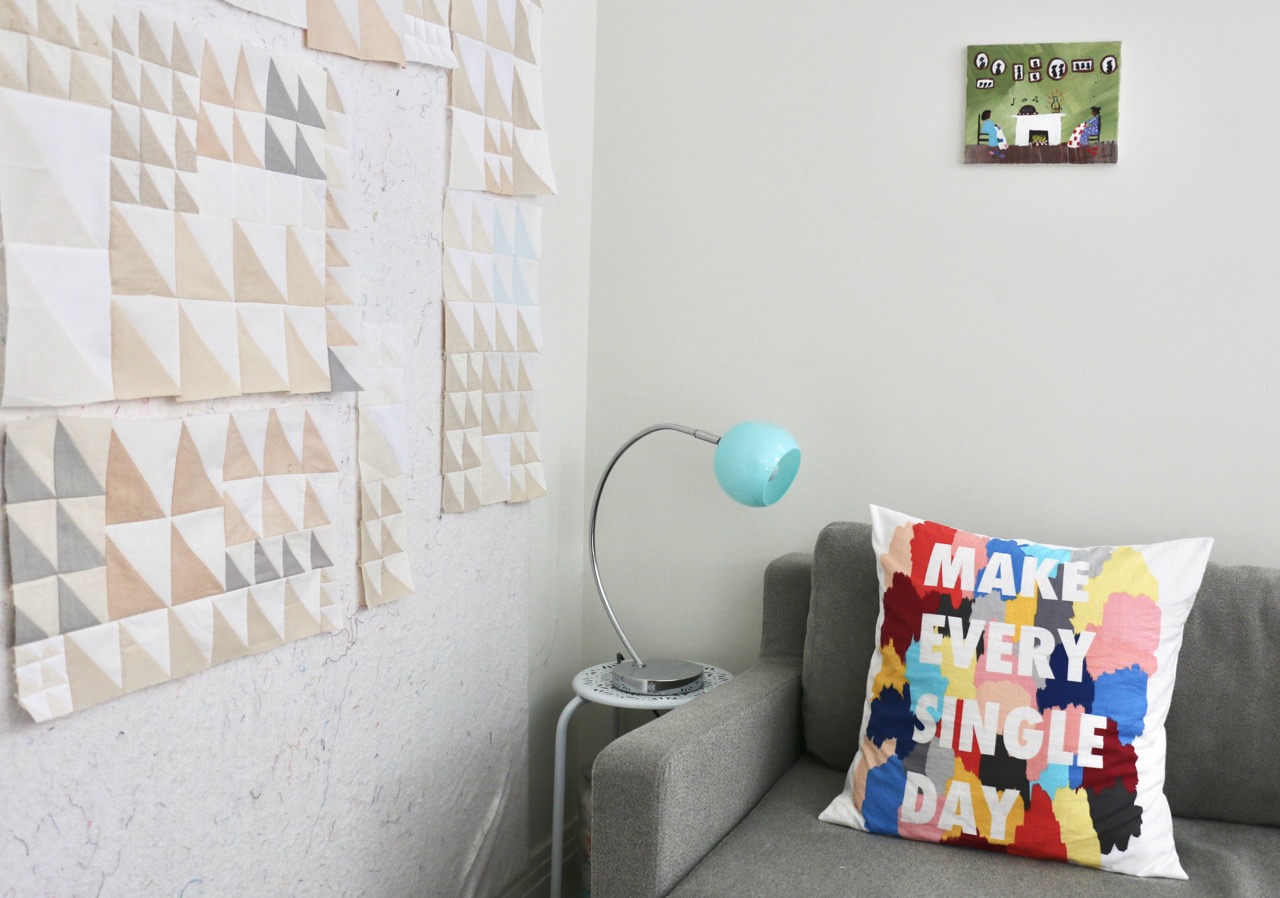
Stars BOM Quilt

Sometimes I just get in the mood for some precision piecing. Actually, it was more that I needed the distraction that comes with the need to focus when precision piecing.

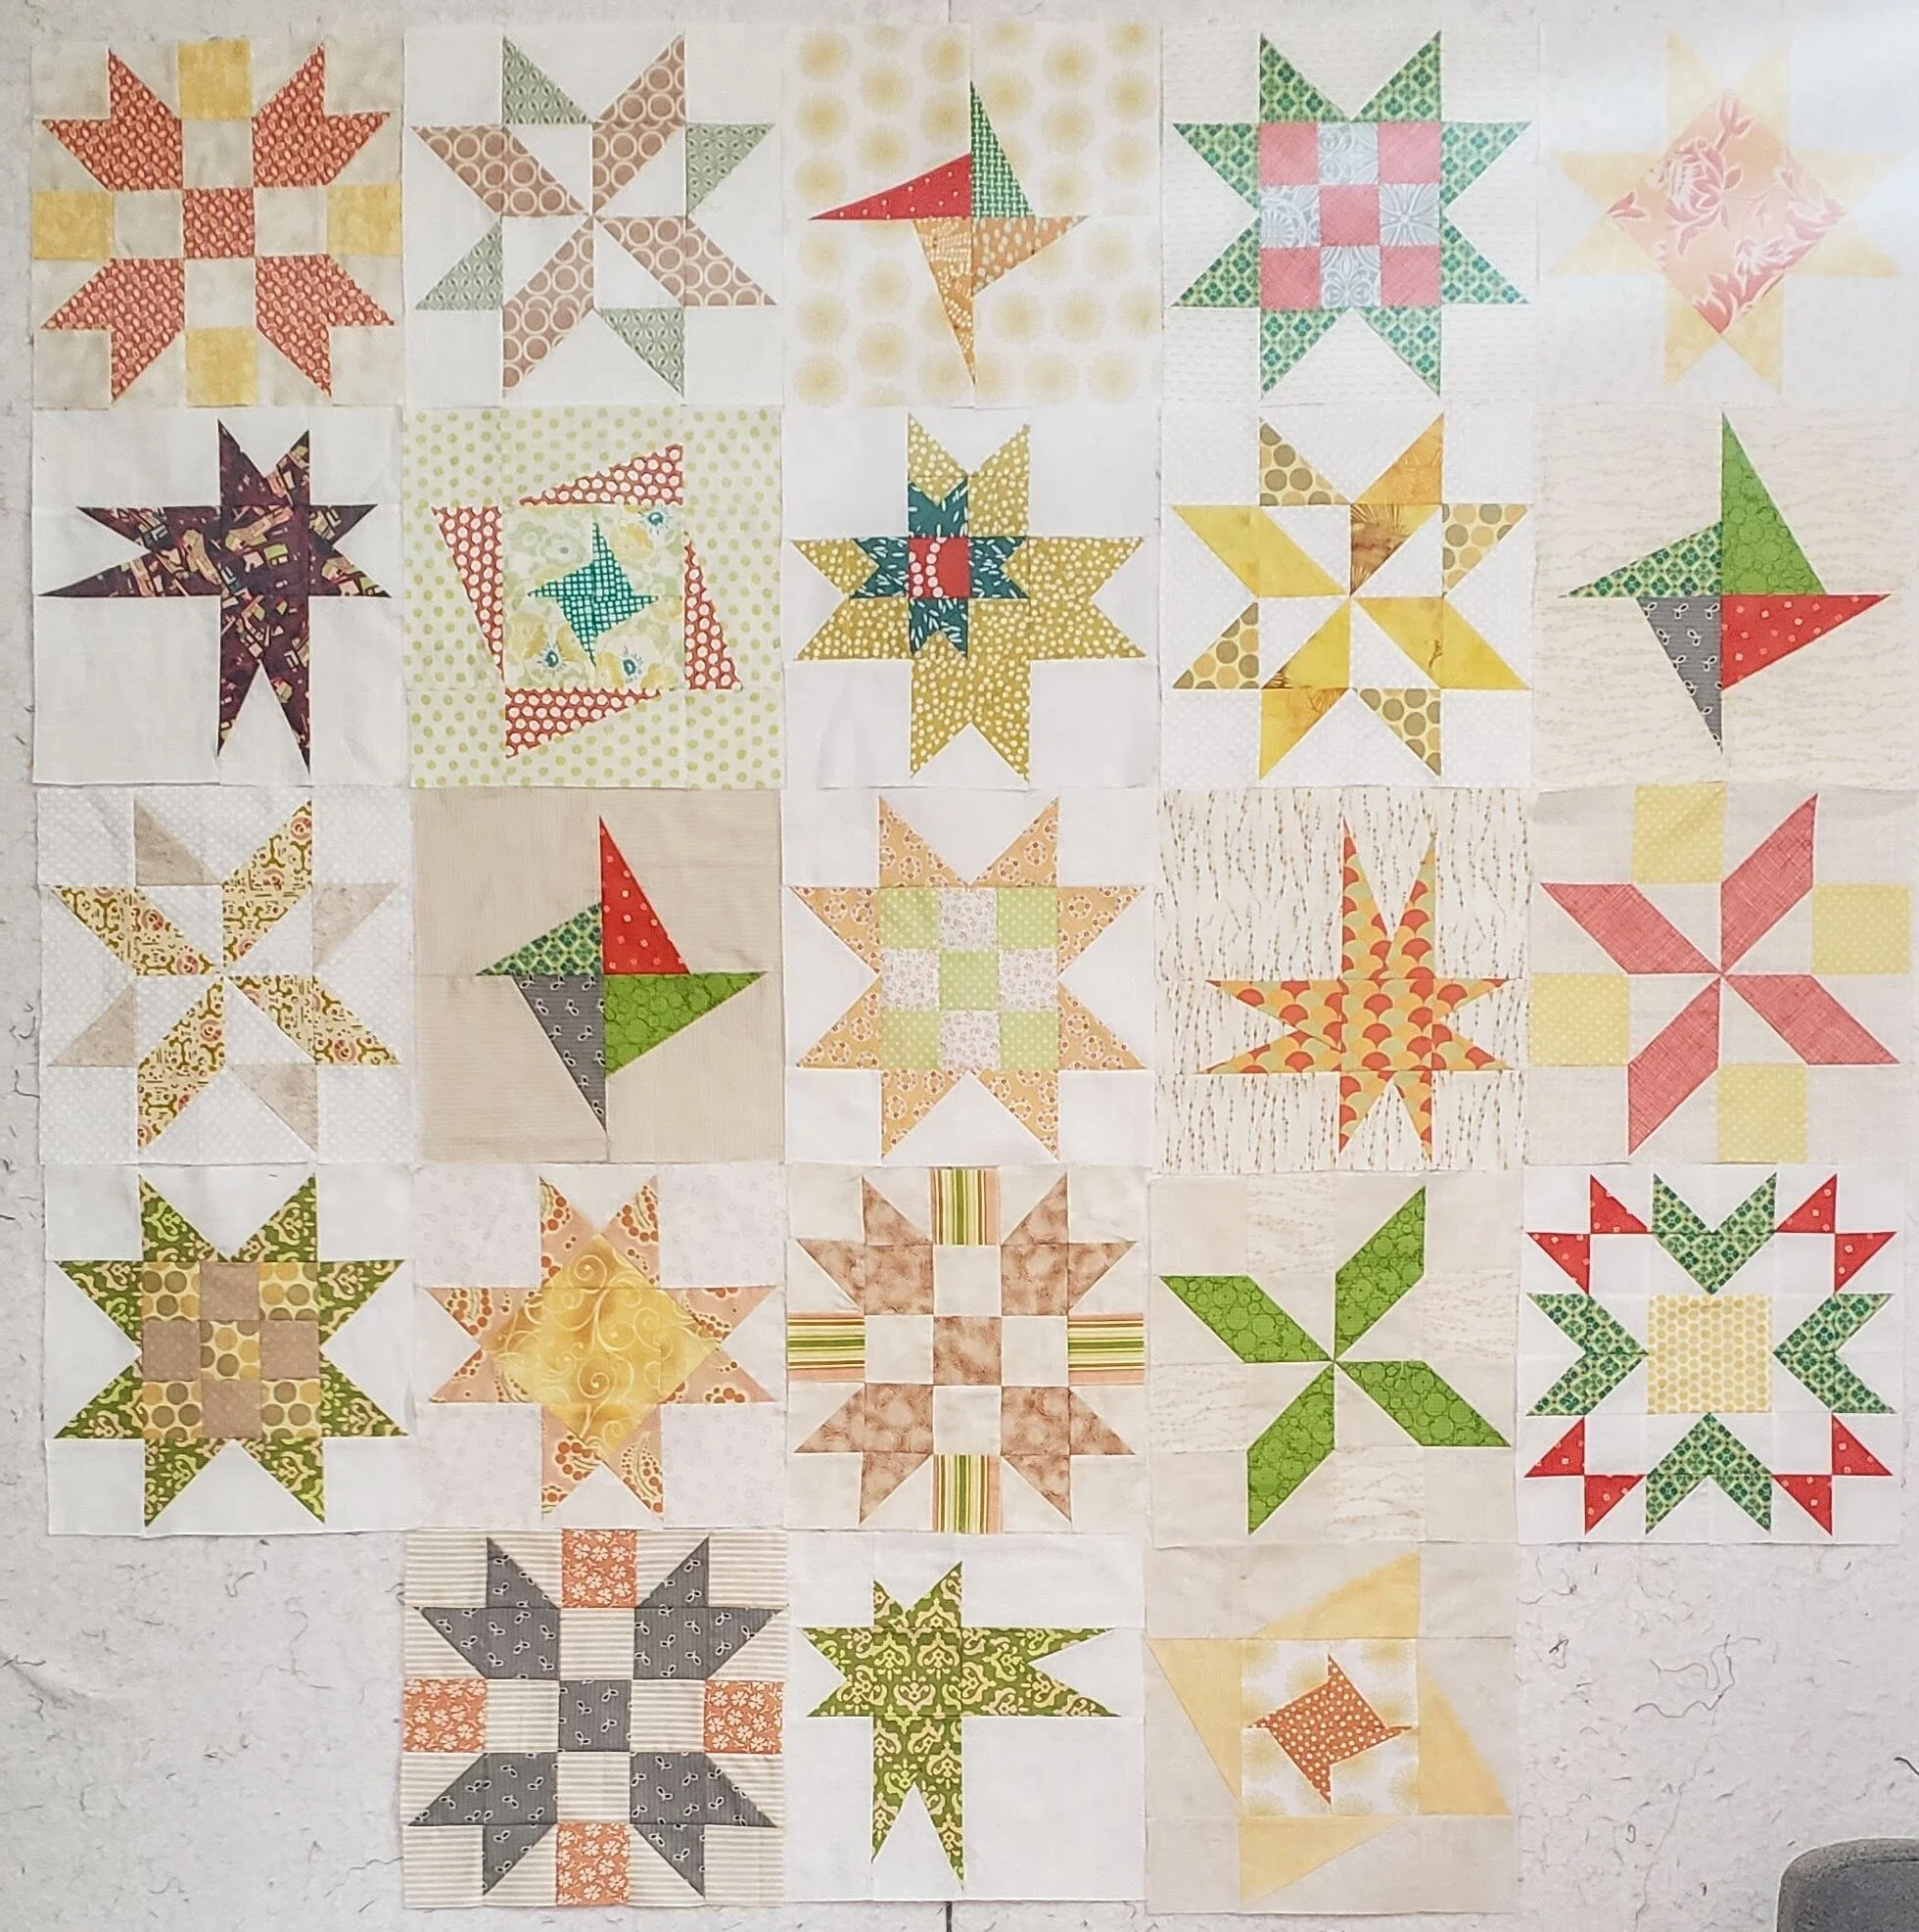
The first of these blocks was probably made a decade or so ago. It was part of a BOM I found online called Constellations. I think I did the first 3 months and then never looked at or saw it again. Years back I tried to find the pattern to finish it because it was quite good, but never located it. Now and then - about once every year or two - I would pick a star block pattern I could find and make another block. I didn’t have to recreate the original quilt, after all! No plan, no rush though.

This is actually improvisational quilting. Yes, even though I am doing precision piecing. I define it as improv because I have no idea where I will end up. Improv = starting without knowing where you will end.

But this past week of dealing with stress and needing a different kind of break with my quilting brought out these blocks, and a path forward.

  • 36 blocks needed

  • 3 blocks of each star pattern

  • Add more variation in the shapes of the stars for remaining blocks.

So I am digging through the scrap bins and raiding the stash for more combinations of fabrics, playing with the original colour scheme I started. I cut a block or two at night, to be ready for my Morning Make. And I’ve picked out patterns for the two new sets of three blocks I need to make to get up to 36 stars in total.

It’s exactly what I need right now.

Star Quilt

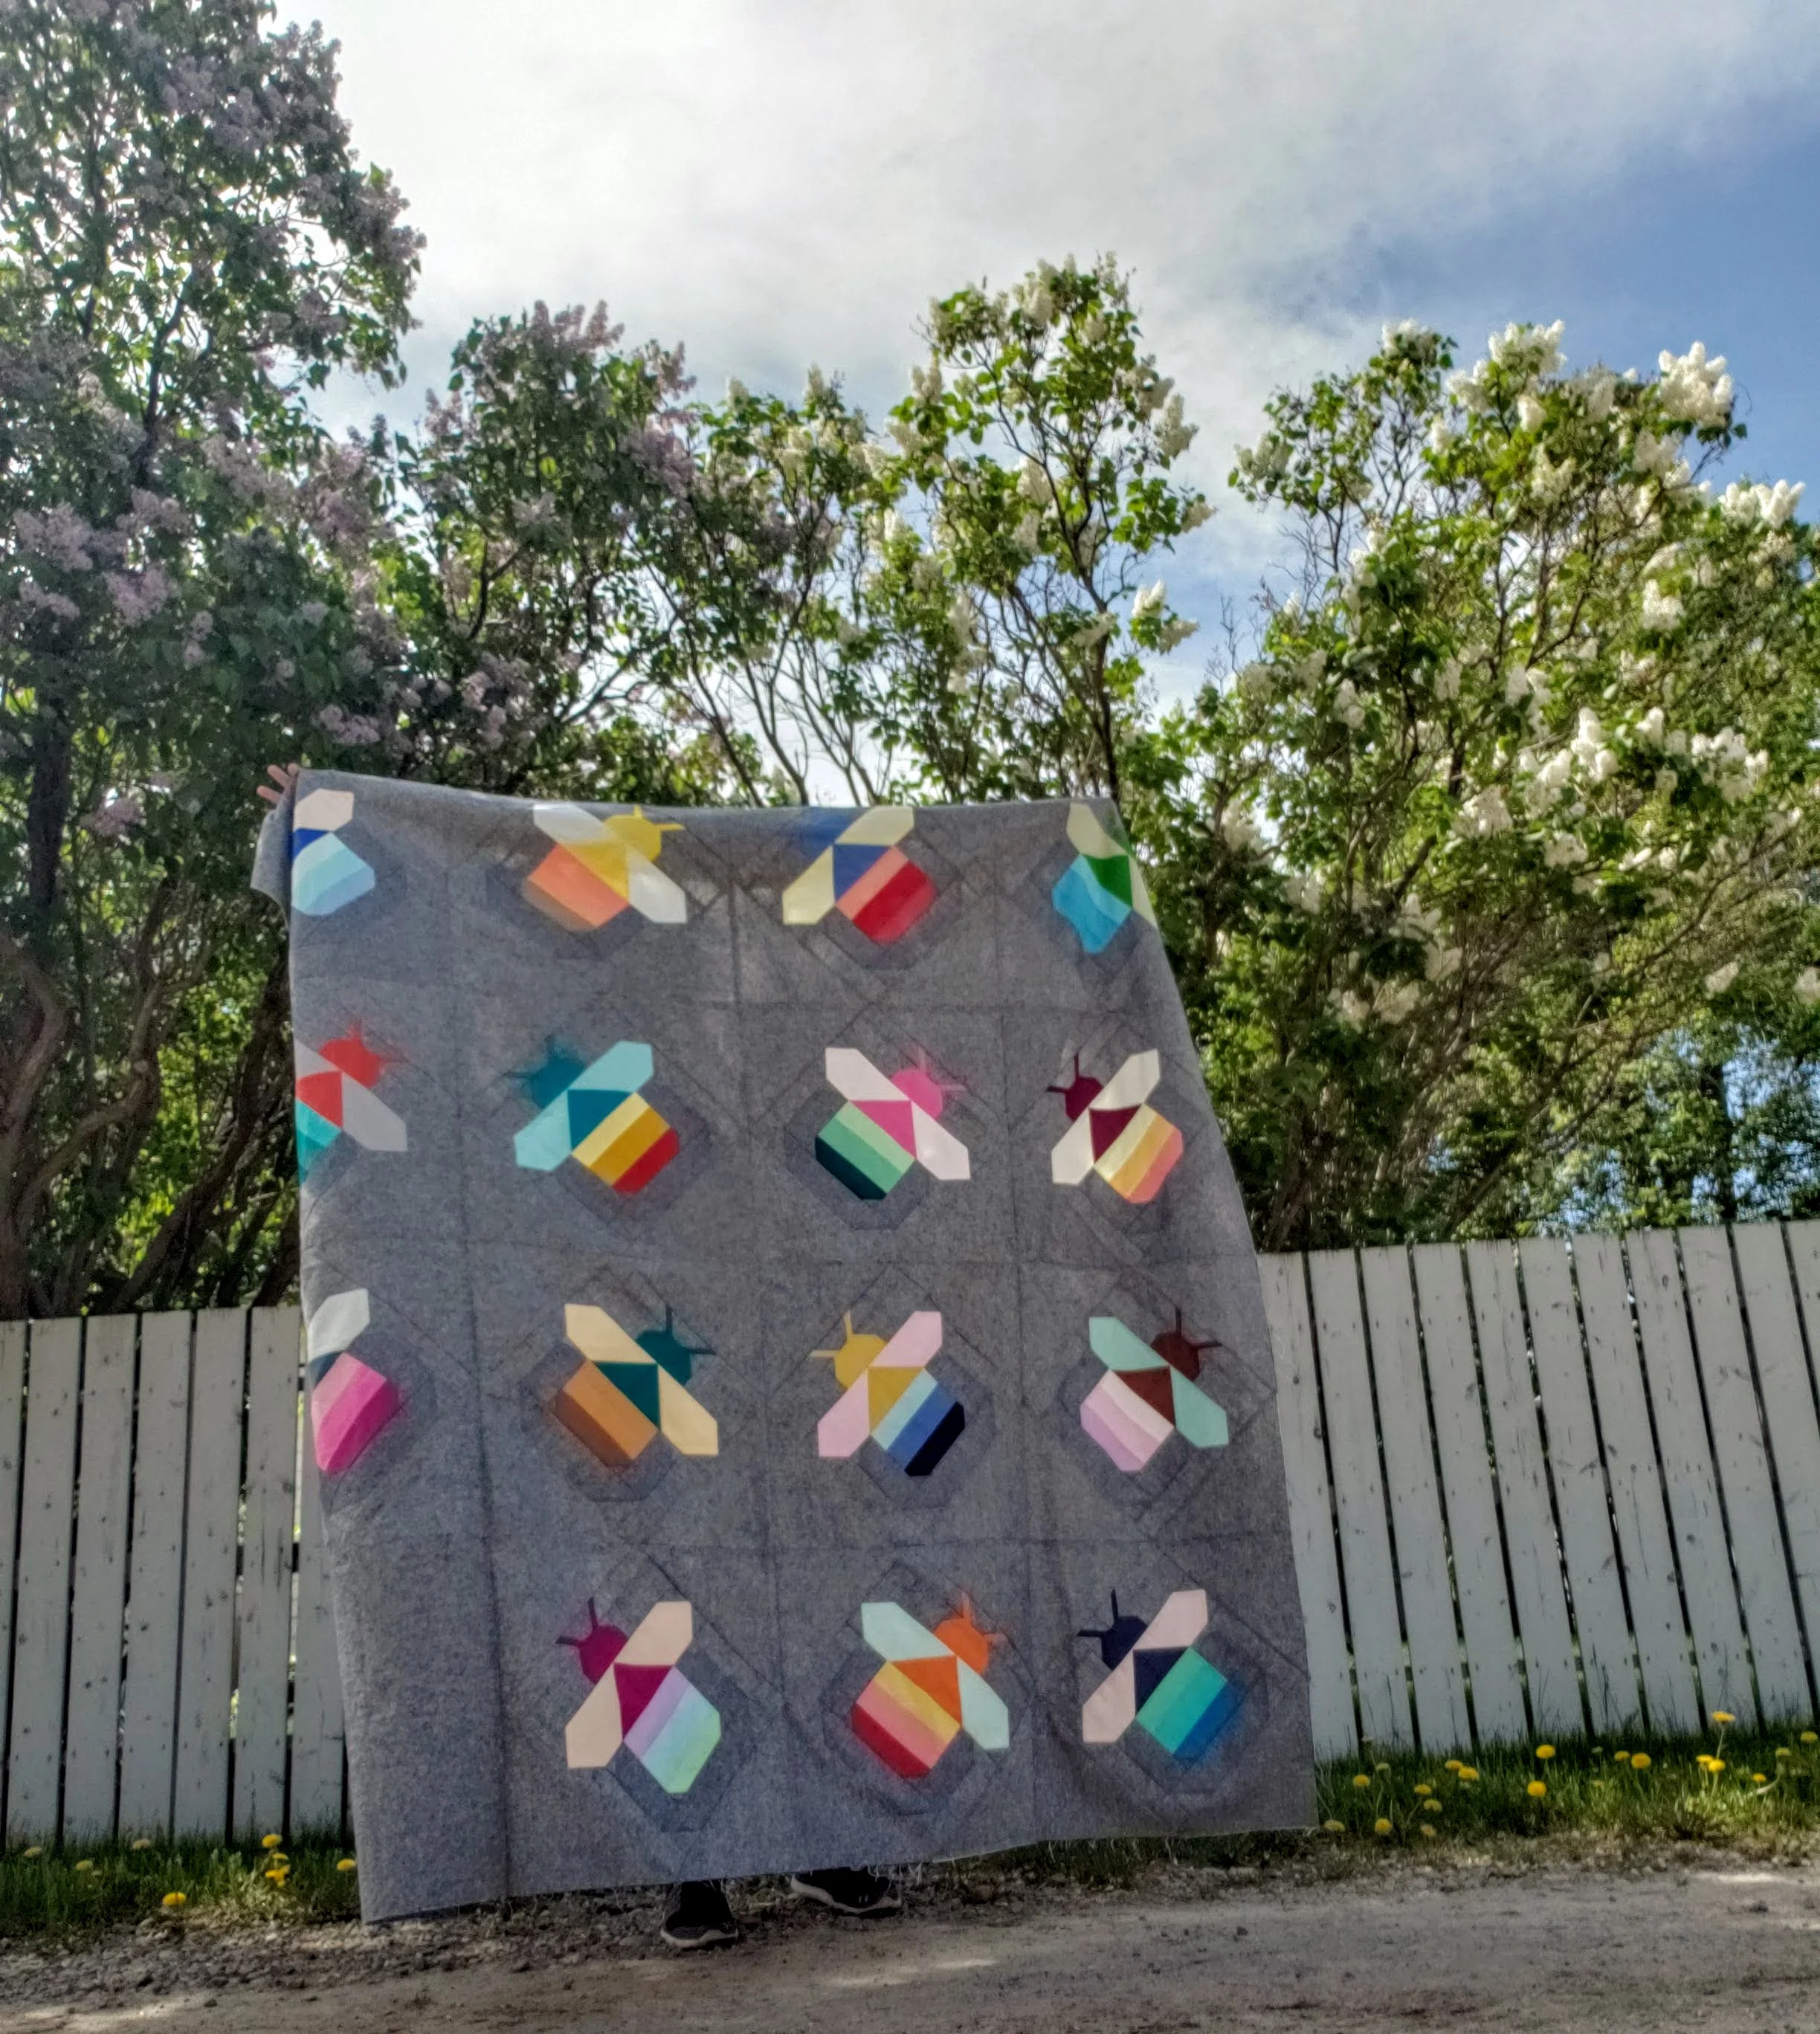
Firefly Quilt Top in Solids

Pattern Drop Firefly Quilt

All 15 fireflies taking flight!

After finishing up my epic scrap quilt last week I needed a break. Not from sewing, mind you. Only a break from little pieces and all those scraps. Like a sorbet course in a very fancy meal I thus turned to my palate cleanser - precision piecing.

Thanks to my handy dandy list of Quilts Under Construction it was easy to pick and locate a project to play with. And when I took out the blocks I had already made I realized I only needed 3 more to finish my top. A few Morning Make sessions and the blocks were all done. A quiet Sunday and the top was assembled!

There is a reason I only made 15 fireflies and left a block blank, I will share that later. If, and when, I get this quilted.

Pattern Drop Firefly Quilt

Each firefly is unique. I played around with my small stash of solids, going with colour combinations that felt right. There was no regard for colour theory or even a colour story, to be perfectly honest. I would pick three fabrics for the body, sometimes a gradient, sometimes not. Then I would pick a dark for the head and back and a light for the wings. The only really conscious decision was trying not to repeat combinations or colours in each part. For example, in the photo above the two top fireflies have a pale pink and a pale peach for their wings, they aren’t the same colour.

Do you want to hear something else? I’ve never actually seen a firefly before. They aren’t native to around here and I’ve never been somewhere else during firefly season.

That didn’t stop me from trying to have a little glow in each precious bug. The highlight around their bodies is actually Metallic Essex by Robert Kaufman. It almost blends into the regular Essex background, almost. Just enough of a sparkle to me. And I liked the idea of the metallic being woven in as I find most metallic prints fade quite a bit with regular washing.

Cheryl Arkison Firefly quilt

A few things to note:

- The combination of solids and the Essex linens mean there are A LOT of loose threads on the back of the quilt. It will require a thorough going over but I will do this right before I baste it so no more appear in the night.

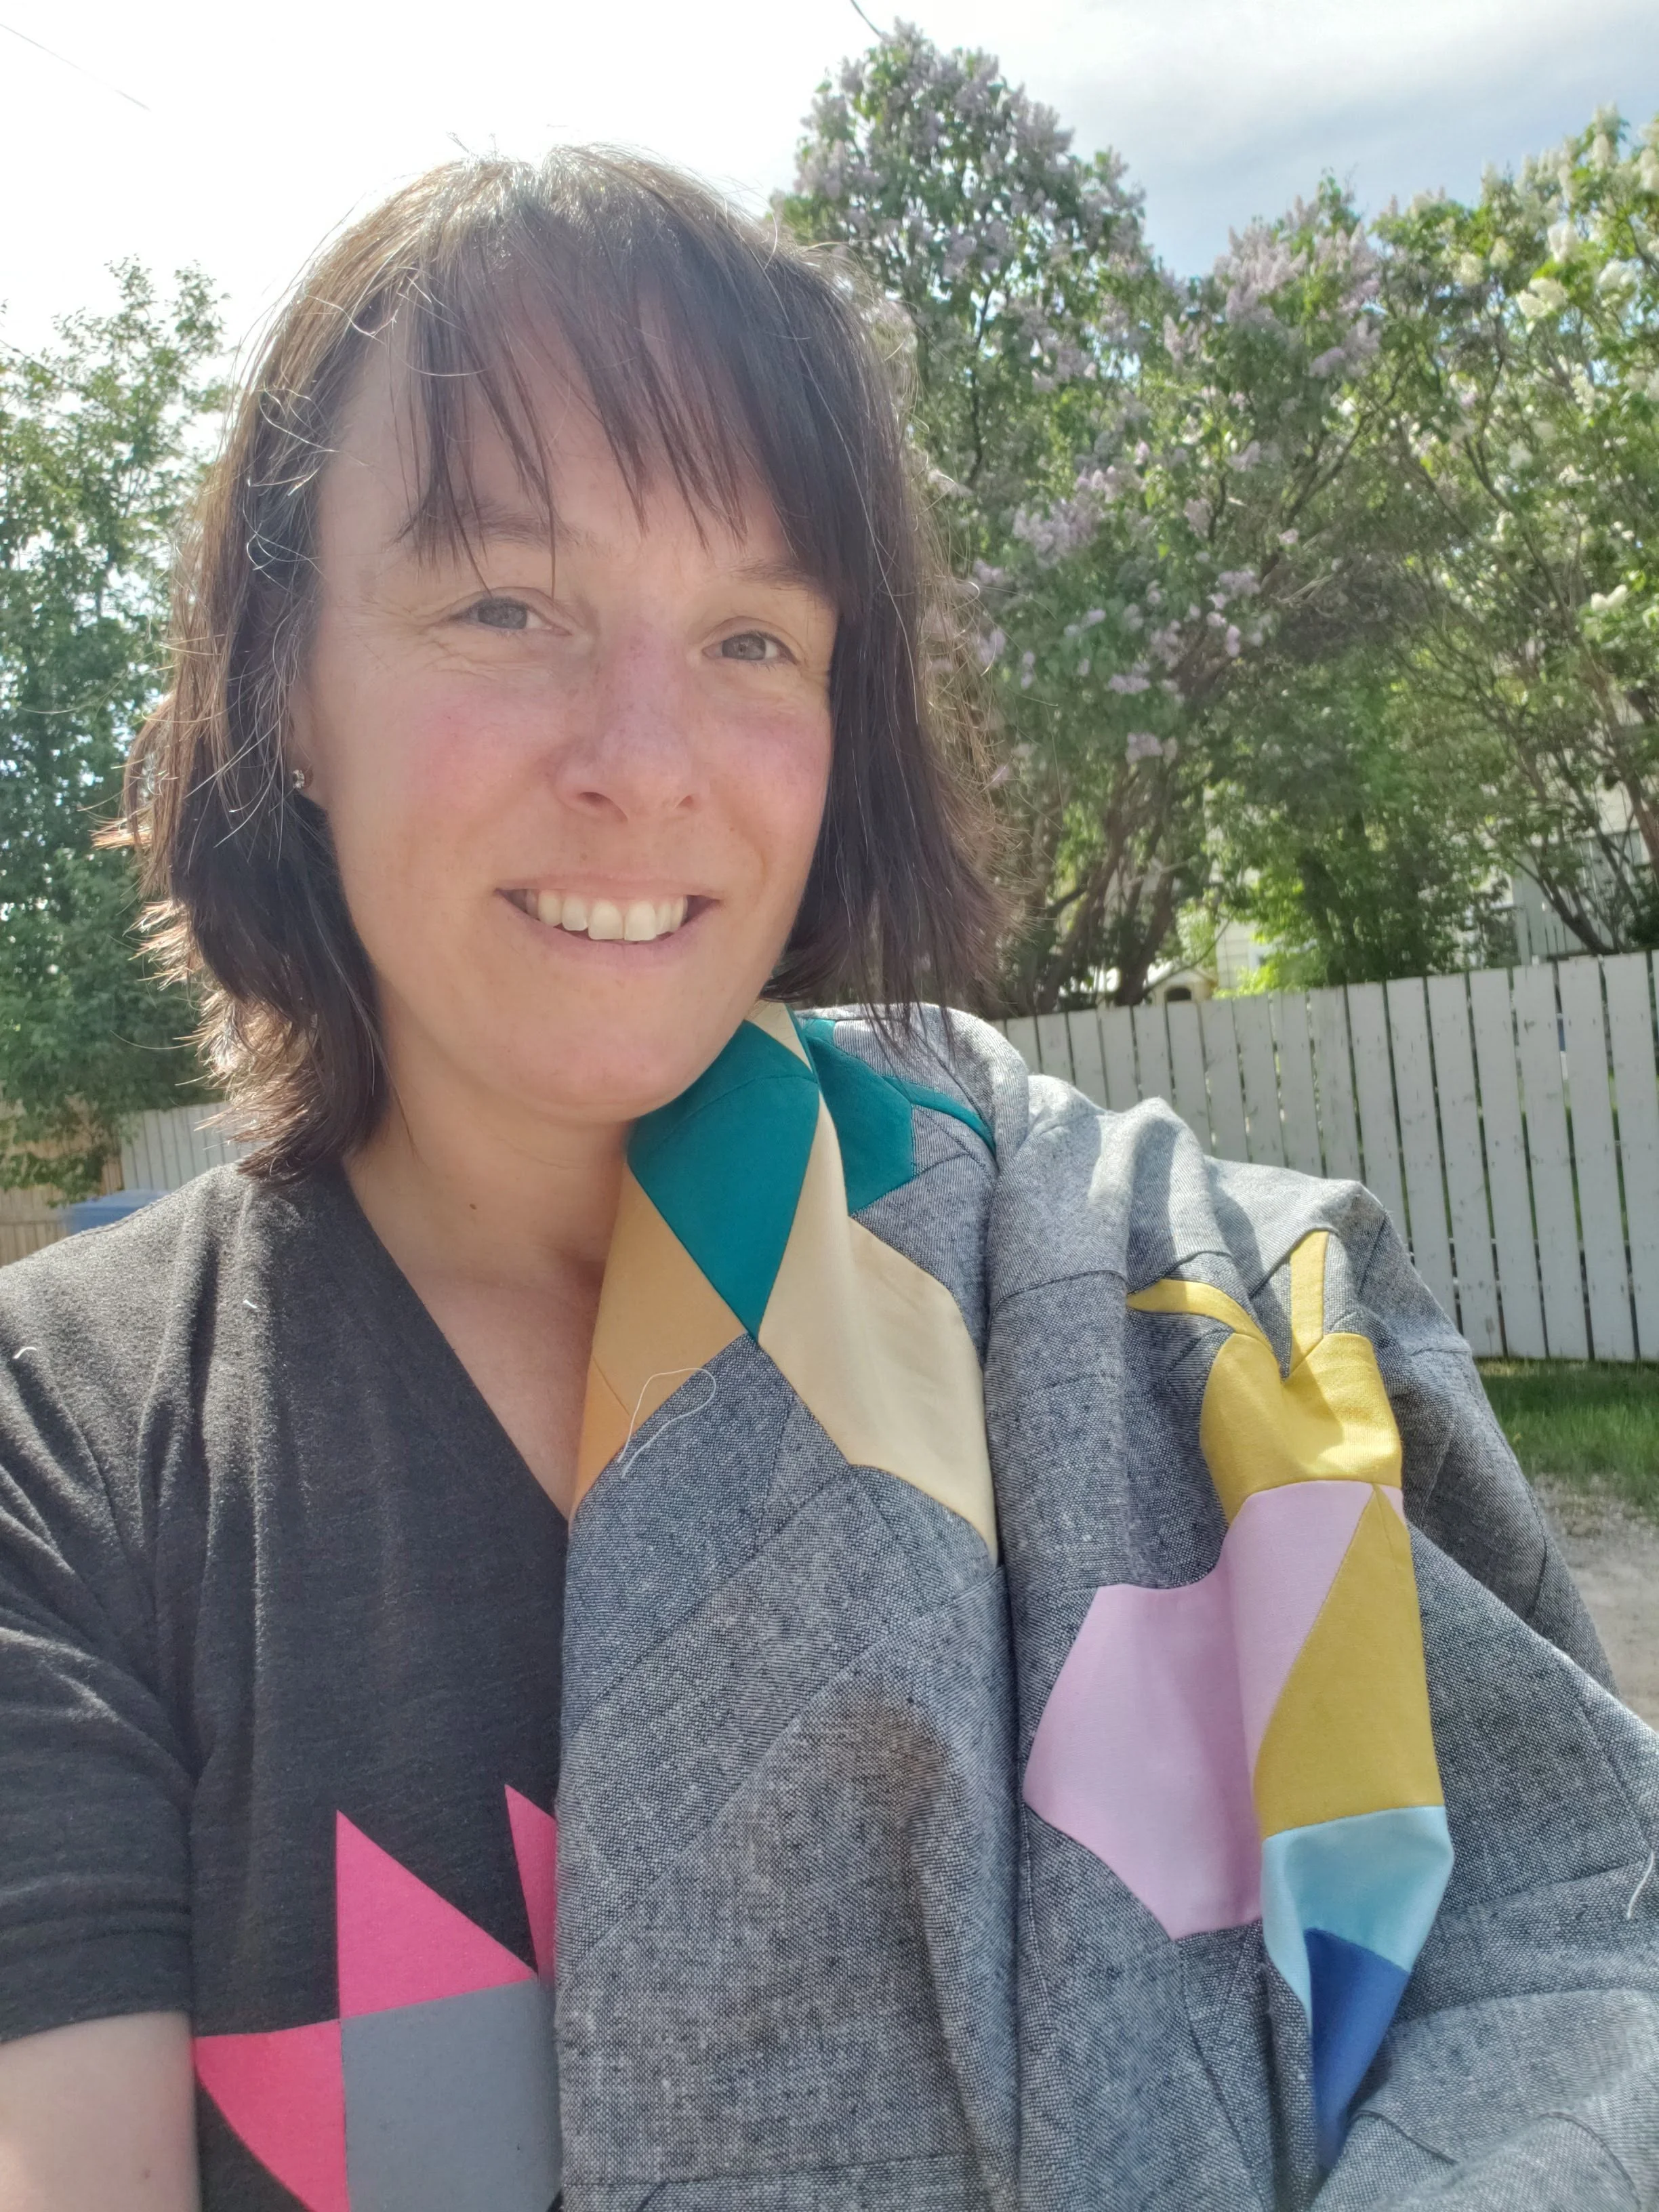
- It is extraordinarily hard to get a full shot of this quilt when you are taking selfies in the back alley. But hey, at least the lilacs smelled nice.

For those of you wondering, the pattern itself is by Pen and Paper Patterns. It is one of the most detailed patterns I’ve read, I don’t think she forgot a thing! As I am not generally a pattern follower I truly appreciate it when it is so clear, no questions for my improv brain! You can buy it from Pattern Drop, Lindsey Neill designed it exclusively for them. (I was a Pattern Drop designer myself last year.) Here I thought I would make one or two blocks to help promote the pattern and now I have a whole top!

KonMari Your Sewing Space

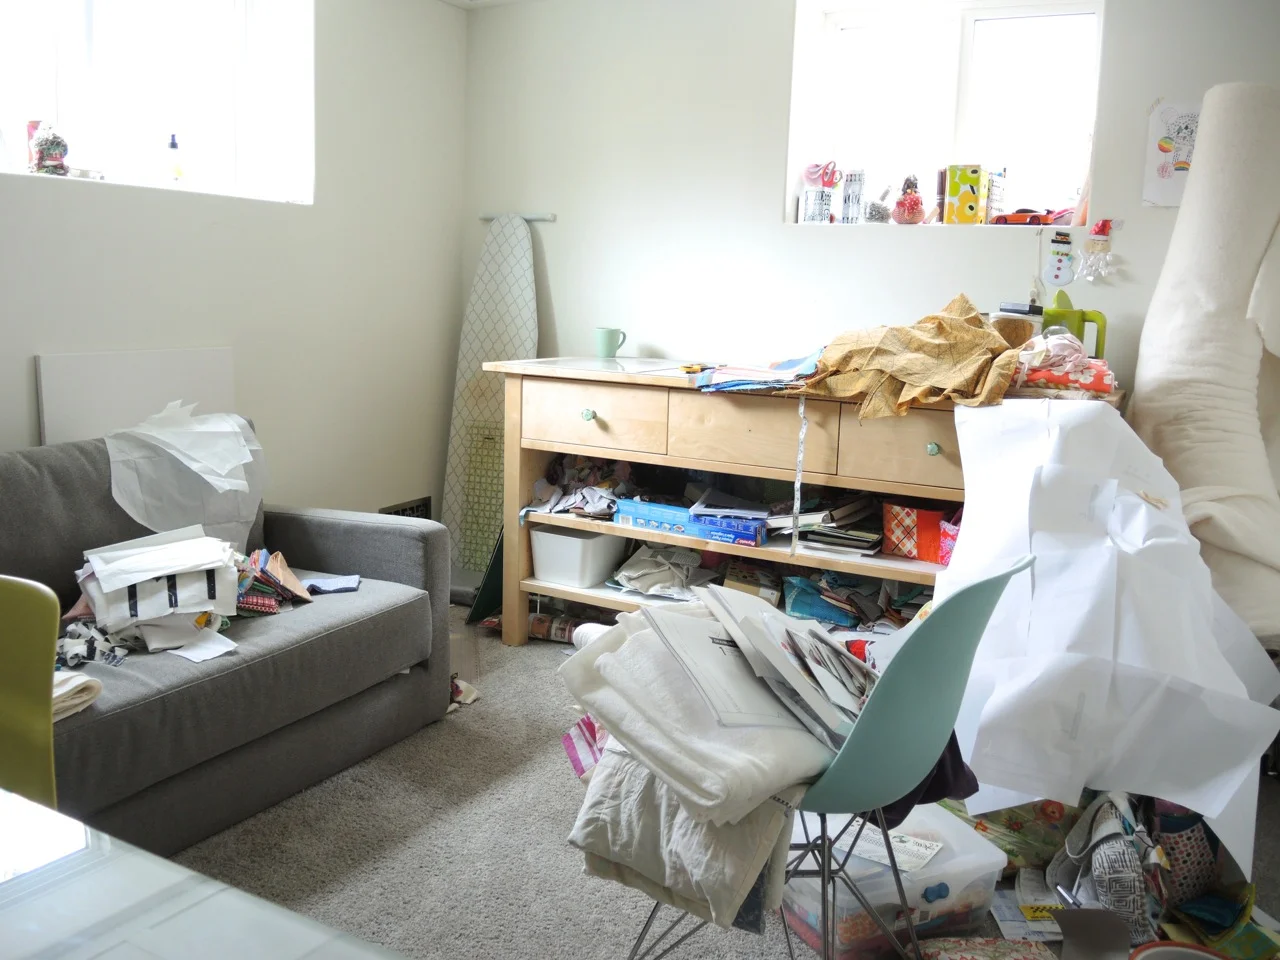
Konmari your Sewing Room

So much is being said about Marie Kondo and her Konmari method these days. Haven’t heard of it? It is a decluttering/home organization philosophy. What makes it different from most - at least as far I see it from reading the book and doing my own clean up efforts - is the breakdown into categories of items, as opposed to by room, and the whole notion of sparking joy. She says you shouldn’t keep an item unless it sparks joy. It isn’t really about getting rid of all your stuff and living as a minimalist, but about keeping what truly makes you happy.

We are sewers and quilters, arguably everything we have for creating sparks joy - eventually. That being said, the amount of stuff many of us accumulate in the pursuit of a joyful hobby can indeed be overwhelming. That applies whether you have a dedicated room (s) in your house for sewing or a corner of the bedroom. It is easy enough to say to put your stash on a bookshelf or store projects in the bins under the bed, but like the Konmari method espouses, it is worth asking yourself whether it is worth keeping.

Cheryl Arkison Konmari Studio Space

To organize your sewing space inspired by KonMari I make the following suggestions:

  • Breakdown your stuff into categories.

  • Say goodbye to things that no longer hold your attention or appeal to your current taste.

  • Embrace the space you have and work with its limitations.

Let’s talk categories first. Under Konmari our sewing supplies would fall under one broad category called Komono. It is a really broad category. For sewing supplies we are giving them their own categories. These are the ones I recommend and some tips for sorting/purging.

Thread storage
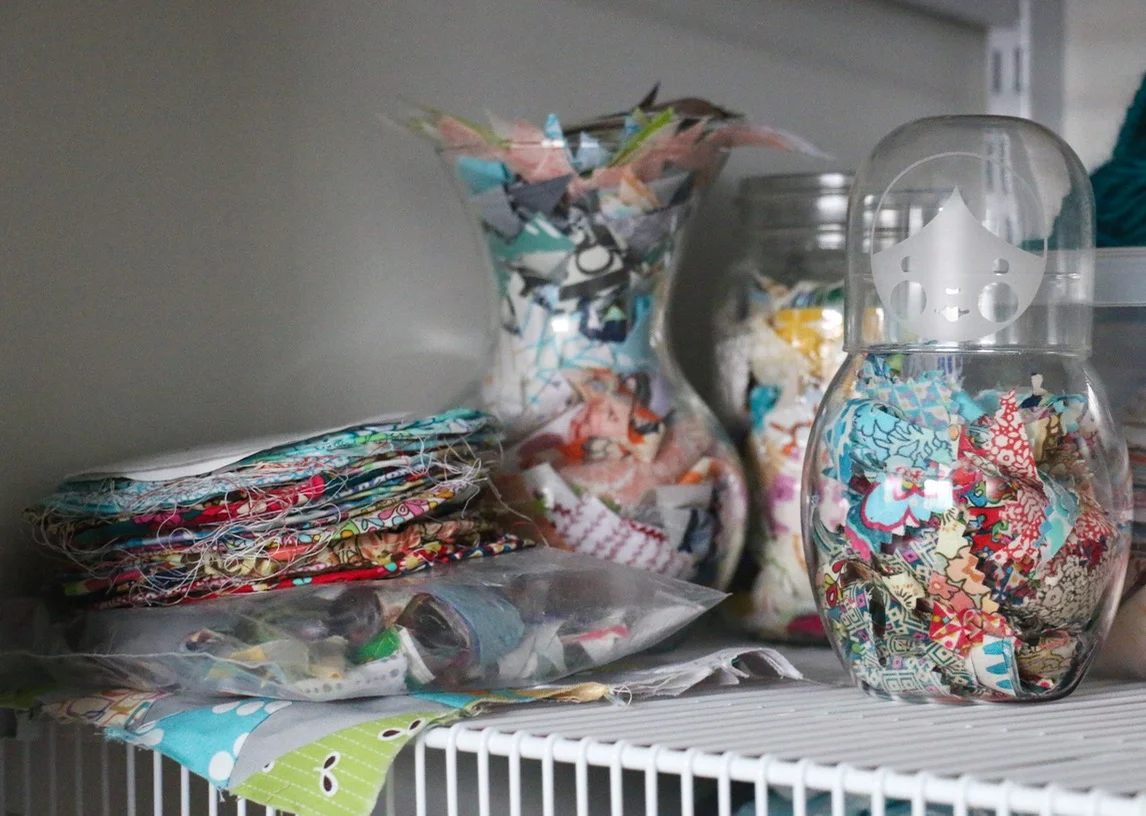
  • Stash Fabric - go through every bin/shelf, stack, pile. Remove what you don’t like anymore, even if you think you might use it one day. Chances are there will be another purple fabric you will buy down the line. Trim any dangly bits. Fold or refold. Go with what works for your own storage, just be consistent in how you do it. Also, do it in a way that makes sense to you. If you don’t you will not maintain the system.

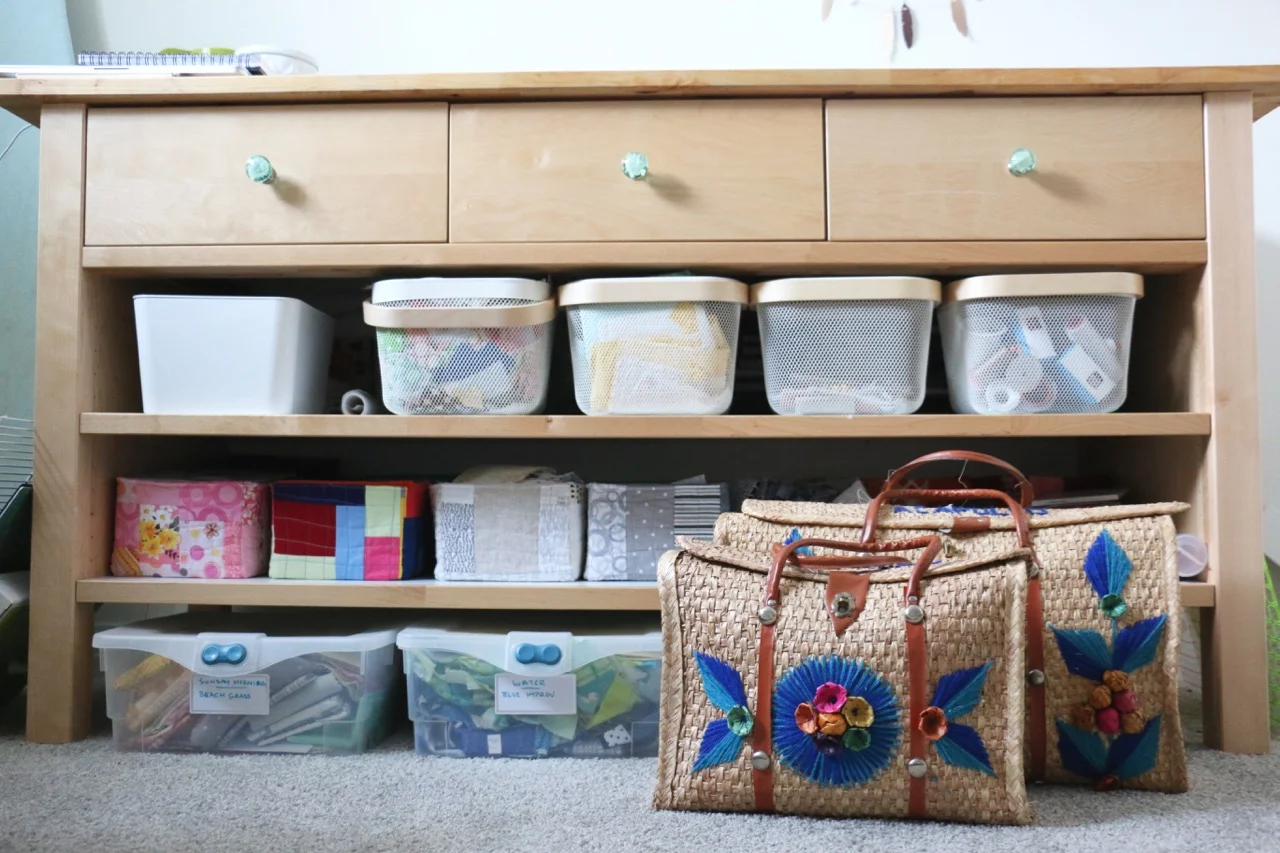
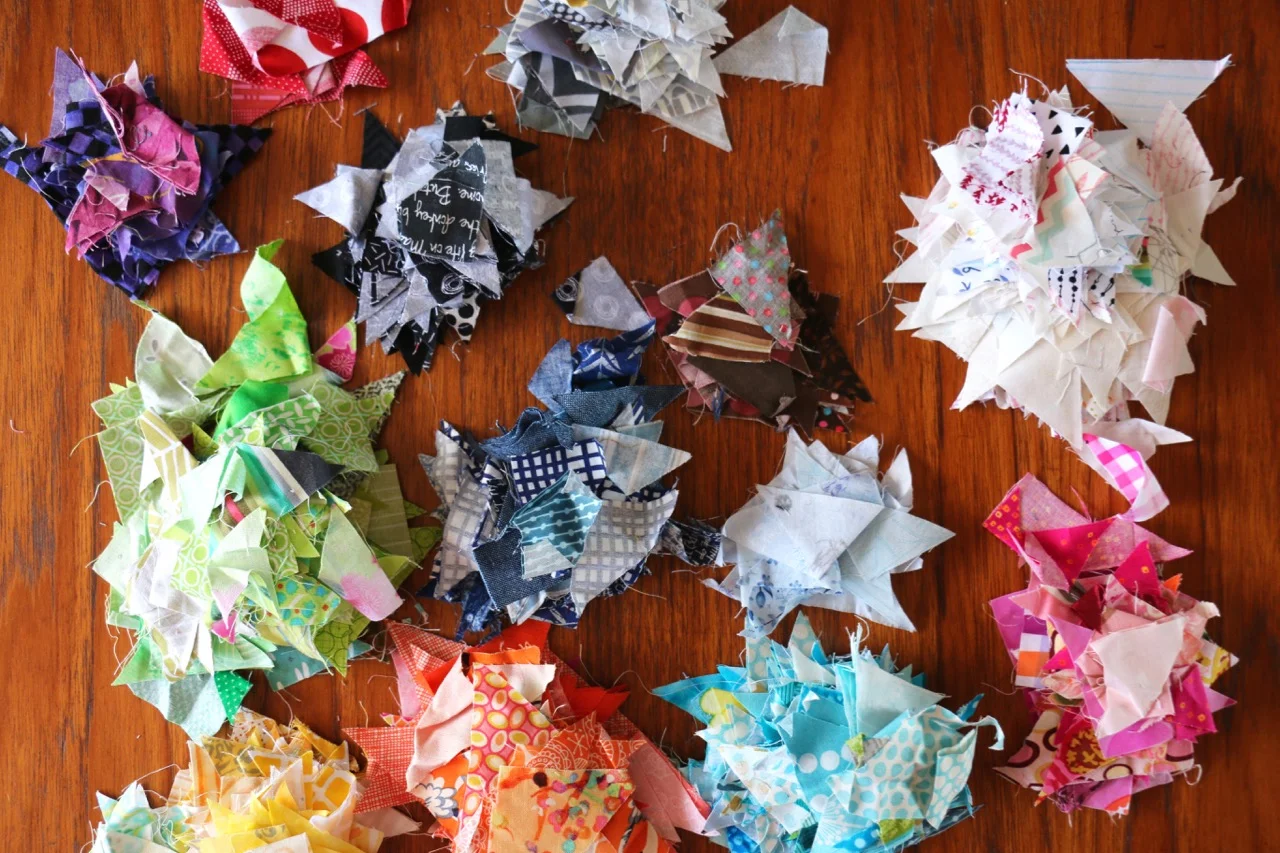
  • Scraps - I am a firm believer in storing scraps by colour, with some discretion for size. Then again, I did write a whole book on just that (with Amanda Jean Nyberg - Sunday Morning Quilts). If you’ve never sorted your scraps just doing this can open up potential. If you’ve always sorted scraps and never used them, consider passing them along.

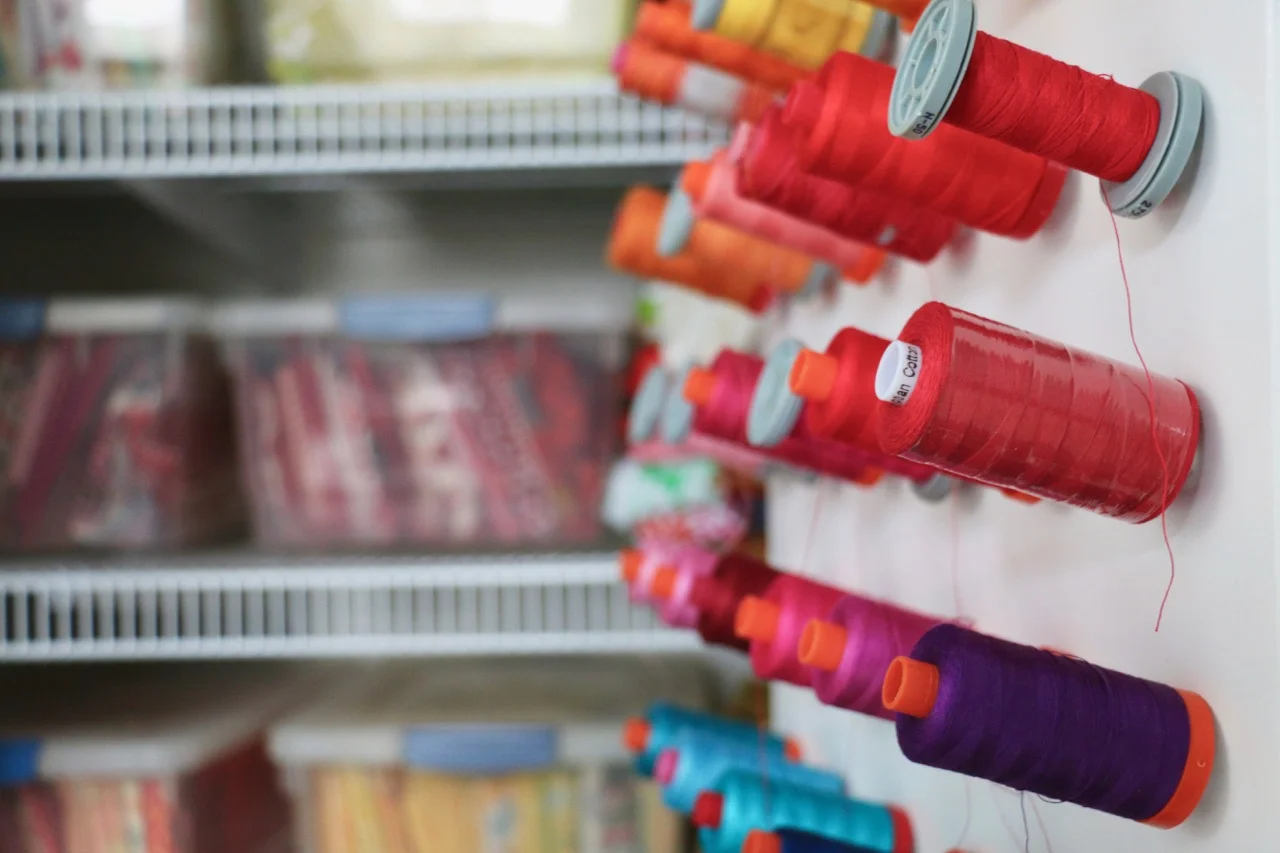
  • Thread - Sort by fiber content and use. For example, I have some poly/cottons or poly for garment sewing and all my cotton for all my quilting work. I may have a pretty rack that shows them by colour, but that is only for my all cottons. And my Valdani and thick ones for hand stitching are all together as well.

  • Notions - As a quilter I don’t have much this way myself, but garment sewers are likely to have zippers, buttons, bias tape, and much more. Or applique quilters might have a collection os fusibles. Whatever it is, bring it all together. Bought a big role of Wonder Under and used it once? Pass it on, you can always buy more if you start a different project. Some of these lose their viability too. I like zipper pouches for smaller notions grouped together and a drawer in my cutting table for rolls of paper and such.

  • Tools (including machines) - Rulers, oh the rulers! And the templates and the sewing machine feet, and 4 rotary cutters. Unless you are a minimalist or beginner you probably have far more than you need in this department. Look at them all together and pick out the top 3 rulers you use. The rest you can probably pass along. Same for rotary cutters and scissors. One for daily use and maybe a travel/back up set. Sewing machines and their accessories are expensive. Personally, I have 3 machines. That is really 2 too many. One will do the job. But I will keep them all - one I use when I travel/teach and the other is technically my mom’s. Ask if the collection all gives you joy and decide for yourself.

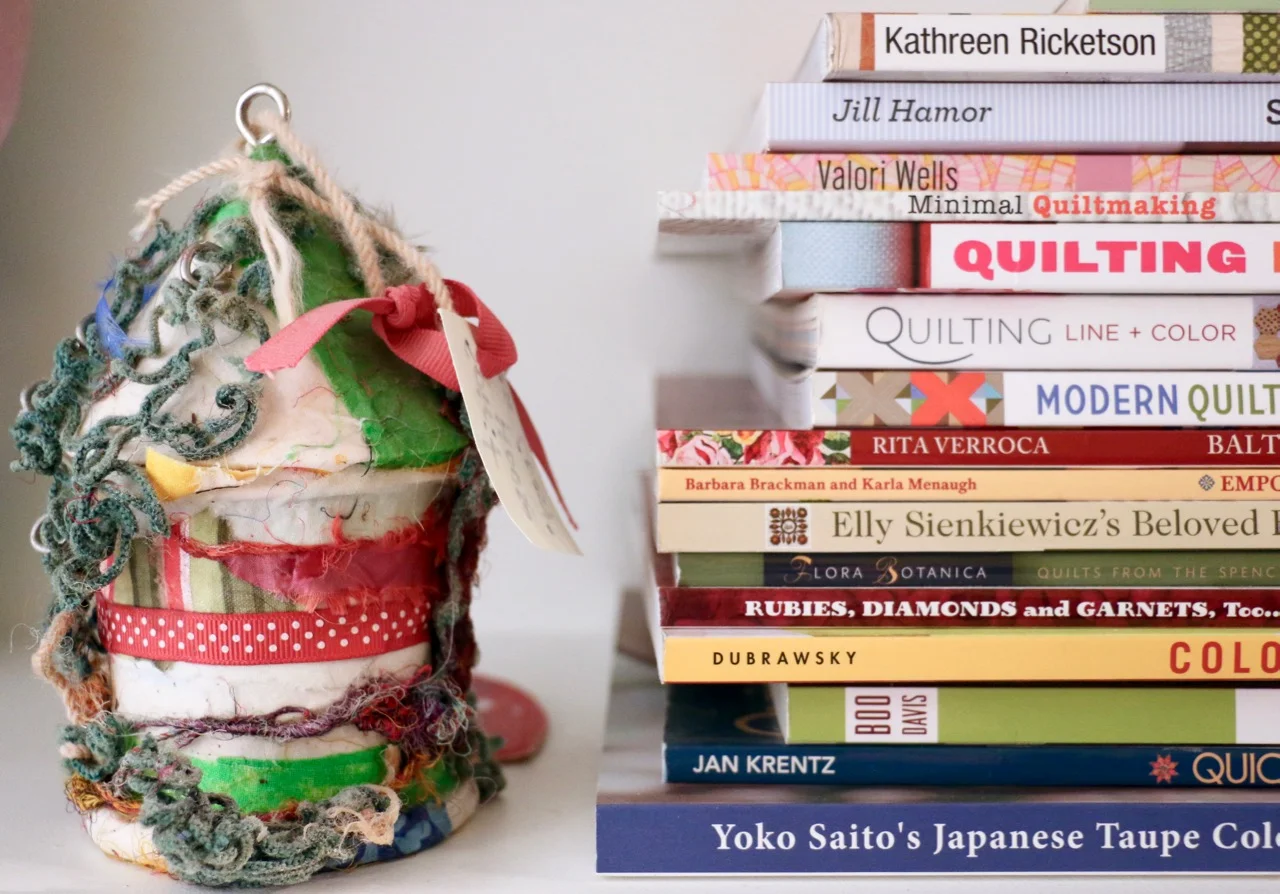
  • Patterns and Books - Even I, the improv quilter, have a collection of patterns and books to rival most. I love my books so much, and the built in bookshelf my husband made me. Go through and decide if they are something you have or will ever pull down again, otherwise donate them to the guild library. As for patterns, let it go! Made it once already and loved it, fine, but will you make it again? Think you might make it? Is that going to be this year or ‘sometime’? If the latter, let it go. As for storing, I suggest finding a drawer or bin or bankers box that will hold them all together. No more looking for a lost pattern. And those PDF sewing patterns you printed? Roll them up and put them in poster tubes or even paper towel rolls.

  • Quilts Under Construction - This is the time to really ask the question about whether the project sparks joy. Every few months when I visit my list I ask myself the question. Sure, there are a mountain of projects on the list, but I am keen to get my hands on all that stay on the list. The rest I have passed on to guild members or repurposed the fabrics. It’s totally okay to admit you don’t love the fabric, the process, the project anymore. Free yourself from that creative baggage.

  • Finished Quilts - I realize that not everyone has a stack of quilts to worry about. Being in this game for as long as I have (20 years!) the stack of finished quilts has really grown. So many have sentimental value or are gifts for my immediate family. Many are ones I made for publications in books or magazines. All get used at some point - whether on a bed/couch or in a trunk show. But the time comes when the racks are full and I need to say goodbye. It is purely a sentimental decision at this point, but I do have a stack for giving away. Friends and family first then some charity donations.

Quilt Book storage

Our sewing supplies hold the potential for joy more than the joy itself. That is completely valid. No one, even a Konmari expert (of which I am not) is telling you to get rid of all your stuff, to buy only for the project at hand. (Although I saw a thread on Reddit that said exactly this!) All of this is about getting a handle on what you have and being able to access it - as well as the joy it can bring in the process of sewing - easily.

While I have a dedicated sewing space now for the longest time I did not. Taking over the dining room table, kitchen counter, and any spot of storage in an old house was how I built my quilting career. And the second, the absolute second I was given any more space I filled it. Sewing supplies are like any liquid - they will fill the available container. If you find your stuff overflowing what you have then it is a good time to empty the glass and start over, before you are flooded entirely.

Honest craft room

What about the things you decide you don’t want or need anymore? What are you supposed to do with them? Unless it is the tiniest of scraps (which I often leave out for the birds and squirrels) you can donate or sell most of what you are getting rid of.

  • Try your own destash sale on line or have a quilting garage sale. Join forces with a friend or two to make it even bigger.

  • Look to local charities for donations or larger organizations like Victoria Quilts, Quilts of Valour, or Project Linus. Always check with each organization first to see what they want or need.

  • Have a supply swap at guild. Give it away to someone who is interested.

  • Donate to a Home Ec program.

  • Ask around online for beginner or low income quilters to share your wealth.

Whatever you do, don’t get hung on how much you paid for it originally. If you goal is to clean up your supplies and keep what gives you joy then your goal is also to get rid of what doesn’t help in that matter. Besides, you aren’t throwing it in the garbage, you are finding it a new home with someone who will likely find joy in it.

Sewing Room Cutting Table Scrap Storage

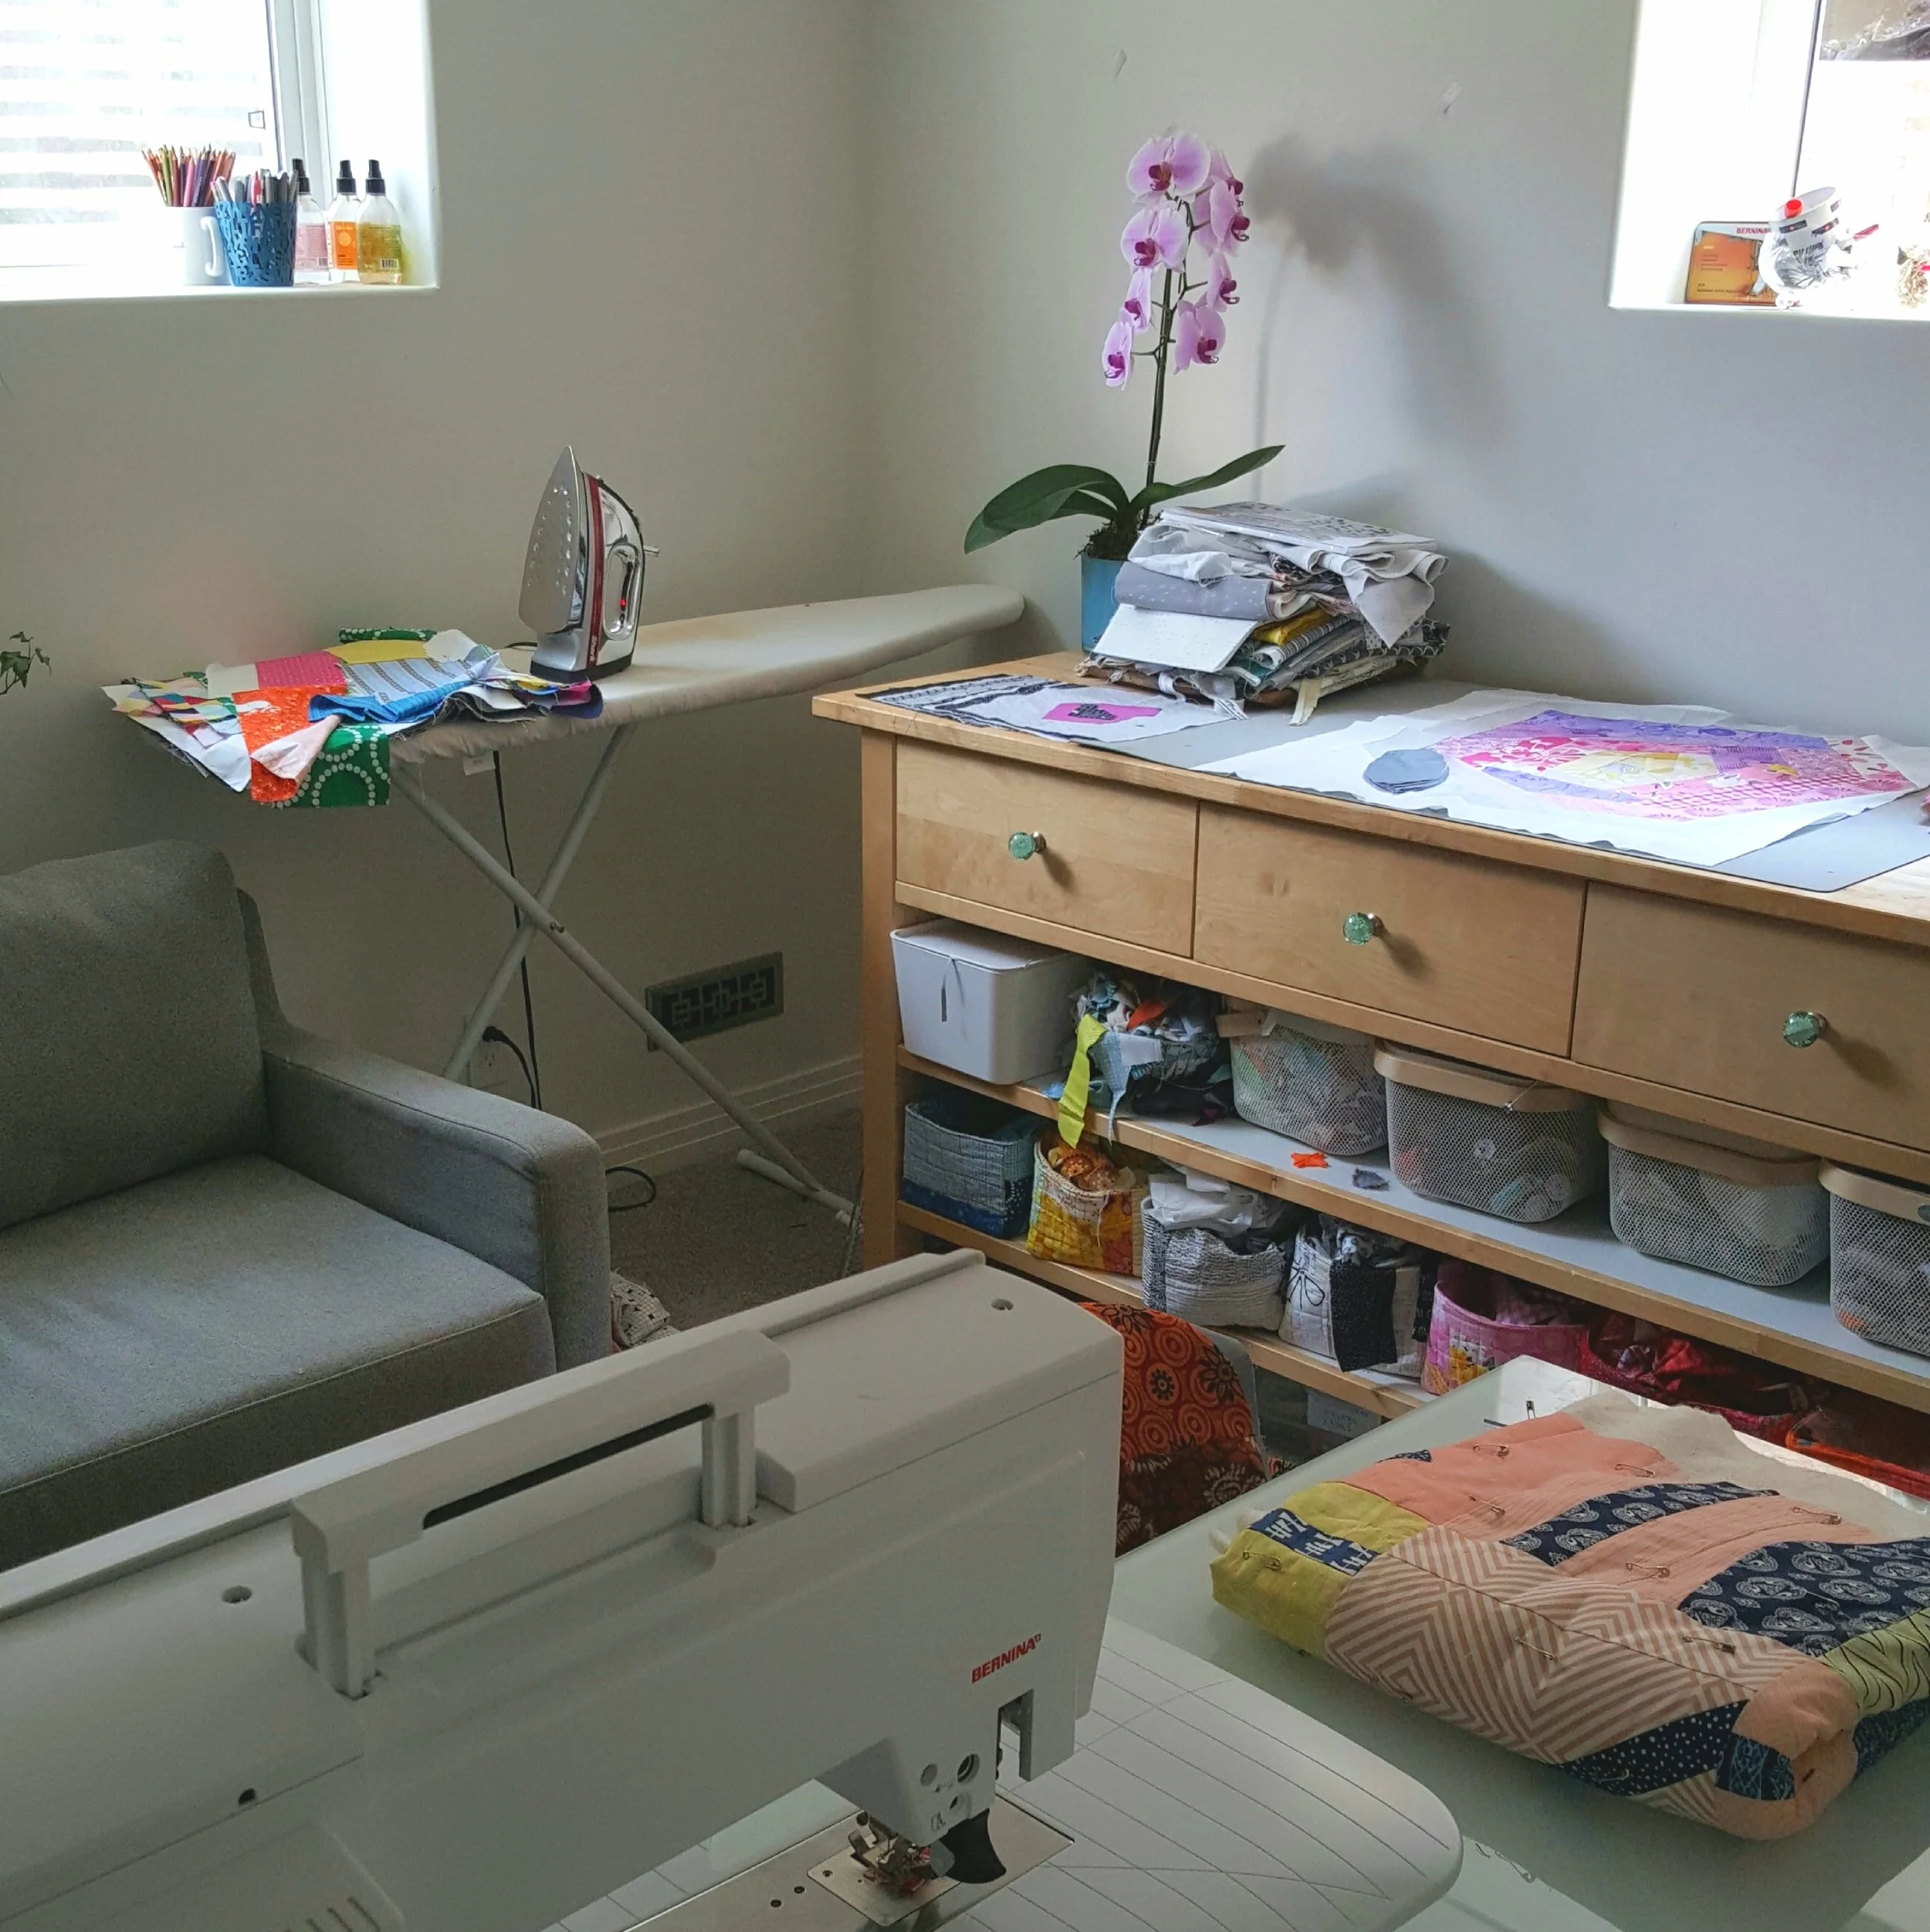
A friend recently sent me this article on minimalism and creativity. It is me to a T. Is it you? Ultimately, I believe that clutter is the killer of creativity. I realize that some folks love the piles and the messy desk and will claim that kind of space their favourite. To each their own. But I am a firm believer in empty spaces providing opportunity. It is why I don’t have an inspiration wall, why I store my fabric behind closet doors and not on open shelves, why I like bins and baskets contained, and why I like large furniture wherever possible over small carts and shelves standing next to each other. When we have space to create, space to breathe, then we have the space for creativity to blossom.

Don’t think of Konmari in the sewing room as a tragic event, that you are saying goodbye to creativity along with your stuff. Hanging on to a million things that you might use isn’t feeding your creativity at all. It’s actually weighing you down, maybe even causing you stress. Why do you think people are always shocked when I talk about my Quilts Under Construction list, it stresses people out entirely. And when we are heavy creativity has no room to breathe, there is no space for the imagination to soar.

At the heart of Marie Kondo’s message is that we should only keep what sparks joy. Ultimately, it is your space, your sewing. Do whatever works for you, what brings you joy.

Cheryl Arkison Sewing Room


Amanda Jean Made Me Do It

Seven years ago I made a leap. I was recuperating from my stupid knee injuries and thinking a lot about life, about what I wanted to be when I grew up. At that time I started emailing another blogger a bit more. One day we decided to take our relationship to the next level and talk on the phone. It was like being a teenager all over again, chit chatting for hours as I lay on my bed and ignored my family. Now I consider her a good friend, a professional colleague, and a quilty inspiration.

No Scrap Left Behind Binding Triangles

Amanda Jean Nyberg now has a new book. It is out now and I jumped on board to help her celebrate. No Scrap Left Behind is her perfect book. She is extraordinarily frugal and saves everything. This book takes that mentality and applies it to all your fabric. She does so with useful tips, storage ideas, and completely inspiring quilts. 

To celebrate the release of the book Amanda asked us to not only blog about the book but to also make something from it. Back when we were writing Sunday Morning Quilts she got me to save my binding triangles. Those little bits we cut off when joining binding strips. I hadn't exactly been throwing them away, but they got dumped in with the rest of my colour sorted scraps. In our discussions writing the book we agreed on sorting by colour as well as pulling out strips/strings and snippets. She took it to the next level with those binding triangles. So I started putting mine aside. They filled a jar. Then overflowed the jar. After that they filled a bowl. Just as I was thinking it was time to do something about them No Scrap Left Behind comes out. It was meant to be.

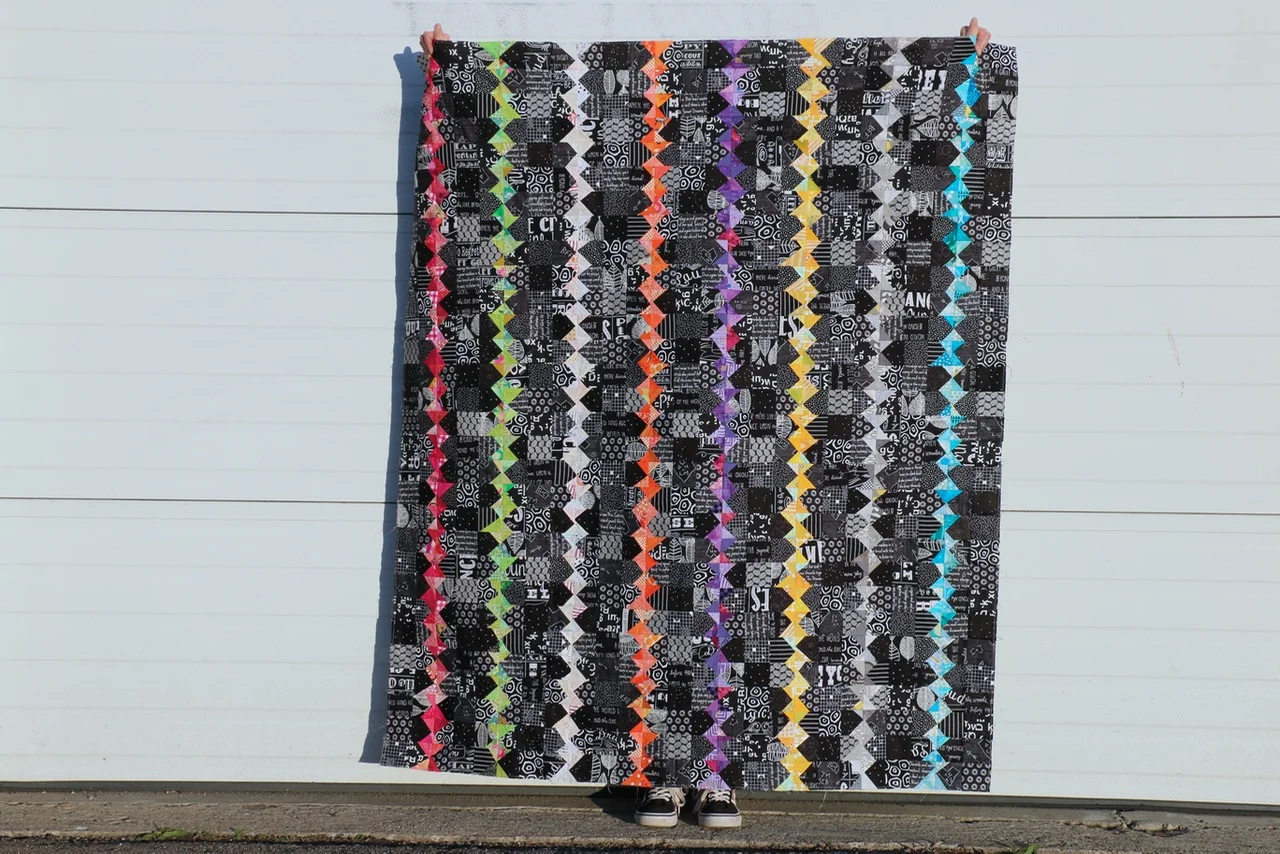
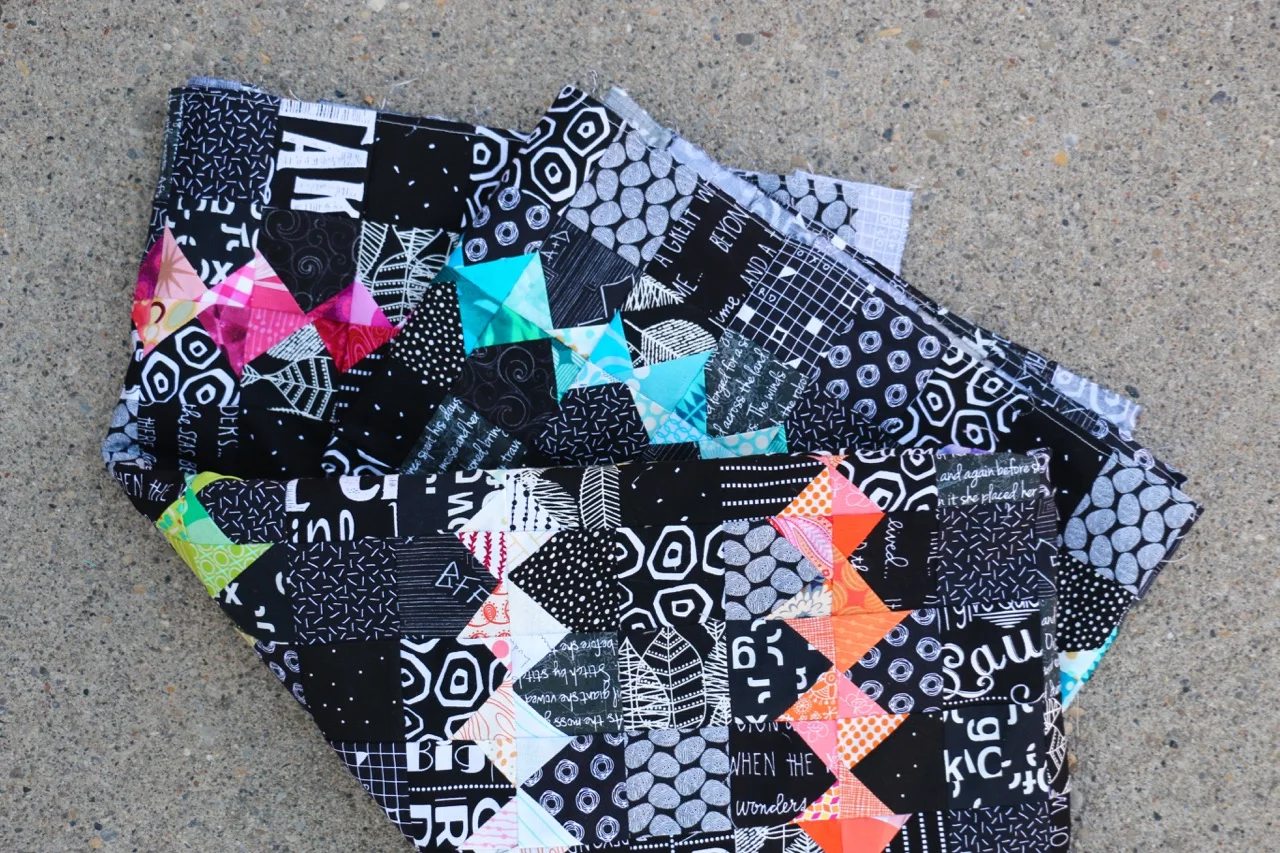
No Scrap Left Behind Chain of Diamonds

There are two quilts in the book that I could have done, Remainders and Chain of Diamonds (not to mention Up, Up, and Away from Sunday Morning Quilts). I chose Chain of Diamonds because it reminded me of a sketch I once made myself from a store window I once saw. Plus, I had a lot of colours in my overflowing jar and bowl.

I'm not going to lie, this was an intense make. Made more so by me doing it over the last 2 weeks while I was sick (and my kids). I counted, there are 1709 seams in this quilt! But the good thing is that they are all small. 

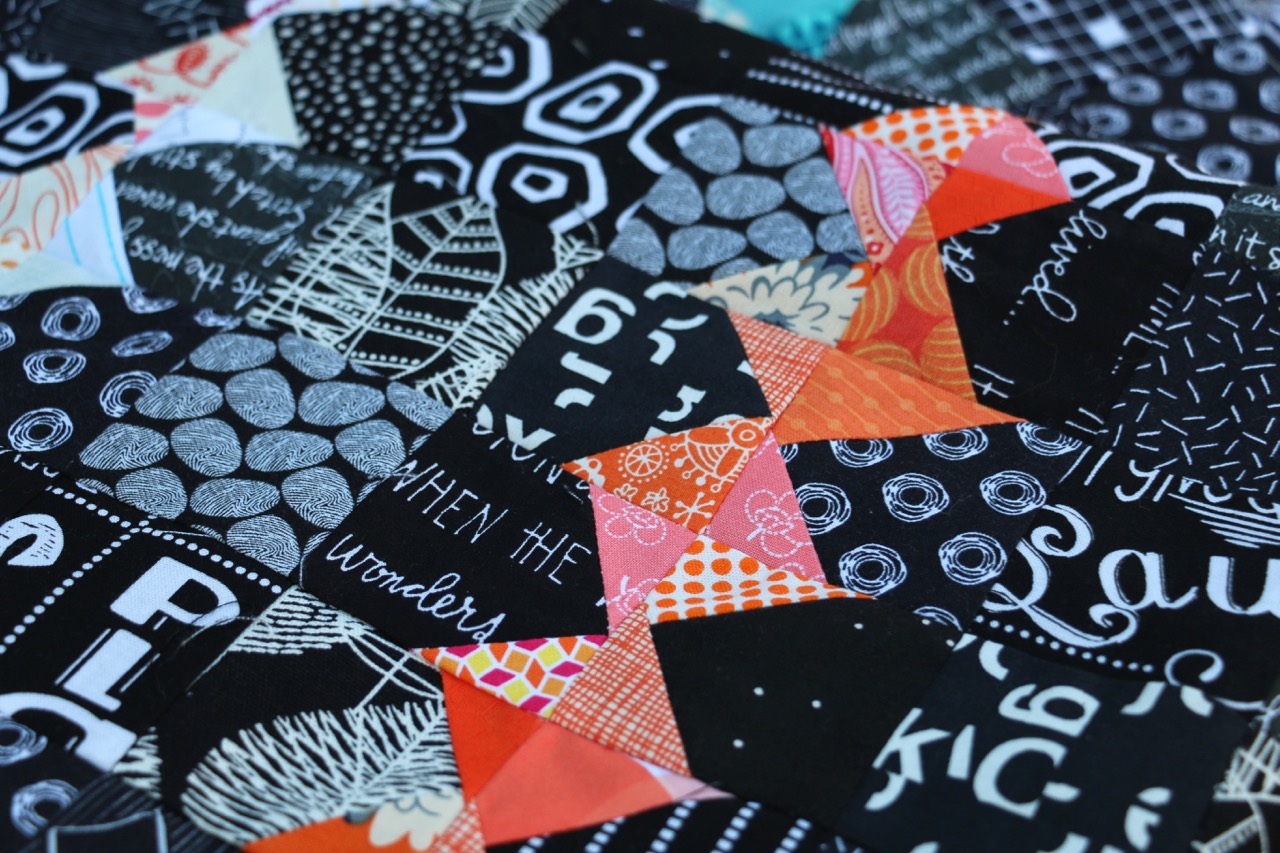
No Scrap Left Behind Small Piecing

To keep the project a lot more manageable, I suggest turning this into one of two things. Make the blocks as leaders/enders. That is, prep your background squares and keep them next to your machine with the triangles. At the end of a seam when you are working on something else sew a triangle on instead of cutting your thread. Or, turn this into a Morning Make project. Spend 10-20 minutes a day and slowly but sure the blocks will come together. 

Regardless of how you do this I would totally recommend this quilt. It was fun, it has great impact, and it makes excellent use of those scraps!

I went from a full platter (once I unsquished them from the jar/bowl) to barely a third. I even had to cut a few extra scraps to round out the selection. Now I just might have to make something else to use the rest of the triangles! For a change from my instinctual mix of low volume fabrics for the background I went all the way to the other end of the spectrum. Black prints, including many from my Tag collection, played together. As I made blocks it was a lot of fun to think back to the quilt where the scrap came from. So many memories.

No Scrap Left Behind Binding Triangles

Thanks for being a good friend all these years Amanda Jean. And for continuing to be such an inspiration to quilters everywhere.

I'm happy to be giving away a copy of the No Scrap Left Behind to a lucky reader, courtesy of C&T Publishing. Trust me, you want this book! Please leave a comment below, including your email: nameATserverDOTcom. I can't auto reply through my blog so I need your email to get you your prize. US winners get a hard copy of the book, International winners will get a digital version.

GIVE AWAY IS NOW CLOSED

No Scrap Left Behind


Make sure you check out all the other bloggers sharing their projects from the book:

Monday, April 24th Mary Kolb

Tuesday, April 25, Lee Monroe

Wednesday, April 26, Sandi Hazelwood

Thursday, April 27, Bernie Kringel

Friday, April 28, Erin Cox

Monday, May 1, Katherine Greaves

Tuesday, May 2, Tracy Mooney

Wednesday, May 3, Cheryl Arkison

Thursday, May 4, Debbie Jeske

Friday, May 5, 

Giveaway Winner was Sue, comment 190/226. Thanks to the Random Number Generator.

Love the black & white background you used! It's nice to read how you became friends with Amanda Jean too. :)