"stash"

Amanda Jean Made Me Do It

Seven years ago I made a leap. I was recuperating from my stupid knee injuries and thinking a lot about life, about what I wanted to be when I grew up. At that time I started emailing another blogger a bit more. One day we decided to take our relationship to the next level and talk on the phone. It was like being a teenager all over again, chit chatting for hours as I lay on my bed and ignored my family. Now I consider her a good friend, a professional colleague, and a quilty inspiration.

No Scrap Left Behind Binding Triangles

Amanda Jean Nyberg now has a new book. It is out now and I jumped on board to help her celebrate. No Scrap Left Behind is her perfect book. She is extraordinarily frugal and saves everything. This book takes that mentality and applies it to all your fabric. She does so with useful tips, storage ideas, and completely inspiring quilts. 

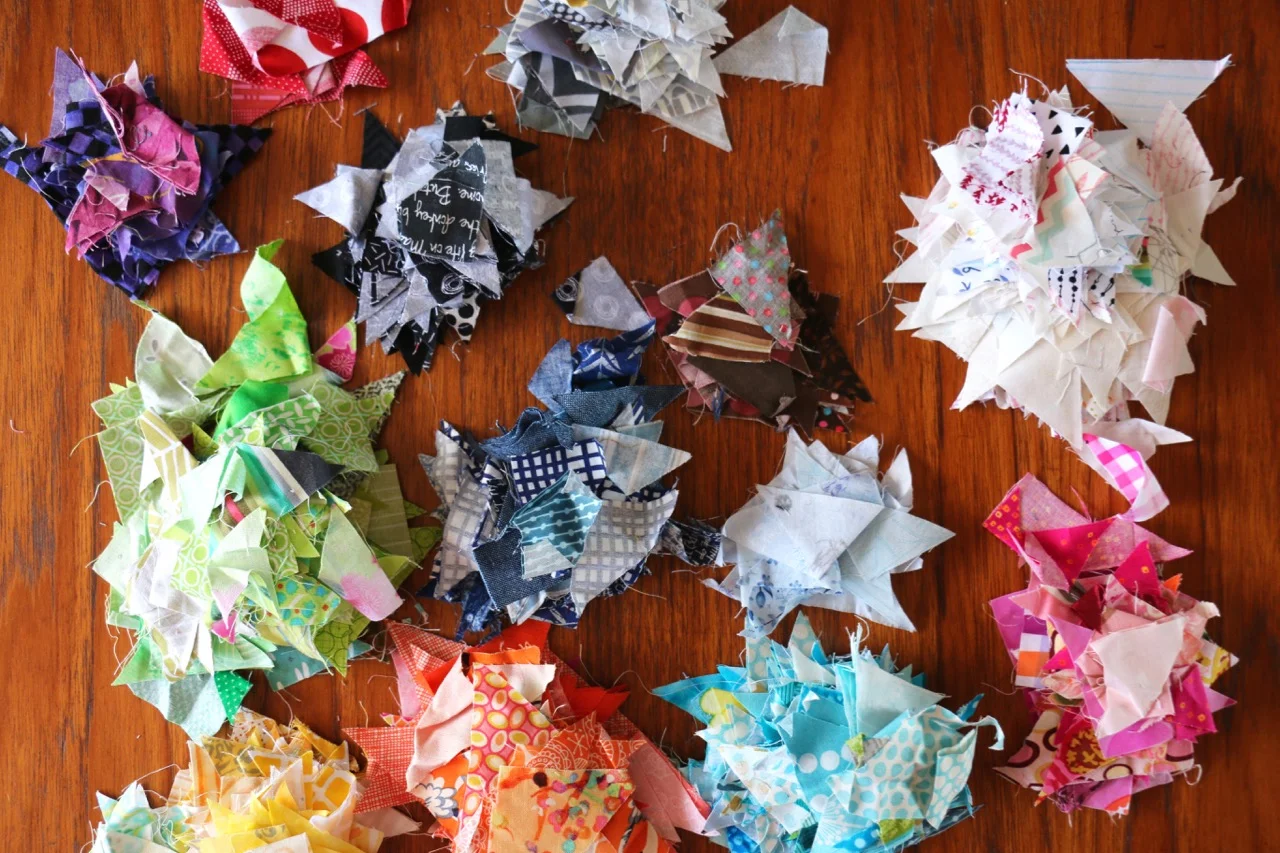
To celebrate the release of the book Amanda asked us to not only blog about the book but to also make something from it. Back when we were writing Sunday Morning Quilts she got me to save my binding triangles. Those little bits we cut off when joining binding strips. I hadn't exactly been throwing them away, but they got dumped in with the rest of my colour sorted scraps. In our discussions writing the book we agreed on sorting by colour as well as pulling out strips/strings and snippets. She took it to the next level with those binding triangles. So I started putting mine aside. They filled a jar. Then overflowed the jar. After that they filled a bowl. Just as I was thinking it was time to do something about them No Scrap Left Behind comes out. It was meant to be.

No Scrap Left Behind Chain of Diamonds

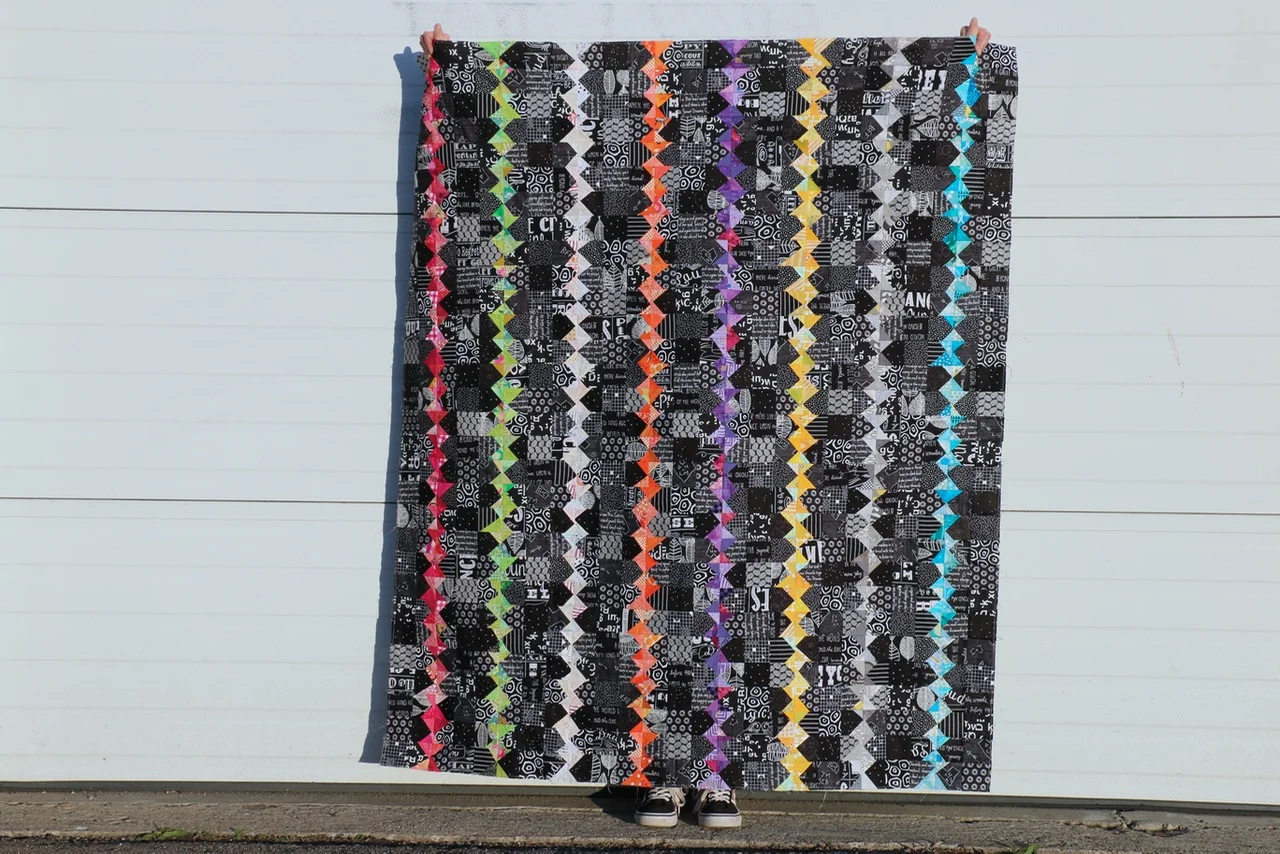
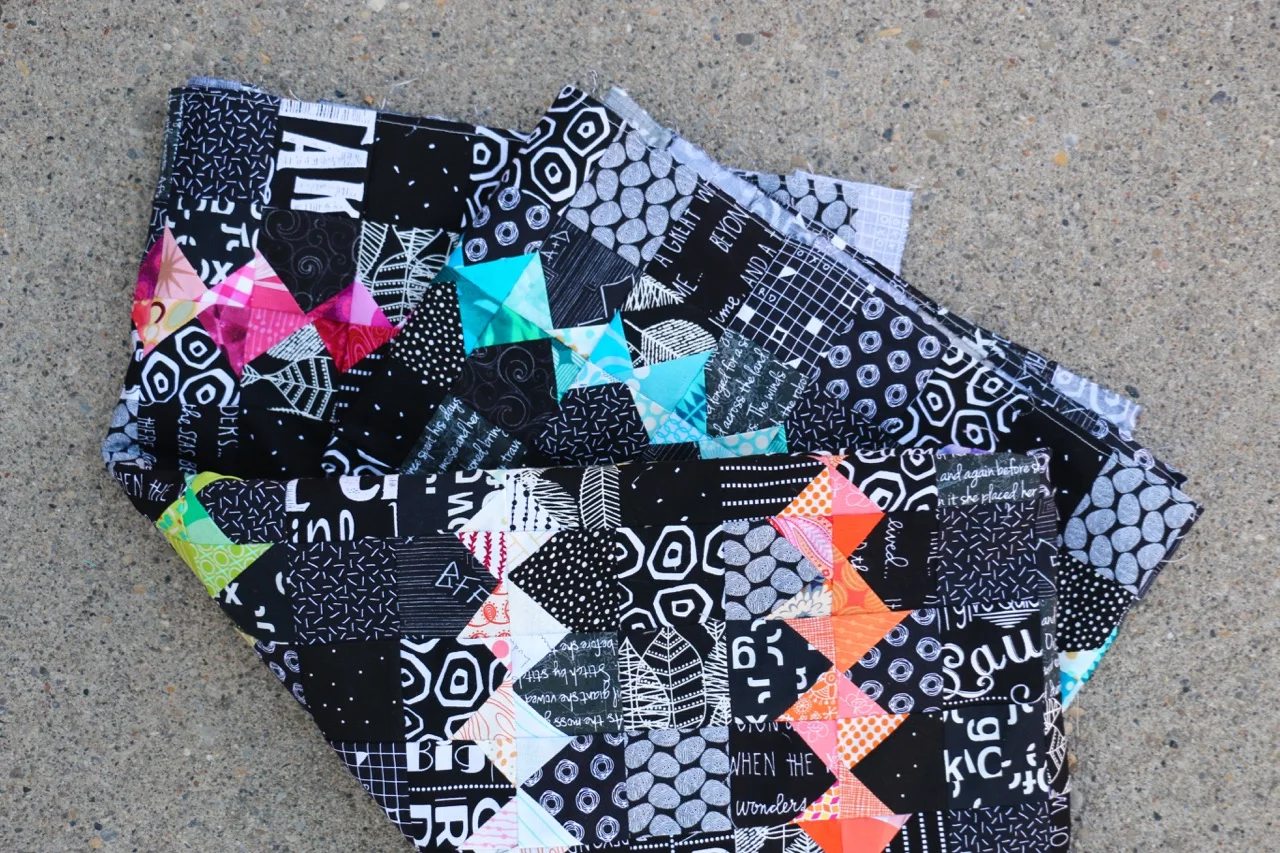
There are two quilts in the book that I could have done, Remainders and Chain of Diamonds (not to mention Up, Up, and Away from Sunday Morning Quilts). I chose Chain of Diamonds because it reminded me of a sketch I once made myself from a store window I once saw. Plus, I had a lot of colours in my overflowing jar and bowl.

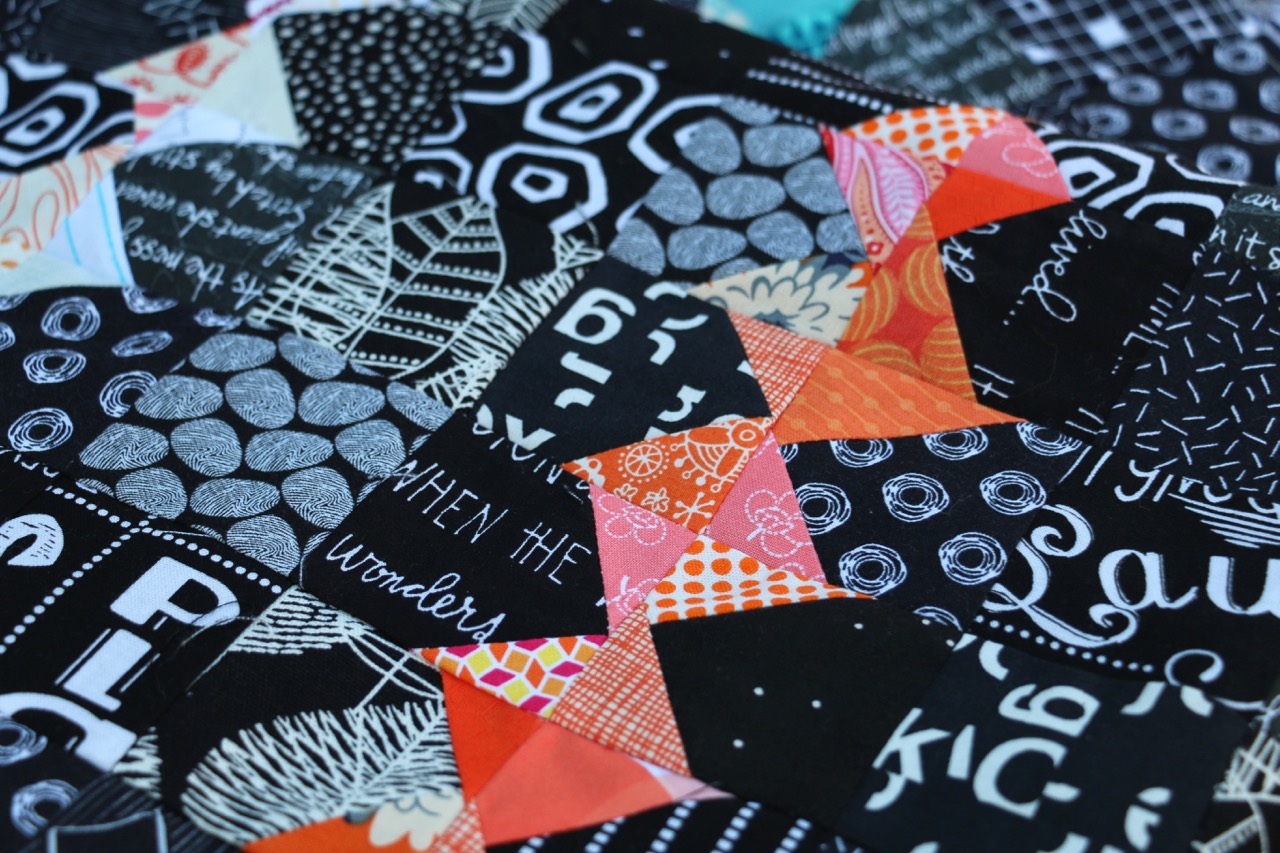
I'm not going to lie, this was an intense make. Made more so by me doing it over the last 2 weeks while I was sick (and my kids). I counted, there are 1709 seams in this quilt! But the good thing is that they are all small. 

No Scrap Left Behind Small Piecing

To keep the project a lot more manageable, I suggest turning this into one of two things. Make the blocks as leaders/enders. That is, prep your background squares and keep them next to your machine with the triangles. At the end of a seam when you are working on something else sew a triangle on instead of cutting your thread. Or, turn this into a Morning Make project. Spend 10-20 minutes a day and slowly but sure the blocks will come together. 

Regardless of how you do this I would totally recommend this quilt. It was fun, it has great impact, and it makes excellent use of those scraps!

I went from a full platter (once I unsquished them from the jar/bowl) to barely a third. I even had to cut a few extra scraps to round out the selection. Now I just might have to make something else to use the rest of the triangles! For a change from my instinctual mix of low volume fabrics for the background I went all the way to the other end of the spectrum. Black prints, including many from my Tag collection, played together. As I made blocks it was a lot of fun to think back to the quilt where the scrap came from. So many memories.

No Scrap Left Behind Binding Triangles

Thanks for being a good friend all these years Amanda Jean. And for continuing to be such an inspiration to quilters everywhere.

I'm happy to be giving away a copy of the No Scrap Left Behind to a lucky reader, courtesy of C&T Publishing. Trust me, you want this book! Please leave a comment below, including your email: nameATserverDOTcom. I can't auto reply through my blog so I need your email to get you your prize. US winners get a hard copy of the book, International winners will get a digital version.

GIVE AWAY IS NOW CLOSED

No Scrap Left Behind


Make sure you check out all the other bloggers sharing their projects from the book:

Monday, April 24th Mary Kolb

Tuesday, April 25, Lee Monroe

Wednesday, April 26, Sandi Hazelwood

Thursday, April 27, Bernie Kringel

Friday, April 28, Erin Cox

Monday, May 1, Katherine Greaves

Tuesday, May 2, Tracy Mooney

Wednesday, May 3, Cheryl Arkison

Thursday, May 4, Debbie Jeske

Friday, May 5, 

Giveaway Winner was Sue, comment 190/226. Thanks to the Random Number Generator.

Love the black & white background you used! It's nice to read how you became friends with Amanda Jean too. :)

Improvisational Quilting, Australian Inspired

Improvisational Quilting and Improv Play

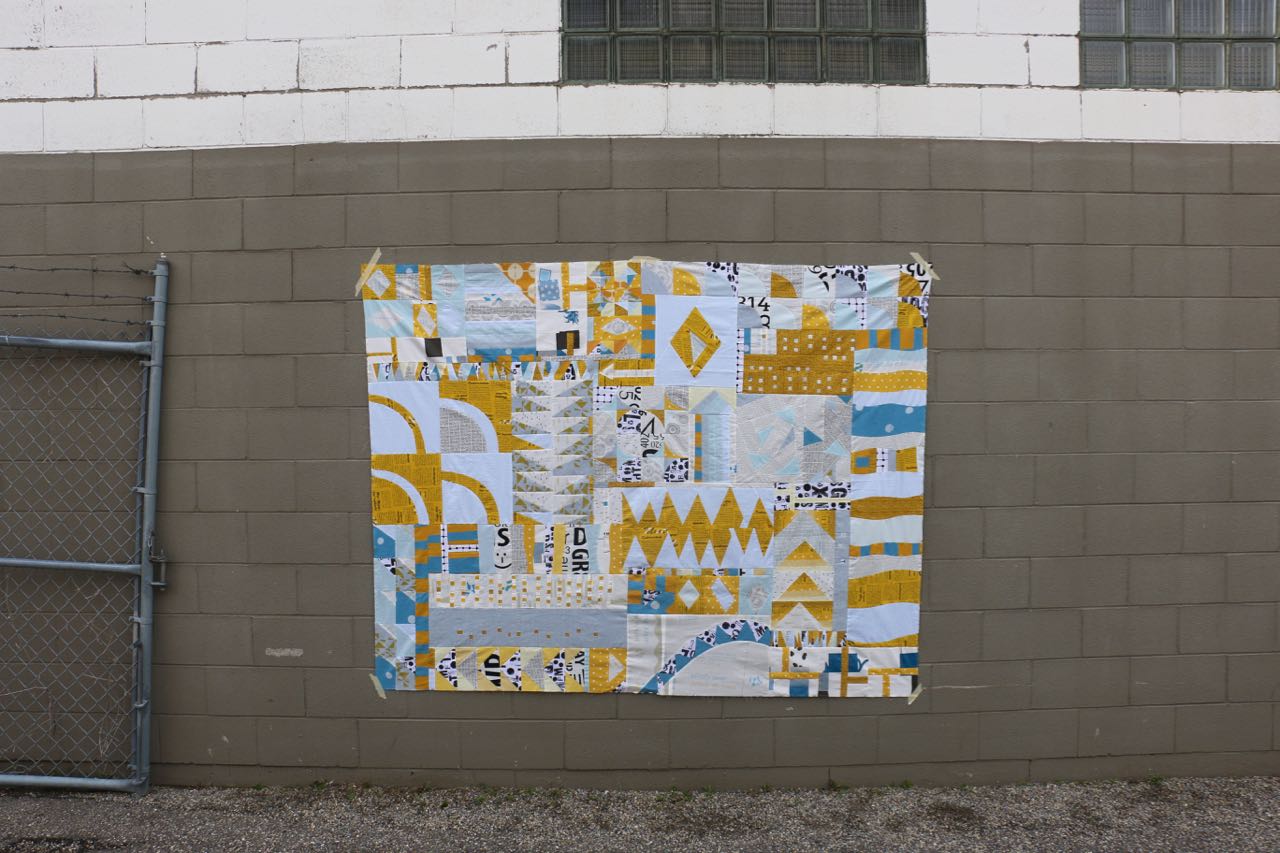
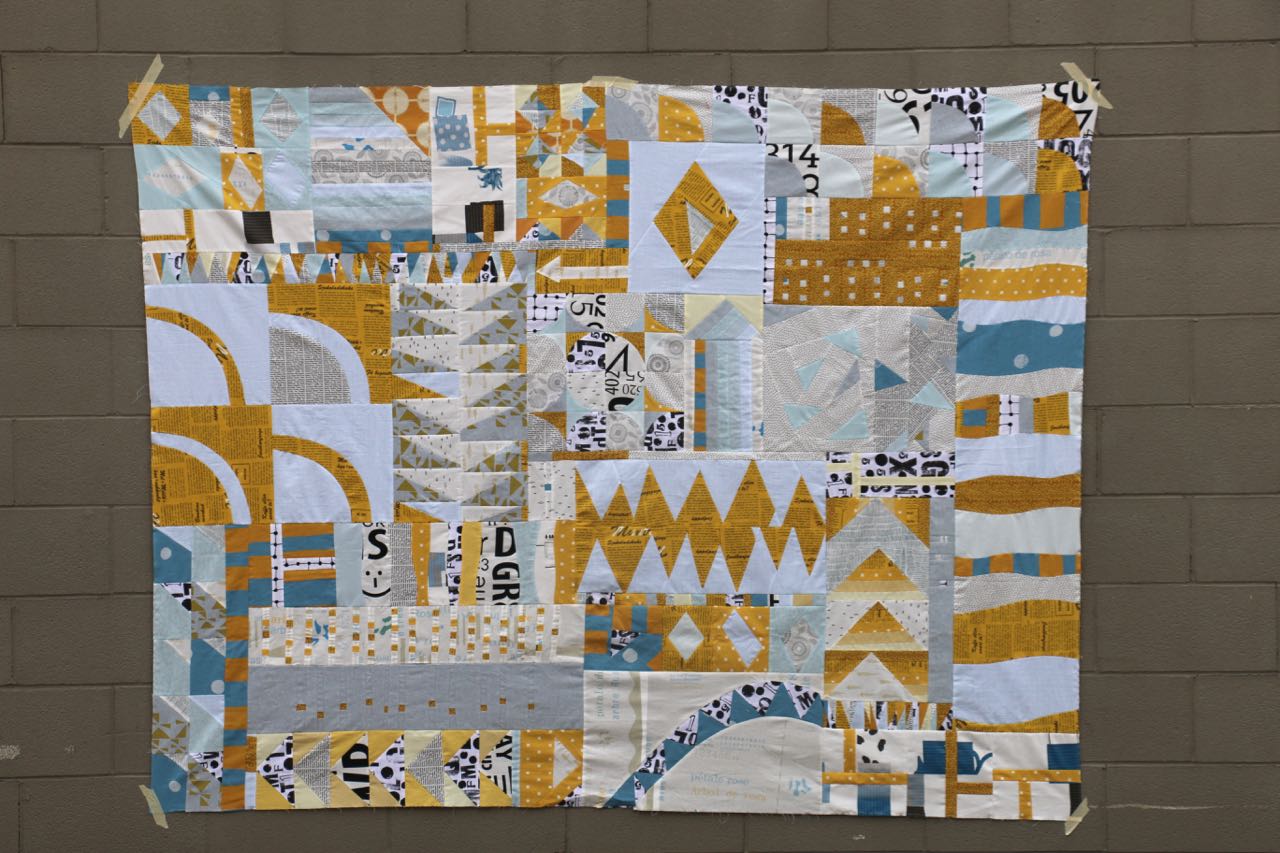
My #arkisoninaustralia quilt top is done. To be honest, I felt like I could keep going forever. That's what happens when I get going on improv!

This whole quilt started as technique demos while teaching at The Creative Retreat a few months ago. Some random fat quarters grabbed started the colour scheme and the shapes. It is entirely done from improvisational piecing. From those first demos I ran with shape as my guide:

  • quarter circles
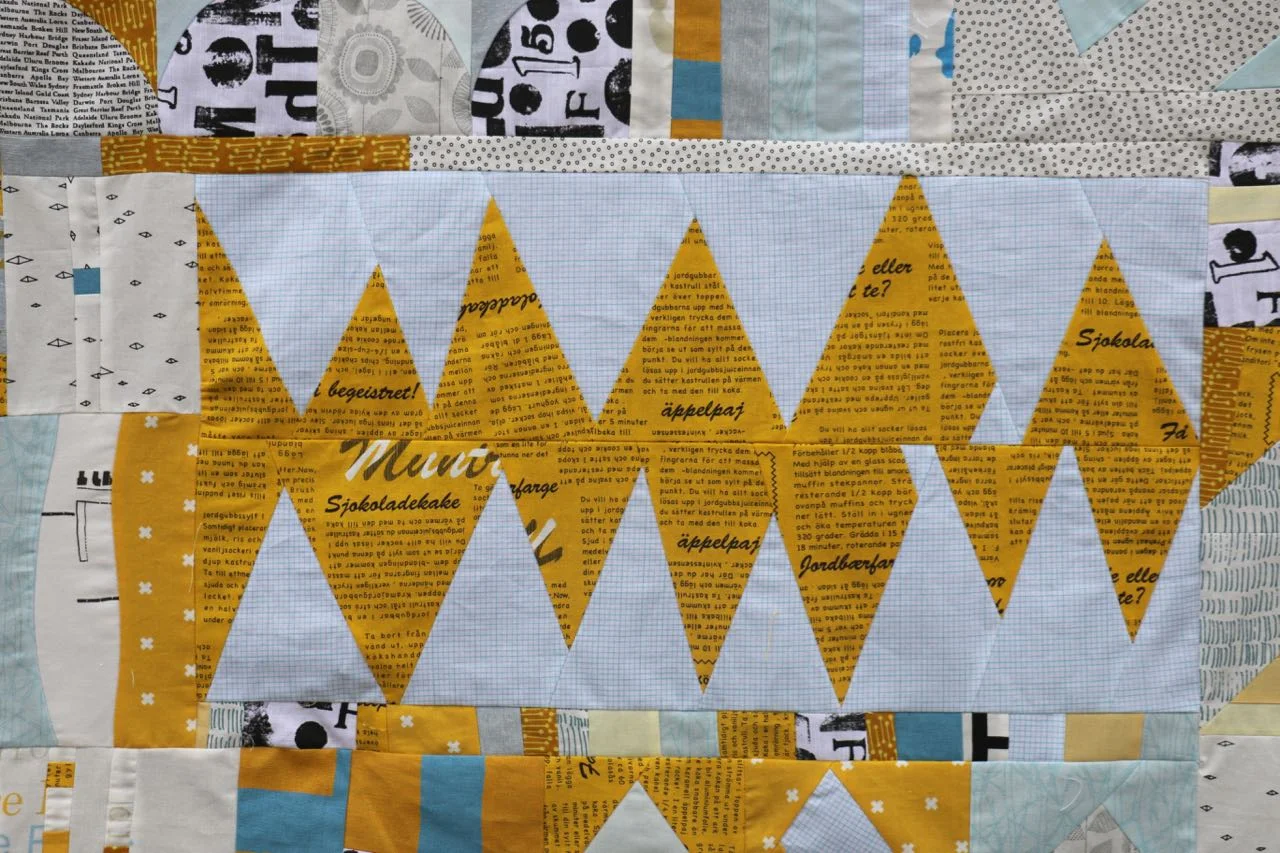
  • triangles, both spiky and as flying geese
  • inserted strips
  • curves and wavy lines
  • diamonds
  • a few arrows, for good measure when I needed to fill space

The colour scheme was led by the mustard and pale blue, the ones I started with, as well as black and white prints. I used solids, linens, even a canvas. Some of the prints are those of Emma Jean Jansen, an Australian designer who attended the retreat in Point Lonsdale. Some others are gorgeous treats from Leslie Keating at Maze and Vale, plus the ones we printed together

Improvisational Quilt Piecing - Triangles

As much as I was excited to get this quilt top finished I had a tremendous amount of fun putting it together. I made the components without any regard to specific size. I thought about scale - in terms of making the piecing large or small - but not a specific size. Depending on the technique you need a measured size to start, but that number was chosen out of the air or determined by the size of the fabric I had.

Components found a home on the design wall as I finished them. Eventually, I needed to find a bit of order. In stolen moments of time I would move, remove, and rearrange pieces on the design wall. With more and more mornings more and more components made their way up. Getting on the design wall allowed me to see where I had holes in technique as well as design. It also let me pick fabric to lend to the composition, as opposed to the composition being dictated by colour.

Putting together a quilt top with so many disparate sizes can be a necessary evil of improvisational quiltmaking. Personally, I don't see it as an evil, I absolutely love that part. One can always go the Magic Numbers route and square things off to relatable sizes. It makes assembly much easier, and for beginners that makes total sense. It might make sense for the design as well. I chose the path less travelled. It was a lot of fitting, adding, cutting off, making more, and y-seam construction. I stared at the layout a lot to figure out the easiest way to assemble. That challenge, for me, is a great boost. It gets me excited, the joy of accomplishing something difficult.

For tips and a demos and an understanding on improv quilting, check out my class on Creative Live: Improv Quilting Basics.

Improv Quilting at Its Best

The next challenge will come with quilting. I have absolutely no idea what to do there. Open to suggestions... It is a busy quilt so an all over design, chosen well, wouldn't hurt. I'm not sure it would enhance things though. That being said, tackling each component individually has a lot of potential. Including the potential to take a really long time. I can't believe I am saying this, but i am considering hand quilting. I love what Jess, a student at the Kangaroo Valley retreat is doing with the the piece she made in our time together. Jess also designed and had printed one of the amazing black and white text prints used in the quilt. It could be a good winter project, defining my seasons.

This project defined my summer, for the most part. It started at the beginning and I put the last pieces together on Labour Day. My early mornings on this got me through the onslaught of parenting all day. Morning Make, Australia style saved my sanity this summer.

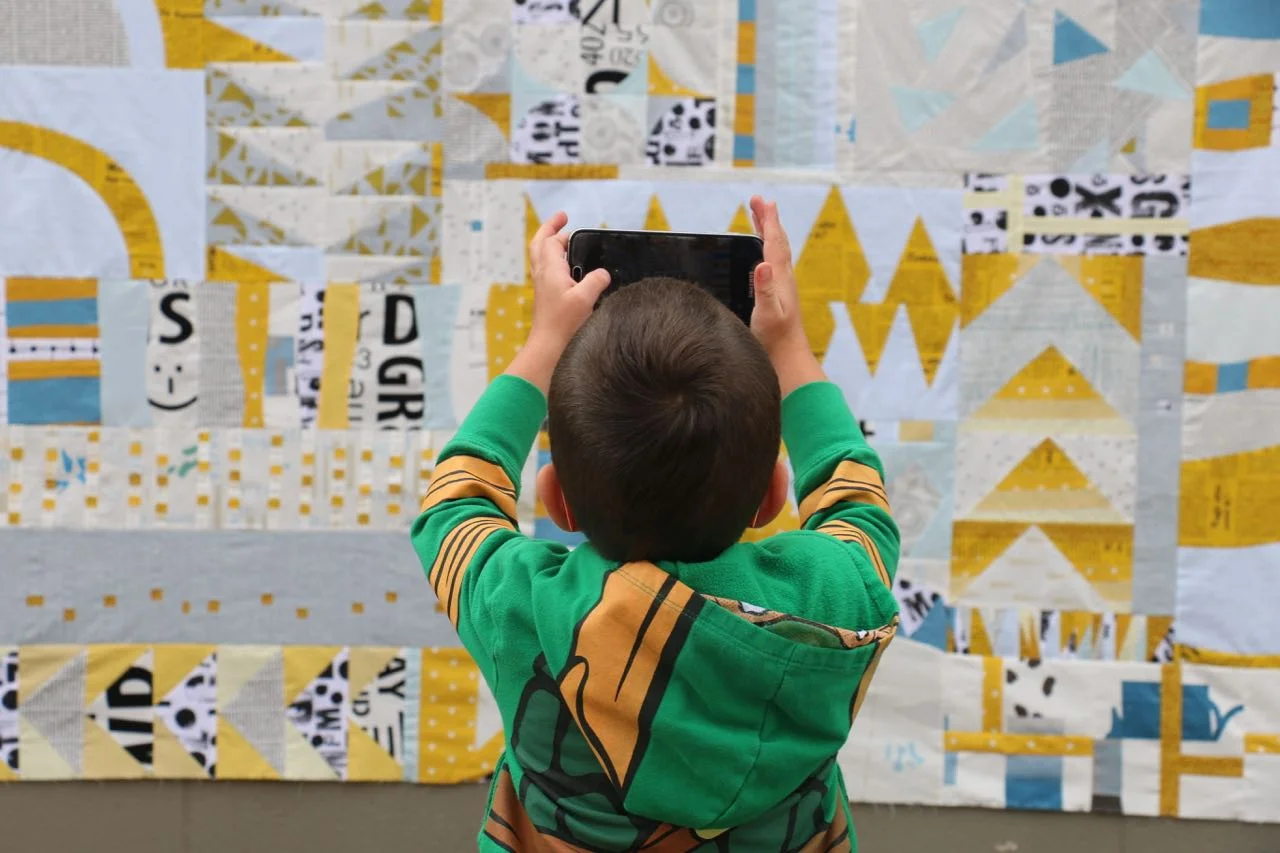
Photography with kids and an improv quilt

Playing with Stars


I'm chugging along and playing where I can. Working through this slump, pulling out old projects and trying new things. Last week, on my birthday, I got in the mood for some precision piecing. Rather than create any old random block I decided to add to my star collection.

Sitting in a bin was a little collection of 8 stars. I started them 7 years ago. Yup, that's how long ago. They were a Block of the Month from Planet Patchwork called Celestial Migraine. At the time I started them I did plan on keeping up - don't we always plan that with BOMs?! Then, as now, most of my sewing was improv based so taking a mental break to precision piece was nice. I also chose these soft colours and that provided a respite from the saturated colours I was using all the time too.

Well, I never downloaded all the patterns and the final quilt layout. It disappeared from the site and I could no longer find it. But, I did remember that is was a sampler of star blocks, with loads of Friendship Stars scattered among them. So last week I picked a star pattern (Pat's Star) off of Quilters' Cache to add to my collection. It was a spot of fun sewing and complemented the existing stars quite well.


I must admit, I'm kind of excited about these now. I'm going to make a few Friendship Stars and float them in background fabric. The stars I have finish at 12'' square, so I'm going to finish my Friendship Stars at 6'' square. I'd like to have all my stars float on the background a bit more so I'm going to play with layout.

(Scroll through here to see a version of the original pattern.)

Who knows how long these will stay up on my wall and when I can play again? I am quite enjoying their sunny nature and it was exciting to shop my stash for fabric additions. Another step forward in reclaiming my creativity.

Touch and Talk (Visit Your Local Quilt Store Day Blog Tour)


Quilting is a tactile art. No matter how pretty something looks from afar, when you are cuddled with a quilt on the couch it needs to feel good wrapped around you.

Likewise, fabric needs to respond to your touch when you are cutting, sewing, pressing. Some fabrics are softer, drape more, or are even silky between your fingers. And those are just the quilting cottons! Quilt batting varies in drape and feel too. From brand to brand and between fiber content. Then you add the quilting and a new dimension of texture emerges. Not just texture you see, but something that rubs and nubs under your fingers and over your legs when the quilt covers you.

This tactile experience begins right when you buy the fabric. Standing the store, too many bolts piled under your arm. Picked for their colours, but when you start editing and dreaming you start to feel the fabric. Some will get discarded because they are too stiff and you aren't sure how much that will wash out. Some will seem too flimsy, seemingly ready to fall apart with a pull on a seam.

This tangible beginning to a quilt is only possible in a quilt store. (With no offense to the wonderful on-line fabric retailers out there.)


Just as quilting is tactile, it is also social. Blogs and more are wonderful for connecting quilters across the world. And for many in rural or remote locations, those surrounded by kids more than quilters, or sewists living in a world of athletes the internet is a fabulous thing indeed. I love my connections that started here. But I do quite enjoy getting into a store and chit chatting as I pull fabric. From the store gossip to the latest fabrics not quite put on the floor, building a relationship with the owners and employees builds more than a retailer relationship. Quilters are drawn together and are tied by a bond only cut by rotary cutter.

As confident as I feel in my choices, a second opinion is always good. It is a challenge to my own sensibilities at times, but always welcome. When shopping in the store it is wonderful to hear and see what someone else might do with that particular fabric. And I'll be the first to admit that there are a lot of good ideas out there, and they might indeed be better than mine.

I must admit that when I was a beginner I heavily relied on the local stores to guide me through challenges I was having. Bring in a WIP and nearly anyone in the store (employee or another customer) is almost always willing to offer insight, opinion, and a little lesson. And usually lots of laughs! Now, if you run into me in a store and you are looking for an opinion you can count on me to offer it, even if you didn't ask me!


Geez, now I really want to go visit my LQS, or the 5 that I am lucky enough to have within 15 minutes of me...

Traditional Pastimes
My Sewing Room
Out of Hand
Along Came Quilting
A Sewing Sensation

And on January 24th I encourage you to get and shop your LQS, wherever you may be. Load up the kids and make it a day trip if need be. Support Visit Your Local Quilt Shop Day!


See more blog posts on the Visit Your Local Quilt Shop Day Tour. A whole host of wonderful quilters are there extolling the virtues of their local shops. Between now and January 24th you can add your post too! I'd love to see where you all shop! There is even a photo contest with some great prizes.

See you at the store, fabric in hand. I promise a chat and a extra bolt of fabric in your pile.