maze and vale

Euroa Quilt - An Adventure in English Paper Piecing

Euroa Quilt English Paper Piecing Original

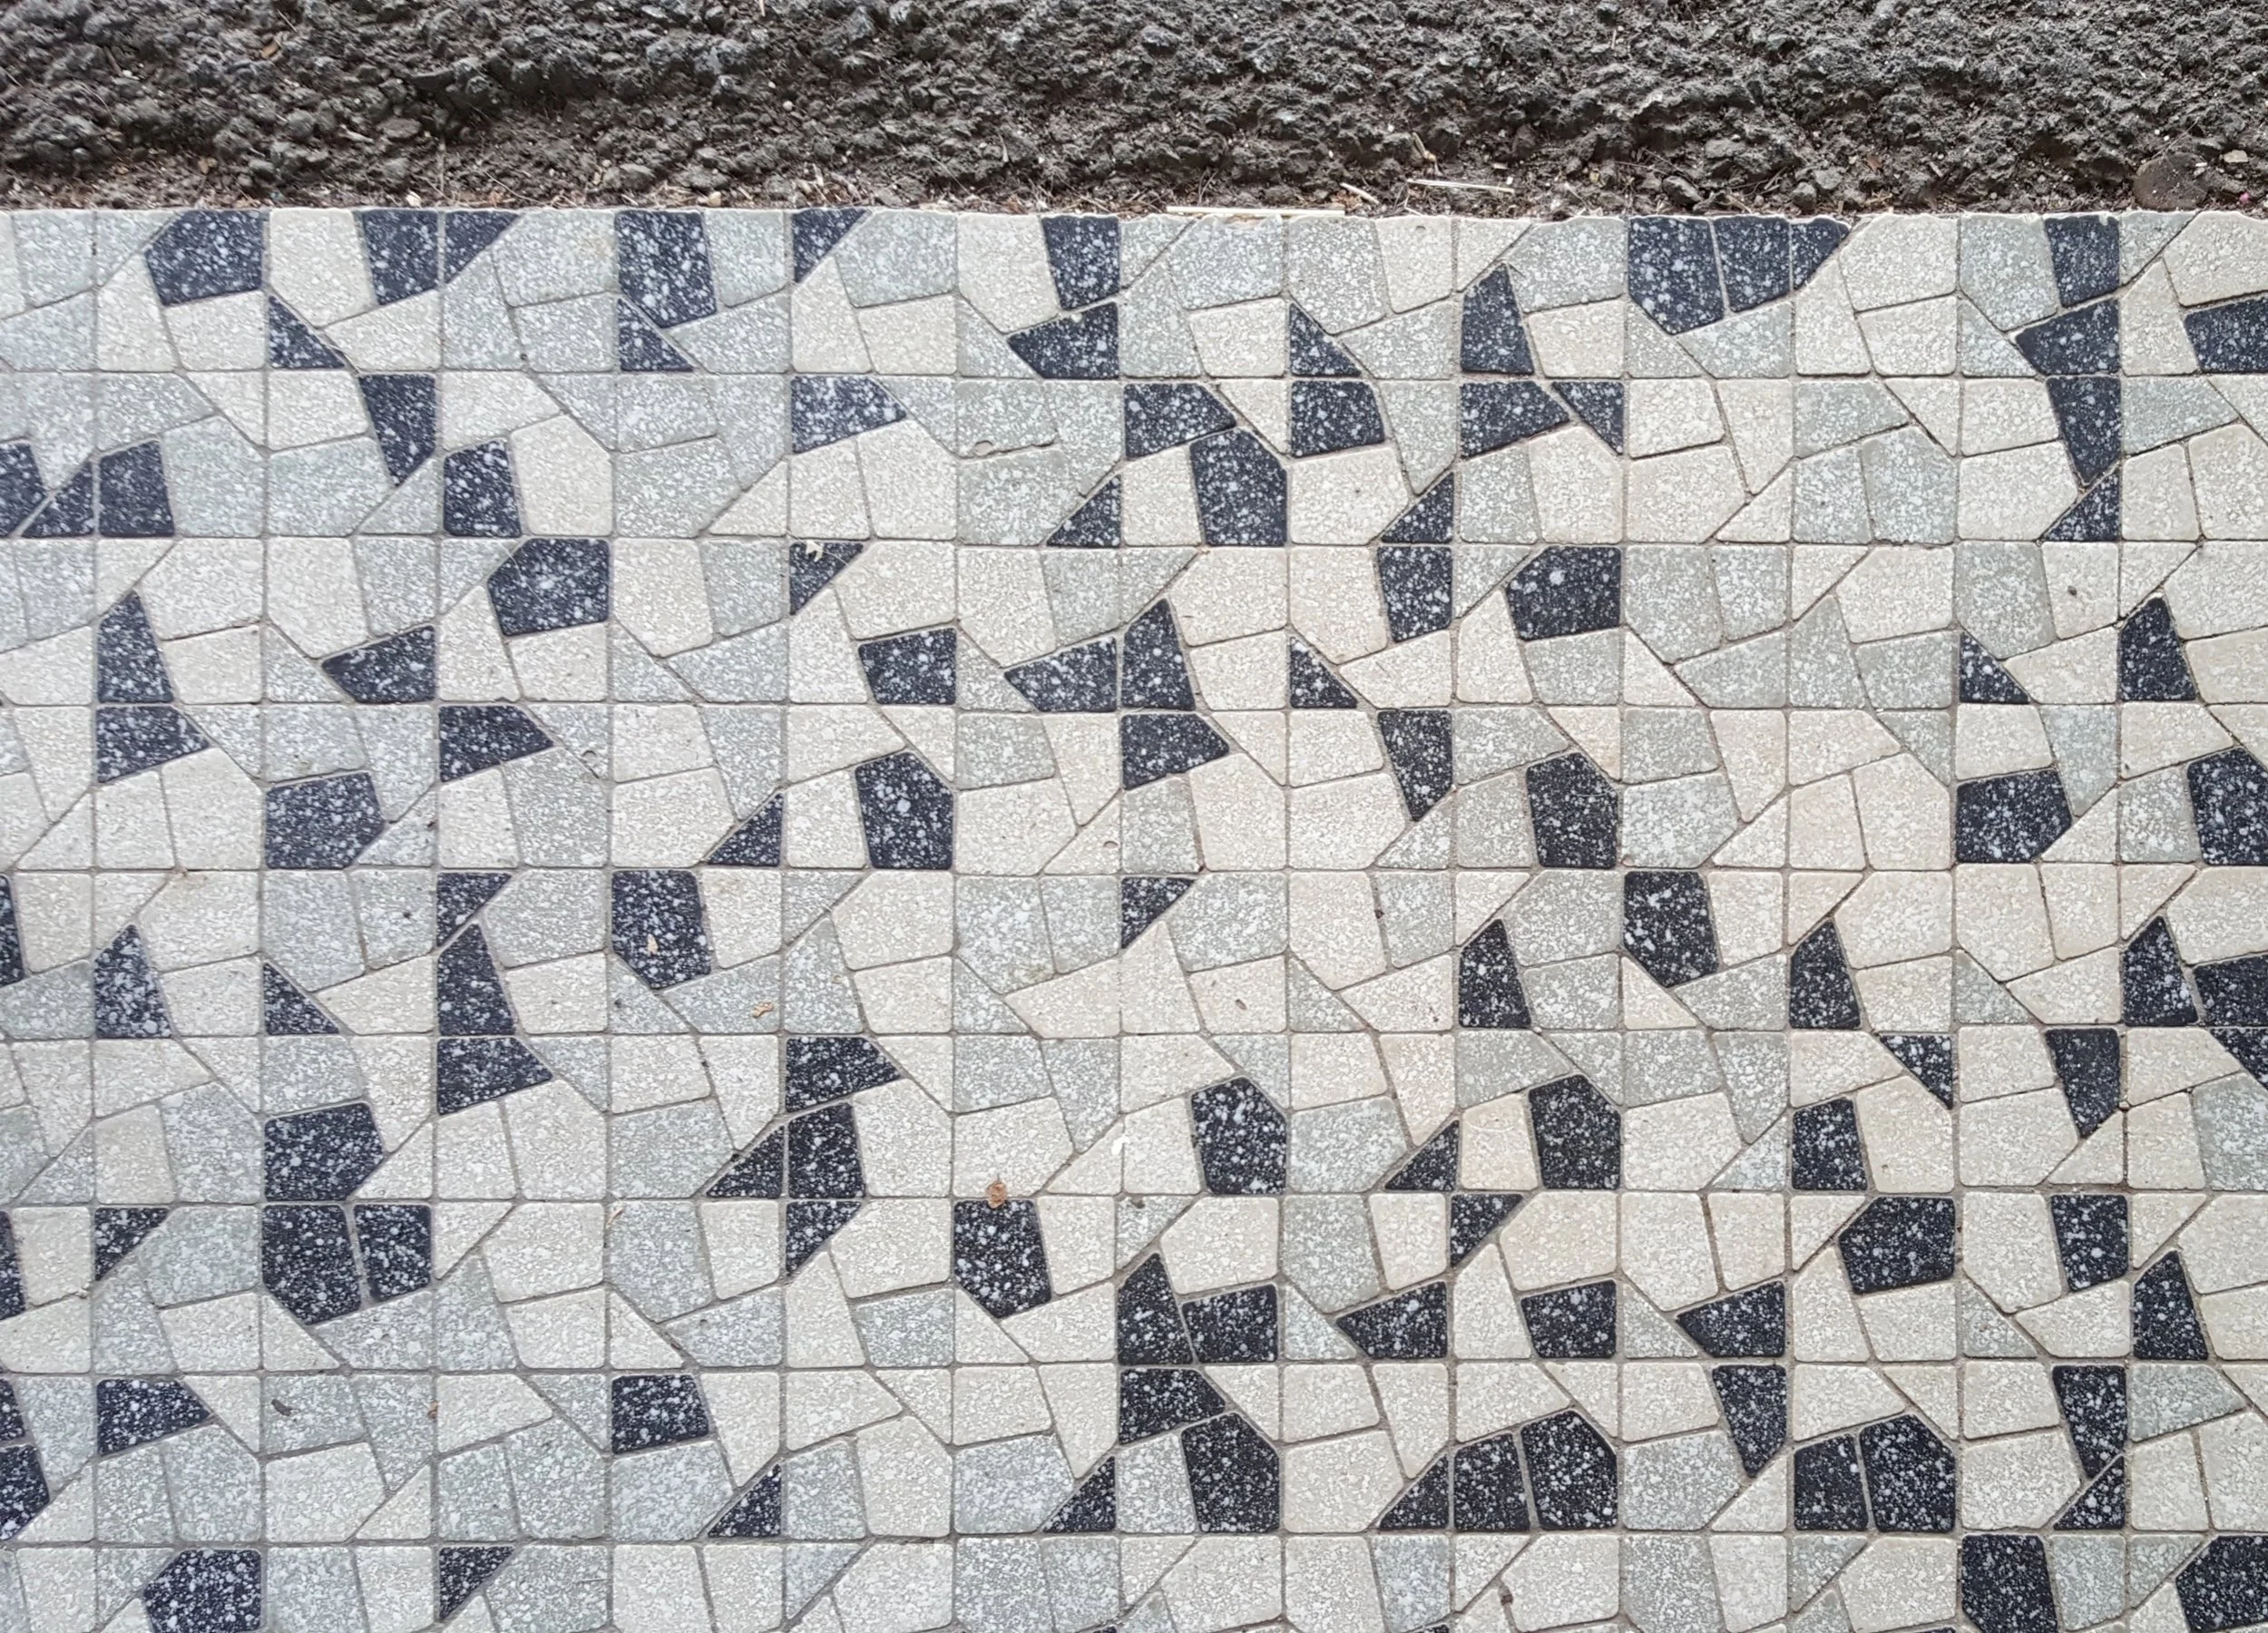
Behold the exciting beginnings of my first English Paper Pieced Quilt! Inspired by a tile floor I saw last year in Australia. It is a running joke among quilters that we take pictures of tiles because they are so inspiring. But I've never actually made a quilt that literal in its interpretation. I am now though.

Because I finished the Park Quilt I felt totally justified in starting this one. Despite my over 40 quilts under construction I've found that I can't have more than 2-3 in the hand work stage. It simply takes up too much time and head space to be fighting among handwork projects. But with my big applique project done I could move on to this one.

Euroa Tile Inspiration for Quilt
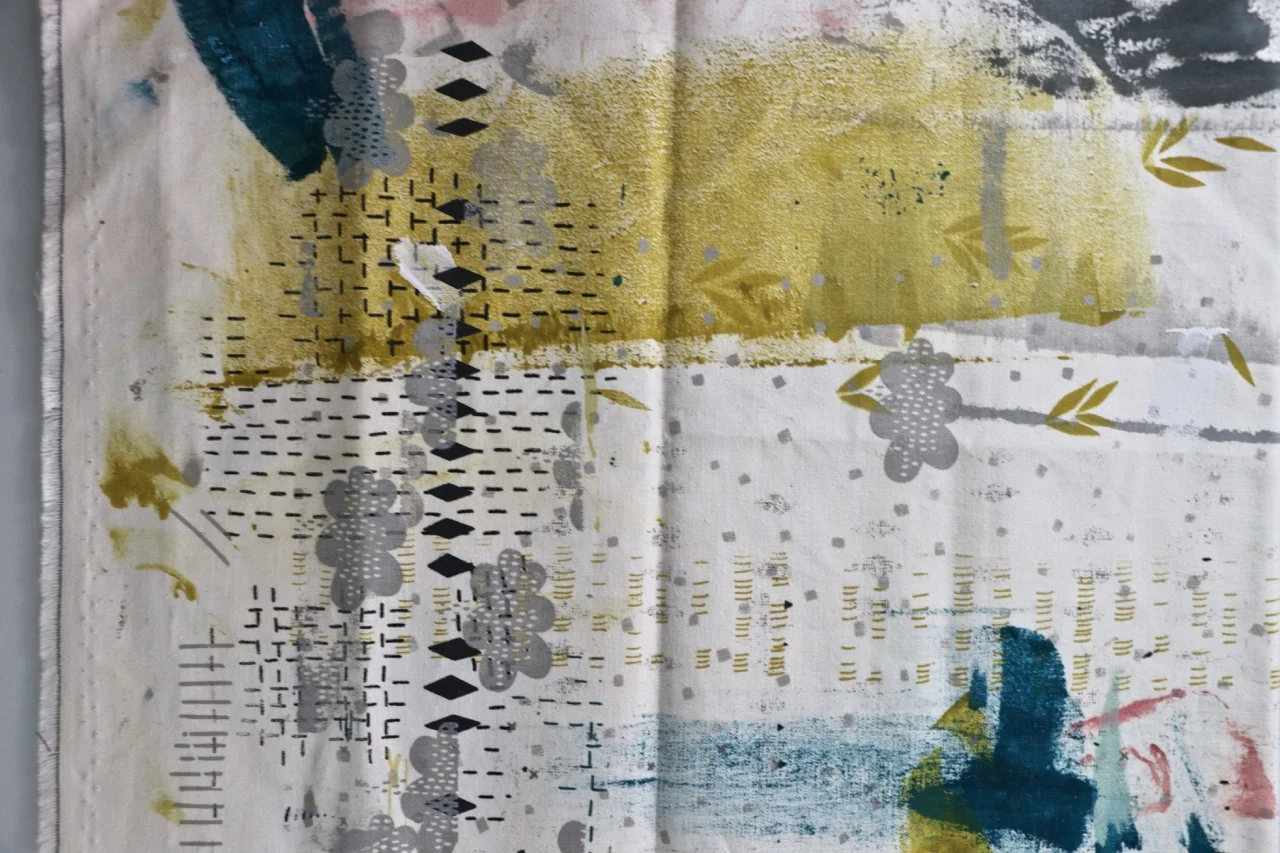
Maze and Vale dropcloth

While the inspiration for the pattern itself came from the tile floor, the colour scheme was lifted from another Australian influence. We visited Leslie Keating from Maze and Vale while in Melbourne. Our screen printing lesson was incredible, and her fabrics are dreamy. What I truly loved (aside from the light in her studio and her lovely presence) was the drop cloth on her work table. Periodically she has to switch it out. The old one then gets sold as bits of fabric or dropcloth art. This was the piece I got from her in the sale. Originally I thought I would stitch it up as a whole cloth piece, but once I started down this quilt's path it became integral to the entire thing. It dictated the colours and I am cutting it up, bit by bit, to be included in the quilt.

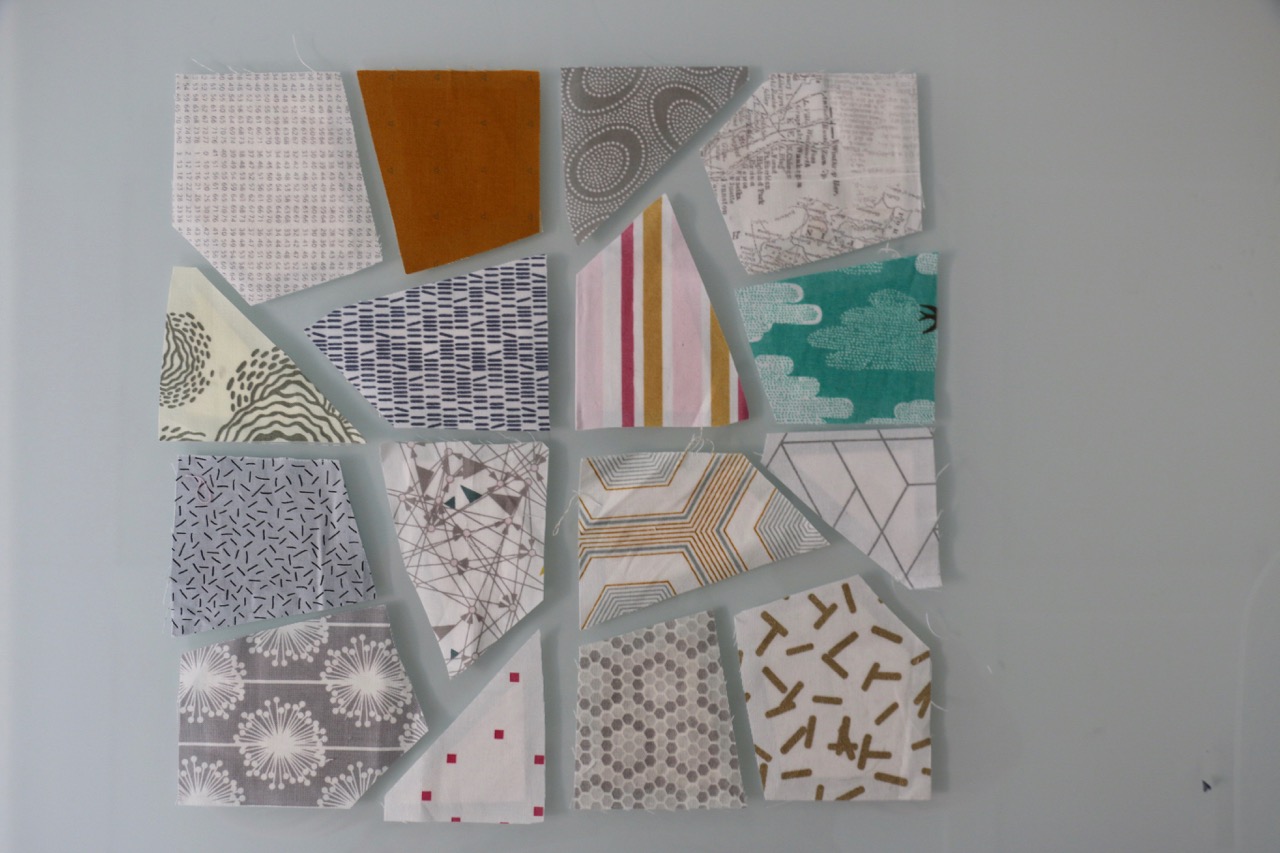
To start the quilt I drew out the single block pattern in Illustrator. Knowing that I don't work small (when it comes to the size of quilts) I wanted to be able to ensure consistency of the pattern and to make multiples in one go. I am doing English Paper Piecing with my templates, so I print out 4 little blocks at a time on a sheet of cardstock. I could have easily done this with foundation paper piecing on my machine. The pattern works either way. 

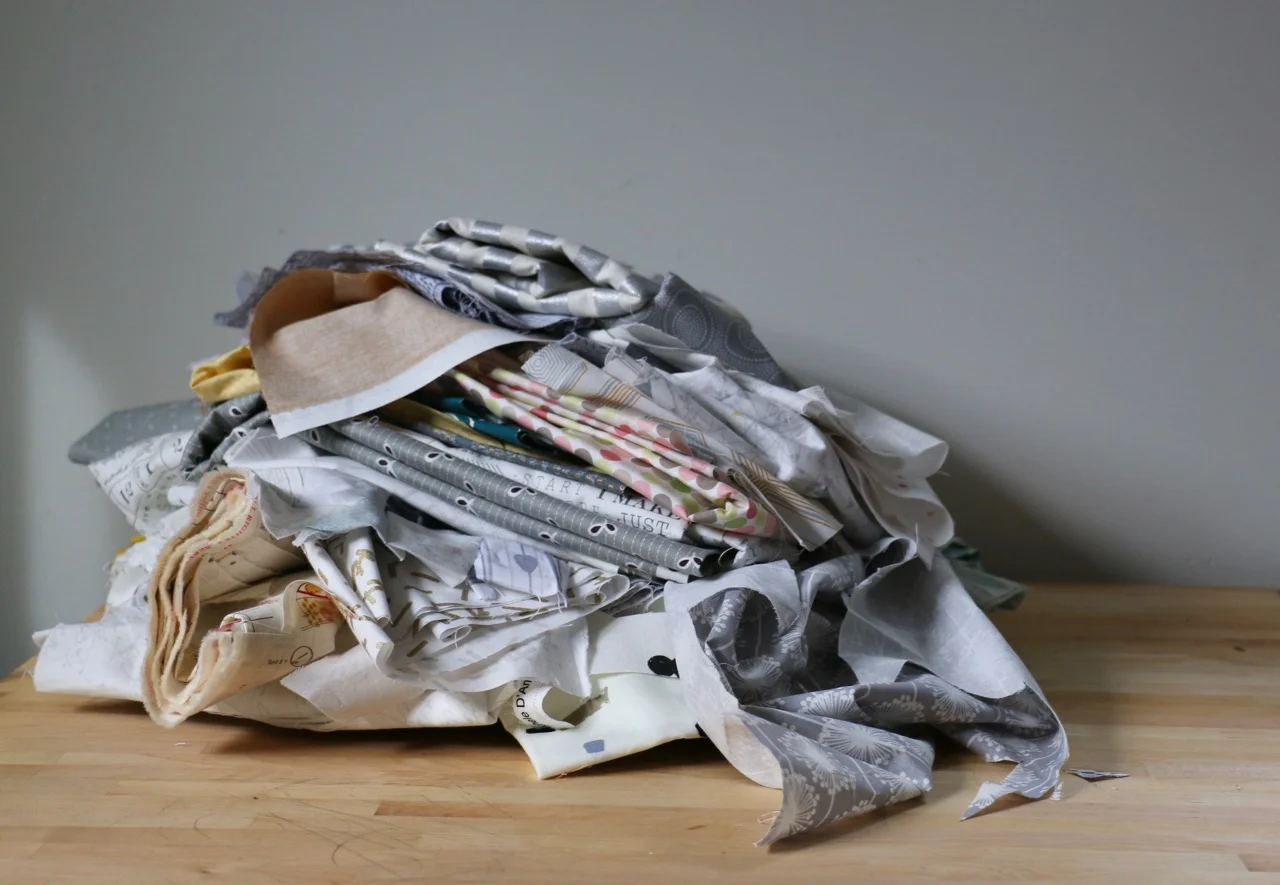
Scraps for the Euroa Quilt

The next step was actually picking the fabric. Into the stash I dove! I picked out light and medium greys, a few teals and mints, the two mustard fabrics I had, some light pinks, and various creamy low volume prints. I decided to skip the black and whites, preferring to focus on grey. After I made the first couple of blocks I decided it needed more depth in fabric choices so I did a little bit of shopping. Some more mustards and more white/grey prints. The block results in some interesting secondary patterns. Playing with value or colour can drastically change the way this looks. I decided, however, to keep with the original influence and go completely scrappy.

I have a feeling this messy stack will be sitting on my cutting table for the next year or so.

My plan/goal is to make this quilt 80'' x 80''. I just don't like small quilts. Each mini block is 4'' x 4''. That means I will need 400 of them! I make them 4 at a time. Then make 4 of those and sew them together, calling those a mega block. So I will need 400 mini blocks, or 100 blocks, or 25 mega blocks. Whew. It's scary when you write it out that way. One block at a time. Like any journey that starts with the first step.

English paper Piecing Prep for Euroa Quilt

From start to finish for one block is probably about 2 hours of work. That includes the printing, cutting of the template, picking fabric and prepping blocks, thread basting, then sewing it all together. So far I have never just sat and done that start to finish. This is my one the go/summer sitting/TV watching project so it gets done is spurts and with interruptions. That's the point of a hand sewing project like this after all. 

I am pretty much brand new to English Paper Piecing and jumped in with my own pattern. It suits me just fine. I've poked my fingers and am developing callouses. I am still searching for my favourite needle (small enough but strong enough not to bend). And so far I haven't removed any papers. I'm kind of nervous about that step for some reason. It's fine for now, I have plenty of paper and there is no rush. 

This isn't the first quilt made from this inspiration. Lori made this incredible version after I posted the tile floor while on my trip last year. I posted the photo then went out of wifi range for a few hours. When I logged back in she'd already posted a block she'd made! Her finished mini quilt is awesome! Since I started the project I've had numerous requests for the pattern so I am prepping that to go live in the next couple of weeks. Watch for it. In the meantime, slow down and sew. 

UPDATE: The Euroa Templates are now available.

Improvisational Quilting, Australian Inspired

Improvisational Quilting and Improv Play

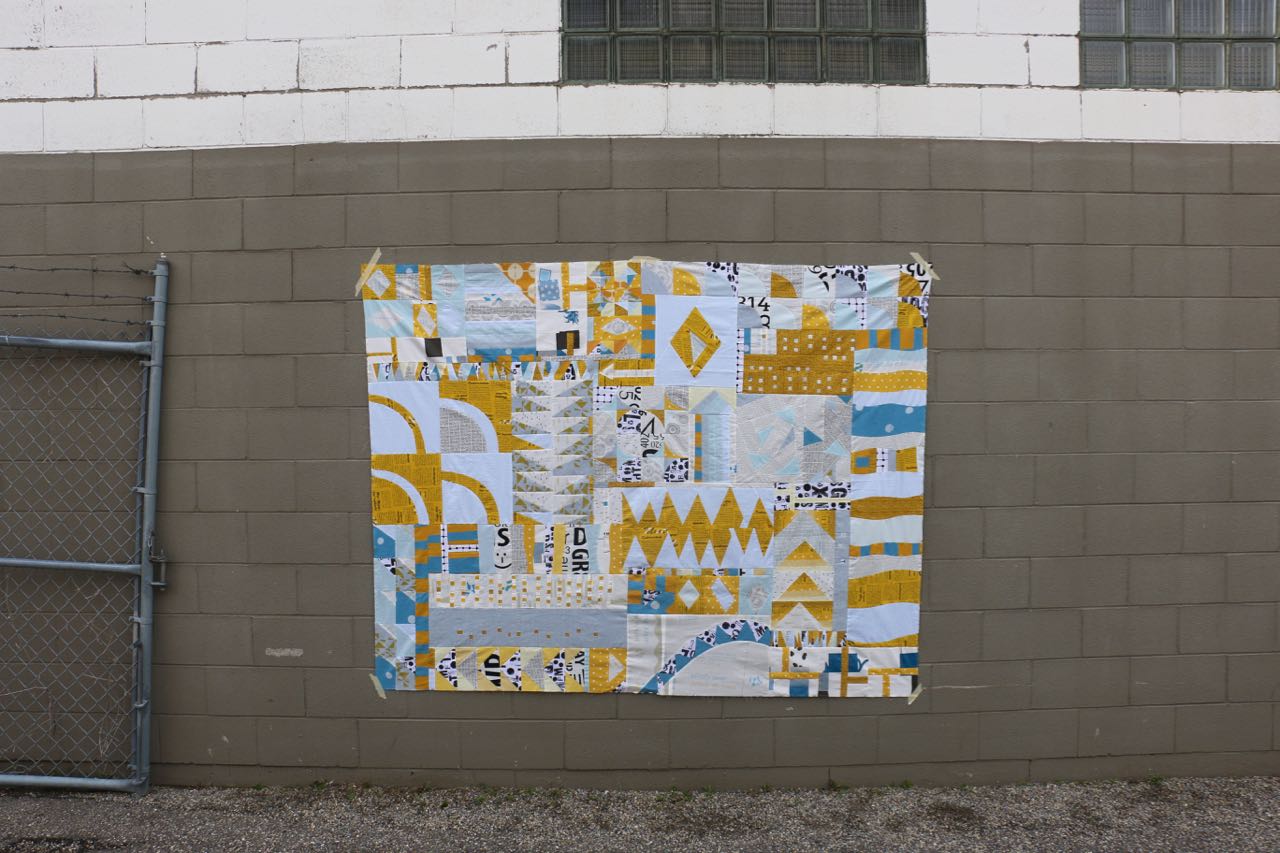
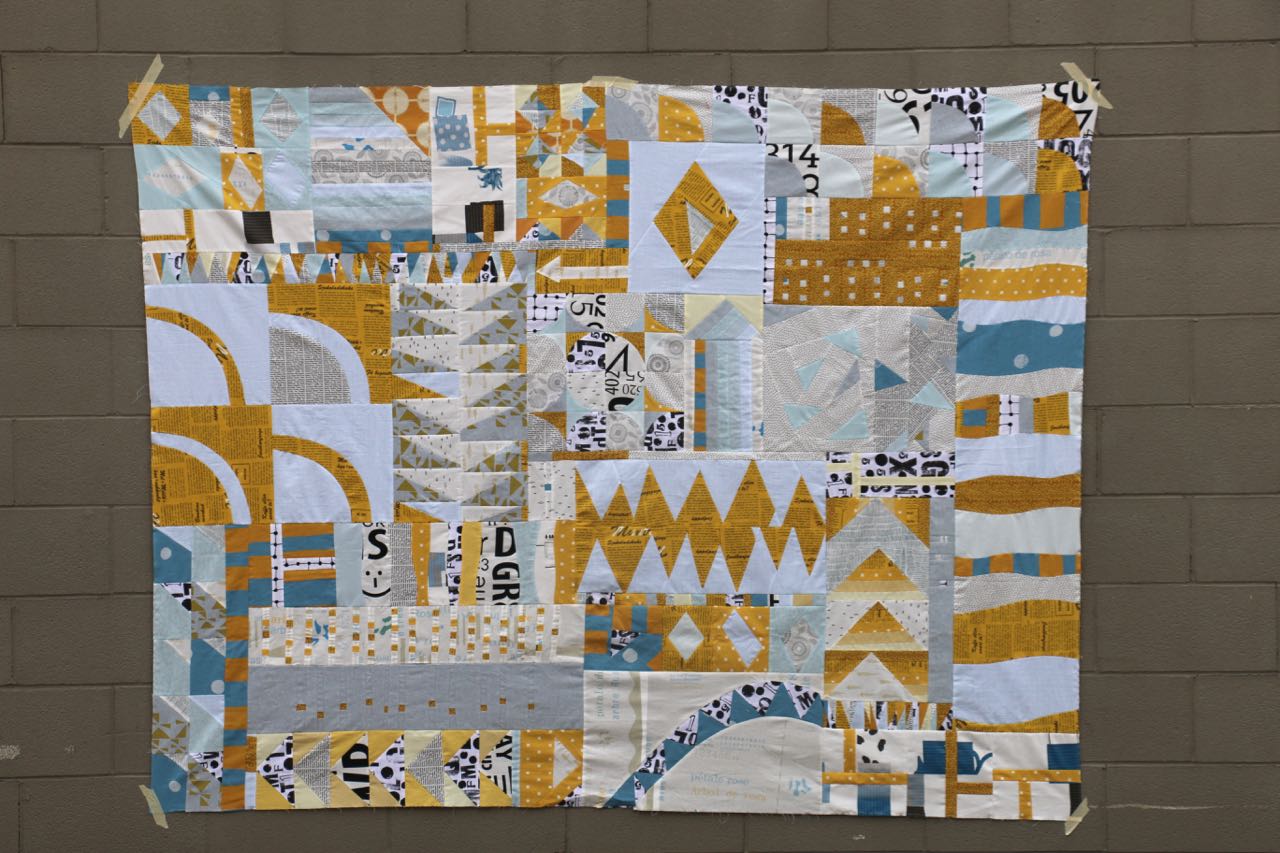
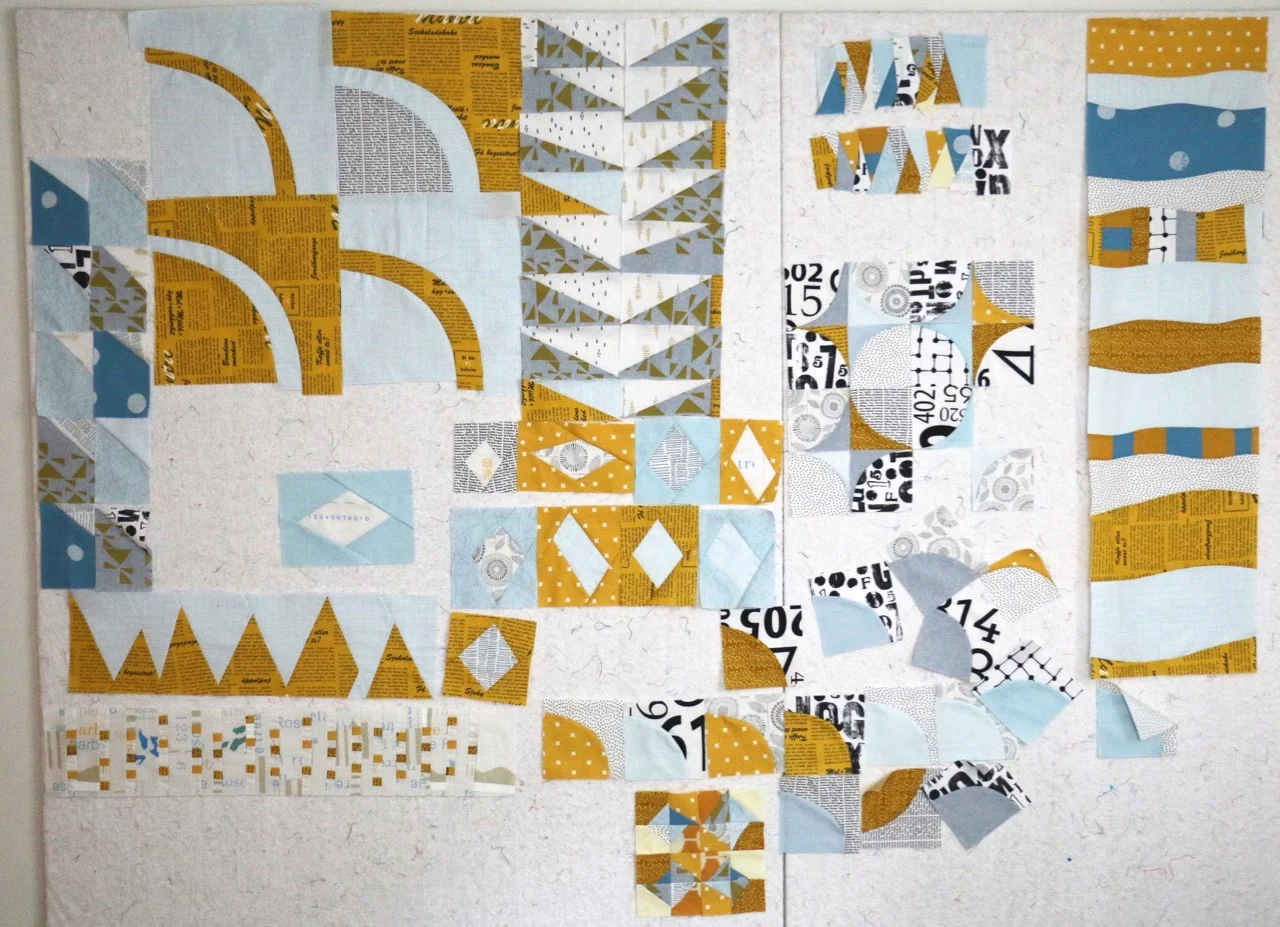
My #arkisoninaustralia quilt top is done. To be honest, I felt like I could keep going forever. That's what happens when I get going on improv!

This whole quilt started as technique demos while teaching at The Creative Retreat a few months ago. Some random fat quarters grabbed started the colour scheme and the shapes. It is entirely done from improvisational piecing. From those first demos I ran with shape as my guide:

  • quarter circles
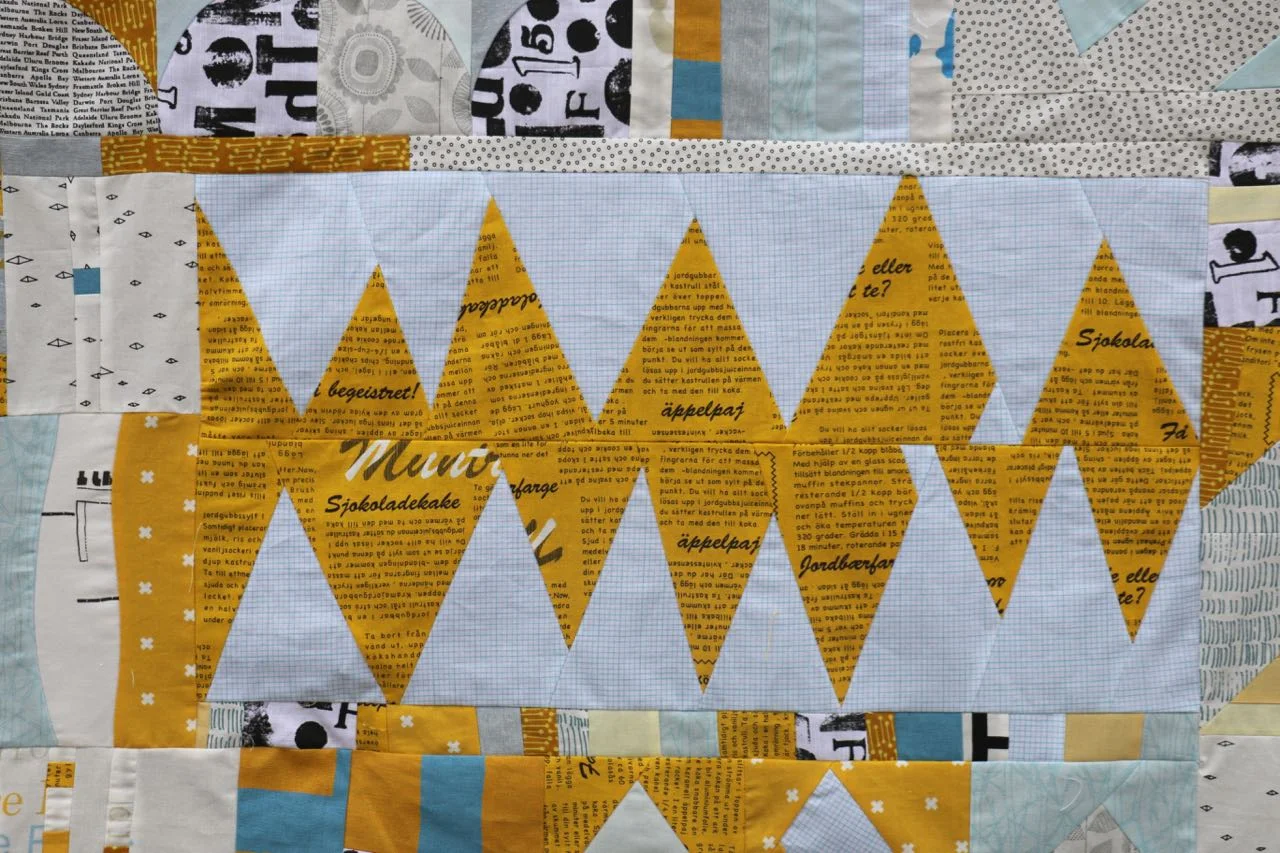
  • triangles, both spiky and as flying geese
  • inserted strips
  • curves and wavy lines
  • diamonds
  • a few arrows, for good measure when I needed to fill space

The colour scheme was led by the mustard and pale blue, the ones I started with, as well as black and white prints. I used solids, linens, even a canvas. Some of the prints are those of Emma Jean Jansen, an Australian designer who attended the retreat in Point Lonsdale. Some others are gorgeous treats from Leslie Keating at Maze and Vale, plus the ones we printed together

Improvisational Quilt Piecing - Triangles

As much as I was excited to get this quilt top finished I had a tremendous amount of fun putting it together. I made the components without any regard to specific size. I thought about scale - in terms of making the piecing large or small - but not a specific size. Depending on the technique you need a measured size to start, but that number was chosen out of the air or determined by the size of the fabric I had.

Components found a home on the design wall as I finished them. Eventually, I needed to find a bit of order. In stolen moments of time I would move, remove, and rearrange pieces on the design wall. With more and more mornings more and more components made their way up. Getting on the design wall allowed me to see where I had holes in technique as well as design. It also let me pick fabric to lend to the composition, as opposed to the composition being dictated by colour.

Putting together a quilt top with so many disparate sizes can be a necessary evil of improvisational quiltmaking. Personally, I don't see it as an evil, I absolutely love that part. One can always go the Magic Numbers route and square things off to relatable sizes. It makes assembly much easier, and for beginners that makes total sense. It might make sense for the design as well. I chose the path less travelled. It was a lot of fitting, adding, cutting off, making more, and y-seam construction. I stared at the layout a lot to figure out the easiest way to assemble. That challenge, for me, is a great boost. It gets me excited, the joy of accomplishing something difficult.

For tips and a demos and an understanding on improv quilting, check out my class on Creative Live: Improv Quilting Basics.

Improv Quilting at Its Best

The next challenge will come with quilting. I have absolutely no idea what to do there. Open to suggestions... It is a busy quilt so an all over design, chosen well, wouldn't hurt. I'm not sure it would enhance things though. That being said, tackling each component individually has a lot of potential. Including the potential to take a really long time. I can't believe I am saying this, but i am considering hand quilting. I love what Jess, a student at the Kangaroo Valley retreat is doing with the the piece she made in our time together. Jess also designed and had printed one of the amazing black and white text prints used in the quilt. It could be a good winter project, defining my seasons.

This project defined my summer, for the most part. It started at the beginning and I put the last pieces together on Labour Day. My early mornings on this got me through the onslaught of parenting all day. Morning Make, Australia style saved my sanity this summer.

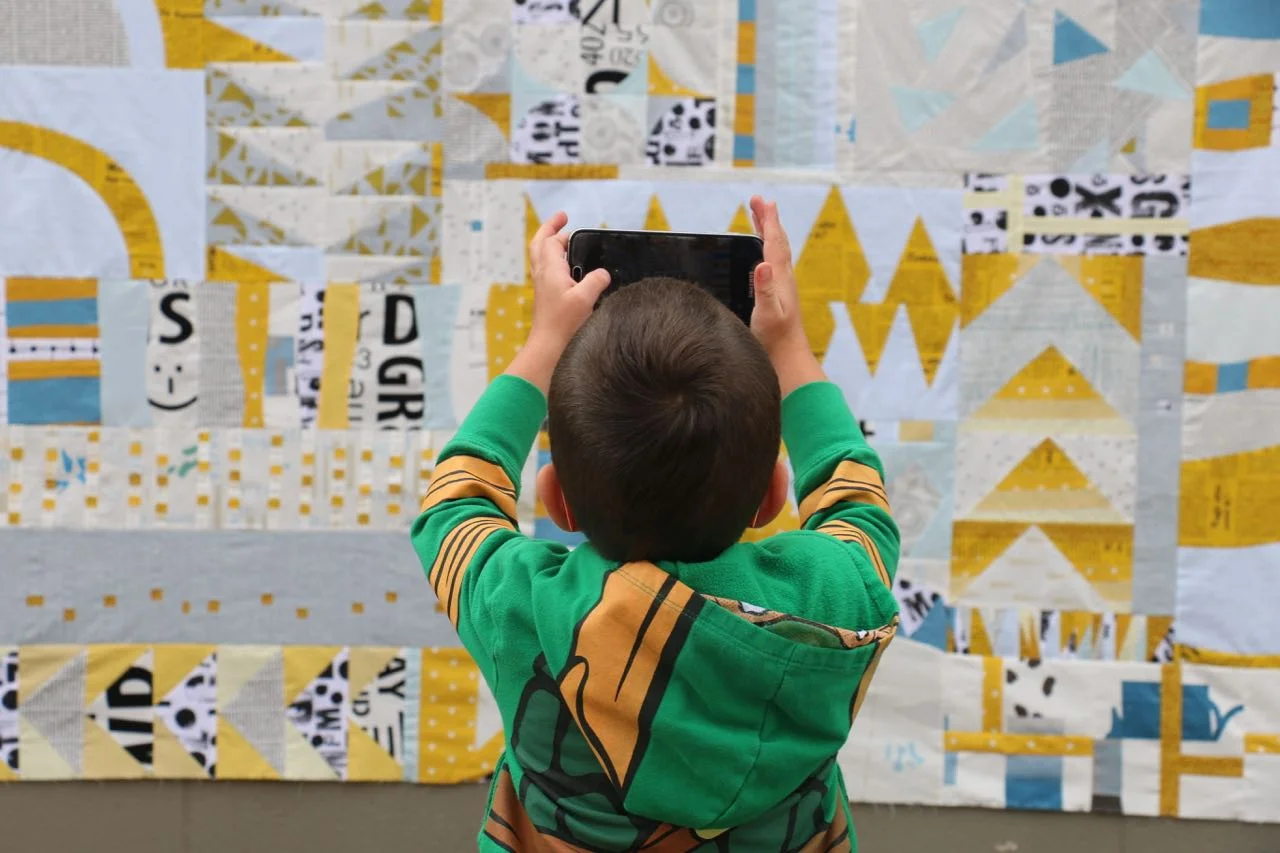
Photography with kids and an improv quilt

Morning Makes - The Australian Verson

Australian Improv Work

If it wasn't for my morning make I would not be surviving summer. To clarify, I would not survive the kids being home and very limited time to sew or work. I'm doing my best to be a calm mom and the act of creating before I consume is making a huge difference in that goal.

This is just an exercise in improv. It's just play.

The first bits started as demos on my Australia trip. I grabbed two fat quarters fairly randomly to demo something on the fly. Then I used the fabric to demo something else. By the end of the trip I was rather in love with the combination so I bought the rest of those two fabrics. At home I added in bits of love from my stash, treats that Leslie at Maze and Vale gave me, scraps from my Kawasaki's Theorem screen printing, and some special fabrics also gifted on the trip. 

There are a million ways to approach improv and a million ways to play. I've decided to focus on shape to have some cohesion in the quilt. Triangles/diamonds, curves, little bits. This way, that way, any way. Scale provides some great interest and keeps me on my toes in the making.

So here and there, each morning, I make a little. Some days I can sneak in a whole hour. Most days I'm lucky if I get 20 minutes. All that counts is that I sit my butt in the chair and sew first thing in the morning.