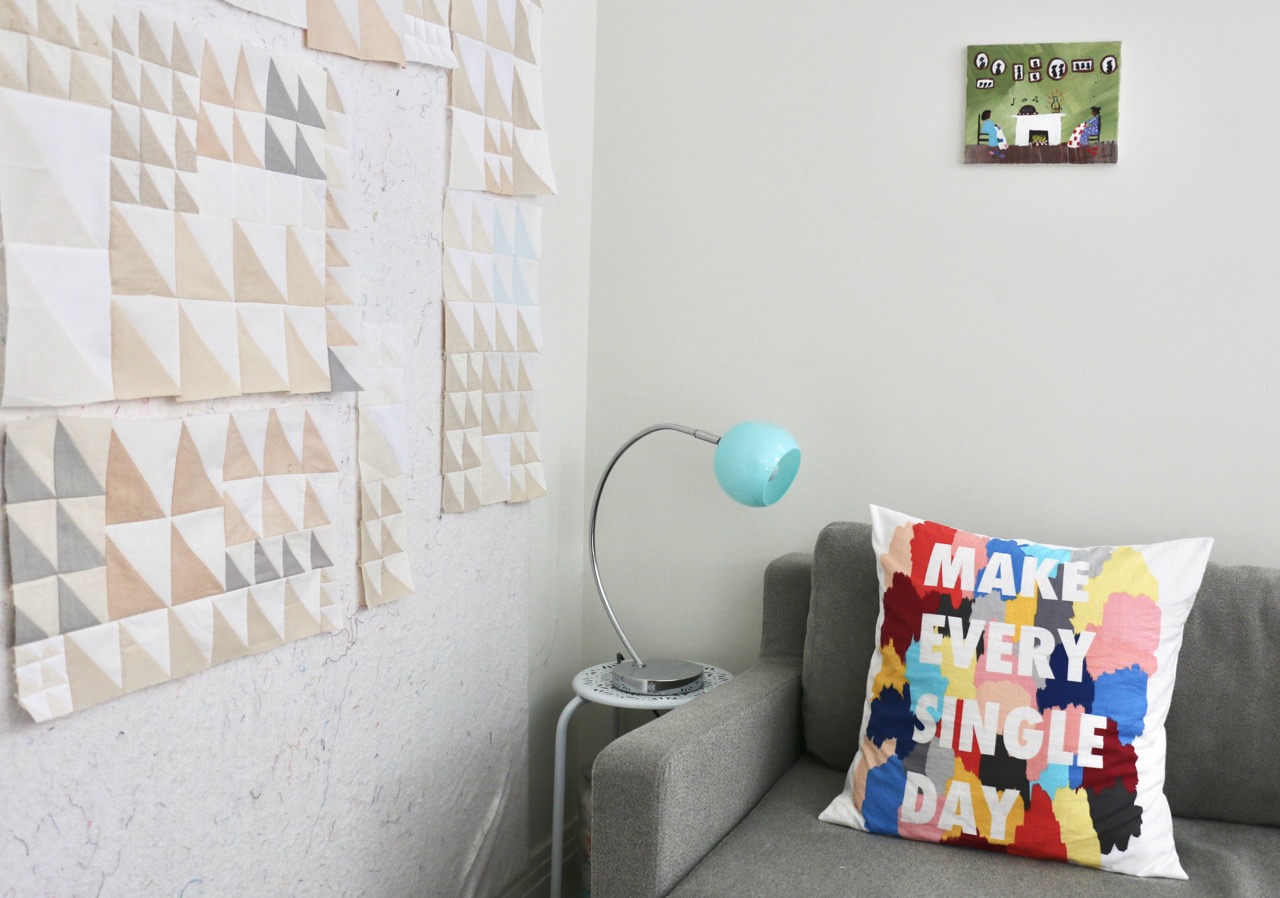
"creativity"

What it really means to PLAY on the design wall

My absolute favourite part of making a quilt is the getting it all to work together part. For me, this means design wall play. Generally, I have a whole bunch of components and have to come to a lay out that I like. It would be different if I planned it all in advance. In that case the design wall would only be confirming what I intended. That just isn’t how I work.

More often than not I start out making a quilt without knowing I am actually going to make a quilt. An idea, a technique, a colour story. Anything can get me going. At the beginning, however, I don’t really know that it is will be a quilt. It is just something I want to try. Even if I have full quilt intentions, I have no idea how it will actually turn out. It could be awful or a different idea can come in to being. What is most important to me is to be open to the process.

Take my most recent project as an example.

I started off making sample blocks to promote my class with Marisa Anne of Creative Thursday fame. The Make Waves block is for the Thursday Club, an online class I taught earlier this month. With waves being obviously blue I made all my samples in shades of blue. Then Marisa suggested that I add in some other colours because not every one likes blue. (I know! Right?)

At this point I had no intention of making a quilt from these blocks. It was just fun times, a good sample. I honestly expected the blocks to sit around for a few years until I rediscovered them and then maybe made more.

Then I saw that yellow block, that pink one, the teal, the blue. I immediately thought SUNSET. More specifically, OCEAN SUNSET.

Make Waves Multi.jpg

And boom! I immediately starting making more and more blocks, picking colours of the sunset. Just running with the idea, no clear plan for a quilt just yet.

After I made a dozen orange and coral blocks I stopped to take stock. What exactly would I need? How many blocks should I make? Am I focused more on the sunset than the ocean now, or vice versa? Deep breath before I dive too deep. So I sketched a picture.

Make Waves Sunset Sketch.jpg

Nothing fancy, mind you. I just coloured the sunset of my imagination. An image search showed many, many variations on the theme of that red/orange sky and a dark foreground. The emphasis should be on the sky, not the water. This led to a more formal plan.

My goal was 2/3 sunset and 1/3 water. Since I’d already started with blocks squared up to 9 1/2’’ x 9 1/2’’ I kept that. If you know me at all, you know I don’t make small quilts, so my finished sized is typically over 80” square. It just so happens that that is the perfect size for a double bed and Oh! Guess what size bed all my kids have? Well then, 9 blocks wide gives me 81” finished. And 9 blocks tall gives me an even split into thirds. That meant I needed 54 blocks for the top part and 27 for the bottom. There, quilt math done.

Over the course of a few weeks I got the sunset blocks done. I did precisely zero planning for how many blocks of each colour. I just cut a bunch of fabric - first raiding scraps, then stash - and made blocks. All blocks are improvised, but with the same technique of gentle curves and number of strips. I did save yellow for last, assuming I wouldn’t need as much because that was my sun. It’s up to the design wall play to make them work together. Of course, I am open to deleting some blocks and making others, if that is what is called for.

Then I had to lay it out on the design wall - where the fun really begins. And frankly, it doesn’t truly end until I start sewing things together and commit to the layout.

Here is the first go around with all 54 blocks.

Make waves layout A.jpg

It feels choppy, like the colours aren’t flowing. I’m never going to have a perfect gradation, but this is too far off. I also don’t like that one random bit of yellow in an orange block. It needs to be managed.

On to the next try.

make waves layout B.jpg

Much better. The pink is more on the one side and the orange on the other, but without there being a defining line. But a few blocks stick out too much to me, I want more flow. And that pesky yellow strip is a bit more under control.

Still need to play.

make waves layout C.jpg

Closer yet. I think the pink has too much of a vertical dividing line now though. I may need to wrap the pink around the orange a bit more. And maybe have all the lights be at the top?

This is how it currently stands on my design wall, which means I am not done yet. I’ll know when it feels right. I usually, involuntarily, squeal and jump when it feels good. Then I sleep on it. Now matter how perfect I think it is I do not sew it together as soon as I think so. I always sleep on it. Then I do two things. 1. Look at it is bad lighting. If it still looks good, it’s probably a winner. And 2. Take a picture. Not just to compare to previous iterations like I’ve done here, but because then it is like looking at it far away on the wall. That’s when colour and shape become prominent.

The key thing is to not rush it. Something the perfect layout is the first one you do. No need to doubt that! Sometimes it is the 10th or 20th. Don’t doubt that either. By embracing the process of quilt making, but thinking of this as play and not work, you are giving in to creativity.

Improv Curves - Scrappy Versus Scrap

Improv Curves Color Girl Quilts

I knew there was a reason I couldn’t throw away the scraps.

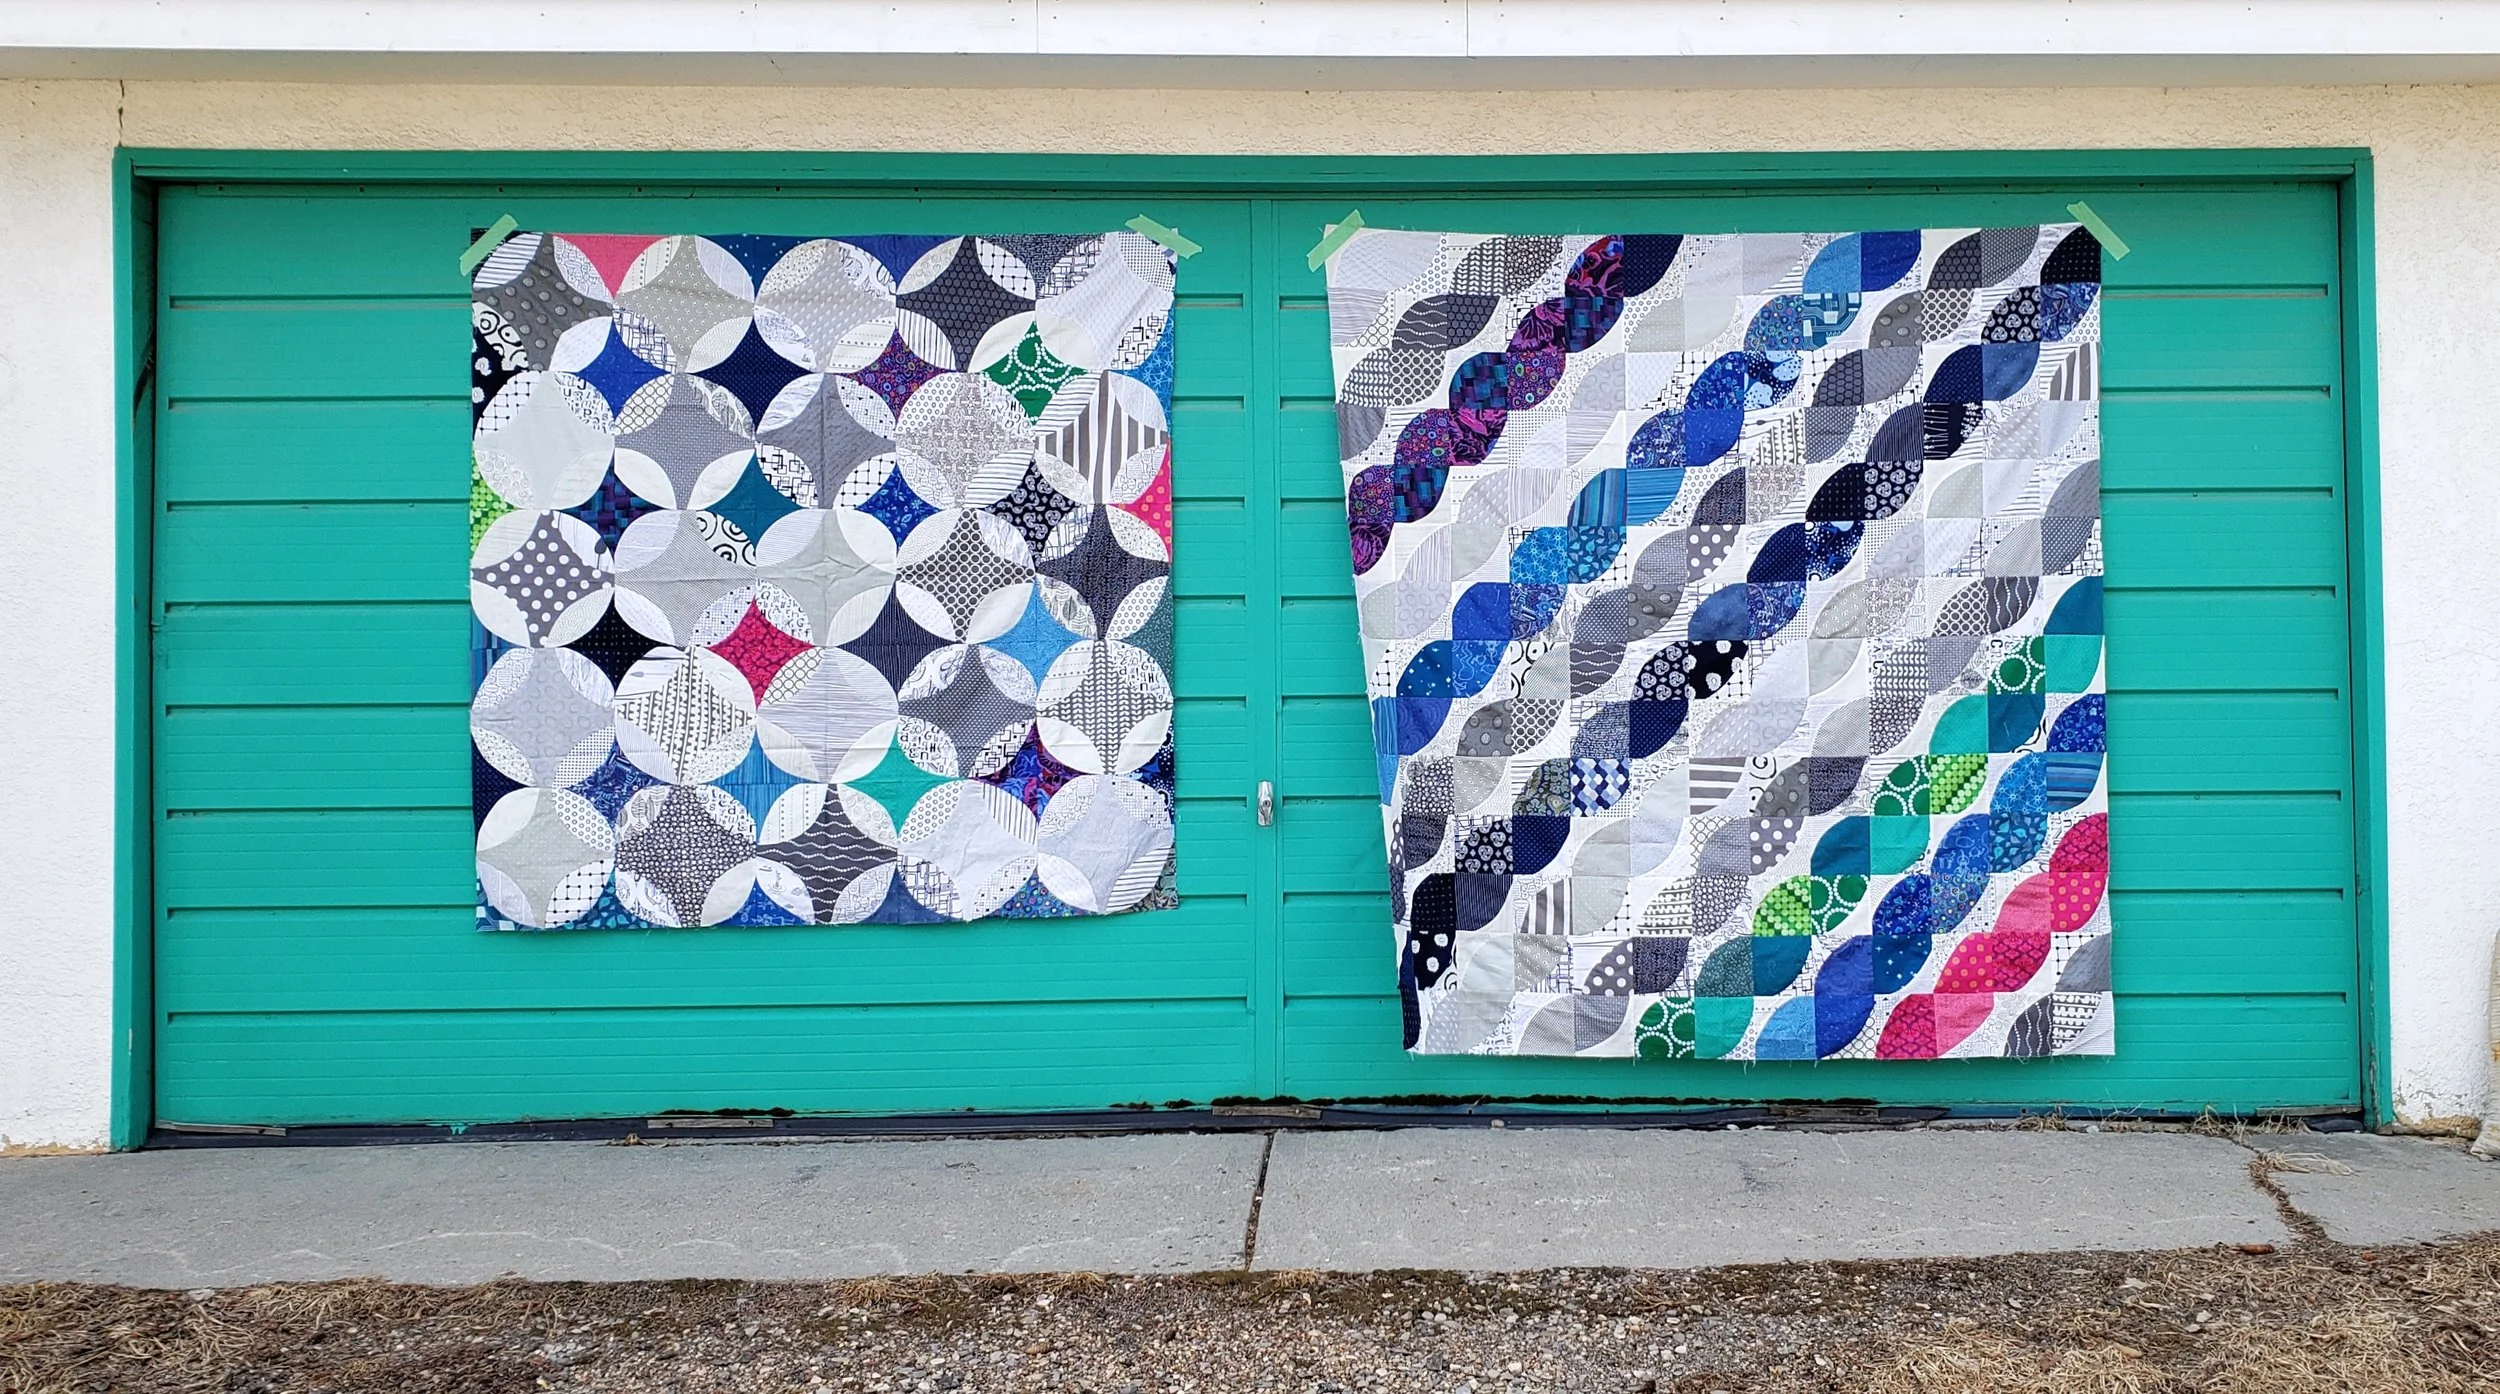
There I was, playing around and making this improv curve quilt. It was completely inspired by a very precise pattern by Sharon at Color Girl Quilts (Indigo). But the way I chose to make it meant then I was left with a lot of cut out curves. They matched and all, but they weren’t needed for the quilt I was then making.

Rather than toss them aside to get jumbled or lost I kept the pairs of pie and crust together then sewed them up when everything else was done. Then they got tossed aside and nearly jumbled and lost.

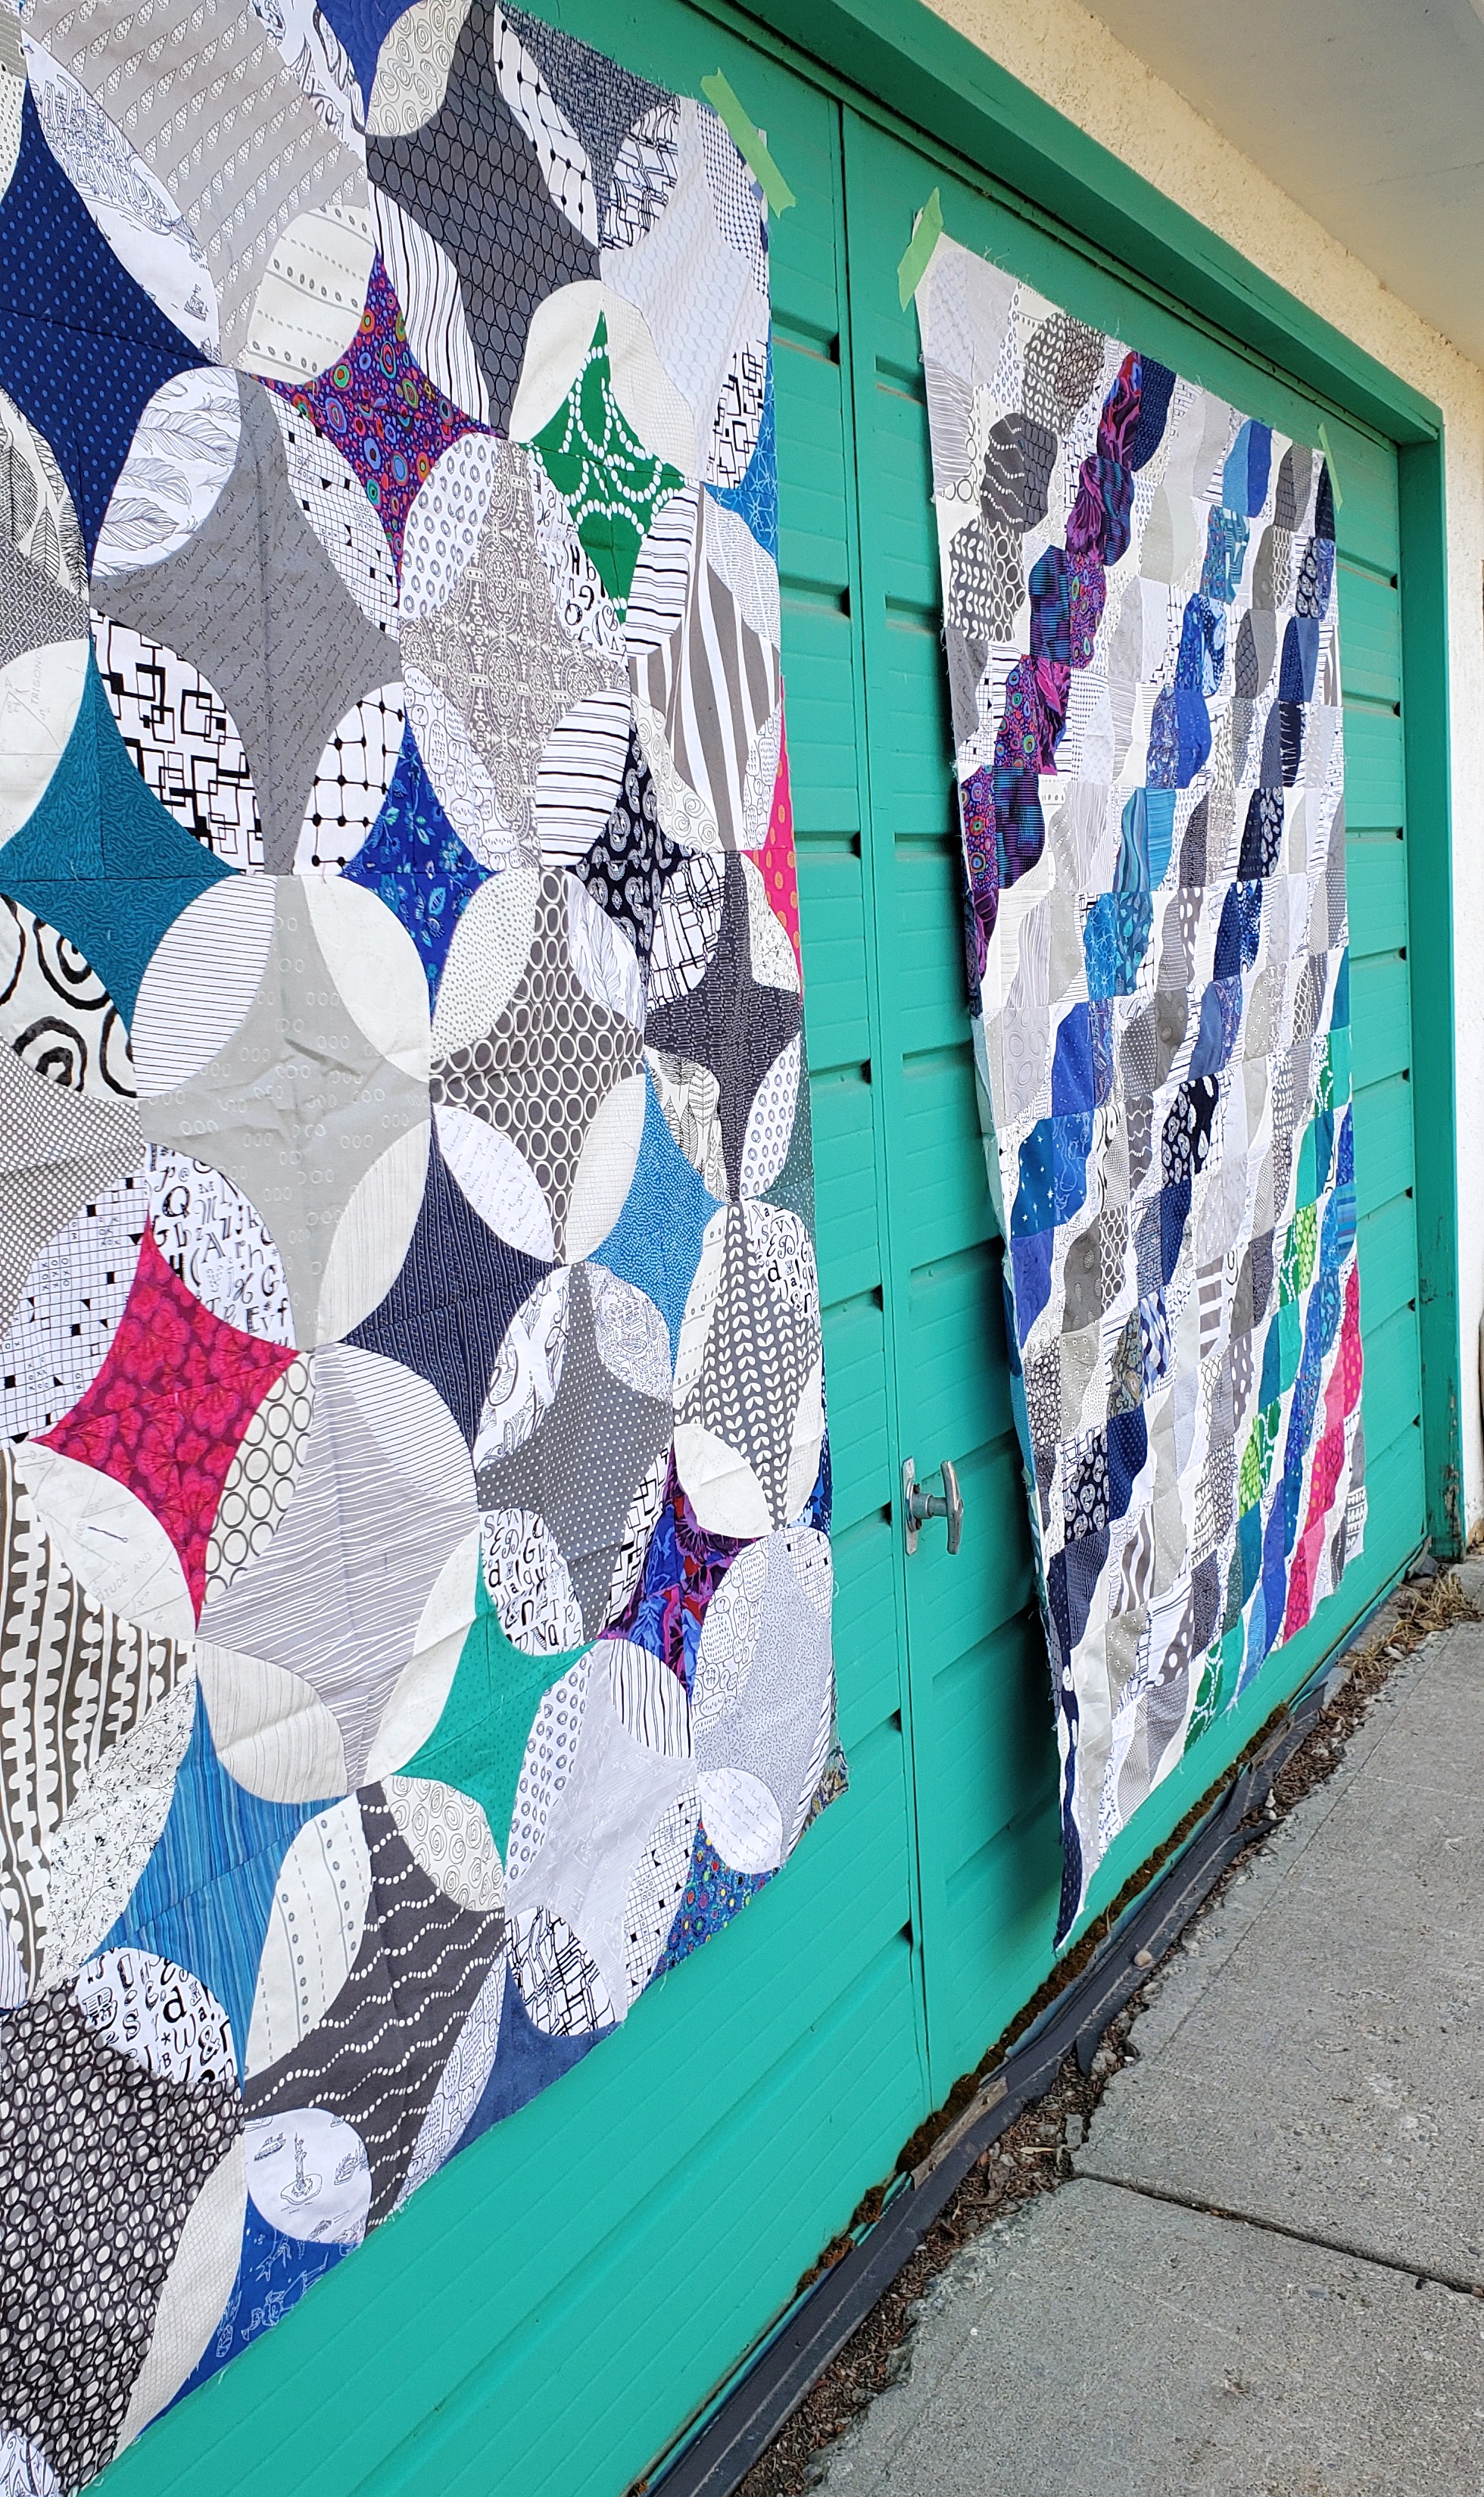
A few weeks ago I was in the mood to finish something. I was also in the mood for some design wall play. With zero plan for these scrap curves I started playing. For a few evenings I arranged and rearranged. Some layouts were too much like the original. One was, ahem, a little too lady-like. I had flowers and other things up there too. In the end I settled on the one that - at first - felt too predictable. But that first instinct proved the best. It used up all but 9 of the blocks and I am thrilled with the results.

Improv Curves

When I went to take the photo I discovered a very interesting thing - the scrap quilt was bigger than the original! Side by side they relate by way of colour scheme and the improv curves, but they are too very different quilts! One fundamental difference, however, is that I would call the first quilt scrappy, while the second is a scrap quilt. That is, the first one has multiple fabrics, all chosen deliberately. The second one was me working with what I was handed in scraps. It might be a subtle or even a semantic difference, but there is a difference.

Side note: The difference between scrappy and scrap is one of my new truck shows!

These now get added to the pile of quilt tops. No matter when they eventually get quilted though, I think they will have to go to a certain pair of sisters that lives in my house.

Improv Curves Color Girl Quilts


Make Waves - A New Class and a New Quilt

Make Waves Thursday Club

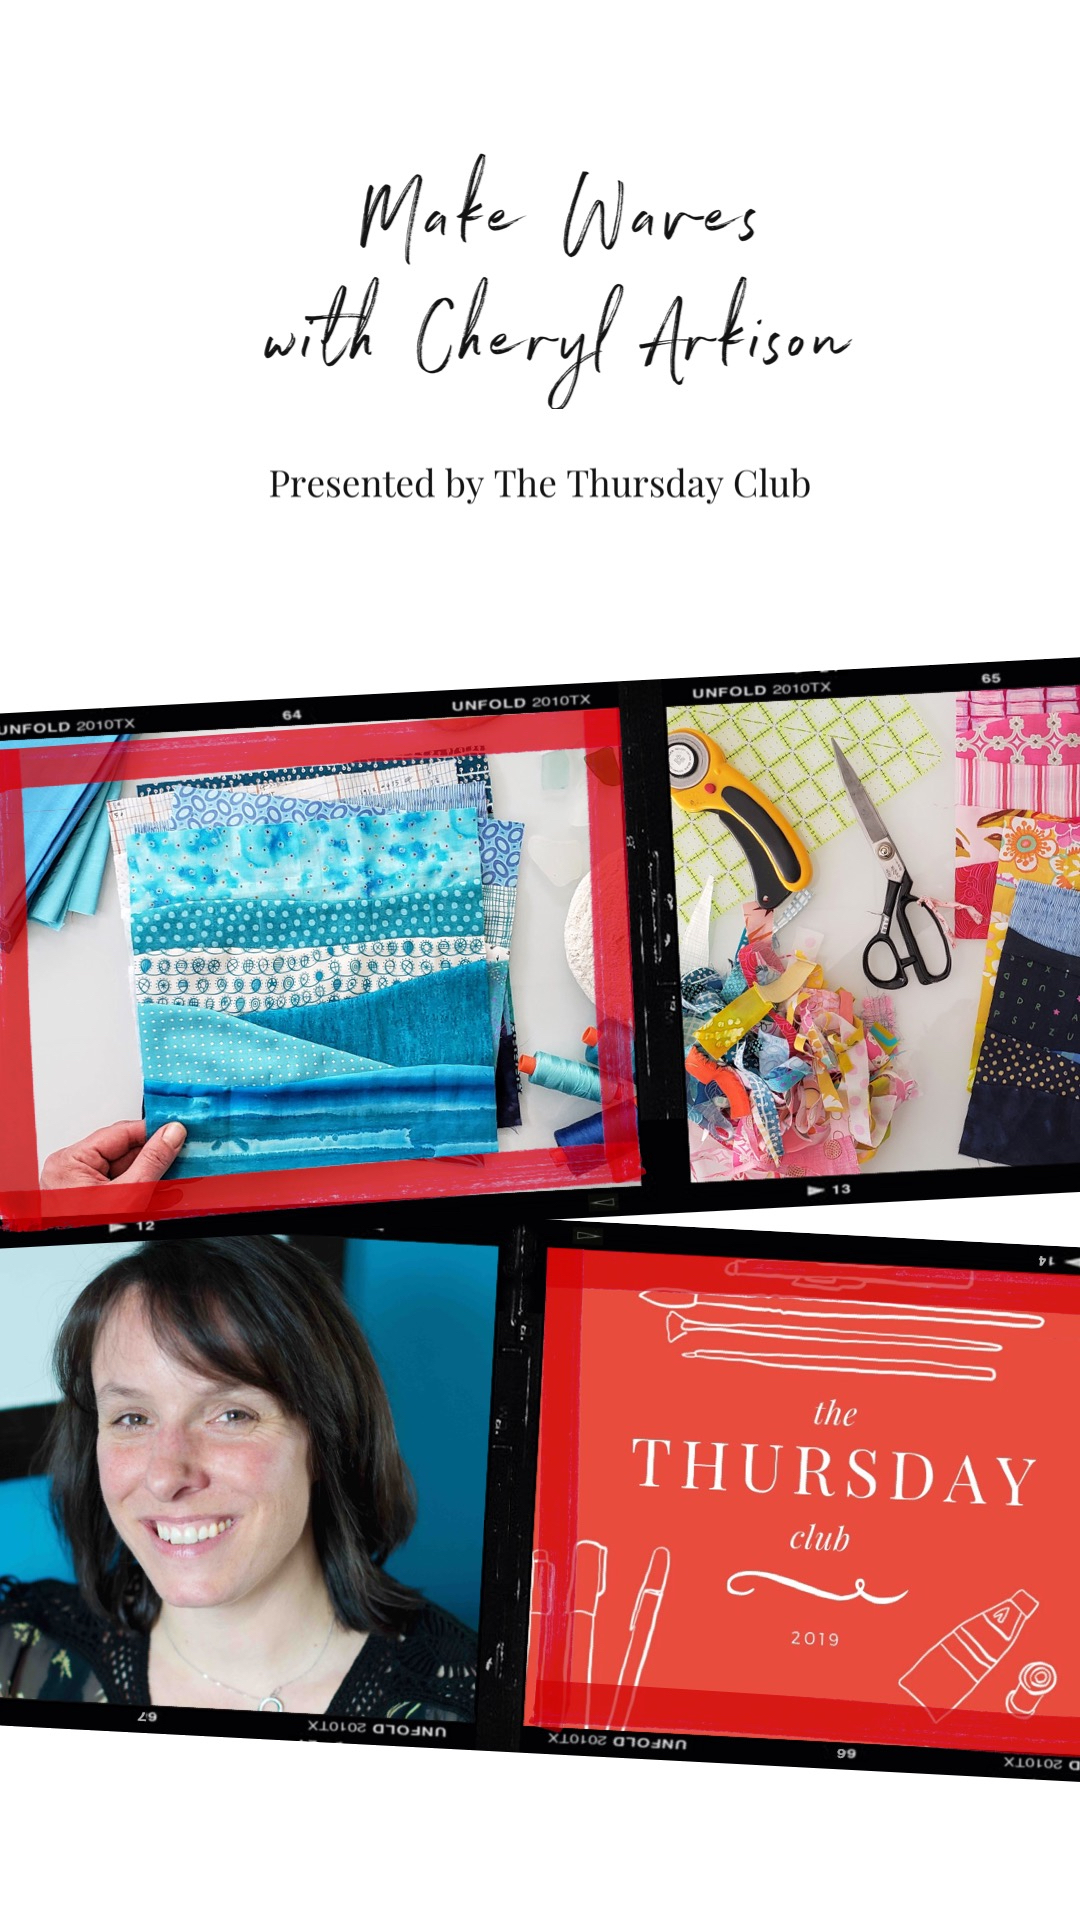
I didn’t mean to start a new quilt. But there I was on a video call with Marisa Cummings from Creative Thursday. We were chatting about her Thursday Club - a monthly exploration of the creative act for all of us - and my upcoming class. I can’t even say what was the initial spark, but a quick sketch on that call confirmed two things.

First, the Make Waves block is for my month teaching The Thursday Club. This Thursday join me as we make the block live! I will walk you through fabric selection, both hand sewing and machine sewing techniques, and finishing options. It’s okay if you can’t join us live, you can still purchase the event and learn all about the block. This will be the only spot I will be teaching it.

Make Waves the Thursday Club

If you ever take a class with me you know I am a big proponent of creating for the sake of creativity; that nothing you make in class has to be anything. That was honestly how I started with this. Just some class samples, no plans beyond that. I picked blue for the obvious wave reference. Then Marisa suggested we have some other colours because not everyone responds to blue. So I made a few other colours. I also make some solid versions, thinking the block itself is a miniature landscape. That got me thinking about sunsets. Suddenly I am making blocks in all the colours of a sunset.

So second, this is the start of a new quilt. It’s going to be a bit to make all the blocks. You know me, I don’t make small quilts.

In the meantime, make your own waves. Join us on April 4 at 1 pm MST to learn how to Make Waves yourself. This is a totally beginner friendly improv quilt block. I will be providing instructions for both hand sewing and machine sewing. Either way, it is deceptively simply yet has striking results.

Make Waves The Thursday Club

The Thursday Club is a wonderful initiative by Marisa. I’ve known Marisa online for over a decade. She continually inspires me and I can honestly say she has changed my life in some pretty positive ways. The Thursday Club is about giving ourselves just a little bit of time to explore creativity. Last month it was painting with Helen Dardik. Next month is another painting session with Marisa. And wait until you see the rest of the line up! Just one or two hours a month to explore, play, create. Just for you. Give yourself the gift, it is worth the investment in yourself.

Register Here

KonMari Your Sewing Space

Konmari your Sewing Room

So much is being said about Marie Kondo and her Konmari method these days. Haven’t heard of it? It is a decluttering/home organization philosophy. What makes it different from most - at least as far I see it from reading the book and doing my own clean up efforts - is the breakdown into categories of items, as opposed to by room, and the whole notion of sparking joy. She says you shouldn’t keep an item unless it sparks joy. It isn’t really about getting rid of all your stuff and living as a minimalist, but about keeping what truly makes you happy.

We are sewers and quilters, arguably everything we have for creating sparks joy - eventually. That being said, the amount of stuff many of us accumulate in the pursuit of a joyful hobby can indeed be overwhelming. That applies whether you have a dedicated room (s) in your house for sewing or a corner of the bedroom. It is easy enough to say to put your stash on a bookshelf or store projects in the bins under the bed, but like the Konmari method espouses, it is worth asking yourself whether it is worth keeping.

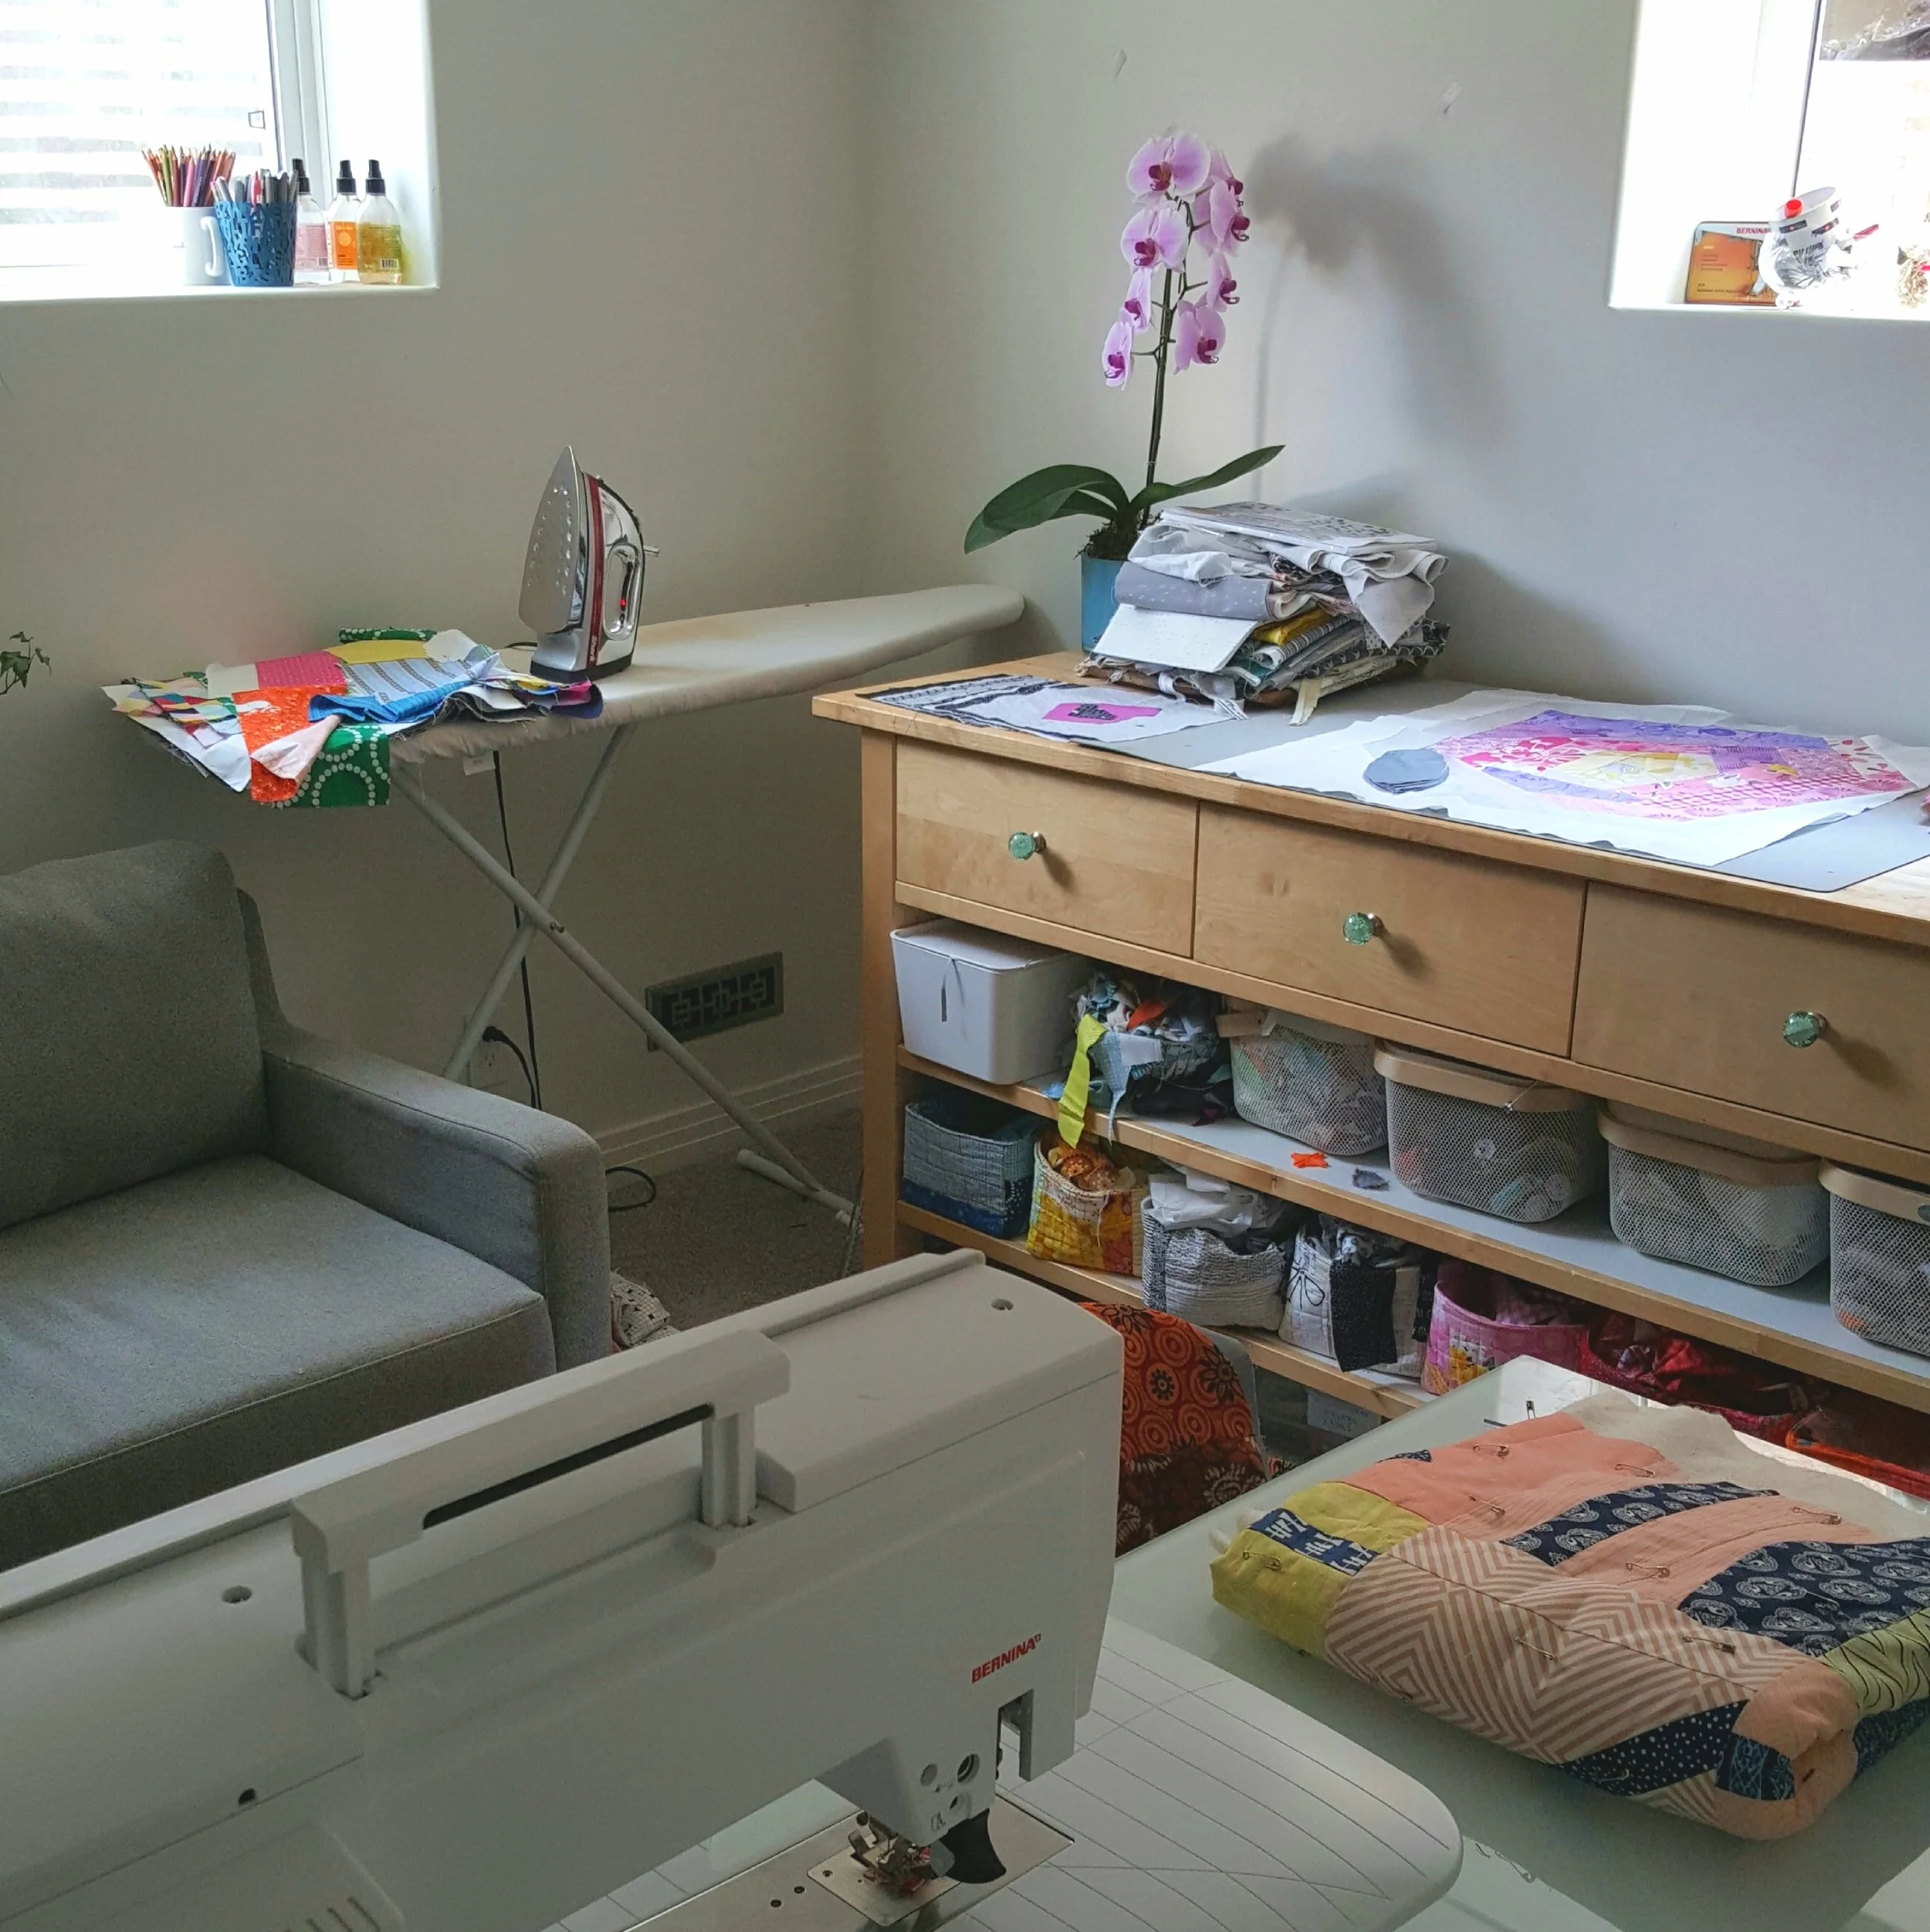
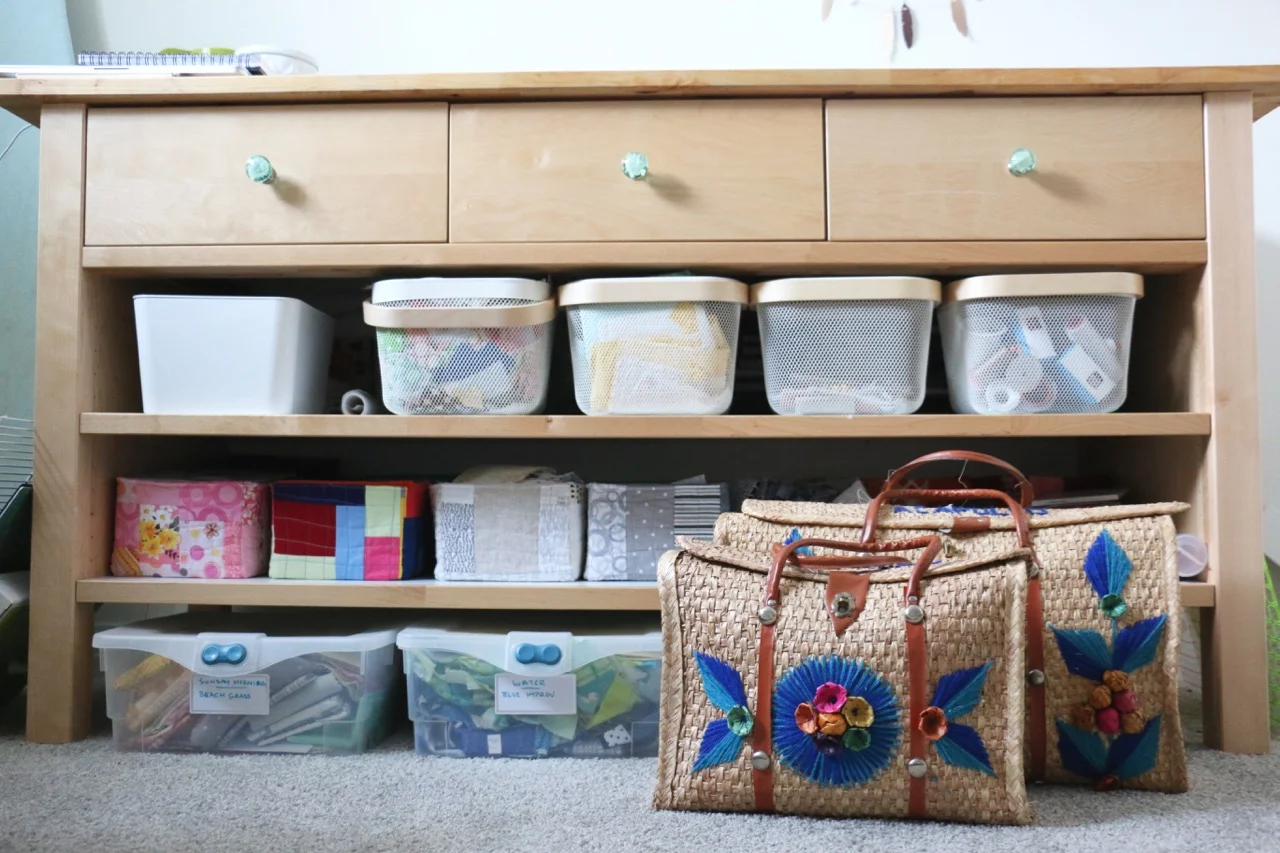
Cheryl Arkison Konmari Studio Space

To organize your sewing space inspired by KonMari I make the following suggestions:

  • Breakdown your stuff into categories.

  • Say goodbye to things that no longer hold your attention or appeal to your current taste.

  • Embrace the space you have and work with its limitations.

Let’s talk categories first. Under Konmari our sewing supplies would fall under one broad category called Komono. It is a really broad category. For sewing supplies we are giving them their own categories. These are the ones I recommend and some tips for sorting/purging.

Thread storage
  • Stash Fabric - go through every bin/shelf, stack, pile. Remove what you don’t like anymore, even if you think you might use it one day. Chances are there will be another purple fabric you will buy down the line. Trim any dangly bits. Fold or refold. Go with what works for your own storage, just be consistent in how you do it. Also, do it in a way that makes sense to you. If you don’t you will not maintain the system.

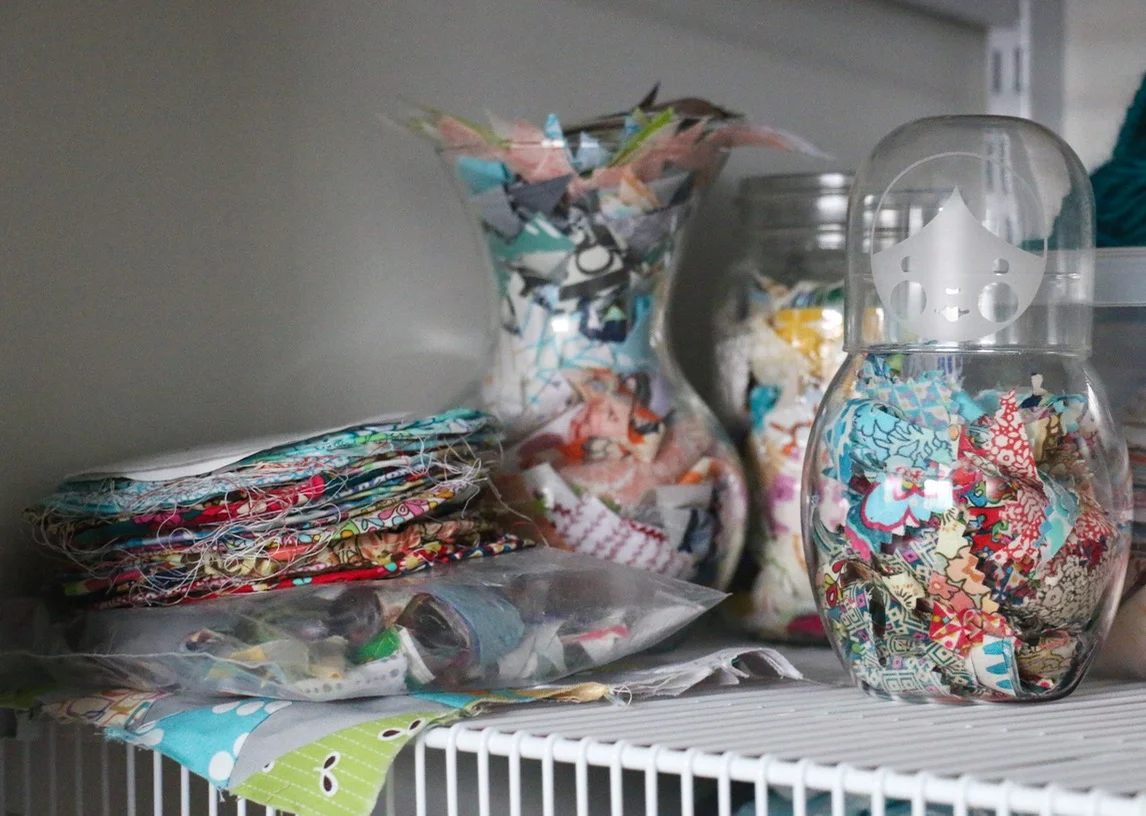
  • Scraps - I am a firm believer in storing scraps by colour, with some discretion for size. Then again, I did write a whole book on just that (with Amanda Jean Nyberg - Sunday Morning Quilts). If you’ve never sorted your scraps just doing this can open up potential. If you’ve always sorted scraps and never used them, consider passing them along.

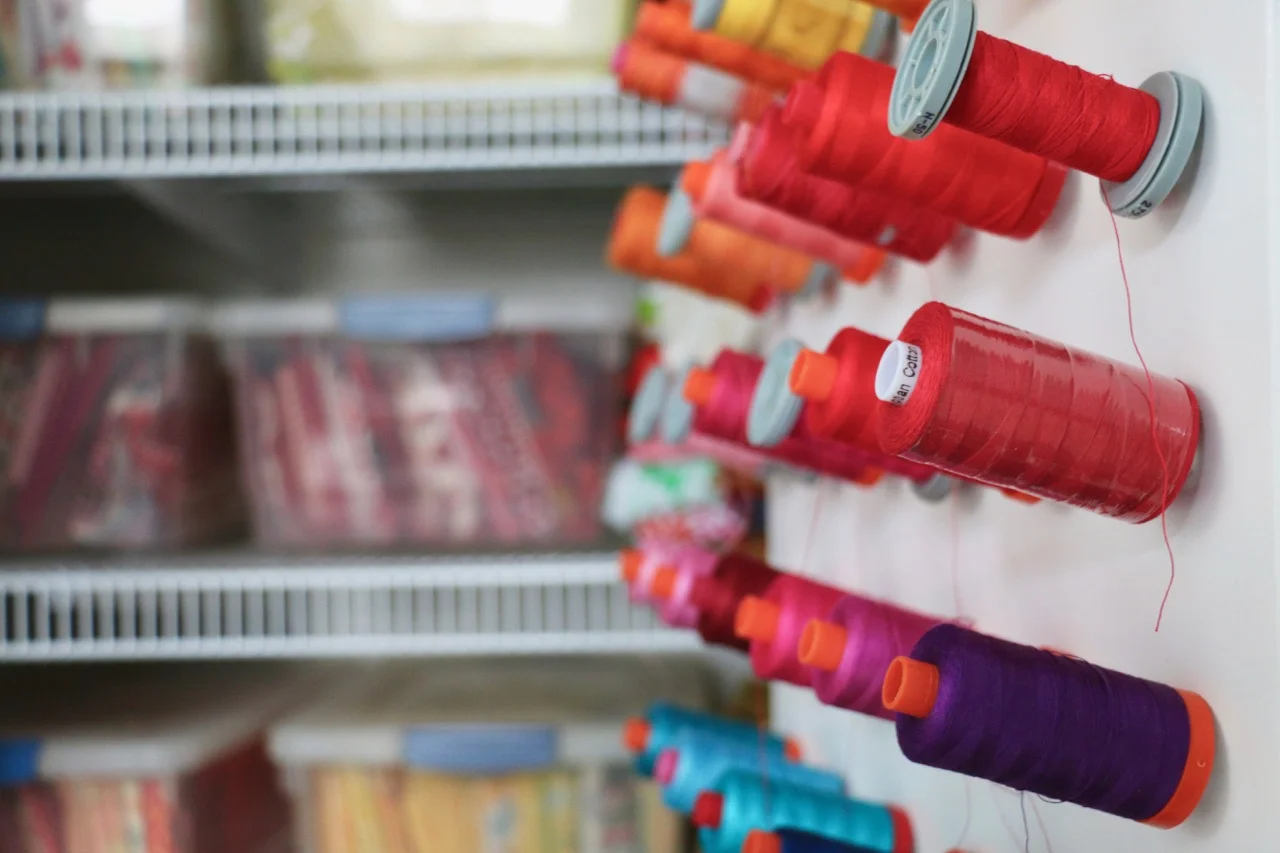
  • Thread - Sort by fiber content and use. For example, I have some poly/cottons or poly for garment sewing and all my cotton for all my quilting work. I may have a pretty rack that shows them by colour, but that is only for my all cottons. And my Valdani and thick ones for hand stitching are all together as well.

  • Notions - As a quilter I don’t have much this way myself, but garment sewers are likely to have zippers, buttons, bias tape, and much more. Or applique quilters might have a collection os fusibles. Whatever it is, bring it all together. Bought a big role of Wonder Under and used it once? Pass it on, you can always buy more if you start a different project. Some of these lose their viability too. I like zipper pouches for smaller notions grouped together and a drawer in my cutting table for rolls of paper and such.

  • Tools (including machines) - Rulers, oh the rulers! And the templates and the sewing machine feet, and 4 rotary cutters. Unless you are a minimalist or beginner you probably have far more than you need in this department. Look at them all together and pick out the top 3 rulers you use. The rest you can probably pass along. Same for rotary cutters and scissors. One for daily use and maybe a travel/back up set. Sewing machines and their accessories are expensive. Personally, I have 3 machines. That is really 2 too many. One will do the job. But I will keep them all - one I use when I travel/teach and the other is technically my mom’s. Ask if the collection all gives you joy and decide for yourself.

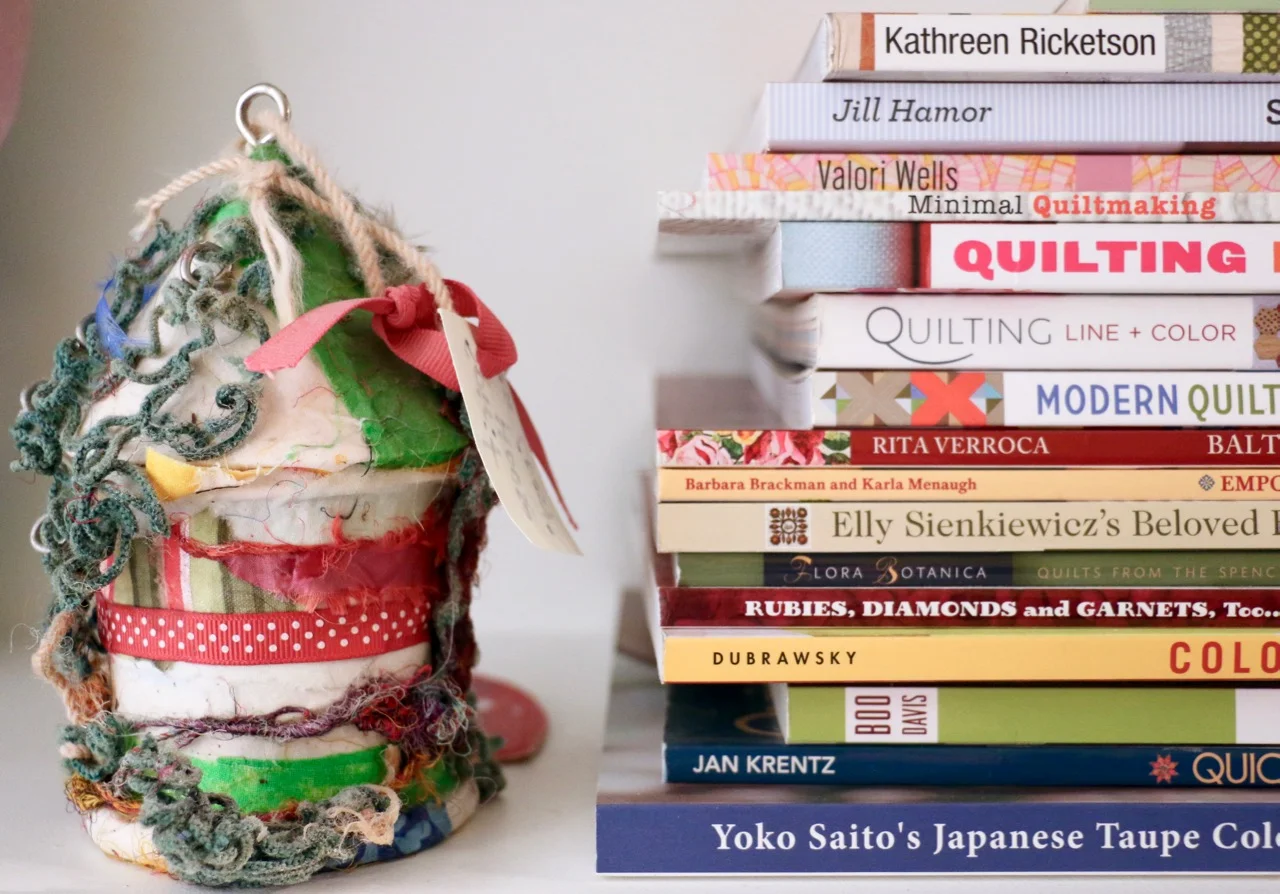
  • Patterns and Books - Even I, the improv quilter, have a collection of patterns and books to rival most. I love my books so much, and the built in bookshelf my husband made me. Go through and decide if they are something you have or will ever pull down again, otherwise donate them to the guild library. As for patterns, let it go! Made it once already and loved it, fine, but will you make it again? Think you might make it? Is that going to be this year or ‘sometime’? If the latter, let it go. As for storing, I suggest finding a drawer or bin or bankers box that will hold them all together. No more looking for a lost pattern. And those PDF sewing patterns you printed? Roll them up and put them in poster tubes or even paper towel rolls.

  • Quilts Under Construction - This is the time to really ask the question about whether the project sparks joy. Every few months when I visit my list I ask myself the question. Sure, there are a mountain of projects on the list, but I am keen to get my hands on all that stay on the list. The rest I have passed on to guild members or repurposed the fabrics. It’s totally okay to admit you don’t love the fabric, the process, the project anymore. Free yourself from that creative baggage.

  • Finished Quilts - I realize that not everyone has a stack of quilts to worry about. Being in this game for as long as I have (20 years!) the stack of finished quilts has really grown. So many have sentimental value or are gifts for my immediate family. Many are ones I made for publications in books or magazines. All get used at some point - whether on a bed/couch or in a trunk show. But the time comes when the racks are full and I need to say goodbye. It is purely a sentimental decision at this point, but I do have a stack for giving away. Friends and family first then some charity donations.

Quilt Book storage

Our sewing supplies hold the potential for joy more than the joy itself. That is completely valid. No one, even a Konmari expert (of which I am not) is telling you to get rid of all your stuff, to buy only for the project at hand. (Although I saw a thread on Reddit that said exactly this!) All of this is about getting a handle on what you have and being able to access it - as well as the joy it can bring in the process of sewing - easily.

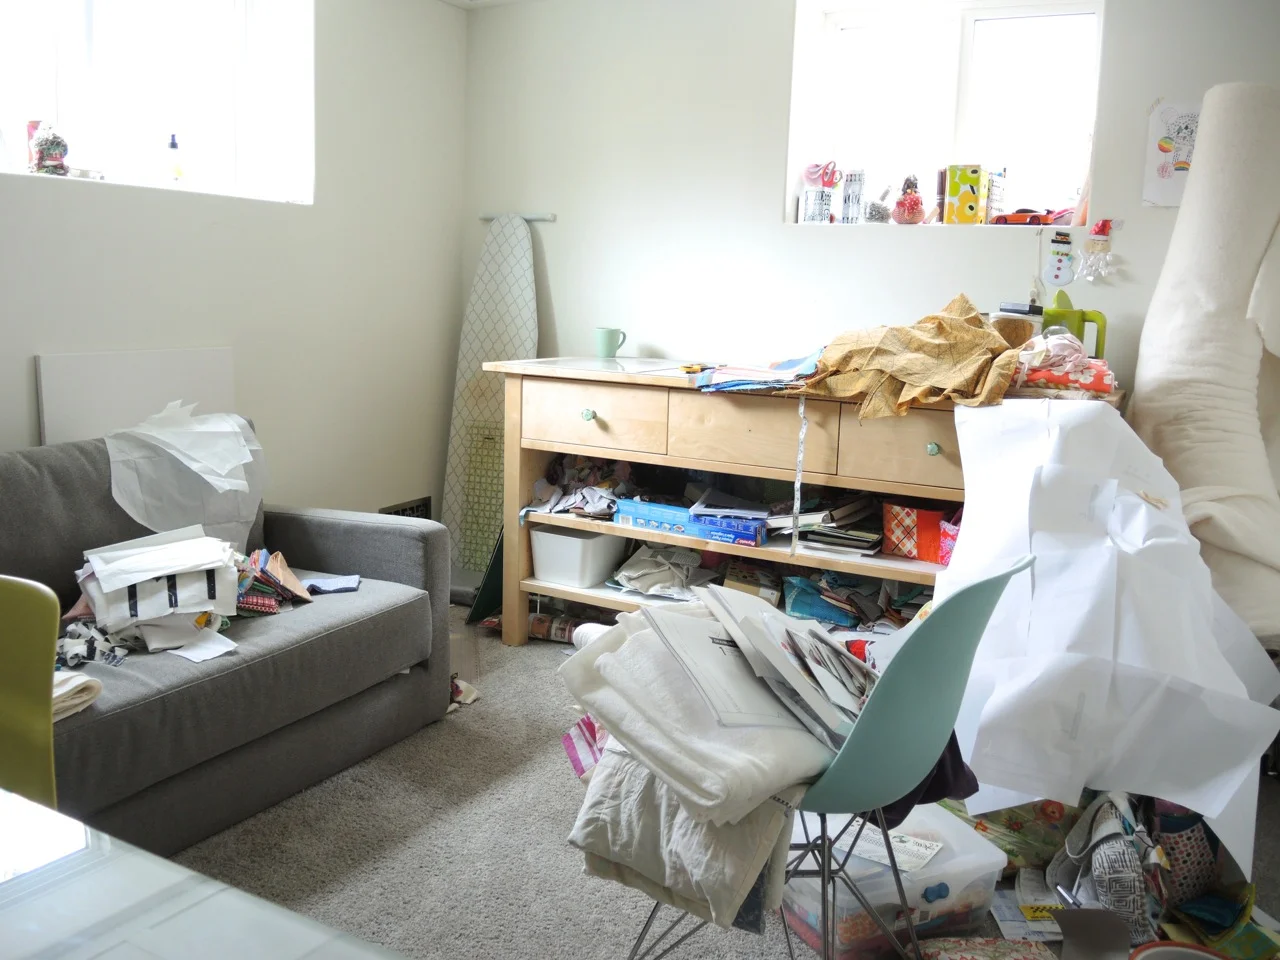
While I have a dedicated sewing space now for the longest time I did not. Taking over the dining room table, kitchen counter, and any spot of storage in an old house was how I built my quilting career. And the second, the absolute second I was given any more space I filled it. Sewing supplies are like any liquid - they will fill the available container. If you find your stuff overflowing what you have then it is a good time to empty the glass and start over, before you are flooded entirely.

Honest craft room

What about the things you decide you don’t want or need anymore? What are you supposed to do with them? Unless it is the tiniest of scraps (which I often leave out for the birds and squirrels) you can donate or sell most of what you are getting rid of.

  • Try your own destash sale on line or have a quilting garage sale. Join forces with a friend or two to make it even bigger.

  • Look to local charities for donations or larger organizations like Victoria Quilts, Quilts of Valour, or Project Linus. Always check with each organization first to see what they want or need.

  • Have a supply swap at guild. Give it away to someone who is interested.

  • Donate to a Home Ec program.

  • Ask around online for beginner or low income quilters to share your wealth.

Whatever you do, don’t get hung on how much you paid for it originally. If you goal is to clean up your supplies and keep what gives you joy then your goal is also to get rid of what doesn’t help in that matter. Besides, you aren’t throwing it in the garbage, you are finding it a new home with someone who will likely find joy in it.

Sewing Room Cutting Table Scrap Storage

A friend recently sent me this article on minimalism and creativity. It is me to a T. Is it you? Ultimately, I believe that clutter is the killer of creativity. I realize that some folks love the piles and the messy desk and will claim that kind of space their favourite. To each their own. But I am a firm believer in empty spaces providing opportunity. It is why I don’t have an inspiration wall, why I store my fabric behind closet doors and not on open shelves, why I like bins and baskets contained, and why I like large furniture wherever possible over small carts and shelves standing next to each other. When we have space to create, space to breathe, then we have the space for creativity to blossom.

Don’t think of Konmari in the sewing room as a tragic event, that you are saying goodbye to creativity along with your stuff. Hanging on to a million things that you might use isn’t feeding your creativity at all. It’s actually weighing you down, maybe even causing you stress. Why do you think people are always shocked when I talk about my Quilts Under Construction list, it stresses people out entirely. And when we are heavy creativity has no room to breathe, there is no space for the imagination to soar.

At the heart of Marie Kondo’s message is that we should only keep what sparks joy. Ultimately, it is your space, your sewing. Do whatever works for you, what brings you joy.

Cheryl Arkison Sewing Room