curves

Radha - An Exploration in Scale in Quilt Design

Radha

80” X 80”

Just 16 large blocks. They literally took me an hour to sew. And then hours contemplating their layout, but that is beside the point. When you want to play with scale, going big is the easiest way to do it!

To make this quilt I took roughly 2 meters of a black on black fabric and 2 meters of a white on white. I split it all into even squares. Depending on the width of your fabric that ends up about 21” on each side. (A meter is about 40” so I used a bit more than that to get them to be squares.) After making pairs of black and white I sliced through each pair on the curve, freehand. This improv curve technique is a comfort and a classic to me. After sewing each set back together I was left with 16 blocks.

Then they sat. And sat. I thought I was going to use them for one thing, then another. Then, this spring, I was hunting my stash for ideas. Our oldest nephew was getting married and of course I was going to make him a quilt! In conference with my mother in law and niece it was determined that black would be a favourite colour in a quilt. Not my norm, but I could do it. Then I remembered these blocks!

Once uncovered, pressed, and measured it was clear they weren’t all the same size. rather than trim everything down to a smaller size I decided to add some strips to make those few blocks bigger. And what better option than neon solids? I added them randomly based off of what I had available.

Then I spent hours over days trying to come up with a layout that worked. You can see some of the ideas here. In the end I went with something that felt more black. Perception is everything, right?

Continuing with the neon theme I quilted the whole thing with a bright peach thread. A few episodes of Revisionist History while on the long arm rental at My Sewing Room and it was finished. Then the mad scramble to get binding on before I left on our big summer trip. The wedding was the first weekend we were away.

Normally, I don’t get too fussed about finishing wedding presents on time. Maybe I should? That’s another story though. But I was feeling a bit guilty that my daughter and I were missing the wedding so I really wanted to have the gift available on time.

The backing is a combination of Tula Pink neons and that great green whose name I cannot remember. The Tula was perfect not only because the colour but both my nephew and his bride are big animal lovers. Now it has the black side and the bright side.

If you’ve been at a trunk show with me over the years you’ve heard me tell the story of how my first quilt was made after I found out my future sister in law was pregnant. It gave me permission to try quilting. My first quilt ever was made for this same nephew. Well, when I was binding the quilt I realized I still had 1 scrap from that very first quilt! It fit perfectly on the binding. I adore this full circle moment in both family and quilting.

Show and Tell

Improv Curves in Quilting Cheryl Arkison

Show and Tell

43” x 45’

First quilt finish of 2021!

I’m in a mood. A mood from the state of the world and politics and Covid and all of that. But also a mood to finish things. Head down and focus on something else. This is 1 of 3 quilts I’ve finished in the last few weeks.

Quilters' Playcation Cheryl Arkison

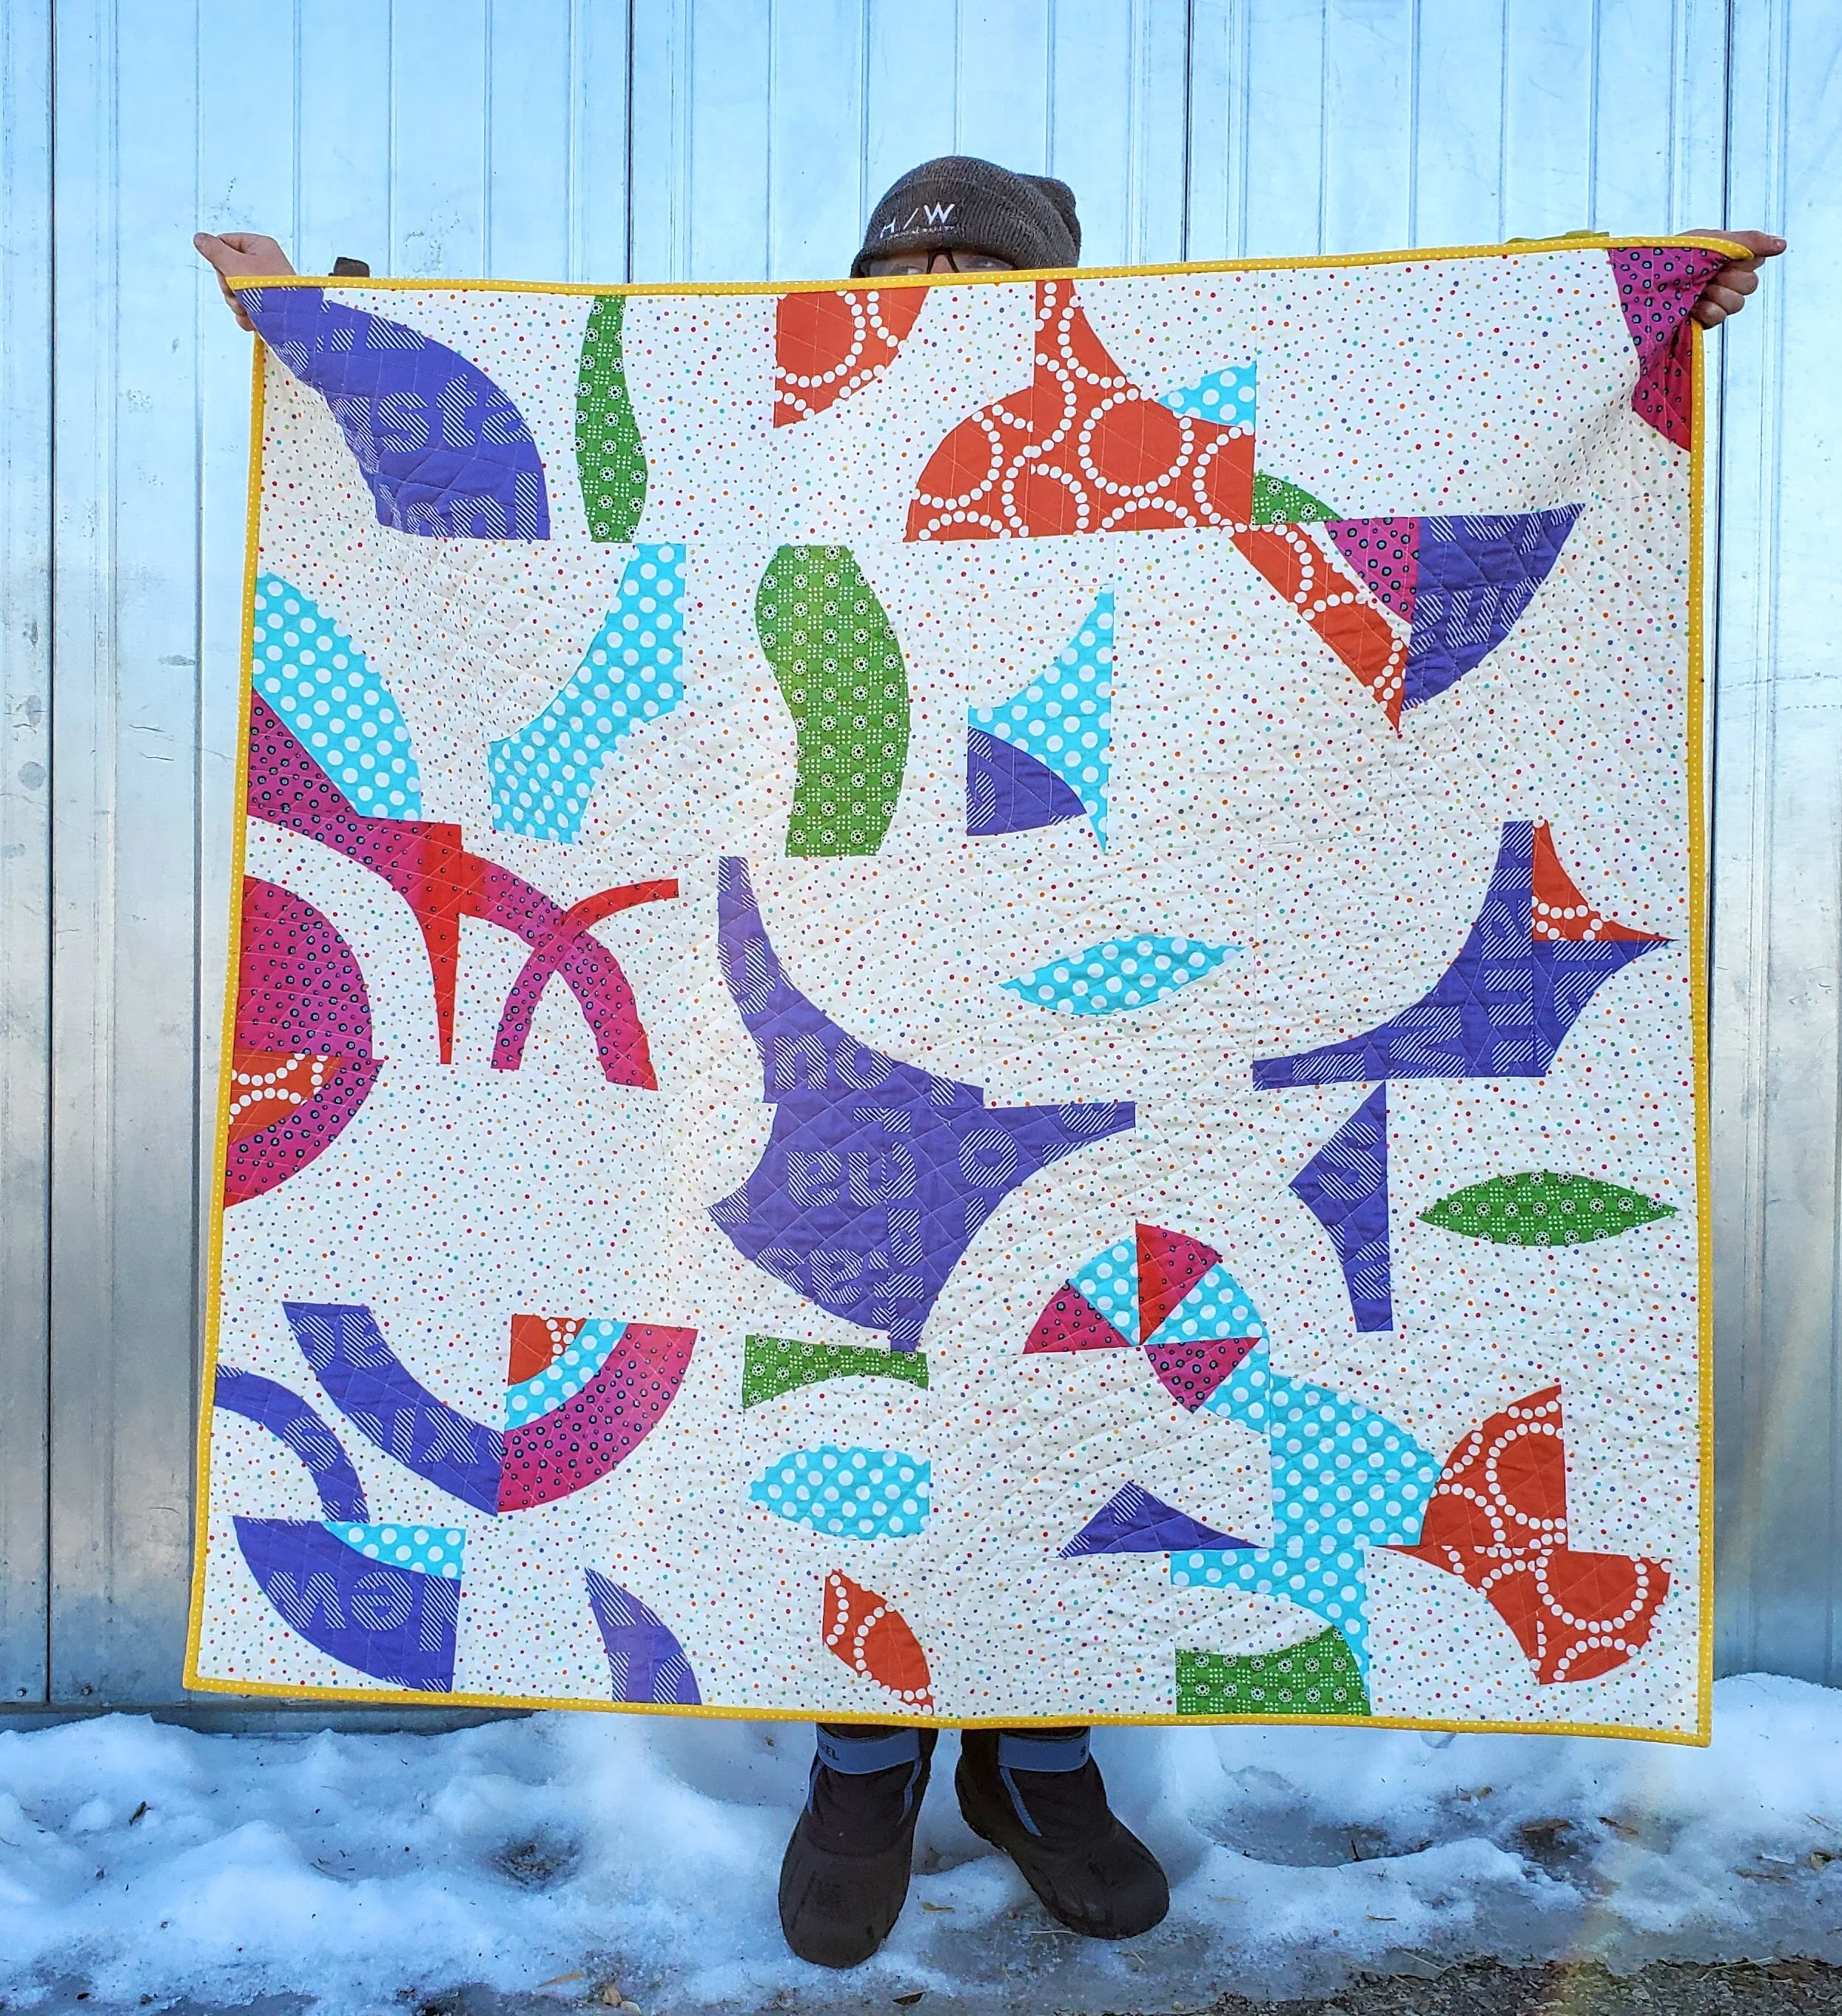
This particular project came about as class samples. When I taught improv curves in person I would grab from the same stack of fabric to demonstrate various ideas. Bits would get used and reused in each class. Eventually, I ran out of the background fabric. That meant it was time to turn things into a quilt.

I do this a lot. It’s better than using random fabric for class samples and being left with a bunch of orphan blocks. This means that the next time I teach this class I will have a different selection of fabrics to use, which will eventually turn into the next quilt.

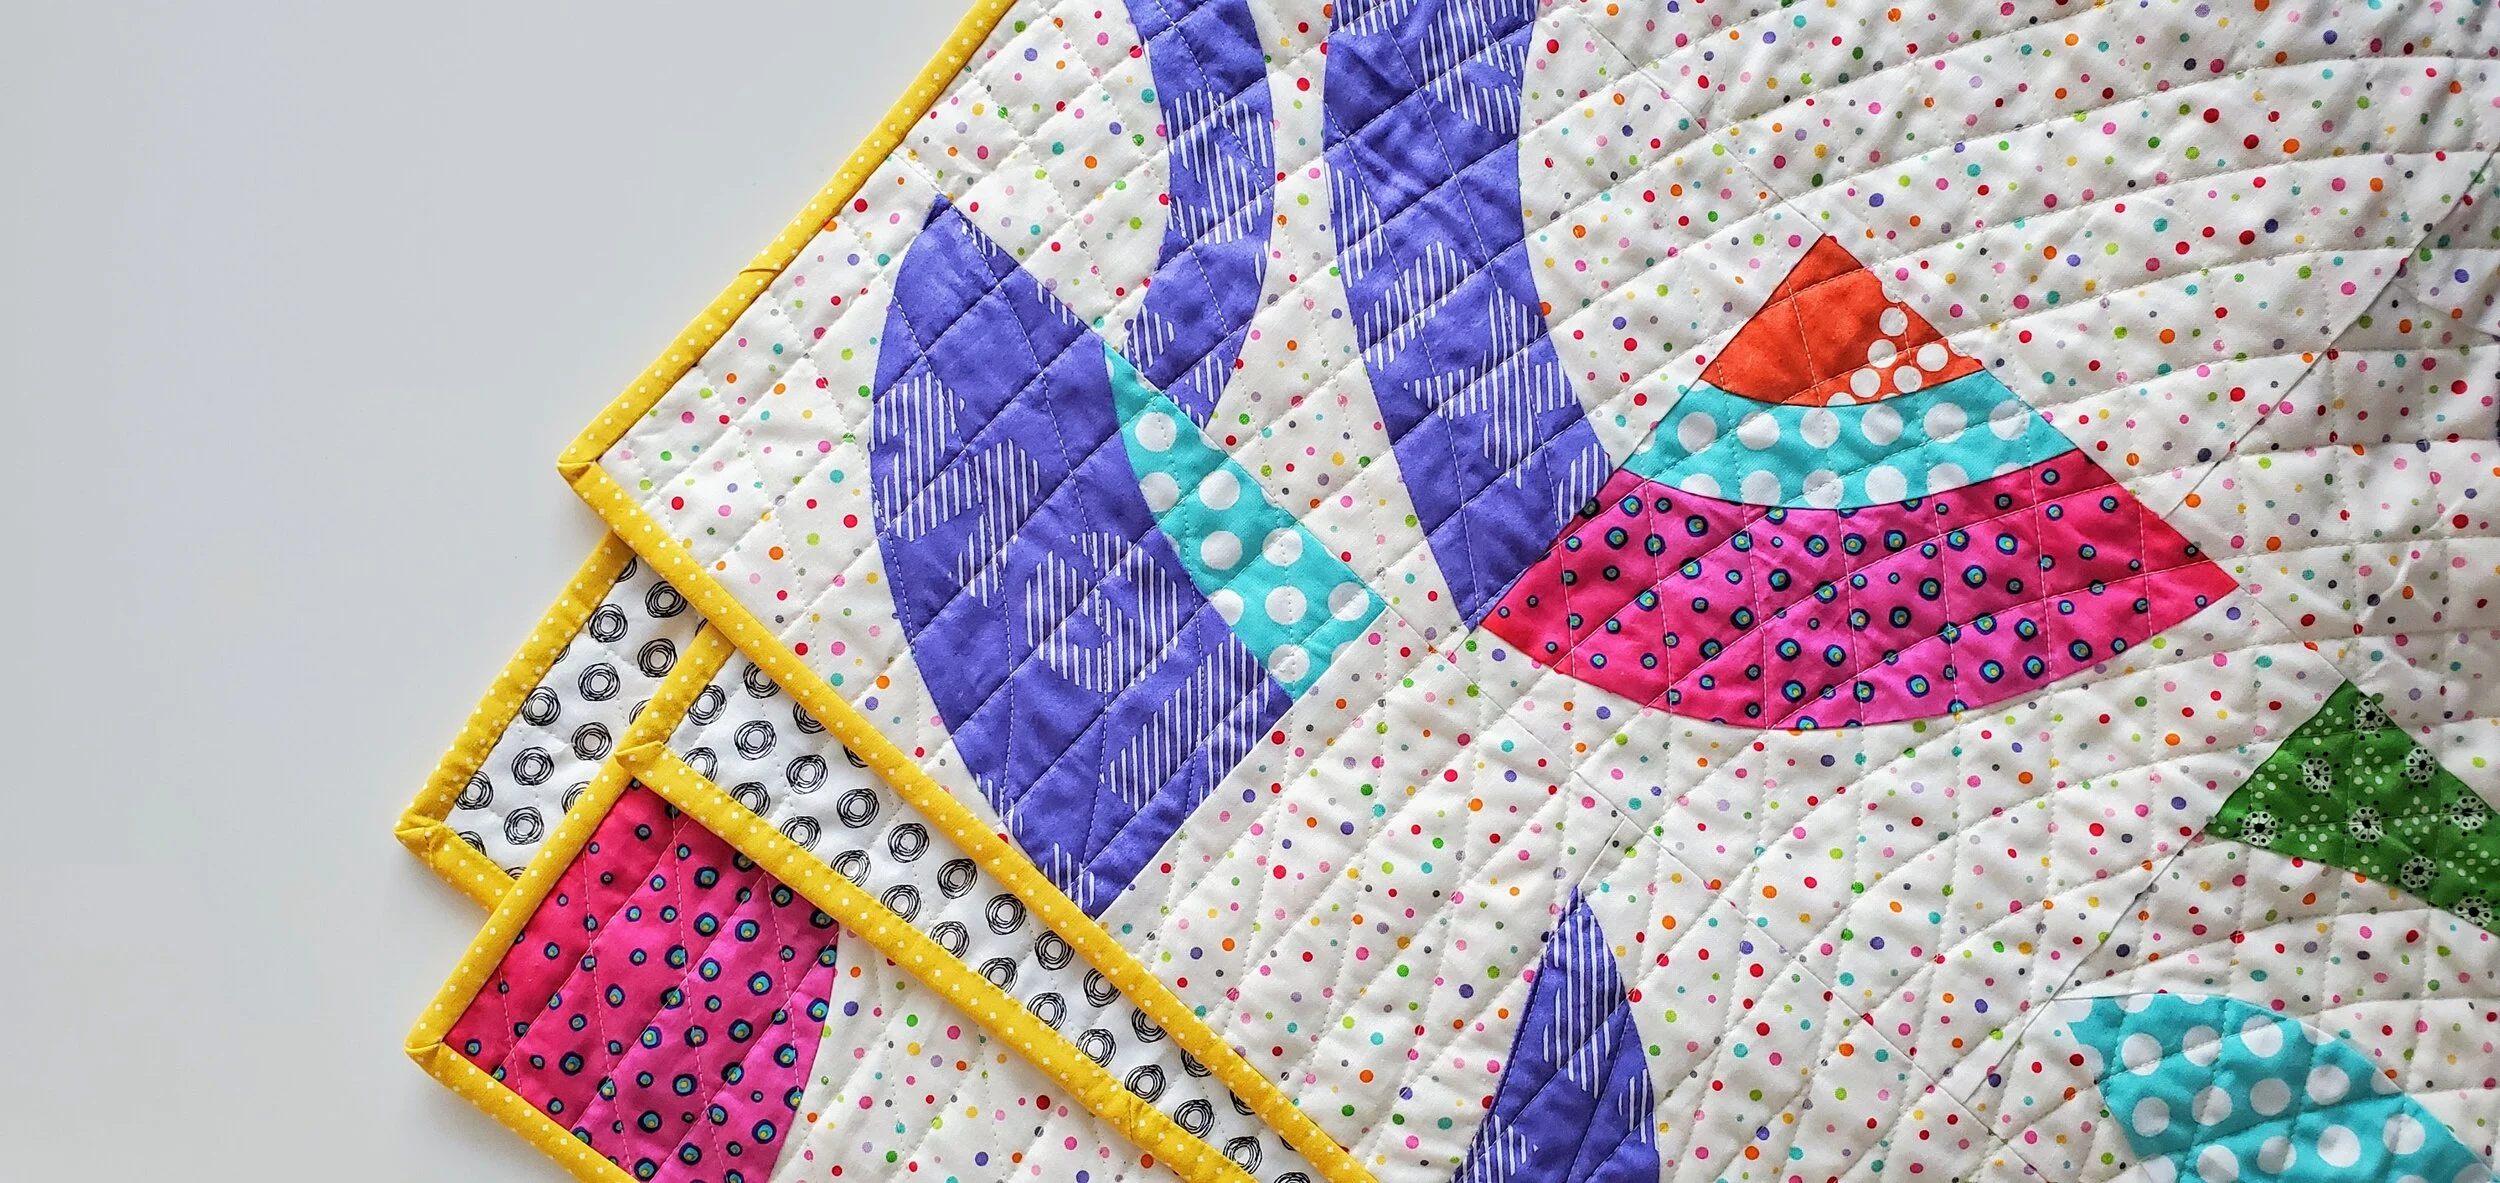
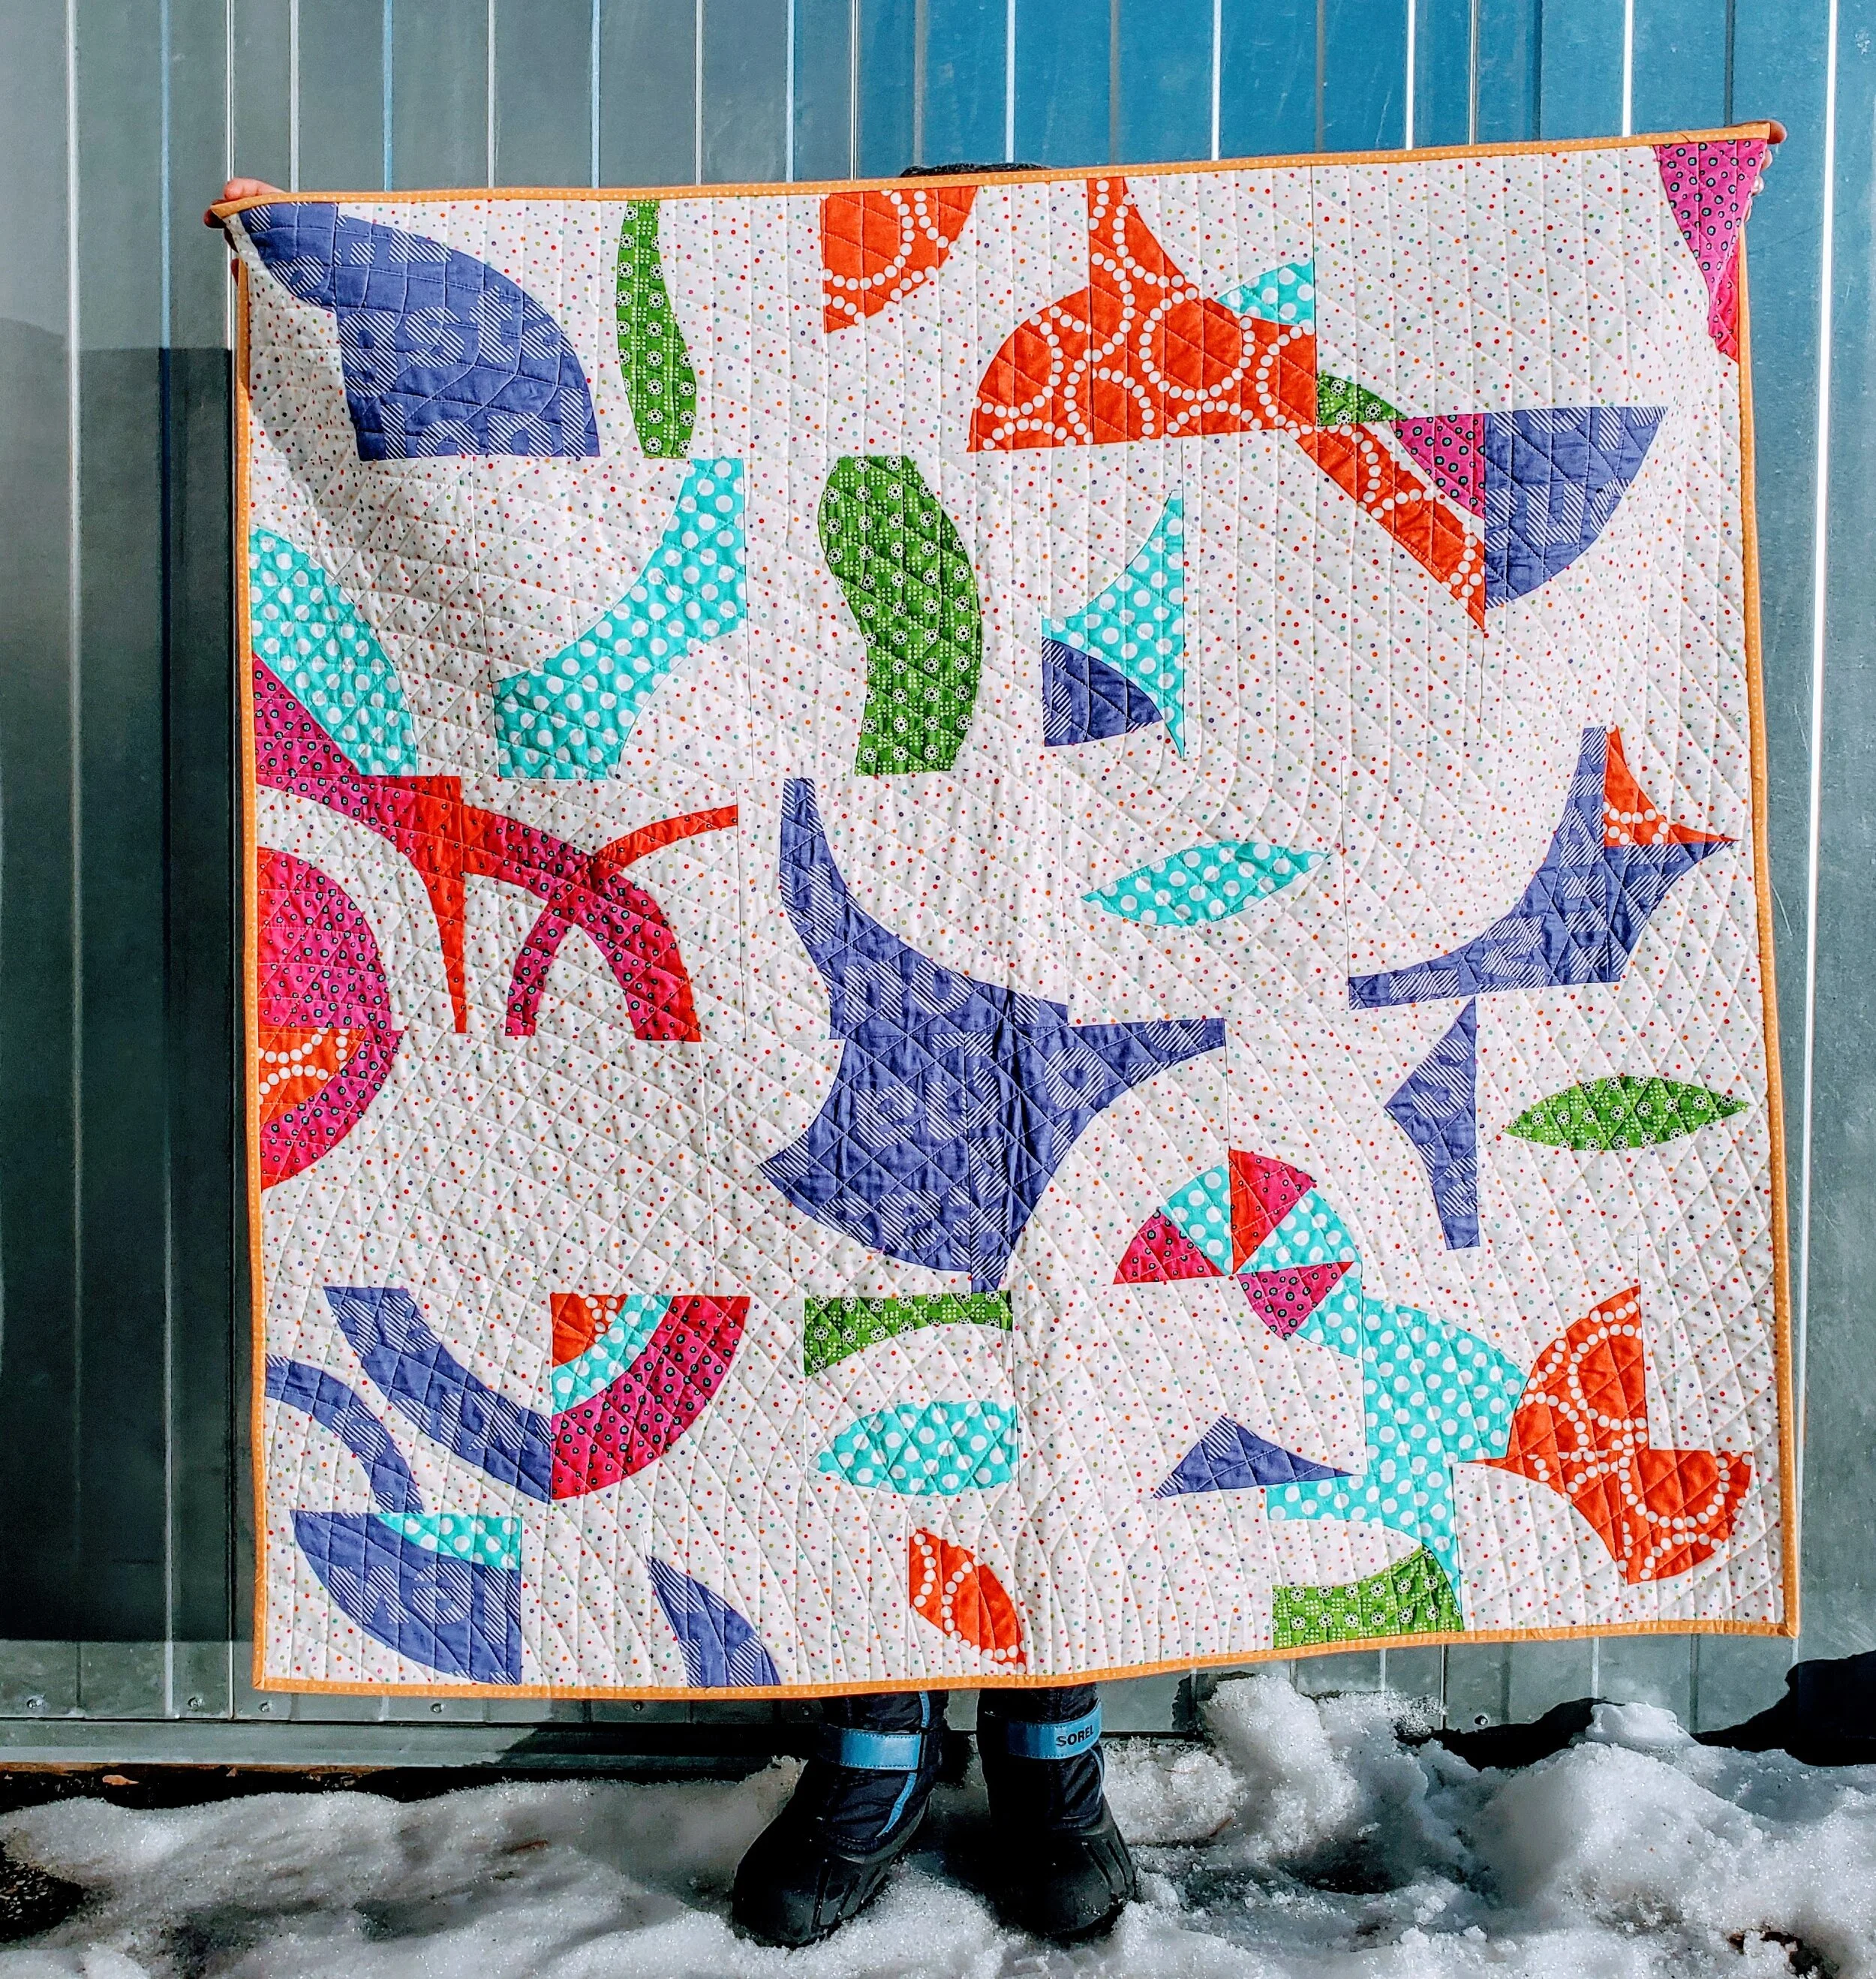
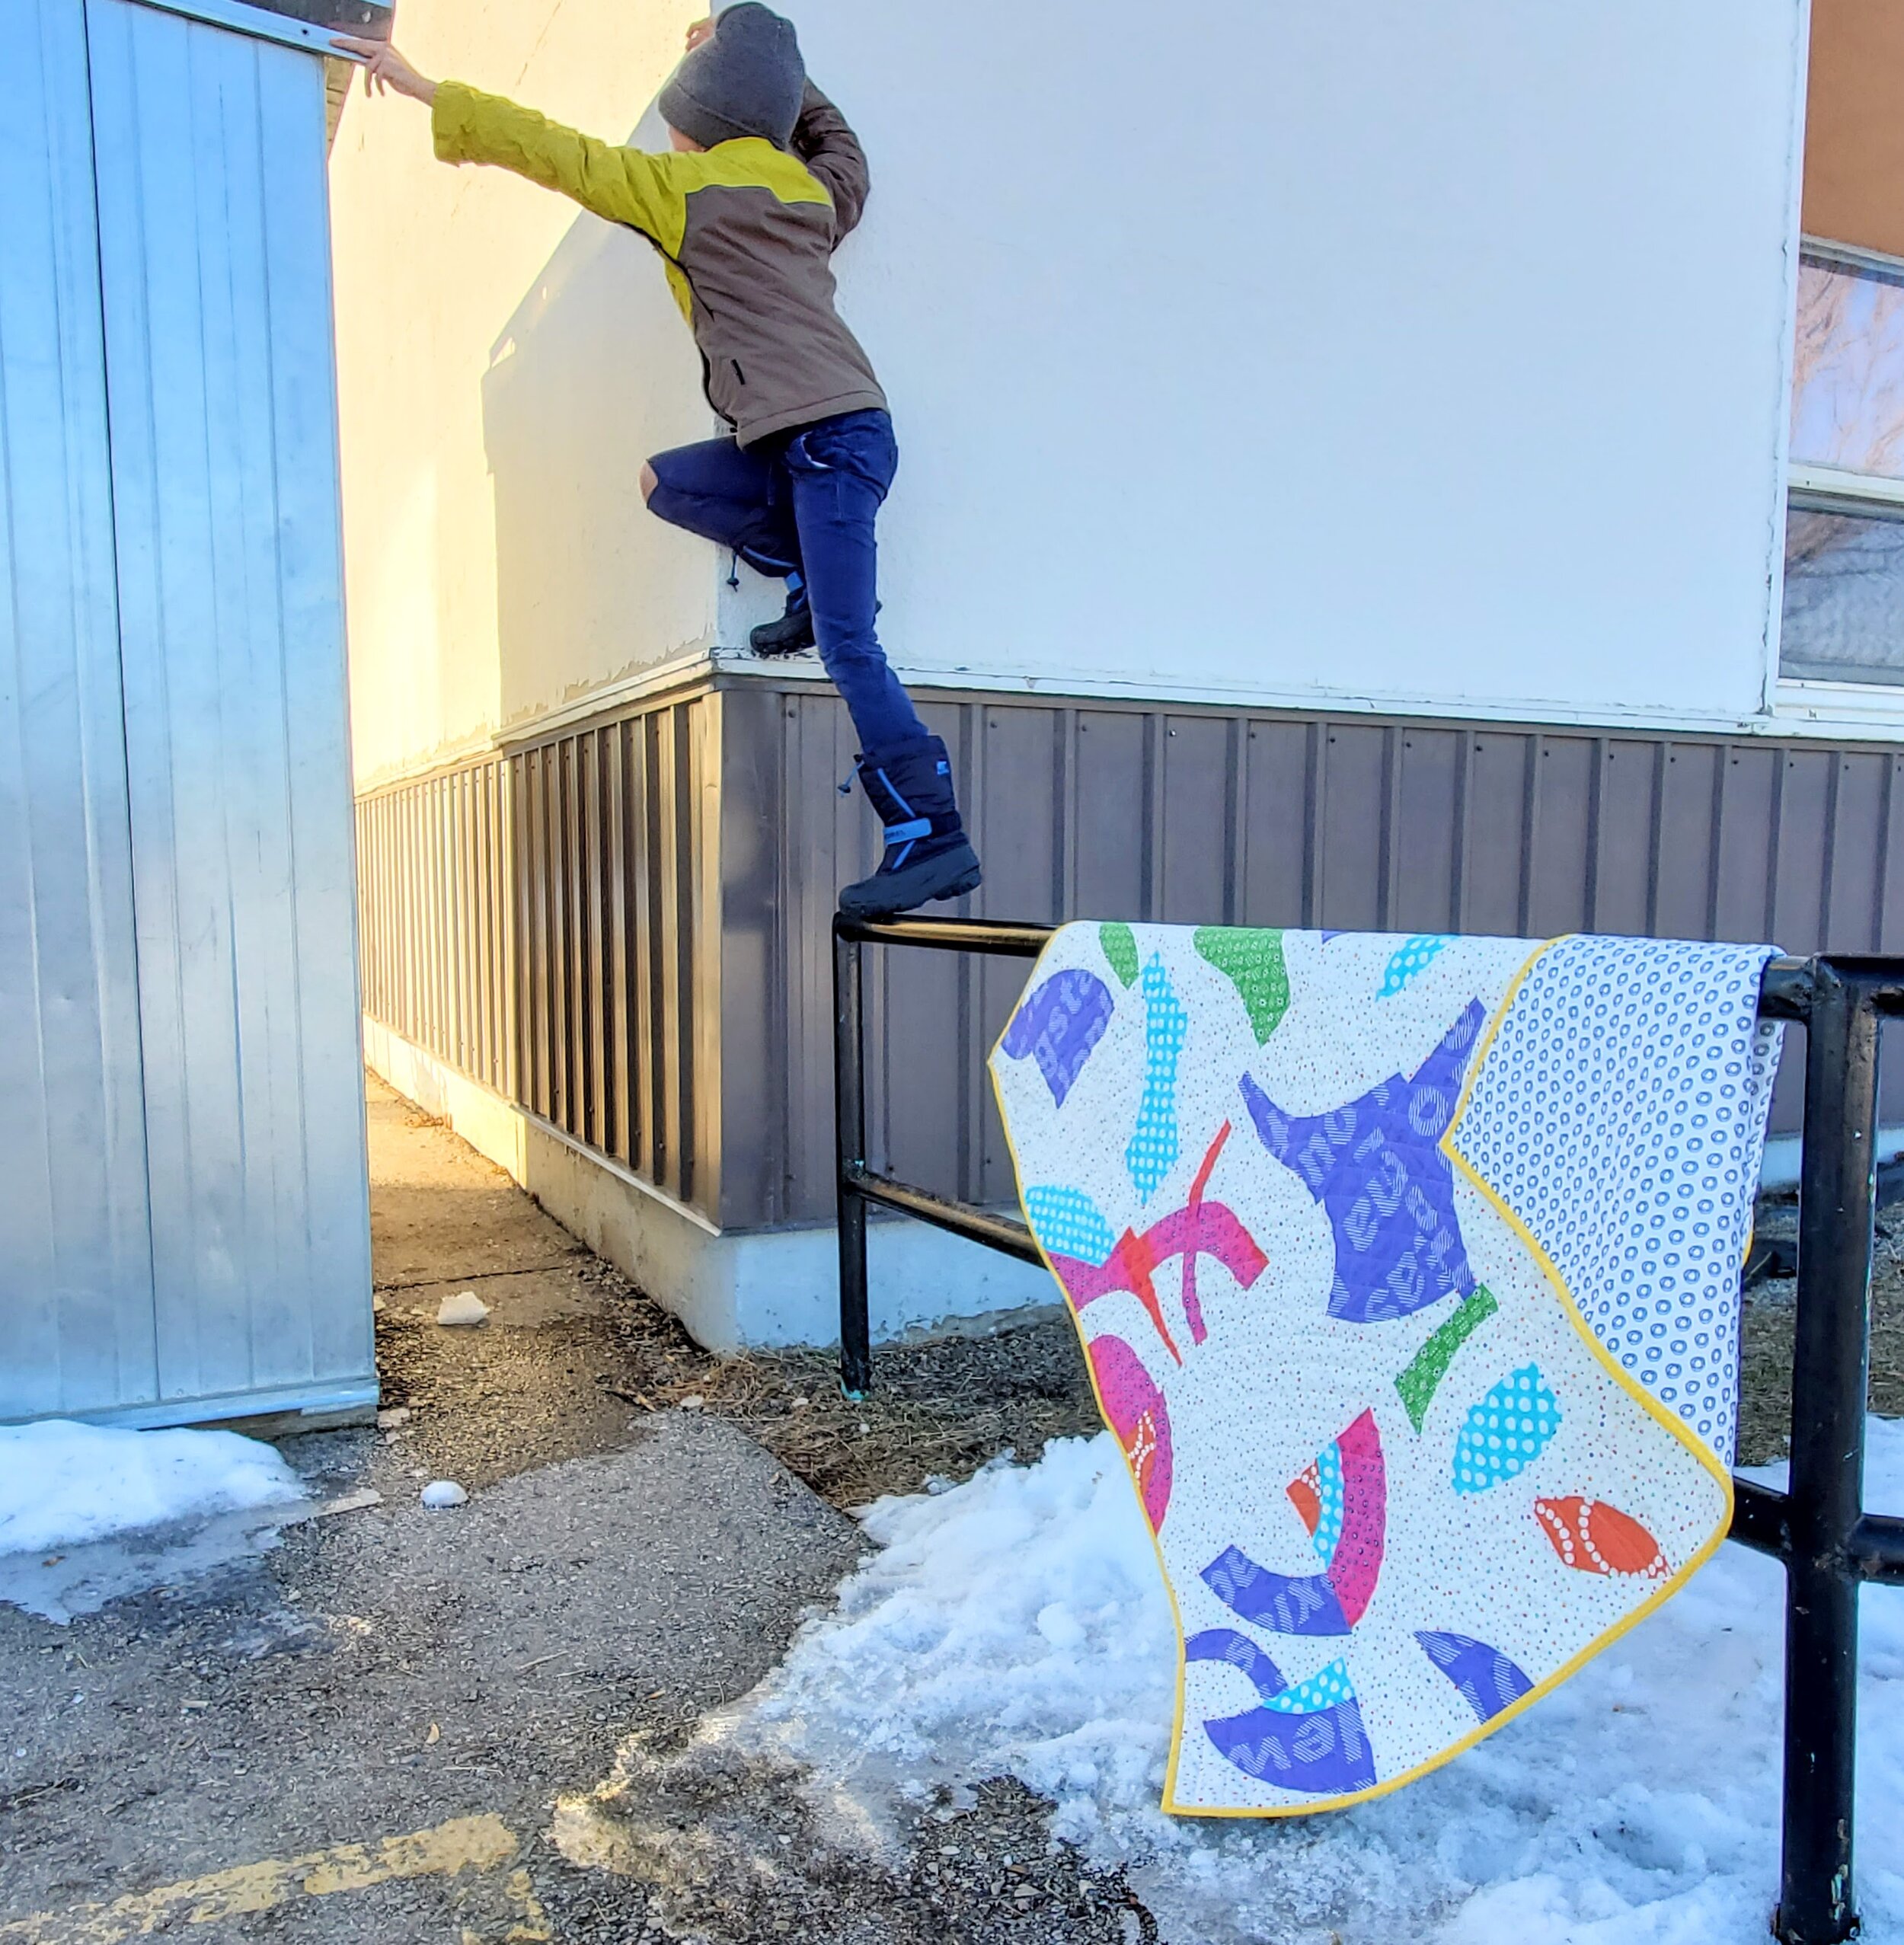
I was able, thankfully, to use a single width of fabric for the backing. The quilting was based on a sketch I had. My daughter said it made her googly-eyed, but as a quilting pattern it worked fantastic. I’ll admit, I was tempted to stop after one pass, but on a small quilt the second pass isn’t that much more work. Enjoy this badly coloured, but blown out photo so you can see the quilting. One pass was a quarter circle, repeated. The other pass was a modified wave pattern in a different direction. It was all done with a walking foot and 50W Aurifil thread.

Improv Curves Cheryl Arkison

The background fabric is covered in little coloured dots. I used most of the colours in the quilt, so when it came time to choose binding I went with yellow, the one dot colour I hadn’t used. Besides, we all could use a little sunshiny optimism right now!

Maybe these finishes will be just what I need to clear some mental space to get back at it? It’s surely a point of privilege to even think that way, a luxury to get to escape to quilting and ignore the real world. Life isn’t going to change overnight, we know that. A lot of us have a lot of work to do to make the world a better place for all. Yellow binding isn’t going to fix anything. Ignoring the world to finish a quilt is probably the wrong thing to do as well. But we all need respite at time in order to have the energy to keep fighting the fight.

Quilters Playcation Cheryl Arkison

Improv Curves - Scrappy Versus Scrap

Improv Curves Color Girl Quilts

I knew there was a reason I couldn’t throw away the scraps.

There I was, playing around and making this improv curve quilt. It was completely inspired by a very precise pattern by Sharon at Color Girl Quilts (Indigo). But the way I chose to make it meant then I was left with a lot of cut out curves. They matched and all, but they weren’t needed for the quilt I was then making.

Rather than toss them aside to get jumbled or lost I kept the pairs of pie and crust together then sewed them up when everything else was done. Then they got tossed aside and nearly jumbled and lost.

A few weeks ago I was in the mood to finish something. I was also in the mood for some design wall play. With zero plan for these scrap curves I started playing. For a few evenings I arranged and rearranged. Some layouts were too much like the original. One was, ahem, a little too lady-like. I had flowers and other things up there too. In the end I settled on the one that - at first - felt too predictable. But that first instinct proved the best. It used up all but 9 of the blocks and I am thrilled with the results.

Improv Curves

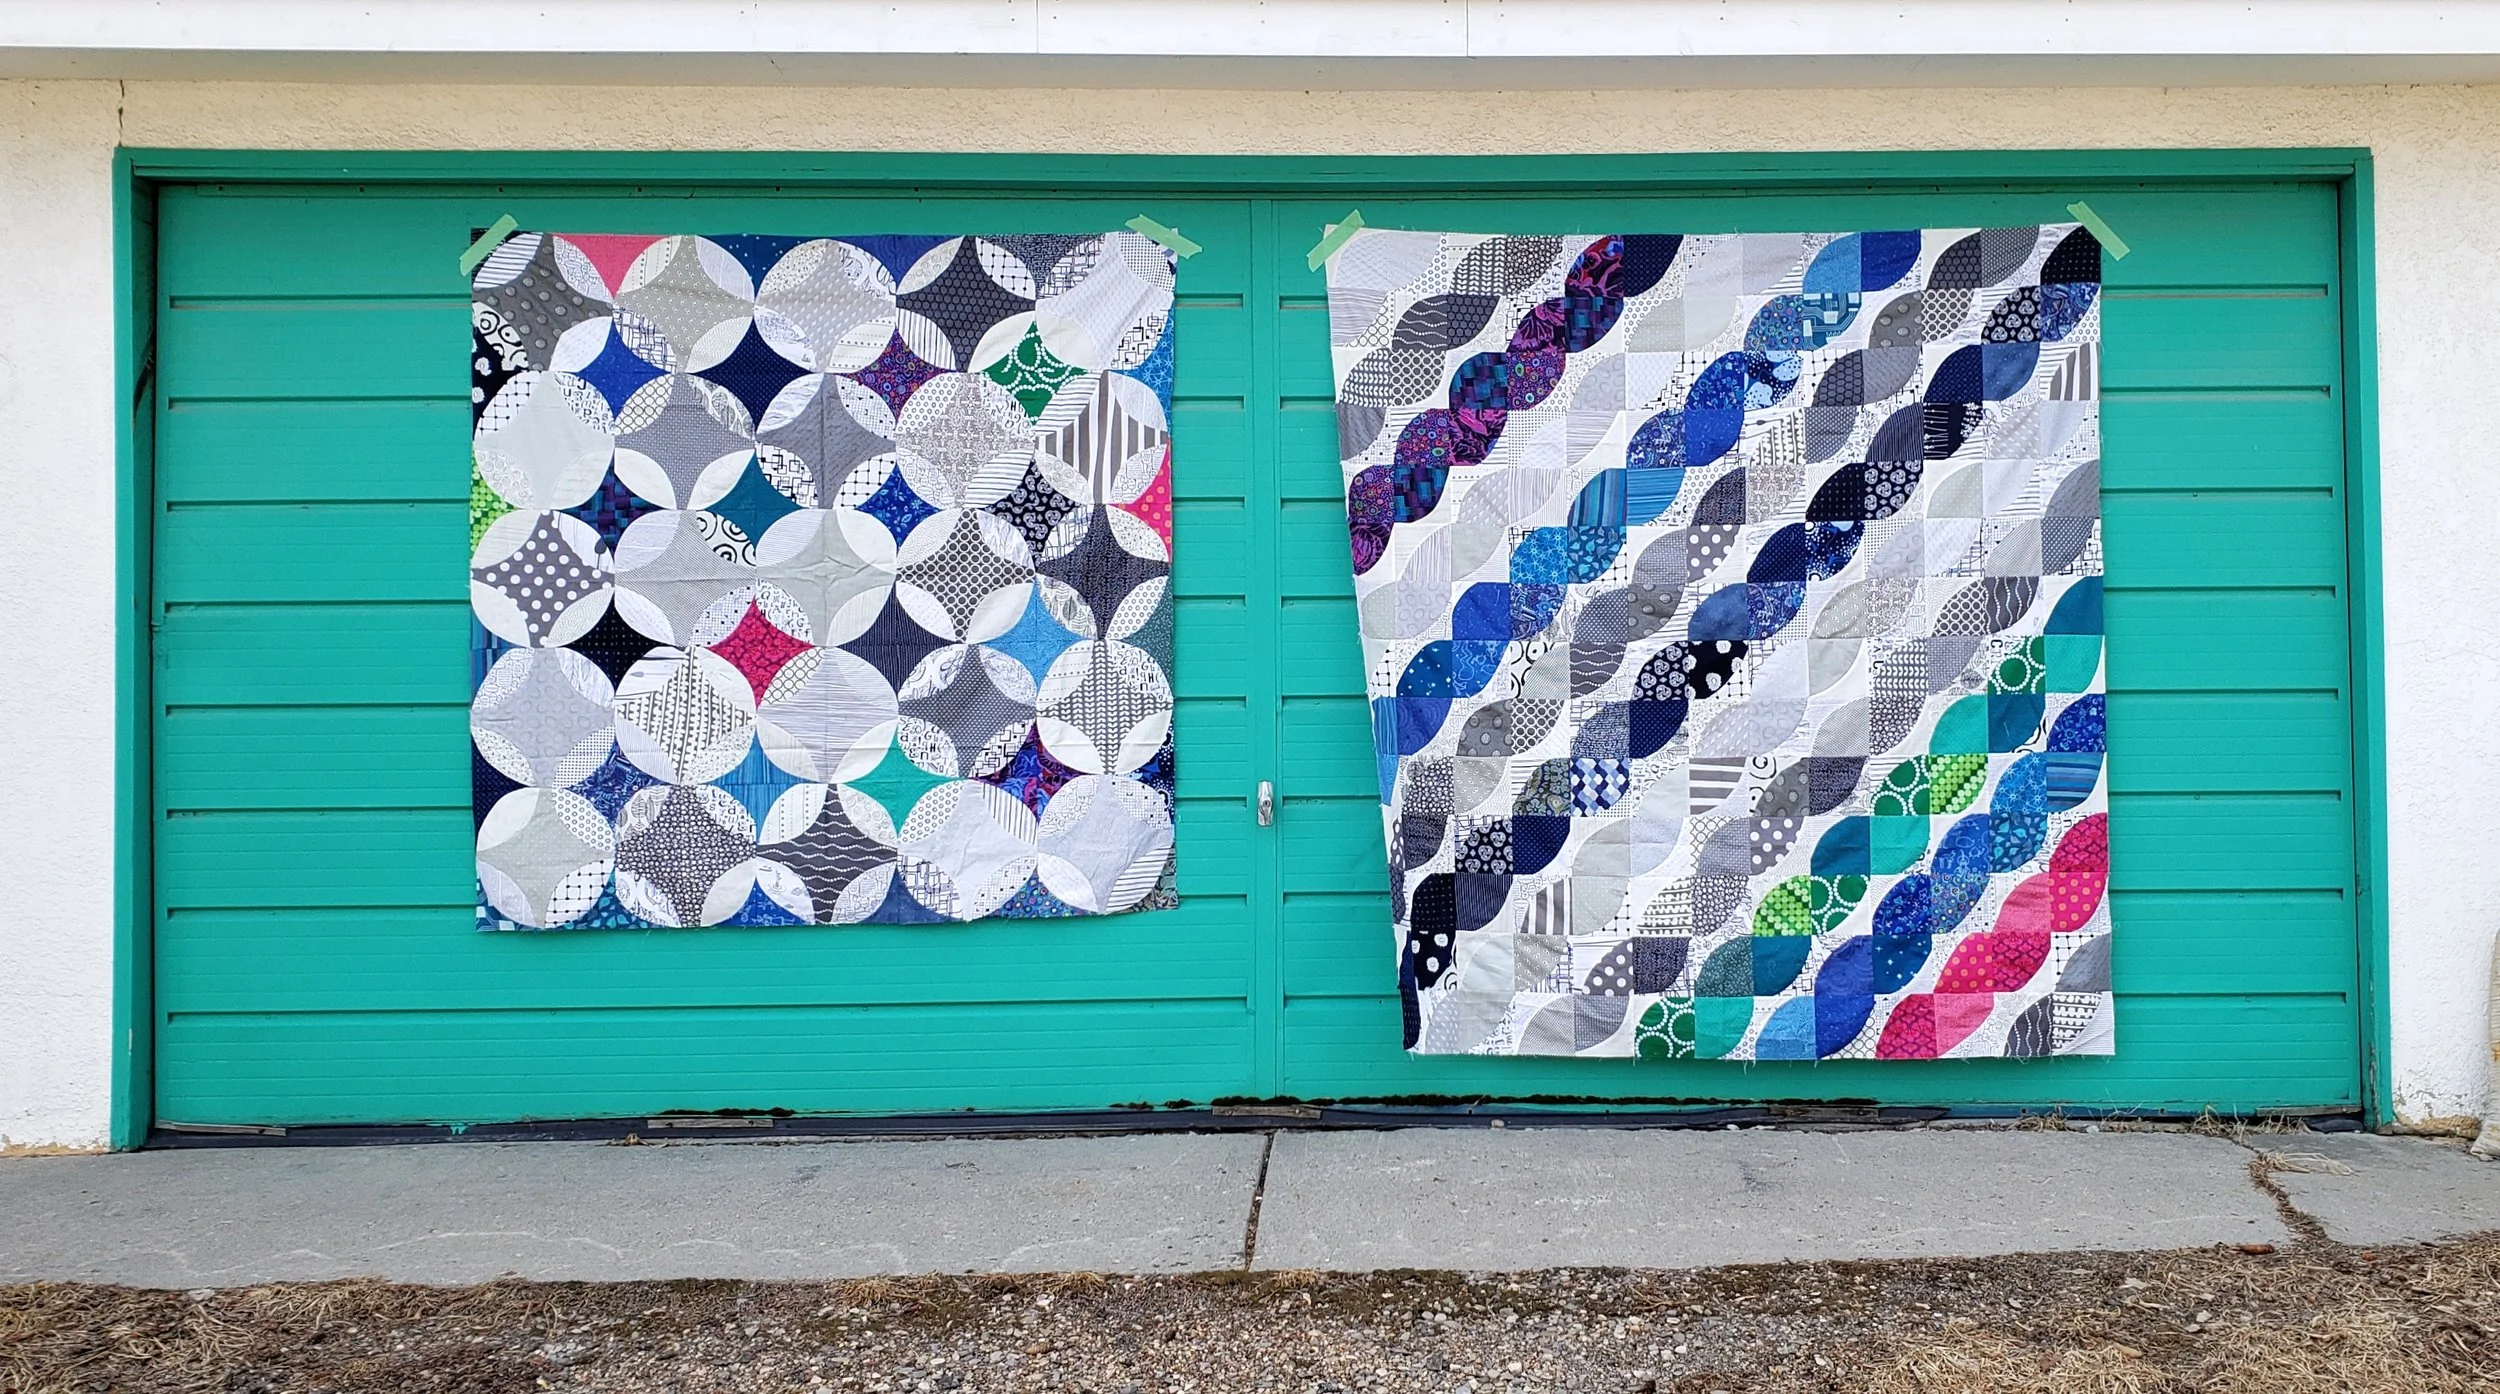
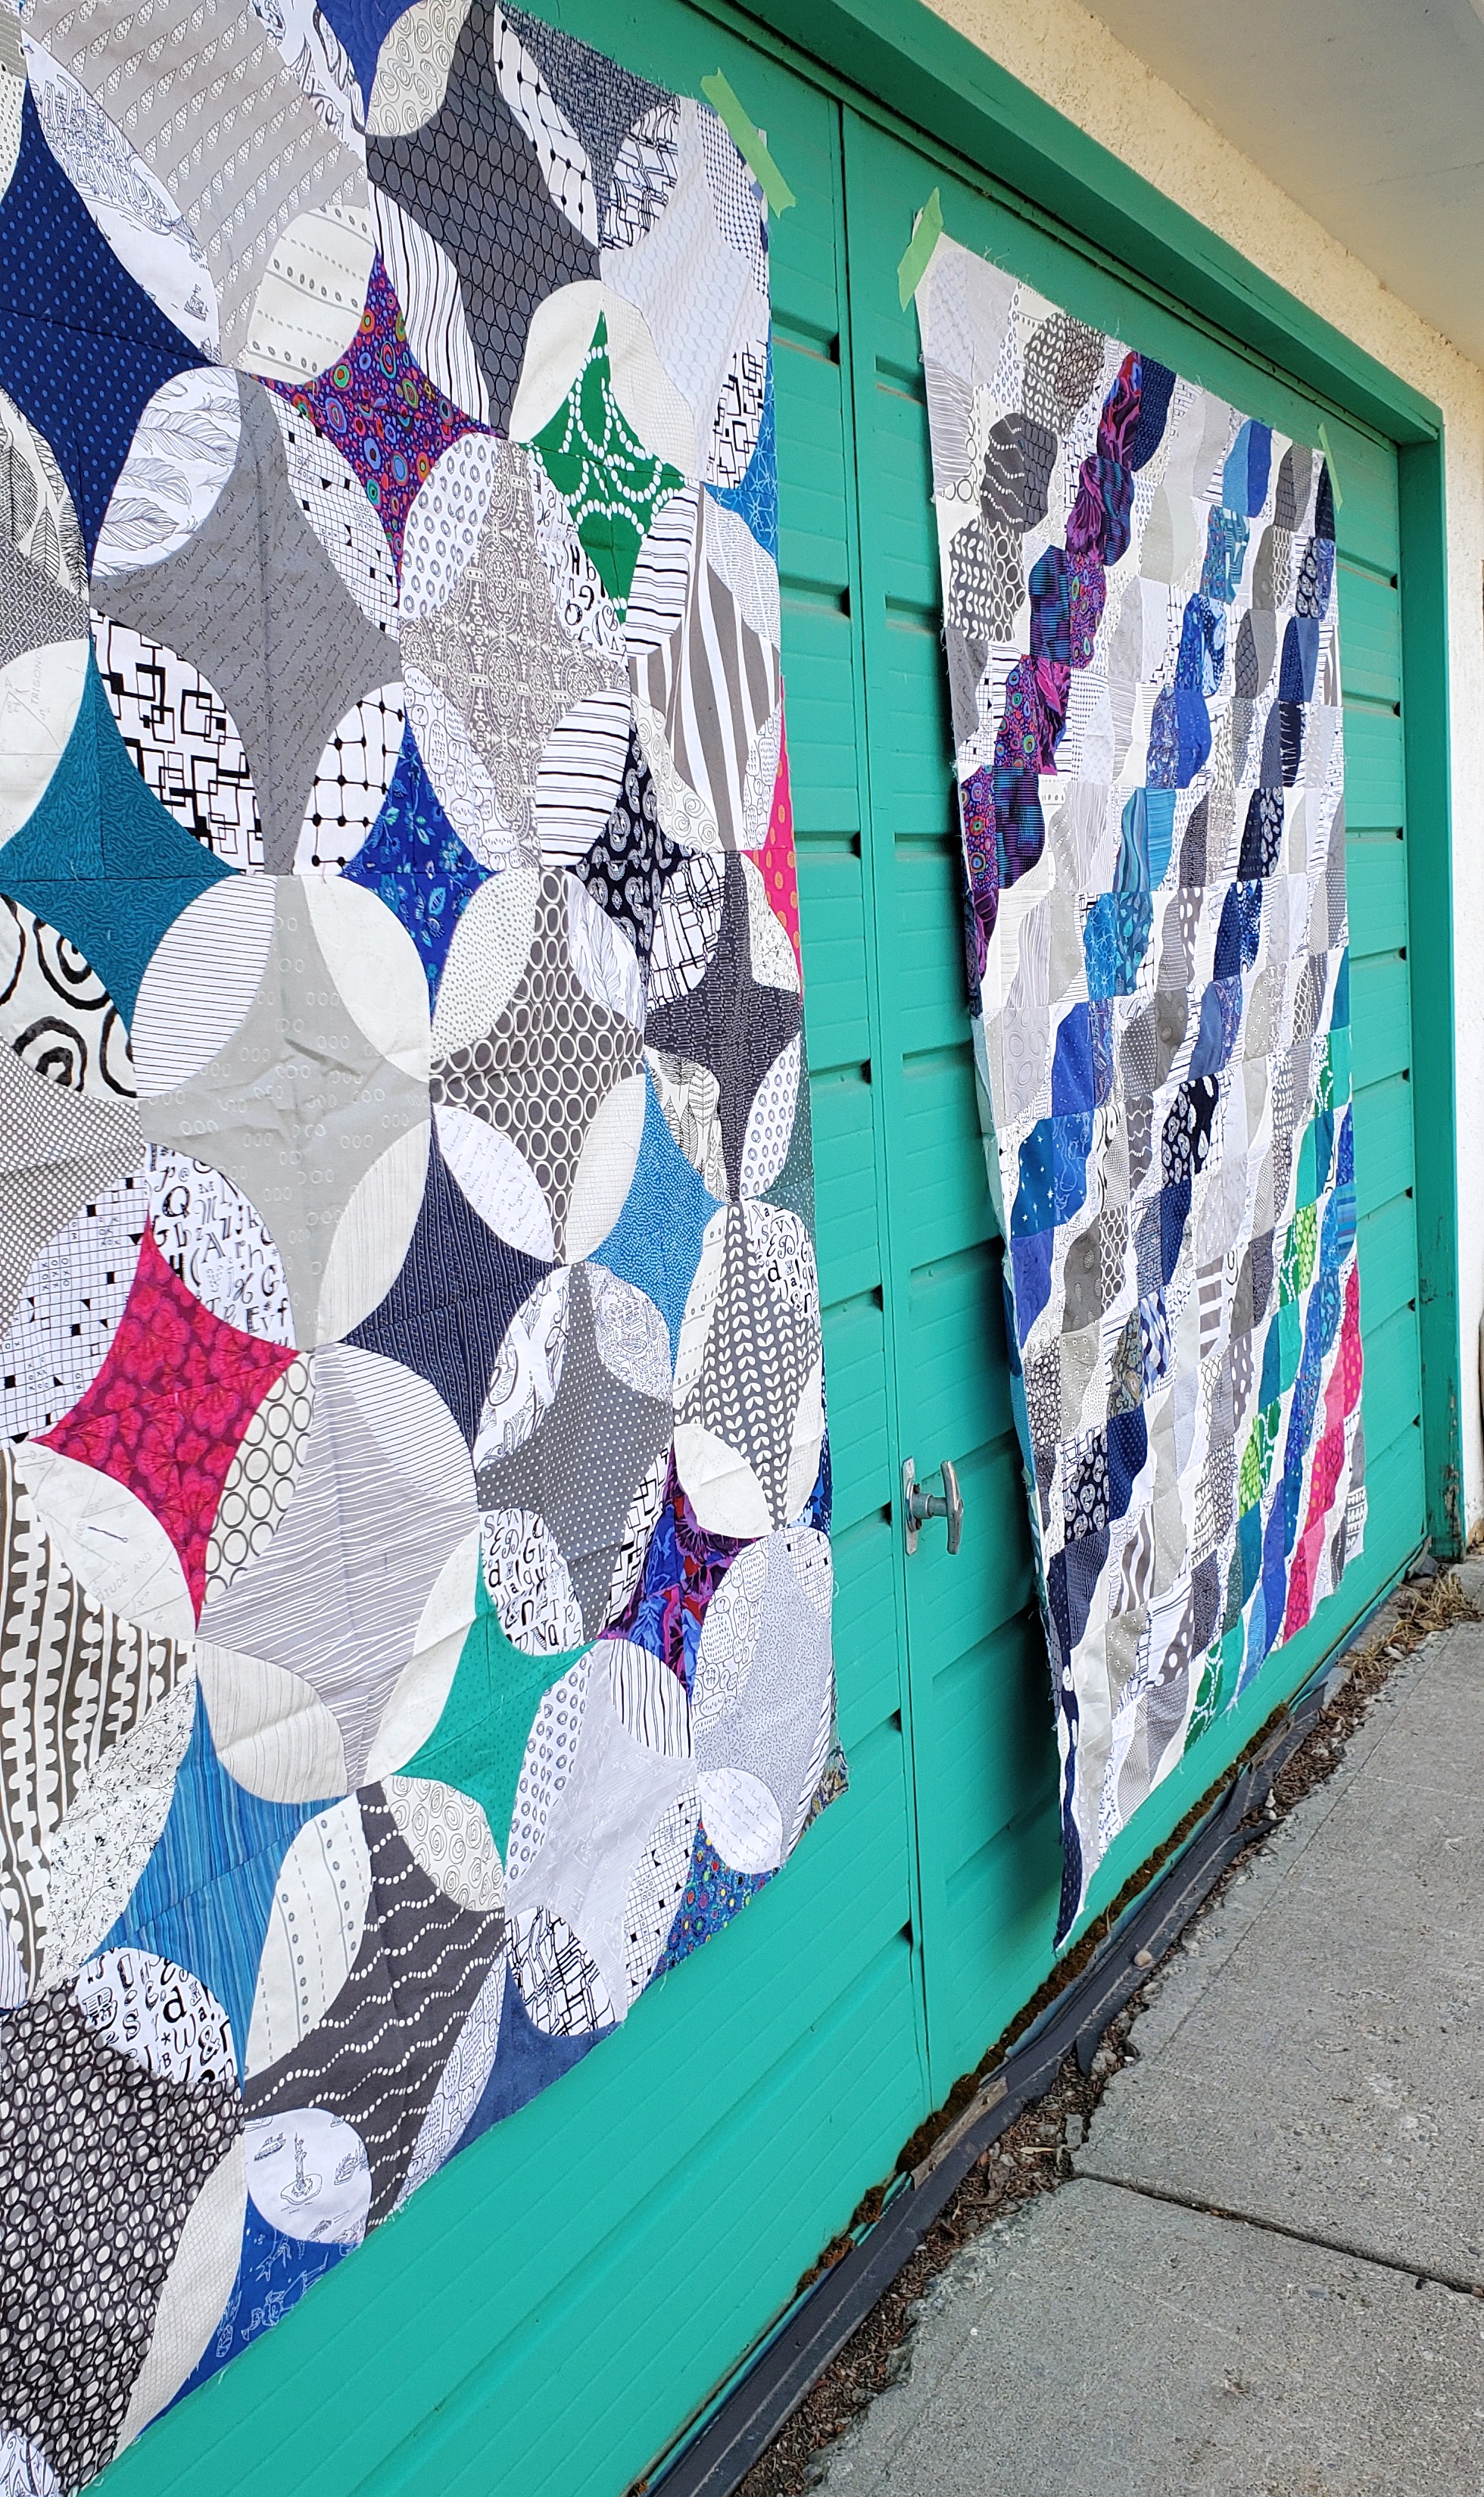
When I went to take the photo I discovered a very interesting thing - the scrap quilt was bigger than the original! Side by side they relate by way of colour scheme and the improv curves, but they are too very different quilts! One fundamental difference, however, is that I would call the first quilt scrappy, while the second is a scrap quilt. That is, the first one has multiple fabrics, all chosen deliberately. The second one was me working with what I was handed in scraps. It might be a subtle or even a semantic difference, but there is a difference.

Side note: The difference between scrappy and scrap is one of my new truck shows!

These now get added to the pile of quilt tops. No matter when they eventually get quilted though, I think they will have to go to a certain pair of sisters that lives in my house.

Improv Curves Color Girl Quilts


Itty Bitty Curves Update 2 Years later

Tiny Piecing Improv Curves

When I posted some photos of these little curves the other day a non-quilting friend asked me if I was making another version of the quilt. Because she remembered me working on them last year. Nope, same quilt. More piecing.

I pulled this project back in to the rotation last week. After so many scrap projects of late it is nice to be working with a controlled colour scheme. Not that the piecing is any faster with these itty bitty curves! I guess this was the itch that needed to be scratched.

Many times I’ve been asked how big I plan to make this quilt. The answer is always “Until I run out of fabric.” Of course, since I am working with solids I could replace them. Frankly, I’ve done that once already. But even I have limits and will likely stop once this round of fabric is done. In actuality, the supply of yellow fabric is getting low so I guess that will be my limiting factor. As it currently stands, the pieces for the top make it about 40’’ x 60’’ .

Tiny Piecing Improv Curves Quilting

As the fabric supply dwindles I’ve decided to focus on making the little blocks instead of assembly. I have absolutely no idea how much bigger this can and will get. My little plastic baggies are filled with the size sorted blocks, like some sort of quilting drug deal. Every time I sew, press, square up, and add to the collection my potential finished quilt gets an inch or two bigger. By sewing all the blocks now I will ensure that my colours stay balanced across the entire finished quilt and not have a portion where there is no yellow, for example. So I will sew all the blocks first then sew them all together. Fingers crossed this leaves me with a functional sized quilt.

It’s been precisely 2 years since I started this project in a class with Chawne Kimber. At the time it was a fun experiment, a good way to play with one of my idols in the room guiding me. There is no rushing tiny piecing, especially when you want the finished result to be large enough to cover a lap and not just a wall. There is also an inherent boredom in tiny piecing, especially when making something larger. It is a A LOT of repetitive action. If it takes me a few years, it takes me a few years. I am thoroughly engaged in the process when I am doing it and have no problem letting my interest ebb and flow. I’m floating down a slow river and the ride is good.

Chawne Kimber tiny piecing