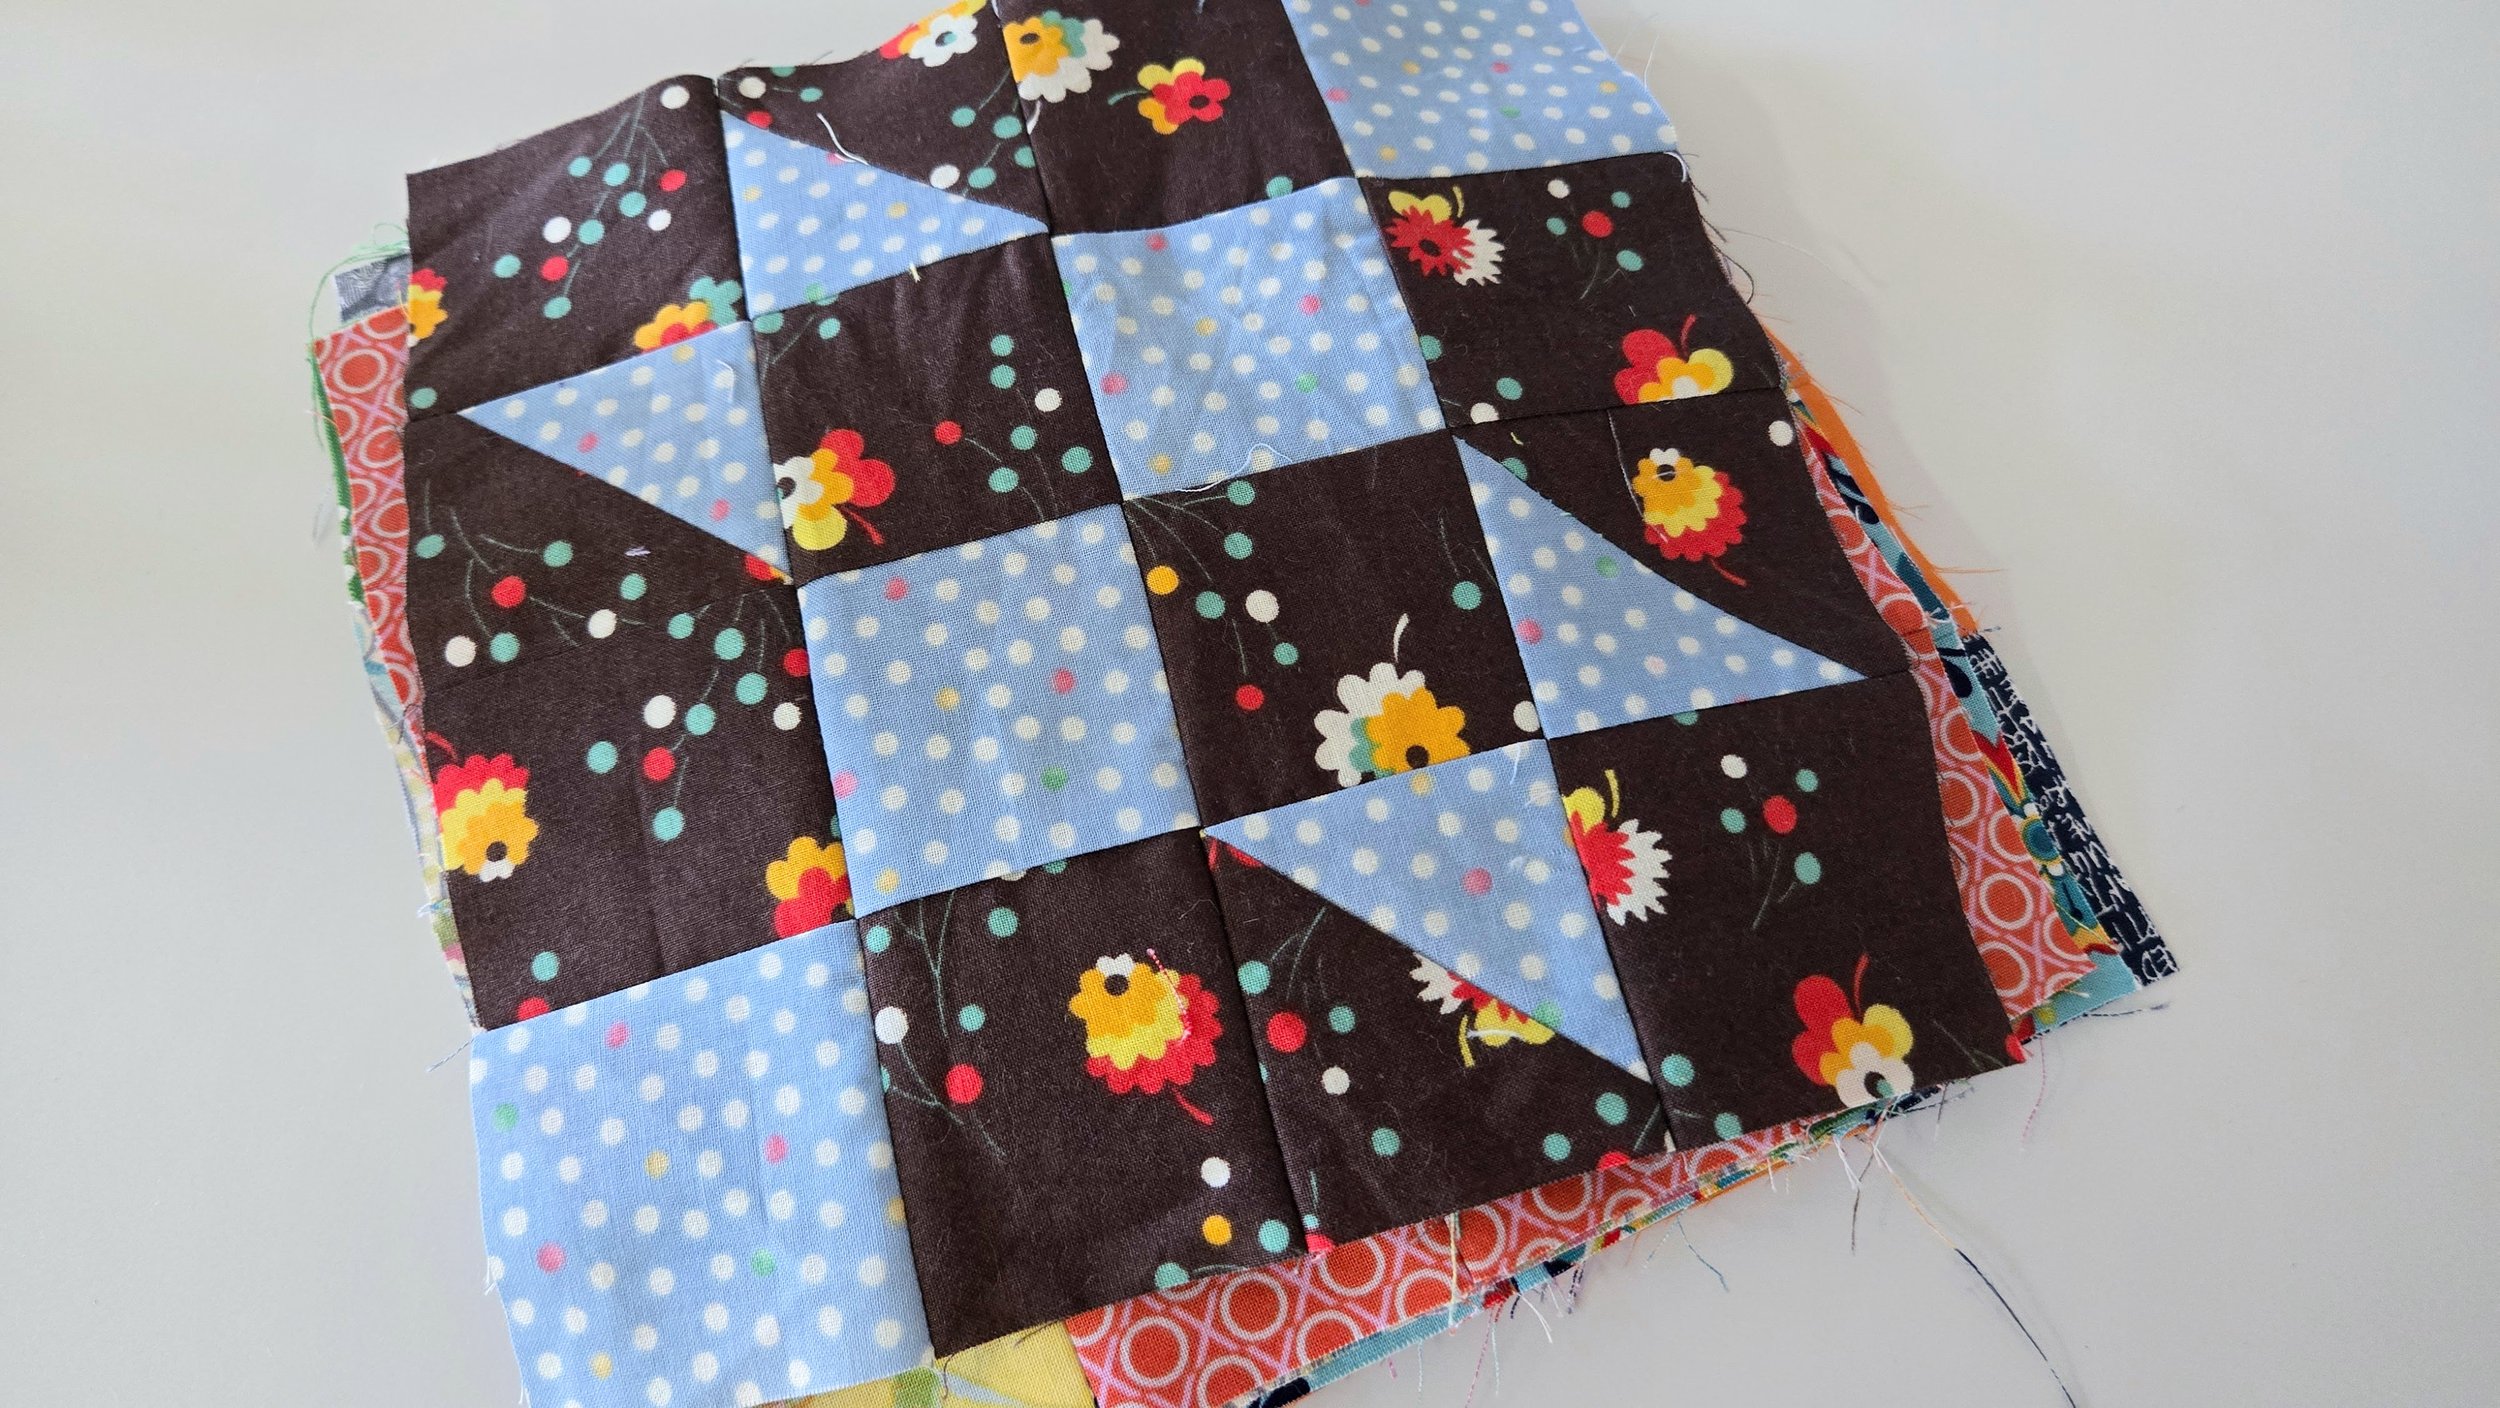
fabric

Wren - A Scrap Quilt of Happiness

Wren

78” x 80”

She’s the joyous girl of sunshine. She grew up in a hippie community on an island. It’s easy to be easy going when you grow up surrounded by peace and love. Sure, there is always an underbelly to that and life is always far from perfect. She chooses to move forward with love, however, no matter what happens. As a result, she spreads that calm and joyous nature to the people around her. At night, she retreats and regroups, a little bit alone in her personal sorrow. But without pain you can’t feel joy, right?

This quilt was a wonderful bit of therapy. I mean that both in the making and the end result. She started from a literal pile of scraps that my son threw on the floor as a toddler. Rather than put them away I started sewing them together right from the floor! Fast forward a decade and I pulled it out to make it bigger through some play.

You see, a few eyers ago I faced a rather deep hole of depression. No specific trigger or anything, but life was hard and I turtled. It happens and I am grateful for the support of family and friends and therapy and medication that helped me through. But there I was laying in bed one day, the quilt over me reflected in the light fixture above. The pinks in the chrome with the spots of crystal struck something in me. At that moment I decided to pull out some pink fabrics and play. Why pink? It’s simply a happy colour to me. I made one quilt top, then I decided to play with another. The first one I am in the midst of hand quilting, the second took a trip to the long arm rental with me. She’s done now.

That light fixture has seen some things! It was such a splurge for a light that we don’t actually turn on much (I am one of those people who doesn’t like to be in a room with overhead lights on.) Despite that, she brings me joy every day, reflecting the room around her and the light itself.

After making the initial quilt top a functional size, I set out to make a back that gave me as much joy as the front. I used some precious, favourite fabric from Denise Schmidt I’d been holding on to plus a few others from the stash. Life’s too short for an ugly quilt back!

Yellow and pink quilt on a yellow floor

This was not the quilt for fancy quilting. It is essentially one giant slab quilt with a riotous mix of fabrics. Quilting is for texture here more than anything. That being said, I ended up getting a bit fancy! I started with wavy lines across the quilt in pink, peach, and yellow. Sometimes they overlap, mostly they don’t. It wasn’t until I was off the long arm that I decided on some additions. My first thought was the odd line of hand quilting in waves, just for fun. Then I decided on some words. If this was the quilt that helped me through my depression, then I wanted some reminders to keep my mental health in a good state. So I started stitching words right in to the quilt. Both embroidery and quilting in one.

Relax stitched into a peach quilt square
Laugh hand stitched into a quilt square
Walk hand stitched into a grey square
Make Love stitched into a grey quilt square

Connect

Relax

Laugh

Walk

Make Love

These are the actions I need to remember moving forward. As I healed, I learned that I need these things (plus creating, but that is a given) to help me on a regular basis. If I do these things, I can make it through anything. Stitching them through the quilt was a good moment of reflection, and their subtlety in the quilt is like a little message for me - or anyone else - using the quilt.

Of course I wasn’t quite done with the hand stitching. After finding the perfect pink binding (an old favourite from Emma Jean Jansen) in my stash, I went with the big stitch for closing the binding. Yes, this works well and holds up to washing, in case you were wondering. It’s a rather nice way to put a finishing touch on a quilt full of love and joy.

Pink, grey, yellow, and orange scrappy quilt

Braided Rug Quilt Top

When in doubt, go bigger. Sometimes I like to say #gokingorgohome. Maybe not quite that big here. But once I had done a certain number of blocks it was clear this needed to be a bigger quilt, so I made more blocks. And a quilt that started, in part, because I needed to be able to close the bin of scrap strips is now ready for next steps. It finishes at 77” square.

The blocks themselves began life as a sample for the Scraptastic class that I teach. Every time I taught the class I made a block. Well, a few months back, I was teaching the class again and we also started playing with layouts of the blocks. That moment sparked something and I raced to make more and more blocks. It was a creative pull that spurred the action, but it was fuelled by that desire to clean up the scrap strips.

Multi-coloured scrap quilt resting on leaves on grass

Did I use all the scrap strips? Nope! But I would say I used about 3/4 of what was in the bin. Great progress! Of course, I’ve already added back in to the bin. That’s how it goes with scraps. Unless you stop making any new quilts, you are going to make scraps. Just makes for greater opportunities in your quilts!

I know, it’s easy to get overwhelmed by the scraps, or feel like using them is a futile effort. I totally get that. There are only two ways out of that:

1. Changing your mindset. Seeing scraps as a burden rather than an opportunity is very negative. I prefer to apply some girl math and think of it all as free fabric to play with!

2. Just use them. Kind of like writing a to-do list with tasks on it you’ve already completed just so you get the satisfaction of crossing them off, using scraps when they overwhelm you is the best way to quell the overwhelm.

That doesn’t mean you have to finish a whole quilt either. Just starting something with the scraps might be enough. So long as starting and not finishing a quilt right away isn’t another source of anxiety! Making a few blocks today may be just enough to calm down. And when the bin gets some more additions, you can always make more blocks. In time, enough blocks will be around to make a whole quilt. No rush. They are scraps, they will always be there!

My plan for finishing this quilt is to tie it. I’ve never done it before! I haven’t decided yet if I will use the bin of scrap yarn that seems to be hanging around or if I will purchase a single colour. I’m just going to let this marinade a bit while I play on some other things. The itch has already been scratched, the bin closes again, and the rest of my stash is calling!

Virginia - Maple Leaves for a Unexpected Fall Quilt

Virginia

60” x 60”

She is a crafty girl, taking her knitting with her everywhere. At this time of year she is buried in yarn and apple cider and cat cuddles. She wants to jump in a pile of leaves, take her girlfriend to a sunflower maze, and totally watch Gilmore Girls even though it is terribly problematic. She’s wearing layers at the first sign of a chill and refuses to take them off when the sun warms her on a walk. She may come across as basic, but she is anything but.

More than a year ago I made a single block. Just one maple leaf to show some folks in a Playdate that you can find use for the ugly fabric hiding around corners in your stash. Ugly, after all, is just like beauty - it’s all in the eye of the beholder.

teal, blue, gold, brown, and a bit of pink in a maple leaf quilt

Of course, of course, I put that first block dead centre in my finished quilt top. That so not me leaf fabric was paired, unexpectedly, with a ikat butterfly print from Tula Pink. From those two fabrics the rest of the quilt came to be. I shopped from my stash and had a blast putting together different combinations. The end result was a fall inspired quilt like no other.

The quilting is there merely to add texture. Each block was quilted with wavy lines crossing the block on the diagonal. Because the leaves themselves change direction across the quilt, I carried the direction of the waves with each leaf. For thread I chose a teal blue Superior at the long arm rental spot. (My preference is for 100% cotton, but this works well with their machines and there is absolutely nothing wrong with it.) I wanted the quilt to be extra squishy so an allover design versus outlining each leaf was preferred.

I broke my fabric shopping fast (I have sooooo much fabric) to pick up a binding choice from the clearance section at My Sewing Room. As I was taking the quilt off the long arm I realized that a rosy binding was going to be the perfect choice. Now, I know my stash, there is not a single rose coloured fabric in any value in there. I am a hot pink girl! Keeping with the theme of the quilt as a whole - starting with ugly fabric - I chose a print very much out of character for me. Turns out it was perfect. It binds the quilt so well and is a great complement to the colour scheme.

In the end, this quilt is another unconventional fall quilt. They don’t all have to be reds and oranges folks! And as I was stitching the binding I also realized that it goes perfectly in our living room with its chartreuse sofa on one side and the blue/brown one on the other. I guess it was just all meant to be!

Sunshine for Days - A Bold Star Quilt

Bold, full of sunshine and memories.

This quilt top began its life as a leftover stack of fabric squares. On our big trip to Egypt and Turkey last year I travelled with a stack of 6.5” squares. I made a block each day to reflect our travels - a trip diary of sorts. That turned into this quilt. The scraps from making all those blocks then turned into this quilt. Of course, I cut far more fabric than I needed and carried it around with for the entire month. When I got home and finished those other quilts I was left with a stack of pre-cut squares.

You know me, nothing it going to waste! I pulled them out and played until I landed on making HSTs with the non-yellows plus yellows. That gave me nearly enough to make 4 stars. I did have to augment with a bit of stash for all colours, but not much. My goal was to use the leftovers and that’s it.

Turquoise, grey, and pink stars on a bright yellow patchwork background

I made the HSTs and sorted out a layout early in the winter. Then the blocks got put aside (all numbered and ready for assembly). A few weeks ago I needed some no-brainer sewing. After consulting my big list of quilts under construction I decided to turn these into a quilt top. I did, then I realized it was too small for me. It came in, with only the leftover squares, at 44” square. A good little baby quilt. The problem, however, is that I have no need of another little baby quilt. So I debated my options.

  1. Accept it’s size.

  2. Make a border of some sort.

  3. Make more blocks.

Truth be told, I am incapable of making small quilts with no reason. It is very, very difficult for me to stay small. When pressed or shockingly motivated I can stop at a small size, but it is not my norm. Option 1 was out.

Borders… oh borders. Any fabric I used on a conventional border was only going to take away from the stars. I did debate a yellow patchwork border, two rounds of squares all around. The yellow and feature fabrics, however, are pretty close in value. I felt that the stars would too get lost this way. Besides, when do you ever see me use a border? Option 2 is out.

That leaves me making more blocks. This is almost always the best option. You can see that it worked well too. With HSTs finishing at 6” this was easy and relatively quick sewing. I did have a lot of the fabrics from last year still so it was easy shopping. My yellow supply, however, was very slim so I did spend some cash to fill in the gaps (and fill up my yellow bin again). Luckily I was able to get some of the same fabrics so it really doesn’t look like I have two separate sections.

She is done for now. I am debating adding that patchwork border too. Maybe just one round of yellow squares all the way around? Yes, I am suggesting that despite what I said just two paragraphs above. We’ll see. For now, I have some sunshiny memories sewn into this quilt and that makes me happy.