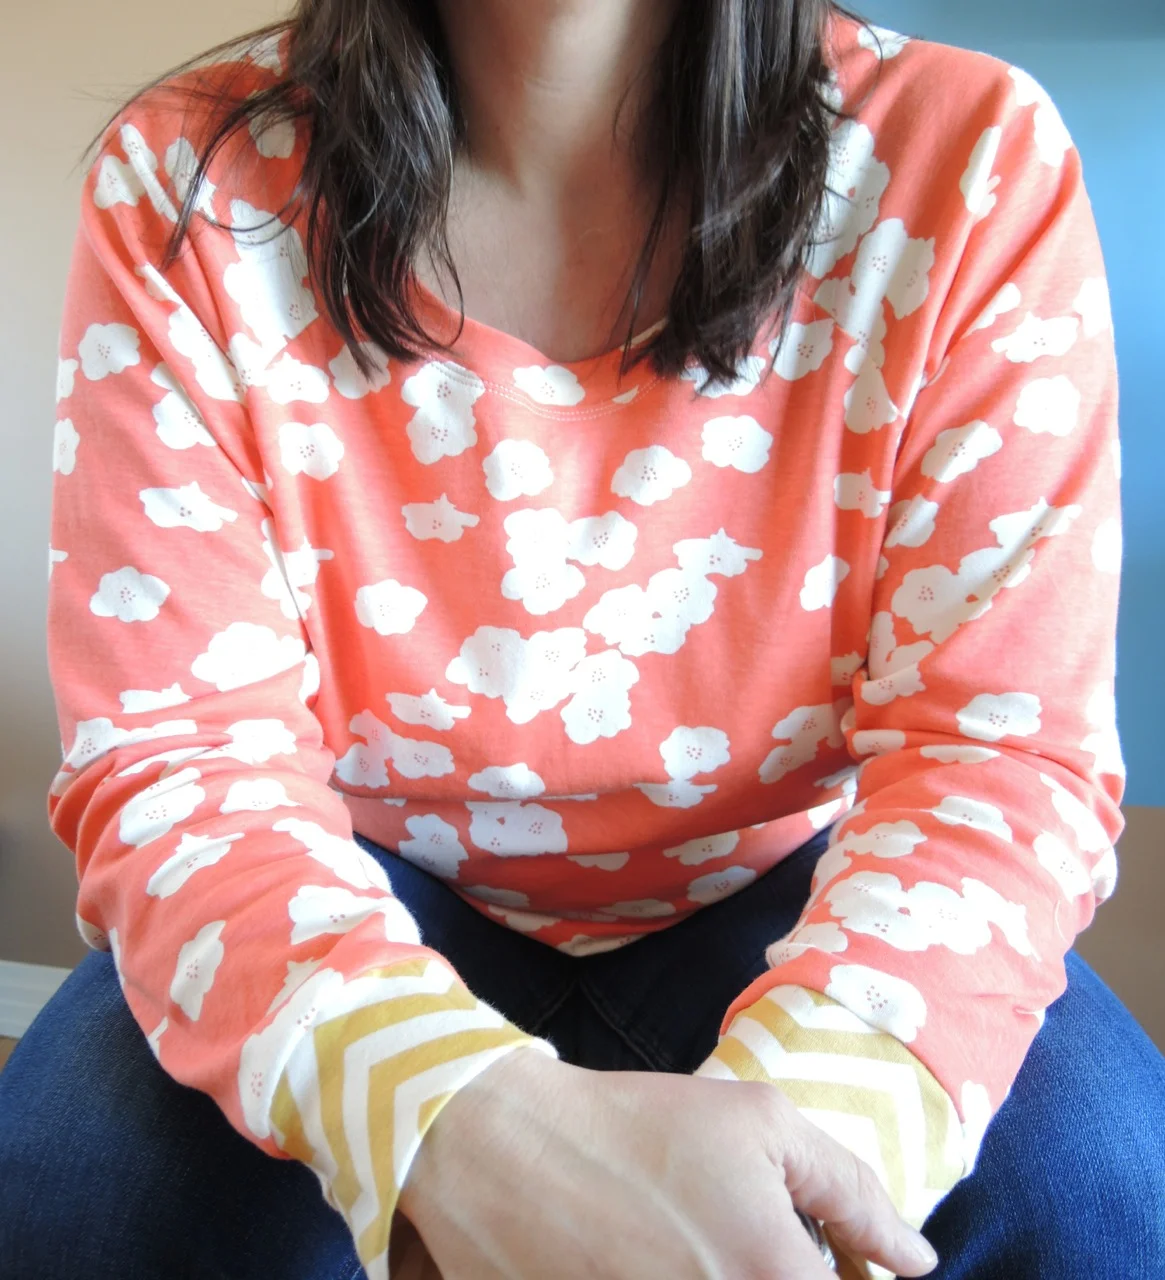
May 1 - Me Made May begins. Do you participate? The whole point is to showcase the garments you make and wear. It’s rather quite awesome. And it falls the week after Fashion Revolution, so it seems fitting.
Don’t know about Fashion Revolution? It started in response to the horrible Rana Plaza factory collapse 6 years ago. The factory was making what is known as Fast Fashion. The cheap, generally considered disposable clothing found all over the world. Have you bought a cotton knit t-shirt for less than $10? That’s Fast Fashion. This article is a great backgrounder and motivator.
Last week I had the privilege to speak at a Fashion Revolution YYC event. To be honest, I am not entirely sure why I was invited, but I am glad I was. The panel conversation was about what we, as local makers, can do to address Fast Fashion. It ended up being so much more than that. Today I want to talk about two of the things that came up for me during the evening.
Plus Size Gets Left Out, Again
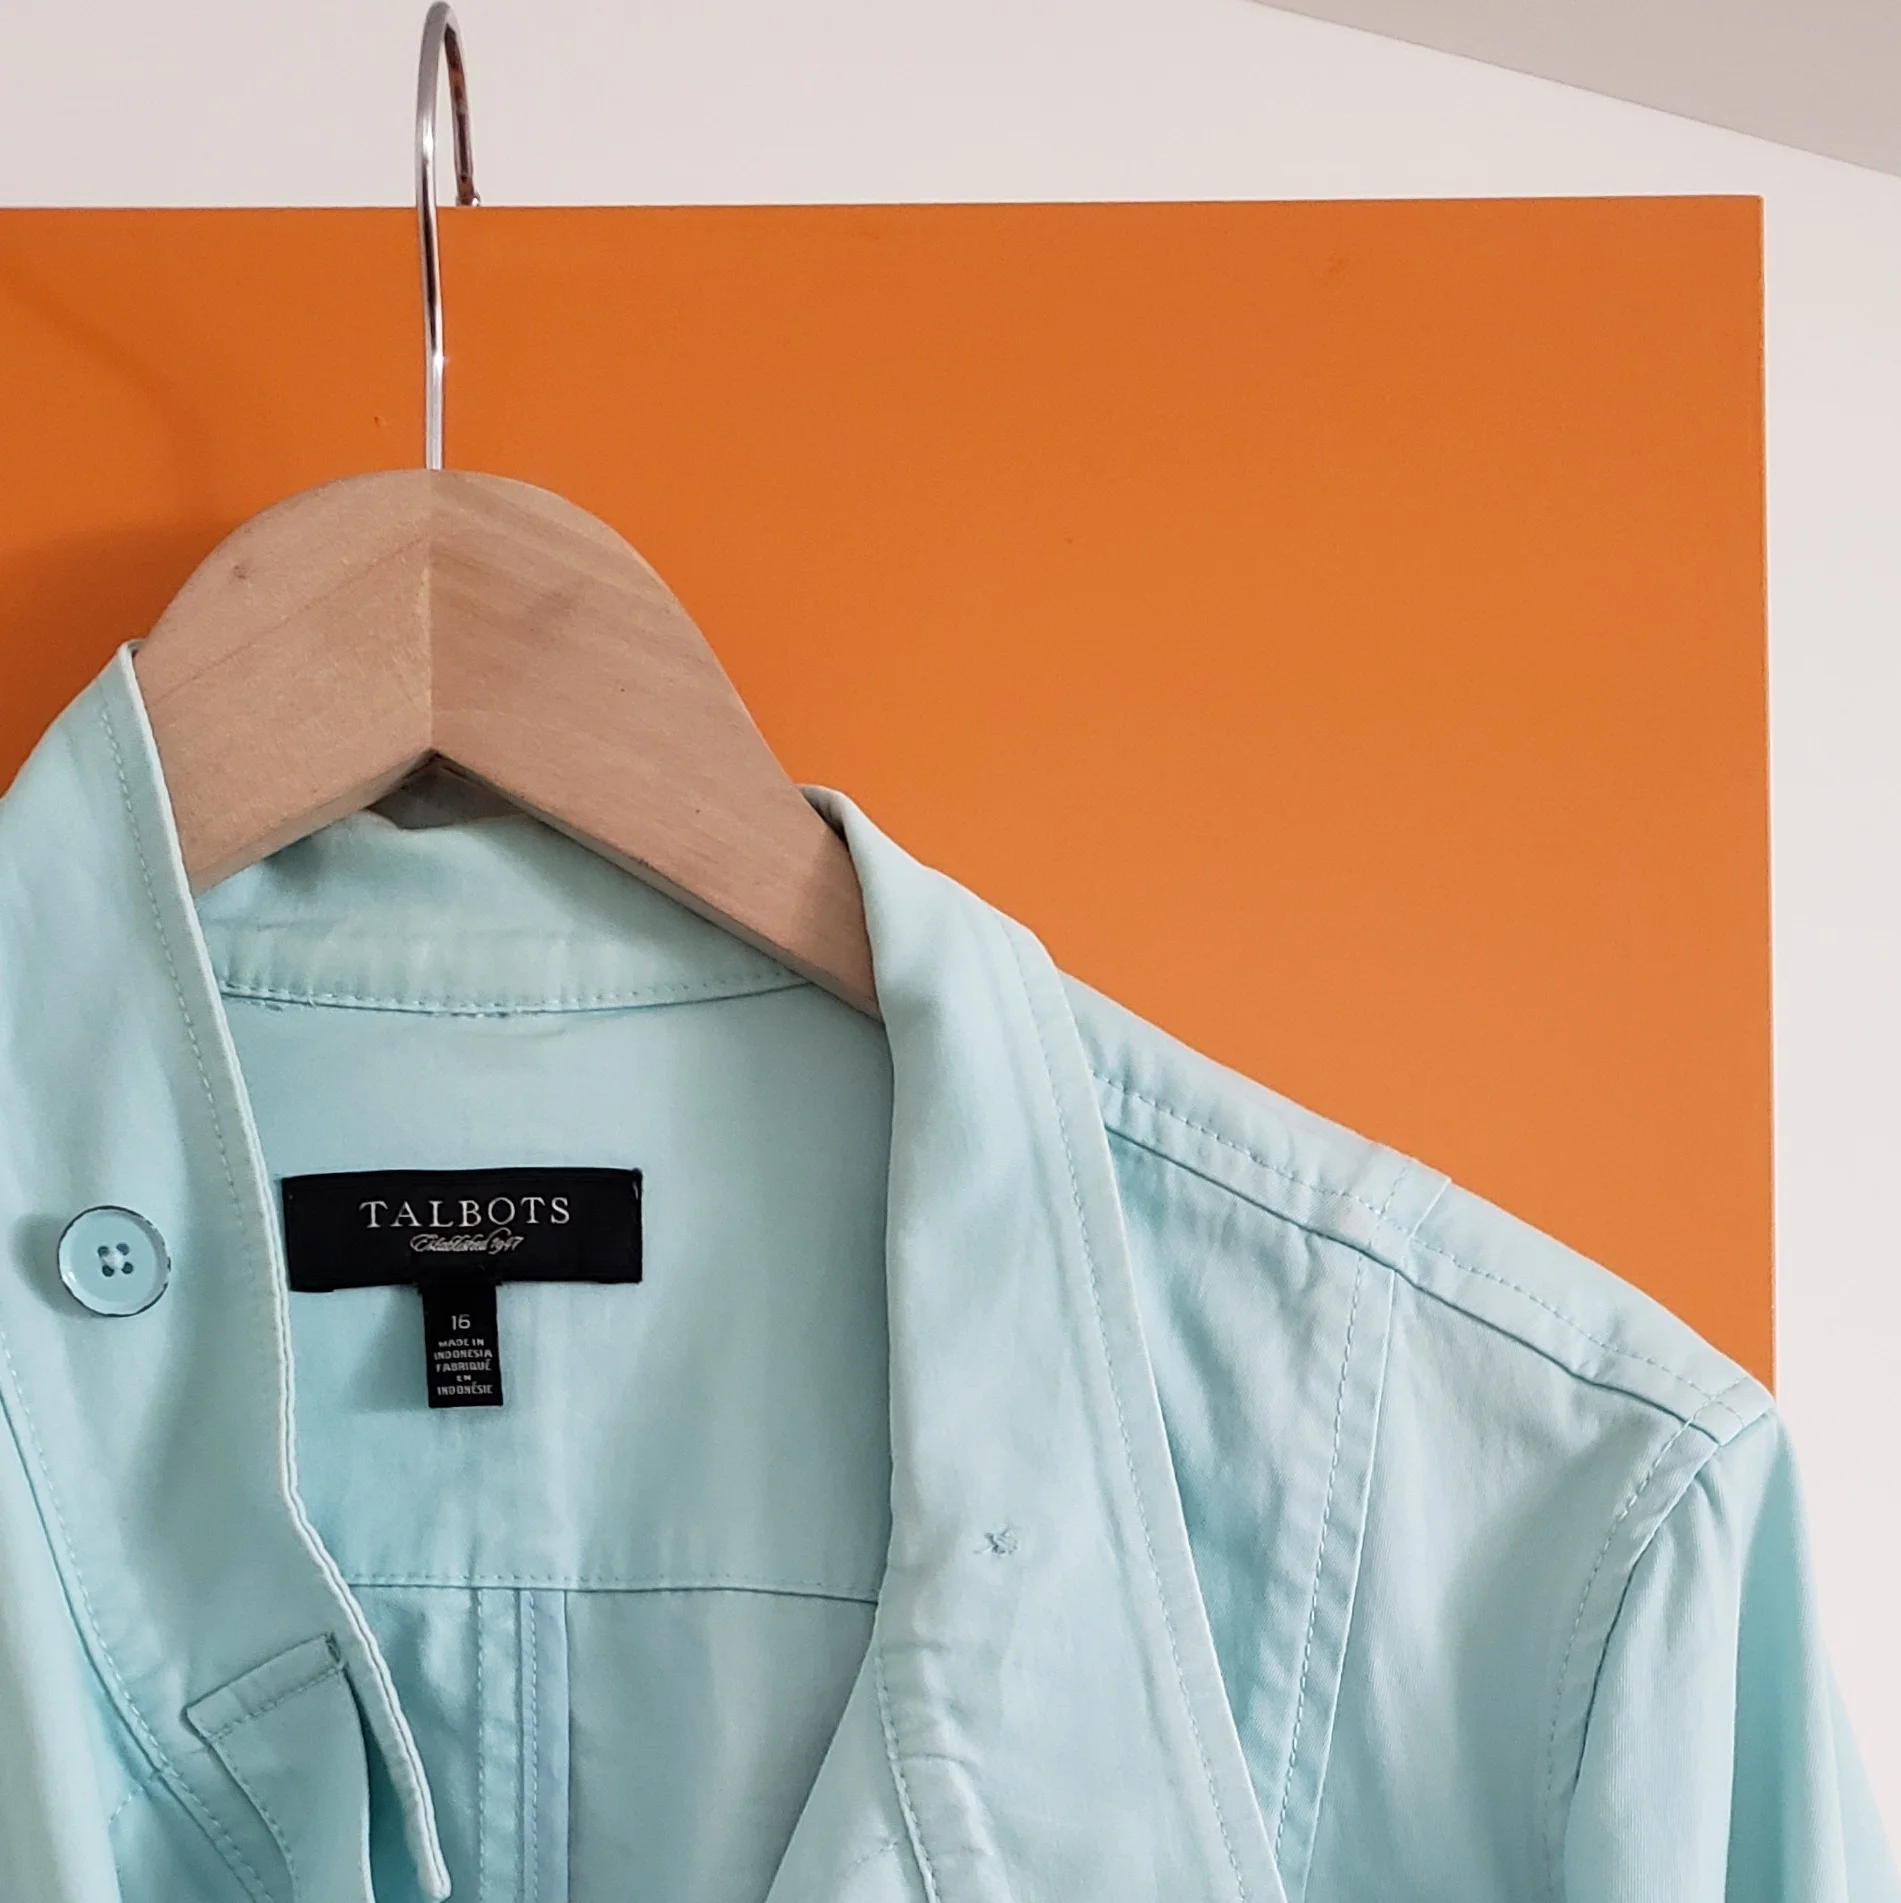
I am a plus size woman. And I know I am far from alone. But the vast majority of sustainable or eco conscious clothing is not made for me. Whether that is in the sizing or the style, it just isn’t much of an option.
How many artisan markets have you been to with gorgeous clothes, the maker right there full of enthusiasm and inspiration, only to discover your leg would barely fit in their samples for sale? That large seems like a small? It’s at the point where I don’t even look at clothing at any market.
At the end of the day my shopping choices are limited and 95% of them are going to be Fast Fashion. Even if I want to spend more money for high quality clothing that I will love and take care of, I can’t find it. It exists in such miniscule amounts that the search is like finding hidden treasure. And no matter how much I spend on jeans or what they are made of, my thighs are going to rub and wear out.
Two suggestions for making even your fast fashion last longer.
Take care of it. I treat my Gap Outlet shirts the same as I treat everything else. A lot of handwashing and lay flat to dry. Yes it takes longer but it also means I am not treating my clothing as disposable. A valuable mindset for sustainability.
Mend. I will admit, the visible mending trend is not generally something I would go for. It just isn’t my personal style. But there are beautiful examples out there to inspire. Plus, I can fix a button, rehem when necessary, or even alter something to be a bit new.
The Waste When You Make
Making your own clothes is a glorious solution to Fast Fashion. You get fit, colour, and sizing that works for you. You also get waste.
As a quilter I am used to accumulating, keeping, and using scraps of fabric. As an amateur garment sewer, I also keep accumulate and sort my scraps. BUT they are often not the same substrate as my quilting cottons scraps, nor do they always act the same way.
So I keep my knit scraps all together. In my head I will one day turn them into a braided rug or mat.
Anything cotton or linen does get put with my quilting cotton scraps. I find that you can mix woven naturals easily.
The rest? Well, I haven’t sewn with silk and only once with rayon, so I am not quite sure what to do when them.
Bags, mats, small projects, all can be made with your garment scraps. Providing you trim and sort them because, unlike quilting, you are going to have a lot of weird shaped pieces.
My pet peeve, however, with sewing plus size clothing is the fabric cutting. More than one pattern I’ve used has a different cutting layout as soon as you jump above a size 12. Sure, it makes sense. Bigger clothing means more fabric. What I often find, though, is that the change in cutting lay out leads to a lot of fabric scraps. Whereas I could snuggle my pieces together and be left with random bits, that jump to plus size often means large strips of fabric left untouched and significantly greater fabric requirements.
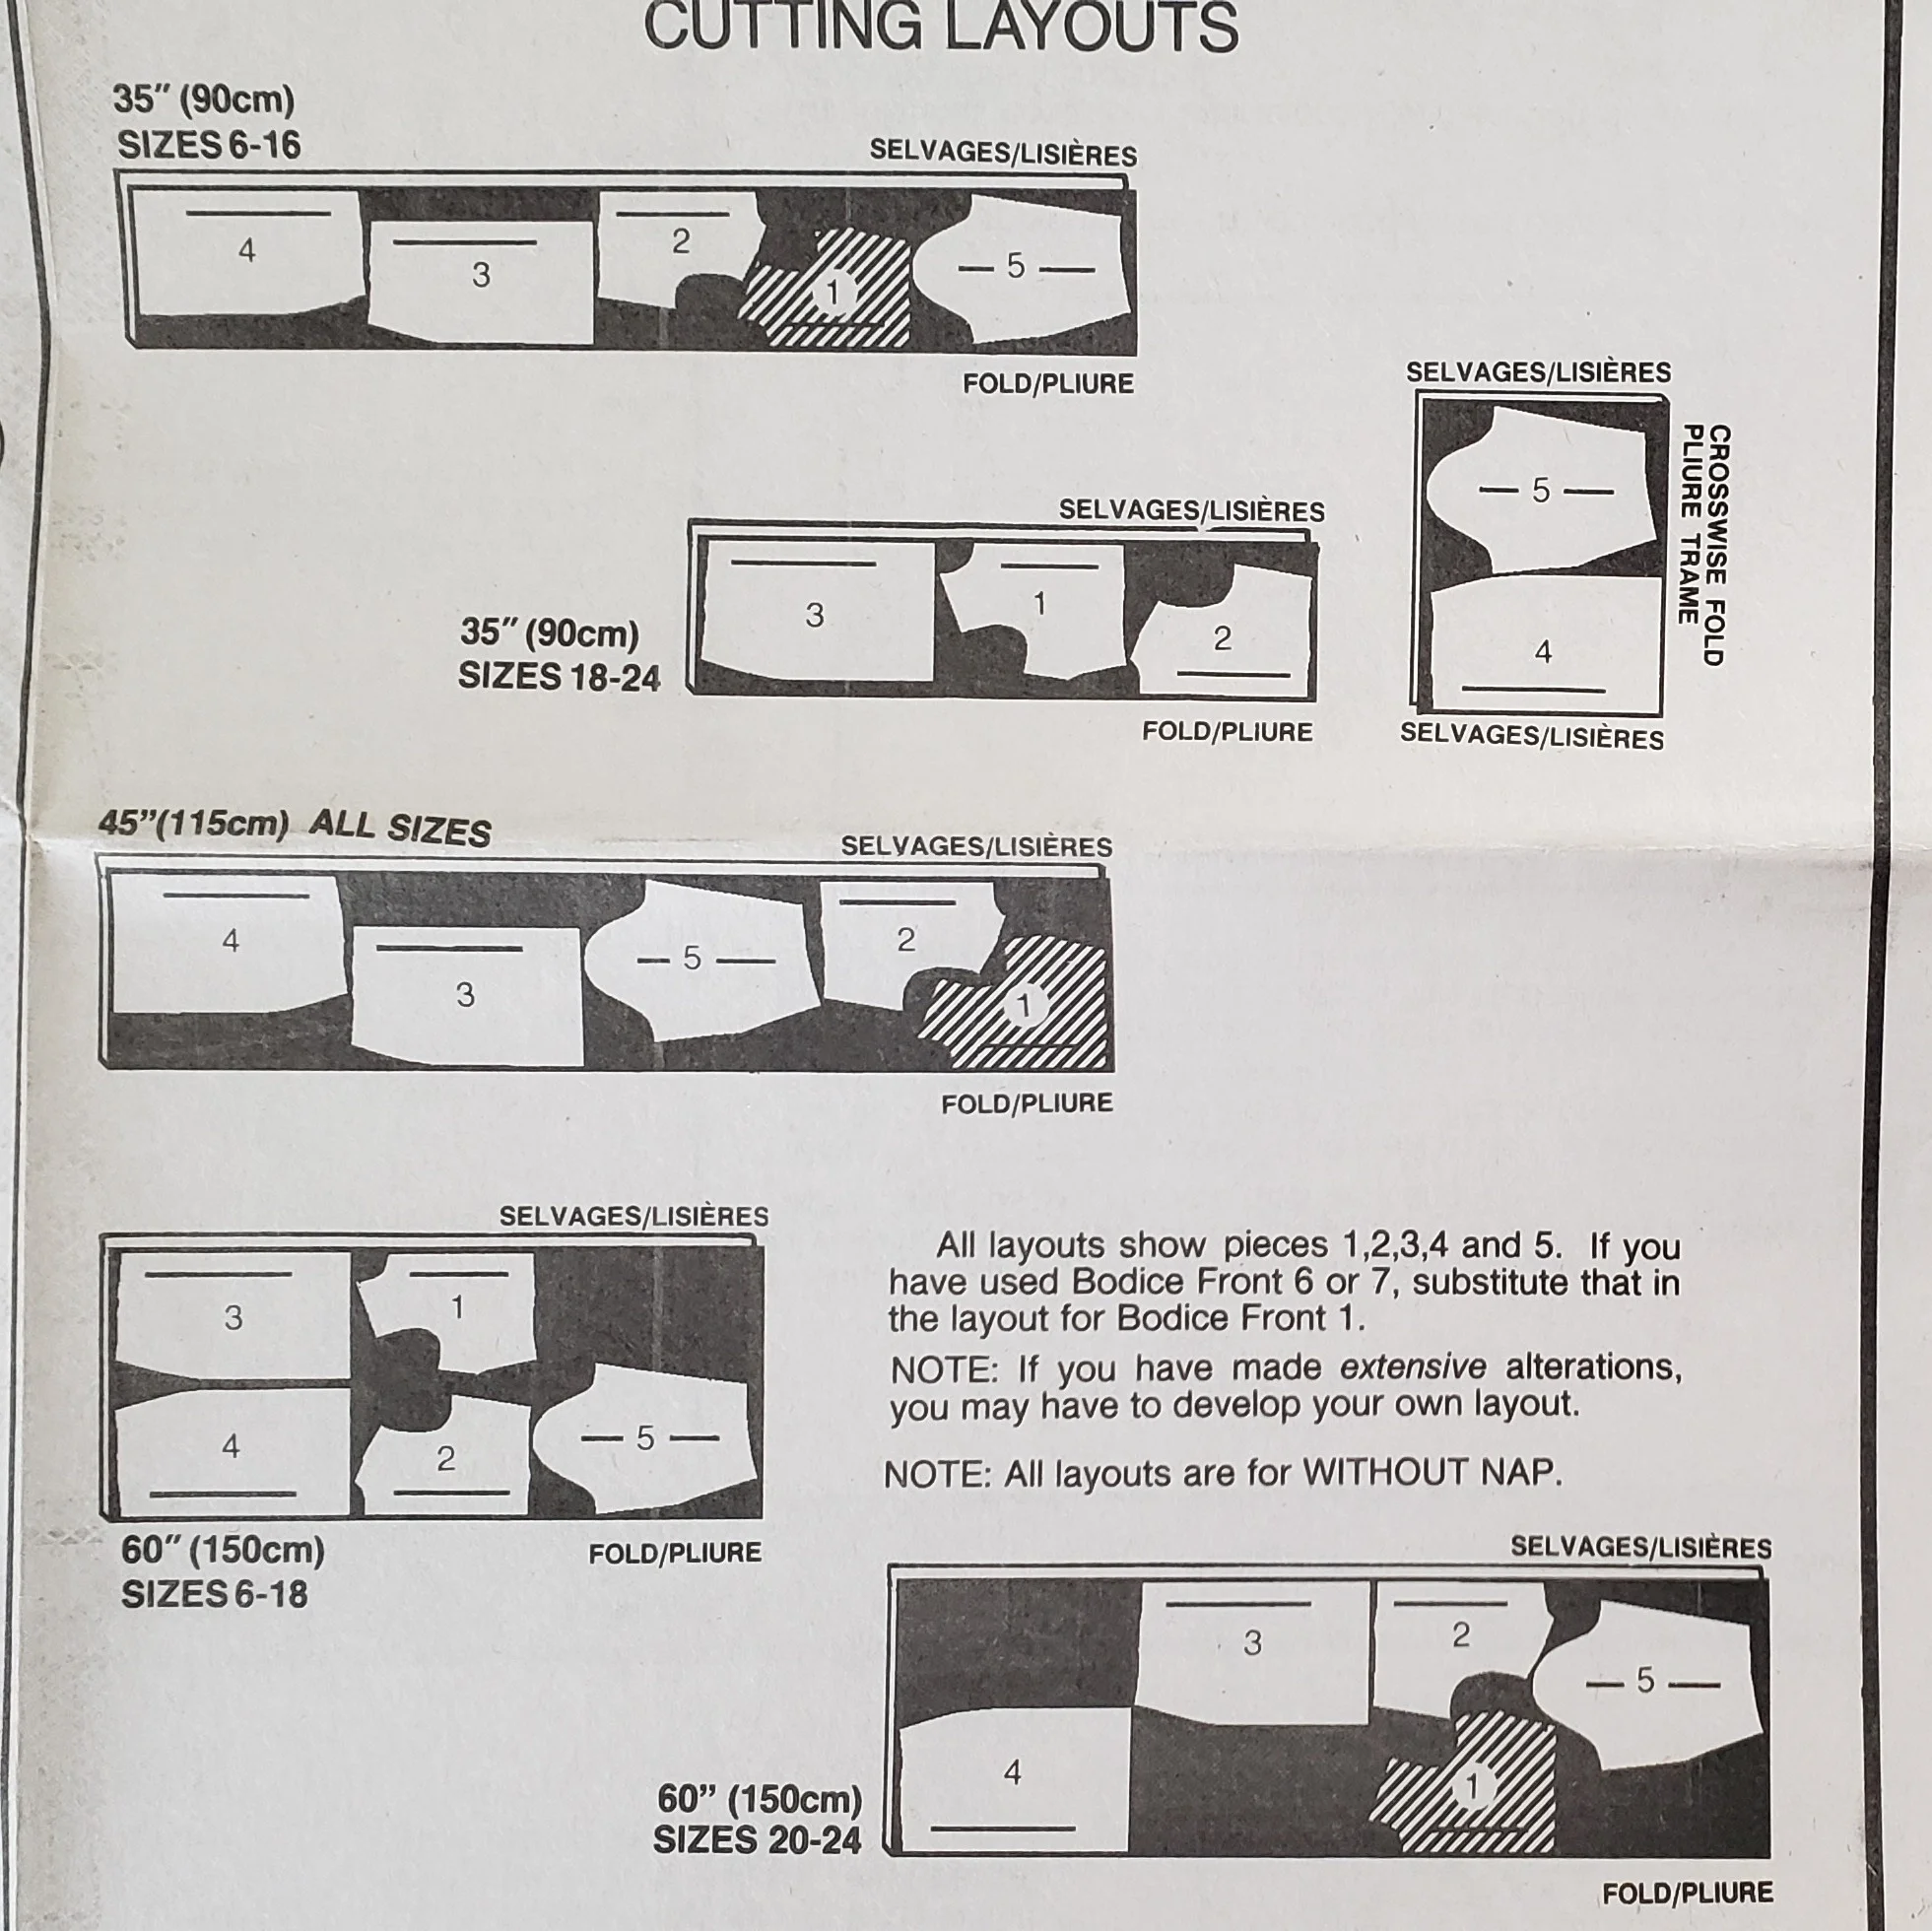
Look at all that extra fabric!
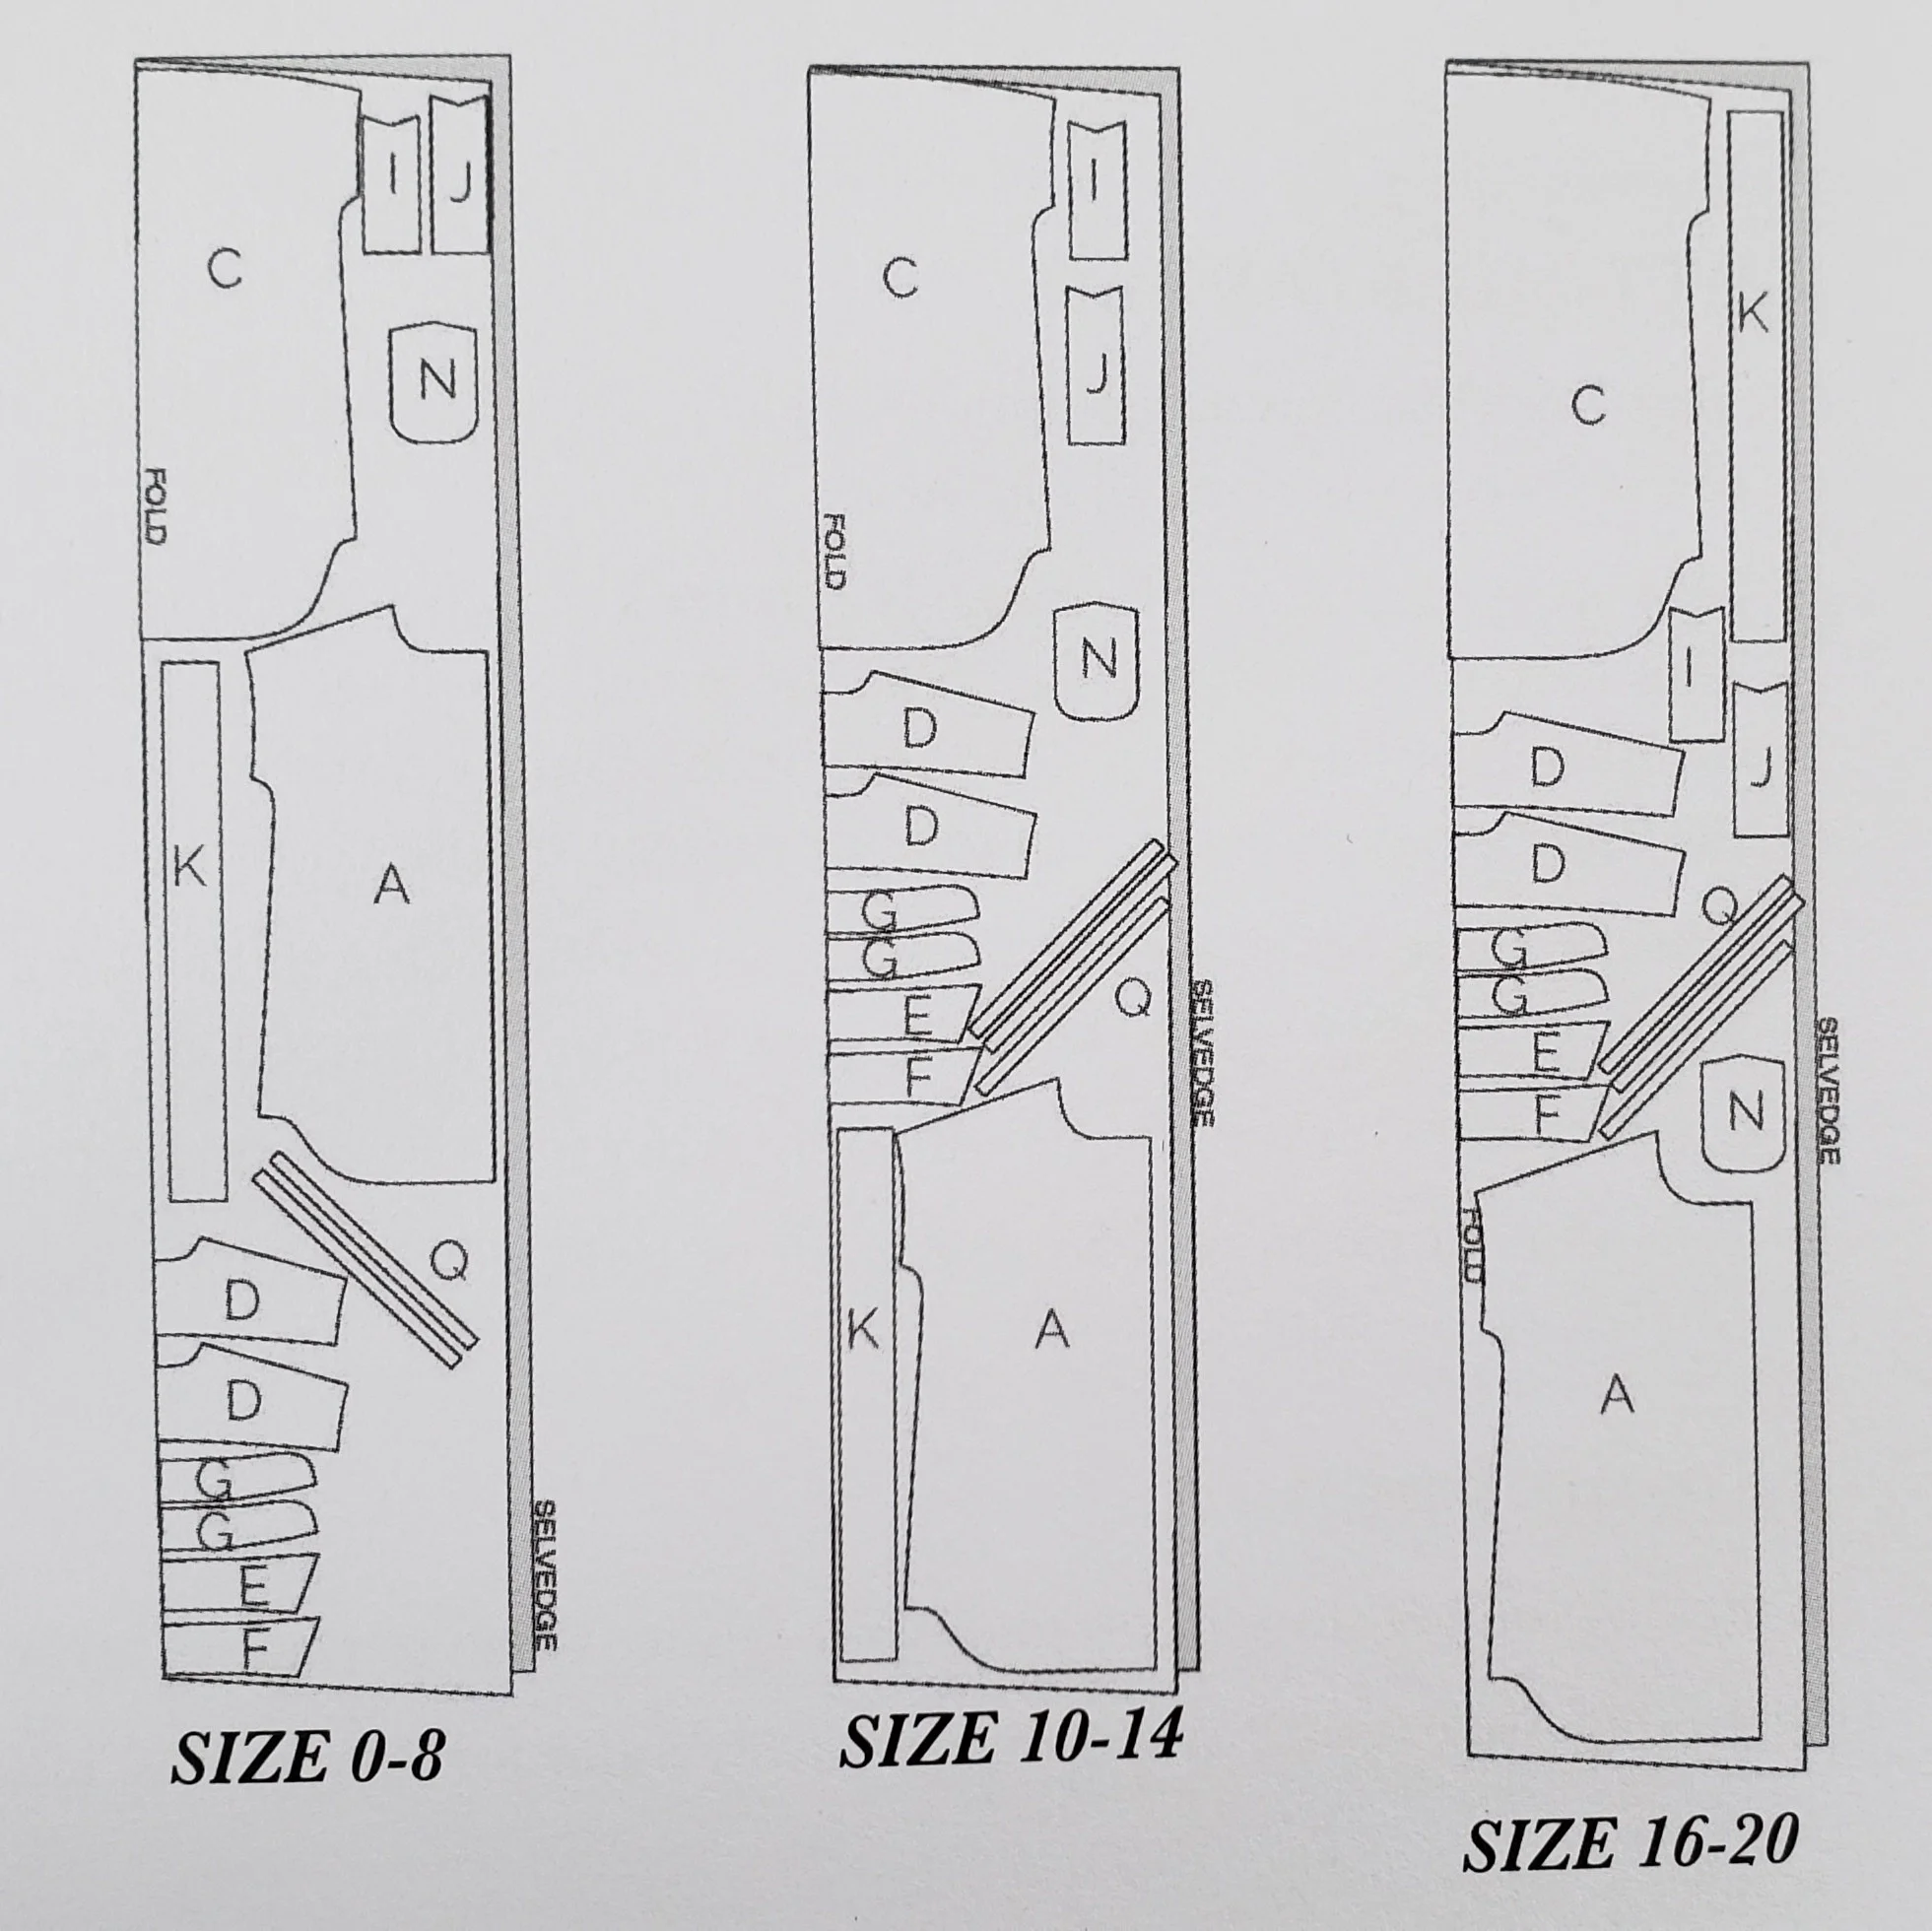
Much better.
Now, I know that grading patterns (changing the sizes) is difficult work. I admire the pattern designers tremendously. But I do not think this jump makes sense. My instinct kicks in and I want to see something more sensible, even though I know it isn’t easy.
Let me give you a super simplified example. When I design a quilt pattern I like to minimize waste. I design block sizes and cutting instructions so you don’t have useless bits leftover or large swaths of fabric untouched. I’ve even changed patterns I wrote to make this easier. So can’t garment pattern designers working with plus size options, design the pattern to maximize the cut fabric? Put a seam down the back so you can cut from less fabric, for example?
Again, I am NOT a garment pattern designer, but I do wonder if things like this are feasible? I’ve also not yet tried some patterns from Cashmerette, a well known plus size pattern designer. Maybe she does this? Or is it even considered? Food for thought.
I won’t be wearing homemade for all of May, but I am using #memademay as a motivation to make a few more things. I plan a Driftless Cardigan and a Kalle Shirtdress. You can be darn sure I will be saving those scraps!