"tips and tutorials"

Unexpected Gifts for Quilters

Okay… send this post to you partner, your spouse, your boyfriend, your grandkid, your mom, your girlfriend, or even your best quilting buddy. Sure, they can all give you a fat quarter bundle, another ruler, or a gift certificate to your favourite shop, but that is so cliche! (Albeit, always welcome!) Instead of the usual stuff, now is the time to drop some hints for the unexpected, but greatly appreciated. These are the gifts that will fuel your creative fire. Not to mention, get you using the fabric they bought you last year.

1. Art Gallery/Museum Membership

Most major cities have an art gallery, or two, that host both regular and touring exhibitions. Stepping out of your usual textile world is a great way to soak up inspiration. Special exhibits on top of the regular showings introduce you to a load of new concepts and ideas. You may think that you would rather spend the time sewing than an afternoon out, but it is well worth it. Bonus, if you have a partner or children it makes an excellent date!

Here in Calgary I am a fan of The Glenbow, the Esker Foundation, and Contemporary Calgary.

Gallery floor

2. Subscription to an Audio Streaming Service

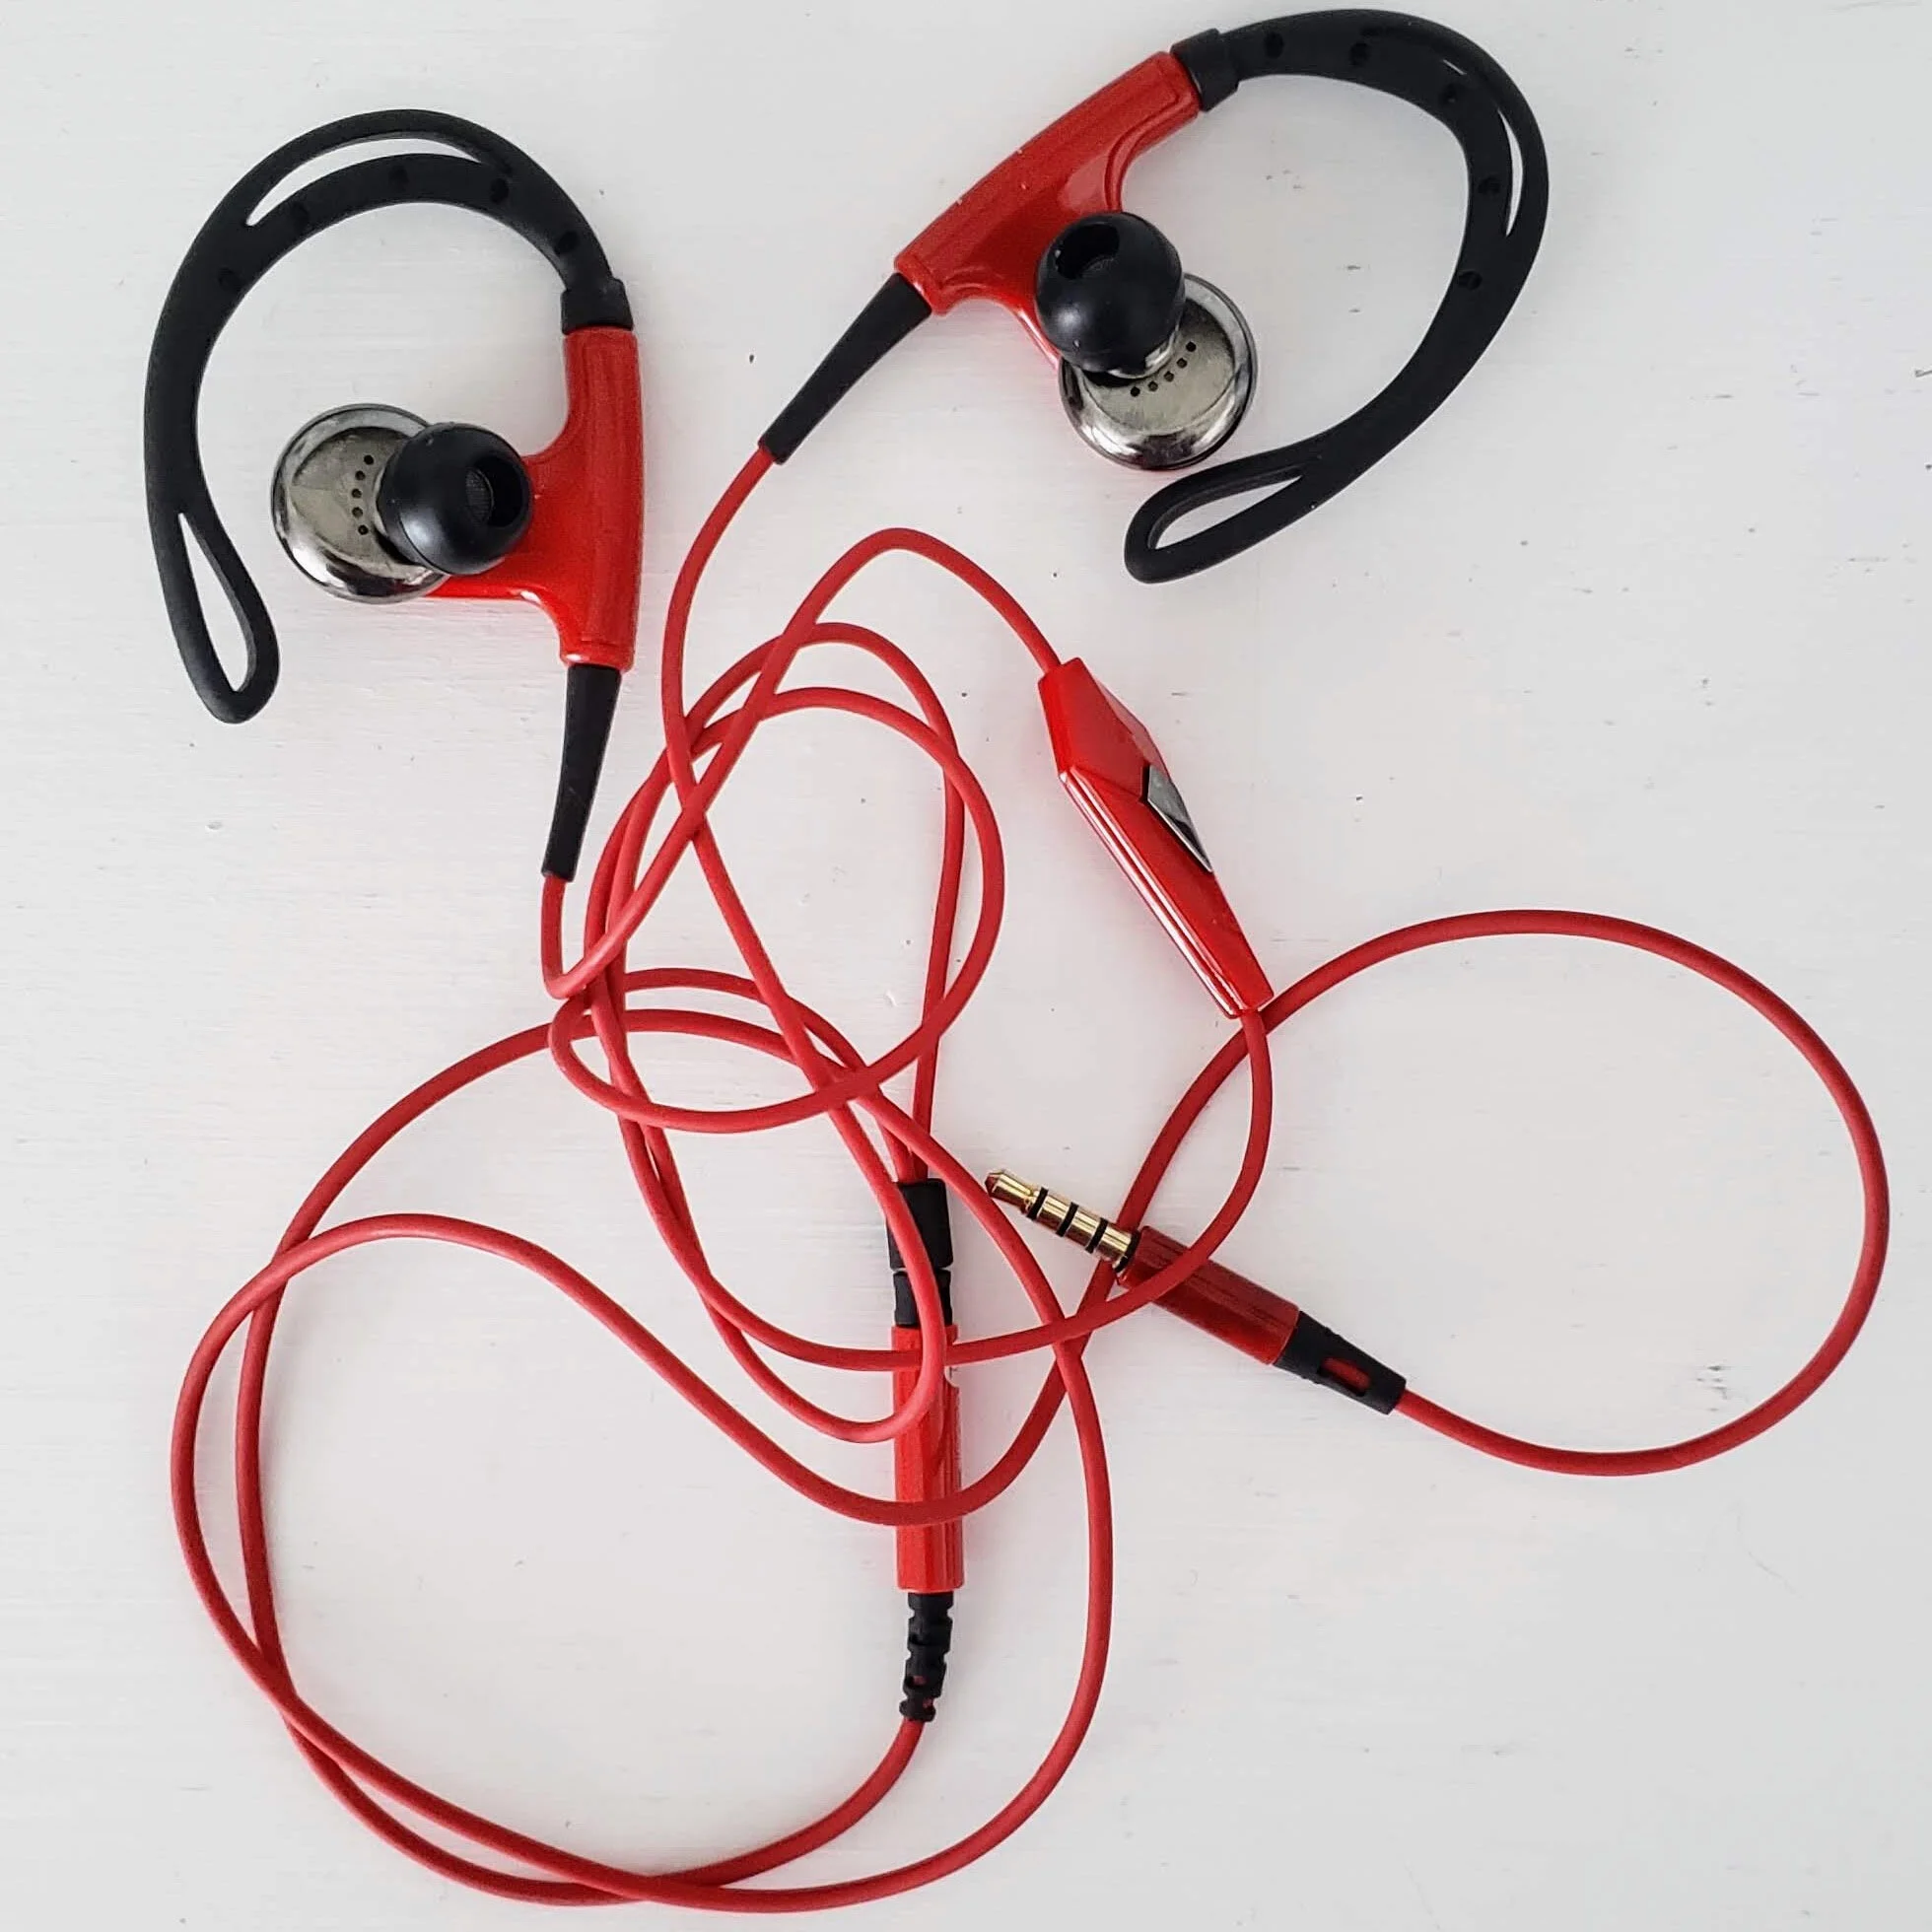
Avoid the ads, for one. But this is great food for the brain while you sew. I know a lot of people who will ‘watch’ shows while they sew. Something familiar that they listen to but don’t actually watch. Skip the pretense and listen to your favourite tunes or get engrossed in other people’s stories. True Crime, Humour, Books, even sewing all have podcasts delivered regularly across platforms. It could be Apple Music, Stitcher Premium, or Spotify, among others. Check their preferences.

Ear Buds

3. Really Nice Markers, Pencil Crayons, and/or Pens. Plus a Bullet Journal.

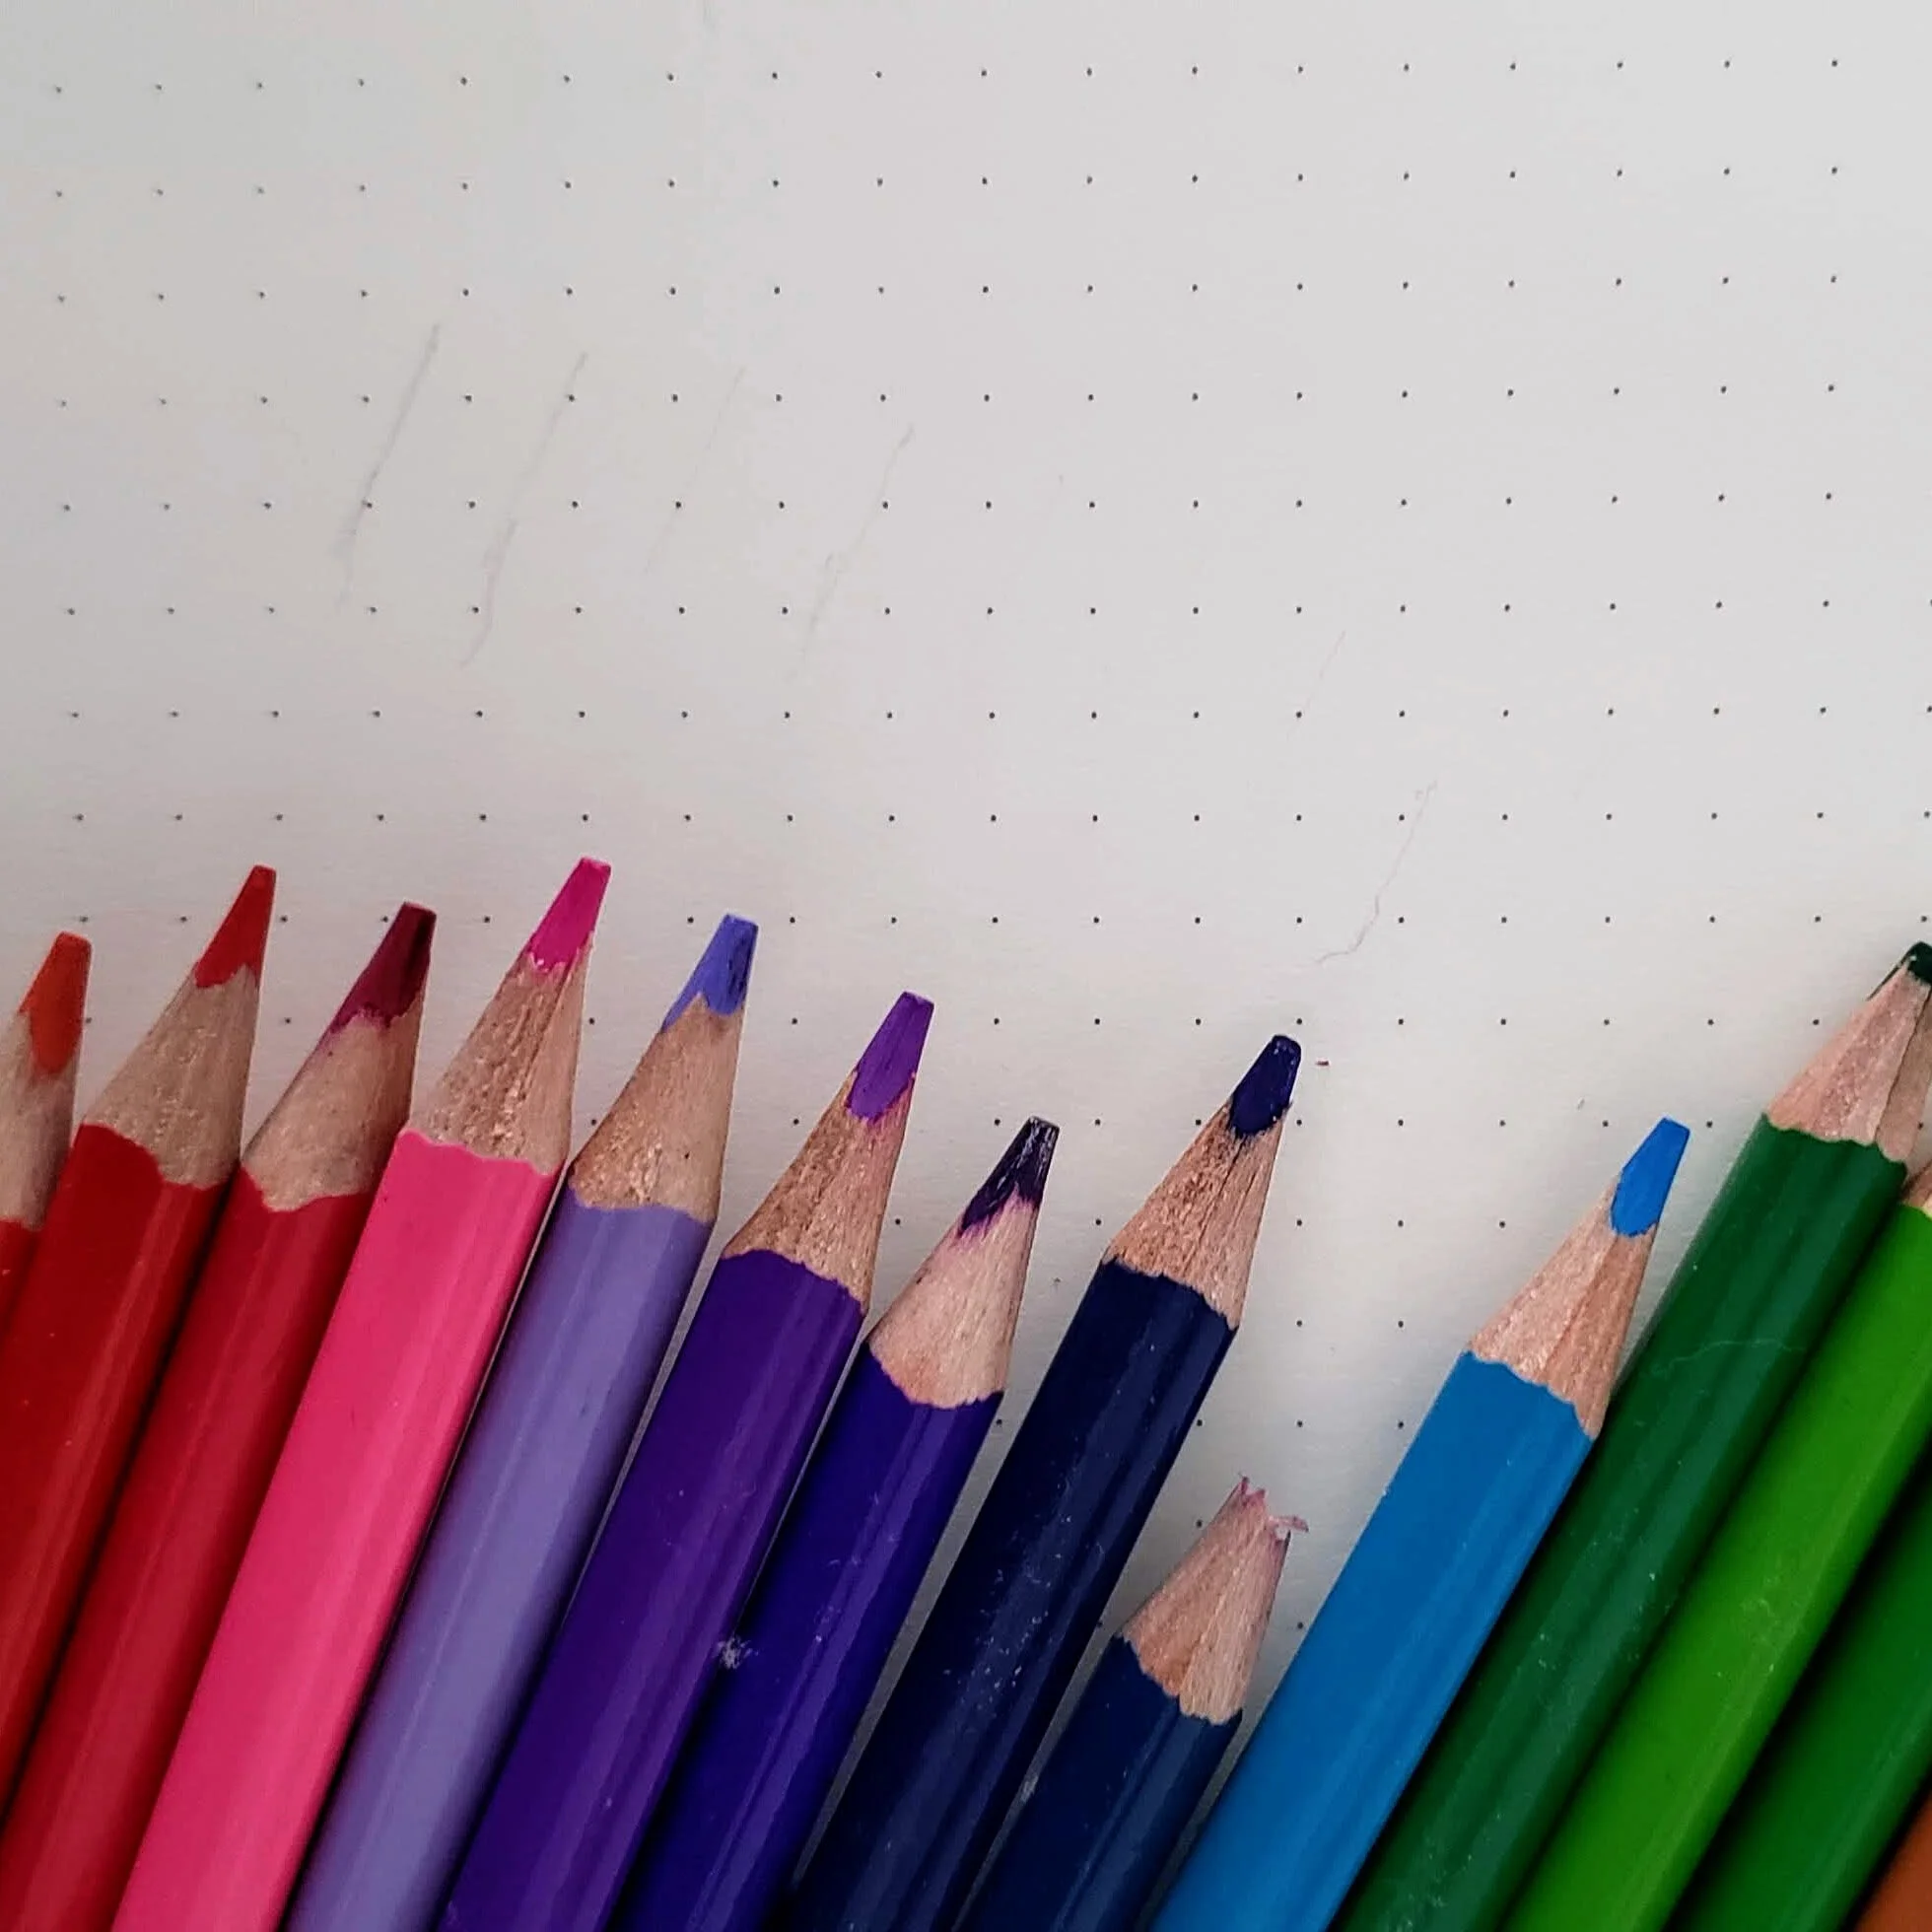
Sure, we’ve all sketched something on a scrap of paper with what ever nub of a pencil we found or meticulously planned a quilt on a standard pad of graph paper. Okay, some of use computer programs, but you folks are in the minority and skilled in a totally different way. Getting to play and draw out our ideas with real colour in things that flow on nice paper is a true privilege for most quilters. It is not another pack of Crayolas for the kids to steal. These are our things that will be protected at the same level as our fabric scissors.

While I, personally, am not someone who does the Bullet Journal thing, I do like the dotted paper that most journals have. It allows you to make and use grid lines without having the lines be so prominent like they are on graph paper.

Pencil Crayons and Paper

4. Long Arm Classes

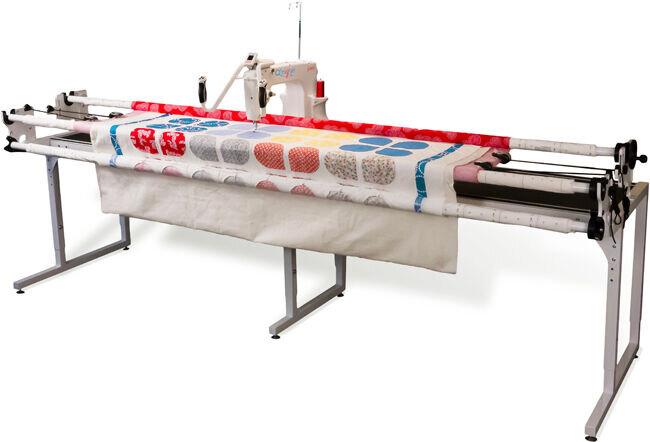
A long arm sewing machine is not in the budget of most quilters. (Remind me to tell you of the time my husband discovered the prices). However, there are stores and long arm quilters across the country who will rent out time on their long arm machines. You just have to be certified first. Give the gift of the class.

If an in person class is not an option, splurge on a long arm gift certificate. Your favourite quilter can get their big quilt finished without intimidation.

long arm.jpg

5. Time

Give them time. A weekly or daily time where they are free to sew - GUILT FREE - while you take care of the rest of the stuff of life. It might be a sew date with a friend (who needs book club when you can sew?), mornings while you get the kids out the door, or at night when it makes zero difference to you anyway (but you can fold the laundry while they sew, right?) To many of us would love to do more but the grind of daily life means that time is at a premium. The gift of time means so much.

Remember, none of these gifts are about getting more quilts done. Don’t ever make that the goal. That will probably go over as well as buying someone a gym membership if they casually mention they wish they could lose five pounds. Bad, bad idea. No, your goal with these gifts is to encourage their creative exploration. You are promoting their natural curiosity, enhancing their skills, and showing your unconditional support for something that brings them joy.

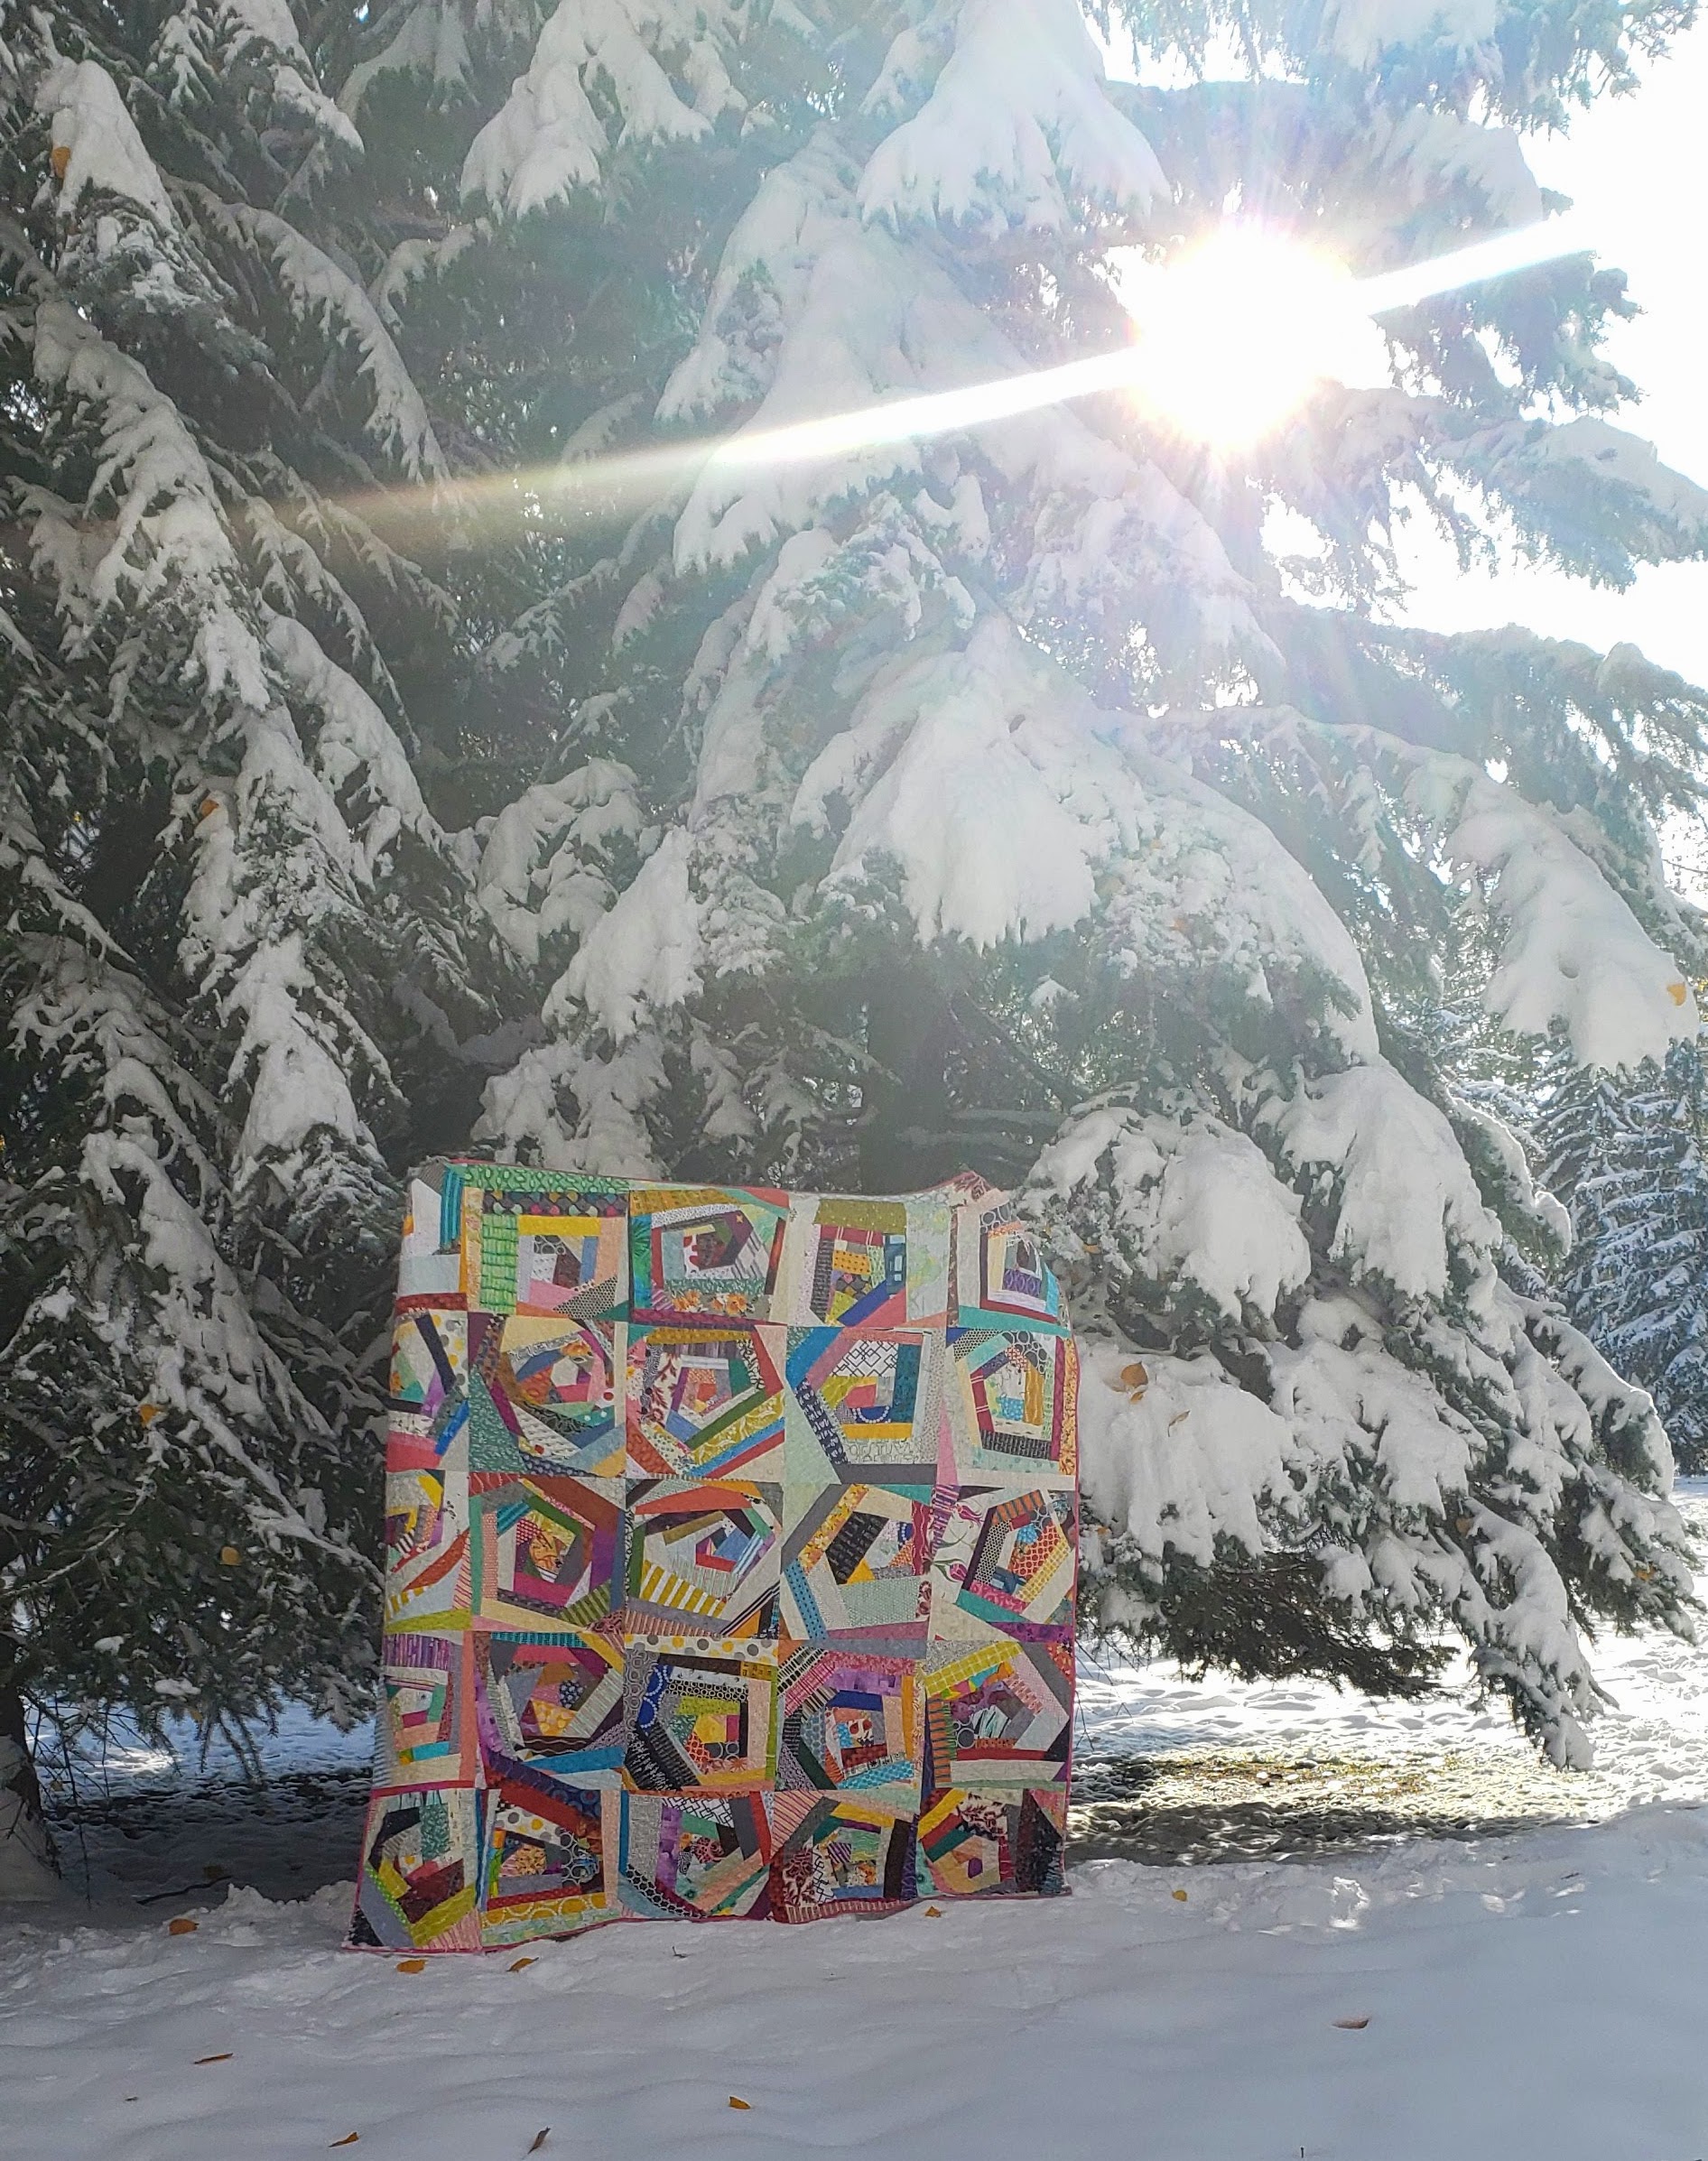
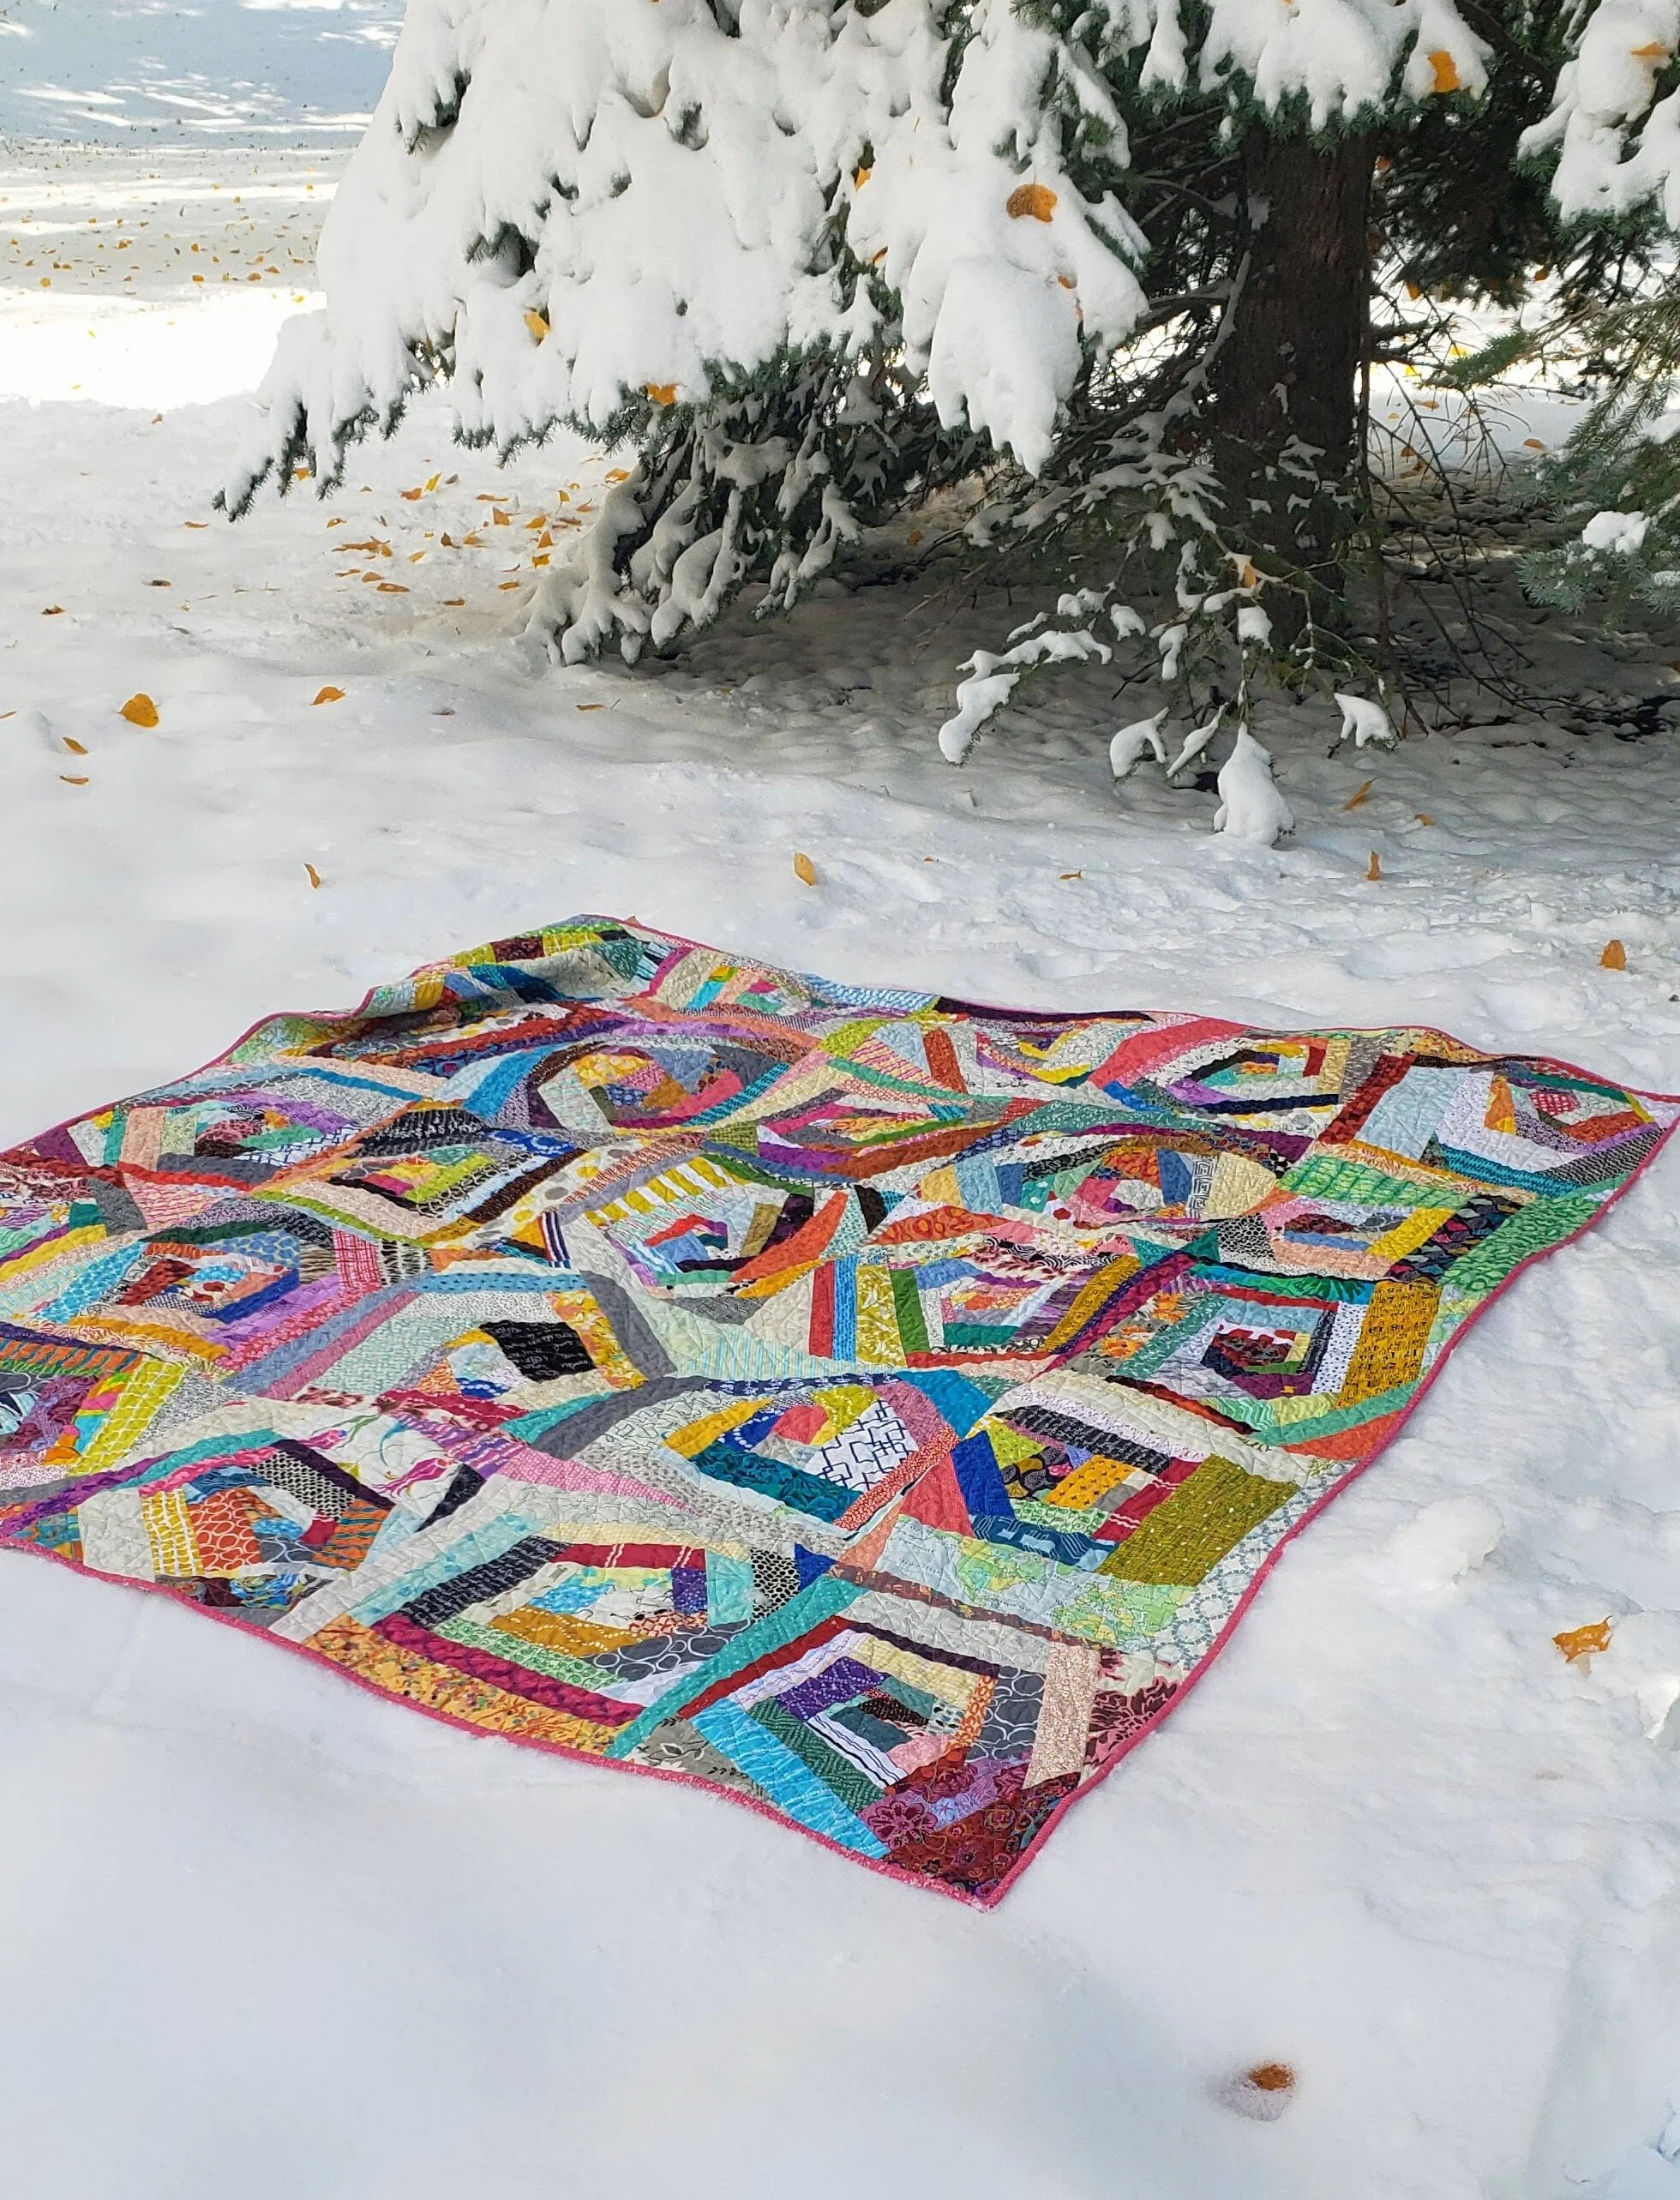
Round and Round - Improv Log Cabins in a Circle

Imrpov Log Cabin Quilts

Round and Round

80” x 80”

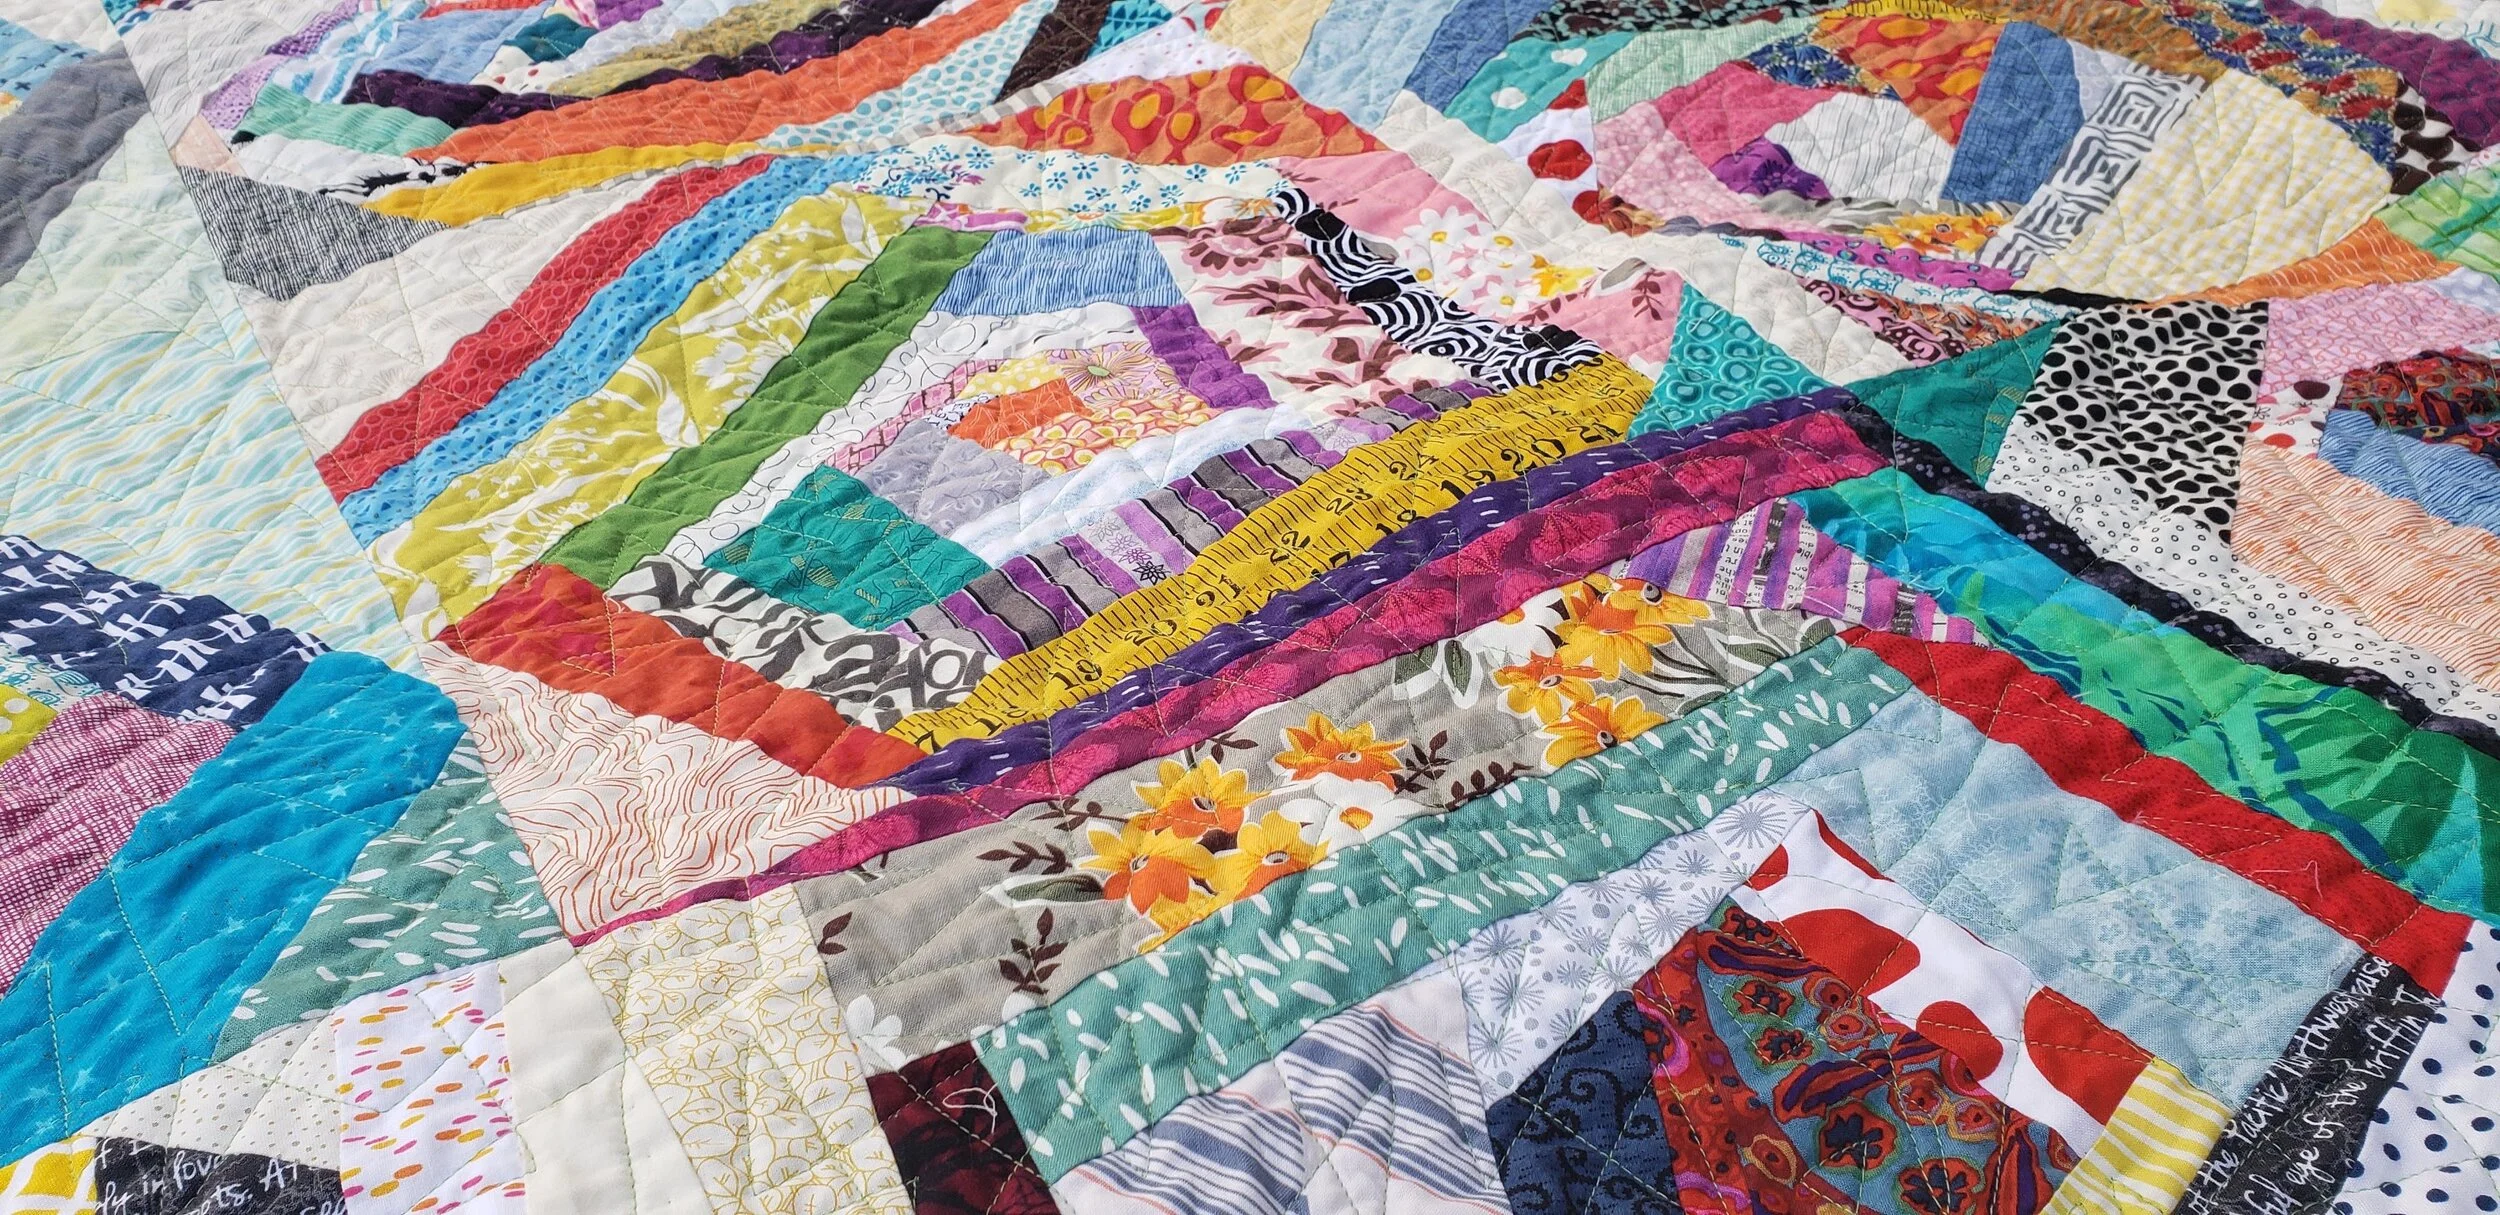
Definitely not my oldest quilt in the construction pile, but 5 years later this one is done. I looked, and I made the original handful of blocks in September 2014. Oddly enough, also on a September snow day. Yet this quilt is the antithesis of a snow day. It is bright and obnoxious, full of energy and noise, not quiet, serene, or peaceful. But it will keep you warm during not that freaky, obviously, snowstorms.

So I started it 5 years ago, finished the top 3 years ago, and it took me all summer to quilt it. Sounds about right!

It ended up being a bear to quilt. I really wanted to get it done but it was at a peak of pain for me. So I got my friend Philippa to thread baste it for me on her long arm. But then I fought and fought with my machine on quilting it. Thread kept breaking and my bobbin sensor went haywire. Even a trip to the spa didn’t solve the problems. But I kept her clean, got new bobbins, and eventually learned to turn off the bobbin sensor. Oh, and adjusted that top tension. We will not mention my tendency to speed through corners and the impact that may have had on quilting.

Improv Log Cabin Scrap Quilts

I did use a go-to thread colour for scrap quilts - olive/sage green. It would truly be my last choice of colours given a stack of fabric or rack of thread, but it works brilliantly with scrap quilts. It blends better than grey and falls in a nice medium value so as not to pop out anywhere. With a scrap quilt like this an all over pattern is precisely perfect.

Hot pink binding for the win!

Plans are underway for something more for this quilt. I’m pretty excited to see what I can do. The snow needs to melt and health needs to return to our house. Both should happen by the weekend. After that, we’ll see if my plans can come to fruition. It just takes the time to do the work! Hard to do with that regular family business job, shingles, and sick kids. In the meantime, this quilt is already in rotation for snuggles.

Scrap Quilts Log Cabin Quilts

Teeny Tiny Scraps Shadow Box Craft

teeny scraps quilts

“How small is too small?”

Whenever I am speaking on scrap quilting, no matter the audience, this is a guaranteed question. I think people are looking for either A) someone to tell them it is okay to throw out fabric at some point or B) that they aren’t crazy for keeping every little bit. And both of those people would be right.

My default answer is that I will keep pieces as small as 1-2’’ square. And little triangles left from making binding or other blocks. Definitely keep those. Not to mention all those stringy strings of fabric shedding bits of thread, I always keep those.

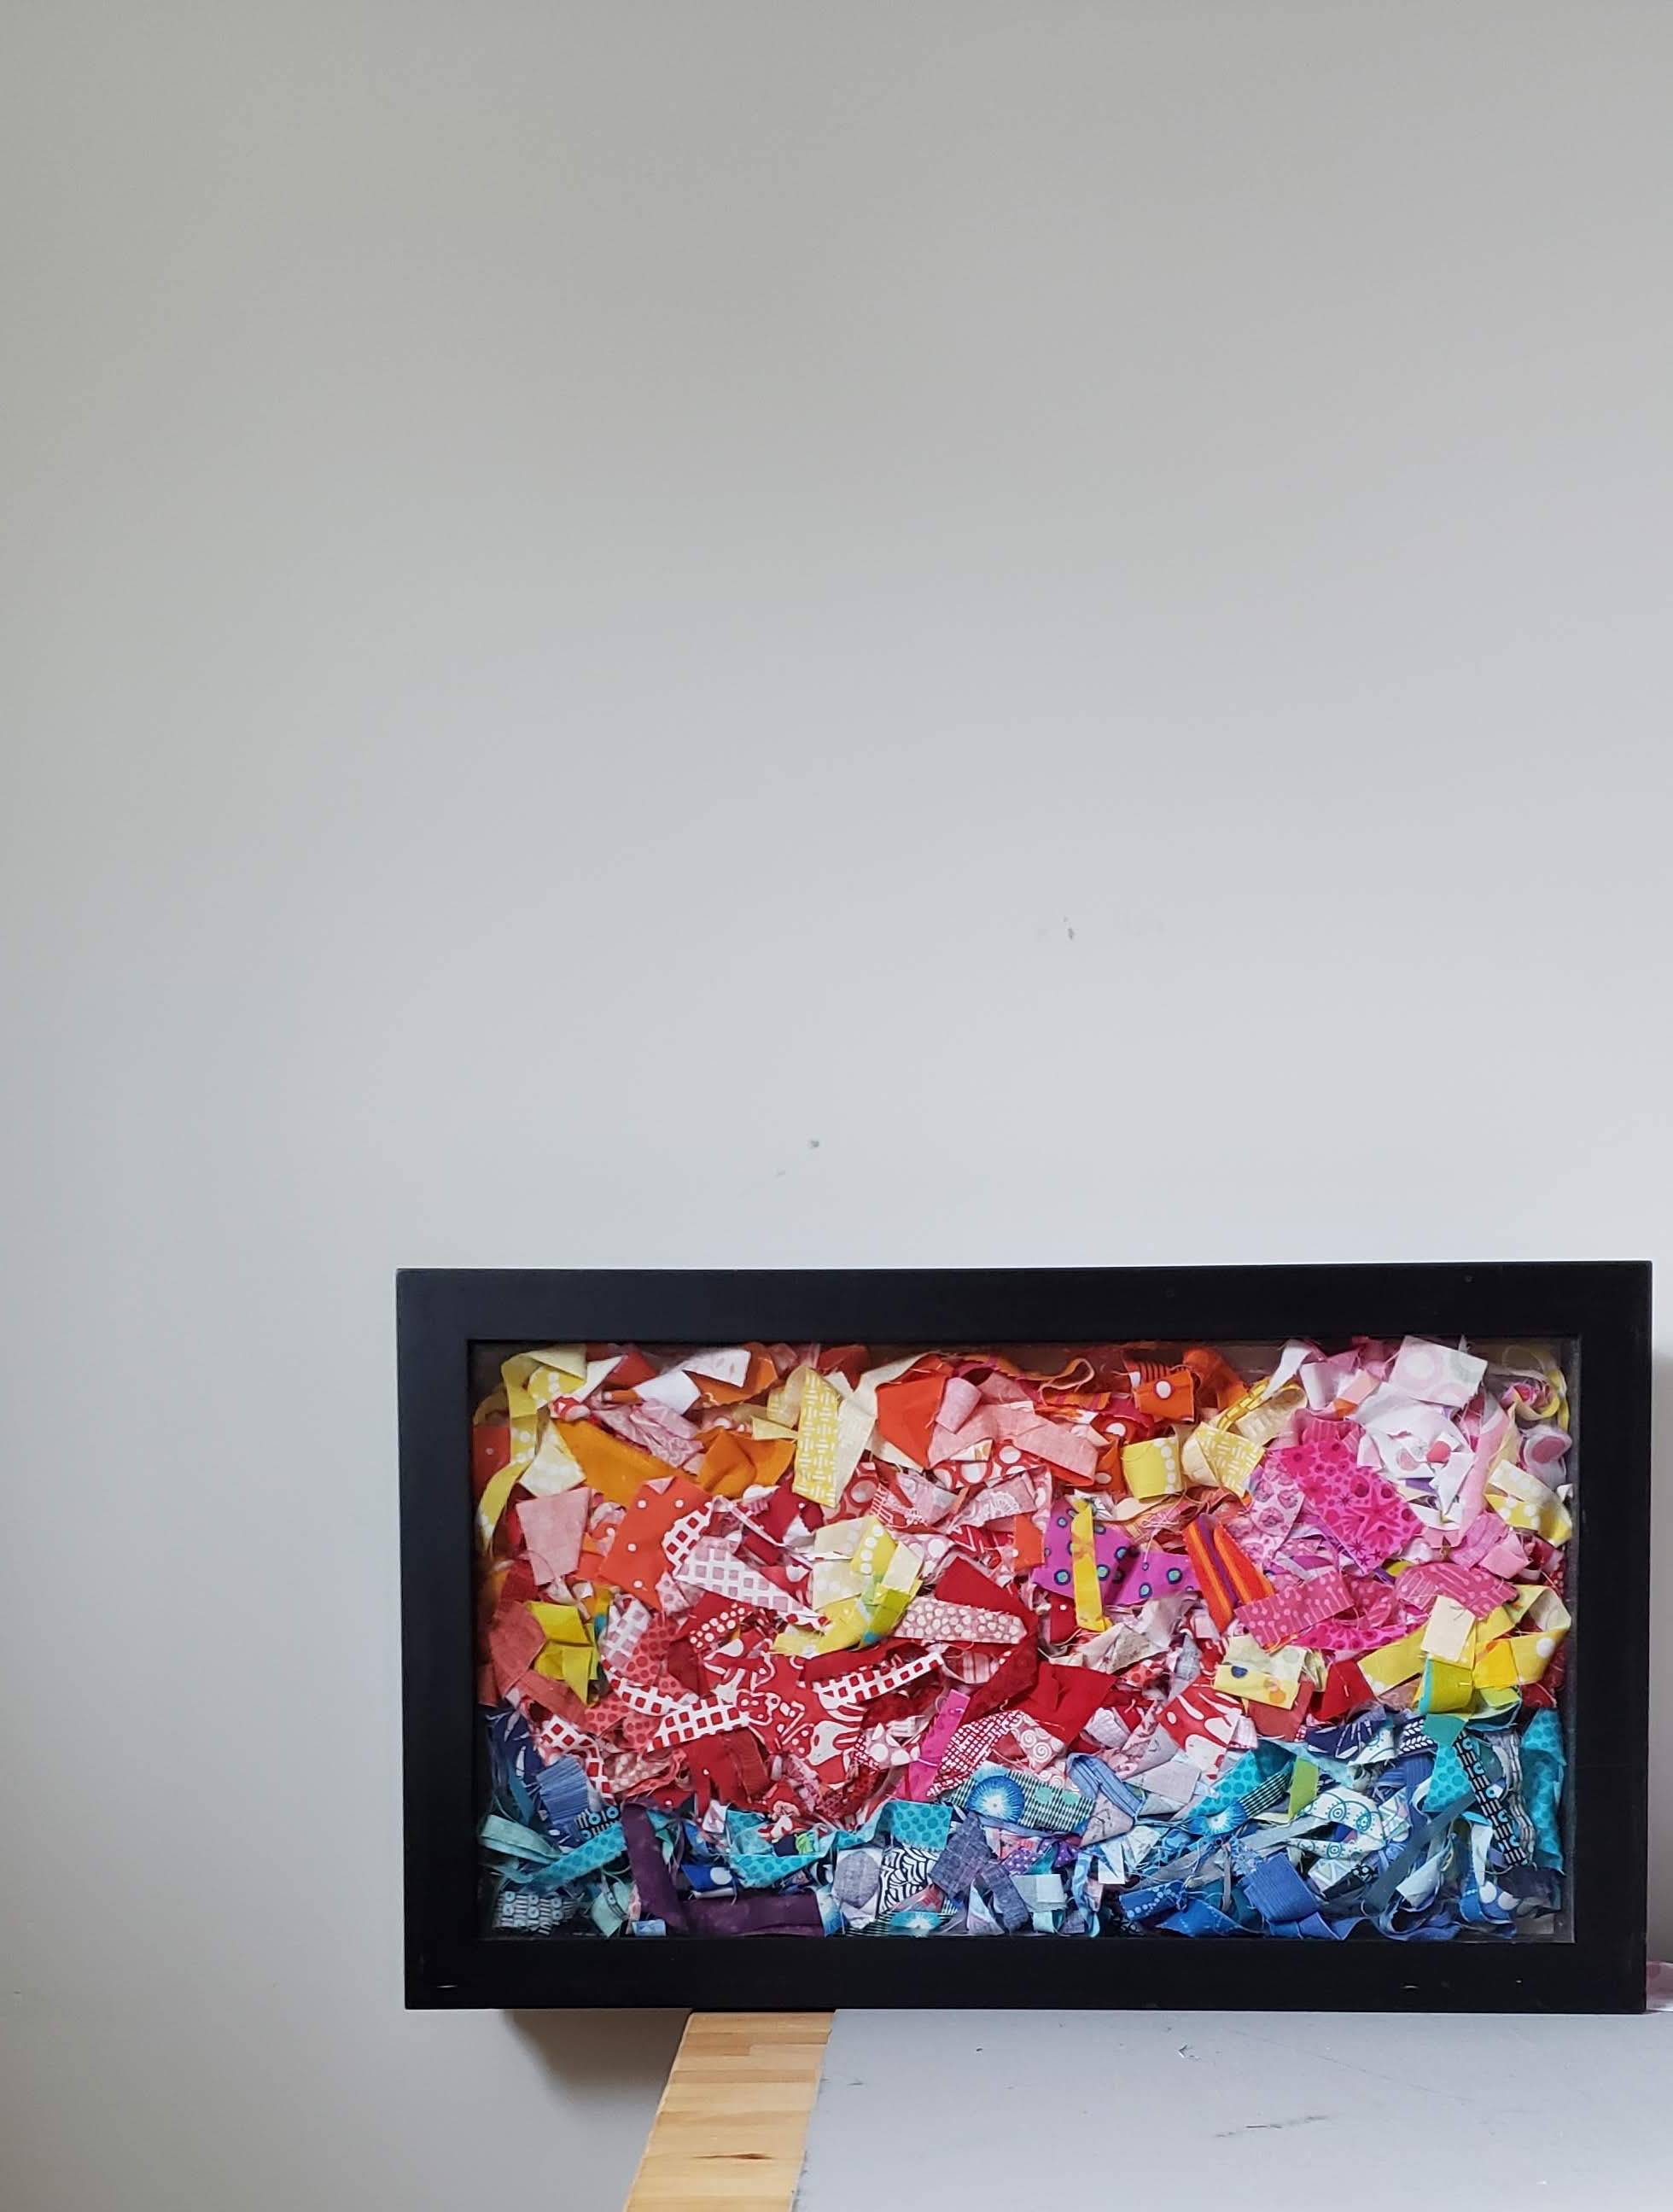
Then there are the trimmings. Because the bulk of the work I do is improvised at some point I need to trim and square up blocks or components on a quilt. I might be left with very useful scraps or a mess of threads and what used to look like fabric. While finishing up my last quilt top the dazzling array of bits left behind were just as inspiring to me as the blocks themselves. So I spent 5 minutes - yes, that is all it took - putting together this fun scrap project.

teeny scraps from make waves quilt


TEENY TINY SCRAPS SHADOW BOX CRAFT

Supplies

  • Fabric trimmings, thread bits, and tiny scraps of fabric

  • Clean Shadow Box Frame in any size

Instructions

  1. Fill shadow box with trimmings. Arrange in a colour order, if desired.

Notes

  • Take a little time to make the front side of the scraps pretty. The back of a fabric is really just another fabric in the collection, so it isn’t a big deal if it shows. Just be happy with the way the top layer of scraps looks.

  • It might be tempting to jam in ALL the trimmings, but unless you have a latch on your shadow box frame it won’t stay closed. Experiment with just the right amount to be full yet still keep closed.

Now my project happens to match the last quilt top I finished, because it was that quilt itself and her gorgeous colours that gave me the idea. But this has the potential to be a whole different kind of art project. In a way it reminds me of the sand paintings that some people can do.

So, to answer the question: nothing is too small.

teeny scraps Shadow Box Craft

What it really means to PLAY on the design wall

My absolute favourite part of making a quilt is the getting it all to work together part. For me, this means design wall play. Generally, I have a whole bunch of components and have to come to a lay out that I like. It would be different if I planned it all in advance. In that case the design wall would only be confirming what I intended. That just isn’t how I work.

More often than not I start out making a quilt without knowing I am actually going to make a quilt. An idea, a technique, a colour story. Anything can get me going. At the beginning, however, I don’t really know that it is will be a quilt. It is just something I want to try. Even if I have full quilt intentions, I have no idea how it will actually turn out. It could be awful or a different idea can come in to being. What is most important to me is to be open to the process.

Take my most recent project as an example.

I started off making sample blocks to promote my class with Marisa Anne of Creative Thursday fame. The Make Waves block is for the Thursday Club, an online class I taught earlier this month. With waves being obviously blue I made all my samples in shades of blue. Then Marisa suggested that I add in some other colours because not every one likes blue. (I know! Right?)

At this point I had no intention of making a quilt from these blocks. It was just fun times, a good sample. I honestly expected the blocks to sit around for a few years until I rediscovered them and then maybe made more.

Then I saw that yellow block, that pink one, the teal, the blue. I immediately thought SUNSET. More specifically, OCEAN SUNSET.

Make Waves Multi.jpg

And boom! I immediately starting making more and more blocks, picking colours of the sunset. Just running with the idea, no clear plan for a quilt just yet.

After I made a dozen orange and coral blocks I stopped to take stock. What exactly would I need? How many blocks should I make? Am I focused more on the sunset than the ocean now, or vice versa? Deep breath before I dive too deep. So I sketched a picture.

Make Waves Sunset Sketch.jpg

Nothing fancy, mind you. I just coloured the sunset of my imagination. An image search showed many, many variations on the theme of that red/orange sky and a dark foreground. The emphasis should be on the sky, not the water. This led to a more formal plan.

My goal was 2/3 sunset and 1/3 water. Since I’d already started with blocks squared up to 9 1/2’’ x 9 1/2’’ I kept that. If you know me at all, you know I don’t make small quilts, so my finished sized is typically over 80” square. It just so happens that that is the perfect size for a double bed and Oh! Guess what size bed all my kids have? Well then, 9 blocks wide gives me 81” finished. And 9 blocks tall gives me an even split into thirds. That meant I needed 54 blocks for the top part and 27 for the bottom. There, quilt math done.

Over the course of a few weeks I got the sunset blocks done. I did precisely zero planning for how many blocks of each colour. I just cut a bunch of fabric - first raiding scraps, then stash - and made blocks. All blocks are improvised, but with the same technique of gentle curves and number of strips. I did save yellow for last, assuming I wouldn’t need as much because that was my sun. It’s up to the design wall play to make them work together. Of course, I am open to deleting some blocks and making others, if that is what is called for.

Then I had to lay it out on the design wall - where the fun really begins. And frankly, it doesn’t truly end until I start sewing things together and commit to the layout.

Here is the first go around with all 54 blocks.

Make waves layout A.jpg

It feels choppy, like the colours aren’t flowing. I’m never going to have a perfect gradation, but this is too far off. I also don’t like that one random bit of yellow in an orange block. It needs to be managed.

On to the next try.

make waves layout B.jpg

Much better. The pink is more on the one side and the orange on the other, but without there being a defining line. But a few blocks stick out too much to me, I want more flow. And that pesky yellow strip is a bit more under control.

Still need to play.

make waves layout C.jpg

Closer yet. I think the pink has too much of a vertical dividing line now though. I may need to wrap the pink around the orange a bit more. And maybe have all the lights be at the top?

This is how it currently stands on my design wall, which means I am not done yet. I’ll know when it feels right. I usually, involuntarily, squeal and jump when it feels good. Then I sleep on it. Now matter how perfect I think it is I do not sew it together as soon as I think so. I always sleep on it. Then I do two things. 1. Look at it is bad lighting. If it still looks good, it’s probably a winner. And 2. Take a picture. Not just to compare to previous iterations like I’ve done here, but because then it is like looking at it far away on the wall. That’s when colour and shape become prominent.

The key thing is to not rush it. Something the perfect layout is the first one you do. No need to doubt that! Sometimes it is the 10th or 20th. Don’t doubt that either. By embracing the process of quilt making, but thinking of this as play and not work, you are giving in to creativity.