"improvisation"

Make Waves Quilt Top and Vacation Dreams

make waves quilt top 1.jpg

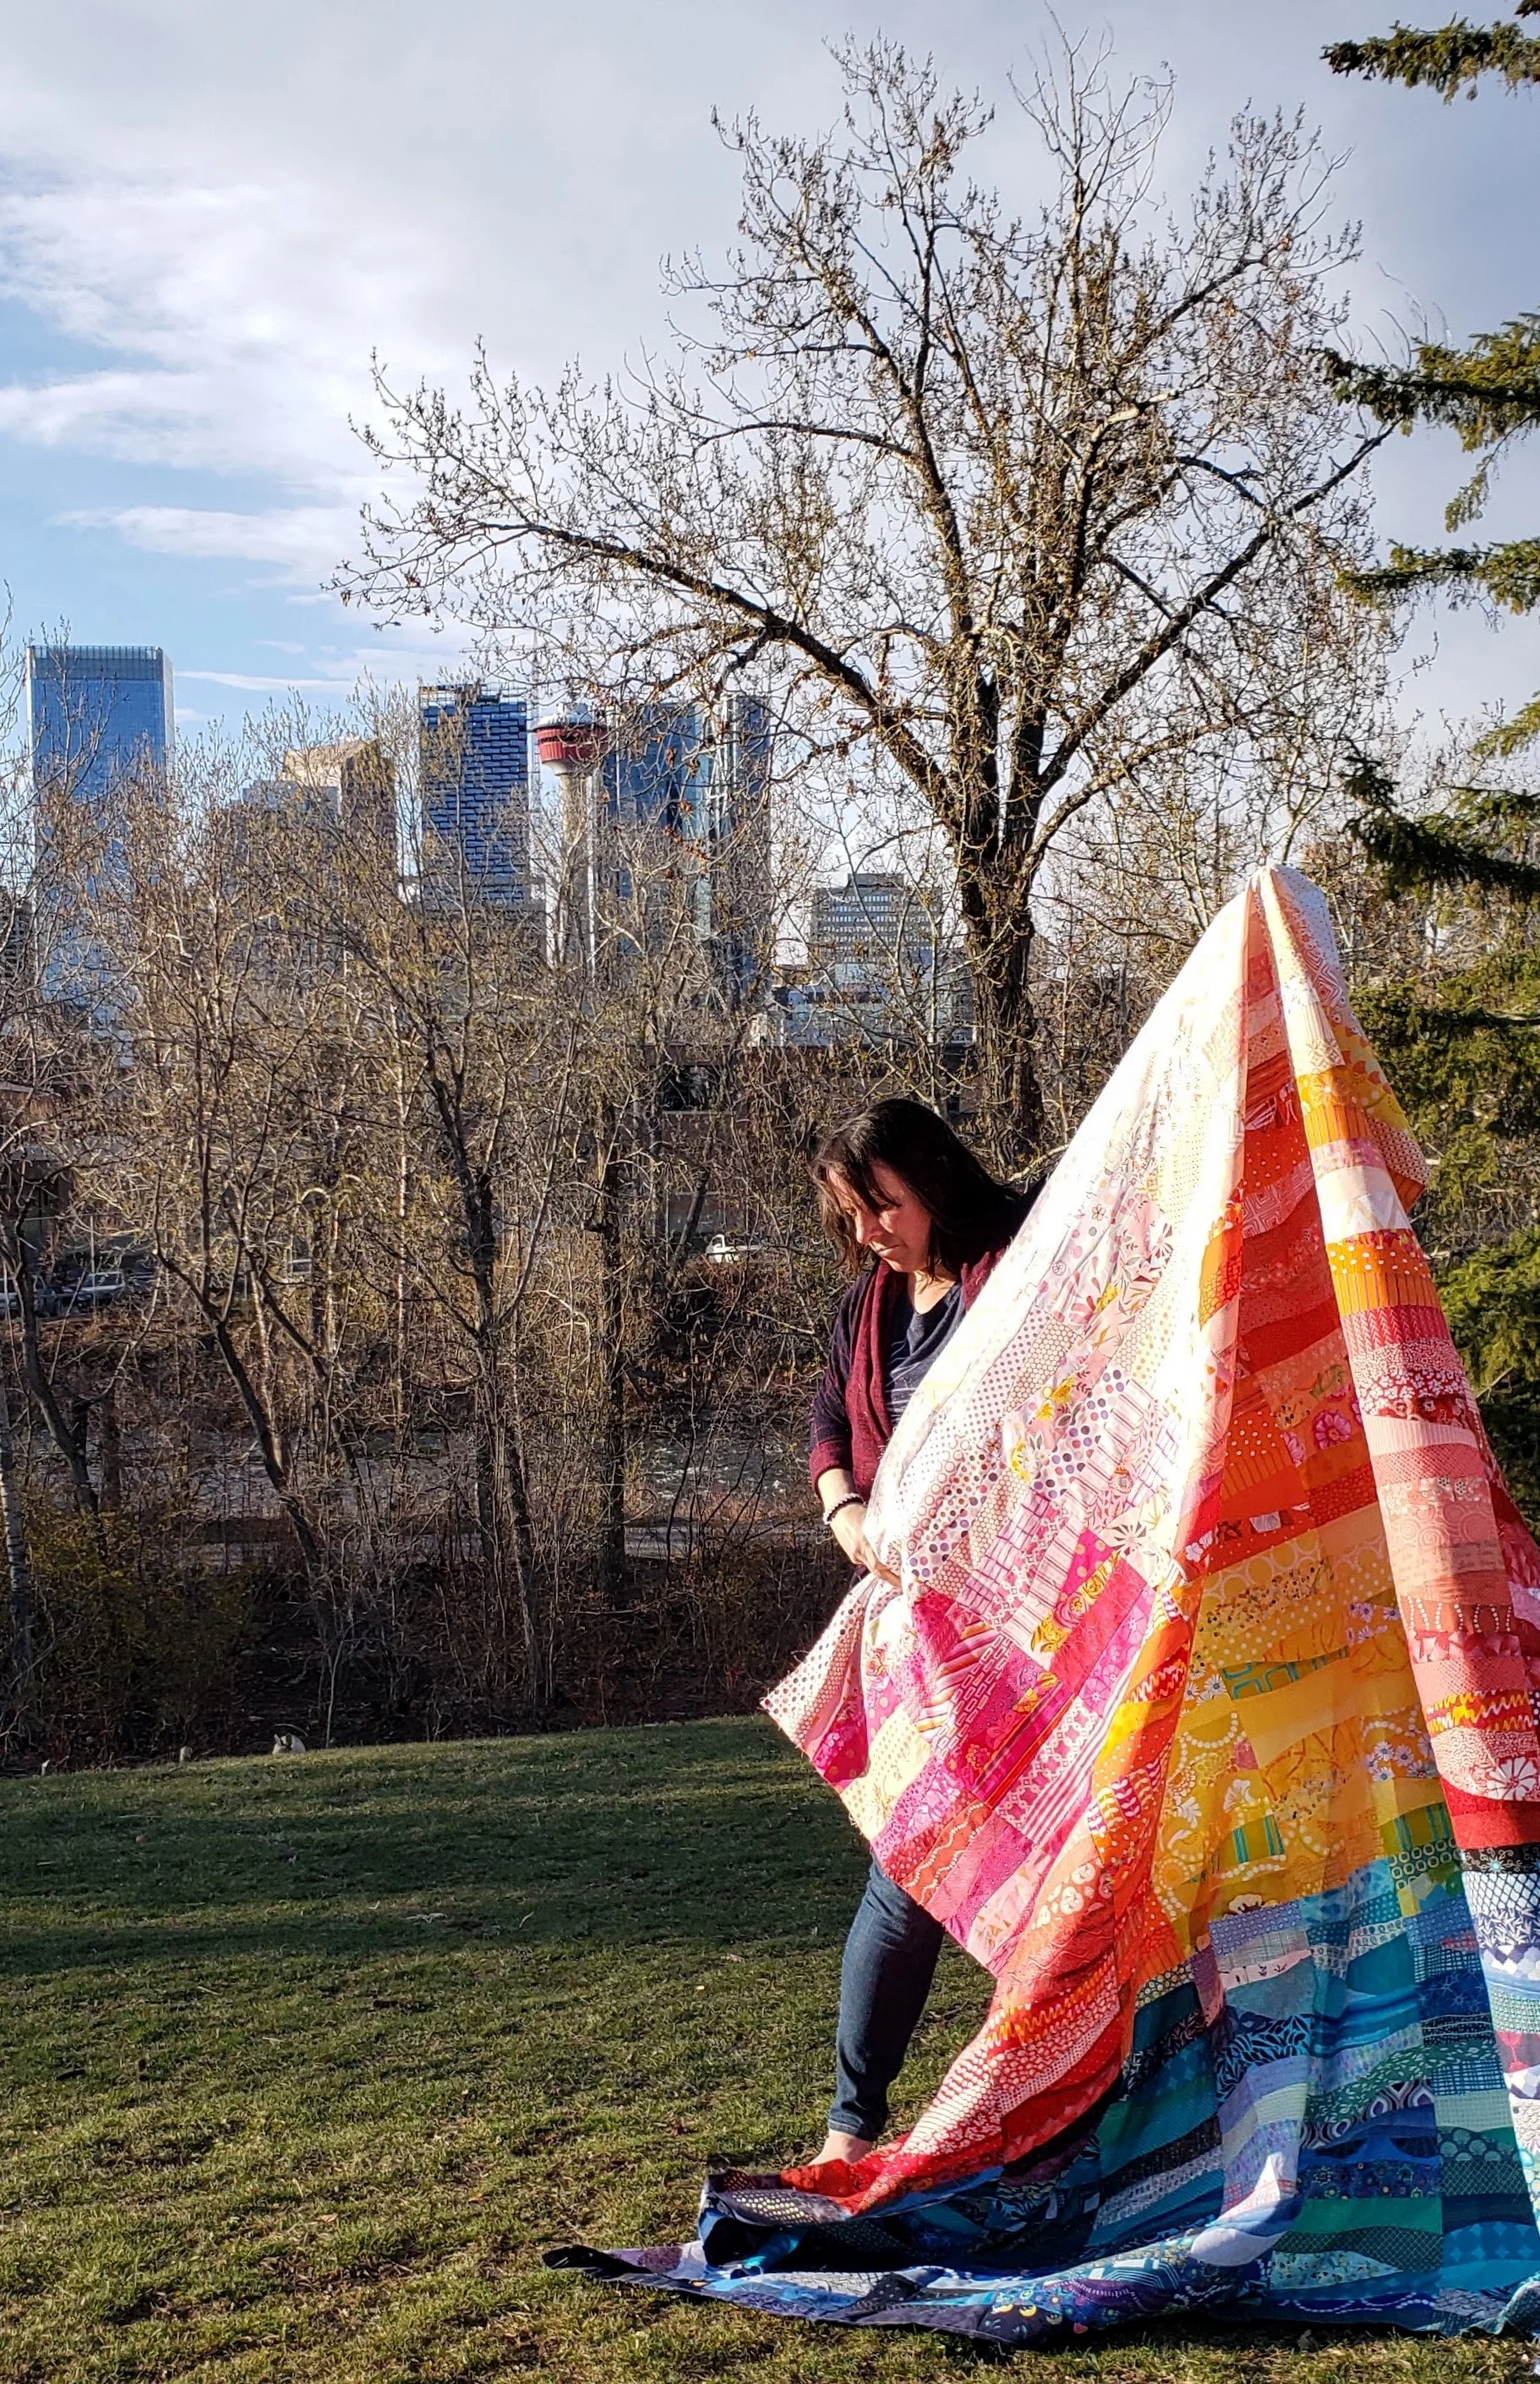
My obsession with this quilt is strong. From a random suggestion in a phone call to a live online quilting class to this. If I had a long arm or a clean floor this one would already be in the quilting phase.

It started with the planning for The Thursday Club with Marisa Anne Cummings. I’ve known Marisa for years and we were chatting about the class I would teach with her. She said something about the water and I quickly sketched a block. When I went to test the design it worked exactly as I sketched. Well, after we filmed the class - which you can still catch - I became obsessed with making more an more blocks. For me, this is normal.

Make Waves Thursday Club by Marisa
Make Waves Quilt Thursday Club by Marisa

It made a dent in both my scraps and stash as I searched for all the colours of all the prints. I didn’t want too much repetition so it was a deep dive in to the fabric closet.

On a related note, I am thinking of a new class on using prints in your quilts. Thoughts?

It took me a bit to come to the final layout. You can read more about that design wall play. Some days I only moved two blocks. It had to be just right. And now it is. It makes me think of sunsets at the beach. Or sunrises. Take your pick. But it has me all dreamy for sand and the crash of the waves and a Tequila Sunrise. So basically, it is a vacation in a quilt.

Alas, it is heavy competition season for my girls and we are at the pool, not the beach. And I make them help me take quilt photos after practice.

Thursday Club Make Waves Quilt

And you can still catch the class if you want to make your own sunset or just like the block. It comes together quickly and by the end of one block you will be the master of improv curves! Catch it here.

What it really means to PLAY on the design wall

My absolute favourite part of making a quilt is the getting it all to work together part. For me, this means design wall play. Generally, I have a whole bunch of components and have to come to a lay out that I like. It would be different if I planned it all in advance. In that case the design wall would only be confirming what I intended. That just isn’t how I work.

More often than not I start out making a quilt without knowing I am actually going to make a quilt. An idea, a technique, a colour story. Anything can get me going. At the beginning, however, I don’t really know that it is will be a quilt. It is just something I want to try. Even if I have full quilt intentions, I have no idea how it will actually turn out. It could be awful or a different idea can come in to being. What is most important to me is to be open to the process.

Take my most recent project as an example.

I started off making sample blocks to promote my class with Marisa Anne of Creative Thursday fame. The Make Waves block is for the Thursday Club, an online class I taught earlier this month. With waves being obviously blue I made all my samples in shades of blue. Then Marisa suggested that I add in some other colours because not every one likes blue. (I know! Right?)

At this point I had no intention of making a quilt from these blocks. It was just fun times, a good sample. I honestly expected the blocks to sit around for a few years until I rediscovered them and then maybe made more.

Then I saw that yellow block, that pink one, the teal, the blue. I immediately thought SUNSET. More specifically, OCEAN SUNSET.

Make Waves Multi.jpg

And boom! I immediately starting making more and more blocks, picking colours of the sunset. Just running with the idea, no clear plan for a quilt just yet.

After I made a dozen orange and coral blocks I stopped to take stock. What exactly would I need? How many blocks should I make? Am I focused more on the sunset than the ocean now, or vice versa? Deep breath before I dive too deep. So I sketched a picture.

Make Waves Sunset Sketch.jpg

Nothing fancy, mind you. I just coloured the sunset of my imagination. An image search showed many, many variations on the theme of that red/orange sky and a dark foreground. The emphasis should be on the sky, not the water. This led to a more formal plan.

My goal was 2/3 sunset and 1/3 water. Since I’d already started with blocks squared up to 9 1/2’’ x 9 1/2’’ I kept that. If you know me at all, you know I don’t make small quilts, so my finished sized is typically over 80” square. It just so happens that that is the perfect size for a double bed and Oh! Guess what size bed all my kids have? Well then, 9 blocks wide gives me 81” finished. And 9 blocks tall gives me an even split into thirds. That meant I needed 54 blocks for the top part and 27 for the bottom. There, quilt math done.

Over the course of a few weeks I got the sunset blocks done. I did precisely zero planning for how many blocks of each colour. I just cut a bunch of fabric - first raiding scraps, then stash - and made blocks. All blocks are improvised, but with the same technique of gentle curves and number of strips. I did save yellow for last, assuming I wouldn’t need as much because that was my sun. It’s up to the design wall play to make them work together. Of course, I am open to deleting some blocks and making others, if that is what is called for.

Then I had to lay it out on the design wall - where the fun really begins. And frankly, it doesn’t truly end until I start sewing things together and commit to the layout.

Here is the first go around with all 54 blocks.

Make waves layout A.jpg

It feels choppy, like the colours aren’t flowing. I’m never going to have a perfect gradation, but this is too far off. I also don’t like that one random bit of yellow in an orange block. It needs to be managed.

On to the next try.

make waves layout B.jpg

Much better. The pink is more on the one side and the orange on the other, but without there being a defining line. But a few blocks stick out too much to me, I want more flow. And that pesky yellow strip is a bit more under control.

Still need to play.

make waves layout C.jpg

Closer yet. I think the pink has too much of a vertical dividing line now though. I may need to wrap the pink around the orange a bit more. And maybe have all the lights be at the top?

This is how it currently stands on my design wall, which means I am not done yet. I’ll know when it feels right. I usually, involuntarily, squeal and jump when it feels good. Then I sleep on it. Now matter how perfect I think it is I do not sew it together as soon as I think so. I always sleep on it. Then I do two things. 1. Look at it is bad lighting. If it still looks good, it’s probably a winner. And 2. Take a picture. Not just to compare to previous iterations like I’ve done here, but because then it is like looking at it far away on the wall. That’s when colour and shape become prominent.

The key thing is to not rush it. Something the perfect layout is the first one you do. No need to doubt that! Sometimes it is the 10th or 20th. Don’t doubt that either. By embracing the process of quilt making, but thinking of this as play and not work, you are giving in to creativity.

Improv Curves - Scrappy Versus Scrap

Improv Curves Color Girl Quilts

I knew there was a reason I couldn’t throw away the scraps.

There I was, playing around and making this improv curve quilt. It was completely inspired by a very precise pattern by Sharon at Color Girl Quilts (Indigo). But the way I chose to make it meant then I was left with a lot of cut out curves. They matched and all, but they weren’t needed for the quilt I was then making.

Rather than toss them aside to get jumbled or lost I kept the pairs of pie and crust together then sewed them up when everything else was done. Then they got tossed aside and nearly jumbled and lost.

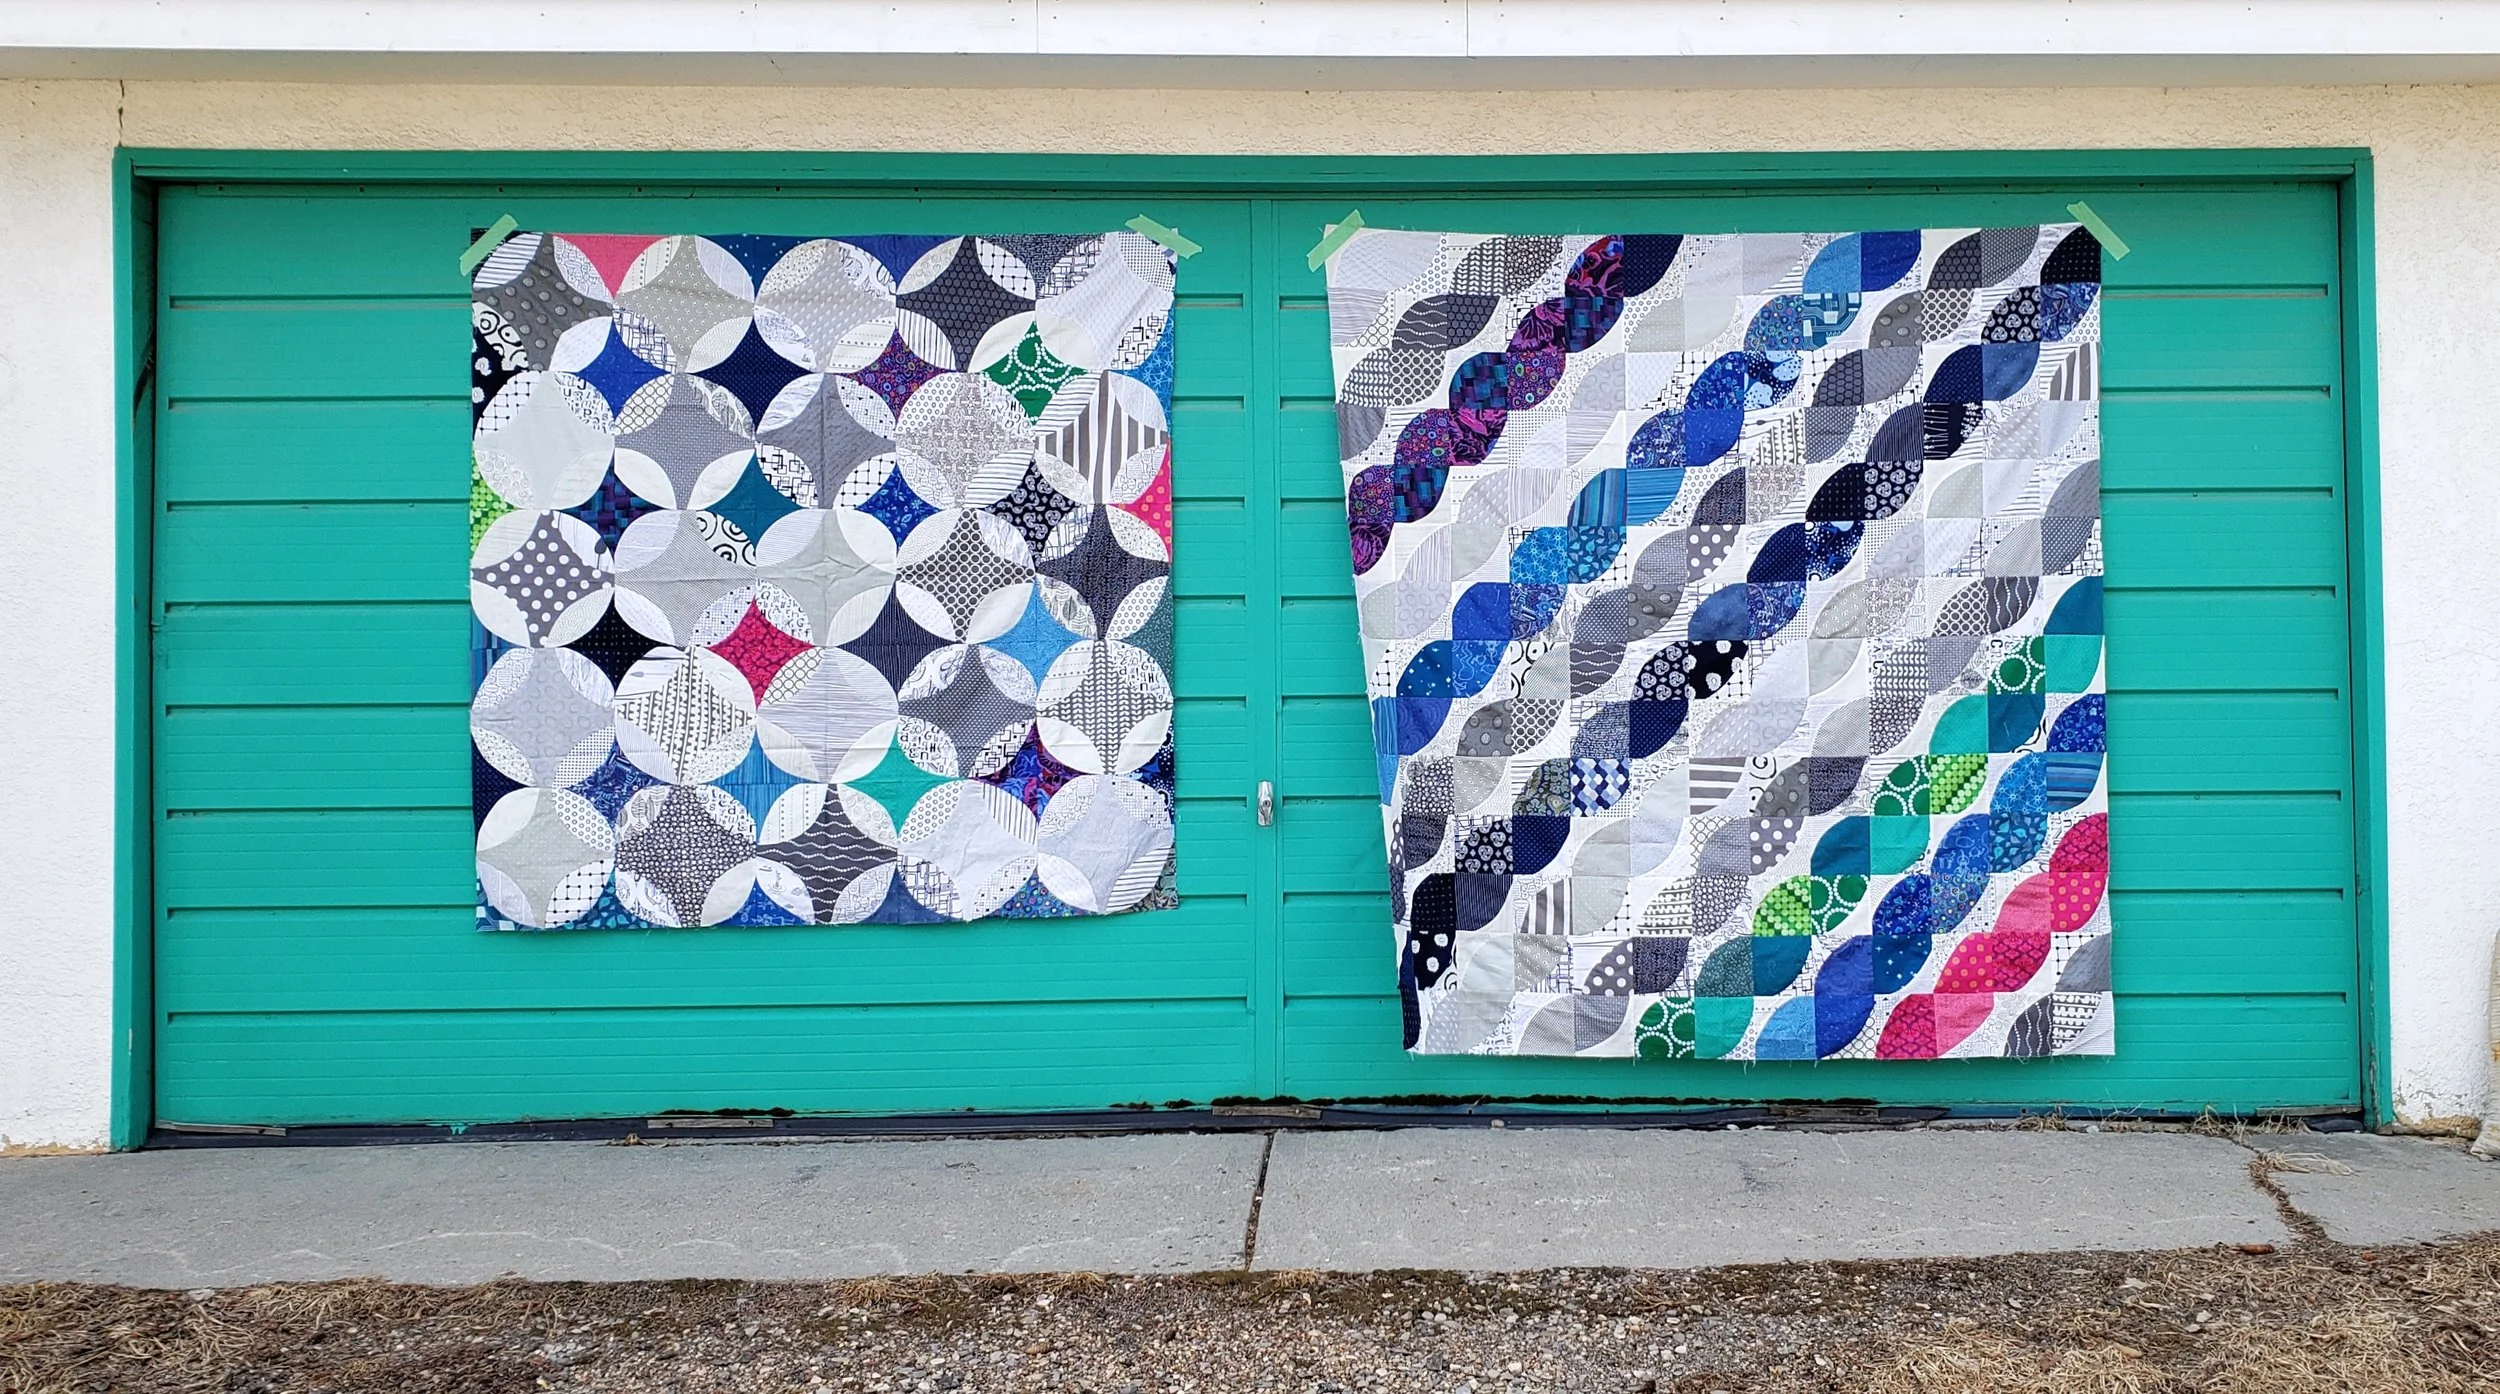
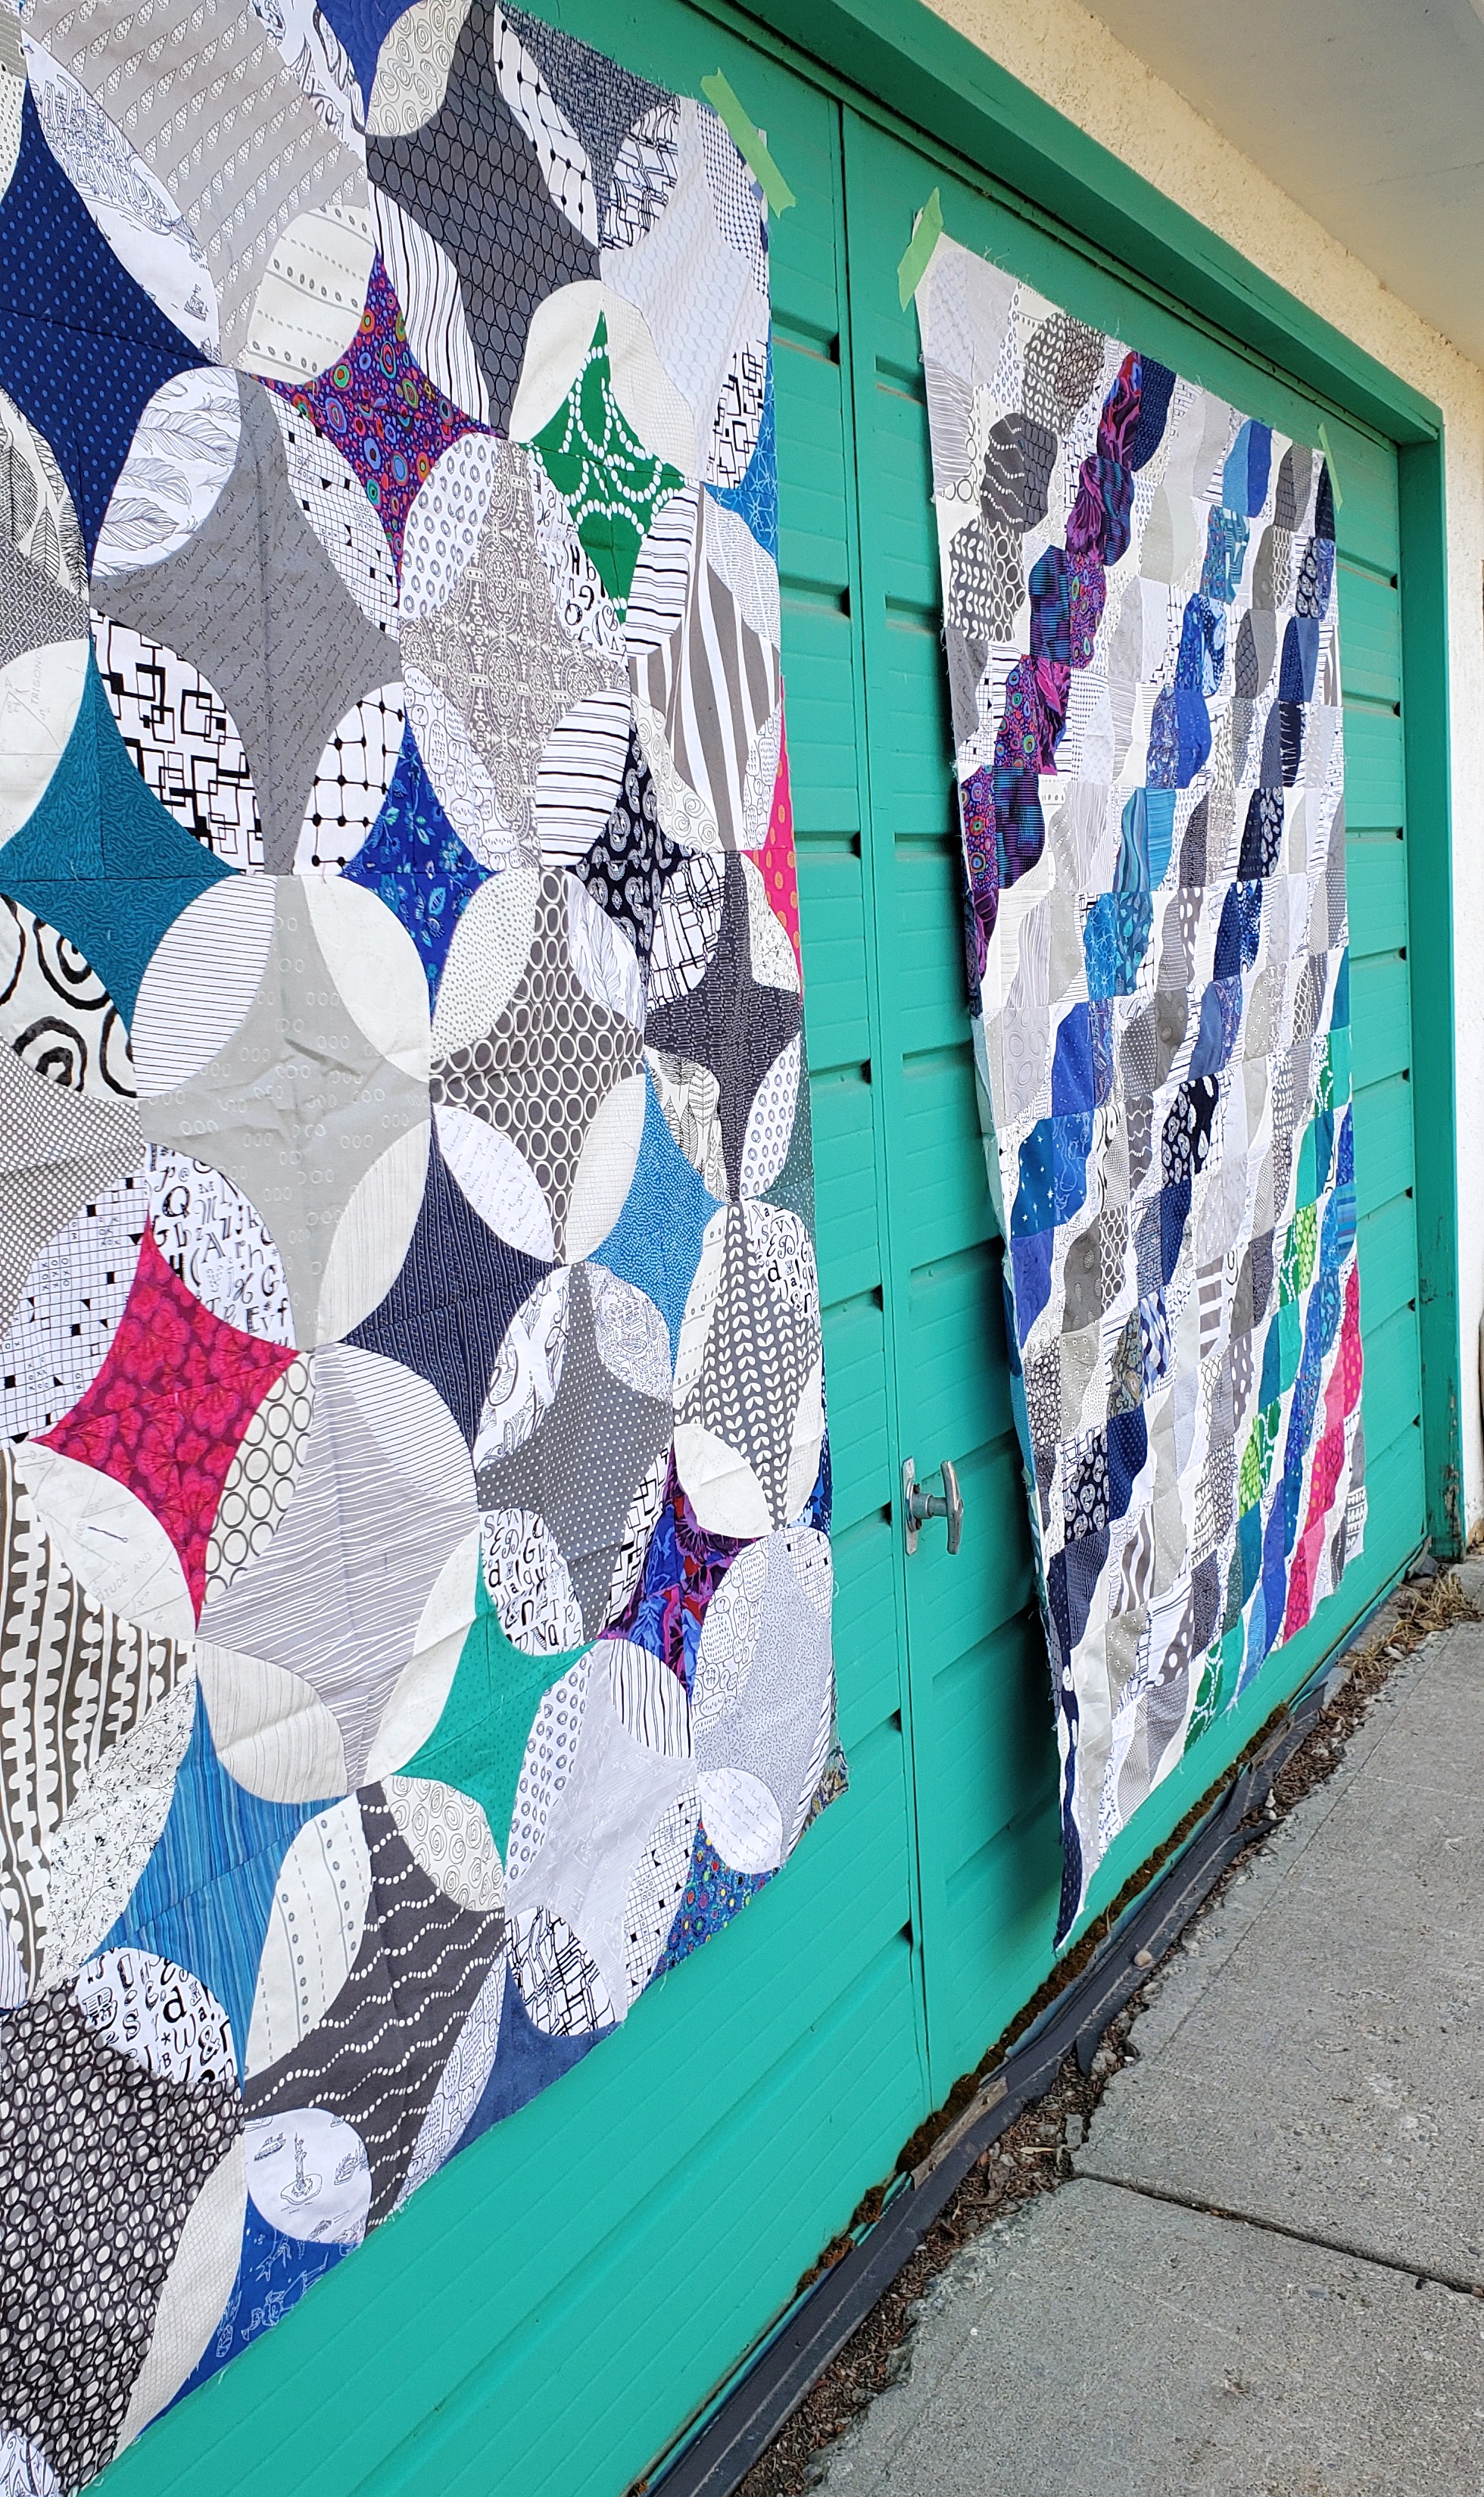
A few weeks ago I was in the mood to finish something. I was also in the mood for some design wall play. With zero plan for these scrap curves I started playing. For a few evenings I arranged and rearranged. Some layouts were too much like the original. One was, ahem, a little too lady-like. I had flowers and other things up there too. In the end I settled on the one that - at first - felt too predictable. But that first instinct proved the best. It used up all but 9 of the blocks and I am thrilled with the results.

Improv Curves

When I went to take the photo I discovered a very interesting thing - the scrap quilt was bigger than the original! Side by side they relate by way of colour scheme and the improv curves, but they are too very different quilts! One fundamental difference, however, is that I would call the first quilt scrappy, while the second is a scrap quilt. That is, the first one has multiple fabrics, all chosen deliberately. The second one was me working with what I was handed in scraps. It might be a subtle or even a semantic difference, but there is a difference.

Side note: The difference between scrappy and scrap is one of my new truck shows!

These now get added to the pile of quilt tops. No matter when they eventually get quilted though, I think they will have to go to a certain pair of sisters that lives in my house.

Improv Curves Color Girl Quilts


Make Waves - A New Class and a New Quilt

Make Waves Thursday Club

I didn’t mean to start a new quilt. But there I was on a video call with Marisa Cummings from Creative Thursday. We were chatting about her Thursday Club - a monthly exploration of the creative act for all of us - and my upcoming class. I can’t even say what was the initial spark, but a quick sketch on that call confirmed two things.

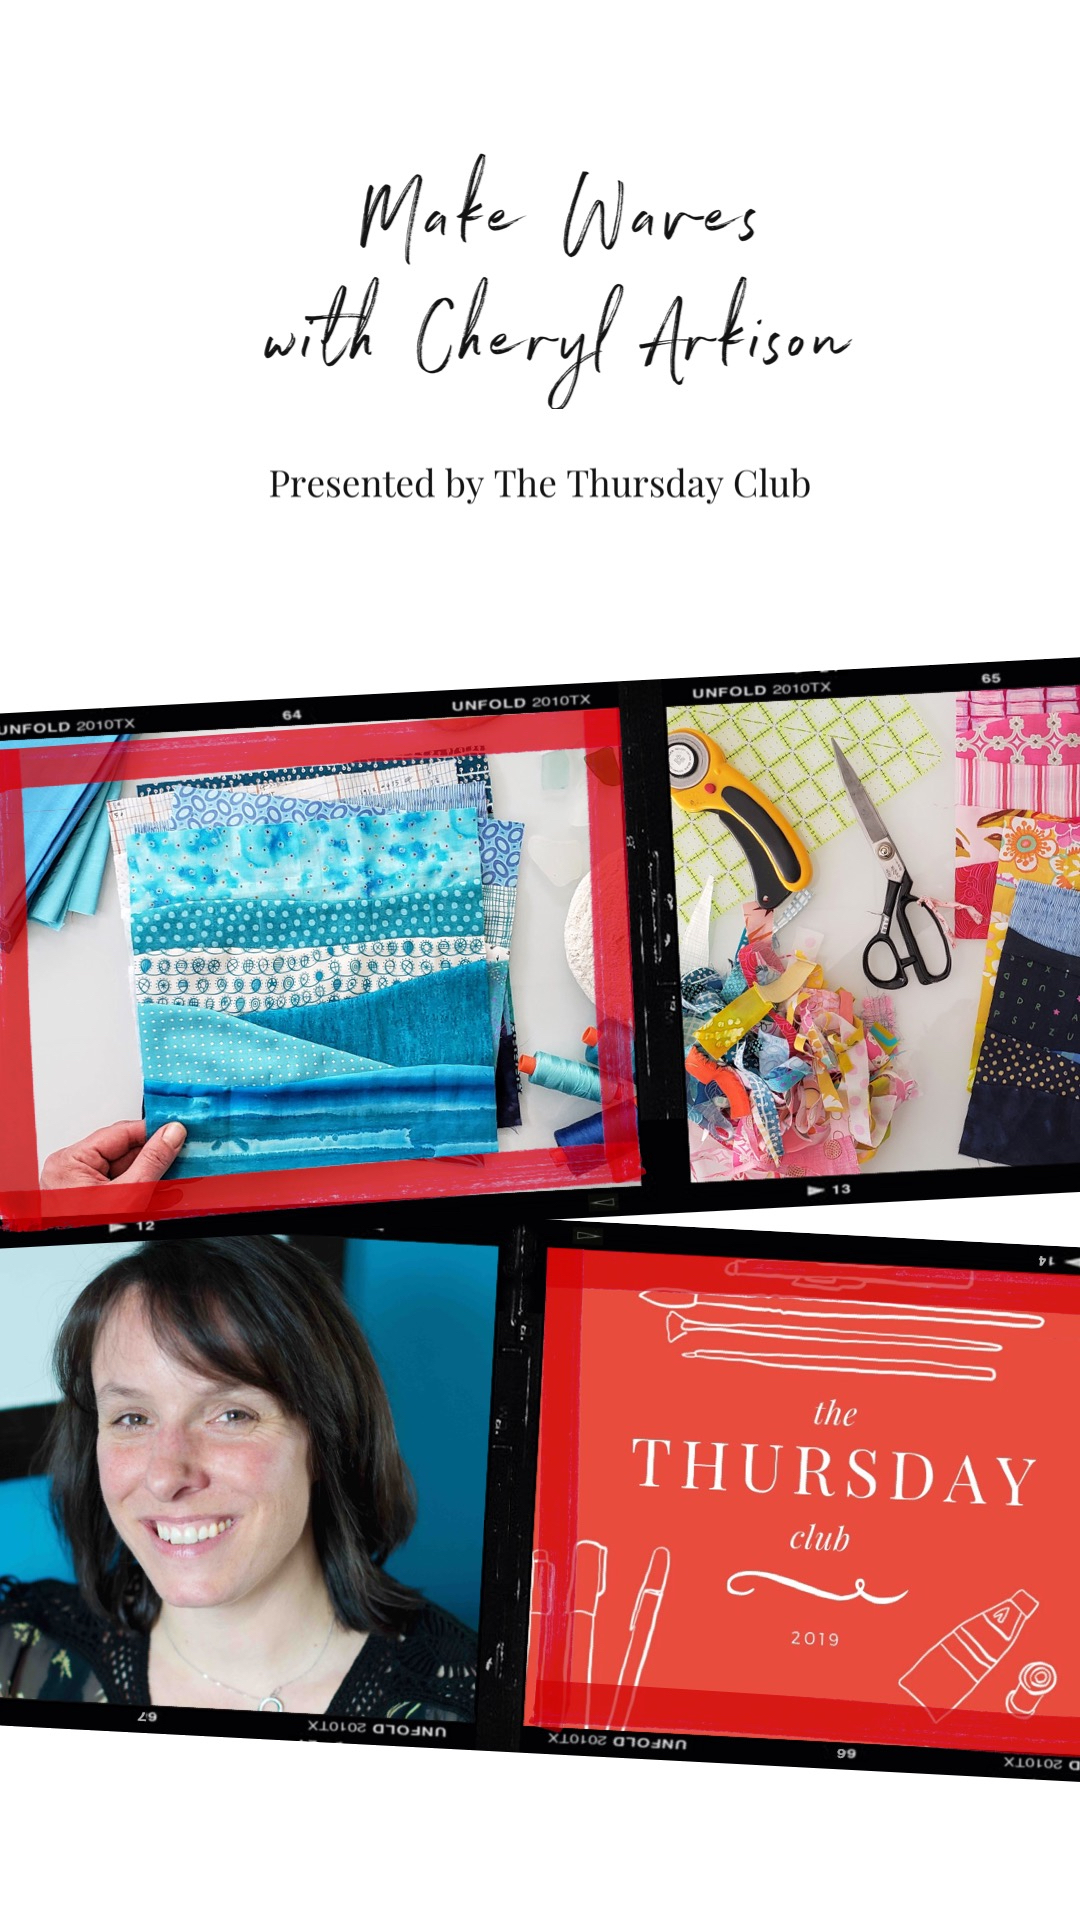
First, the Make Waves block is for my month teaching The Thursday Club. This Thursday join me as we make the block live! I will walk you through fabric selection, both hand sewing and machine sewing techniques, and finishing options. It’s okay if you can’t join us live, you can still purchase the event and learn all about the block. This will be the only spot I will be teaching it.

Make Waves the Thursday Club

If you ever take a class with me you know I am a big proponent of creating for the sake of creativity; that nothing you make in class has to be anything. That was honestly how I started with this. Just some class samples, no plans beyond that. I picked blue for the obvious wave reference. Then Marisa suggested we have some other colours because not everyone responds to blue. So I made a few other colours. I also make some solid versions, thinking the block itself is a miniature landscape. That got me thinking about sunsets. Suddenly I am making blocks in all the colours of a sunset.

So second, this is the start of a new quilt. It’s going to be a bit to make all the blocks. You know me, I don’t make small quilts.

In the meantime, make your own waves. Join us on April 4 at 1 pm MST to learn how to Make Waves yourself. This is a totally beginner friendly improv quilt block. I will be providing instructions for both hand sewing and machine sewing. Either way, it is deceptively simply yet has striking results.

Make Waves The Thursday Club

The Thursday Club is a wonderful initiative by Marisa. I’ve known Marisa online for over a decade. She continually inspires me and I can honestly say she has changed my life in some pretty positive ways. The Thursday Club is about giving ourselves just a little bit of time to explore creativity. Last month it was painting with Helen Dardik. Next month is another painting session with Marisa. And wait until you see the rest of the line up! Just one or two hours a month to explore, play, create. Just for you. Give yourself the gift, it is worth the investment in yourself.

Register Here