applique

Morning Make 2023 - Raw Edge Appliqué Portrait

This portrait feels a little more me. I don’t mean the likeness, although I think that is there. Rather, as a quilt it feels more me. To complete the portrait I made up the process. Enough years of play and exploration gave the confidence to just go for it. Well, that and a willingness to try a few things in the hopes of success. Also, very me.

Since my drawing skills are lacking, albeit improving, I took a different tact to create my actual portrait. I printed out a photo of myself and traced it. I reduced the lines to those necessary to get a likeness and some interest, with a hope that it wasn’t too much of a cartoon. I just printed the photo off at the office, on the regular inkjet printer. After tracing my lines I scanned the new drawing to create a digital image. This I sent to my local print shop to have printed at a much larger scale. I think we used their 18” x 24” printer.

Once I had the drawing I reversed it and traced it on to some double sided fusible. In this case, Wonder Under. I’ve had good luck with it in the past so was confident using it here. More on that shortly. I debated a glittery purple for the appliqué but ended up with a tone on tone black from my own fabric collection.

With the lines traced I pressed the fusible and fabric together. I cut out the appliqué from the fabric. In hindsight I would have made less cuts, like where the jaw line and hair meet, but I was a bit unsure of how it would come together at the beginning.

For the background I decided I wanted something that felt more me. The previous portraits were great, but I wanted a bit more of my kind of quilting in there. Instead of making something new, I dug out all the crumb blocks I’ve made over the years and put together a handful to create the background. Knowing I was using black for the appliqué I tried to use pieces with as few black or dark pieces in it, so that there was always contrast with the appliqué. Without a purpose built selection of crumb blocks this is mostly, but not all the way successful. I’m still happy with it. And one dark scrap ends up mimicking the scar on my neck from last year’s thyroid surgery.

After playing with the positioning I removed the backing from the fusible and pressed the appliqué into place. And pressed it into place, and pressed it into place. It would stick for a while then come undone. Rather frustrating. I’ve never had trouble with Wonder Under before. I even bought new stuff in case what I had was too old. If I do this again I will be choosing a different fusible.

The drama with the fusing led to my quilting plan. I didn’t want to zig zag stitch around every piece. I just don’t like that look. But with the appliqué misbehaving I needed a dense quilting plan to keep everything in place. Matchstick quilting was the obvious choice, but I don’t like to be too predictable. I marked a few lines and decided to do rays from one corner. A lot of rays.

WIth a strong multicolour background I knew that thread colour wasn’t super important. With dense enough quilting it would also hold the appliqué down and provide varying contrast on the black fabric. Embracing my inner and outer scrap quilter I pulled out all the partially filled bobbins that I had. Finding their coordinating spools I went nuts with multicolour rays. And I cleaned out 6 bobbins to open them up for new thread choices without wasting any thread!

All of my self portrait quilts are bound with the same tone on tone black fabric using the single fold technique. It creates a sharp edge on these smaller quilts.

Since finishing these quilts I’ve been practicing my drawing and painting some more. I recently started an embroidered portrait too. Perfect for on the go. I’ve got my next quilted portrait planned out too. I want to continue to explore how I can make these more me.

Morning Make 2023 - Stitched Mosaic Portrait

For the third quilt portrait I turned to Timna Tarr. I first encountered Timna’s map quilts back when I judged QuiltCon. Her work is creative and unique. When she starting making her mosaic quilts I, along with many others, was transfixed. She started with barnyard animals but has progressed to some very unique portraits. Without a doubt, I had to try this technique in my year of portraits.

There is a book out, Stitched Photo Mosaic Quilting. I signed up for her on demand class via Creative Spark instead. The class was great. Timna broke down the technique into simple steps with clear instructions. It was easy to watch it once then head straight to the fabric.

Once you’ve picked your starting image you go right ahead and draw a grid over it. The diagonal grid is a suggestions of Timna’s technique, but not a requirement. Each square of the grid is one 2.5” block. Some will only be one fabric, others are made up of sometimes five! I don’t want to teach the technique myself that Timna gets paid to do, but she breaks it down into a layered machine appliqué to construct each block. I will admit, this was new to me, as was using invisible thread to sew.

I can’t lie it really was not a technique I enjoyed. Sure, I love the end results and overall look, but I didn’t really enjoy making it. So, so fiddly on some of those pieces! And I can honestly say I do not like the look of invisible thread. Yes, it is not that invisible. Partway through the project I kept thinking how much more I would enjoy this if I took the grid effect and then improvised instead. Stay tuned…

The picture I used was from a ski trip this past winter. We were skiing in clouds that day and everything was covered in a layer of frost, including me. It is such a happy memory and translating it into a quilt is a great way to capture it.

For Sarah Golden

Sarah Gold Mini

16” x 20”

It was a few years ago, in the middle of another lockdown, that I became truly entranced with the work of Sarah Golden. Something about her shapes and colour use, not to mention that we are birthday twins, just got to me. One day she posted some paper collages she was making. It was instant inspiration and I wanted to turn it into a quilt. With her permission I explored the handmade and the shapes of her work but in fabric and thread.

Here is the inspiration image:

Sarah Golden paper and painting collage

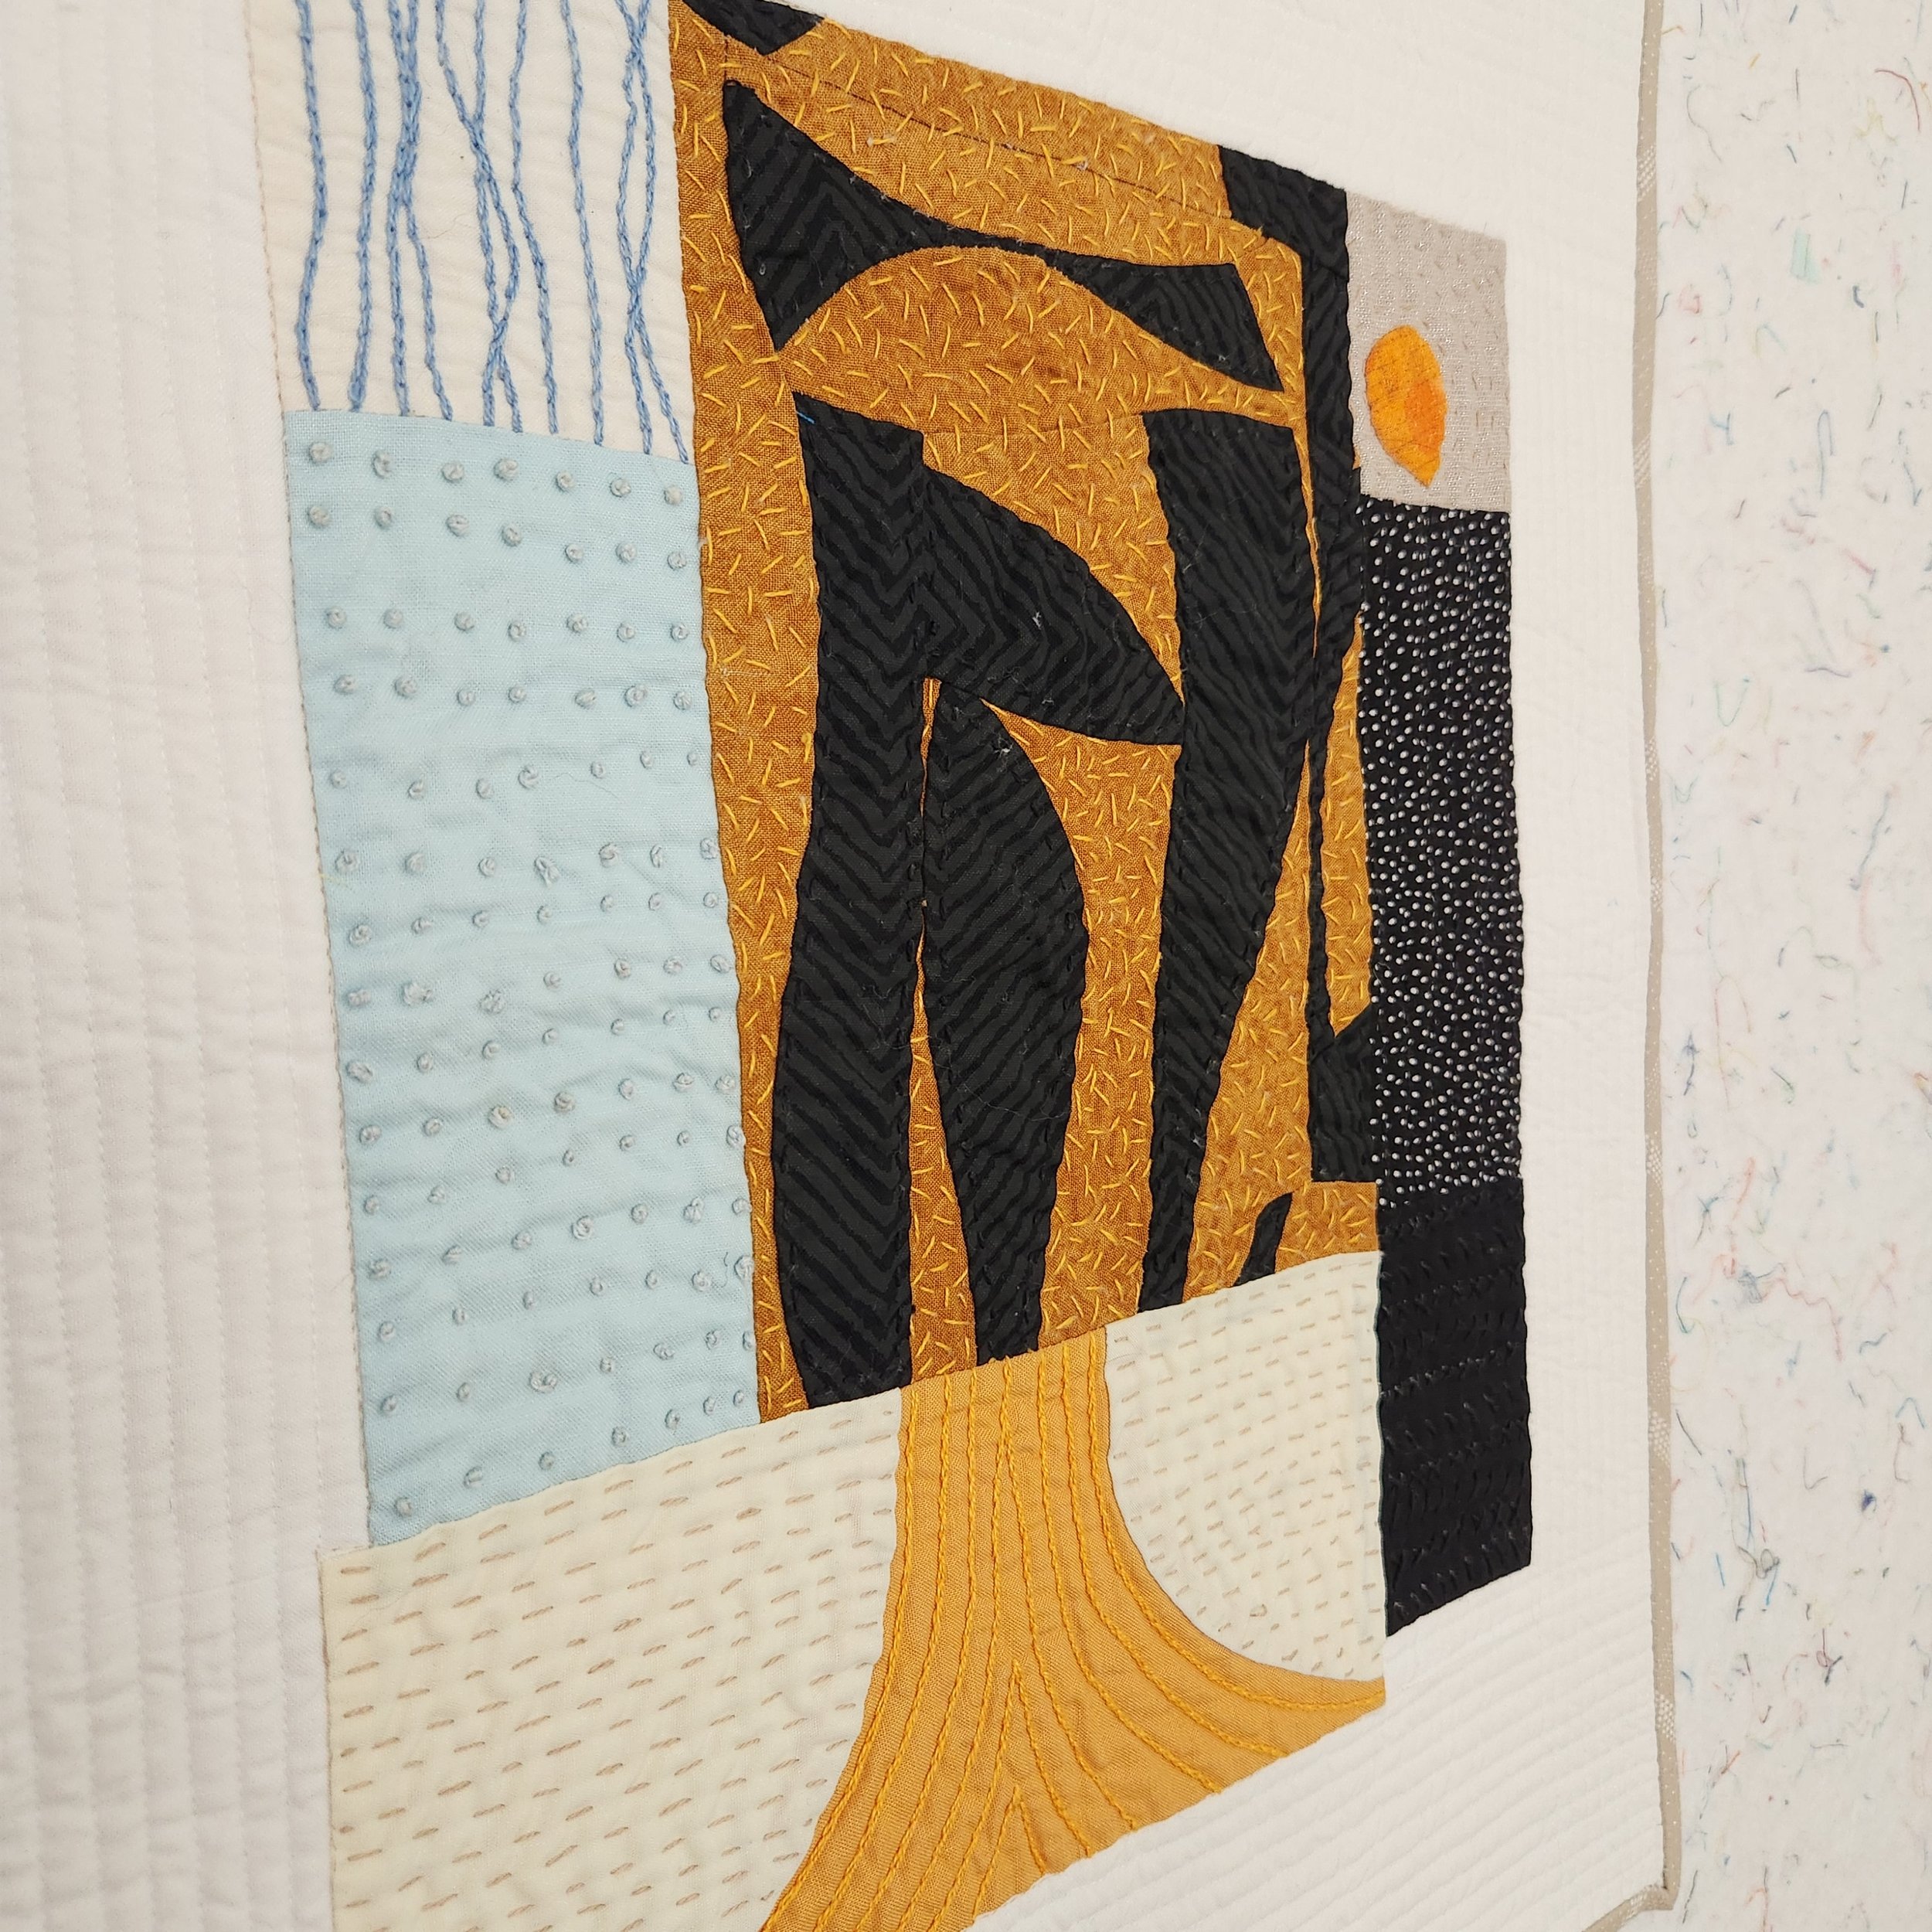
To make the mini I dug through my stash for the right colours to reference her original piece. Some of my finds meant that I did not have to piece all the sections, but let the fabric talk. In the end, the components of my quilt collage were a combination of improv piecing, appliqué, and single fabrics. Then I used embroidery and hand quilting for additional details. I even matted my details like she did, with a ground of white.

Hand embroidery and quilting details on a gold, black, and blue improv quilt
Details of a gold, black, and blue improv quilt

Not entirely sure why it took me so long to finish this quilt. It’s just a mini! Yes, there is a lot of work in this small space, but that isn’t it. I just went in fits and starts on it. But it is finished now. Bound in a fabric to look like a wood frame. Sent to Sarah as a thank you for the inspiration.

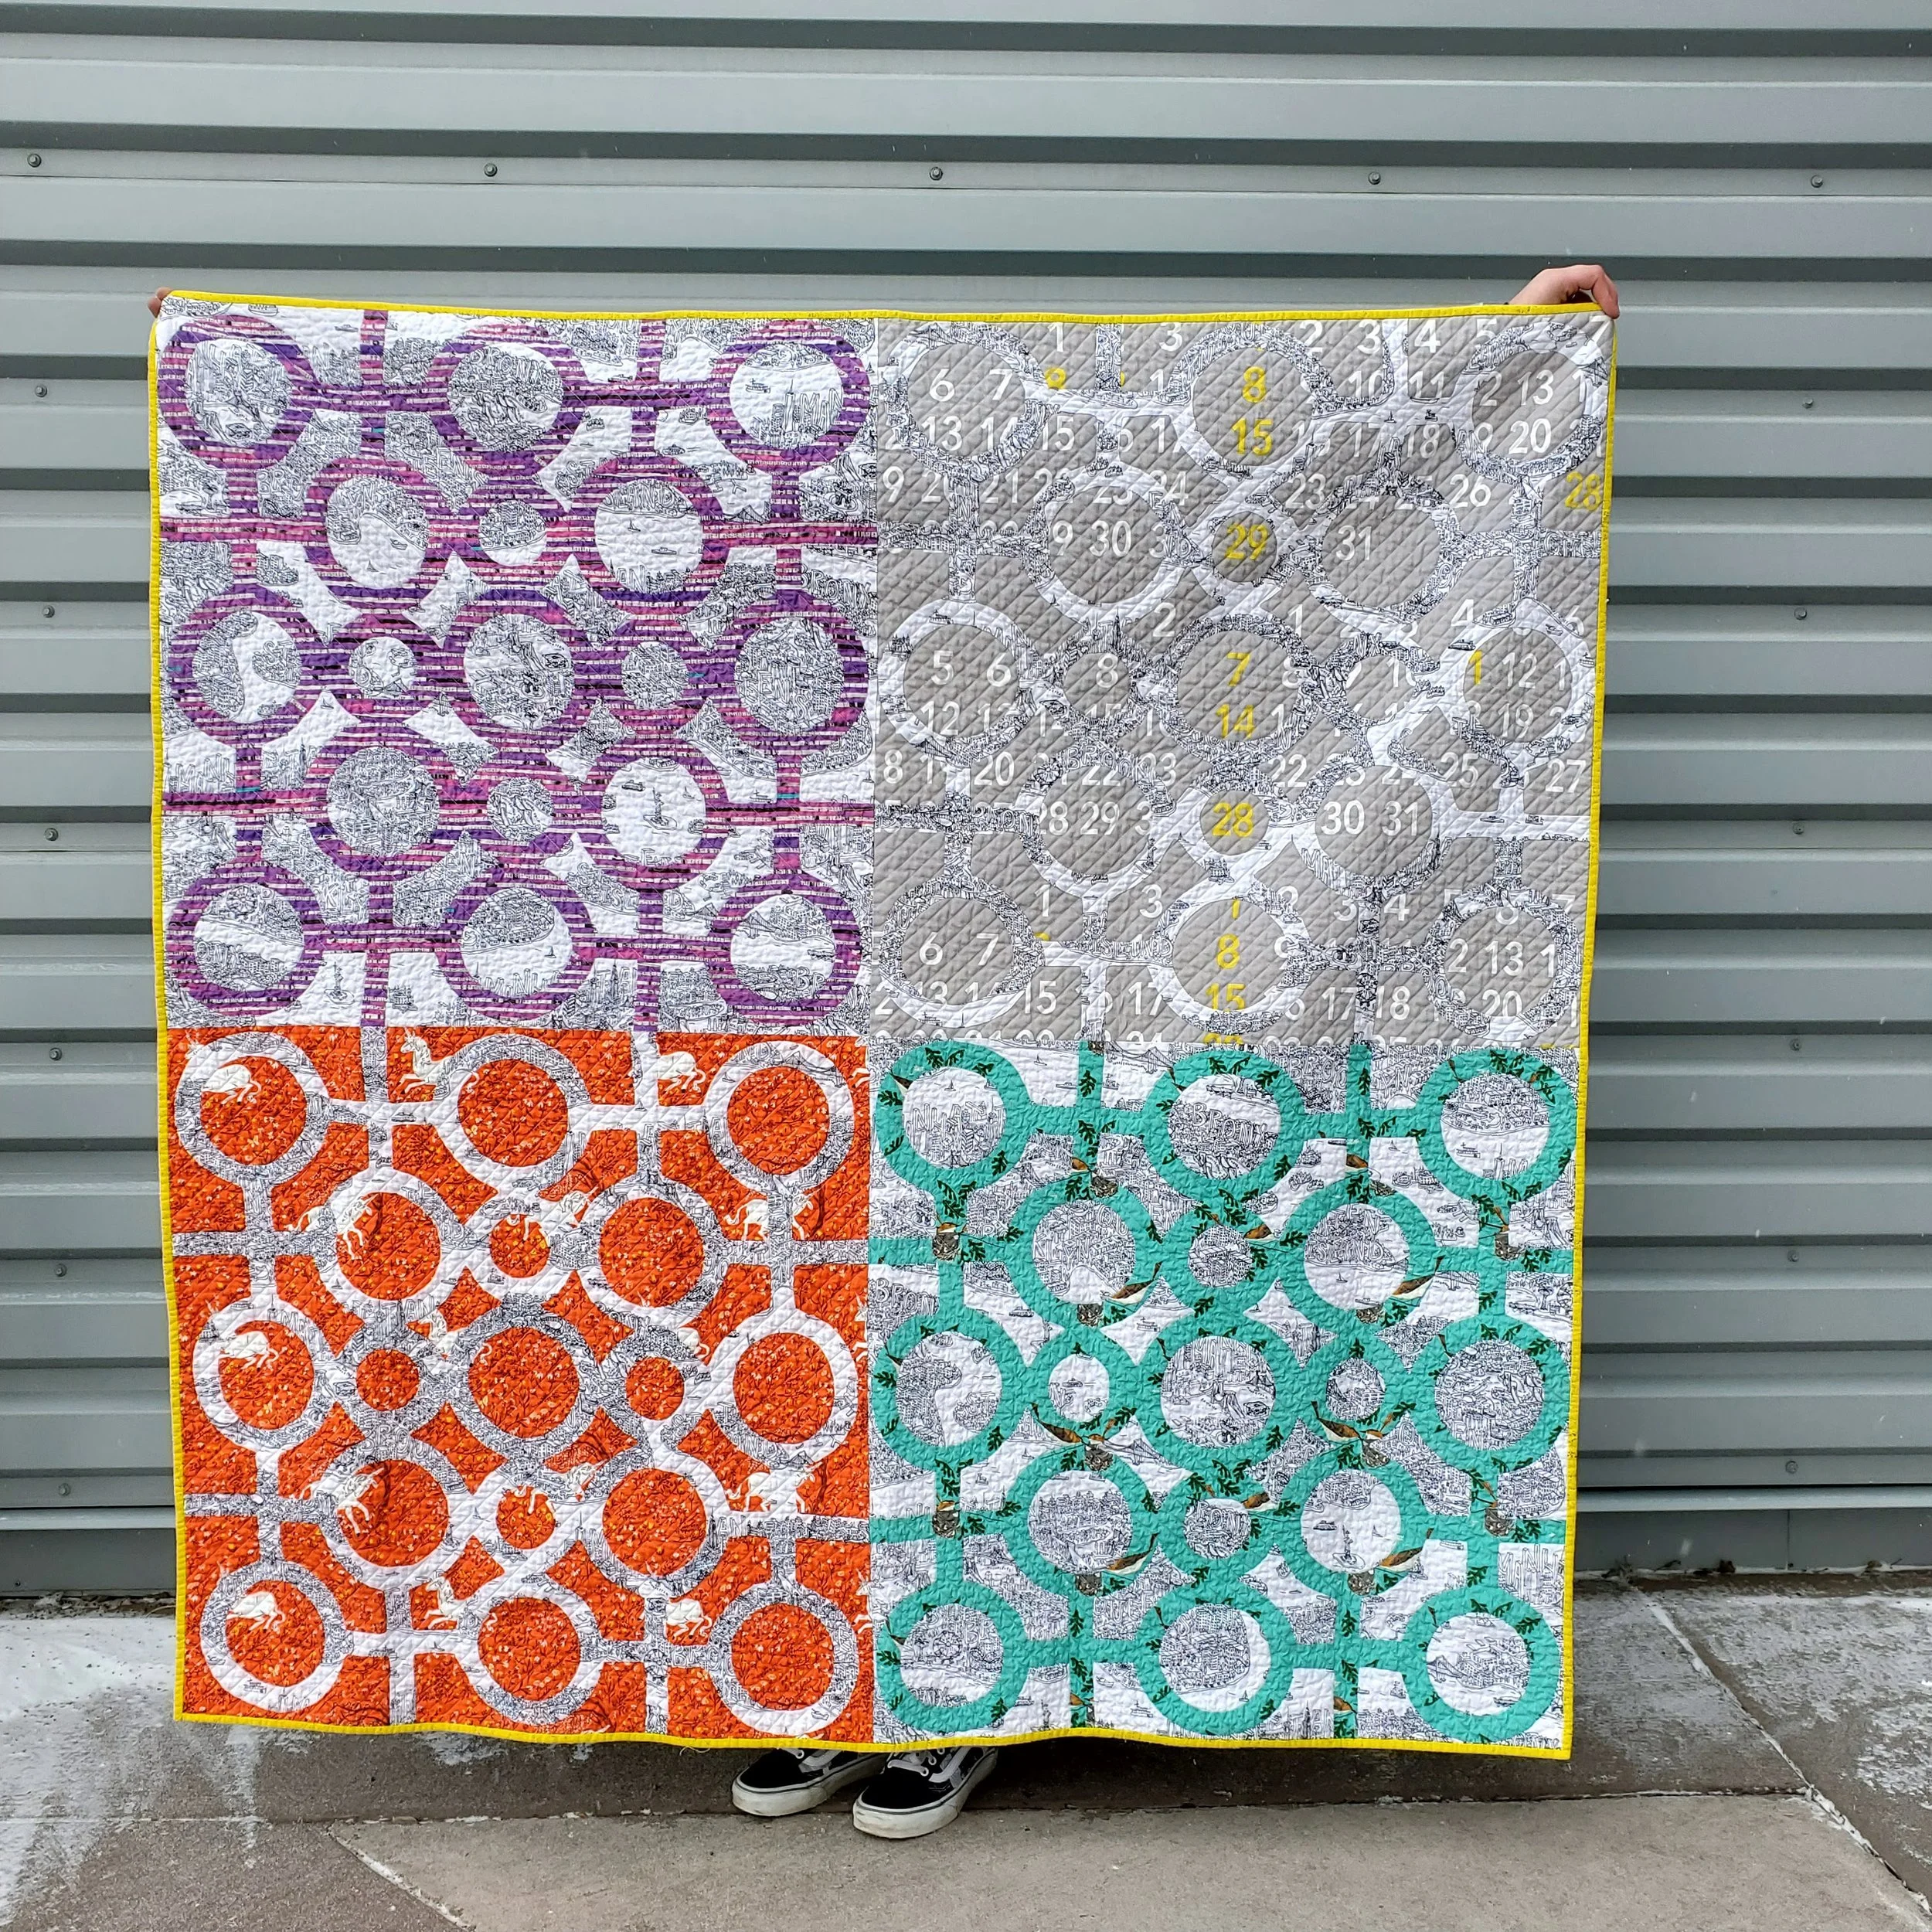
Faye

Faye

72” x 72”

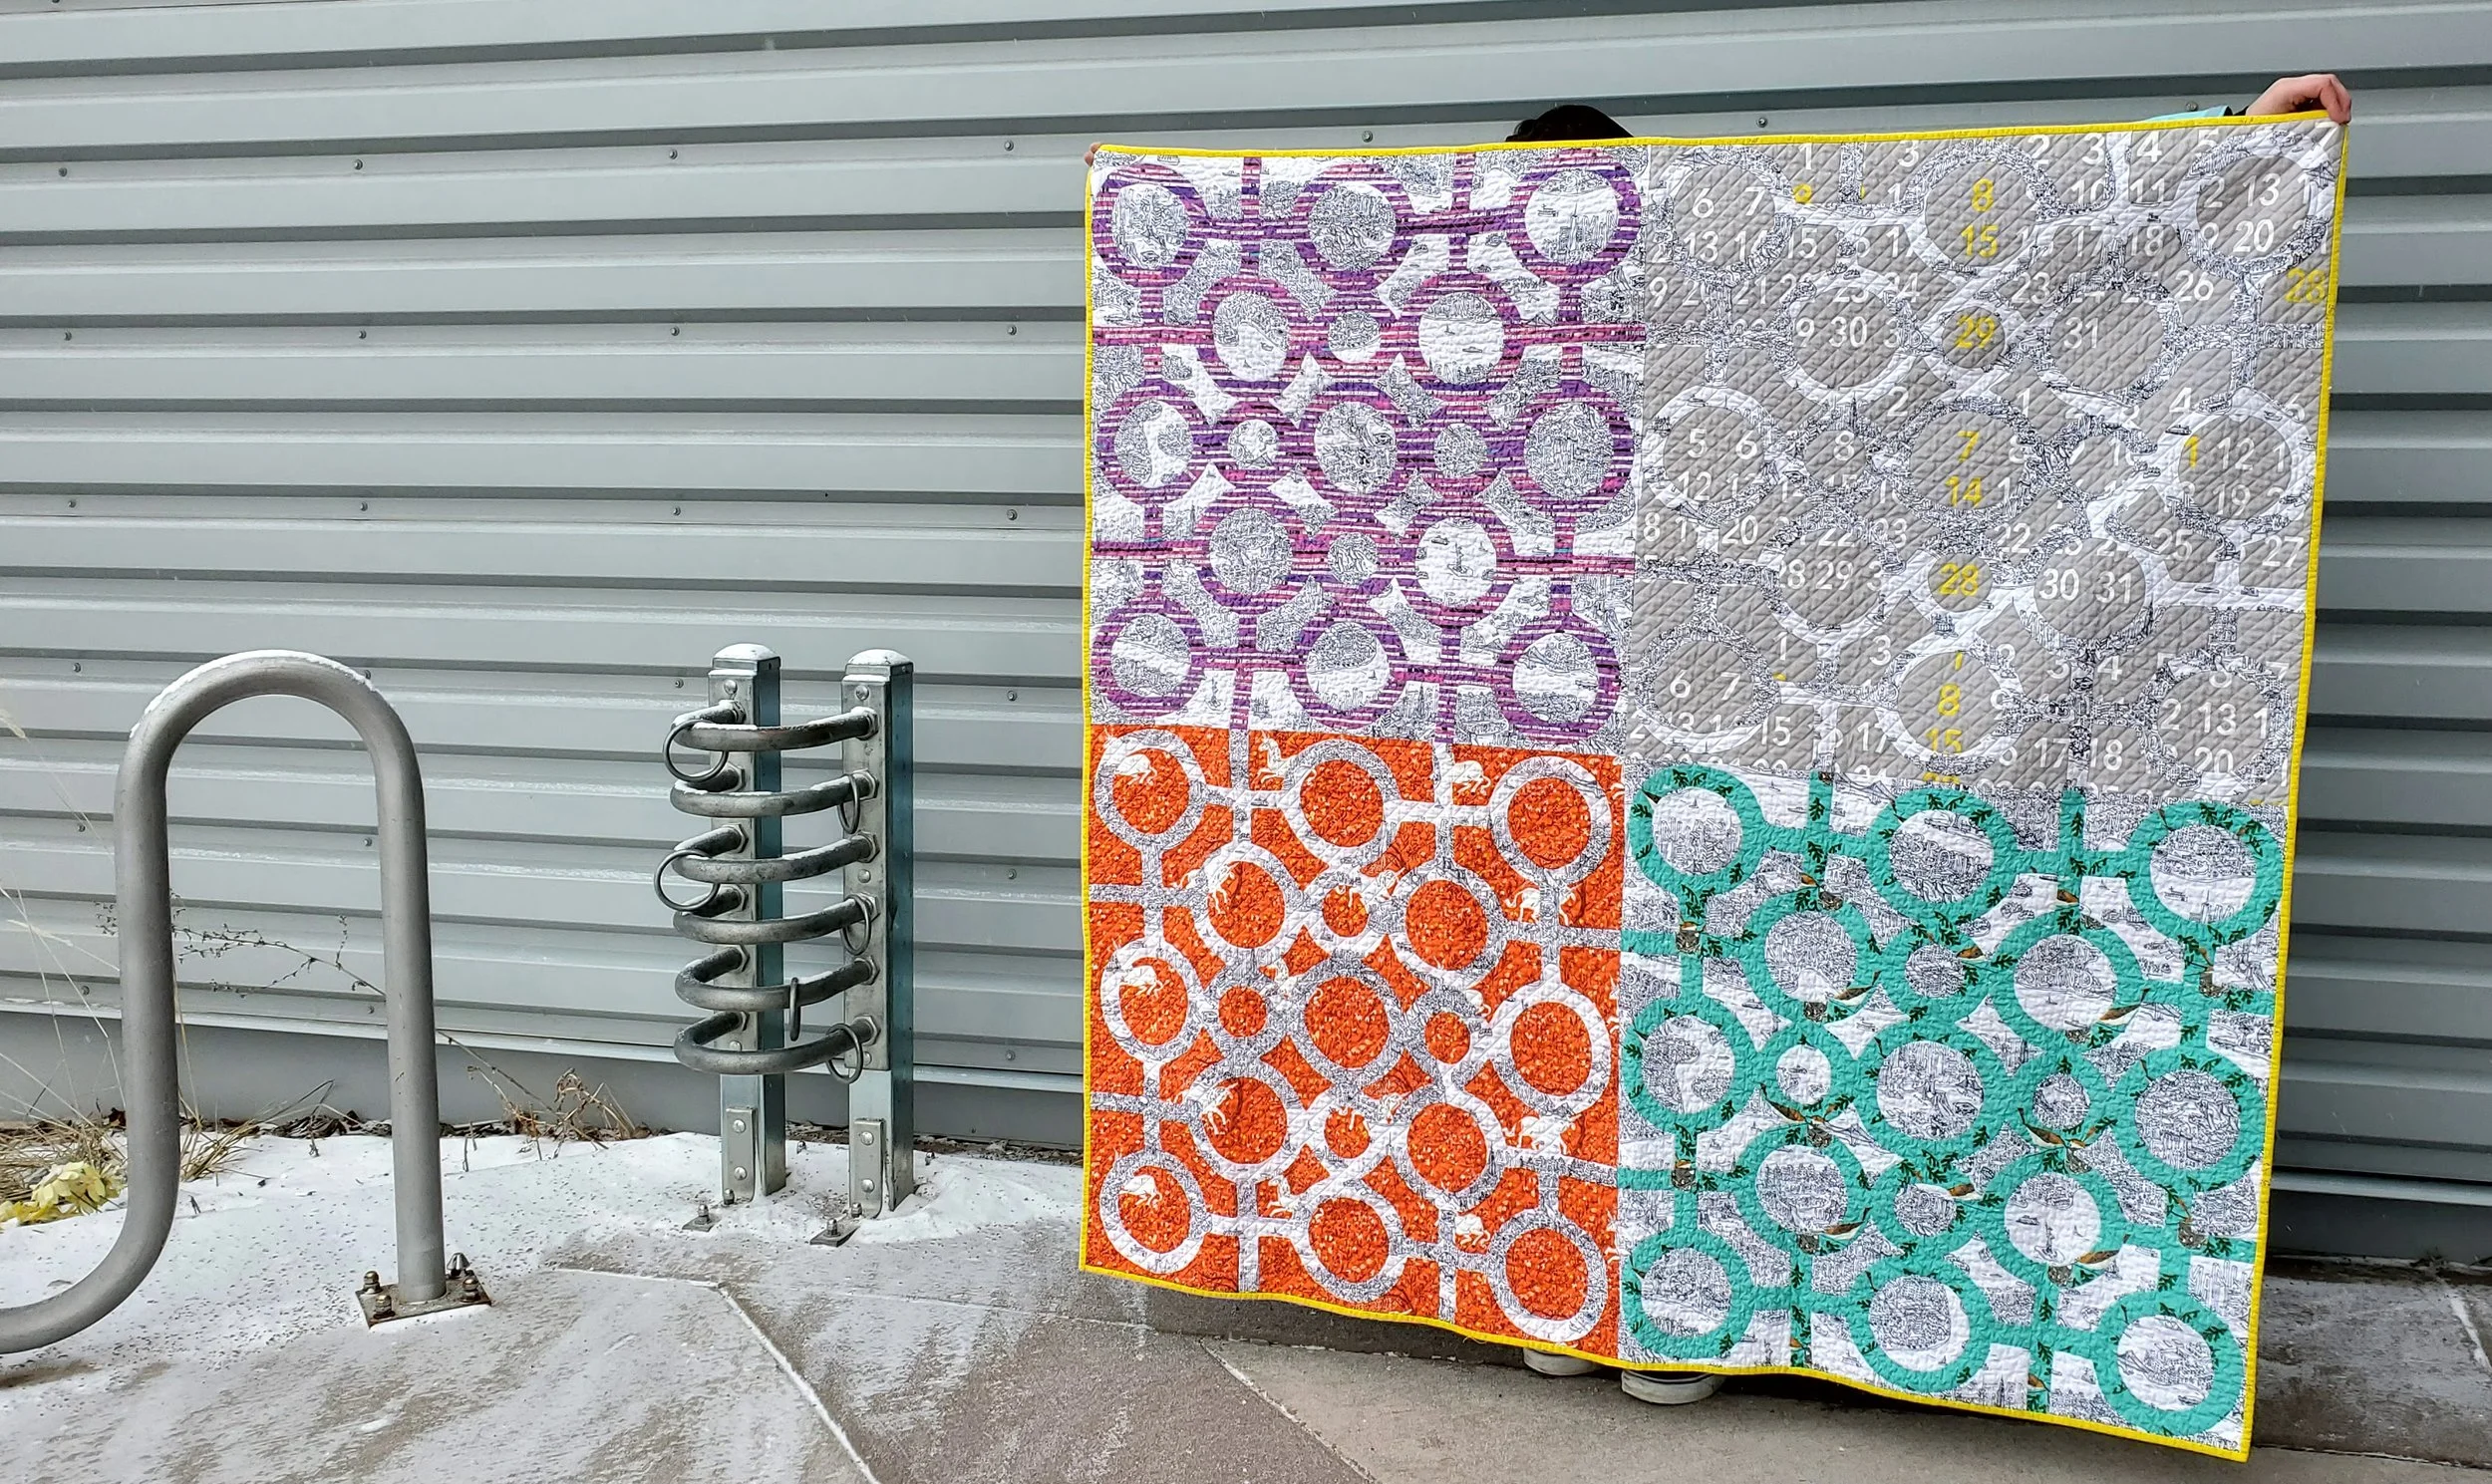
Years in the making. Like her namesake. A fearless woman, tenacious, and patient. She knew her time would come. Moved to New York with a dream. Moved through New York with relentless energy. Meeting people, making herself just that much more, ignoring the naysayers. She persevered and found her beauty and her success.

Faye, the quilt, began life in the follow-up to making the Alturas quilt. Carolyn Friedlander’s book, Savor Each Stitch came out and I fell in love with the graphic pattern. She’d already got me hooked on needle turn appliqué so this seemed like a logical step. I started the first block back in the fall of 2014. This finish is indeed a long time coming.

One block led to two and then I might as well do four, right? The initial pattern in the book calls for one block and a great use of negative space. I never follow a pattern anyway. So over the course of a few years I worked on the blocks. Looking back, it took me about 6 hours to baste each block, then who knows how many to stitch. Appliqué is not for a quick finish. Then again, nothing is a quick finish for me.

The finish for Faye come very recently though. Our family wanted to gift a quilt to celebrate a wedding. The gift was long overdue and we decided that this quilt top matched the couple’s personality. I will admit, I had a moment of selfishness for her. Then I realized that my love for her came in the making more than anything. It was time to set her free and share that love.

I always have a hard time with quilting an appliqué project. It’s a battle between accentuating the appliqué and ease. At least, it feels like a battle. In the end I went for a straight line quilting pattern. For one, Carolyn has done this a lot in the past and it works. It provides texture and security without taking away from the graphic design. Secondly, I am hoping this will be a loved couch quilt so I wanted dense quilting to help keep her strong.

The whole quilt is divided into quarters with an X through the middle. Then I echoed that line between each triangle. I chose a pale yellow/cream Aurifil thread in 50W (2311). It isn’t harsh on the backing but disappears for the most part on the front. It might seem odd to use a creamy colour when there is so much bright white, but the reduction in contrast on the coloured fabrics makes it worthwhile and you don’t even notice it on the white.

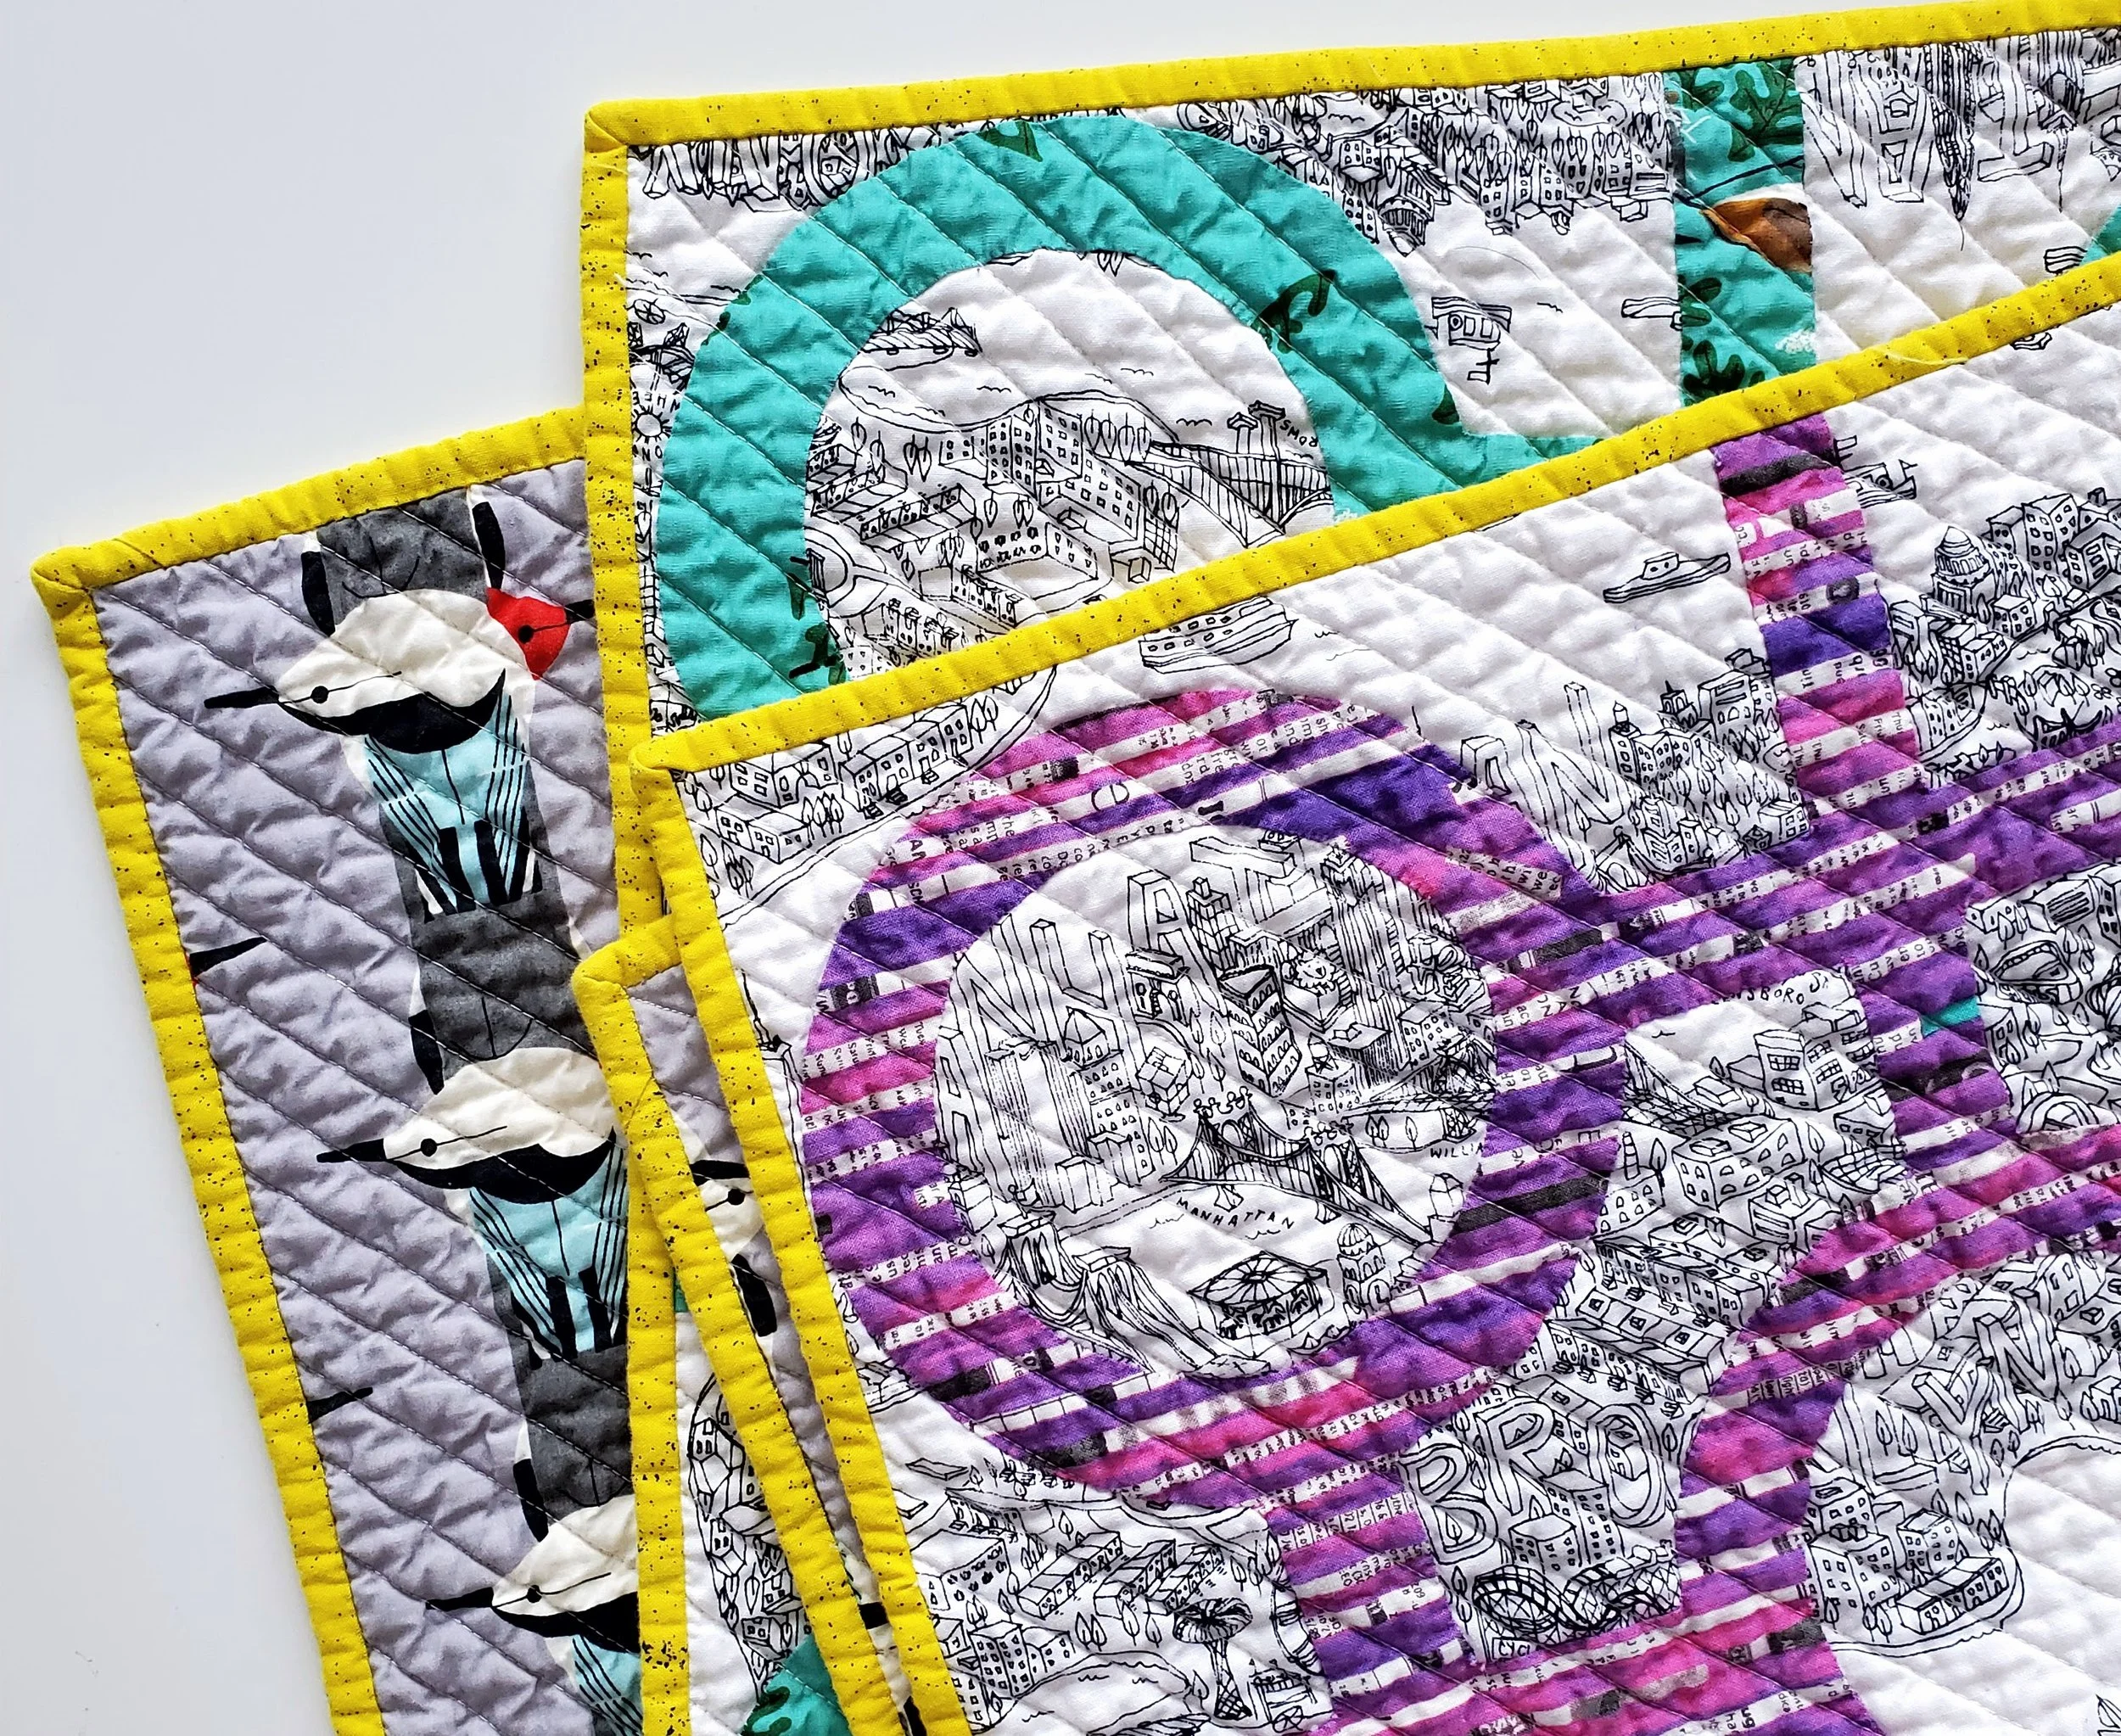
You know me and my love for a contrast binding. This bright yellow might seem like a funny choice, but almost all of the blocks have a bit of yellow in them. Black, my other thought, seemed too harsh. I had just purchased this yellow Spectrastic by Giucy Giuce from Keystone too. It was meant to be! Such a fun pop to finish this off.

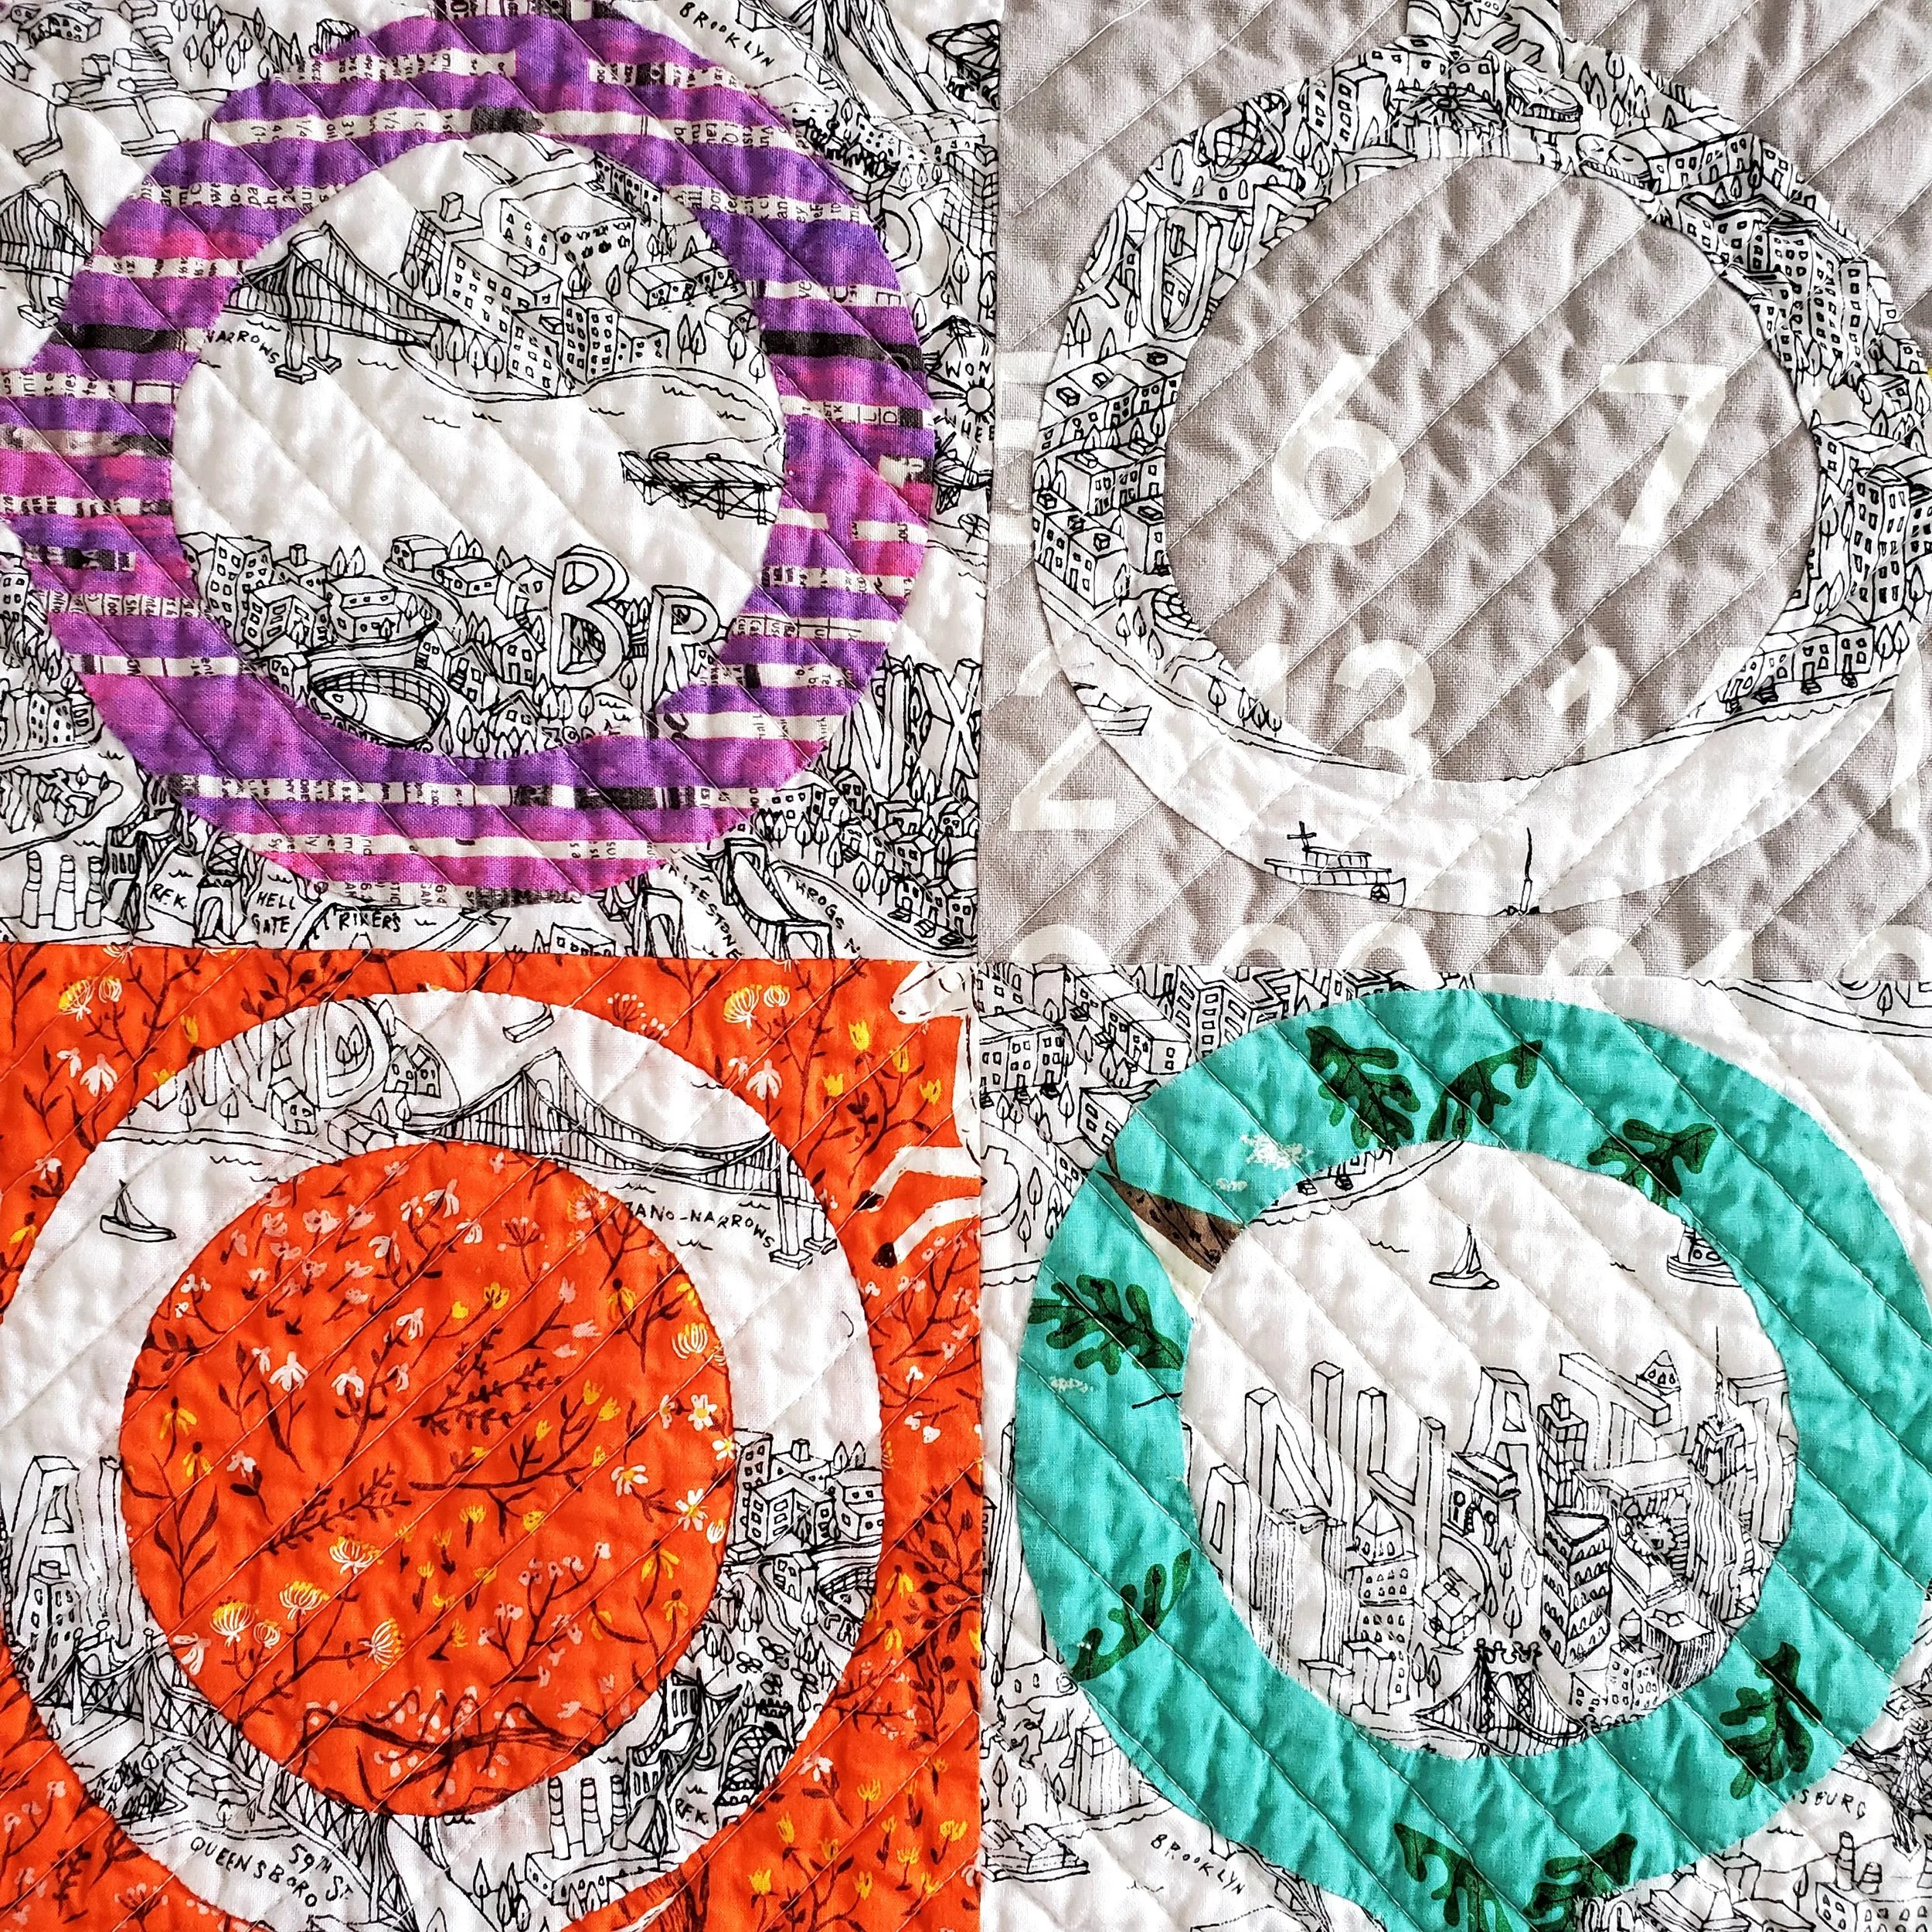
The whole quilt really is a collection of some favourite and treasured fabrics. I started the whole thing with Samarra Khaja’s amazing New York illustrated fabric. Combined with a much loved Charlie Harper print that first block set the tone for the rest of the combinations. I stuck with the New York fabric when I realized I had enough of it, then paired it with some hoarded Heather Ross unicorns, the Stendig calendar print, and a gorgeous purple from Carrie Bloomston. On the back I shared another Charley Harper treasure.

Hopefully I will get to visit Faye in her new home.