english paper piecing

Summer Play - Improvisational Piecing With Solids

Improv Piecing Solid Fabrics Cirrus Solids Robert Kaufman

A little bit of this, a little bit of that. We sew when we can.

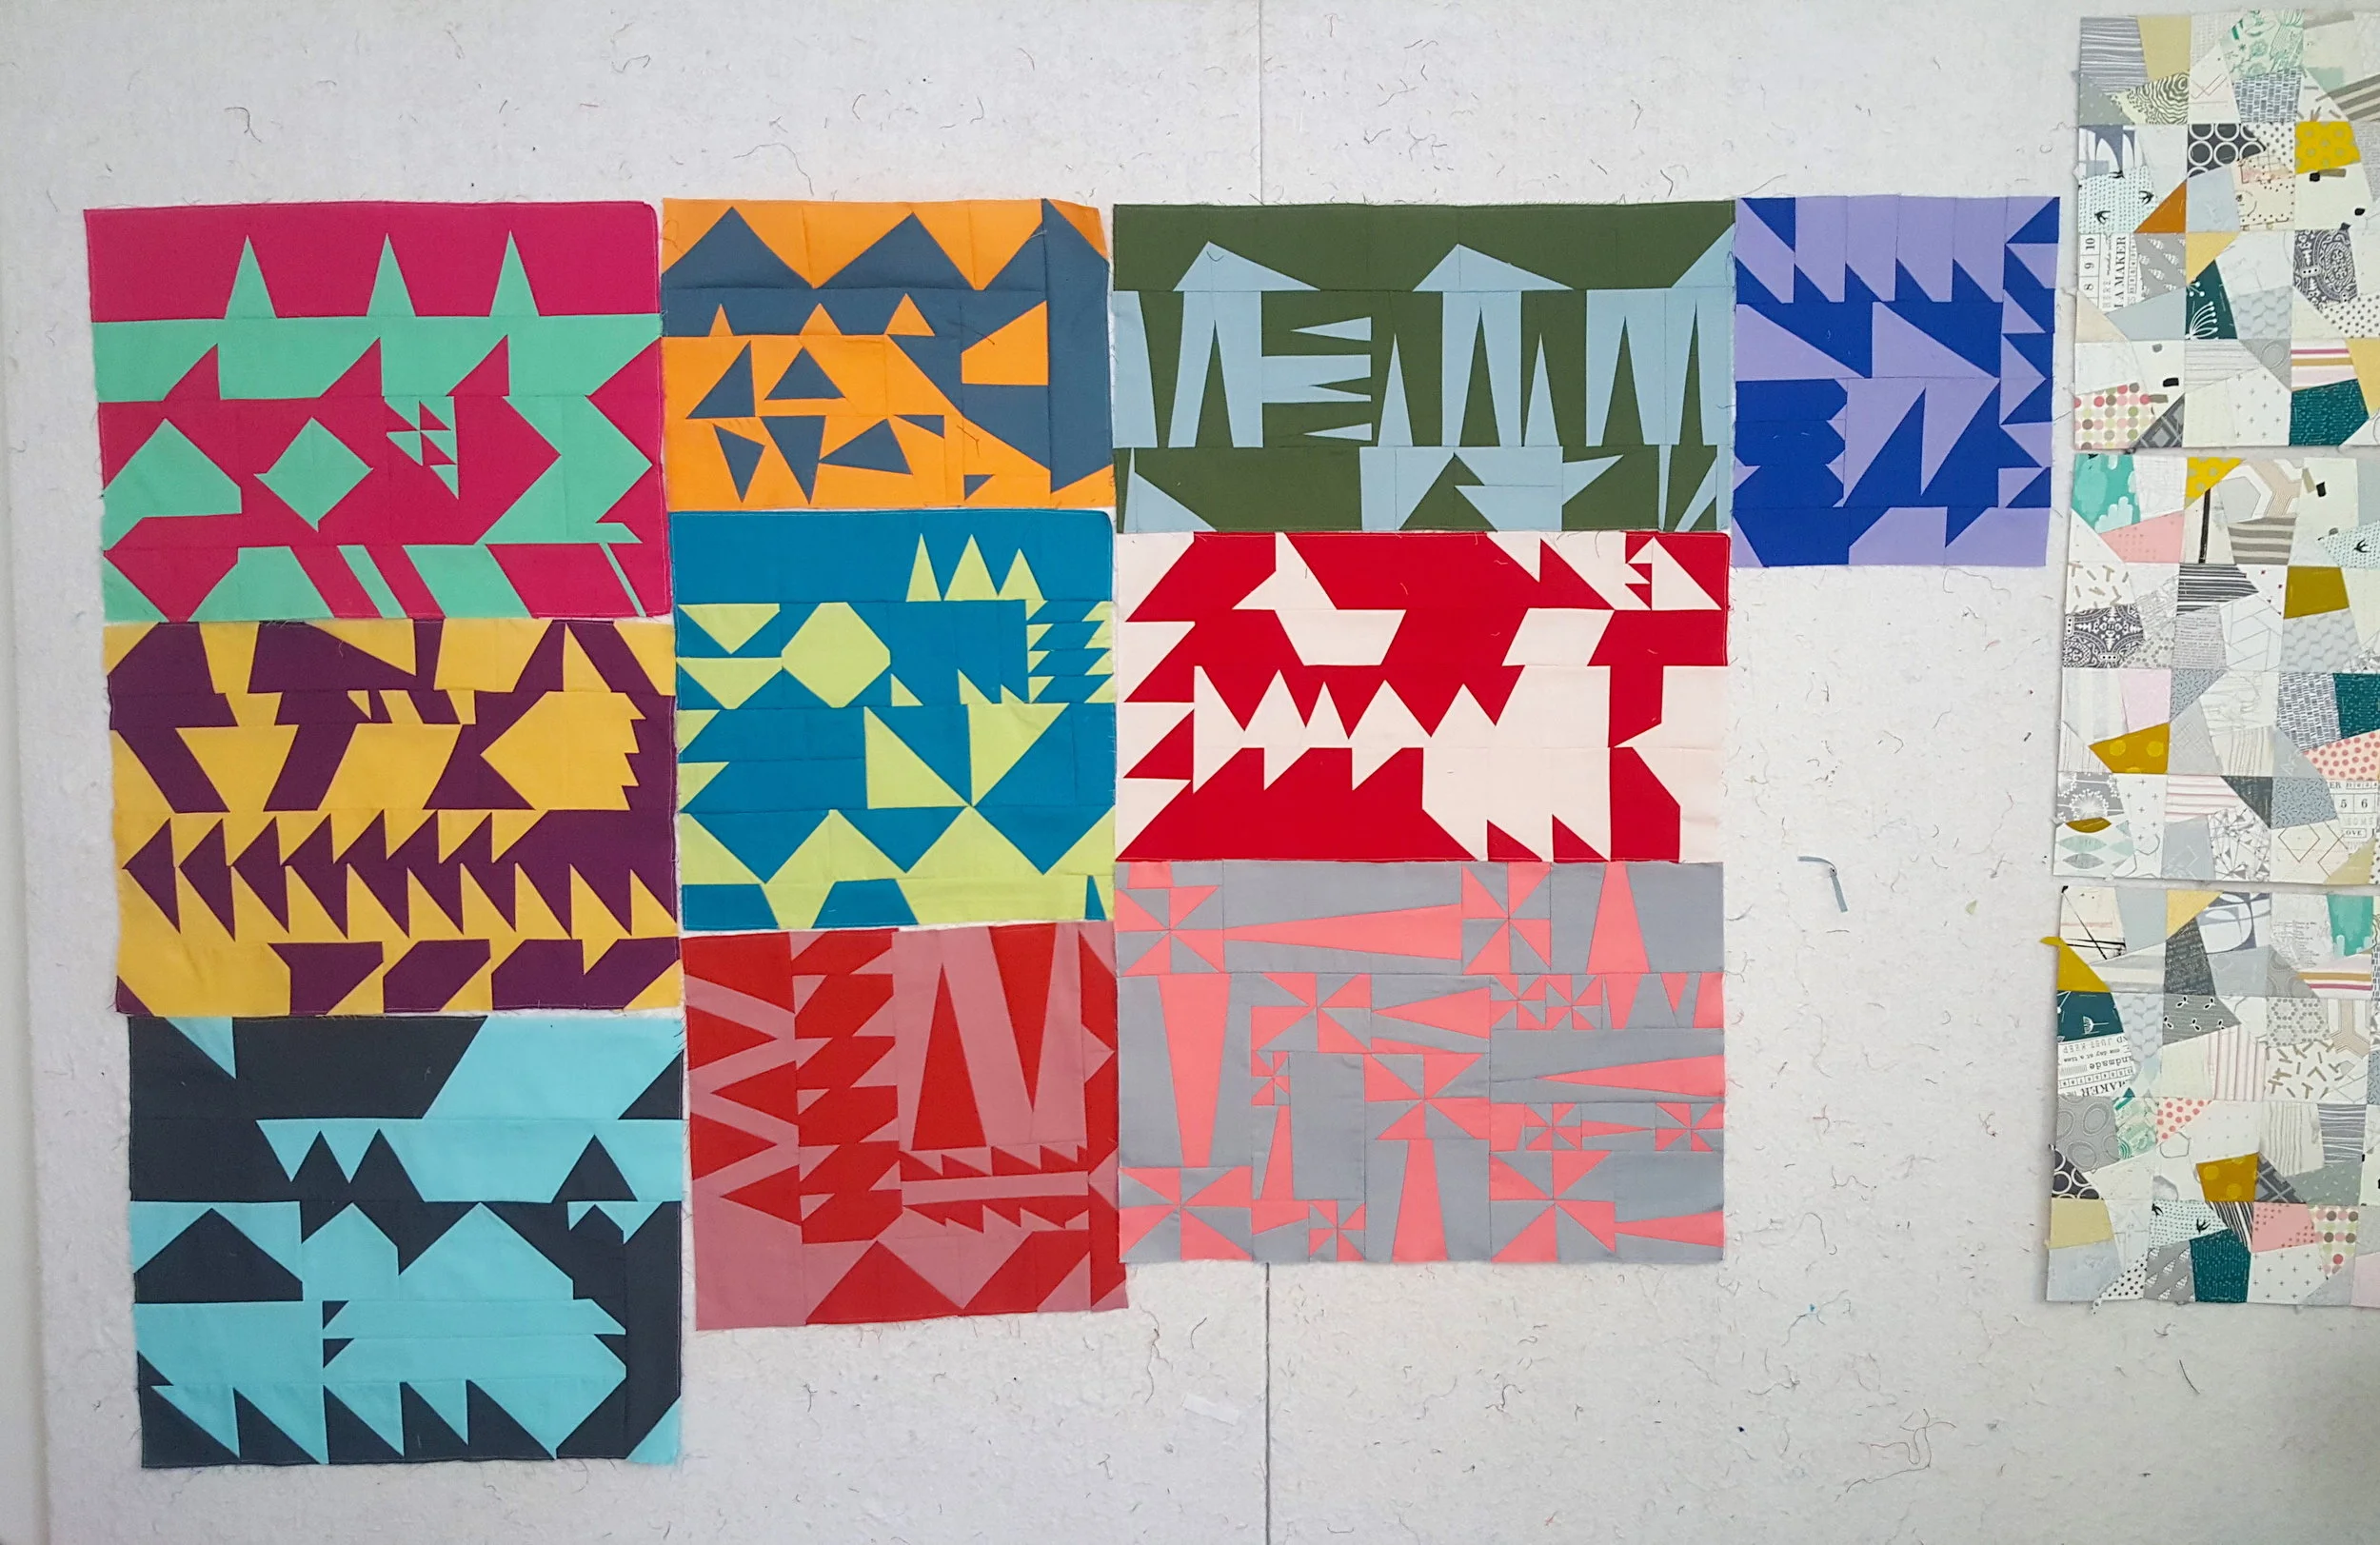
The Improv triangle work started as a class sample. Then I liked it so much I kept playing. Still, I play. I set some parameters for the play. This is always a good thing to do, especially if you find Improv Piecing overwhelming. These are mine:

  • Two colour blocks, high contrast in value.
  • Only solids.
  • Fundamental construction revolves around the techniques I share in my Improv Triangles class.

I've invested in some more solids because my stash is minimal in that department. These are all a combination of Cloud 9 organic Cirrus Solids (so seriously dreamy) and Kona cottons. I work only 2 colours/1 block at a time. No rhyme or reason to my choices other than I think those two fabrics look fun together. 

Kids started summer vacation over the weekend. And we were going hard with activities until that Friday night. We are all totally pooped. The sum total of the sewing I've done (minus the quarter circles that got me on a tangent) in the last month is right there on my design wall. Hand sewing my Euroa quilt while still on pool decks and soccer pitches, and little Morning Make triangle bits slowly, ever so slowly adding up. Whether it is after dinner frisbee tossing or sewing triangles together, I'm having fun with this summer playtime.

Euroa Quilt - An Adventure in English Paper Piecing

Euroa Quilt English Paper Piecing Original

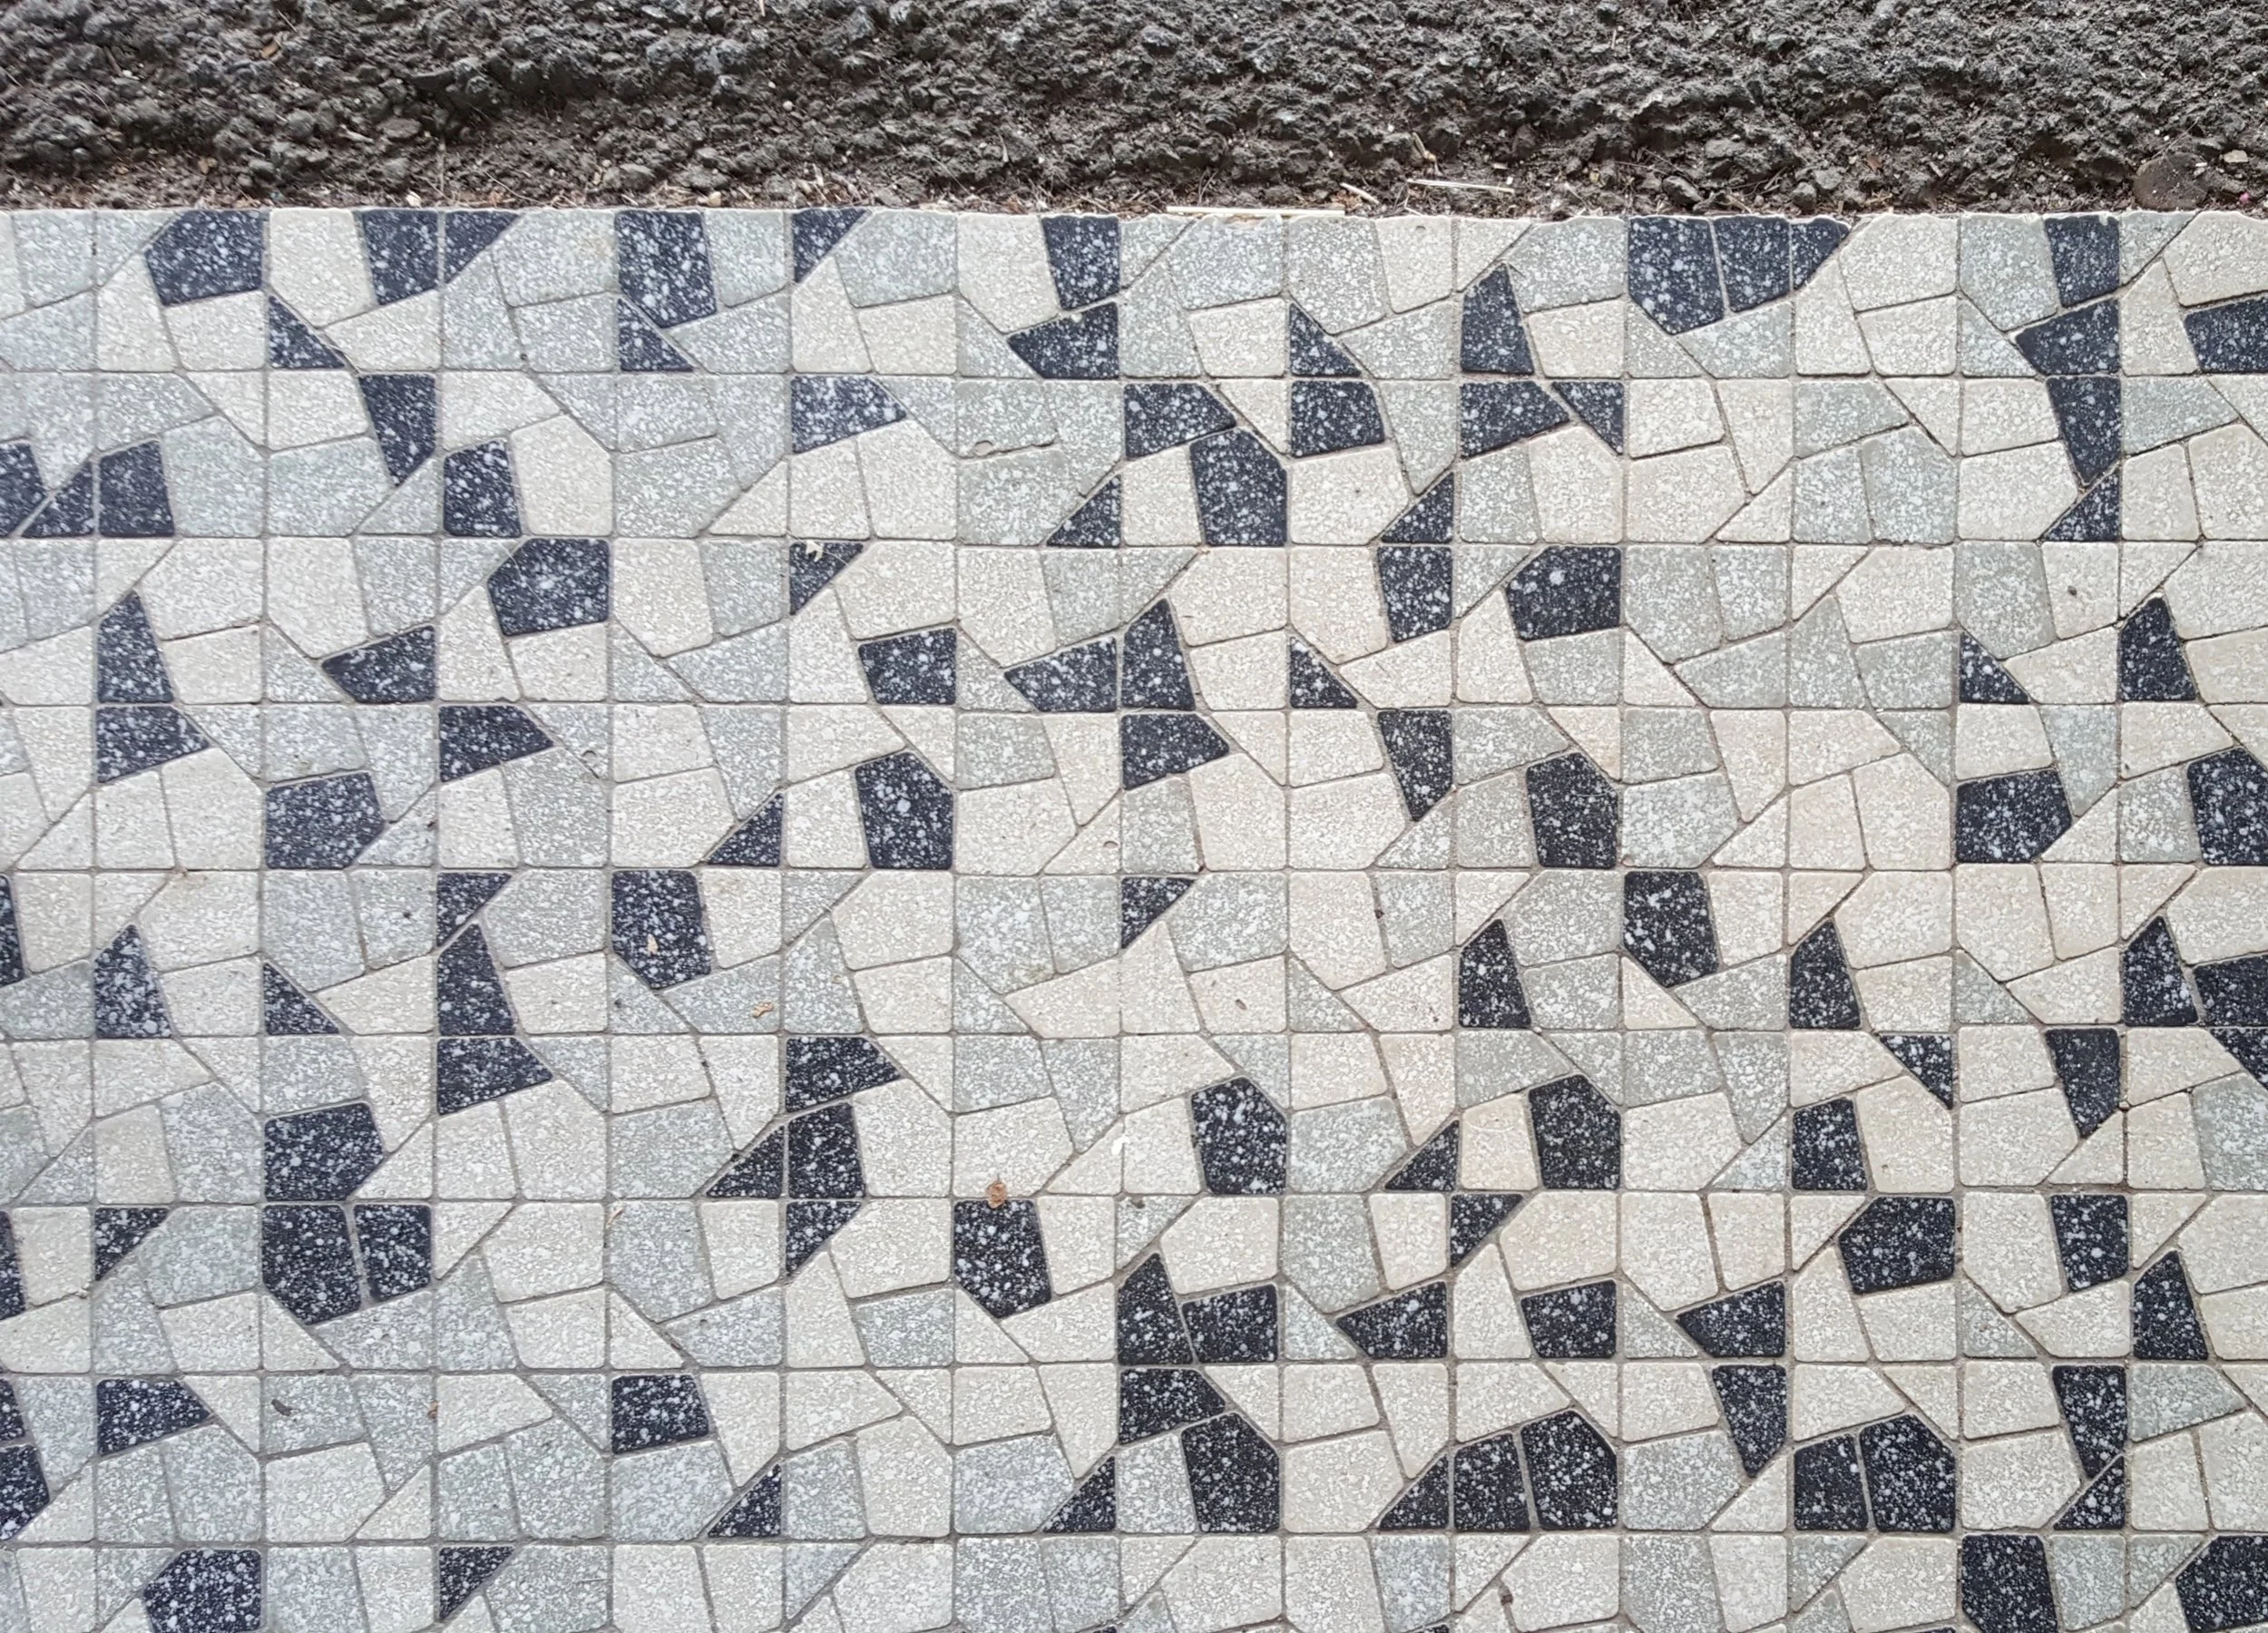
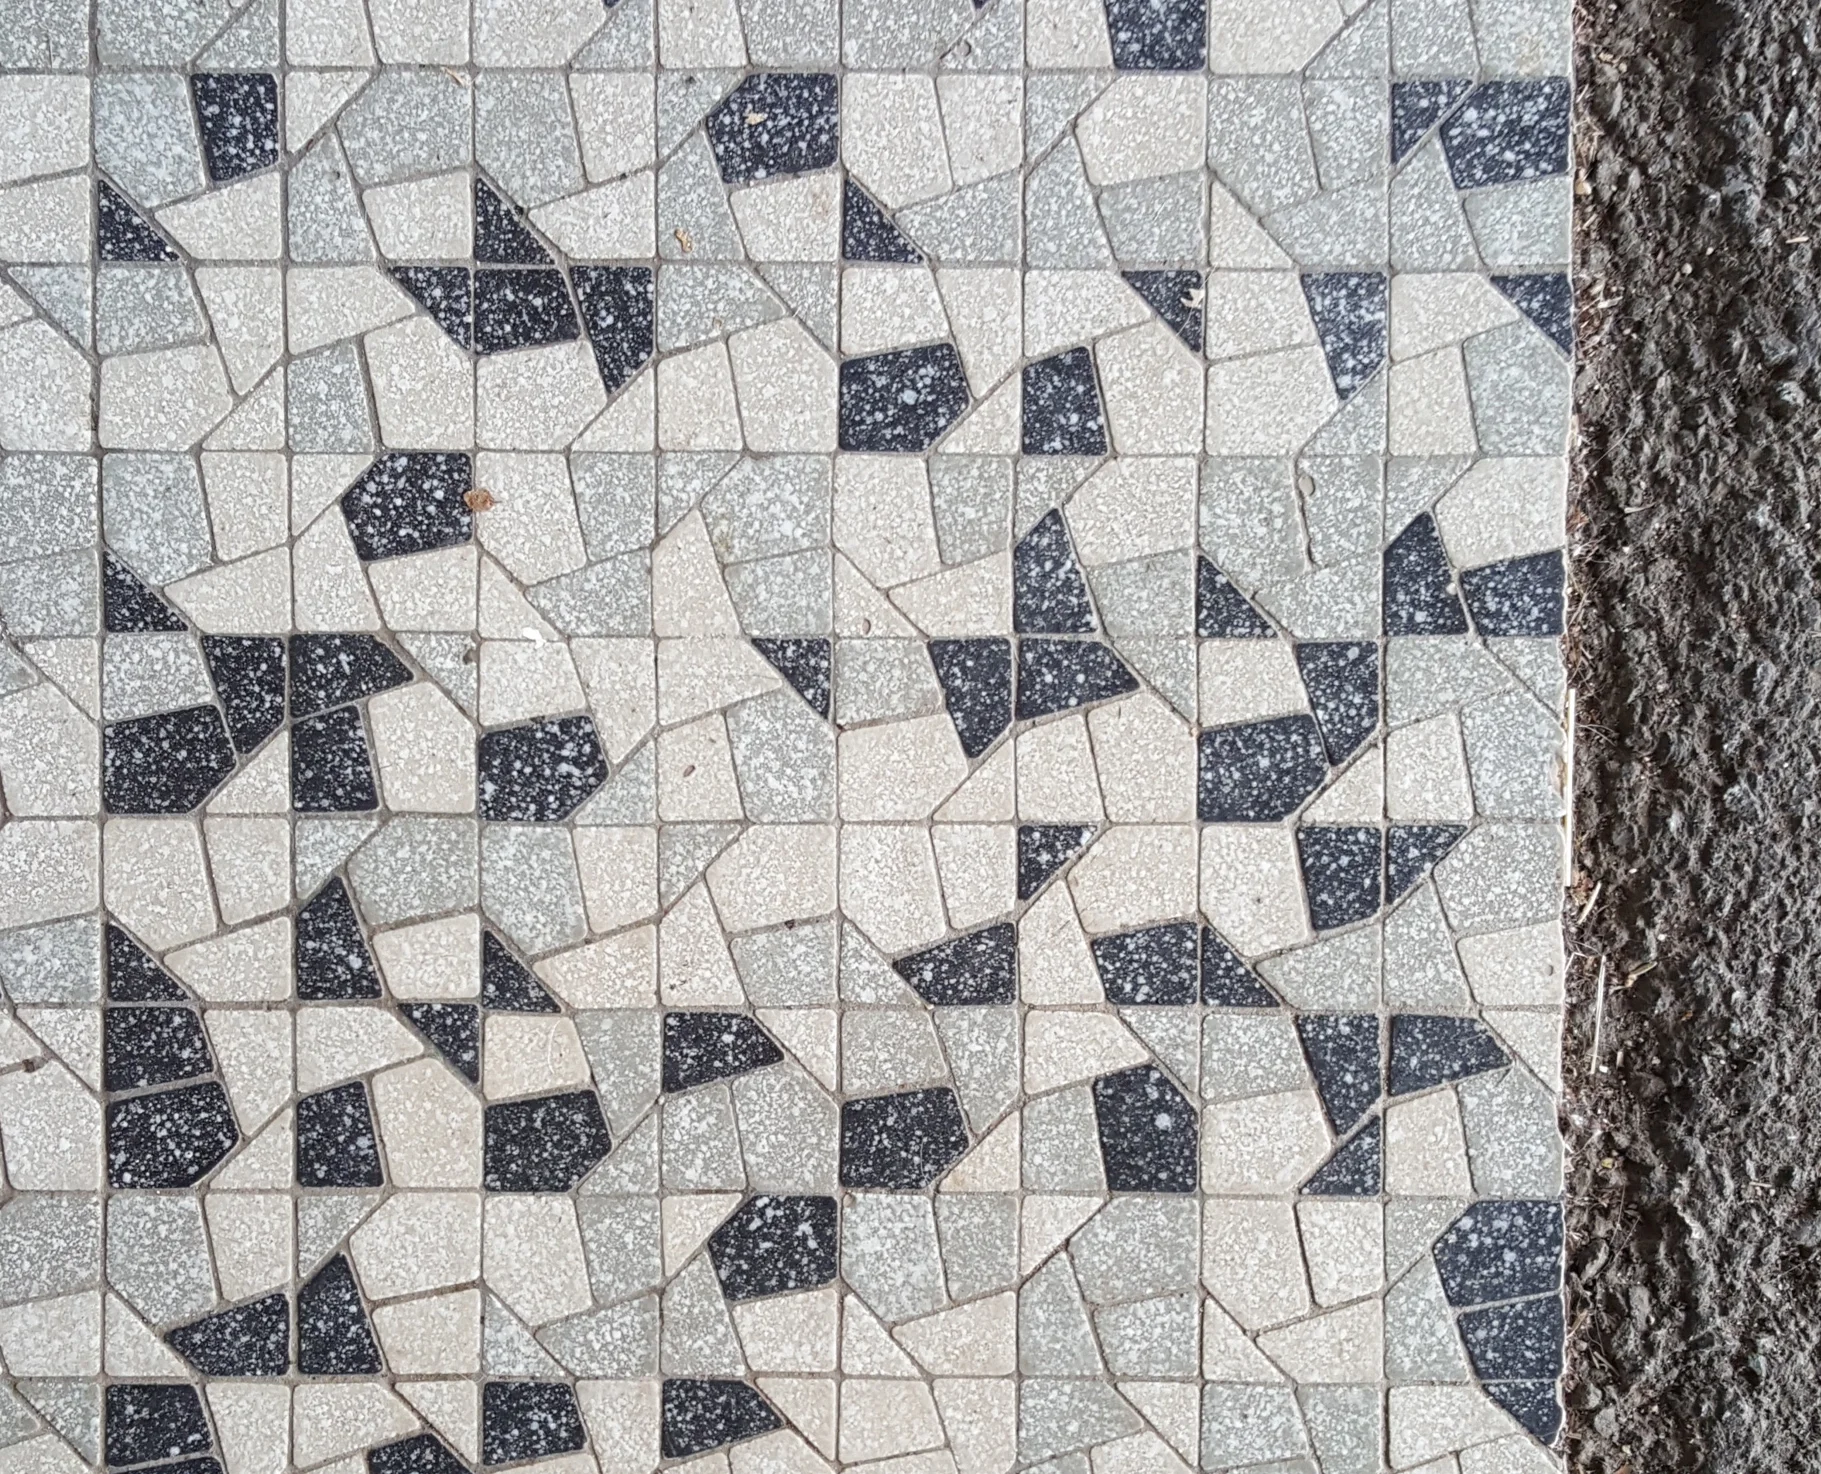
Behold the exciting beginnings of my first English Paper Pieced Quilt! Inspired by a tile floor I saw last year in Australia. It is a running joke among quilters that we take pictures of tiles because they are so inspiring. But I've never actually made a quilt that literal in its interpretation. I am now though.

Because I finished the Park Quilt I felt totally justified in starting this one. Despite my over 40 quilts under construction I've found that I can't have more than 2-3 in the hand work stage. It simply takes up too much time and head space to be fighting among handwork projects. But with my big applique project done I could move on to this one.

Euroa Tile Inspiration for Quilt
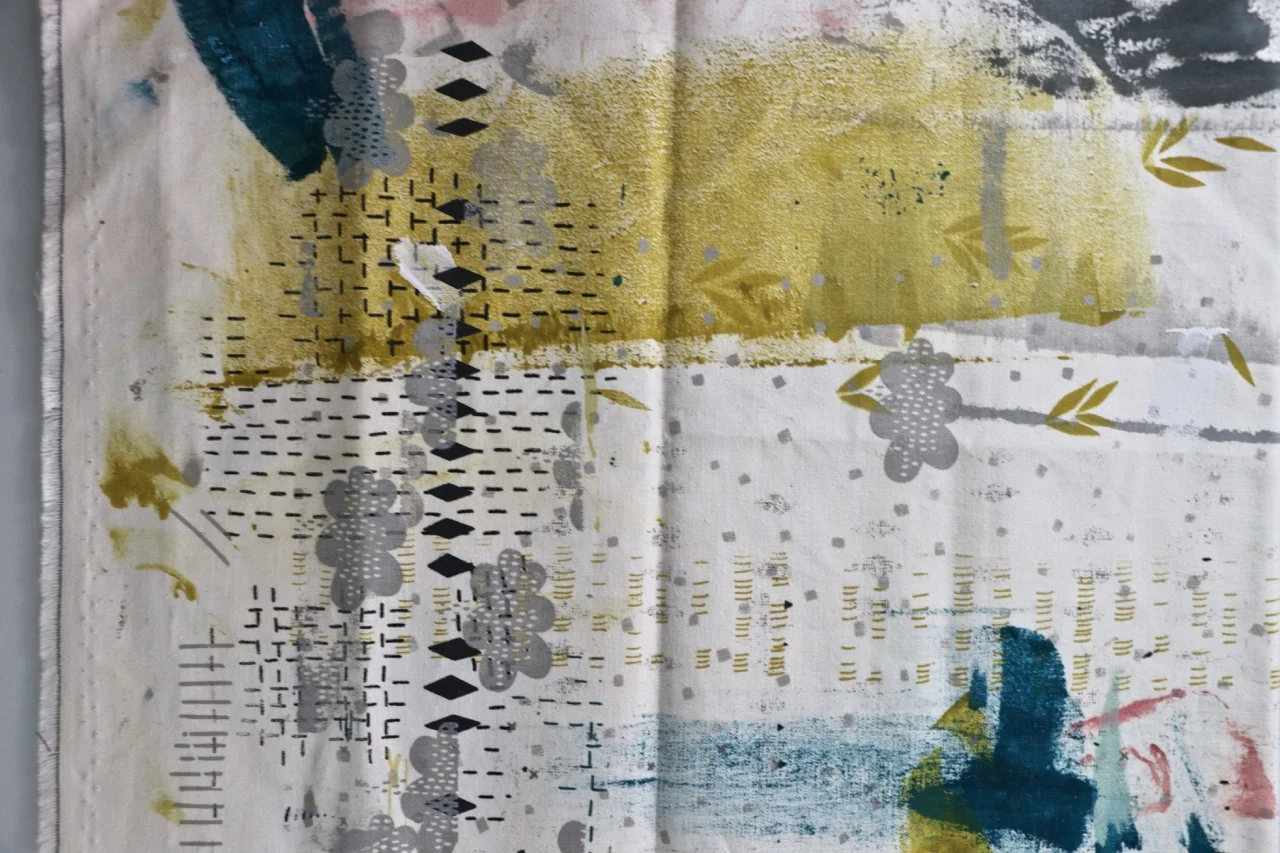
Maze and Vale dropcloth

While the inspiration for the pattern itself came from the tile floor, the colour scheme was lifted from another Australian influence. We visited Leslie Keating from Maze and Vale while in Melbourne. Our screen printing lesson was incredible, and her fabrics are dreamy. What I truly loved (aside from the light in her studio and her lovely presence) was the drop cloth on her work table. Periodically she has to switch it out. The old one then gets sold as bits of fabric or dropcloth art. This was the piece I got from her in the sale. Originally I thought I would stitch it up as a whole cloth piece, but once I started down this quilt's path it became integral to the entire thing. It dictated the colours and I am cutting it up, bit by bit, to be included in the quilt.

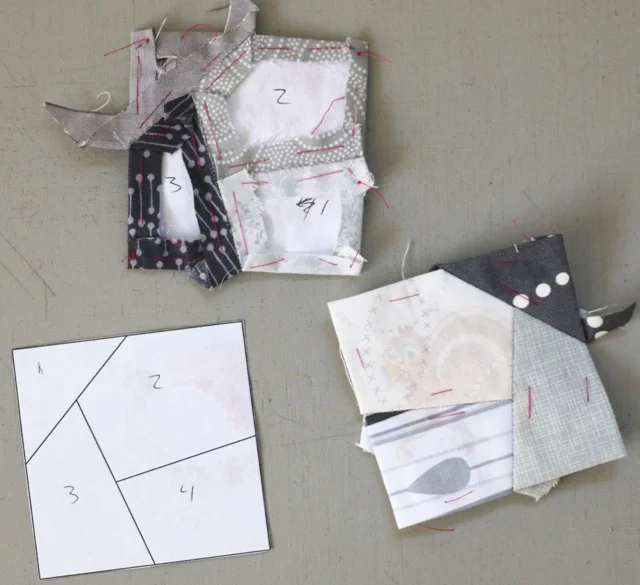
To start the quilt I drew out the single block pattern in Illustrator. Knowing that I don't work small (when it comes to the size of quilts) I wanted to be able to ensure consistency of the pattern and to make multiples in one go. I am doing English Paper Piecing with my templates, so I print out 4 little blocks at a time on a sheet of cardstock. I could have easily done this with foundation paper piecing on my machine. The pattern works either way. 

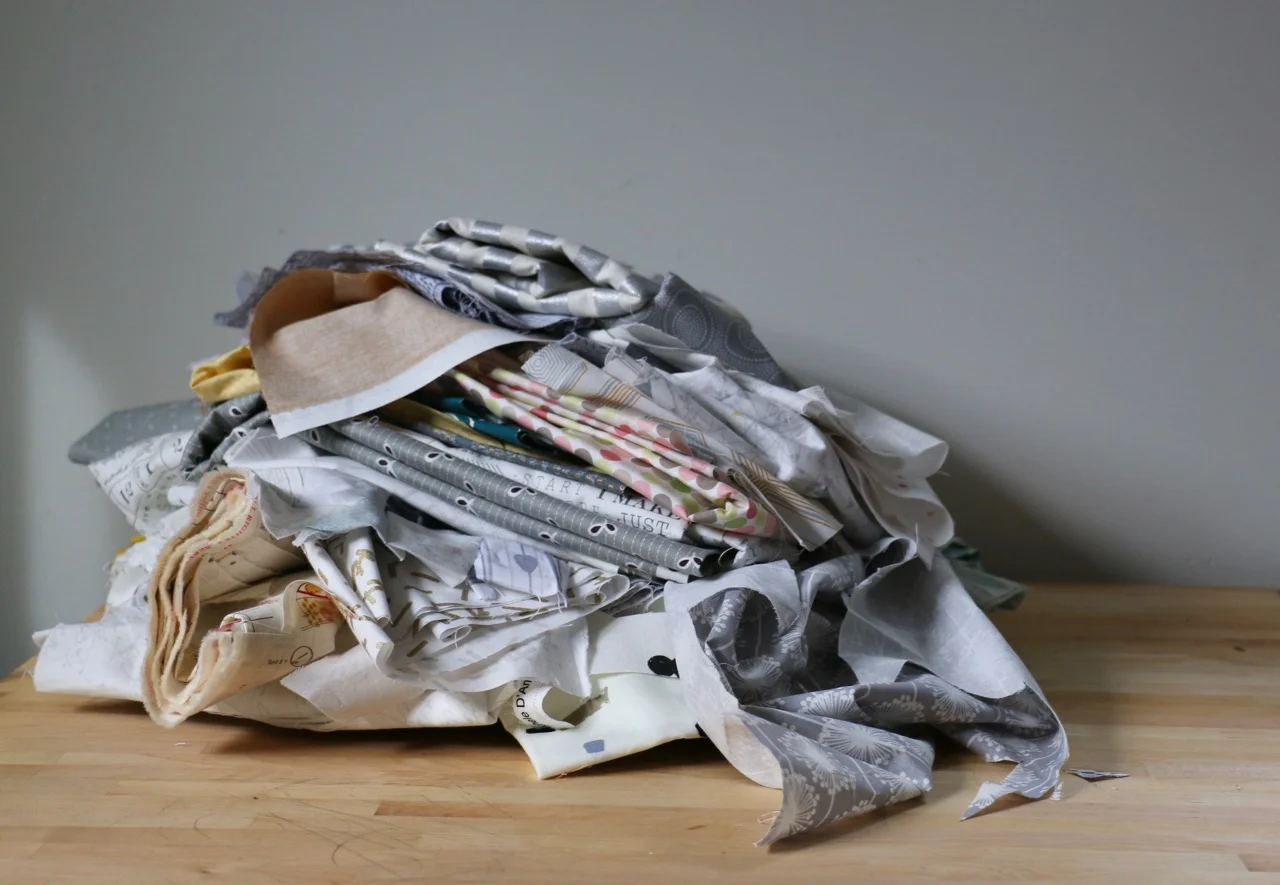
Scraps for the Euroa Quilt

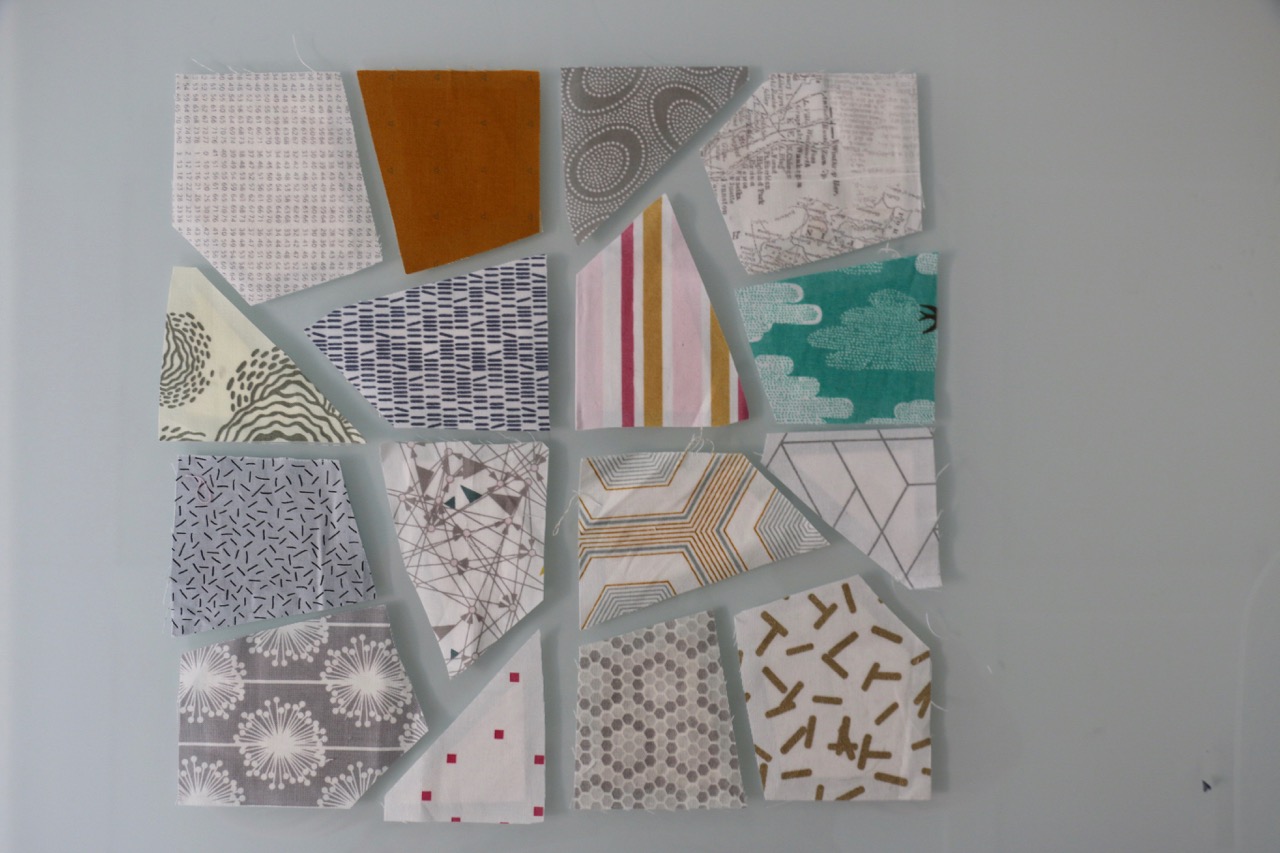
The next step was actually picking the fabric. Into the stash I dove! I picked out light and medium greys, a few teals and mints, the two mustard fabrics I had, some light pinks, and various creamy low volume prints. I decided to skip the black and whites, preferring to focus on grey. After I made the first couple of blocks I decided it needed more depth in fabric choices so I did a little bit of shopping. Some more mustards and more white/grey prints. The block results in some interesting secondary patterns. Playing with value or colour can drastically change the way this looks. I decided, however, to keep with the original influence and go completely scrappy.

I have a feeling this messy stack will be sitting on my cutting table for the next year or so.

My plan/goal is to make this quilt 80'' x 80''. I just don't like small quilts. Each mini block is 4'' x 4''. That means I will need 400 of them! I make them 4 at a time. Then make 4 of those and sew them together, calling those a mega block. So I will need 400 mini blocks, or 100 blocks, or 25 mega blocks. Whew. It's scary when you write it out that way. One block at a time. Like any journey that starts with the first step.

English paper Piecing Prep for Euroa Quilt

From start to finish for one block is probably about 2 hours of work. That includes the printing, cutting of the template, picking fabric and prepping blocks, thread basting, then sewing it all together. So far I have never just sat and done that start to finish. This is my one the go/summer sitting/TV watching project so it gets done is spurts and with interruptions. That's the point of a hand sewing project like this after all. 

I am pretty much brand new to English Paper Piecing and jumped in with my own pattern. It suits me just fine. I've poked my fingers and am developing callouses. I am still searching for my favourite needle (small enough but strong enough not to bend). And so far I haven't removed any papers. I'm kind of nervous about that step for some reason. It's fine for now, I have plenty of paper and there is no rush. 

This isn't the first quilt made from this inspiration. Lori made this incredible version after I posted the tile floor while on my trip last year. I posted the photo then went out of wifi range for a few hours. When I logged back in she'd already posted a block she'd made! Her finished mini quilt is awesome! Since I started the project I've had numerous requests for the pattern so I am prepping that to go live in the next couple of weeks. Watch for it. In the meantime, slow down and sew. 

UPDATE: The Euroa Templates are now available.

Stocking Stuffers for Quilters

10 Stocking Stuffers for Quilters

Tis the season! I've put together a list of some of my favourite small quilting items. Print off the list for the other shoppers in your family or for yourself. Whether you celebrate Christmas or not these are great, inexpensive treats for making quilting better, more fun, and easier.

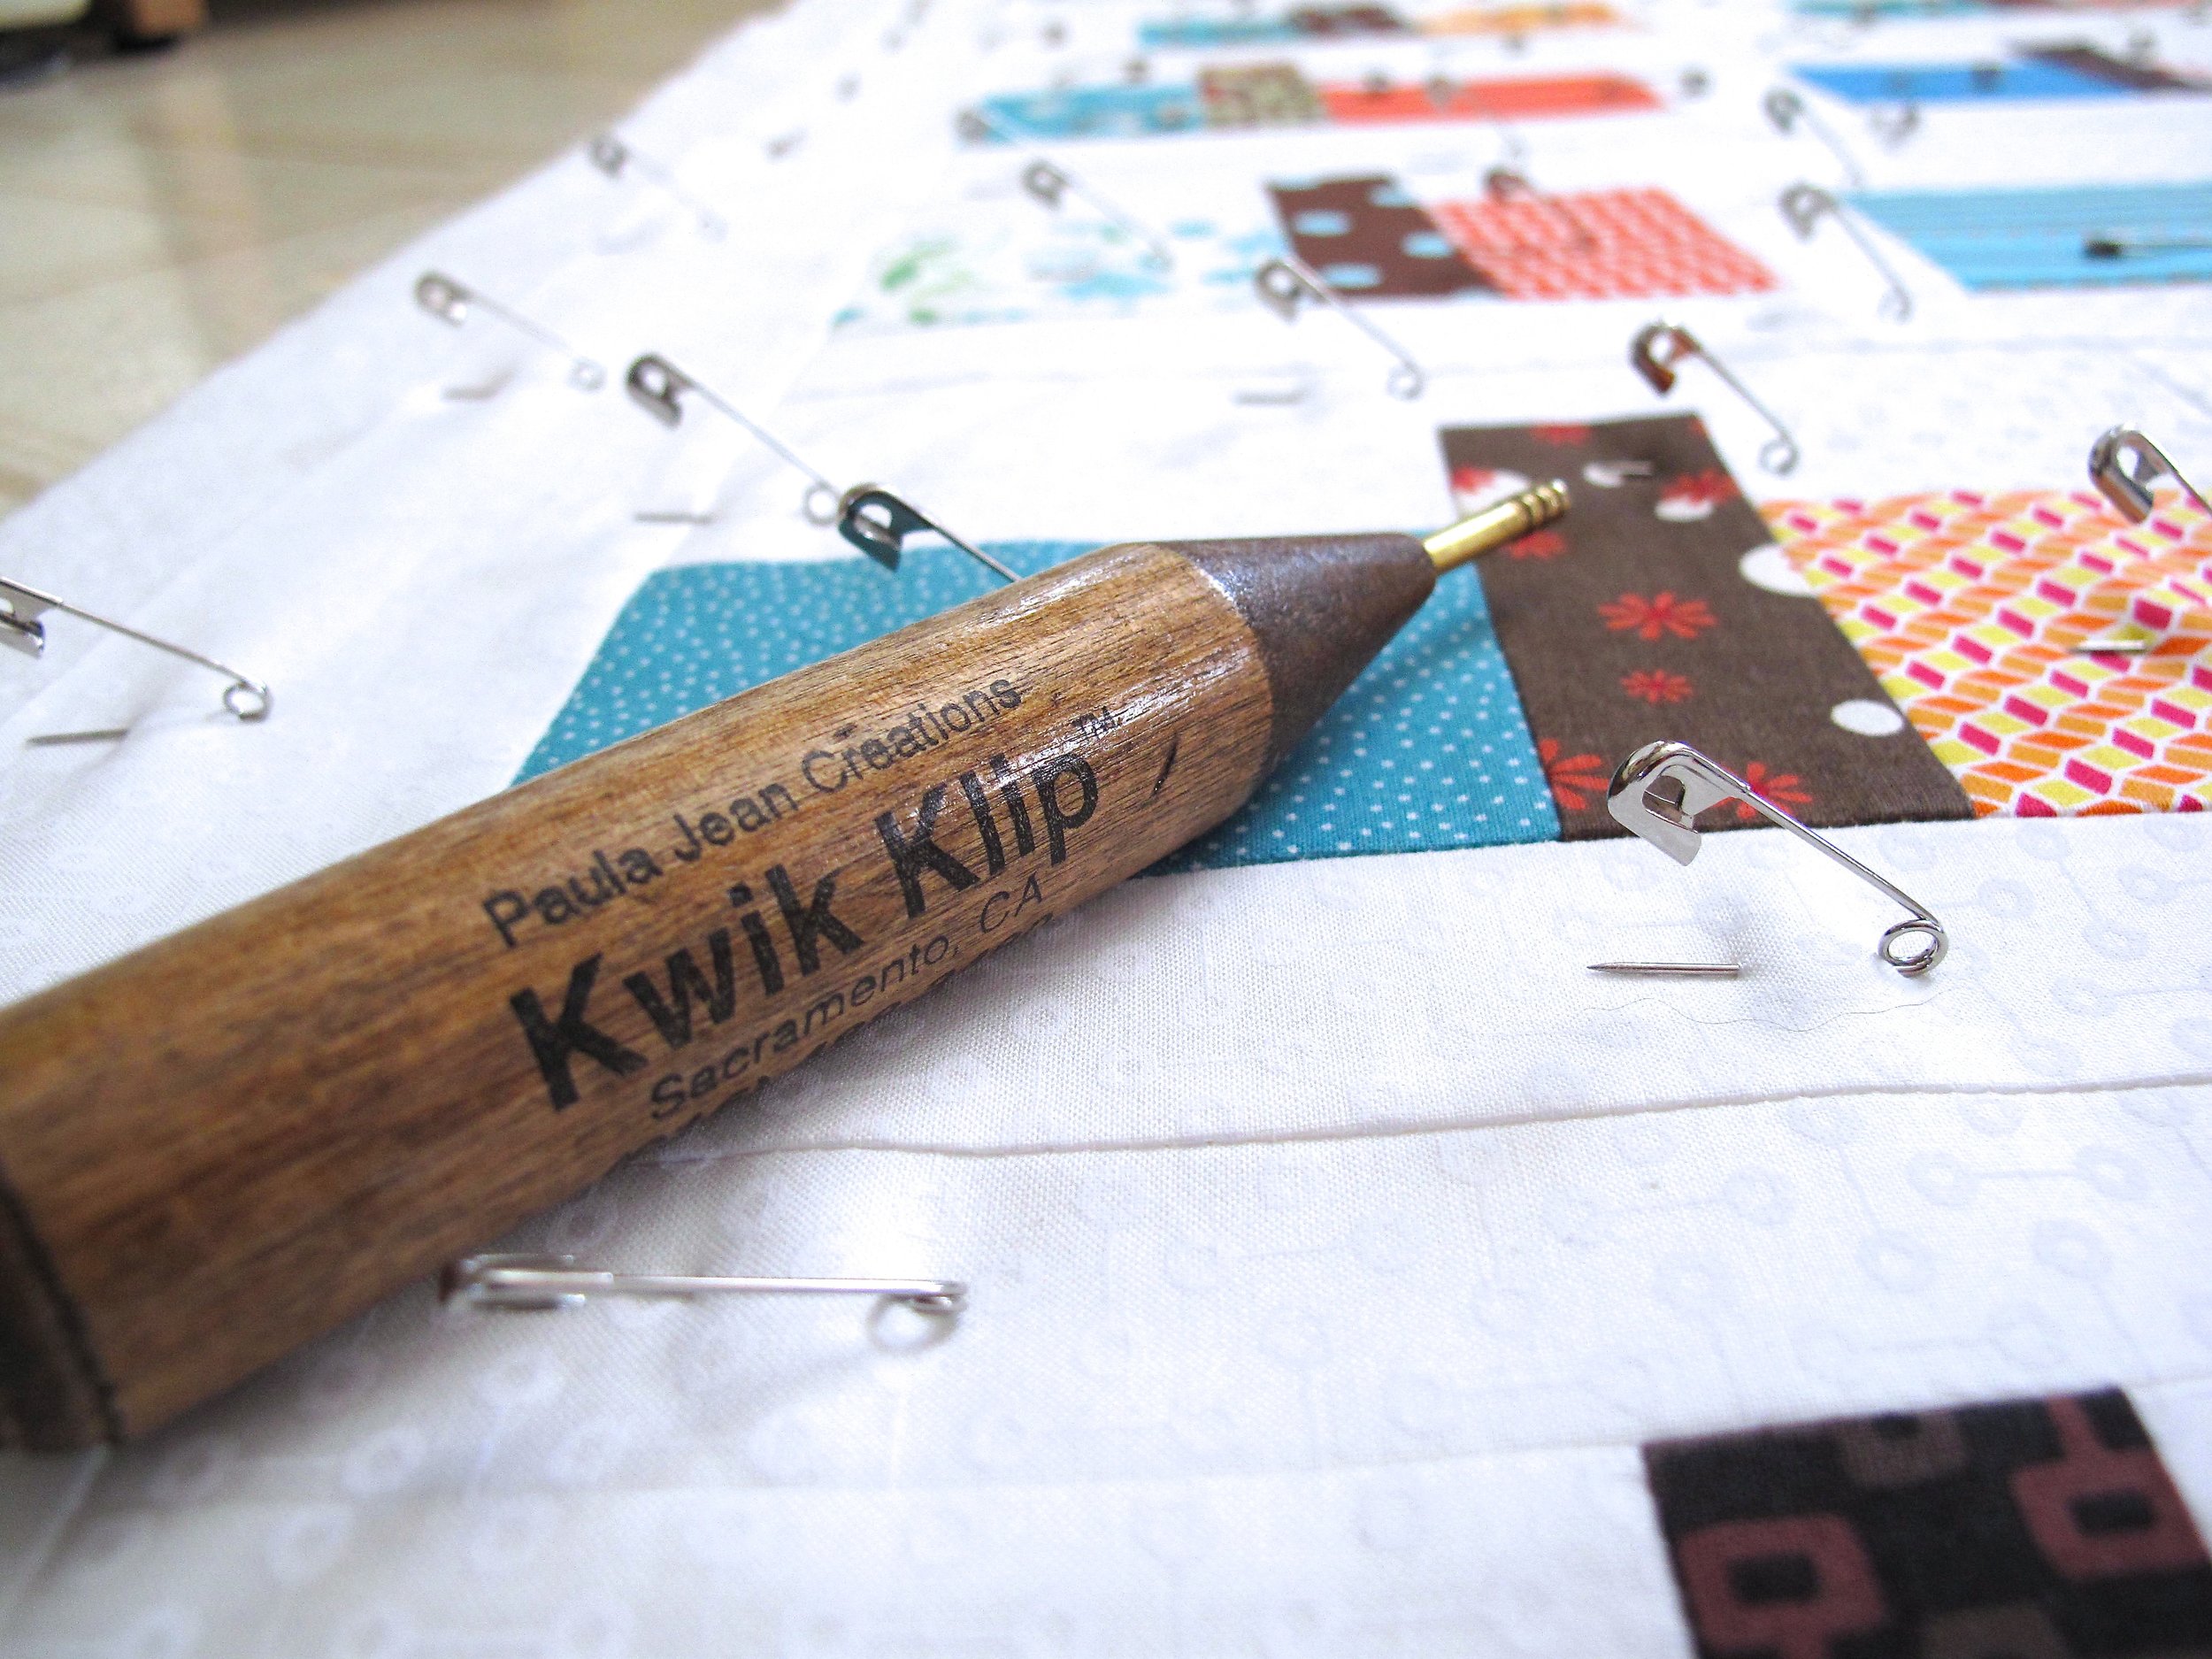
  • Kwik Klip - A very handy tool when pin basting quilts. Yes, you could use an old teaspoon, but this is easier.
  • Sewing Machine Oil - It isn't something we often buy for ourselves but it is an integral part of machine maintenance. Make sure to buy the right one for your machine.
  • Seam roller - Instead of finger pressing or getting up that much more, buy a seam roller. Violet Craft is now selling them (a branded version of the one I've always used.) Perfect for improv piecing as well as both paper piecing (foundation and English). I couldn't sew without mine.
  • Hera marker - Personally, I am not a fan of most marking pencils when quilting. A Hera Marker leaves a crease rather than a mark. With good lighting it is easy to follow.
  • Chalk Pencil - All that being said about marking, this recent discovery made me very happy. I've used chalk to mark before but I really like this handy Bohin chalk pencil. A fine line. Downside, doesn't work on white.
  • Fabric Glue - Good old Elmer's Glue works great for glue basting and more, but there are good fabric glues out there that are even better. I like Liquid Stitch and Unique Stitch. While you are at it, pick up some of these glue tips. They are perfect!
  • Rotary Cutter Blades - A quilter can never have too many! Even though we all wait too long to change the blade. Make sure to pick up the right size and brand for the rotary cutter in the sewing room.
  • Small Olfa Scissors - While you can often get pretty little scissors at the check out counter in nearly any sewing store, spend a few more bucks to get these Olfa Precision Scissors. They cut fabric well but also work as snips. Perfect for handwork. And bonus, they seem to pass through TSA screening without any problem because the blade is less than 3'' (but not in Australia, ask me how I know).
  • Needle Threader - Anyone who does handwork knows what a pain it can be to thread and keep needles threading. They also know how quickly we go through needle threaders because the main mechanism is thing wire. You can never have too many around. This Clover one is my favourite
  • Thread Conditioner - I am a recent convert to this, after finishing two major handwork projects. Boy or boy, does it make life easier! Thread Heaven is the one I am using currently.
  • Enamel Pins - The pins are all the rage now, no matter the hobby or inclination. Check out the Sewist (Abby Glassenberg), No Regrets (Colette Patterns) and this Sewing Machine (City of Industry.
  • Gift certificate to an online class - this really takes up no room in the stocking! You can gift classes on Craftsy and buy them Creative Live. Until the 16th classes on Creative Live are 50% off. Then 40% until the 19th, and so on until Christmas. 

Shockingly, fabric isn't on this list. I know! But unless you know the recipient's preferences well it is best to skip buying them fabric. They may not like charm packs or that particular fabric designer. When in doubt, pick a gift certificate to their favourite local shop. In fact, try to pick up as much as possible in your local quilt shop so they can have a merry holiday season too.

Please note that I am not affiliated with any of the brands or products listed above, with the exception of the Crafty and Creative Live classes. Those are affiliate links. 

First Time English Paper Piecing

All Points Patchwork English Paper Piecing

I've been quilting for 18 years. I know this because the first quilt I ever made was for my nephew and he turned 18 last week. In all that time I have never, not even once, tried English Paper Piecing. Long a technique I've admired but never touched. Part of the reason is that the time, the perceived tedium, the end result of the projects made from it.

Until the last few years I was not down with slowing down when it came to sewing. Any kind of handwork is not fast. That's rather the point. And the reason I turned and walked in the opposite direction of anything but hand finishing a binding. Now that I've converted to hand work - applique and stitching - I am ready to face the time it takes to tackle an EPP project.

It's a good thing I can face that now because it is tedious. Well, the prep is. Once you have your pattern pieces and your fabric cut it moves swiftly. That is, it feels like you make progress swiftly. It took me longer to prep 4 blocks than it did to make 1.

And frankly, I had never come across an EPP project I was dying to make. There are absolutely gorgeous projects out there. Stunning examples of workmanship, fabric love, and detail. I am happy to look at those quilts all day long. It doesn't mean I want to make them though. I was waiting until the right quilt idea grabbed me. 

Then it did.

Euroa Tile Floor Inspiration

It is a bit of a cliche to be inspired by a tile floor when you are a quilter, but there it is. On the threshold of a tiny natural foods cafe in a tiny Australian country town. The second I saw it I fell in love. Snapped a pic, and yes, posted it to IG. As we sat - three quilters - for breakfast and debated whether this would be better as an EPP, a foundation paper pieced, or even just a pieced with templates pattern a beautiful crafter back home felt so inspired and made an EPP block. By the time I'd found WiFi again she'd already posted it! That answered the debate for me. 

Fast forward a few months and I decided to tackle it for myself. The idea had never left my head, constantly egging me on. Try it, I double dog dare you! It appealed, beyond the graphic nature, because it wasn't the predictable. I felt like I could improvise with the fabric, having fun while still slowing down. 

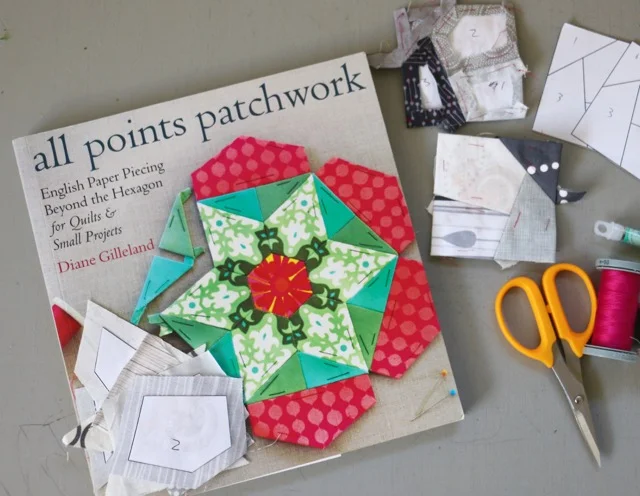
So I pulled out Diane Gilleland's incredible book, All Points Patchwork. It is the ultimate resource on EPP. She focuses on technique, answering why you do something a certain way, and setting you up to really do any kind of EPP pattern. I'd read it before and remembered most of the advice, but it was a great resource to pull out to help me prep.

Euroa English Paper Piecing blocks

Two blocks down. I've made some mistakes, for sure. The obvious one is that I didn't reverse the pattern. I drew it out in Illustrator so I could print out the pieces on scrap paper (leftover turkey crafts in this case). Somewhere in Diane's book, because it is there, I missed the note about reversing the pattern. In this case that isn't a big deal, but still. Although, I will probably reverse it if I decide to make an actual quilt. That's just the way I see it in my head.

My first block is quite loose in the whip stitch. Now I know. 

It also won't lay all that flat. I wonder if I stretched things out or if that is normal?

Finally, these are 3'' finished blocks. I chose this size to maximize the number I could fit on a sheet. But oy, that's a bit small. It is going to take a lot to get to where I probably want to go. So I think I will size them up to 4''. Just enough to make a bit of a difference.

Now, I just wonder how I will fit this in to the handwork rotation between needleturn applique and stitching?