creativity

Moving to the New Studio

After 3 and a half years years I am finally in my new studio. I went back and checked, it was March of 2021 that I first spoke about getting this studio space. It was a much delayed renovation (for so many reasons) but we are in the space. Big sigh! Not sure if it is a sigh of relief for me just yet, but it will come.

Over the years I have sewn at 3 different dining room tables, in my bedroom, in a few different basements in various states of being, in a closet once, and most recently (for the last decade) in a dedicated sewing room at home. Every single space has been a place of creativity and challenge. All I really cared about was that I could sew and I made any space work. What all those spots had in common, though, was that they were at home. This is my first time with a space outside of the home.

The goal for this space is twofold. One, I will have my own creative space for sewing and creating. It is much larger than anything I’ve had before with excellent storage and good lighting. Two, I will be able to both host small classes and film classes here. So, personal and professional opportunities.

Two vintage wood chairs with colourful cushions
Wood kitchen island with open shelves filled with fabric bins and baskets ready for sewing

My personal space is quite lovely. Open with a lot of room. I’m still missing an actual desk, but it is coming. Of course I set up my sewing table first! After a few days of moving and not sewing I was getting antsy. I’ve more or less set it up exactly as I did at home. It works well for me, this standing configuration.

It is a treat to set up a little sitting area. Technically, I had this in my sewing room at home because it was also our guest room and there was a couch in it. Not surprisingly, it was covered with stuff (quilts, quilt tops, blocks, fabric) most of the time so sitting on it wasn’t always an option. I’m hoping for generous cups of tea and visit with friends here. The chairs themselves came from a friend of mine. She and her family were moving away and leaving furniture behind. These chairs were her grandmother’s. I got new cushions made for them from fabric collected over the years (like hemming pants, cushion covers are not in my wheel house most of the time.)

Since the initial planning I knew I was saving this blank wall to be a giant design wall. I’m nearly finished making it and just have to install it. Folks, it is massive. I am so excited. For me, yes, but also when I am teaching. Having been in so many spaces for classes over the years I know how creative we quilters have to get when it comes to design walls. This is going to help so much.

As much as I am thrilled to have this new space for me, let’s be honest, it isn’t just for me. My son is doing online school in the mornings here. He is transitioning to full time school after missing most of the last 2 years with Long Covid. Then, because the house is now empty in the mornings the dog also comes with us. I won’t lie, this presents a challenge. It isn’t exactly the quiet space I would have hoped for. At least not in the mornings! Maybe that actually helps me with the transition out of the home though? Bring some more of home here so it doesn’t feel weird?

A white dog, a desk, and small kitchen unit

True confession time: this is weird. I am feeling rather discombobulated still. There was the stress of all the moving (and the resulting chaos left at home) and adjusting to change. That’s going to take some time to resolve, I think. Then there is the impact on my schedule. I haven’t had to be up and out of the house in a long time. Plus, I am used to throwing a load of laundry in or getting dinner started in the middle of the day. I had my multitasking game down pat! Truthfully, though, I was doing more of the home/mother stuff and very little of the work stuff these last few years. It was what was required for our family but it sure was frustrating for me. Finally, I’ve worked hard to compartmentalize my life since joining the family business. This new studio space is connected to our office/workshop space. That means I can be interrupted at any time with accounting or strategy questions. I can also pop back and forth between my own quilting work or writing and the family business. My head is spinning somedays! I really liked home is home and work is work. Now it is all jumbled.

Time, I need time. Change isn’t always easy, even if it is the right thing to do. I miss hearing the birds in the background or the noises of residential life. Now I have trains on the regular, power tools, and our employees on their lunch break. That being said, I have the wide open space and opportunity plus excellent storage (as soon as all the shelves are up). Nothing is ever going to be perfect, but it sure can be good.

Unquilting

Sigh… Big sigh.

Last week I was all excited because I gave myself a day to quilt. It’s been a stressful few months and I needed a day to myself. I also needed a quilt finish or two in order to clear my brain. So I booked a day on the long arm, got a few quilts all prepped, and went in to My Sewing Room to hang out with Emily, who runs the long arm department there. She helped me load my first quilt and thread the machine - the two tasks I always forget how to do. Otherwise I feel pretty comfortable on the long arm. I started up and went along merrily.

Yes, I checked my tension - once - at the very beginning. Admittedly, it was hard to see as it was yellow thread on a yellow part of the backing, but it looked okay. And so I rambled on. Nothing fancy with my quilting, just loops and stars all over. I was listening to some upbeat dance music and in my groove. Emily was doing her thing and left me as I felt more than confident.

Overconfident.

About halfway through I noticed that the tension was off on the stitching. I saw the blue fabric of the background as it wound around the bars and I could see my tension was off. I made some adjustments on the computer of the long arm and continued. Folks, it did not get better. Finally, I conceded to my mistake and called Emily over. I should have stopped there but I decided to proceed, after she made more adjustments. Bad move. Long story medium, we never fixed the problem. I pulled the finished quilt off the frame and set it aside. Maybe it will get fixed with a wash? I foolishly thought to myself.

Emily tinkered with the machine - the bobbin casing was a bit off - and we loaded the second quilt. This time I pulled out an extra bit of fabric and tested the tension before I touched needle to my quilt. Much better! I proceeded to quilt the second quilt without any problem and in the course of those few hours accepted what I needed to do on the first quilt. While waiting for me to finish Emily graciously started the job of ripping stitches for me.

Pile of discarded yellow sewing thread on the back of Uppercase magazine

It’s been a long time since I made a mistake like this. I don’t blame Emily, even though I was renting and she was technically supervising me. I know enough, and made that clear when starting that I should have caught this myself. It would be easy to get really frustrated and beat myself up. Or I could get angry and blame Emily too. Neither action is going to help. The only thing to do is let out that big sigh, find your favourite seam ripper, and sit down to rip. It’s just a mistake on a quilt, it isn’t life threatening or even life changing.

Ripping stitches when the tension is loose on one side is actually quite easy, just very time consuming. This quilt measures over 60” square and I have a tendency to quilt things to death, so there was a lot of ripping to do. Thankfully, my son and I have been rewatching Ted Lasso so I sat with him and ripped, and ripped. He would fiddle with the pile of thread that grew with each episode. Therapeutic for both of us in many ways. It took me the entire third season and almost all of the Netflix series One Day to finish ripping. I only put one hole in the backing so that will be an easy fix.

It was all just a mistake, it happens. I know many of us would get ourselves quite worked up over this. Maybe call ourselves a few names? Cast blame and shame? Perfectionism is a nasty beast. Of course we want to improve, not feel like we are wasting time, and get things finished. That’s normal and understandable. But making ourselves feel bad over quilting? Totally uncalled for and unnecessary. Shit happens. Acknowledge it, clean it up, and move forward.

Time to rebook in to the longarm. This time I will remember to bring an extra piece of fabric for testing tension. I will also not be so cocky and use the resources there (Emily) to make sure I am doing things right.

August Morning Make 2022

Whenever people tell me that can’t sketch out quilts because they can’t draw I like to pull out my own sketchbook. Chicken scratch, random lines, and quite often things that only make sense in my head. You don’t NEED to draw to quilt. As long as you can think about where your seam lines go you are good. That being said, I always want to draw better.

I’ve done drawing for Morning Make before. Quick little still life sketches of things around me. It was a good exercise but building a skill isn’t a one and done thing. So in August I decided to set myself a drawing challenge again. This time, however, I explored a technique called contour drawing.

In contour drawing - at least the way I did it - your pen isn’t supposed to leave the paper. You are doing one continuous long line. Some people do it blind, as in they look at their subject and never the paper. I was not ready for that. But in slowing down to look at my starting image and translating it through a single line I was able to focus on shape and composition. You can’t draw everything in the picture. Well, you probably could, but I didn’t. Depending on the source image (pictures from my phone) I narrowed the focus to only certain elements. Sometimes background were completely eliminated, sometimes just enough to give context. It was an exercise in looking just as much as drawing.

I’ll be honest, I think some, if not all, are quite bad. That is, if you compare to people for whom drawing is a livelihood or serious endeavour. There was improvement, for sure. Some are even better than I would have expected. All were, at least, recognizable. Regardless of the results it was an enjoyable exercise.

April Morning Make 2022

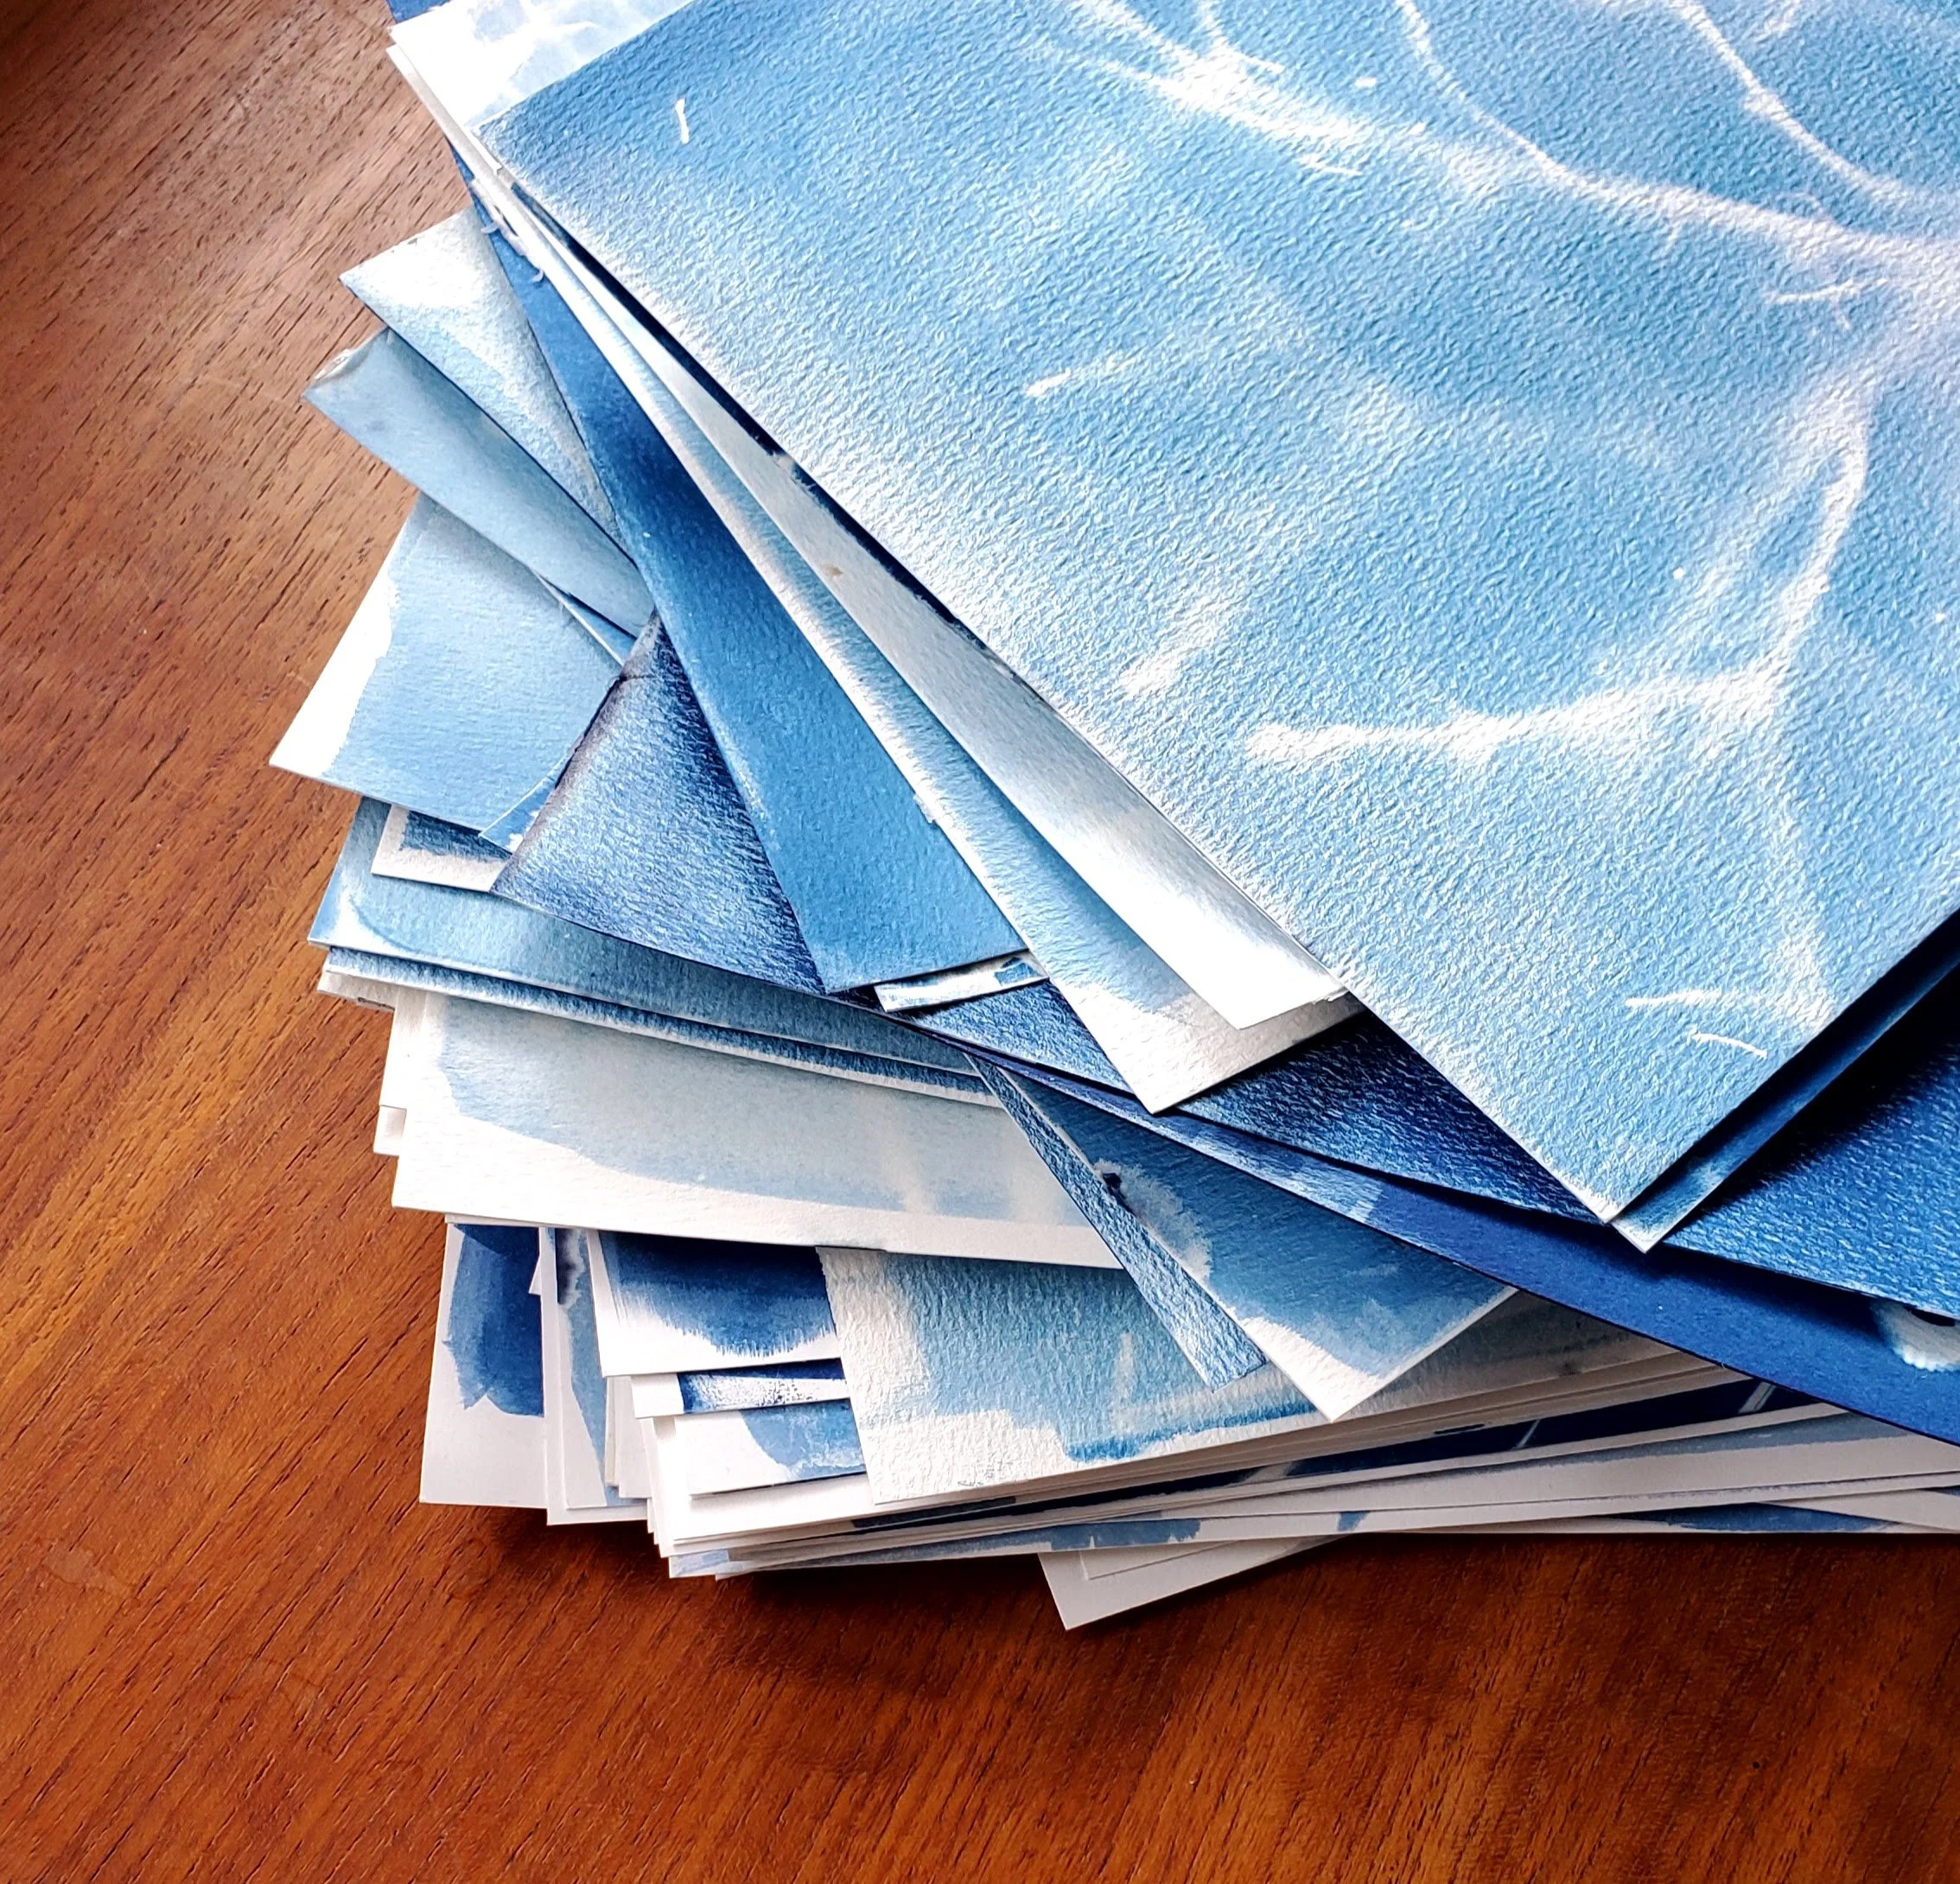
Stack of papers coloured blue with cyanotype

April was an exploration of light, more than anything. Indeed, I’ve never paid this much attention to light, shadow, and sunshine before. It was an excellent practice in paying attention, in noticing.

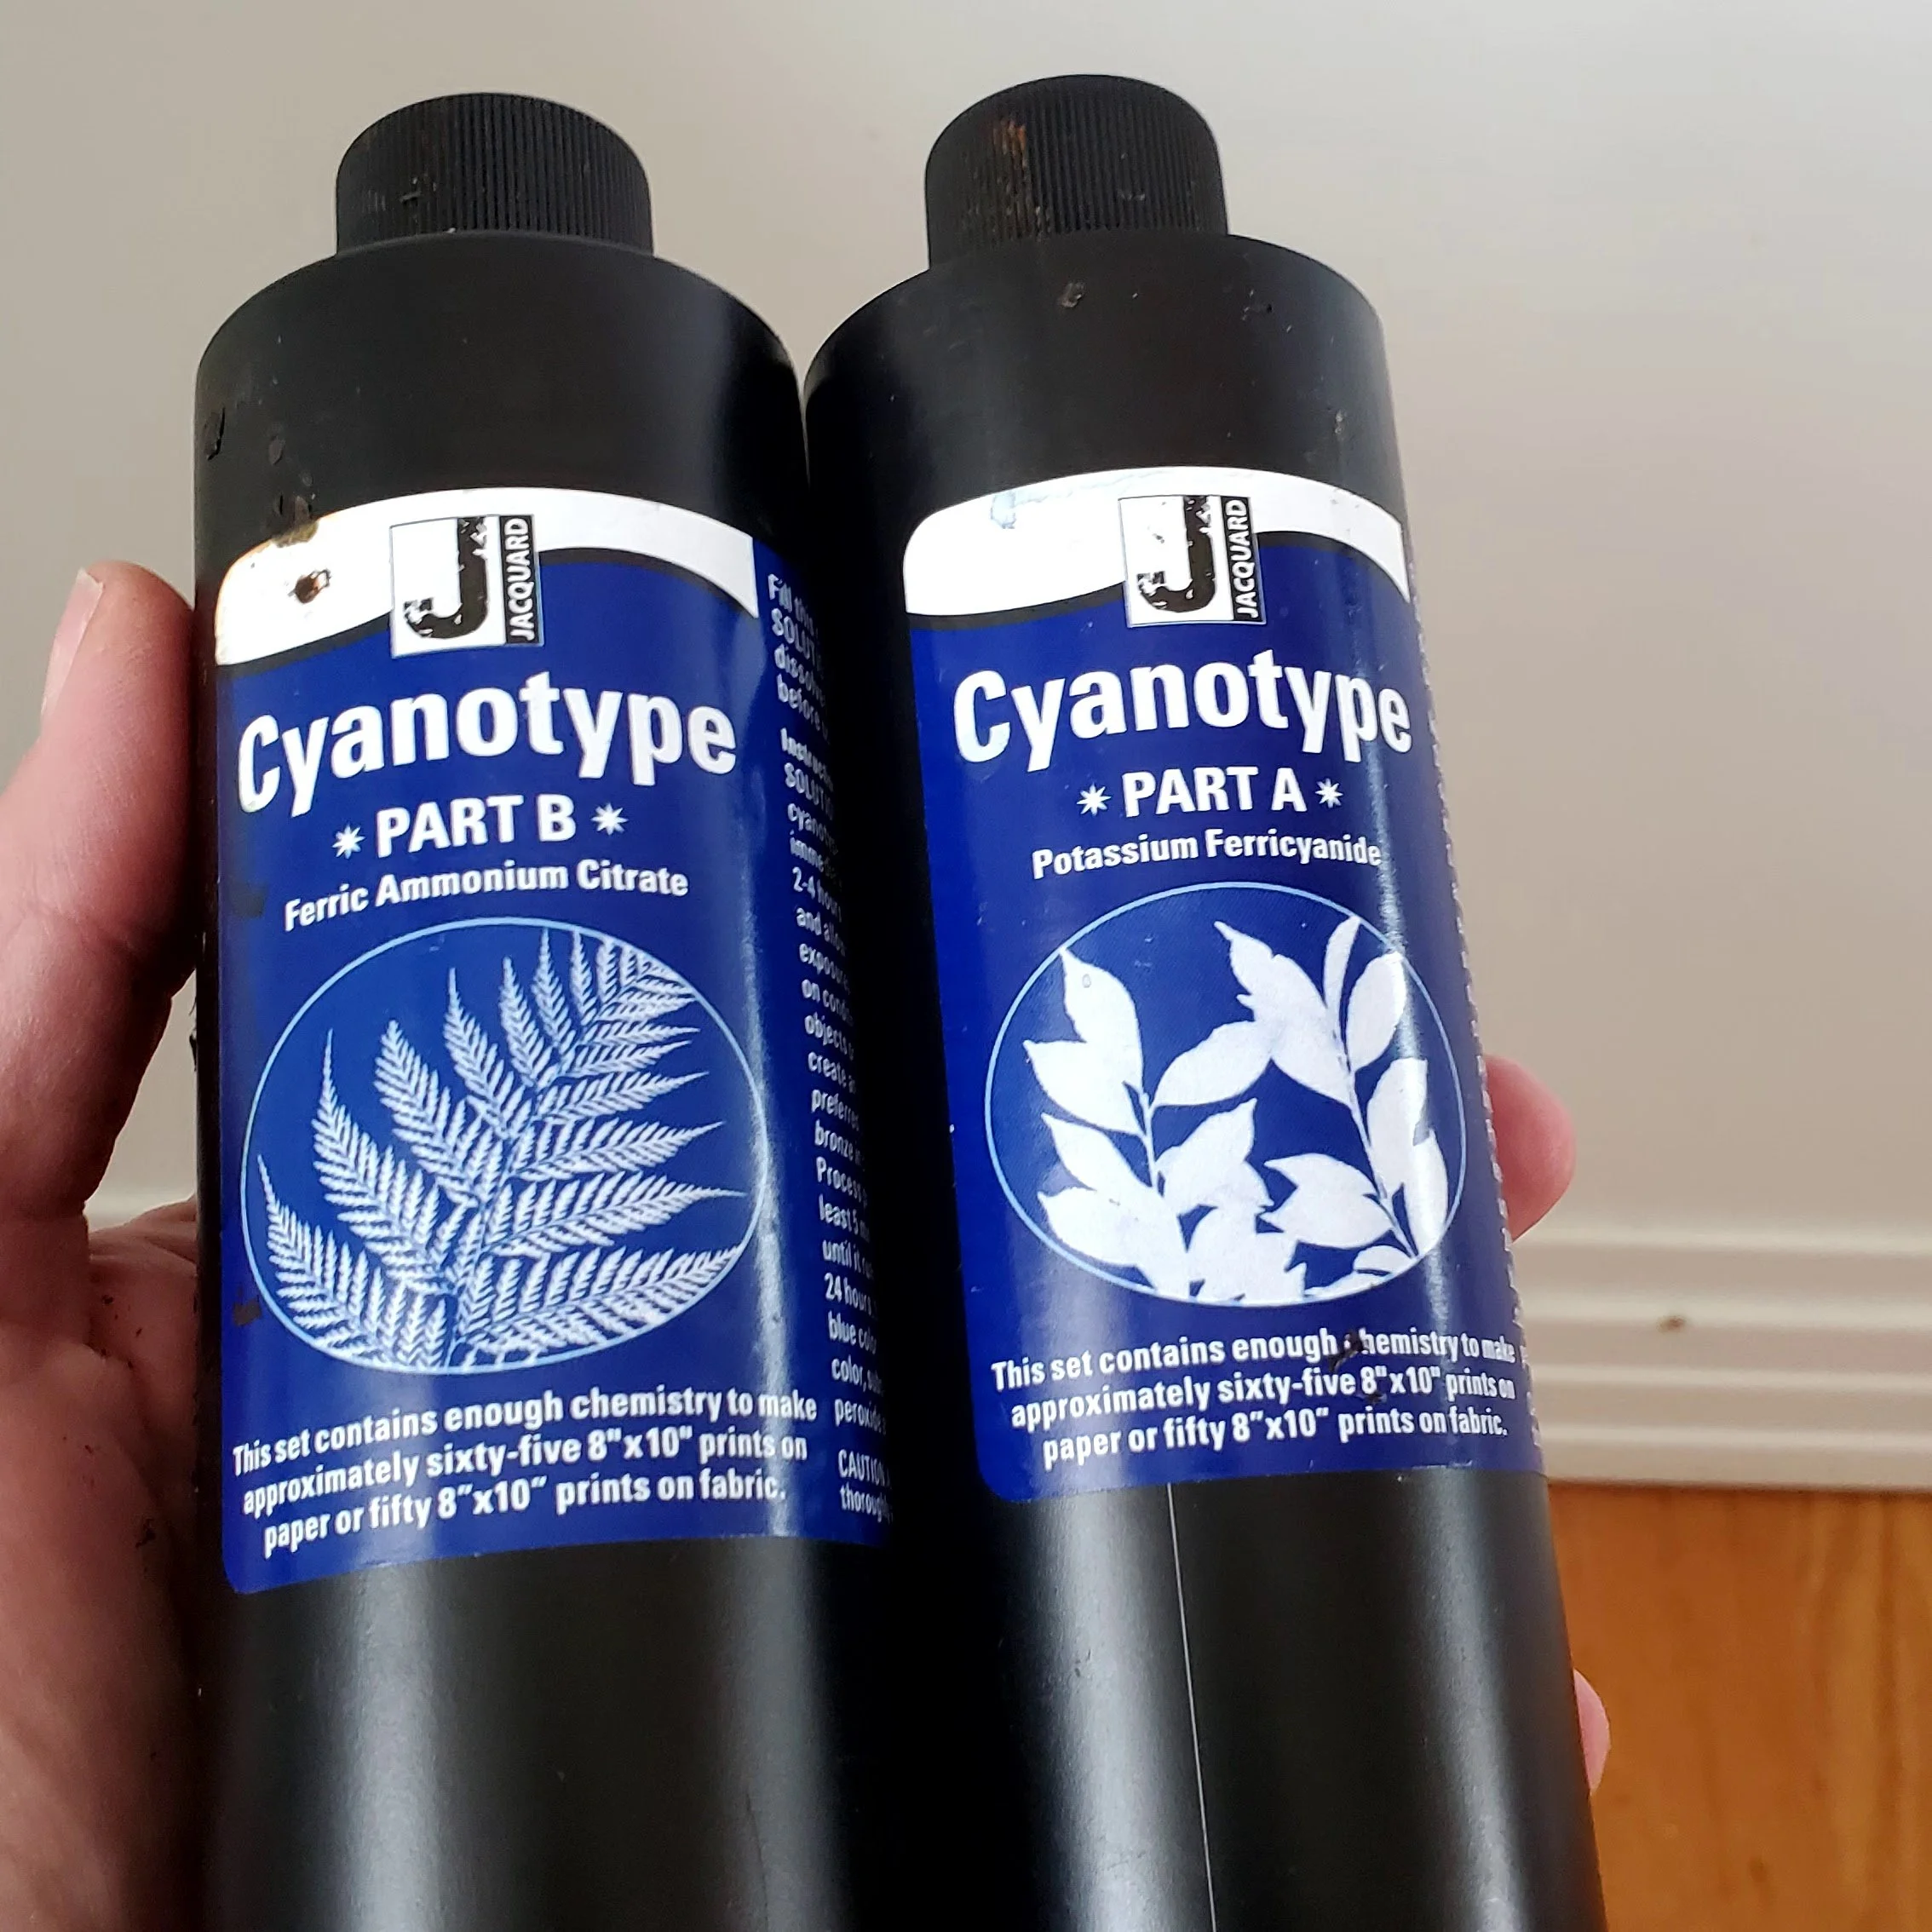
Cyanotype is a form of light exposure, like photo developing. You use chemicals on paper, fabric, or anything that can be coated (I saw someone do rocks and I want to try that!) It requires the interaction of the two chemicals: potassium ferricyanide and ferric ammonium citrate. You only really need to know that you need equal parts of each and to mix them together right before using. I picked up the set from my local art supply store.

Bottles of chemicals for making cyanotype prints

For the first half of the month I mixed the chemicals at night, painted the paper, and let them dry in a dark bathroom. Light exposure starts the process of creating the print, hence the windowless bathroom. For the second half of the month I played with wet exposure, meaning you paint the paper with the just mixed chemicals and go straight to the creation of the print. In the end, I couldn’t really tell the difference from the results.

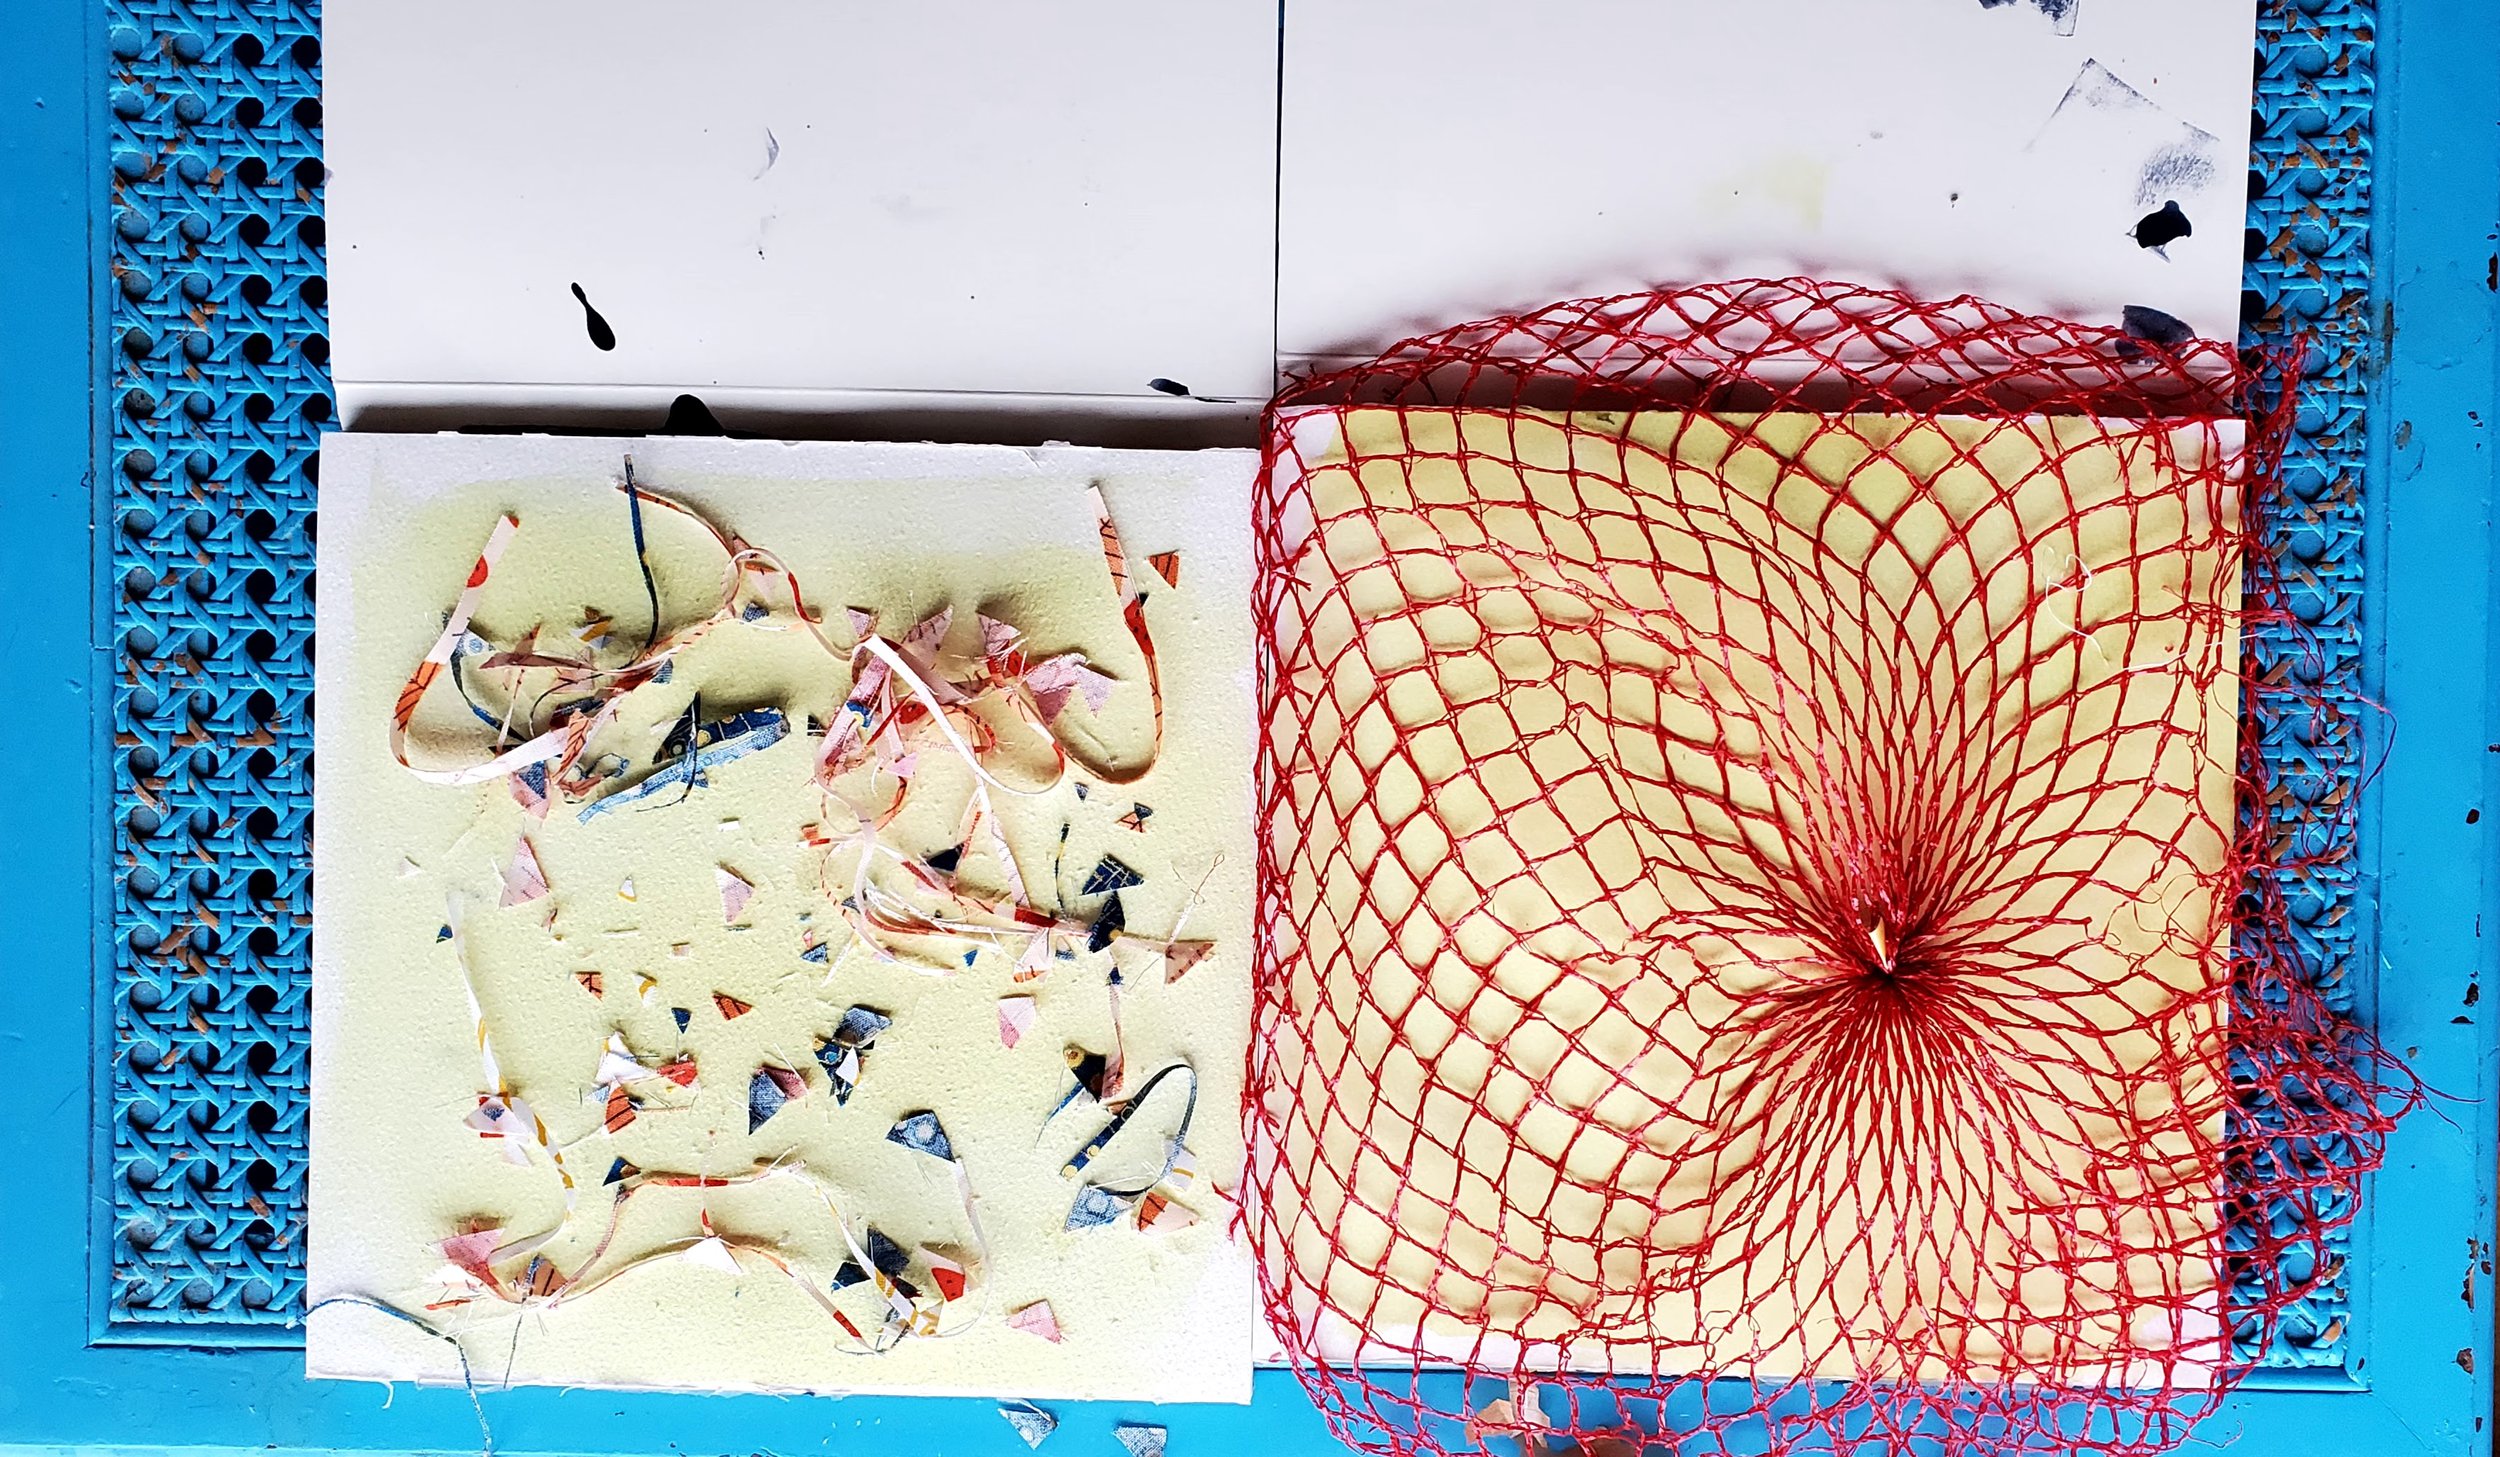
To create the print you place an object on the treated paper and let light do its thing. Where the object is placed and in its shadow the outline remains while the rest of the paper gets exposed. Essentially, you are creating a negative image.

The beginnings of a cyanotype print with fabric trimmings and a mesh onion bag

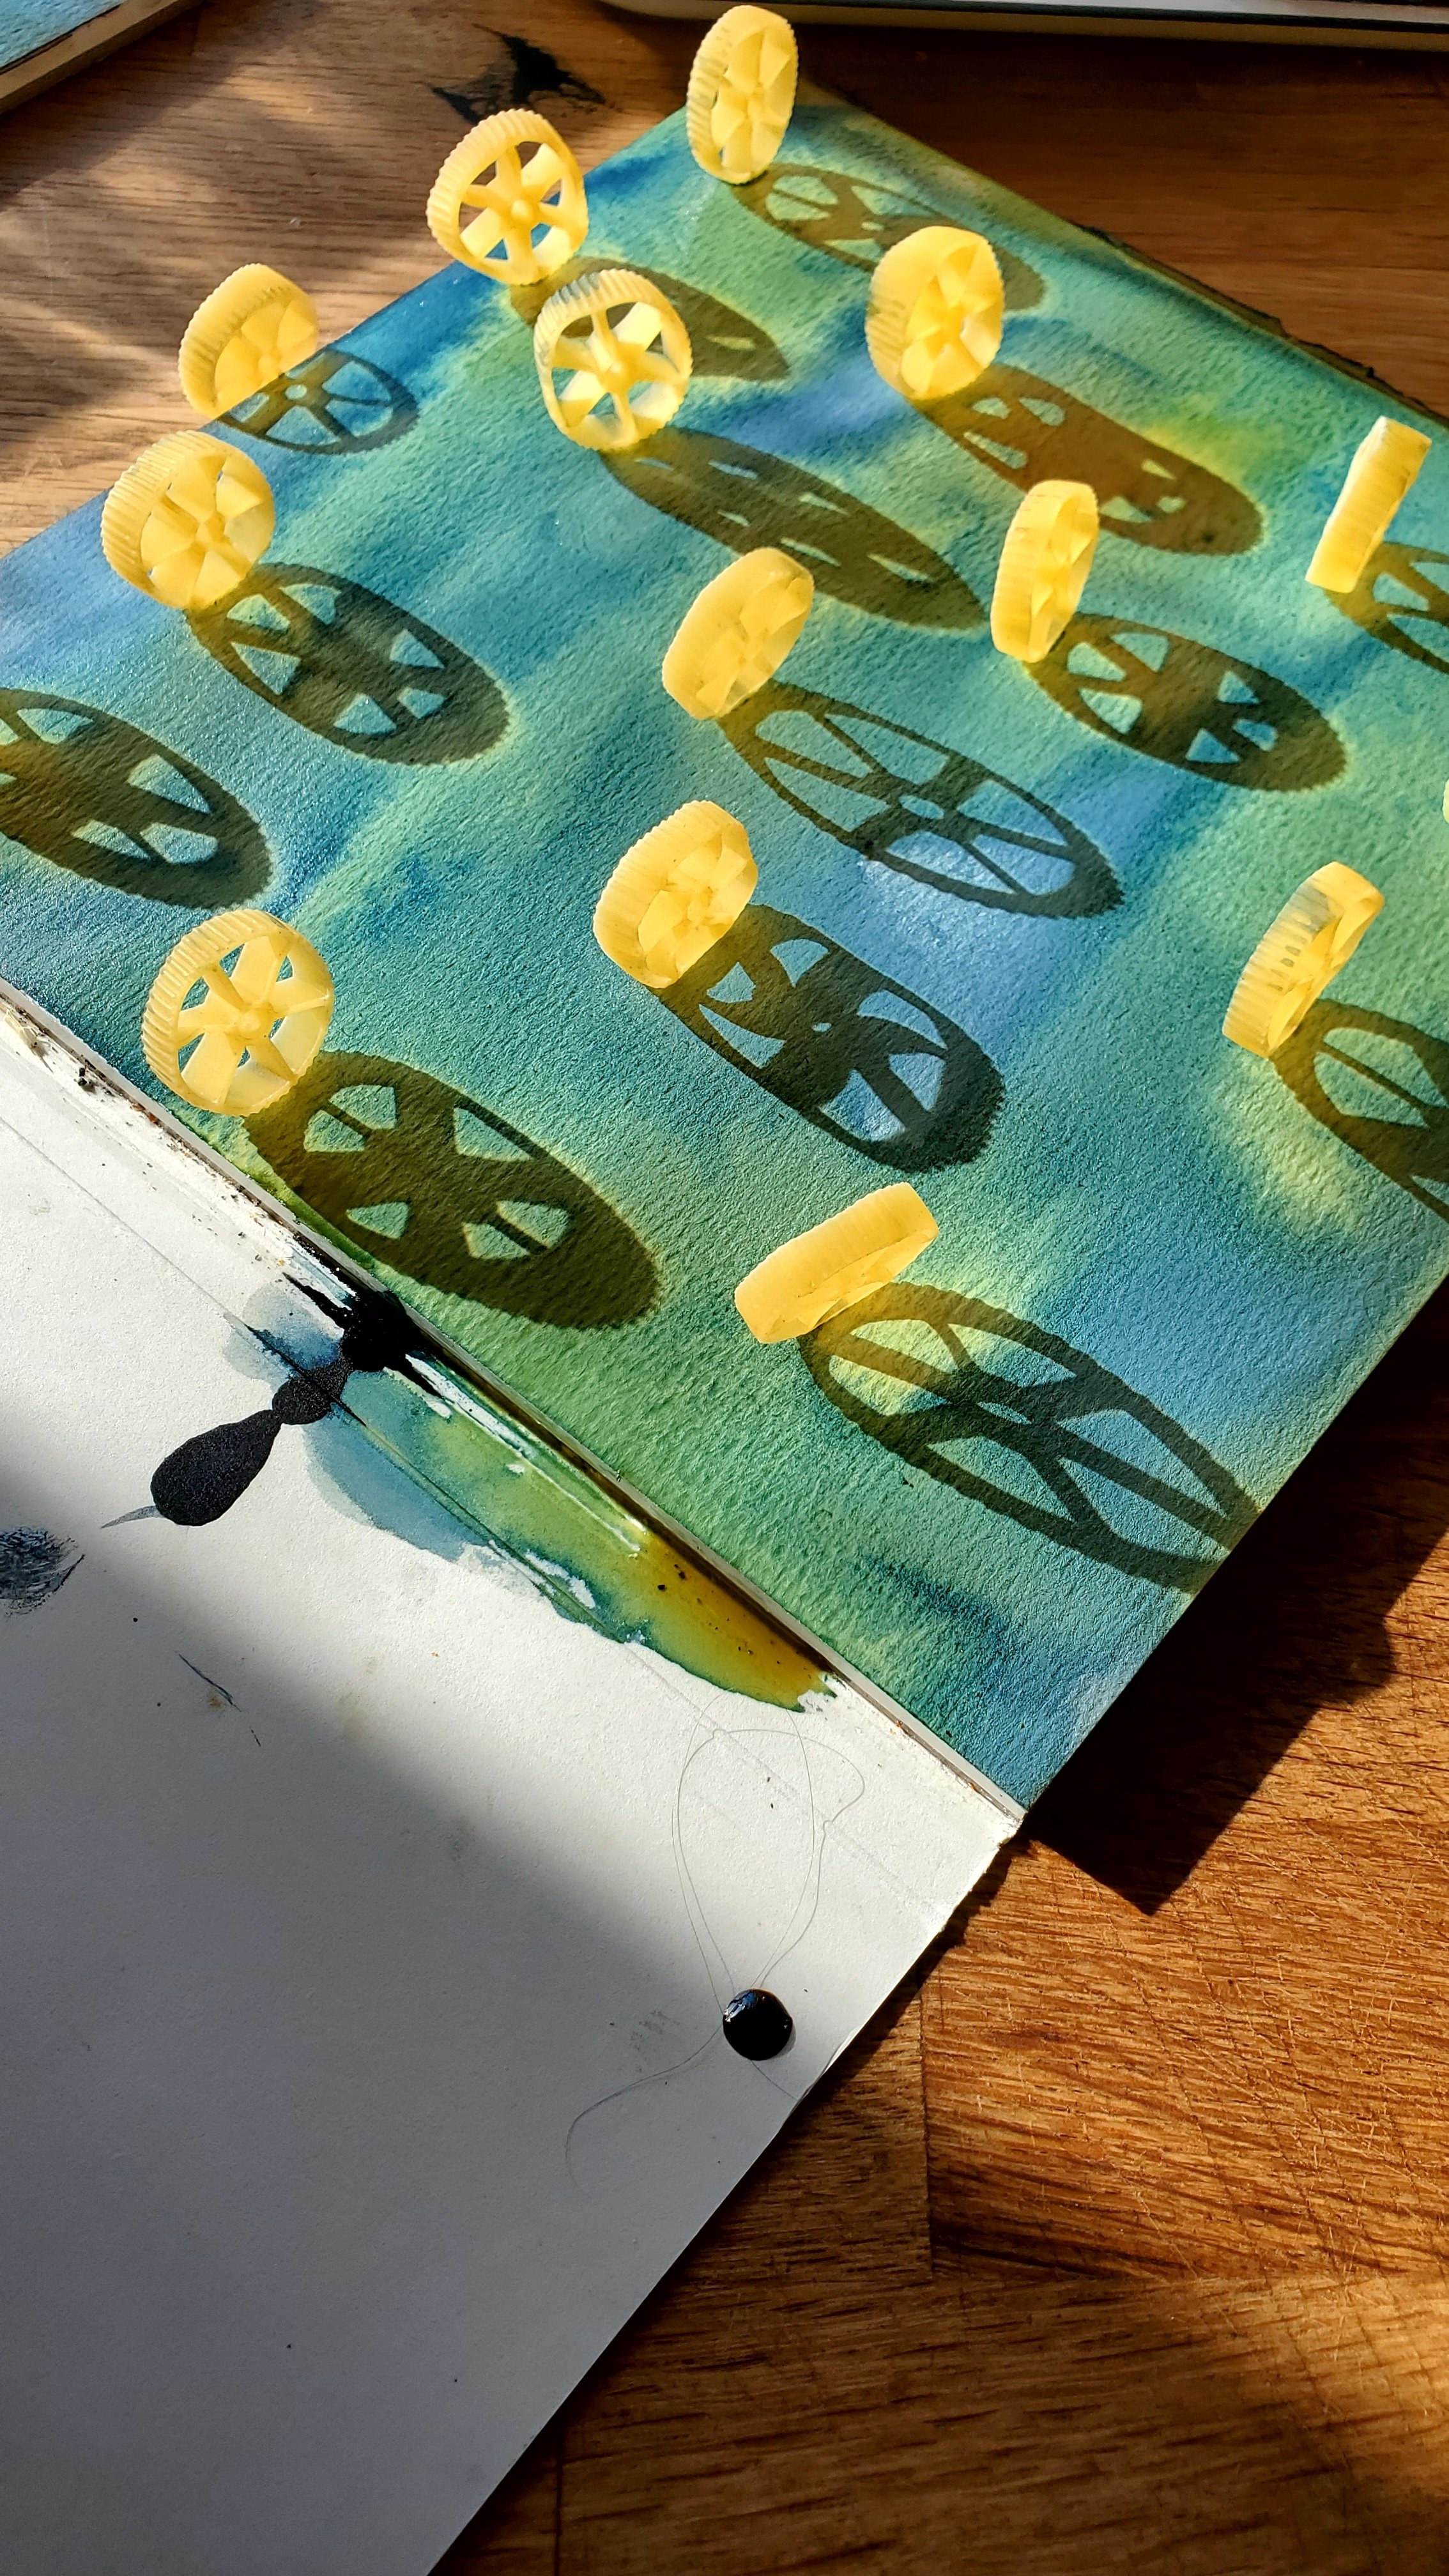
Where things get both exciting and frustrating is with the shadows. Not that sunny? An object with diffuse edges? You get a ‘blurrier’ print. Very sunny? You get shadows. Depending on the time of day and the level of sunniness, you can get very sharp images or long shadows. I found the exploration of these differences fascinating and learned to exploit them to create different things. Seeing as this is morning make and it was April in a northern location, I had a lot of shadows to play with and sometimes not a lot of light. It means I will probably play a bit more in the peak of a summer’s day.

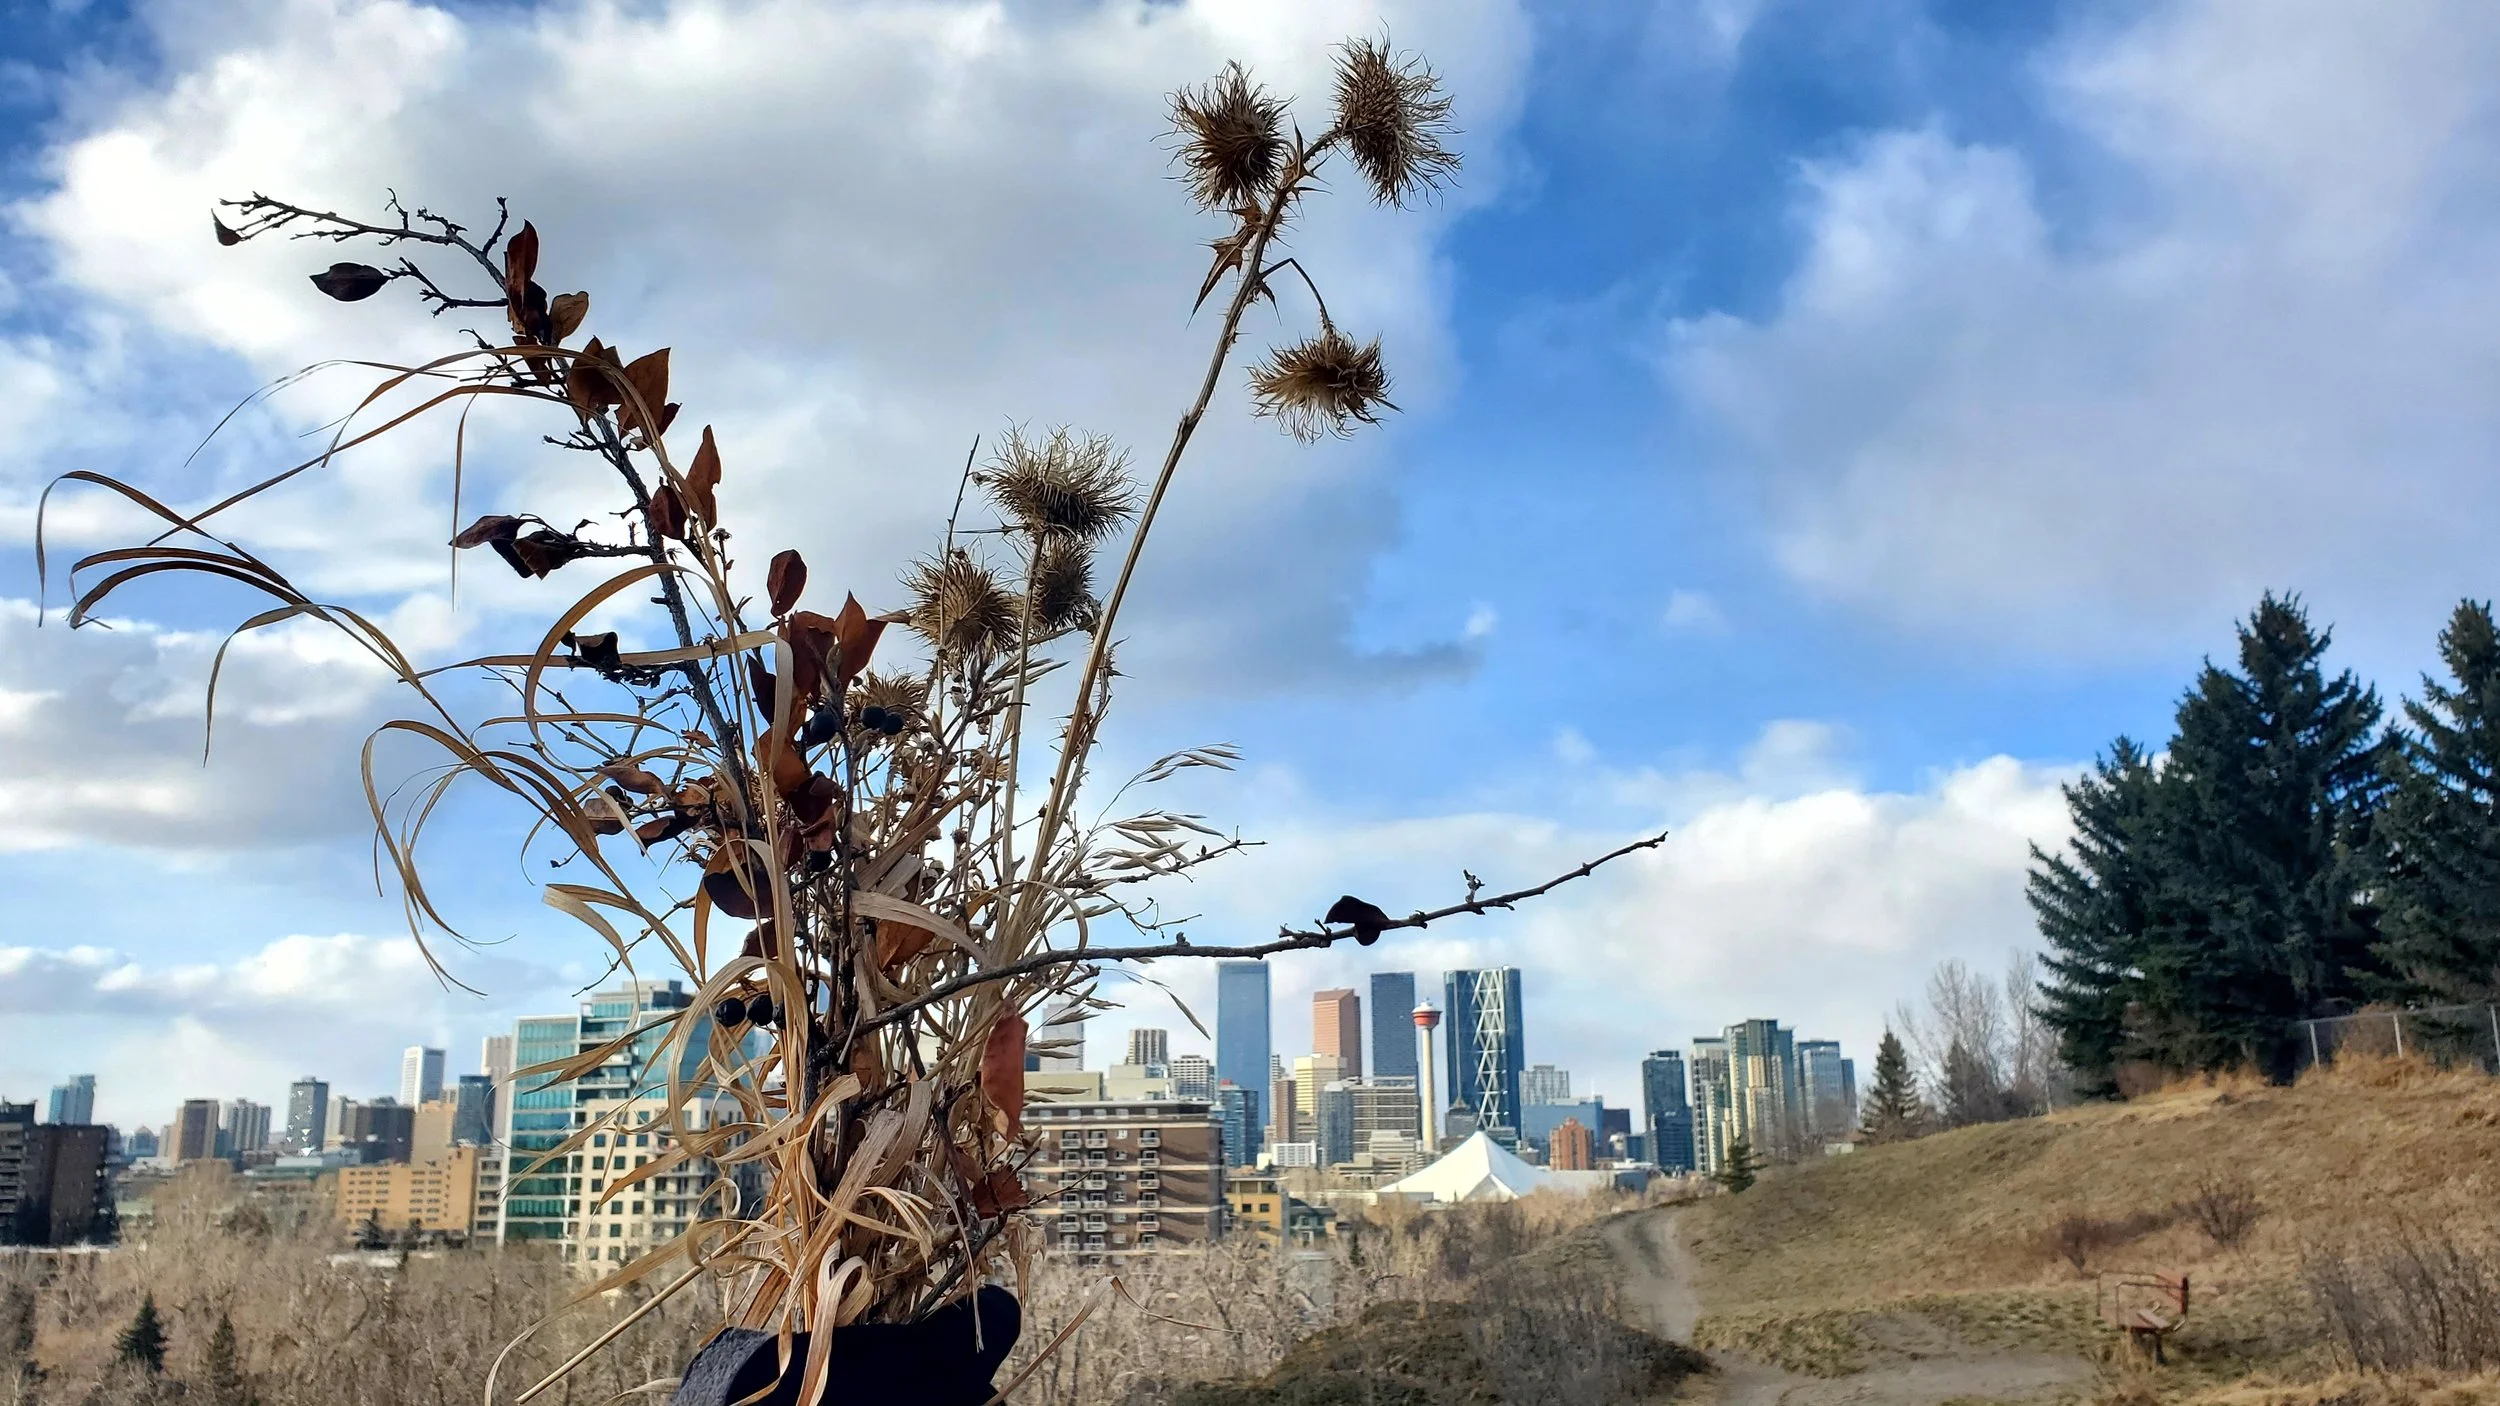
Bouquet of dried plants and grasses again the Calgary skyline

The other act of noticing this month was in looking for things to use to create the print. You see a lot of cyanotype prints exploring shape through living objects like plants and flowers. It was April in Calgary, not a lot of greenery! But weeds, grasses, and last year’s living plants provided fascinating textures to use. Going for walks I found myself nothing plants and sticks in new ways, or even discovering new to me plants. I never picked anything living and cut dead things, leaving roots in tact in case it was a perennial. I also explored the house for objects, using kitchen tools, jewelry, games, even garbage. If it can create a shadow it can create an exposure.

Four different cyanotype prints created from natural and household objects

Each day I made 2 prints, so ended up the month with a lot of prints, some definitely better than others. Here are four of my favourites. From top left, in clockwise order. A necklace from Elinor Stenroos on dry. Shadows from slurpee cup and jar lids on dry. Cheerios on wet. Thistle on wet.

Some days I got the real dark, indigo blue colour typically associated with cyanotype, others it was quite pale. To be honest, I never really figured out what created the difference. it always felt like I was putting the same amount of the chemicals on the sheet. I suspect my proportions of the two agents varied, but I don’t really know. Length of exposure varied too, depending on the light conditions that day. I don’t think that effects the colour though, as I exposed almost all to the same colour before washing. (The chemicals look pale green when they go on then change colour as the exposure happens, usually showing done when a bronze or dark green.)

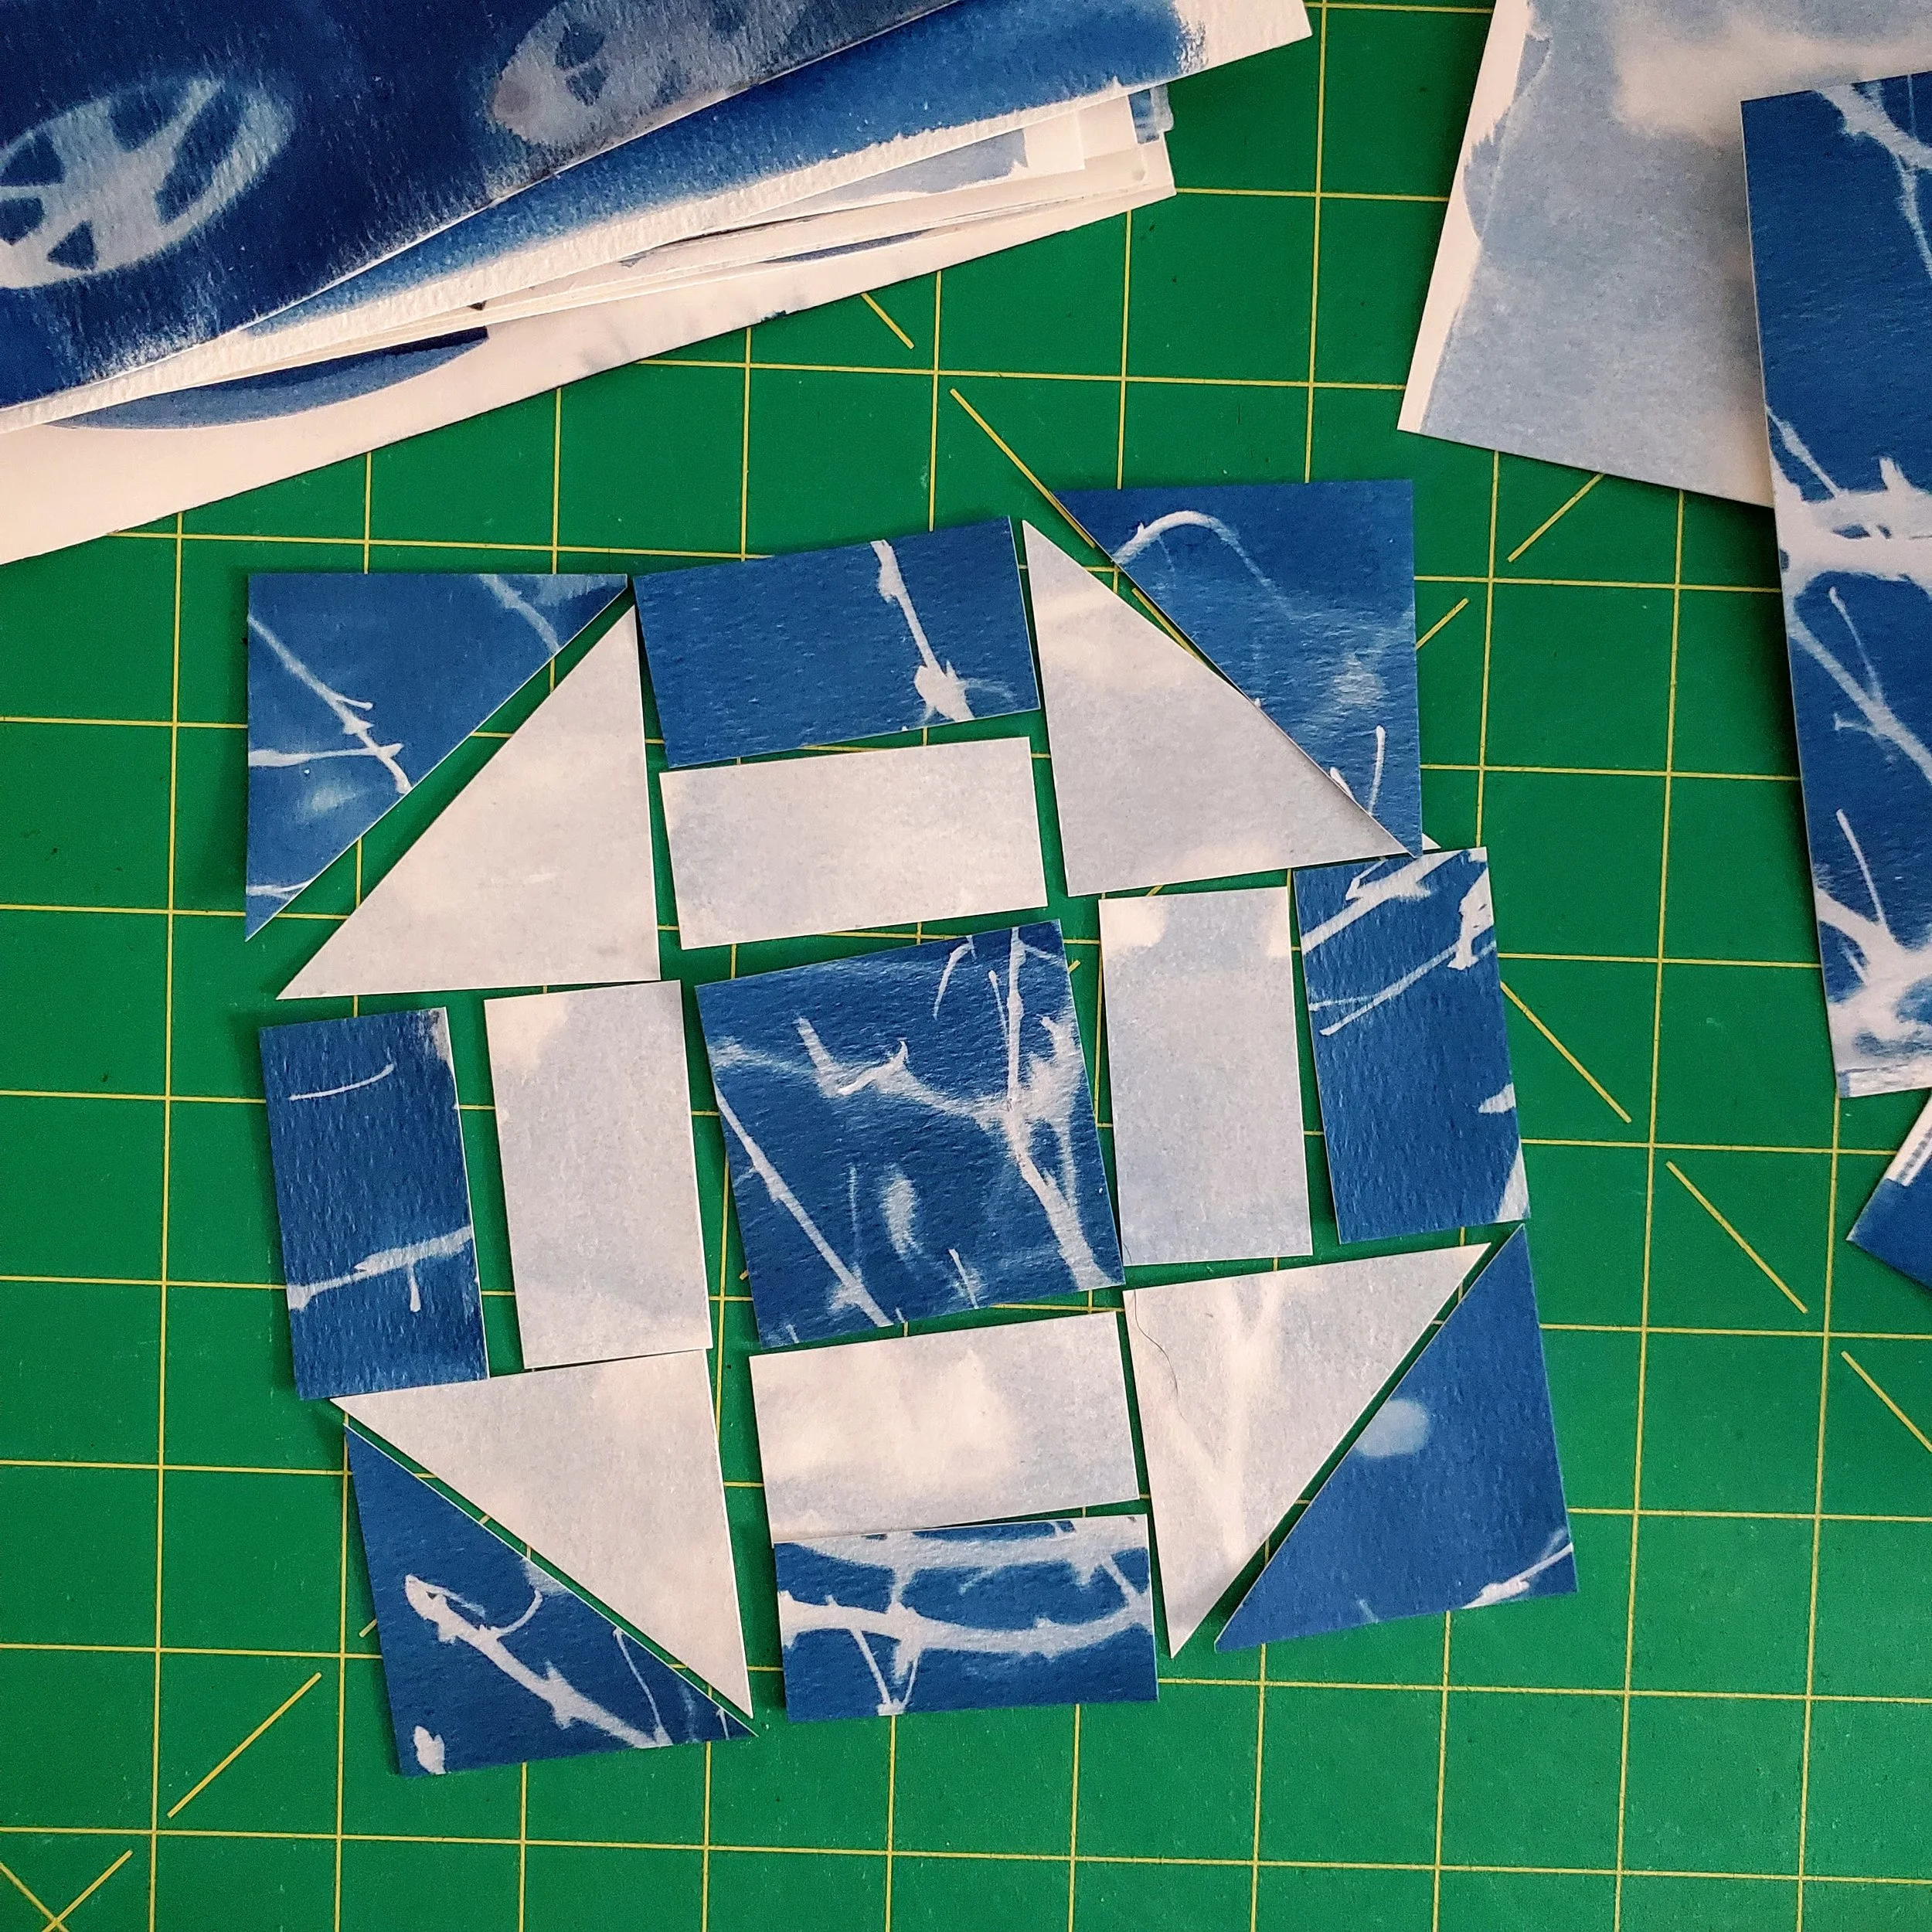
Yes, you can do this on fabric and that probably made a lot of sense for me, a quilter. However, I wanted to try the paper and besides, it’s not like I needed more fabric! That being said, I also don’t need 60, mostly mediocre, cyanotype prints. So I got a notion for a secondary art project.

Cyanotype prints cut apart and arranged in a churn dash quilt block

I need to test my assembly idea for these but if it works, I think it could be pretty cool. And it just might get by the ‘no quilts on the wall’ rule in the house!

At the end of the month I have to say this was a lovely exploration. I admit to being intimidated by the chemicals and the idea of it at the beginning. What foolishness! It is actually really easy, I felt totally safe mixing the agents together, and it was an adventure to see what could happen. Sure, things didn’t always work and I’m still on the low end of the learning curve but it was a low stress experiment. The anticipation each morning of what could happen was a great way to start the day. Pure creative optimism.

PS. I saved a highlight of the process - start to finish - on Instagram.