"improvisation"

Morning Make 2023 - Collage Portraits

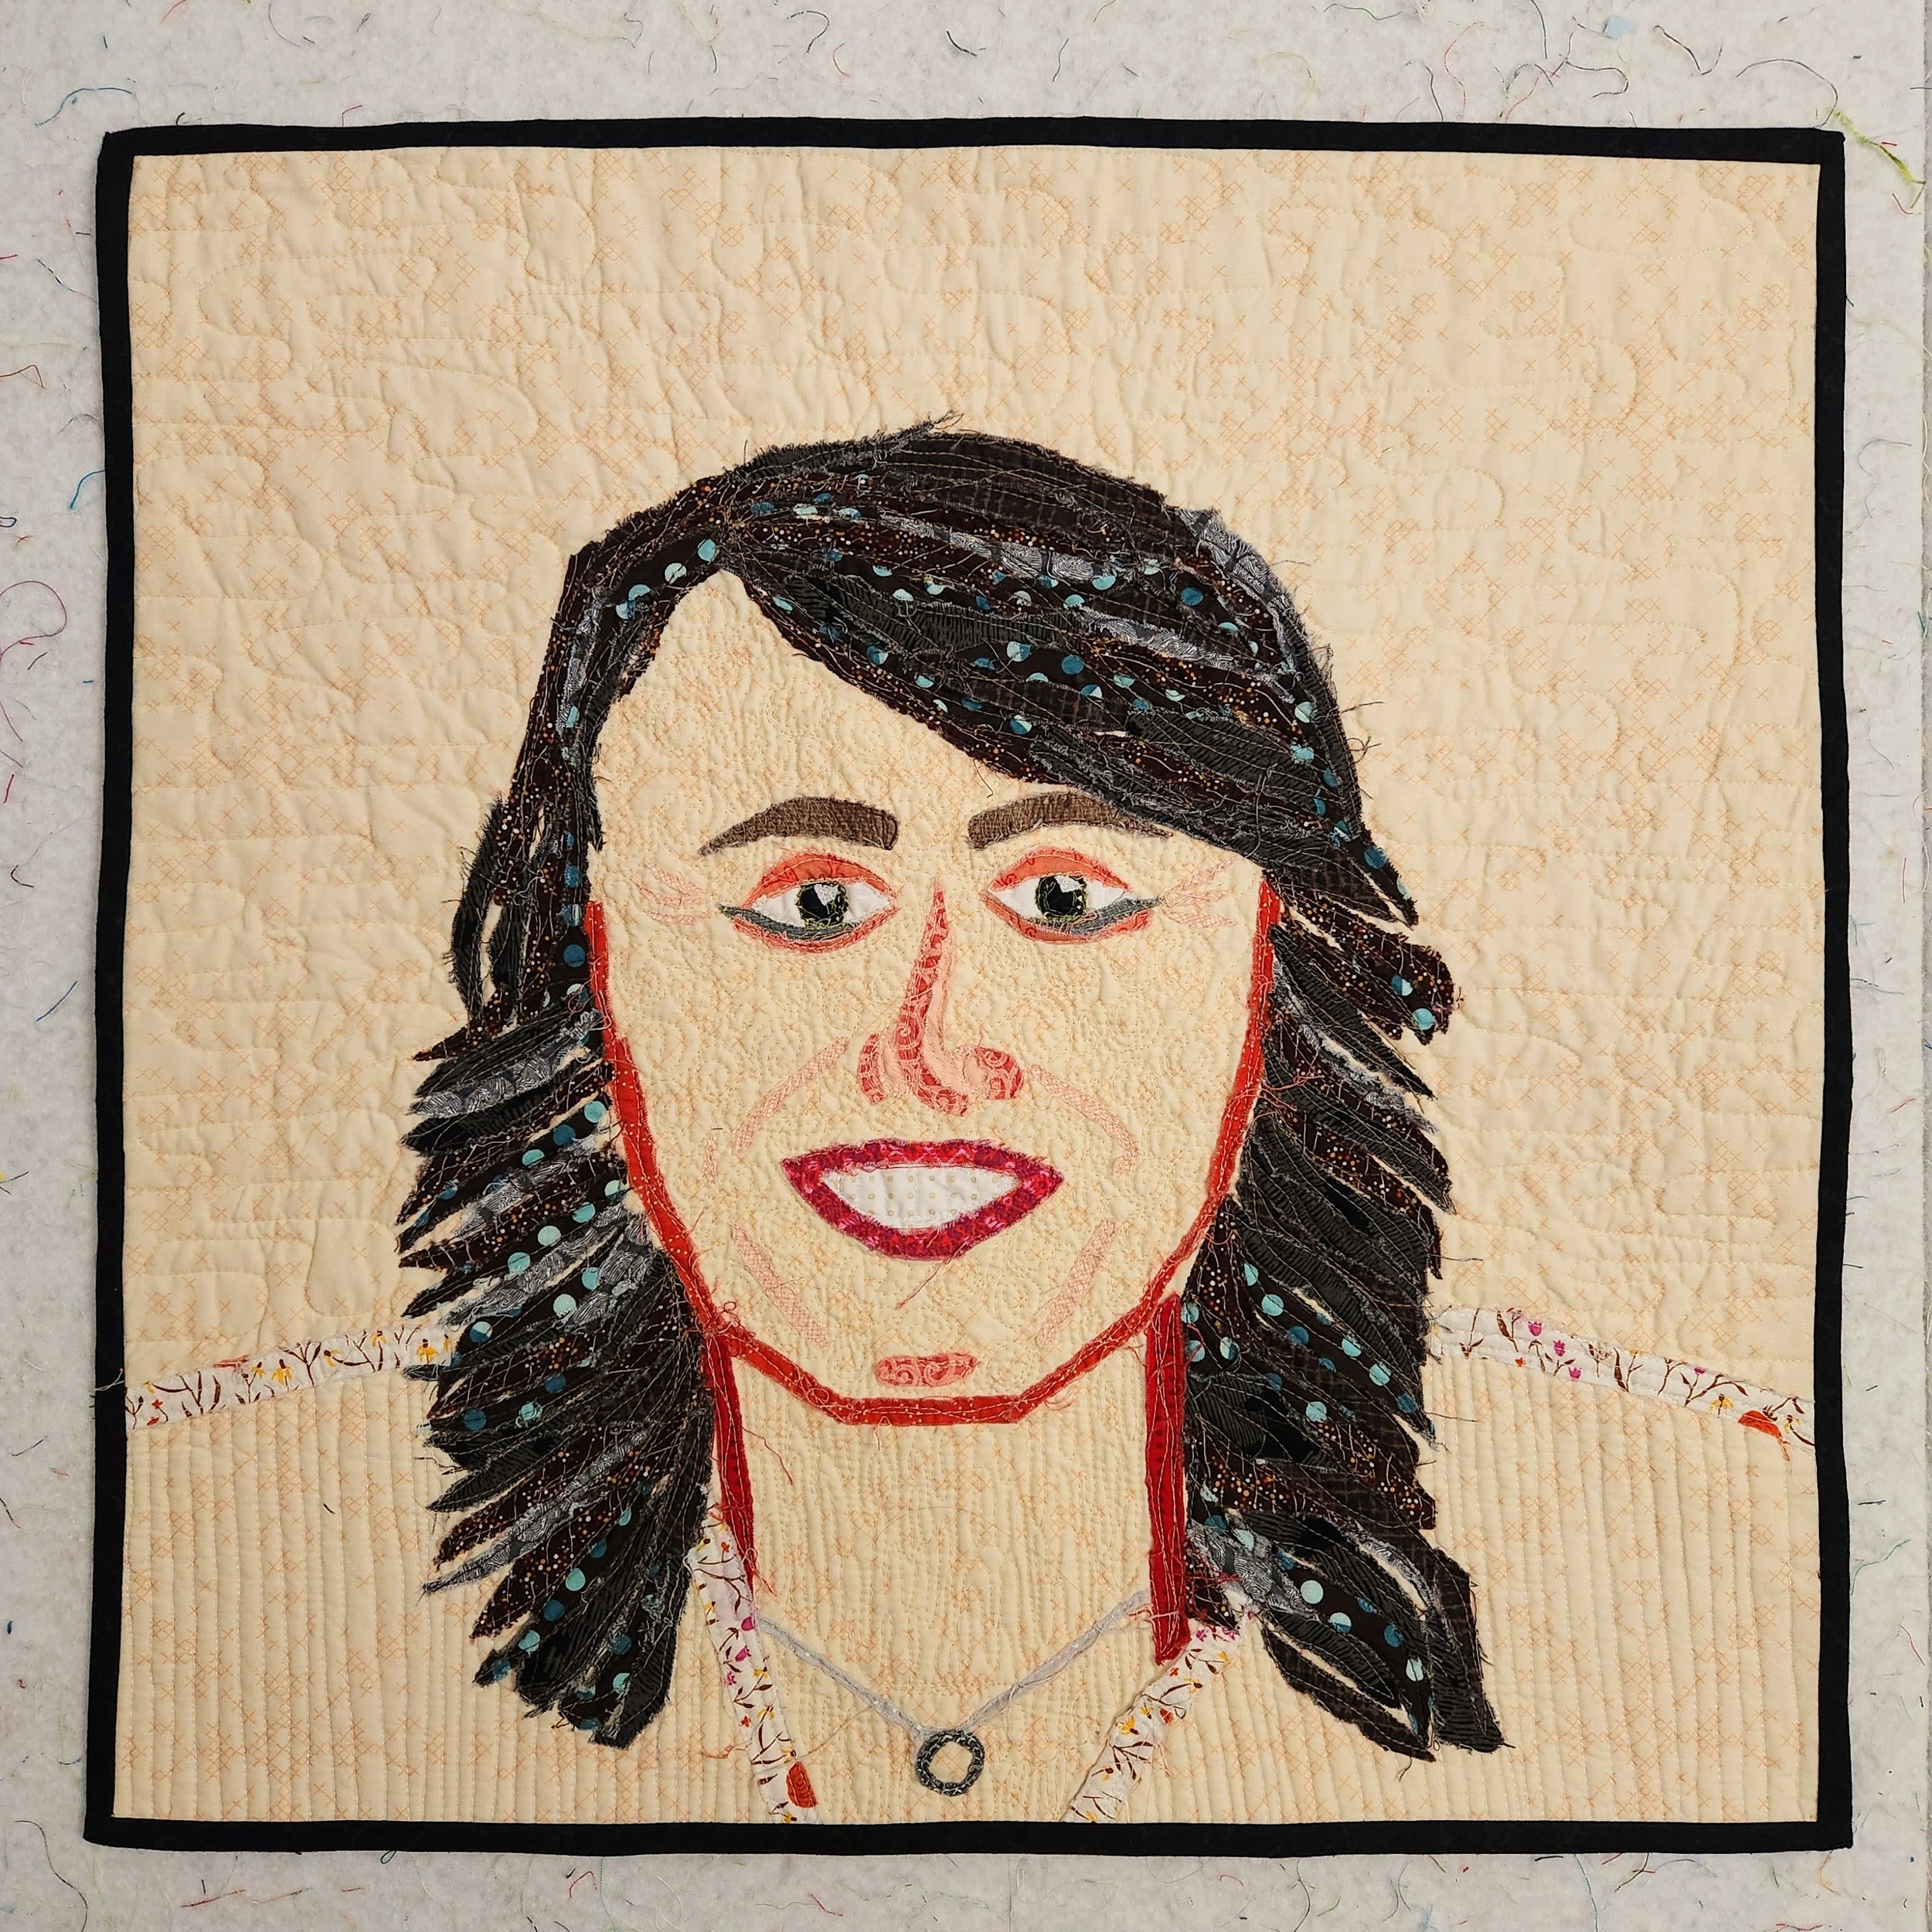
Up first in my portrait making, aside from learning how to draw, was something I was just a bit familiar with. Back in 2017 I took a class with Melissa Averinos on making faces in fabric. I made one face, loved the process, developed some grand ideas, then promptly did nothing about them. Needless to say, that’s why I chose to start with this technique. Also, I was using her book to learn the drawing basics so it was a natural extension.

In the book Melissa walks us through the basics of anatomy and shape. She outlines many ways your can interpret this with fabric, then encourages you to go for it. It’s all so very approachable. She also has tonnes of examples. You can see the myriad ways people, her students, took to the portraits. You also get to see a big selection of her own work. It is all inspiring.

The first photo I took to interpret in fabric was my headshot, the main photo on the homepage here. I found it an interesting challenge because it is hard for me to convey depth in the collage. It’s obvious in the photo but in the collage the shoulders look a little off. But can we take a moment to celebrate my hair?! She is quilted with a million thread colours and stops and starts, providing texture and depth.

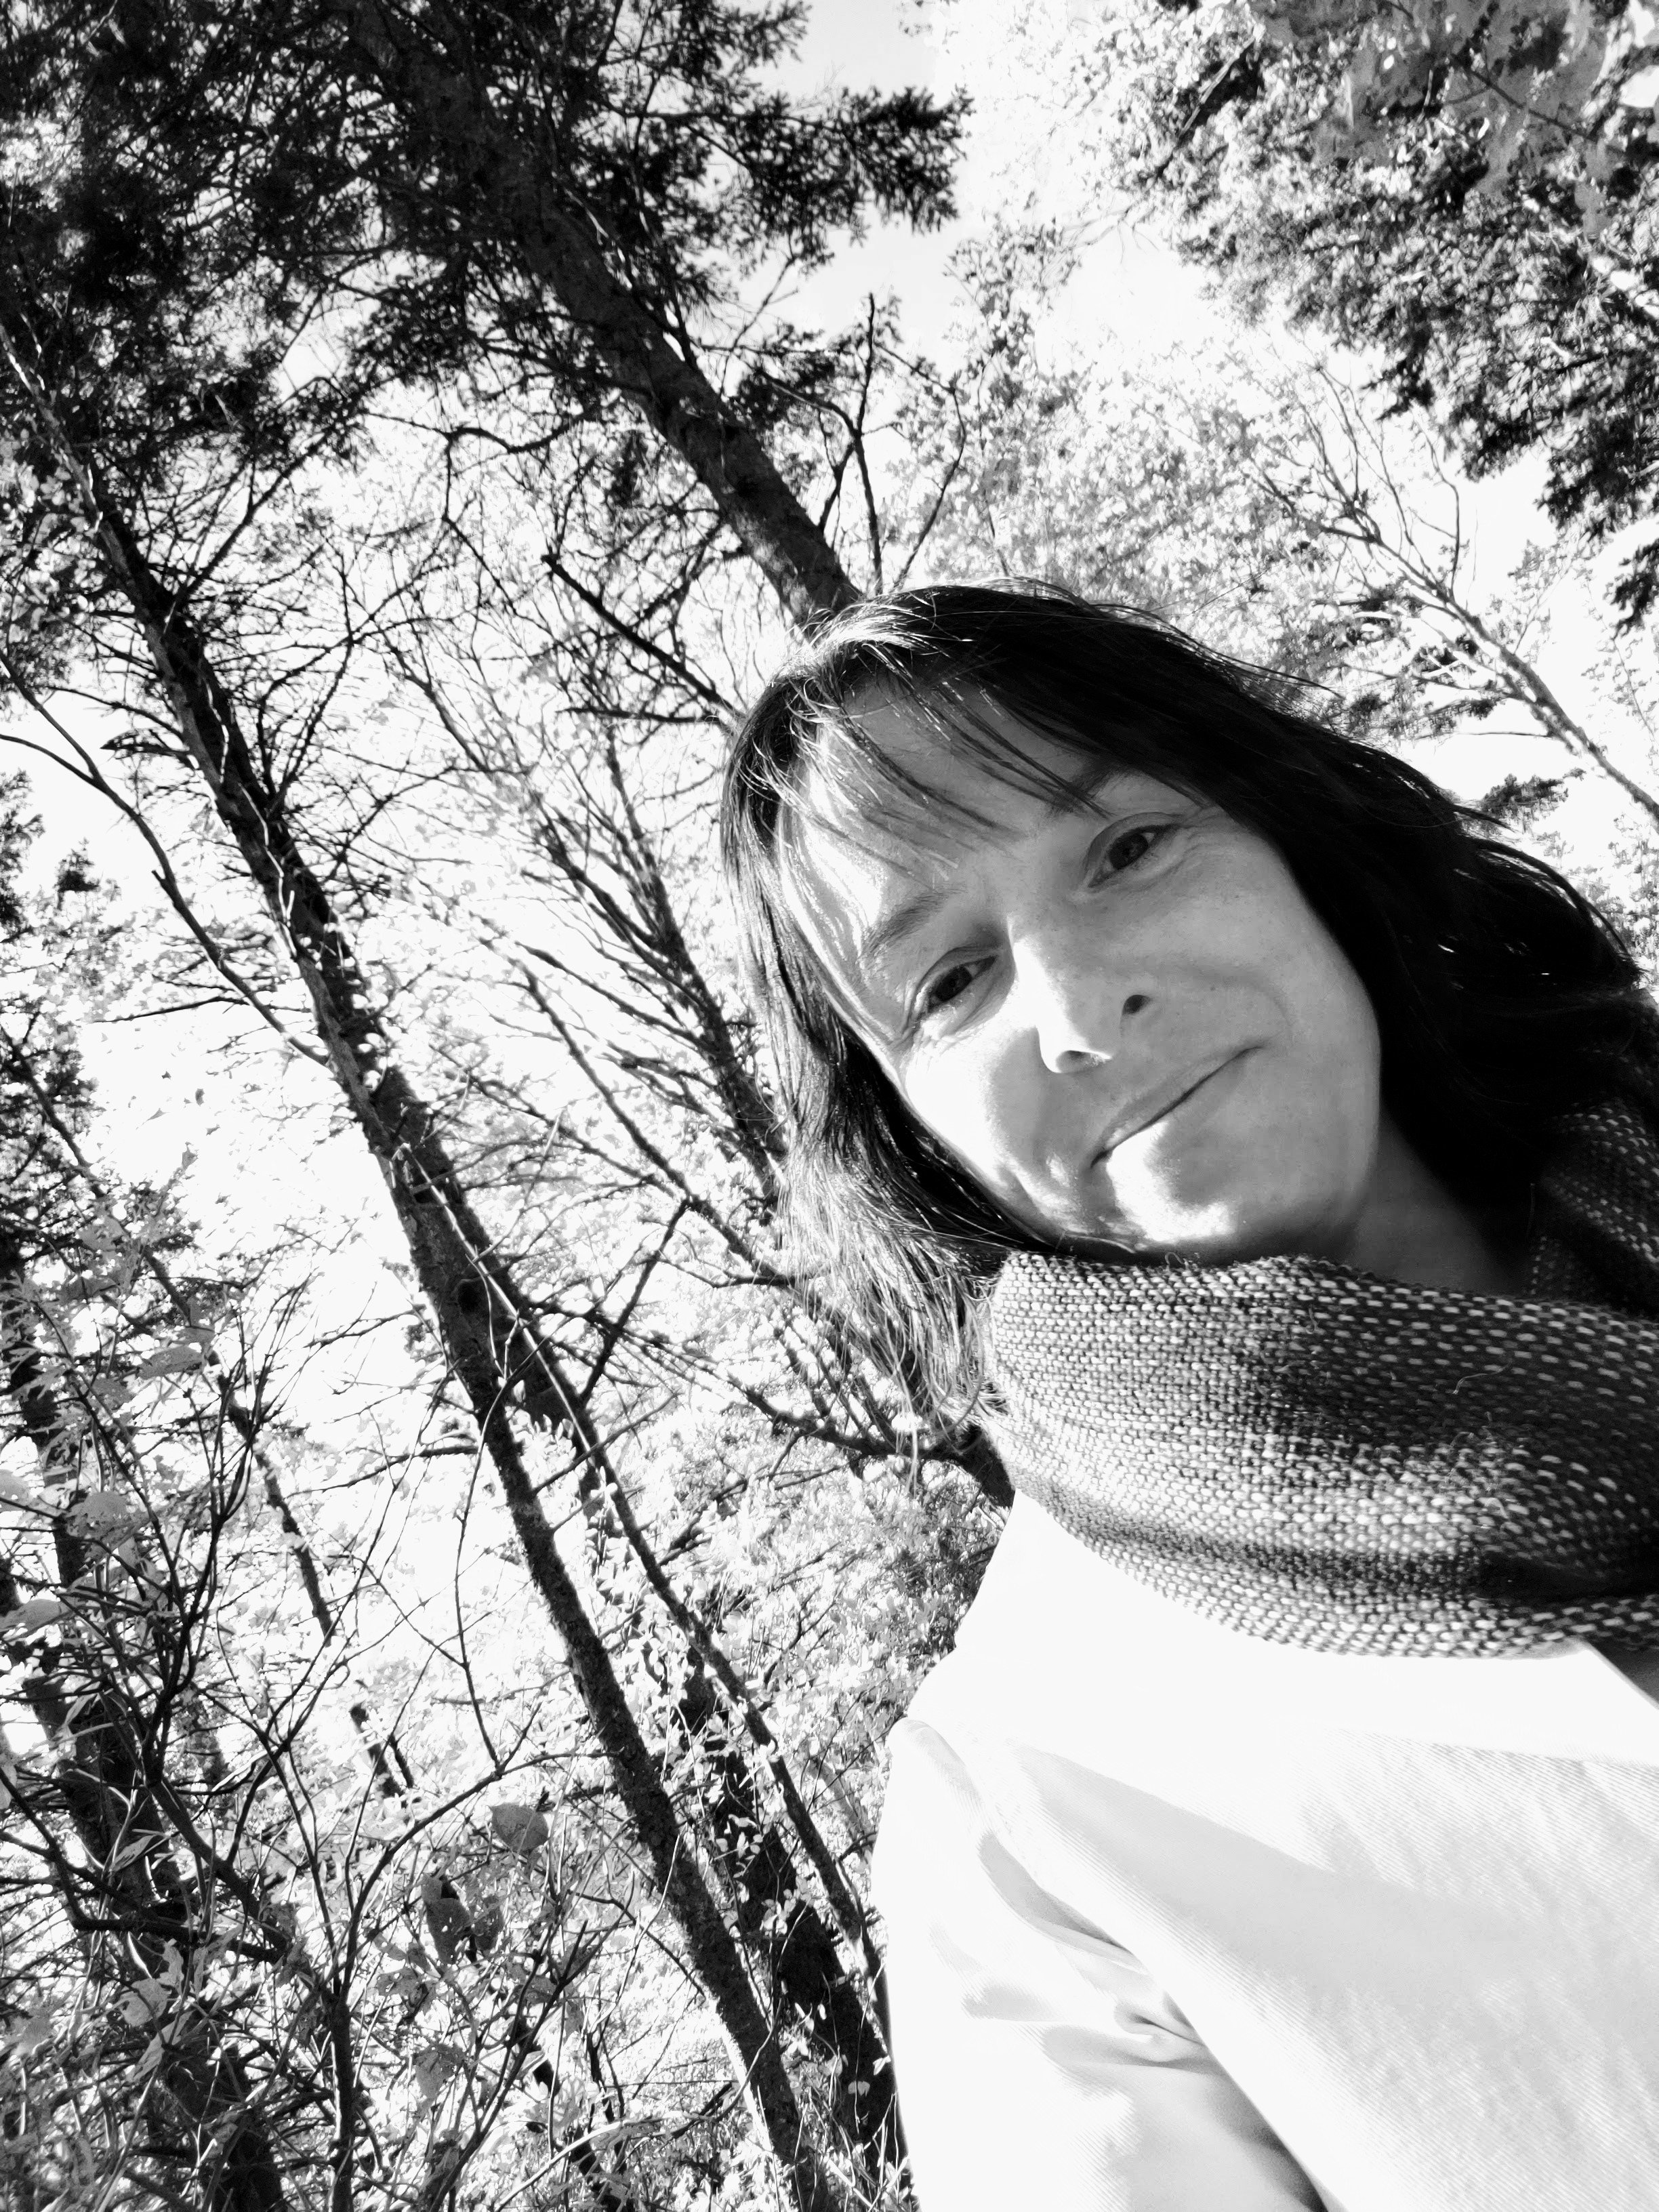
The second collage portrait I did was in black and white. I took a colour photo from when I was visiting Lucy Maud Montgomery’s house in PEI. I was just to happy on that entire trip and it shows in the original photo. I think the collage does not quite show that. In fact, it feels a bit skeletal to me. That being said, I still really like it. I played with being a bit more abstract in shapes and with value. To soften the whole thing I used a pale pink thread for quilting.

To finish both quilts I did give them a quick soak and blocked them. They are small (less that 20” on any side) but had got a bit misshapen in handling. This roughed up the fabric and I discovered places I hadn’t quilted as well. A few repairs with both glue and the sewing machine were needed. Then the mini quilts are bound with a single fold binding in a black on black print. I decided to be consistent among all my self portraits with binding and treated it like a picture frame.

These quilts were an excellent first start to this Morning Make adventure. Fundamentally, I am a quilter so fabric portraits are the way to go for me. Will I make more fabric collages? I’m not sure. the technique is freeing and effective, yes, but I don’t love the roughness of the raw edges. You do get ultimate freedom in cutting your collage though. I think this is a great technique for play and it may instead stay in the repertoire for that reason, even if I don’t make another full portrait quilt with it.

December Morning Make 2022

A bit too on the nose?

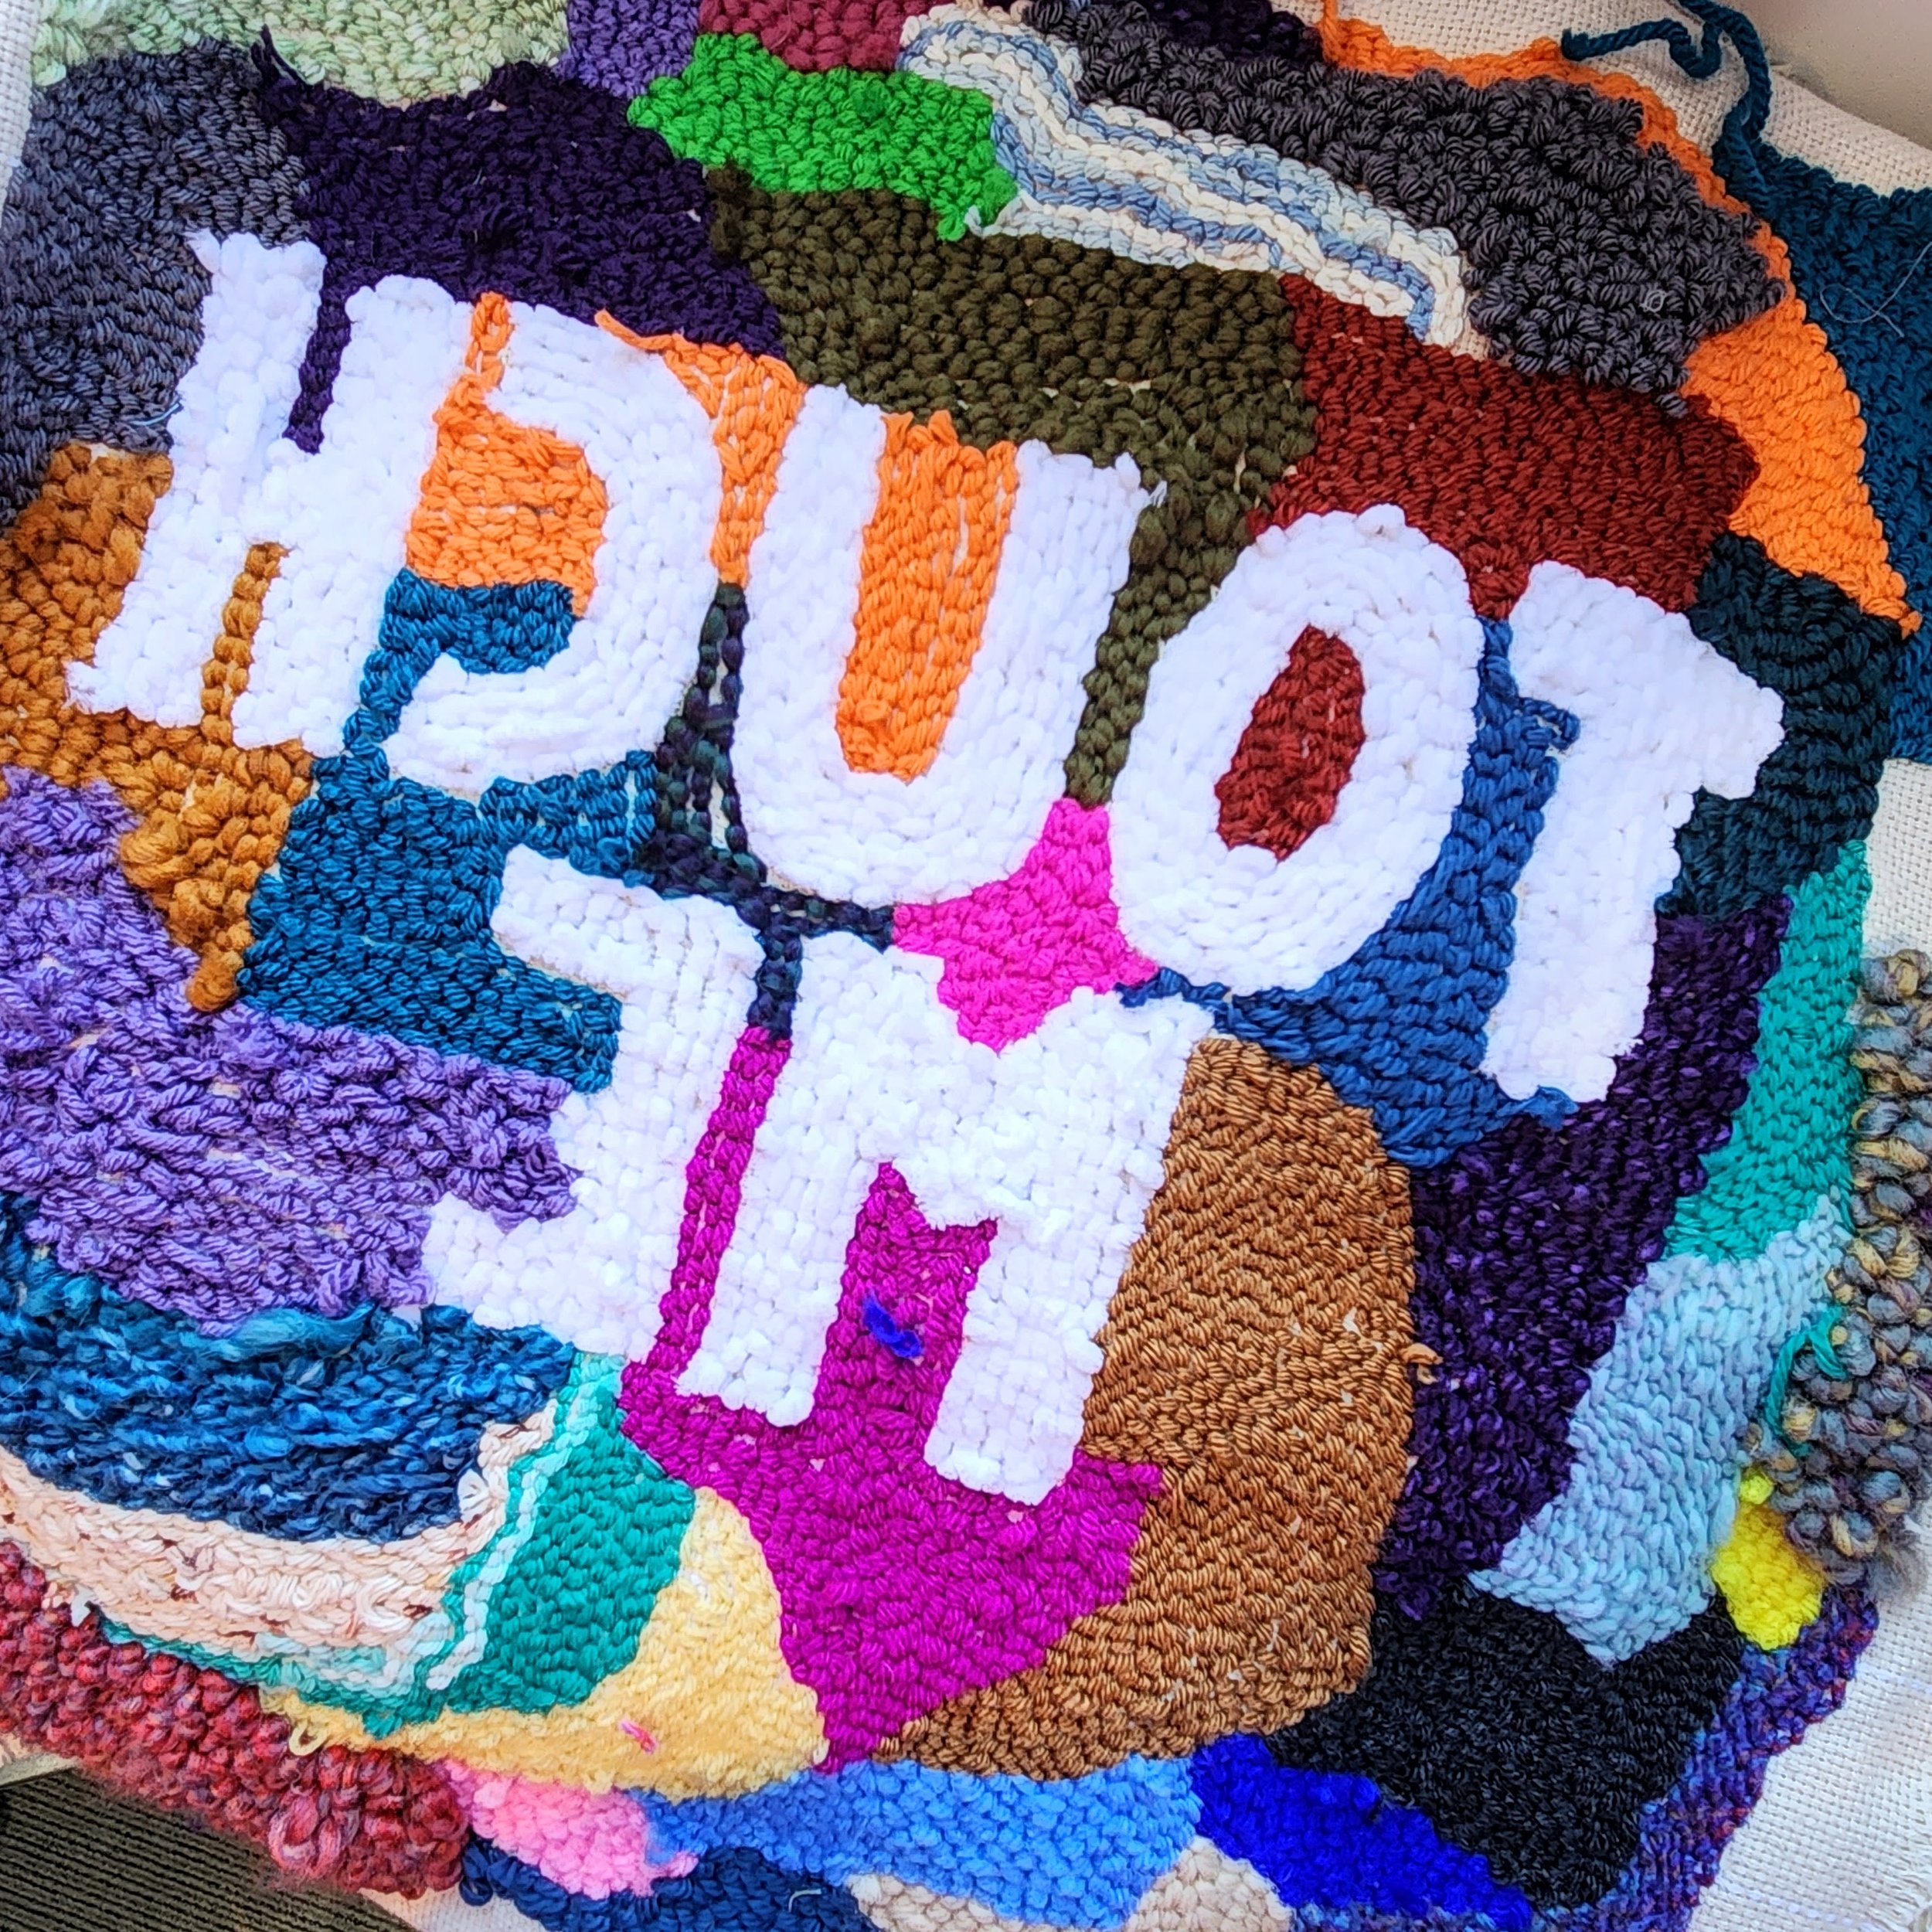
In December I dug into my daughters’ craft supplies, augmented by yarn scraps from a dear friend who knits, and experimented with punch needle. Each day I used one little ball of yarn to randomly fill a space. It’s easy to do and doesn’t take long at all. Indeed, some morning’s I was at it for only 5-10 minutes. In the crazy days of the winter holiday season it was just about perfect.

We had a ball of that ultra soft acrylic yarn in white. A fake chenille? It was the right choice for the directions.

I’ve been thinking about touch a lot this winter. Realizing, mostly, how important it is to me. Not that I am a huge smuggler or hugger, but I do love a good hand hold. I was reading about how you can get your own body to release dopamine and serotonin and reduce cortisol (the stress hormone) through non-sexual touch. I found myself gently petting or rubbing my own hands in a calming gesture. My husband thought I was weird, if I’m being honest, but I found it very helpful.

Thinking about touch and seeing the benefit of these simple hand movements for myself also made me realize that this is part of why I like hand work. Using your hands isn’t just useful for the task at hand. It activates something else, something associated with the sense of touch outside of the brain’s task. When I am getting stressed or ansty I tend to feel an energy in my hands that is distracting and uncomfortable. I am often looking for an outlet to ‘get it out’. The more hand work I do, the more active my hands are in a positive way, the less I feel that bad energy.

Punch needle itself is practically fool proof with the right tools. Obviously some yarns and tools are easier to work with. It really does help, as well, to use the right base cloth. If I were to do this again I would upgrade our punch, the cheap plastic one we had was nice for being adjustable, but not very comfortable in the hand.

One of the things I quite liked is that the back is/can be as neat as the front. Depending on whether you used the punch from the front or the back it changes what you see, but both work. Varying the thickness and type of yarn as well as the depth of the punch meant I have a lot of textural and visual variation in the piece. Being open to the scrappy nature of this comes naturally for me as a quilter. If I hadn’t used words I could have chosen which side to display.

In the end, I mounted the piece on an old dollar store canvas with a staple gun. We don’t need another pillow in this house and I liked the visual of a mounted piece.

Noelle

Noelle

72” x 72”

I’m either really late finishing a Christmas quilt or really early for next year. Let’s go with the latter, shall we?

This quilt was started in the Quilters’ Playcation Cut Sew Repeat Party in December. It’s such a quick way to make a quilt top that I had it done a few days later. With a long arm appointment already booked I decided to go ahead and finish her quickly.

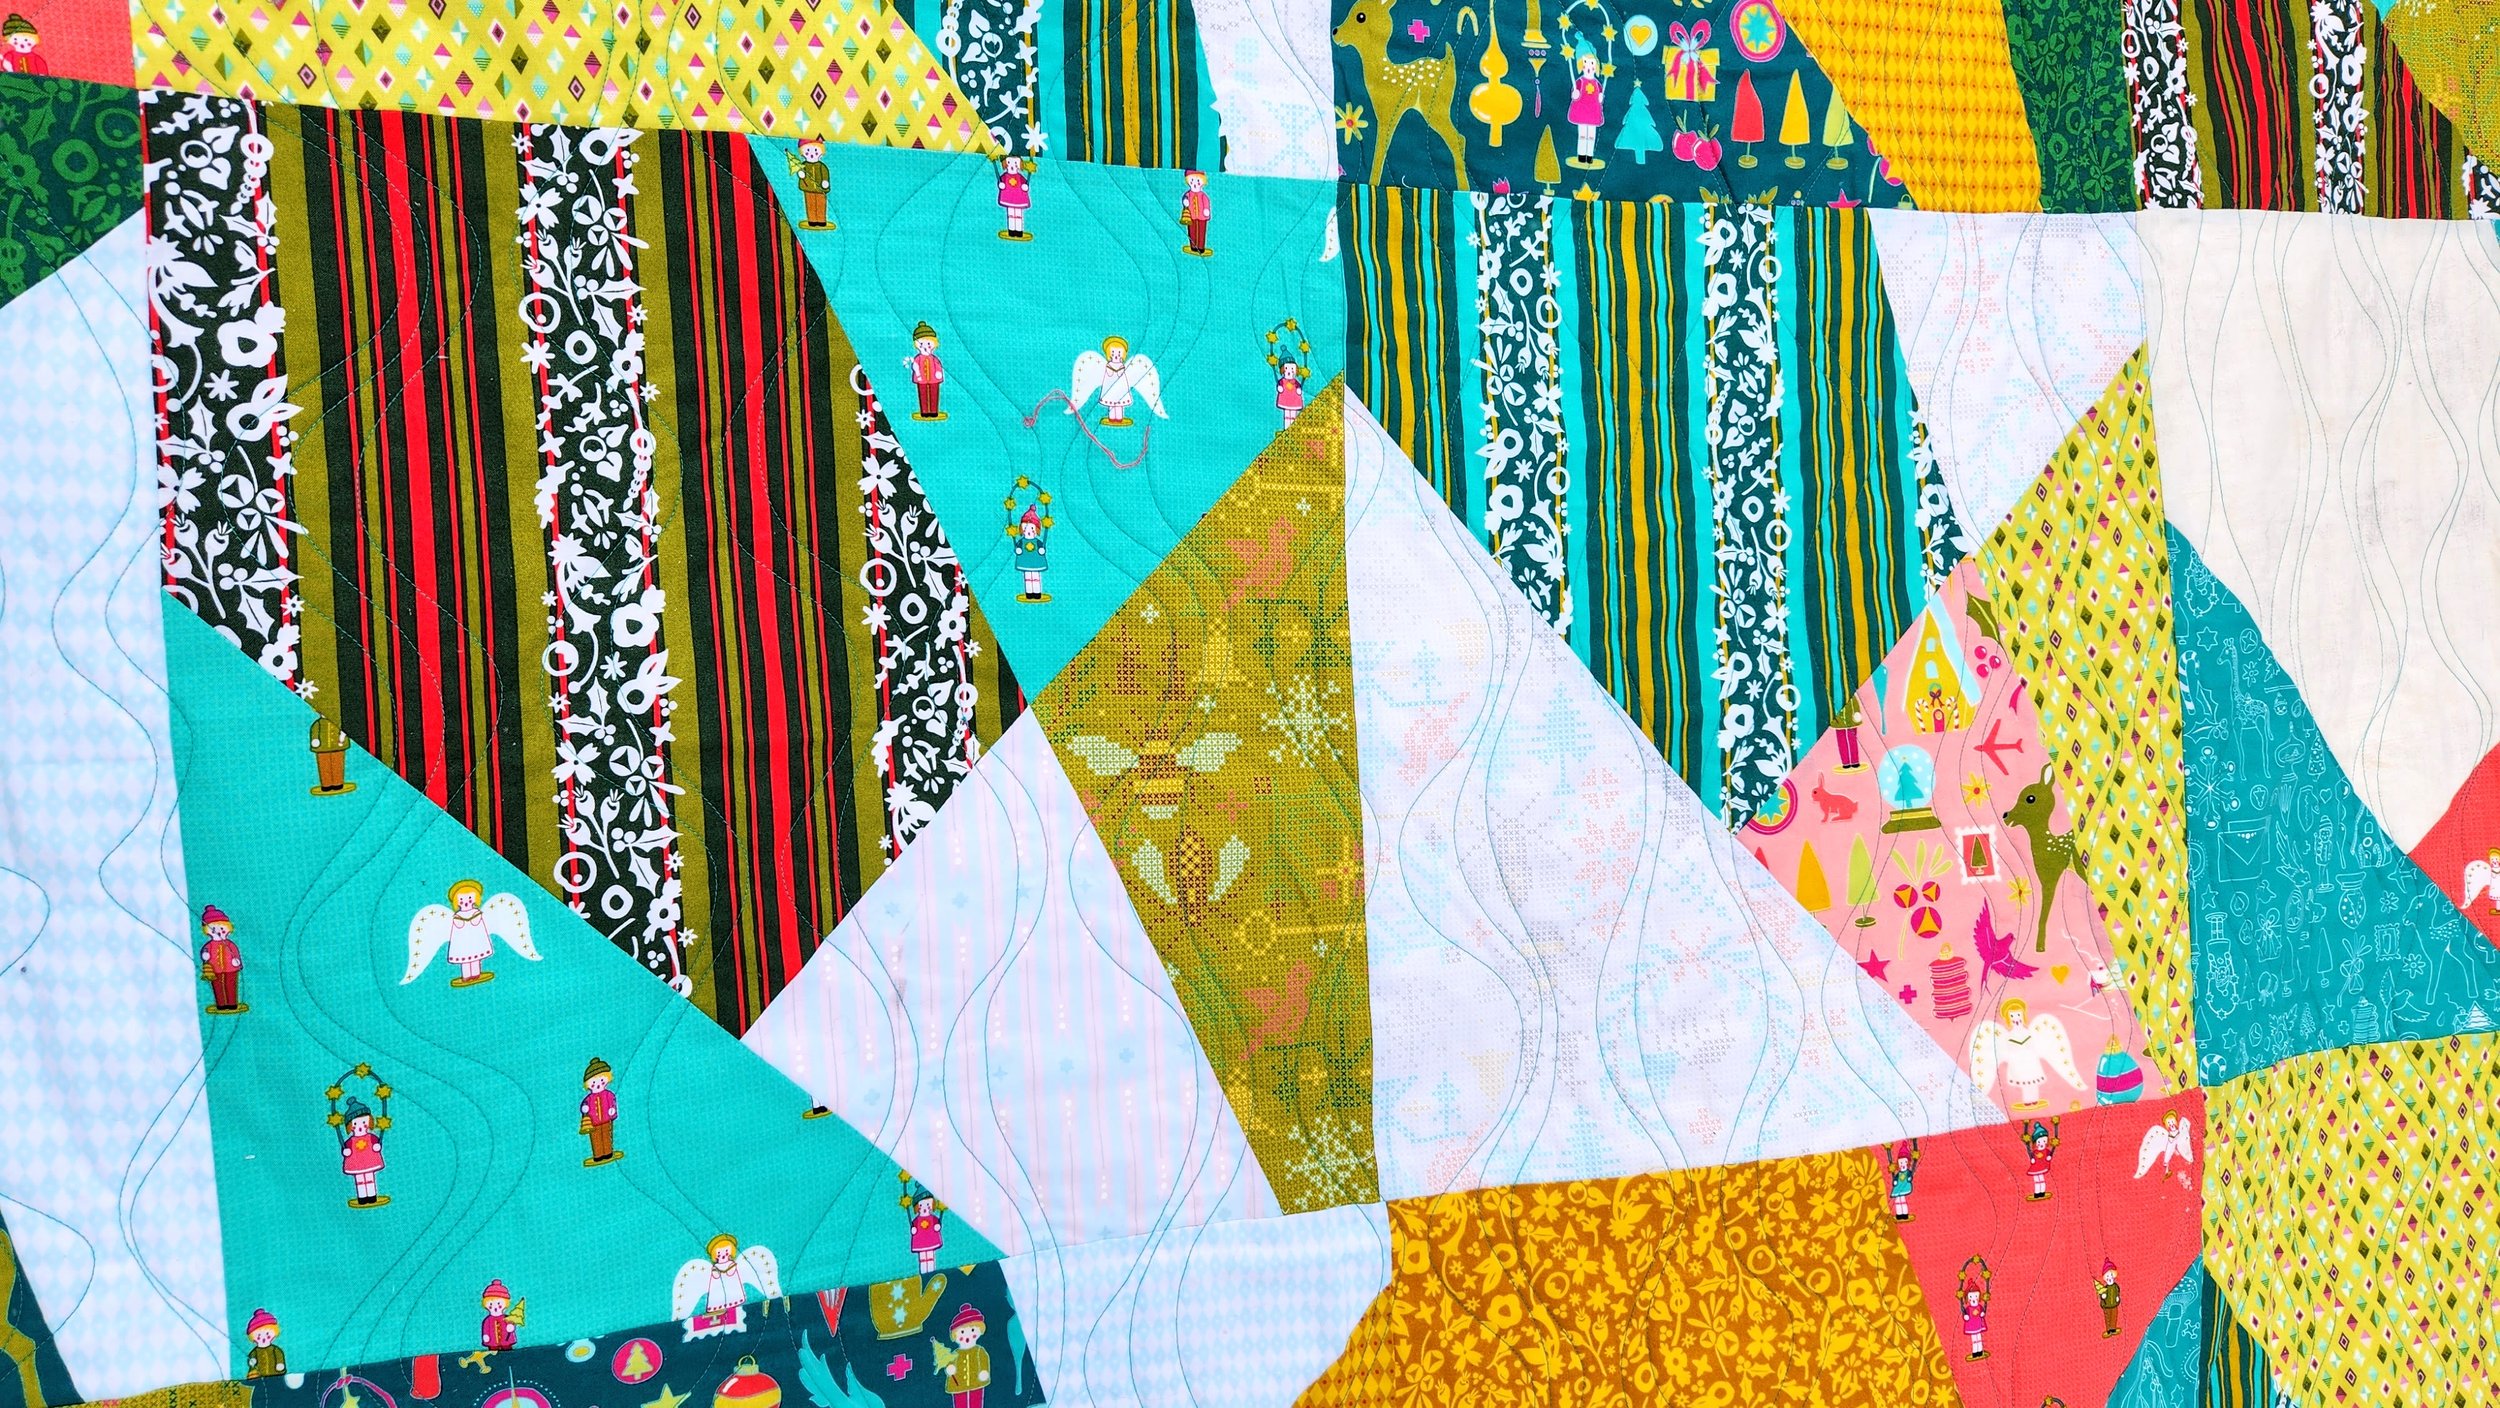
Close up of the wavy line quilting on a a white, aqua, green, pink, and gold Christmas quilt

It was a quick make, a fast quilt, and a quick finish. I still didn’t get it done before Christmas. It’s all good, I’m just ready for next year! I used a light turquoise thread for the quilting in freehand, wavy lines. It’s almost garland like.

The fabric all comes from the Alison Glass Holiday collection. Buying a single collection bundle is not my norm, but I’d picked this up early in the pandemic as an example for a stash class I was teaching. It is an unconventional holiday fabric and I love that. Using a single collection is a fantastic way to explore the Cut Sew Repeat Technique AND show off the fabric at the same time.

Close up of the coral fabric with random, tiny white dots on the quilt binding

When I finished quilting I took a quick look around My Sewing Room, where I was renting the long arm time, and found this coral fabric in the clearance section. What a find! I had been thinking hot pink but there are just enough hints of this coral in the multicolour prints of the collection that it worked perfectly. It was a lovely way to spend a few afternoons of winter finishing up the binding by hand.

The Cut Sew Repeat Party is returning on March 18. I’ll have a different stack of fabric, but the same great fun ready for you. Even if you attended the Party last time, we will have new treats and tips to explore as we play with our fabric. You can register here.

Small Piecing Pays Off

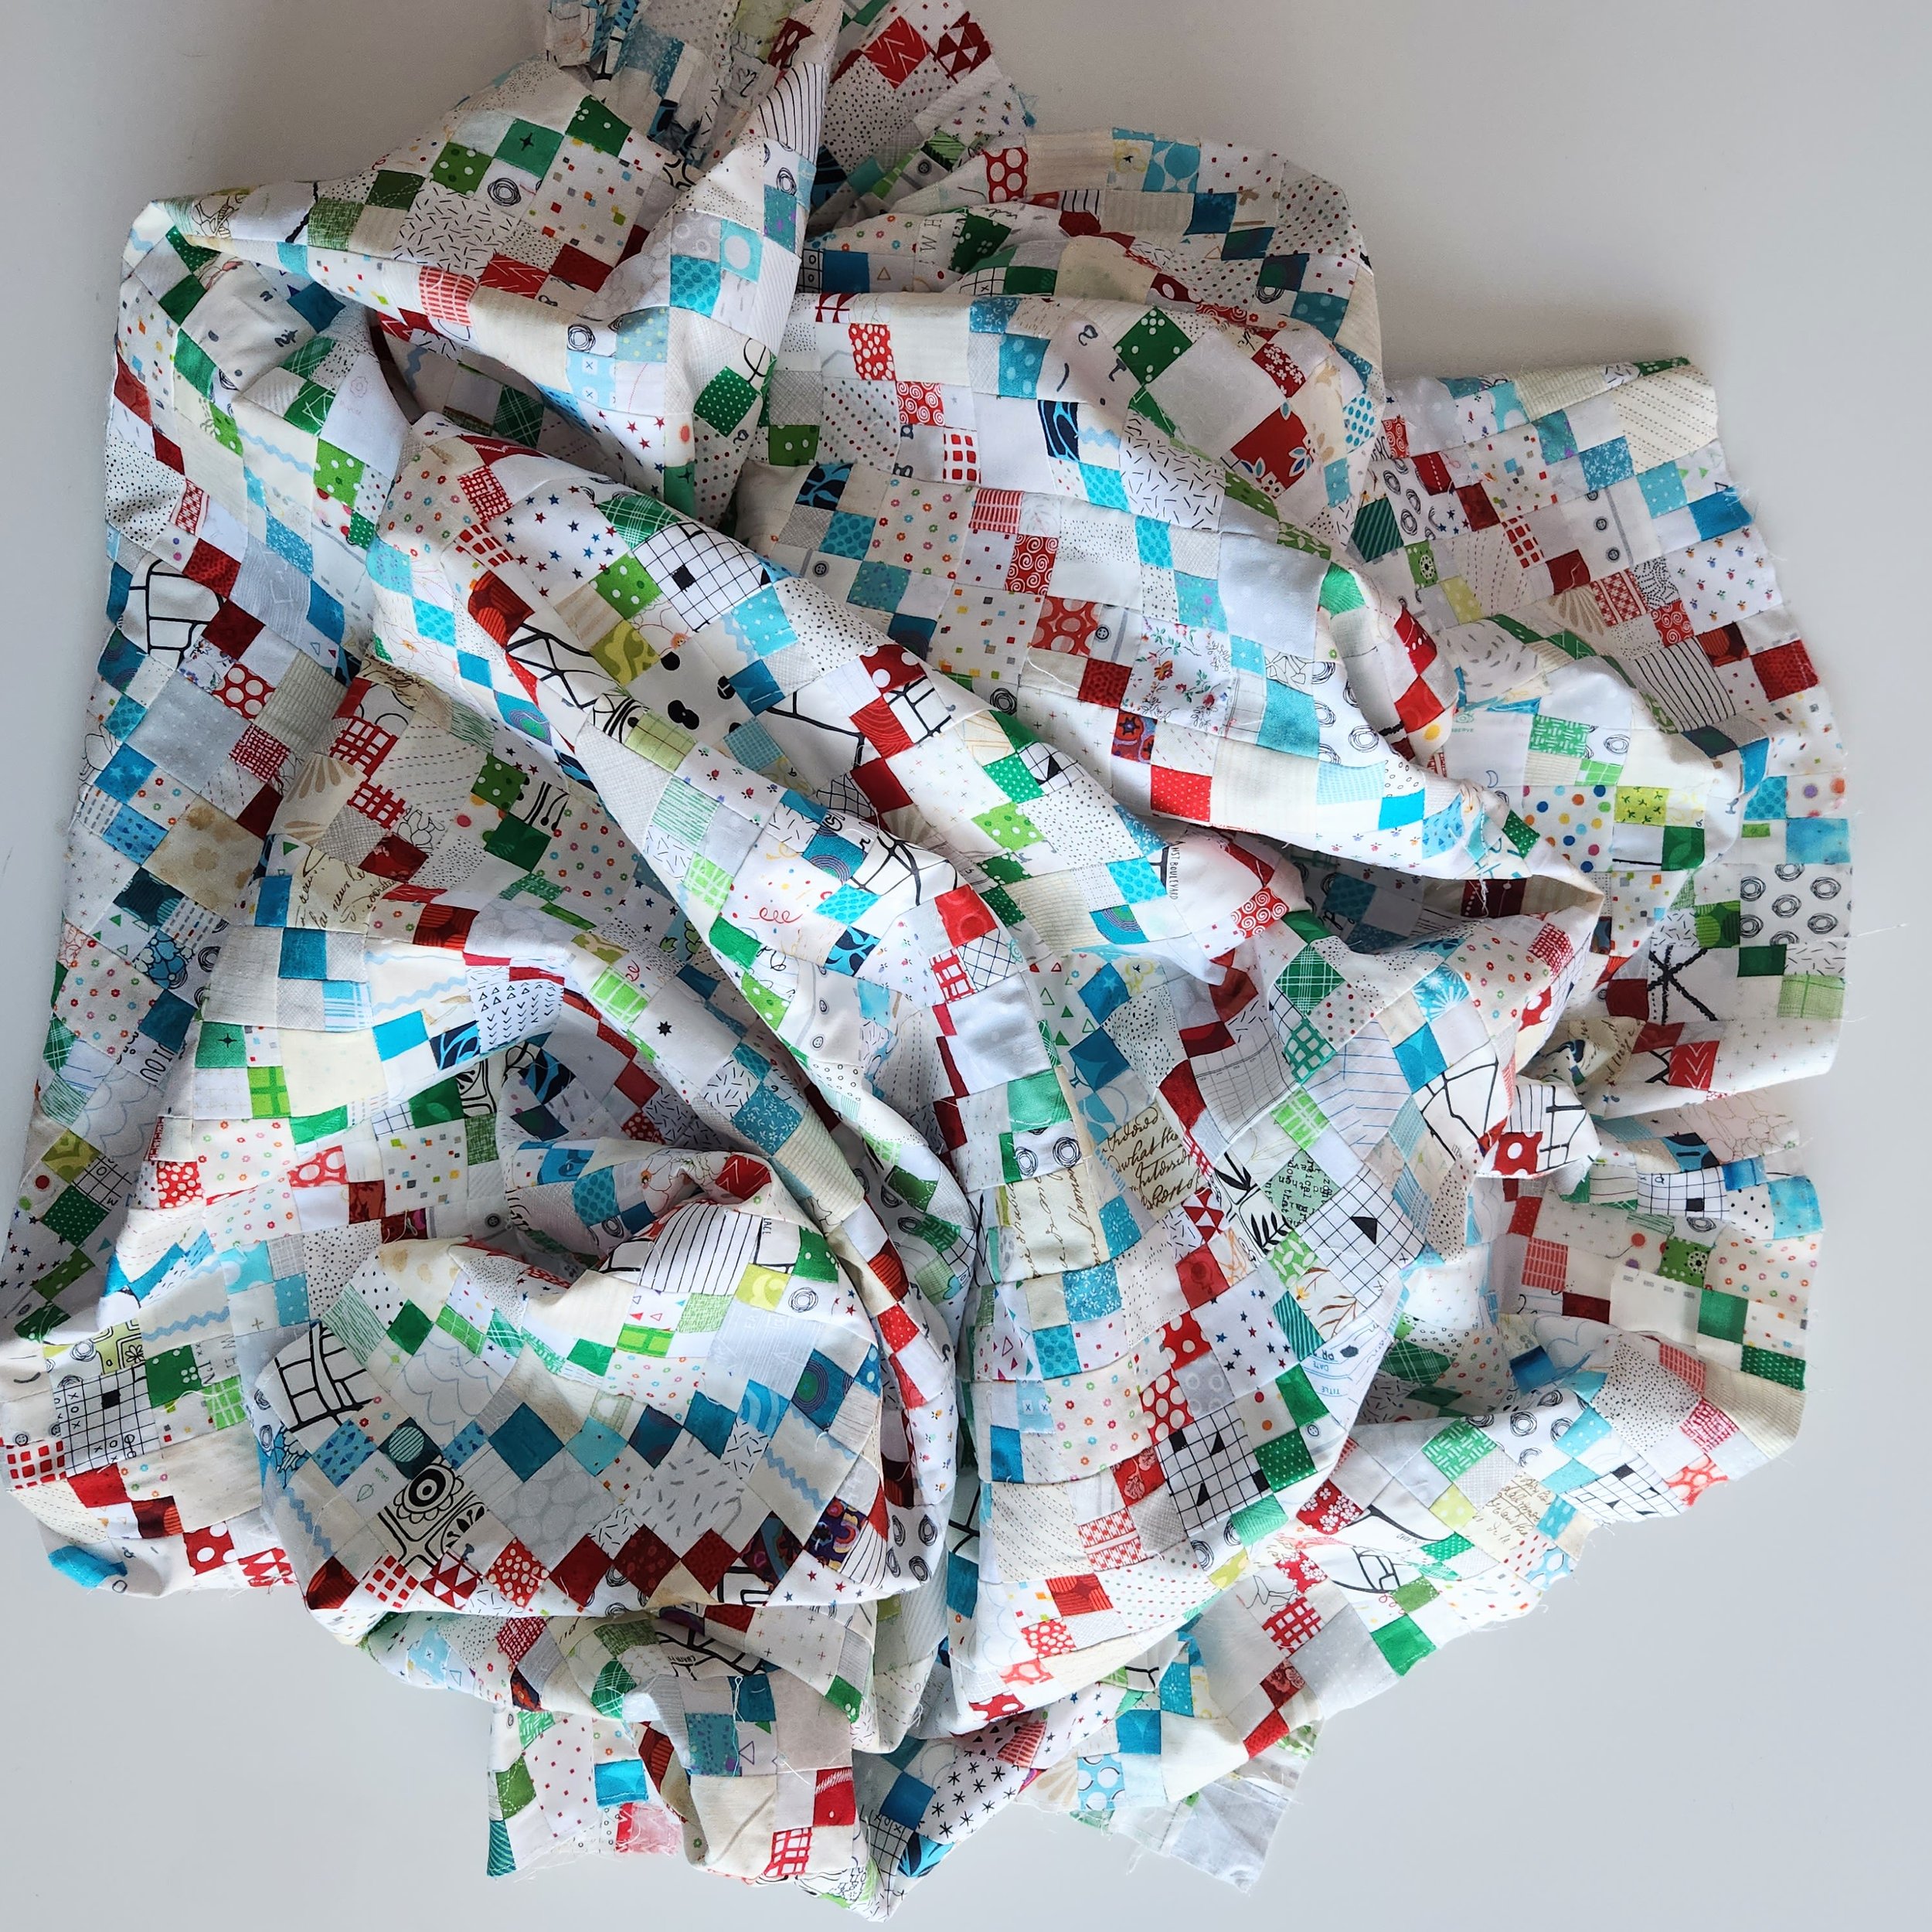
When your only goal is to clean up some little bits of fabric leftover from another project you don’t expect to launch in to sewing an epic quilt. In truth, most of my quilts start with zero intention of being a finished quilt. Rather, it is just something to sew at that time; some experiment to try; some play to improve my mood. So when I had those leftover red squares from this quilt I just sewed them together with some low volume scraps so that they wouldn’t go to waste or get lost. I had no plans, no design, no lofty goals.

But…

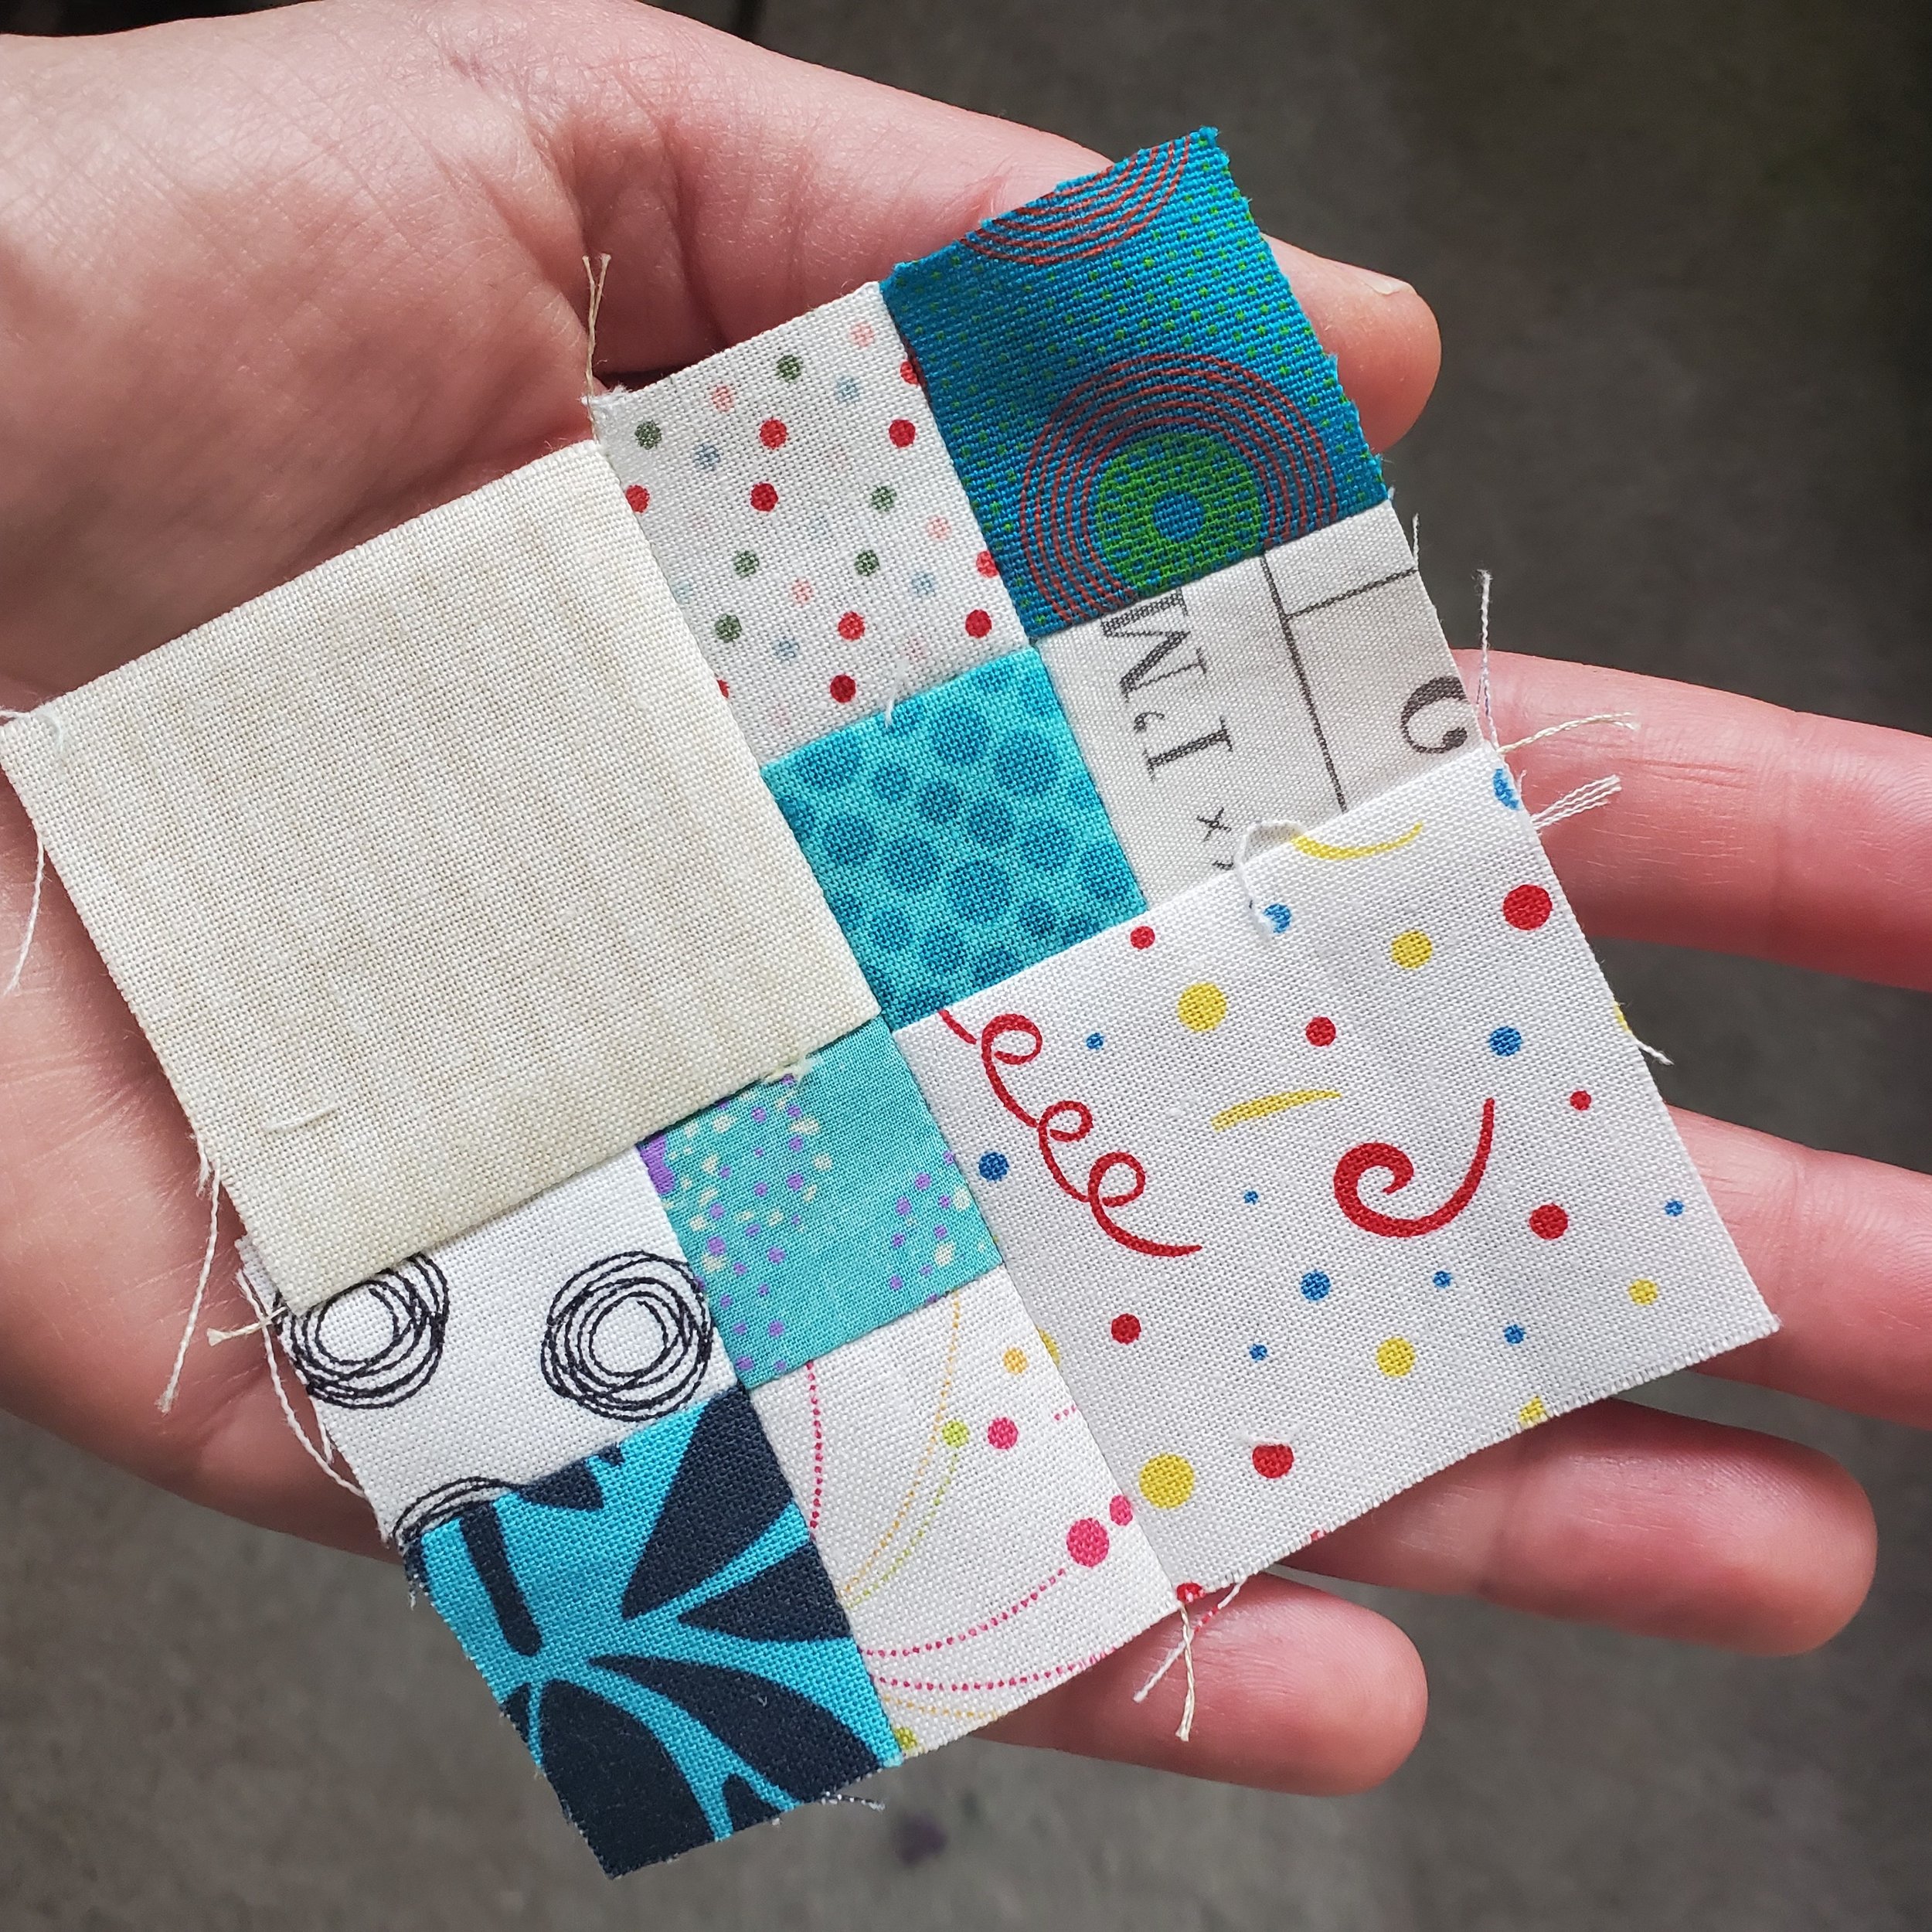
They did look quite good together. And what if you sewed two pairs to each other? Oh look at that cute 4 patch! Hmm, there might be something to this…

Reader, there was. I started adding turquoise, then green 4 patches. Those colours look great together and it was all so cheerful. Of course I have a tonne of low volume scraps so I could use them up too. So now I made a 4 patch of two 4 patches. Oh boy, this was getting good!

A 4 patch quilt block made from a few 4 patches in turquoise and white, held in a white hand

One thing led to another, one block led to another, and even though I sewed a whole pile of blocks I still had no clue where this was heading. Sure, it would be a quilt one day, but just how far was I going to go?

Quite often I just sew until I get bored. Then the quilt is as big as that many blocks, give or take a few. I use what I made to puzzle together something (hopefully) cool. In this case I reached a point where some actual planning was required. Since I don’t like to make small quilts I did some math and even sketched out the layout to see where I needed to finish. This was my guide for sewing.

Most of the blocks were made as leaders and enders while making other quilts. I kept a bowl of the coloured scraps and a bowl of the low volume scraps by my machine and sewed a pair together at the end of any other seam. These would pile up until I felt motivated to press them. Then I would make the 4 patches as the next round of leaders and enders. At some point these would get both pressed and squared up. That required more motivation because I was squaring them up to 2” by 2”. Tedious work. Then those would get sewn to a low volume square in the next round. Pressing again then the last seam to join two of those pairs together. Usually by the last step I was doing some dedicated sewing on these blocks instead of leaders and enders. It was all very reminiscent of this.

Pair of blue and orange glasses resting on a folded quilt top.

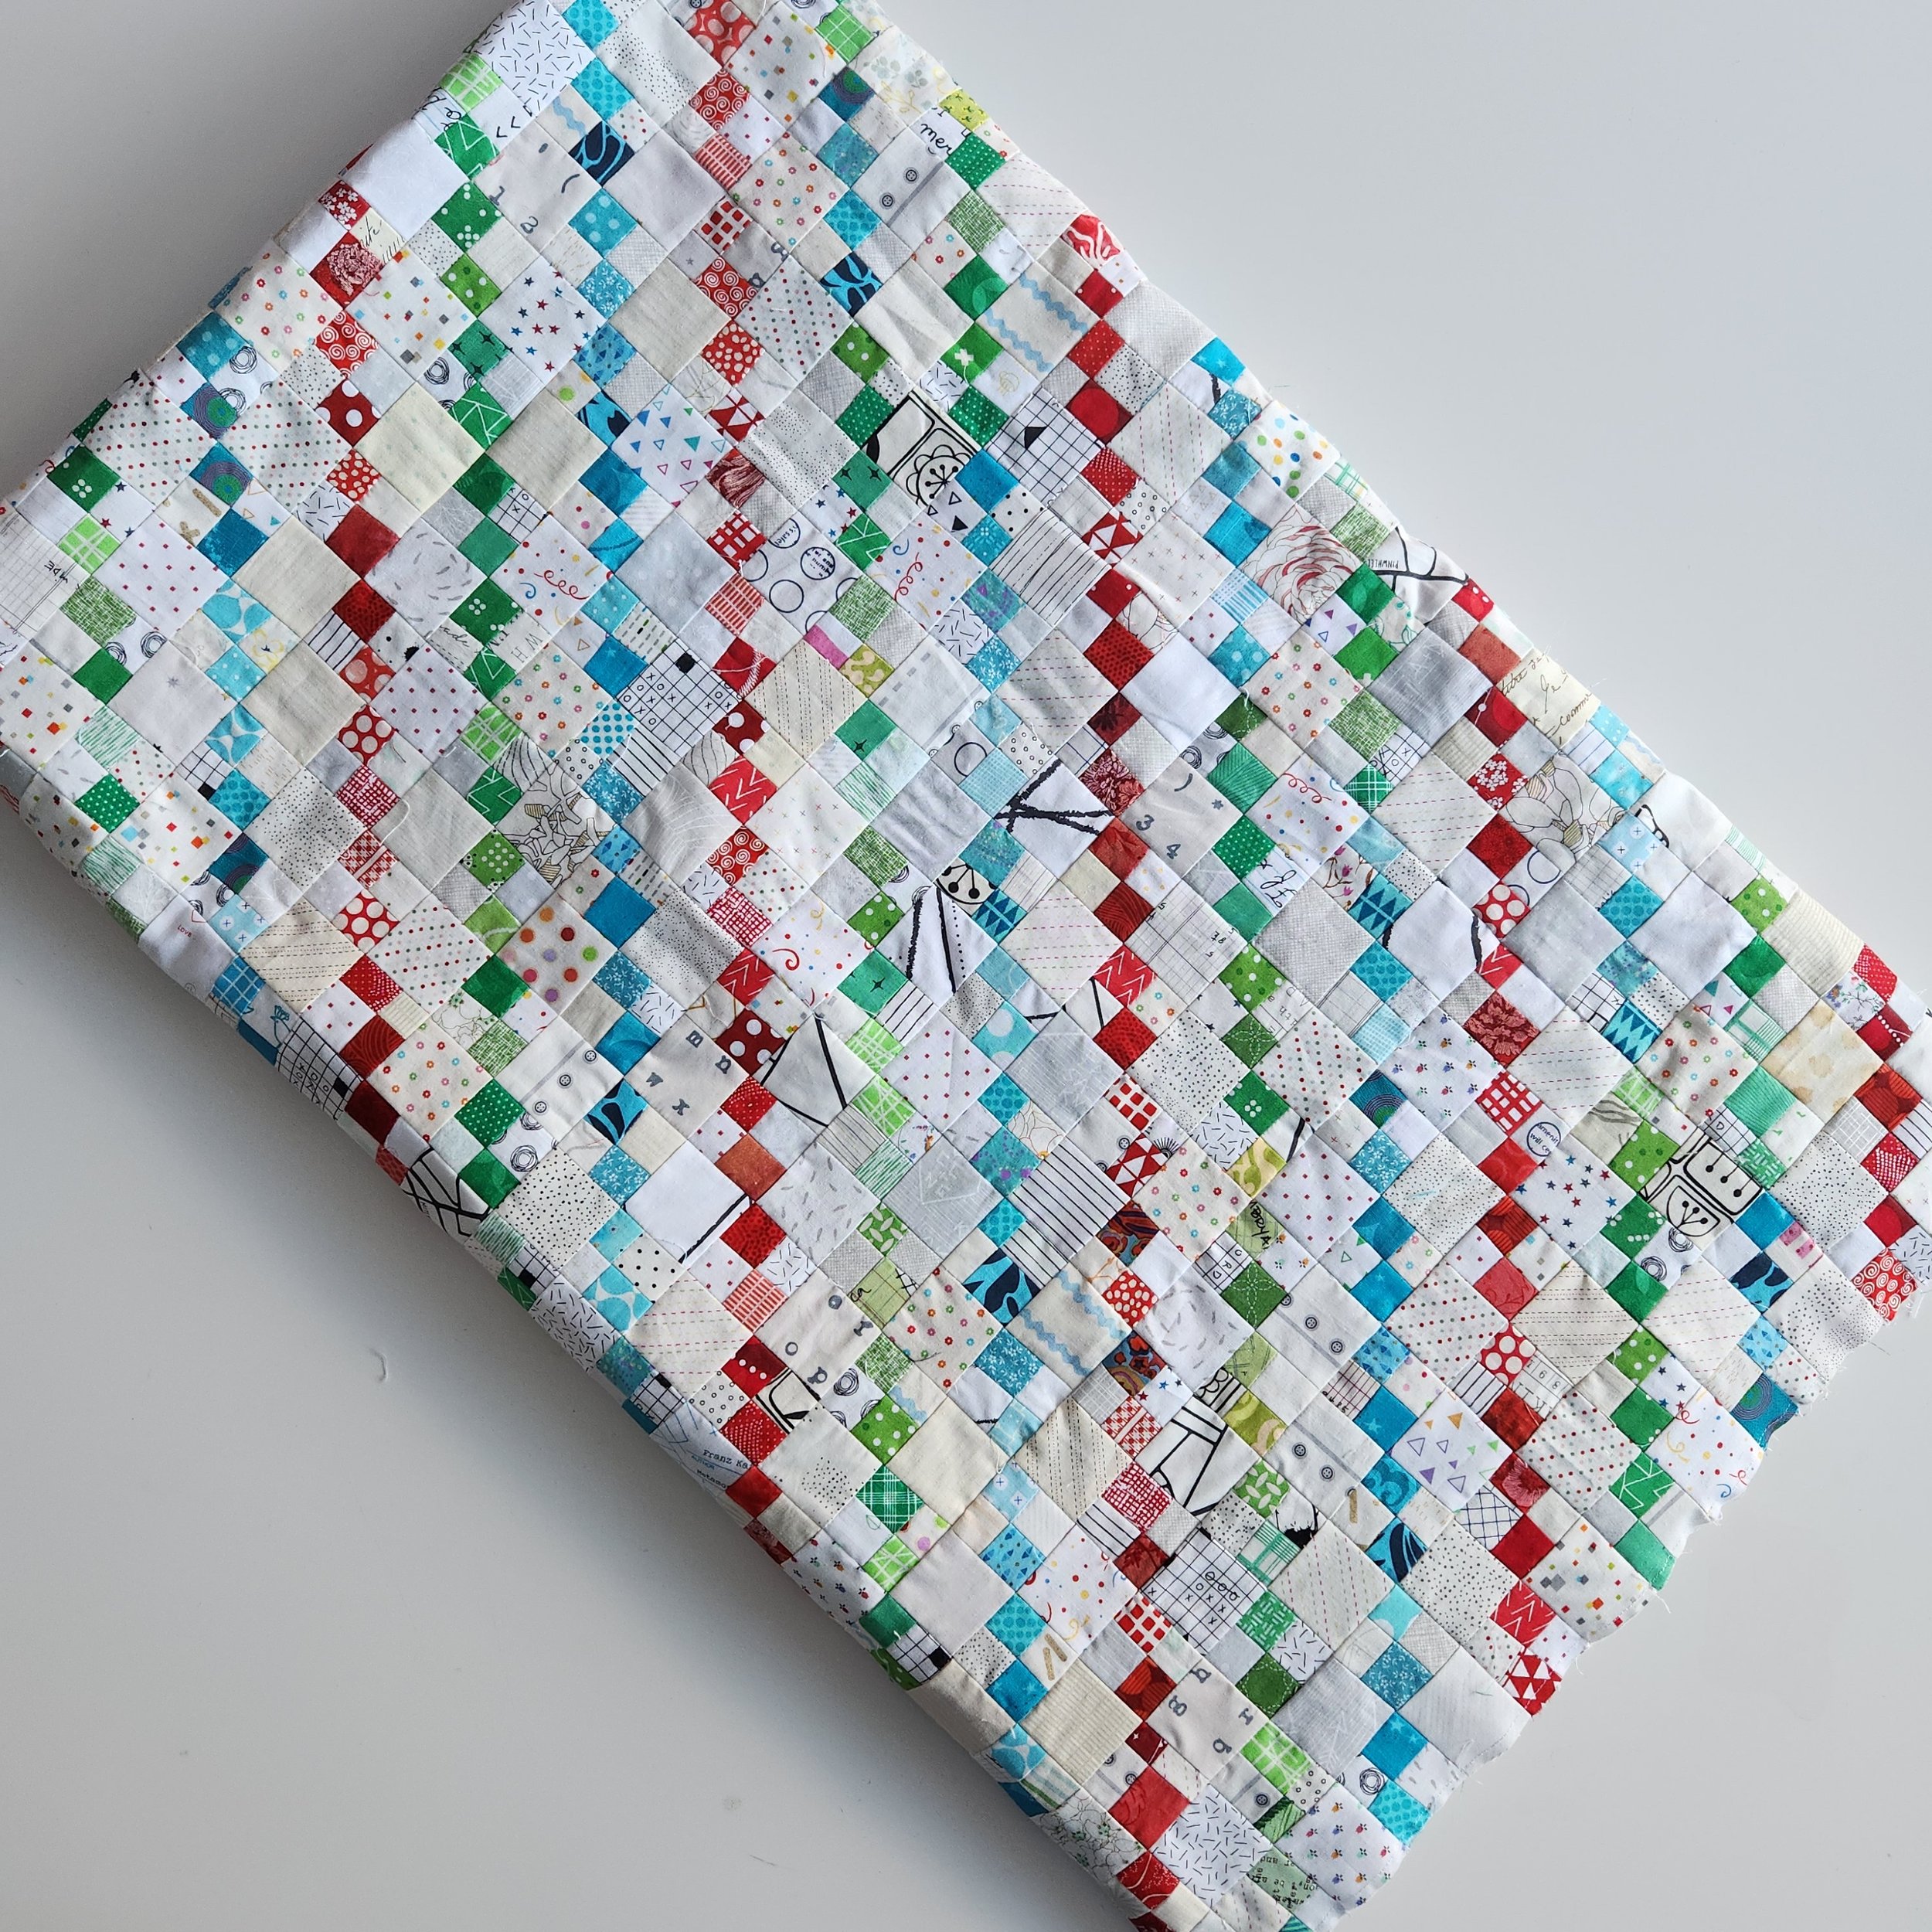
Eventually I became dedicated to finishing all the blocks. If I had started this quilt with the end goal in mind I can honestly say I wouldn’t have started. This was a very tedious make. Don’t get me wrong, I believe all the effort was worthwhile and any time sewing is time well spent. But when you make a quilt from small pieces it can be nearly impossible to see the end from the beginning. Like climbing a mountain when you have no idea just how high it is. Or deciding to swim across the lake without knowing how far it really is. It’s all possible, but it is going to take some time to see the final achievements. So even though I had a specific plan and number of blocks needed, it was hard, in the years I’ve had this quilt ongoing, to see the finish. Glad to be here now. Real glad.

Now that the quilt top is done I will probably get it quilted fairly soon. It isn’t impatience that motivates me, it is a desire to not have to press this quilt top again. That was a lot of seam management there!

Oh, and for those wondering, the quilt top finishes at 63” x 81”.