Relaunching the Little Feet, Pins, and Needles Series today. I'll admit, I completely forgot about it in the chaos of this past spring. Today, a repeat of the first post. Thursday, post #2. Then 2 more next week.
Welcome to Week 1 of the series on quilting with little ones around. Every Monday in March I will be highlighting tips and tricks to making the most of your quilting time when you've got little ones underfoot. Whether you are a new mom trying to find time for your hobby or a new quilter trying to figure out just how to make it work, there will be loads of info here to get you sewing in mad fits. Along the way please share your own tips and tricks.
Today we're tackling space planning and coordination.
Whether you are lucky enough to have a room where you can start, leave a mess, and close the door or you are stuck in the corner of your bedroom, you can make it work well for you. Here are 5 ways to make your time sew successful.
1. Acceptance
No matter what space you are in, shared or not, kids will want to be where you are. It seems fantastic to be able to shut the door and shut out the rest of the house. I certainly dream of it. Even if you have that the kids will be coming in, guaranteed.
My sister-in-law has a great space in their fantastic basement. It's right off the family room and her oldest son's bedroom. But the last time I was there I saw the sewing machine sitting on the family room table, about 10 feet from that valued door. Moms and kids want to be together.
Accept the interest and interruptions. That seam can wait until the next game of Candyland is over. Yes, it can get frustrating, I know that. See it from your kid's point of view - they always want your attention and frequently need your help. You are a mom first and a quilter second (or third or fourth), so let the kids be there and everyone will be happier.
2. Safety
Regardless of where your sewing space is located, if there are kids in the house you need to keep it safe. I don't just mean keeping them safe from wrecking your quilts or tools. They need to be kept safe too.
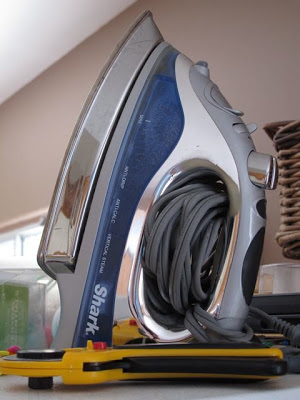
Keep your iron, scissors, rotary cutter, and pins in a high or child proof location. You may also want to examine where you store your machine, ironing board, and any bins. Minimize any risk of those objects falling on you or the kids. Finally, watch your power cords and outlets.
I sew in my dining room. No matter where I put the machine there is a cable running from the table to the wall. My kids are high energy and think nothing of racing around the house after each other or the dogs. If the machine is out they have strict rules to stay out of the dining room because they've been caught on the cord before. To be perfectly honest, I have too. Remember to keep it safe for you.
3. Creative Space
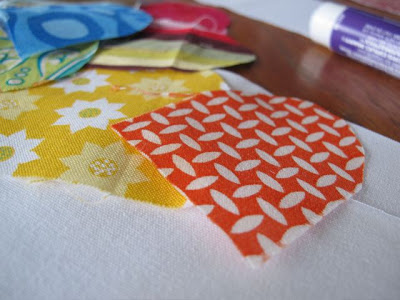
Making a space to create often requires another brand of creativity. Whether it is storage, a space to spread out, a way to keep projects in order, or simply somewhere quiet to foster your creative energy, you need to think creatively.
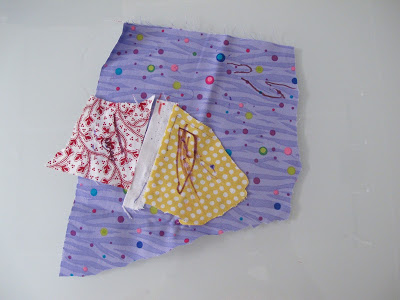
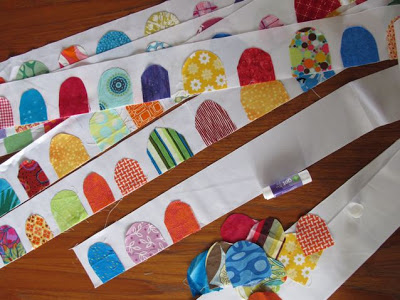
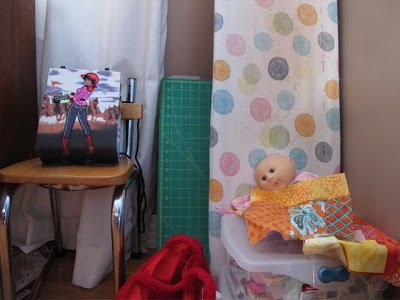
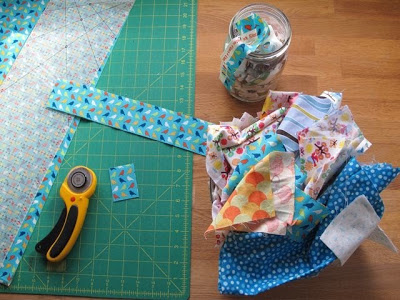
We've got a small house, have I mentioned that before? In addition to sewing on the dining room table I store my fabric in my daughters' bedroom (at one point under the bed, and now in an underused closet), frequently use my kitchen counter as a cutting table, store current projects in plastic bins tucked in the dining room or in our small bedroom, and use the bed or a floor for a design wall.
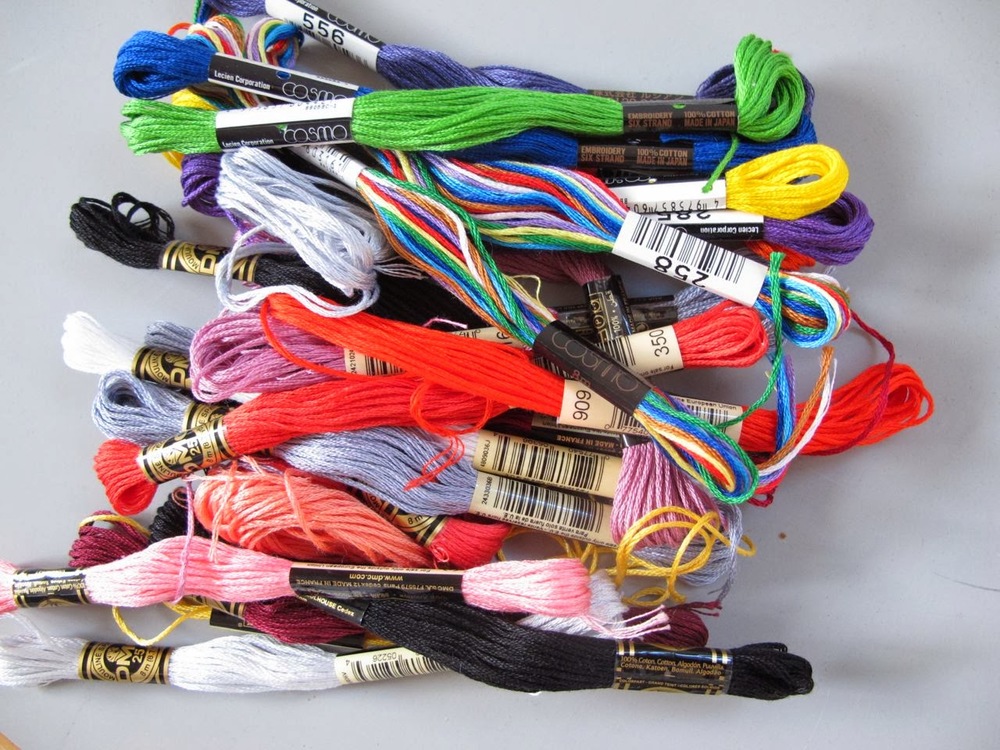
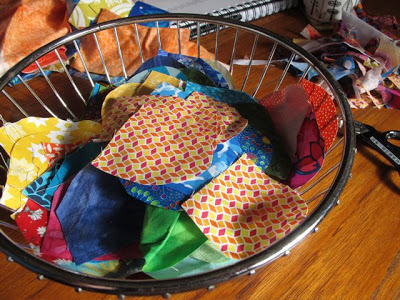
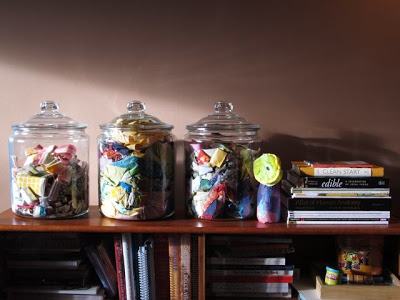
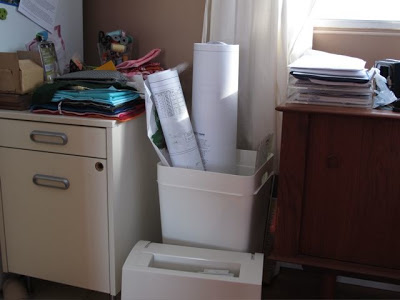
In the dining room itself I've got my ironing board, cutting mats, and some projects tucked between the sideboard, toys, and our paper shredder (have I mentioned this is also the home office space?) On top of the filing cabinet I keep my thread in a vase, a pin cushion the girls are allowed to touch, and various bits of fabric and supplies. Some of my scraps fill some glorious canisters on top of the hutch that store both my cookbooks and art supplies for the girls.
When I really want to sketch or be creative I usually end up colouring right alongside my girls. If I really need the quiet though, my favourite time to do this is in the car. Not while I'm driving! When Hubby is driving and the girls are asleep I love to pull out my sketchbook and draw.
The only thing I find I really miss is a dedicated design wall. I'm working on that. Check out these creative options from
Katie and
Elizabeth.
4. The Right Timing
As you can tell by the name of this blog, I do my quilting when my girls are asleep. My ideal time would actually be first thing in the morning. Hell, it would be all day if I could! That just isn't realistic for me with a 2 and 4 year old that are both performers and love an audience for every single thing they do. After they go to bed I could and do sew, but that doesn't make my Hubby happy as he is either working or relaxing about 10 feet away in the living room. Needless to say, it makes me very happy that my girls still nap. Very happy.
You need to consider the time you get to sew when setting up your space. Your other family members' schedules should be considered. Sewing can be noisy and messy. Homework schedules, work, homeschooling, meals, music practice, and even chill out time should be factored in to your schedule and space planning.
5. Less than Perfection
The quilt police don't really exist, and unless your mother-in-law lives with you, the cleaning police don't exist wither. You know that quilting is messy. You know that your kids are going to get in your face, er... space. Who cares if the entire family has threads on the bottom of their feet? Better that than pins.
Accept that there won't be a perfect solution to your space plans, but with careful planning, creativity, and consideration you can make a happy space that works for you and the family.
Next week in the Little Feet, Pins and Needles series we'll talk about the game playing you can do with your kids to inspire their creativity and hopefully an interest in quilting.