CreativeLive

Playing With Pinwheels in Quilting - On CreativeLive


When was the last time you played? I don't mean get on the floor and play with the kids or grandkids? I don't mean kicking around the soccer ball either. No, I mean going into your fabric and making something for fun; quilting without a quilt a mind?

I'm going to venture a guess that it hasn't been lately. For all the things I start - and I do start a lot - they almost always are started with a finished quilt in mind. I'm not sewing for the sake of sewing. I don't experiment or play much. And this is so, so wrong.

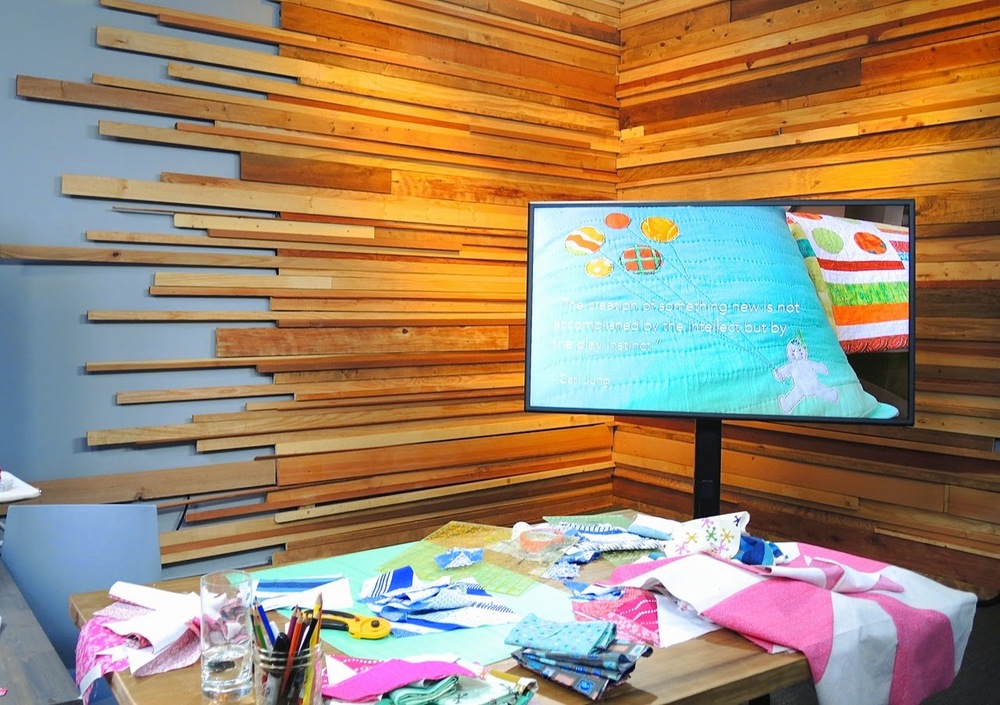
That's because we learn so much when we play. Taking away the play instinct for a child isn't a good thing, we can all agree on that. So why do we think it is okay to do that for ourselves? By playing as quilters we get the chance to explore colour, construction techniques, shapes, lines, negative space, secondary designs, and our own challenges and joys. Instead of trying a new quilt pattern to experiment with just one or two of those things, just play. See what happens when you let go of the idea that everything has to be a quilt.

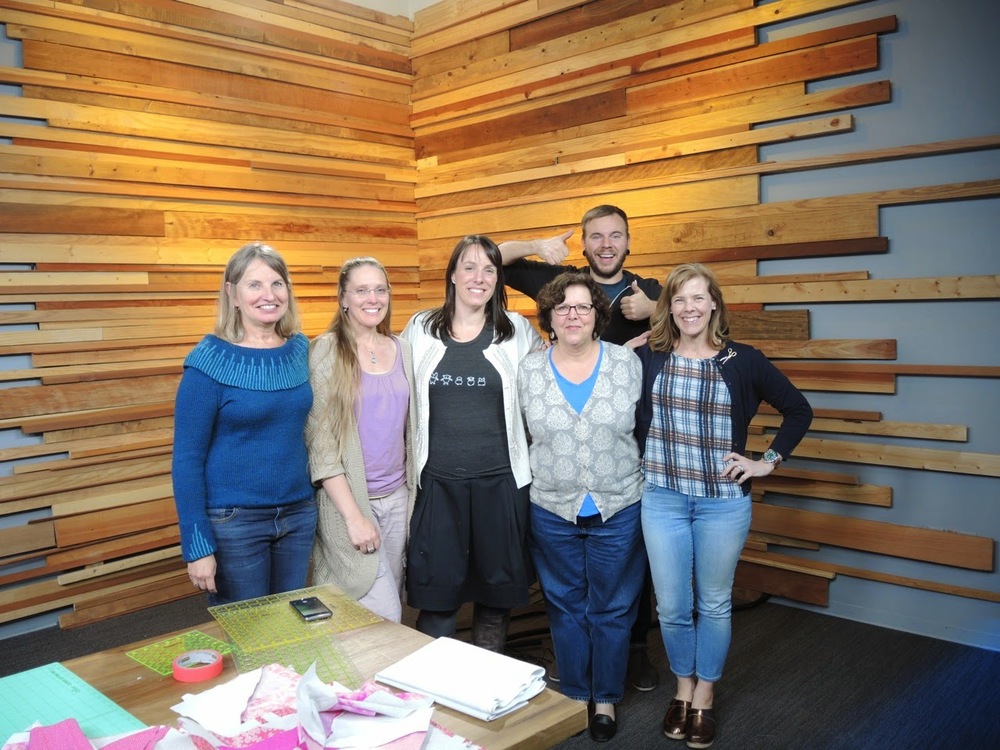
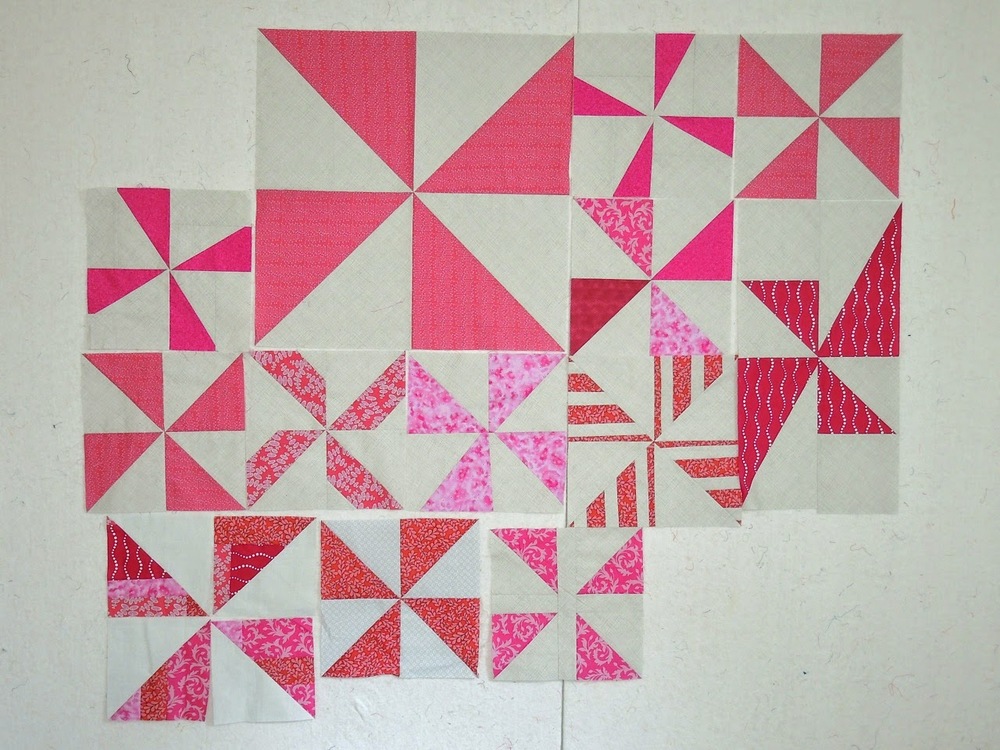
It is the move past this idea that everything has to be something that has to be tackled first. In this CreativeLive class, Playing with Pinwheels in Quilting, I want to help you do just that. We take a simple, common block - the Pinwheel - and turn it into so many different things. There is one basic way to do it, and then a million other ways. While I preparing for the class I had a hard time stopping. One idea begets another and another. Even while teaching the class on set I had even more ideas. 

Guess what? Playing is FUN!

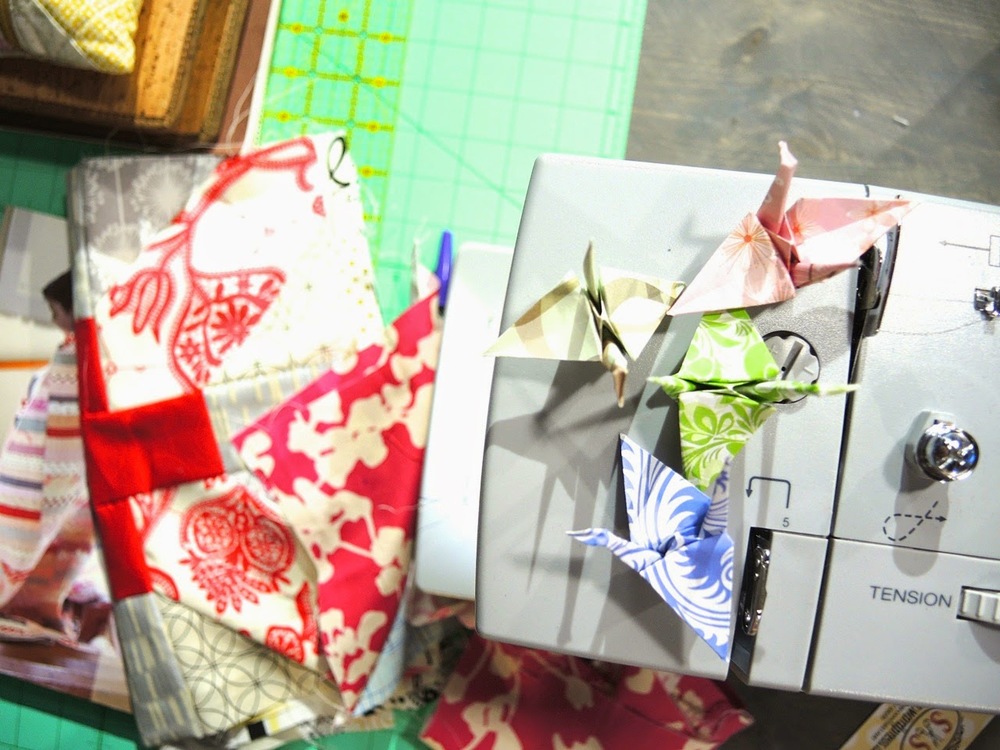
Now I feel like I could take so many of the ideas from the class and turn them into quilts of their own. The blocks I made may or may not turn into a quilt as they are. I, frankly, don't care. They represent my own little quilty playground. Not to mention design opportunity. For now, they are on my design wall to remind me that play is fun, that exploring an idea or a shape is worthwhile, and that sometimes things are simply pretty.


If you have any questions about the CreativeLive class, don't hesitate to ask. And all feedback is welcome. They are new with quilting classes and constructive comments can only help. Did you know there are free previews of all the classes? 


You can also share reviews and your inspired work with the CreativeLive community. I keep up with the course pages, so please share your work (in addition to blogs and social media if you are active there).


Improv Quilting Basics - On CreativeLive


Oh, Improv!

After years of teaching improv to quilters I know firsthand that it isn't something that comes instinctively or easy to many. I also know that it isn't as difficult as many believe either. It is a technique that can be taught and learned, if you embrace it and not fight it.

My latest CreativeLive class is all about Improv Quilting Basics. I walk you through all the steps from preparing fabric to turning blocks into a quilt top and even quilting tips. So often I see improv discussions that talk about the process, but they never move beyond making a block. There is very little public discussion on how to actually turn those efforts into a quilt. That discussion is precisely the bulk of this class.

Whether you want to go with total improv, are looking for more structure, or just want to play and see what happens, you can get direction for all that from this class.

The studio students worked on two different projects in teams. You will see how they went from a pile of fabric to this small tops/start of big tops in just a few hours. The first group - Karen and Tracey - worked with some neutrals. It was a collection of solids and near solids that I put together with some fabrics from the Calligraphy challenge on Spoonflower, hosted by Uppercase Magazine. (In my head it was called the Ink quilt.) They worked from a pure improv standpoint - they cut up fabric, sewed it back together, then puzzled it to turn it into a quilt top.

Nicki and Michelle worked on a stack of low-volume fabrics (a nice follow-up to the Quilting with Low Volume Fabrics class) with pops of red. The combination was from a student in Inuvik and I'd wanted to see it in action again. In their case they built up their improv blocks and we squared them up. In the class we talk all about the tips and tricks for building improv slabs this way and considerations when putting them together. And look, they've finished what they've started too!

The whole time the students were sewing I was playing myself. You get to see that too. I show yet another way to put a quilt top together and discuss more options. Not to mention a tiny trunk show of some of my favourite improv quilts.

At the end of the day I want my students in Improv Quilting Basics to feel totally comfortable working improvisationally. That means different things to different people. But having improv in your skill set can mean so many things. It doesn't just have to mean that you make slabs or totally improvised quilt tops. It is about embracing a spirit that means you don't freak out when you run out of background fabric, or gives a you language to translate your inspiration. Improv means trusting the process.

Oh, and in case you were wondering, I let the studio students keep the work they made. I only asked that when they finished that these quilts be donated to charity.


Translating Inspiration in Quilting - on CreativeLive


Oh, the elusive inspiration. Or the overwhelming inspiration.

As quilters there is inspiration everywhere - other people's quilts, fabric stacks, a pattern jacket, books, and even the buildings, flowers, and colours around us. It is one thing to see and feel all this inspiration, it is quite another to turn it into a quilt.

As a teacher and long term quilter (coming up on 17 years now) the way to turn inspiration into a quilt is a frequently asked question. It can't, however, be answered in a FAQ section on the blog. It can be taught. Rather, the tools and steps it takes to turn inspiration into a quilt can be taught. That is precisely the point of this class on CreativeLive.

If you've taken a webinar with me or a class on intention, this is a more literal interpretation of the process. In this class I break down the steps required to go from idea to quilt. Better yet, there are tonnes of examples - from me and the studio participants. It was great to work with the ladies in the studio with me at play with their ideas. Watching the class, you get to hear and see their thought process. It feels more like a workshop session where we feed off each other as opposed to the teacher at the front of the room.

One of the examples I brought to class was all about a bridge. We have an amazing bridge here in Calgary, called The Peace Bridge. I've loved the lines of it every since it was announced. Not surprisingly, it is often photographed! During the class you can see where my thoughts went and how I played with fabric. You will also see that I never quite landed on what I want. That is totally part of the process though - translating inspiration is an iterative process. So some day soon I will revisit those blocks again and see what it needs to be.

In the meantime, don't hesitate to check out the free preview of the class on CreativeLive. This is such a treat, to see exactly what you are signing up for in this detailed first lesson. 

And speaking of bridges... Random aside from my trip to San Francisco to film the class. Totally cliche, but I walked the Golden Gate Bridge and it was really cool. Even when I got caught in a windy downpour just as I hit the other side.


Quilting With Low Volume Fabrics - on CreativeLive


Let's talk Low-Volume. (You can whisper if you want to, I am.)

Low volume fabrics remain trendy. You see them popping up in fabric collections, shop bundles, and in quilts. When I pitched A Month of Sundays nearly 4 years ago the term and the fabrics were just starting to emerge into quilters' consciousness. Now, you can hardly look anywhere without seeing these gorgeous fabric options.

There are so many people, however, who stop me to ask questions about just how to use them. Some people think low volume can only means black and whites, or only tone on tones, or only colours. Some people only think you can use low volume prints as backgrounds as a completely scrappy look. Some still believe that low volume only means light fabrics or that there is no contrast in a quilt made from low volume fabrics.

In both A Month of Sundays and my CreativeLive class, Quilting With Low Volume Fabrics, you can learn that all of these things are small little pigeonholes in the possibility of using low volume fabrics. By following along we learn that the principles of colour, value, scale, and texture still apply with low volume fabrics. We learn that while there are no wrong ways to use these fabrics, there are better ways to use them in order to enhance your quilt design.


In the class you can also sew along with us. I chose the famous X-Plus block as our exercise. We go through different fabric combinations to illustrate all the lessons of the class. The studio audience is learning right along with you. That means you get their insight and A Ha! moments too. It truly is a learning by doing exercise.

At the end of the class you will be very comfortable using low volume fabrics effectively in your quilts. You really can't go wrong with these fabrics. They are a great alternative to white, cream, or grey backgrounds, but they are so much more. Knowing how to pick and use them means that your options for fabrics opens up tremendously.

This was my goal in A Month of Sundays as well. But for those of you who learn by doing or watching, grab the class. Then you can hit the book for some inspiring quilt designs.

Oh, and all the Craft and Maker classes are on sale at CreativeLive until March 15. That means you can grab any of my classes for just $19.

Announcing My CreativeLive Experience


It's been a few weeks since I filmed my CreativeLive classes. It was such an intense experience prepping and filming. I wanted to deliver classes that you've not seen from me before. Some are an extension of things that I do and have done, but with more details or a different twist. Some are totally brand new. That's what made the prep so much work. Totally worth it though, I think these classes are awesome. If I may say so myself.

If you've ever met me or taken a class from me you know that I can talk. But wow, filling two straight days of airtime was tough. That means you get a lot of stories from me throughout each class, on top of my direction, tips, and lessons.


CreativeLive is a well oiled machine. They know what they are doing in filming and delivering classes. It was quite phenomenal to work with them. Commitment, enthusiasm, and professionalism. From my producers to the camera operators to the assistants who kept me in tea and my voice cracked, everyone was wonderful.

If you've not heard of CreativeLive before I think you will be very pleasantly surprised by what they have to offer. Most of their classes are first broadcast live. And when they are live they are free to watch. You can then purchase from their catalog if you want to hold on to the class. 

And the catalog is filled with some amazing classes. Their Craft and Maker section is growing, but don't hesitate to check out the Photography and Money & Life sections (my favourites) too.


Oh, make-up! I'm a mascara and lip gloss kind of girl, when I do get dressed up. So having my hair and make up did was quite the treat, if not adventure. But I had a great make-up artist who made me look just a little bit more so. Such a simple thing, but it was nice to know I didn't have to worry about my looks when being immortalized like this. Such vanity, but definitely a part of the stress. I won't lie about that. Much thanks to my best friend here at home for helping me pick my outfits.


One of the really fun things about CreativeLive is the studio audience aspect. As a quilt teacher it can be really difficult to teach without the response from students. For my classes I had 4 incredible women join me in the studio. Karen, Michelle, Nicki, and Tracey were all from the Bay Area and took time off work and their family schedules to join me in the studio. I had so much fun with them! Such enthusiasm and they really embraced what I was trying to do both in the studio and for everyone watching at home. 

The other great thing about having an audience is that all the concepts I teach get demonstrated different ways. So it isn't just my work that you see. I really find that we feed off of each other in a classroom environment, so getting to see their work helps everyone who watches.

(And that is Kris with us up there. He was a lovely director!)


Aren't these lovely? Michelle made a crane for each class we filmed. It was such a lovely feature on the set. While I didn't get a chance to take many pictures throughout, I couldn't resist snapping this pic before everything got packed up at the end. A perfect end to our time together. A perfect reminder to let your creativity take flight.

In the coming weeks I will talk more about the classes in detail, but you can still check them out now.