Morning Make

Morning Make 2023 - Stitched Mosaic Portrait

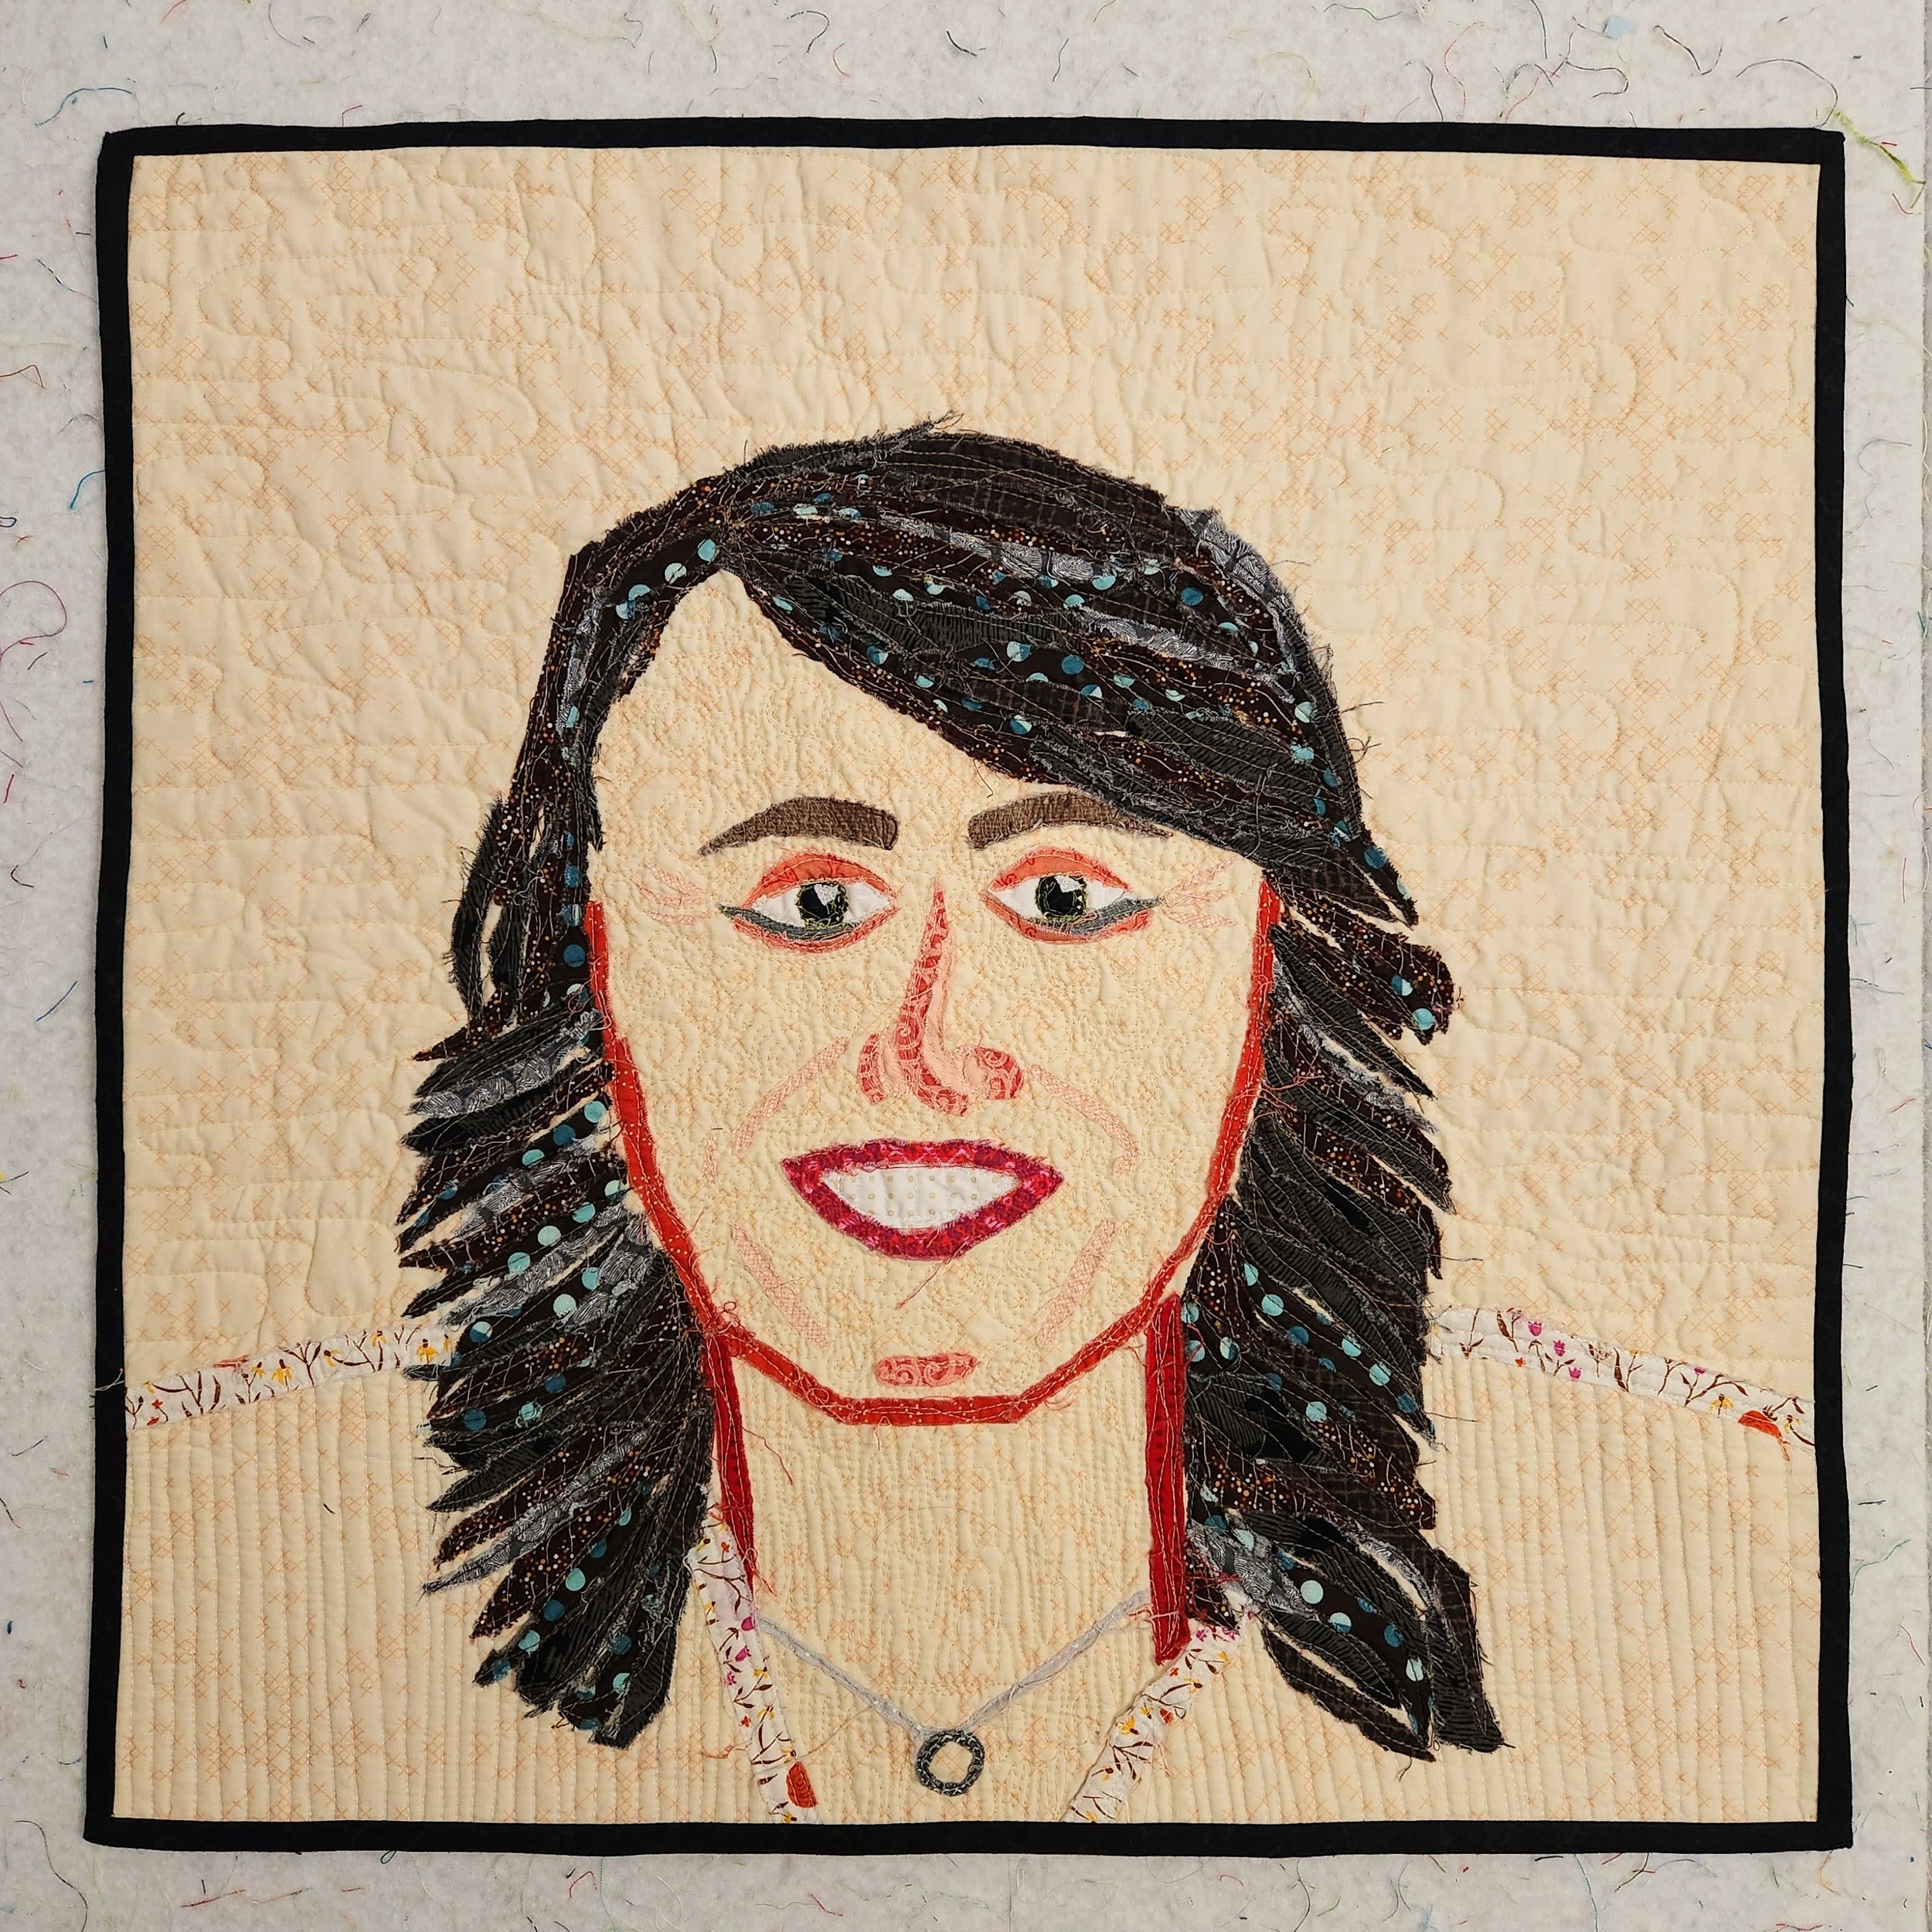
For the third quilt portrait I turned to Timna Tarr. I first encountered Timna’s map quilts back when I judged QuiltCon. Her work is creative and unique. When she starting making her mosaic quilts I, along with many others, was transfixed. She started with barnyard animals but has progressed to some very unique portraits. Without a doubt, I had to try this technique in my year of portraits.

There is a book out, Stitched Photo Mosaic Quilting. I signed up for her on demand class via Creative Spark instead. The class was great. Timna broke down the technique into simple steps with clear instructions. It was easy to watch it once then head straight to the fabric.

Once you’ve picked your starting image you go right ahead and draw a grid over it. The diagonal grid is a suggestions of Timna’s technique, but not a requirement. Each square of the grid is one 2.5” block. Some will only be one fabric, others are made up of sometimes five! I don’t want to teach the technique myself that Timna gets paid to do, but she breaks it down into a layered machine appliqué to construct each block. I will admit, this was new to me, as was using invisible thread to sew.

I can’t lie it really was not a technique I enjoyed. Sure, I love the end results and overall look, but I didn’t really enjoy making it. So, so fiddly on some of those pieces! And I can honestly say I do not like the look of invisible thread. Yes, it is not that invisible. Partway through the project I kept thinking how much more I would enjoy this if I took the grid effect and then improvised instead. Stay tuned…

The picture I used was from a ski trip this past winter. We were skiing in clouds that day and everything was covered in a layer of frost, including me. It is such a happy memory and translating it into a quilt is a great way to capture it.

Morning Make 2023 - Collage Portraits

Up first in my portrait making, aside from learning how to draw, was something I was just a bit familiar with. Back in 2017 I took a class with Melissa Averinos on making faces in fabric. I made one face, loved the process, developed some grand ideas, then promptly did nothing about them. Needless to say, that’s why I chose to start with this technique. Also, I was using her book to learn the drawing basics so it was a natural extension.

In the book Melissa walks us through the basics of anatomy and shape. She outlines many ways your can interpret this with fabric, then encourages you to go for it. It’s all so very approachable. She also has tonnes of examples. You can see the myriad ways people, her students, took to the portraits. You also get to see a big selection of her own work. It is all inspiring.

The first photo I took to interpret in fabric was my headshot, the main photo on the homepage here. I found it an interesting challenge because it is hard for me to convey depth in the collage. It’s obvious in the photo but in the collage the shoulders look a little off. But can we take a moment to celebrate my hair?! She is quilted with a million thread colours and stops and starts, providing texture and depth.

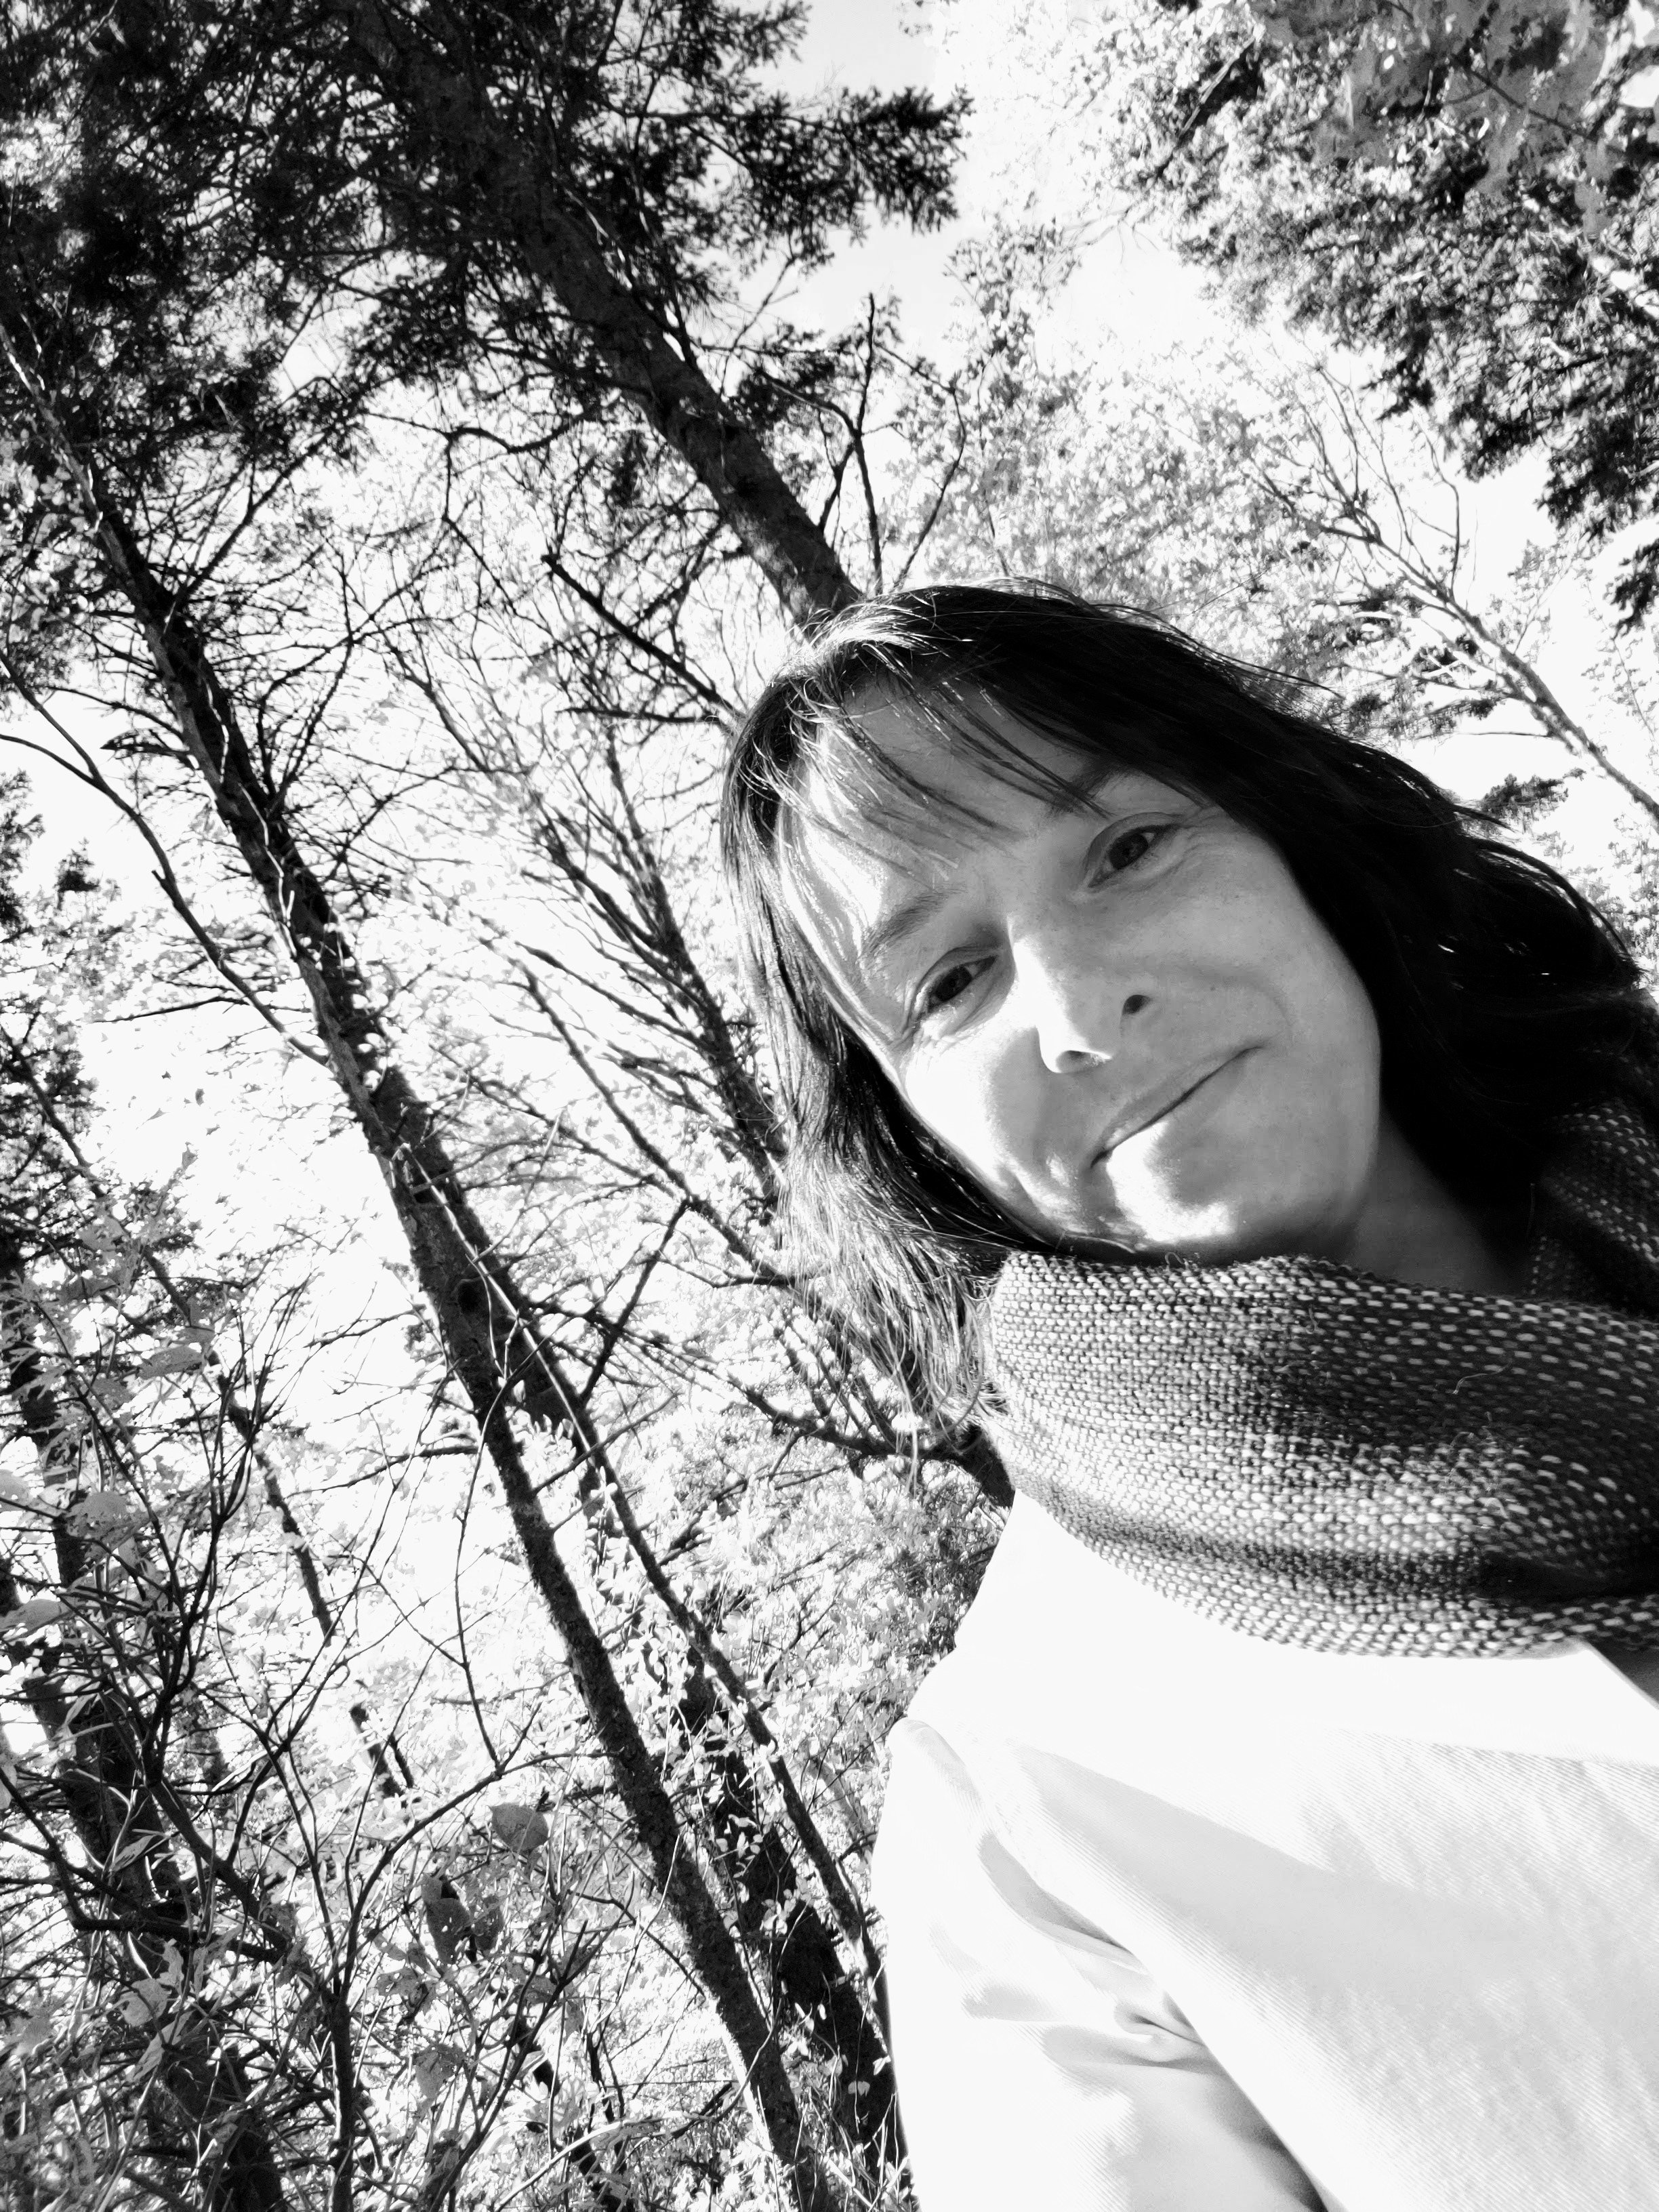
The second collage portrait I did was in black and white. I took a colour photo from when I was visiting Lucy Maud Montgomery’s house in PEI. I was just to happy on that entire trip and it shows in the original photo. I think the collage does not quite show that. In fact, it feels a bit skeletal to me. That being said, I still really like it. I played with being a bit more abstract in shapes and with value. To soften the whole thing I used a pale pink thread for quilting.

To finish both quilts I did give them a quick soak and blocked them. They are small (less that 20” on any side) but had got a bit misshapen in handling. This roughed up the fabric and I discovered places I hadn’t quilted as well. A few repairs with both glue and the sewing machine were needed. Then the mini quilts are bound with a single fold binding in a black on black print. I decided to be consistent among all my self portraits with binding and treated it like a picture frame.

These quilts were an excellent first start to this Morning Make adventure. Fundamentally, I am a quilter so fabric portraits are the way to go for me. Will I make more fabric collages? I’m not sure. the technique is freeing and effective, yes, but I don’t love the roughness of the raw edges. You do get ultimate freedom in cutting your collage though. I think this is a great technique for play and it may instead stay in the repertoire for that reason, even if I don’t make another full portrait quilt with it.

Morning Make 2023 - A New Focus

In the last months of 2022 I decided that this year would be different when it comes to Morning Make. Rather than switch it up each month, as I’ve done since 2020, I decided to focus. The three years of exploration and play with different and new things were absolutely awesome, but I was ready for a change. More importantly, I was ready for a deep dive. It was easy to pick my focus, there may have been a slight influence from the BBC, but I did have the idea before I became obsessed with a certain show. My 2023 Morning Make focus is portraiture.

Now I will fully admit that I have extremely limited drawing skills. But when I started quilting I had extremely limited quilting skills. You only get better by doing. Of course, there are a lot of ways to tackle learning new skills and drawing is not the only way to do a portrait. It felt, to me, like the most logical place to start. I mean, if you can’t handle how a face comes together with a pencil you aren’t going to know much about how it might work in any other medium.

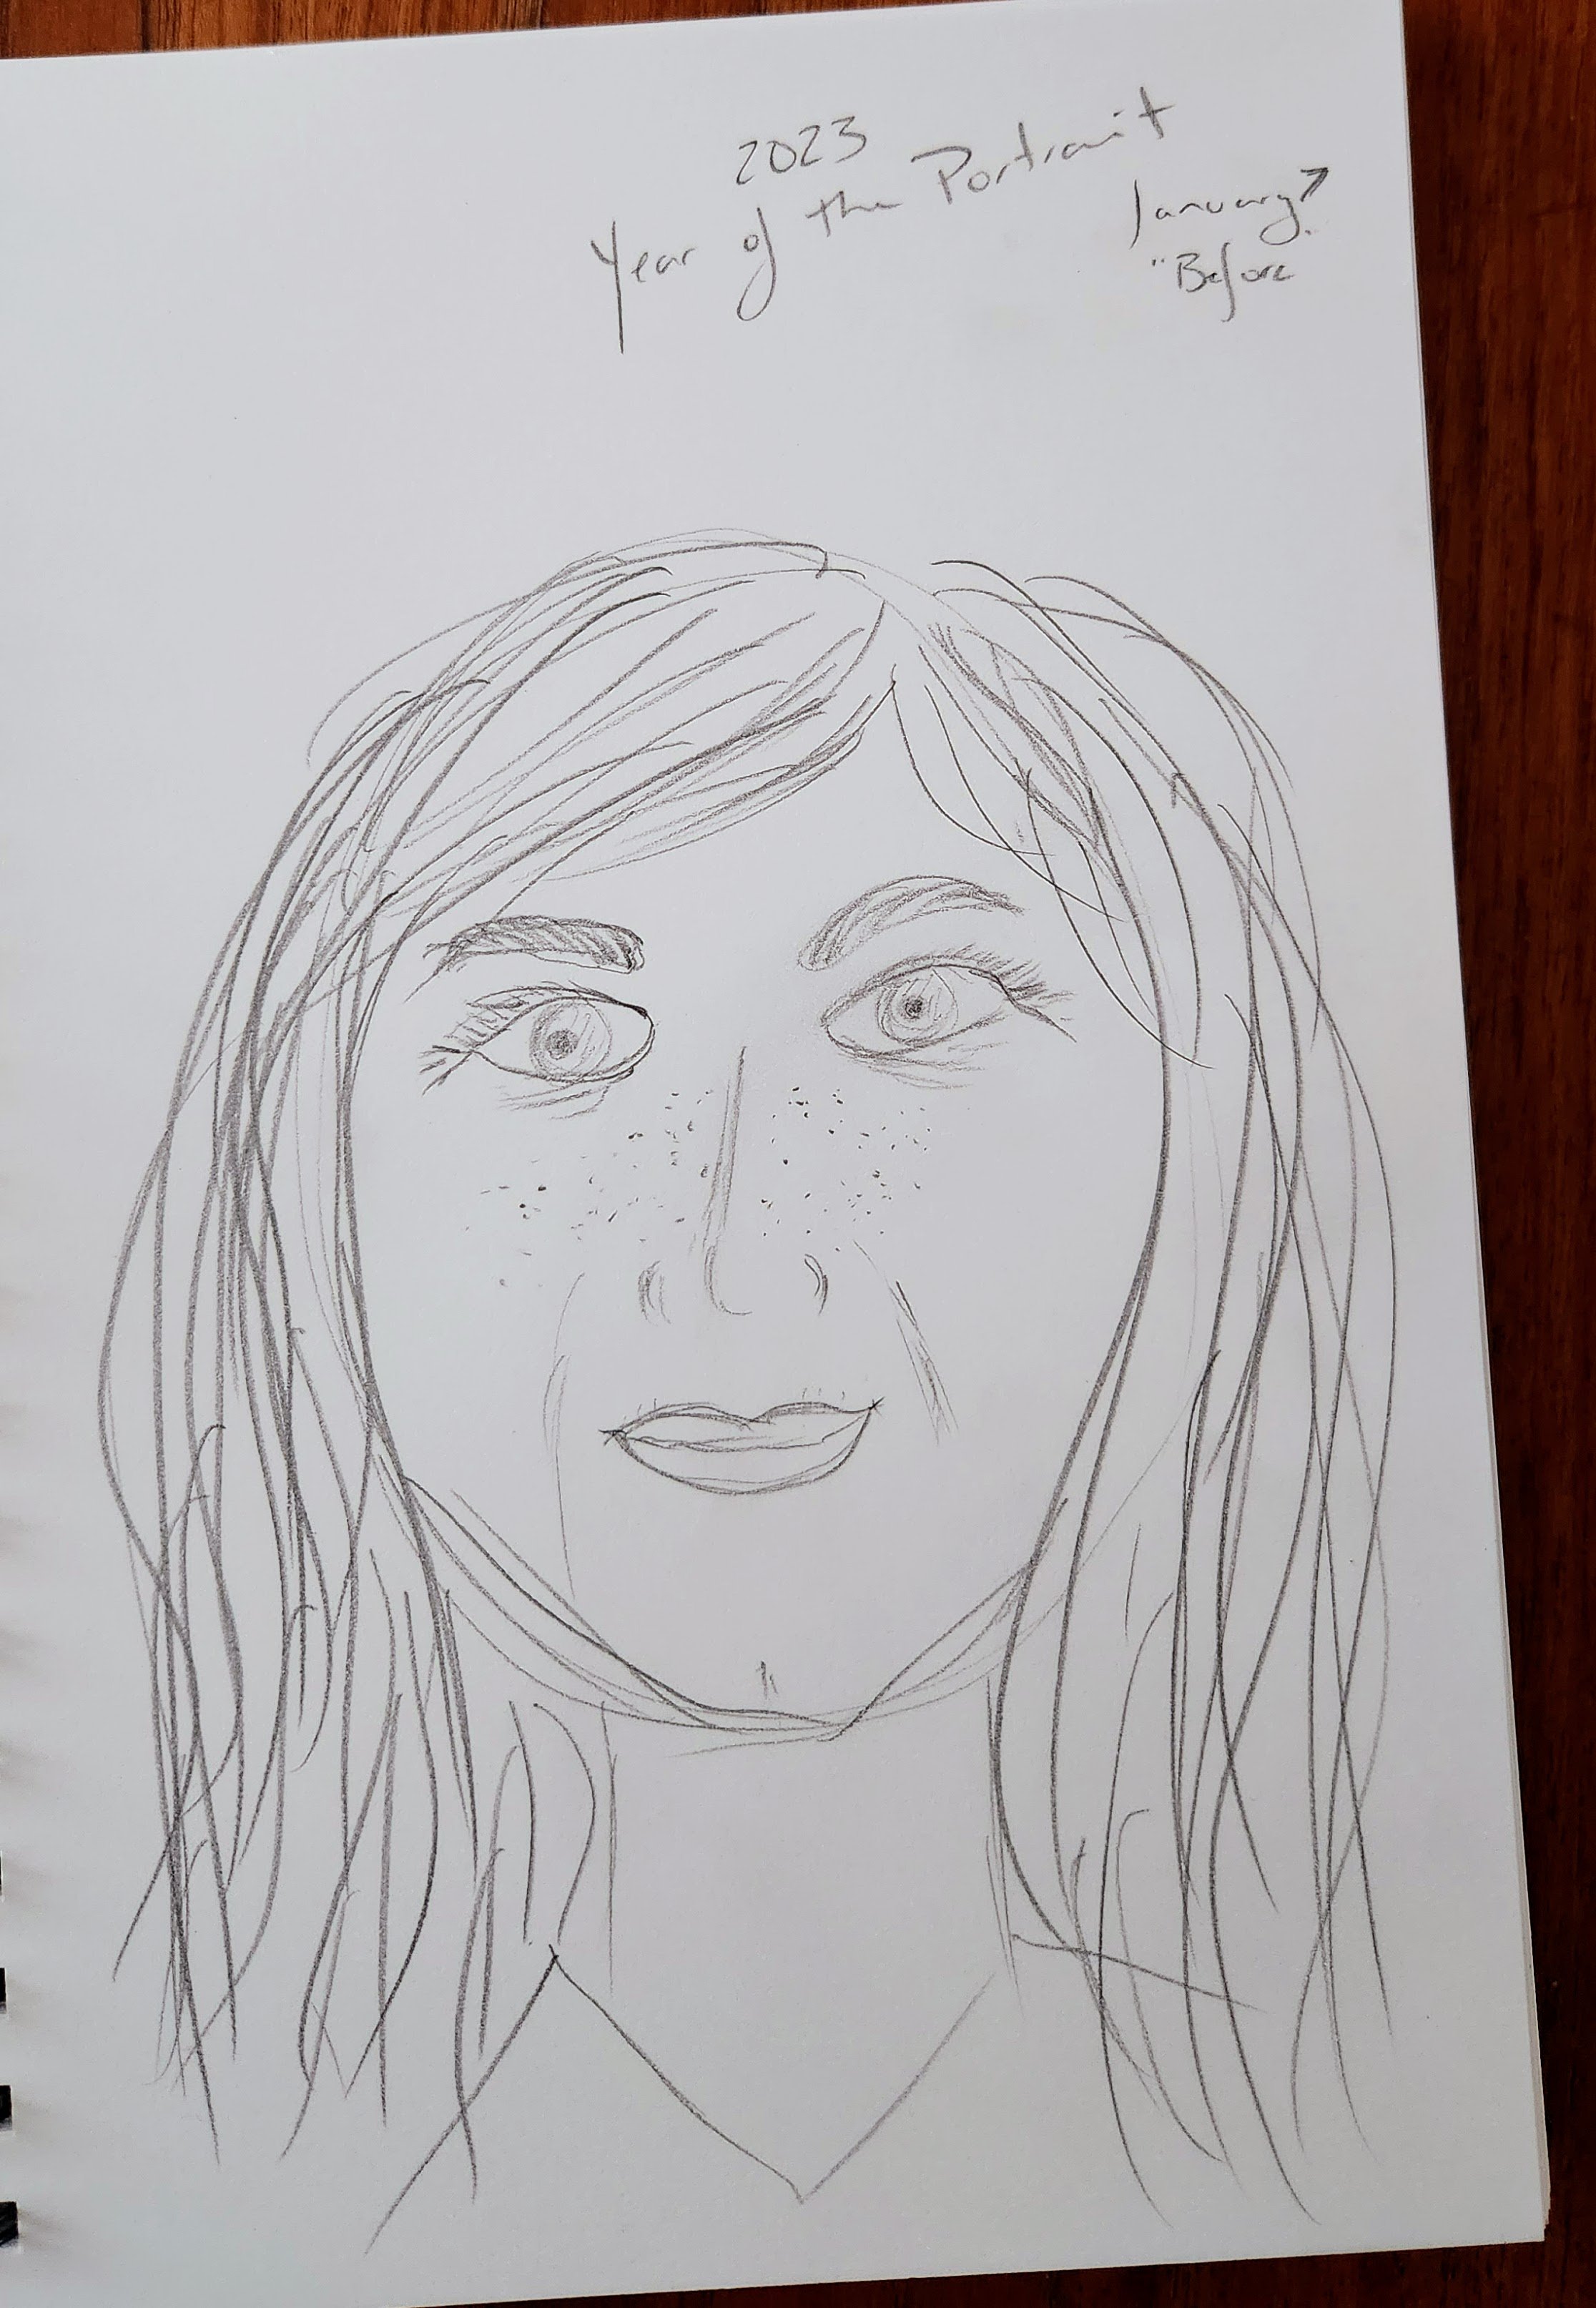
This is the very first portrait I drew this year. It’s about the same skill level of me in 6th grade. As I said, drawing is not my thing. To learn the basics I went back to one of the teachers I’ve had - Melissa Averinos. In her book and class on Making Faces in Fabric she covers the basics of anatomy and seeing a face, before you get to the fabric part. She suggests drawing a face first, before you’ve learned anything, so you can see how far you grow. So here is my first face.

And then I dove in to the details. Little things like how we all draw the eyes far too high on the face. How to sort of draw a nose. Using lines to show lines. For a few weeks I did nothing but draw. The vast majority of it is very bad. That’s okay, you only get better by doing.

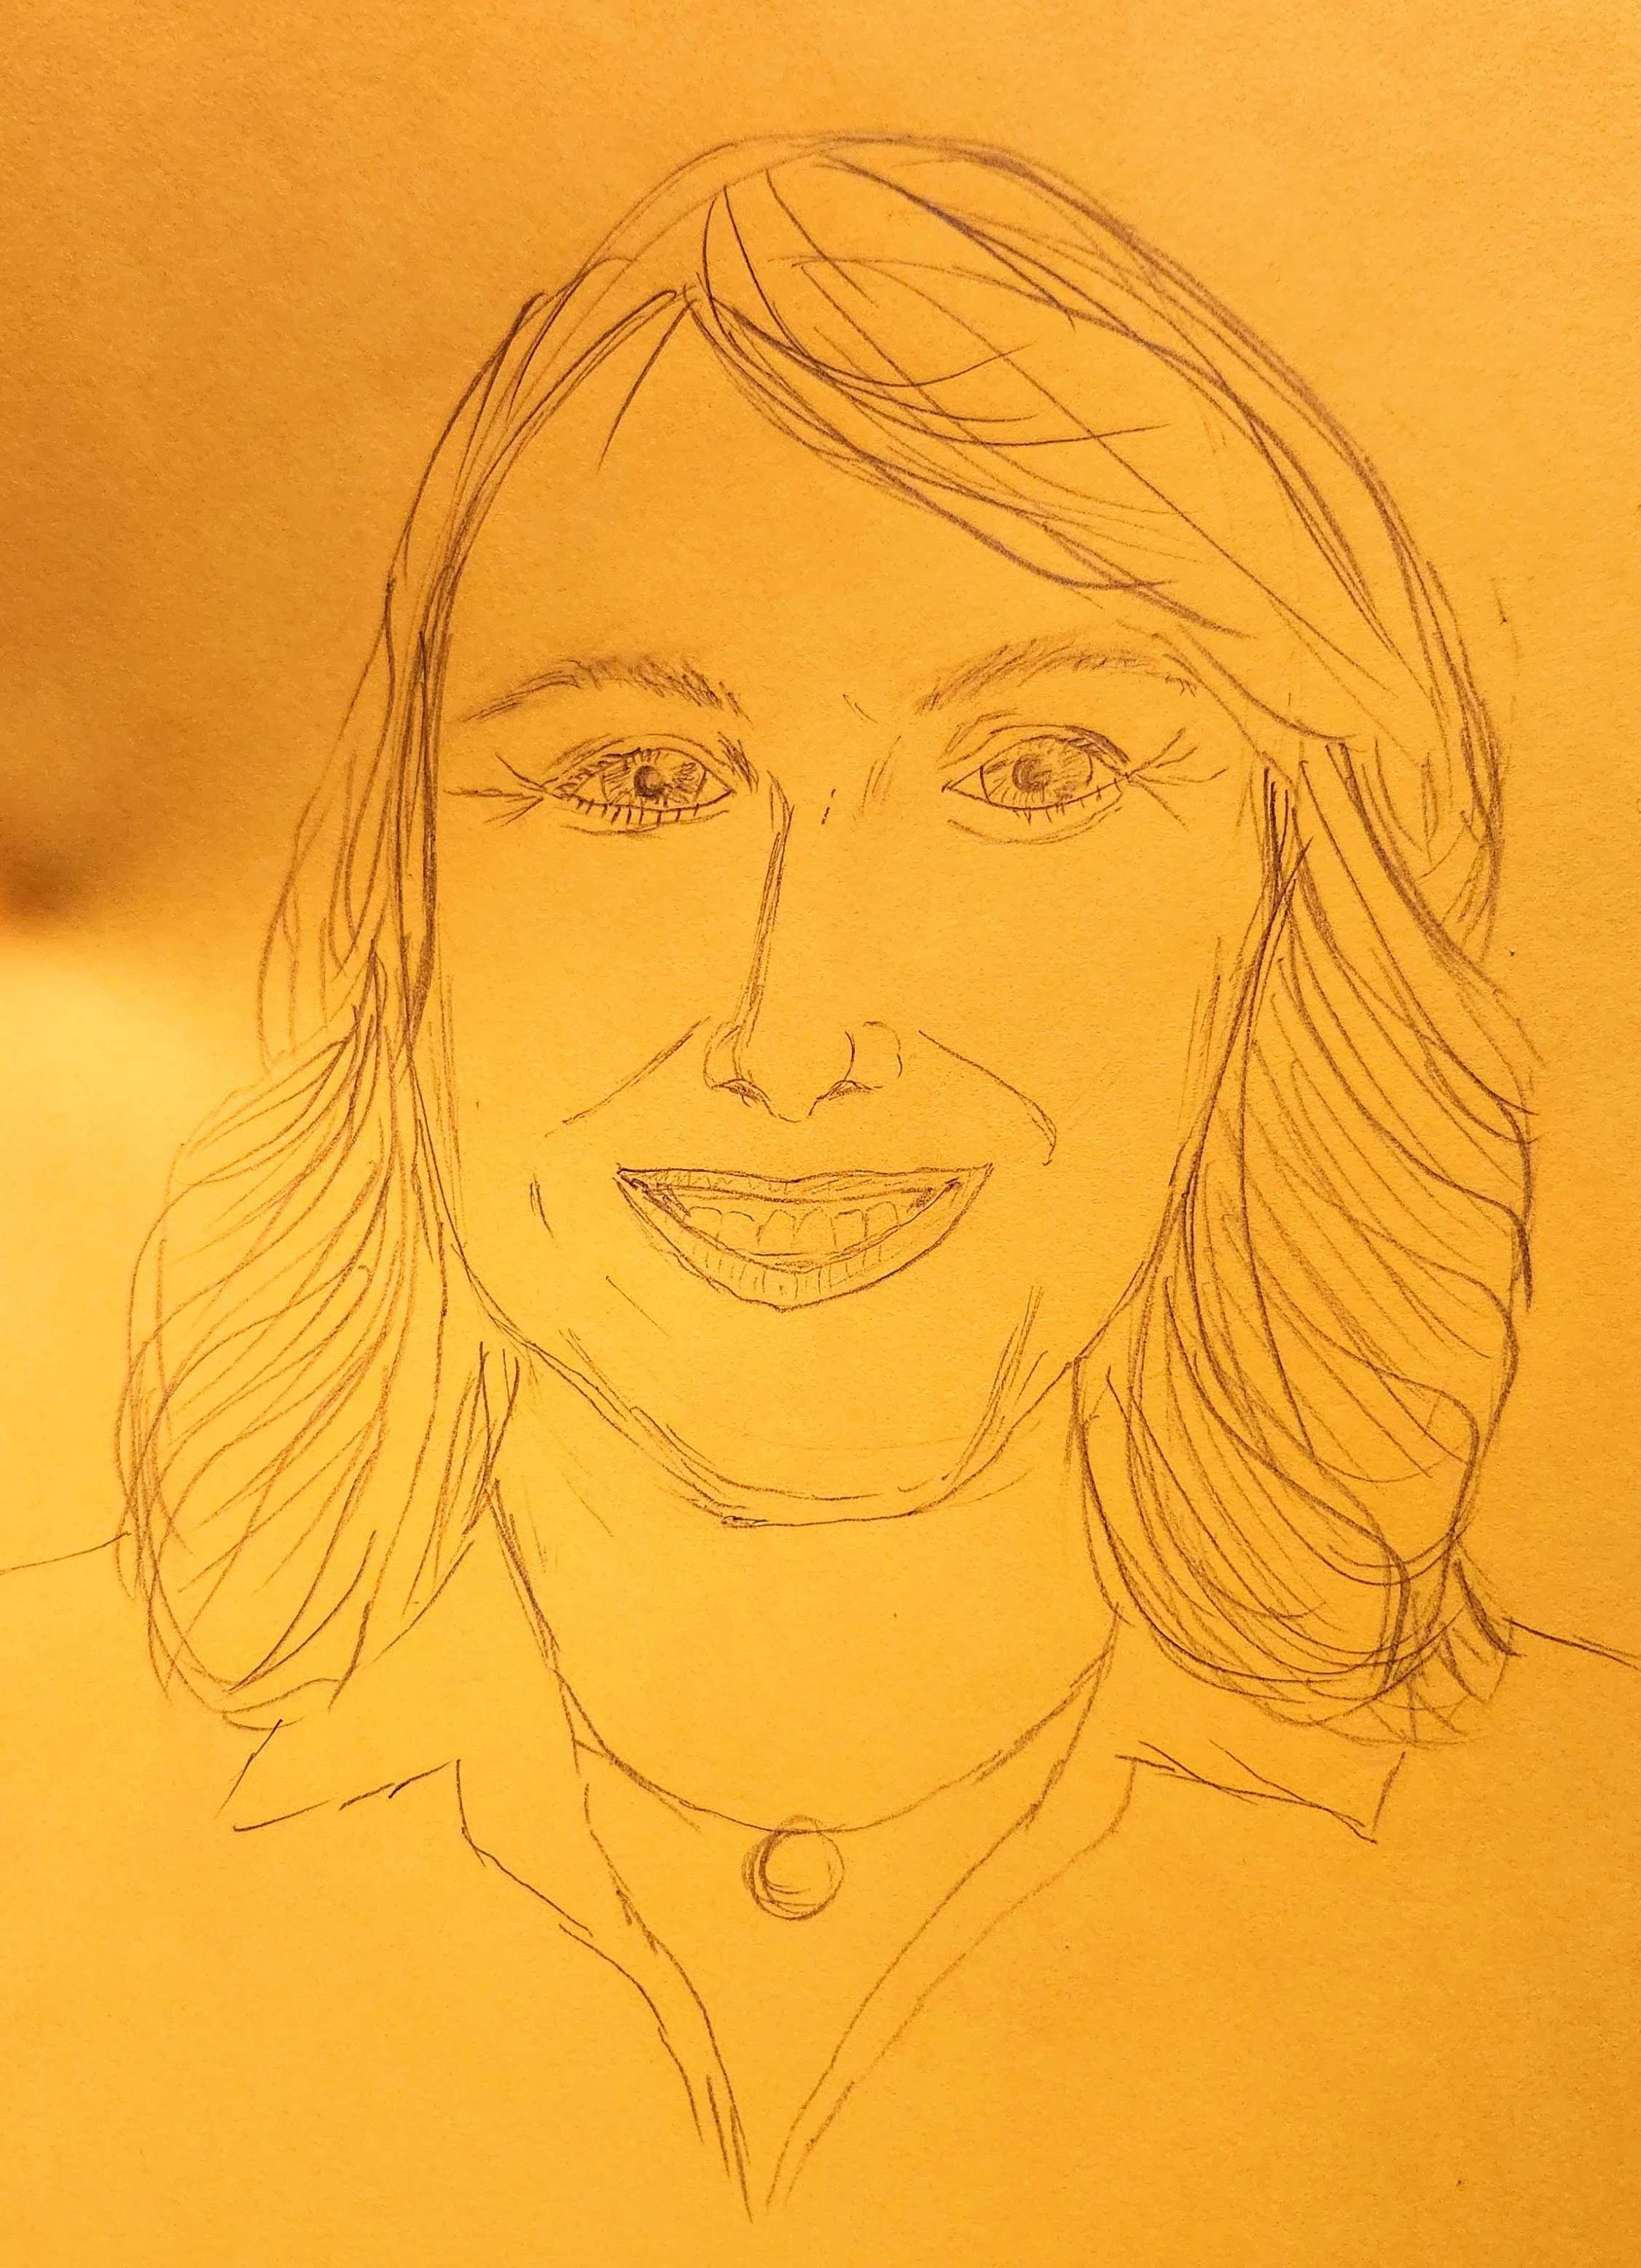
See? In just a few weeks I got much better! I’ve learned that smiles are incredibly hard to draw though. Those teeth! But I like pictures better when I am smiling, so I guess I will have to figure that out.

Once I felt sort of comfortable with the basics I scrolled my selfies and practiced some more. Trying different styles or techniques. Simplifying things, paint, overcomplicating things, playing. I interspersed this with some fabric explorations, how could I not? For now, however, I want to show you the work on paper.

Am I in love with any of these? No, but they are the ones I like. They are the ones that I feel captured a likeness. Sometimes the jaw is wrong or the cheeks too wide or the nose too straight. But they still look like me.

So far I am realizing that I fall into a less is more camp when it comes to drawing. I want to get the likeness and the energy with the fewest amount of lines as possible. Does that mean I won’t try other things? You know I will. I’m a long way from oils or a detailed watercolour and I don’t know if charcoal will make it to my hands, but my confidence is building.

Speaking of confidence, it is a big thing to stare at yourself this much. Taking a selfie you like is one thing, turning that into something else is a whole other thing. It requires you to stare at yourself a lot. A lot. I am so far removed from the insecurities of my youth when it comes to my face, so this isn’t jarring or anything. But it is eye opening. I have more wrinkles than I thought. My dimple is more prominent than I ever pay attention to. My forehead is still very much a fivehead. As part of my recovery from depression I need to love myself more, give myself more compassion. While I realize this whole experimentation had the potential to make me overly critical and, thus, worse, it has had the opposite effect. I’m enjoying noticing the details, I’m appreciating the life in my face. I’m falling in love with myself. I chose self portraits to start simply so no one else had to feel bad at my mediocre skills drawing them, but now I am grateful.

December Morning Make 2022

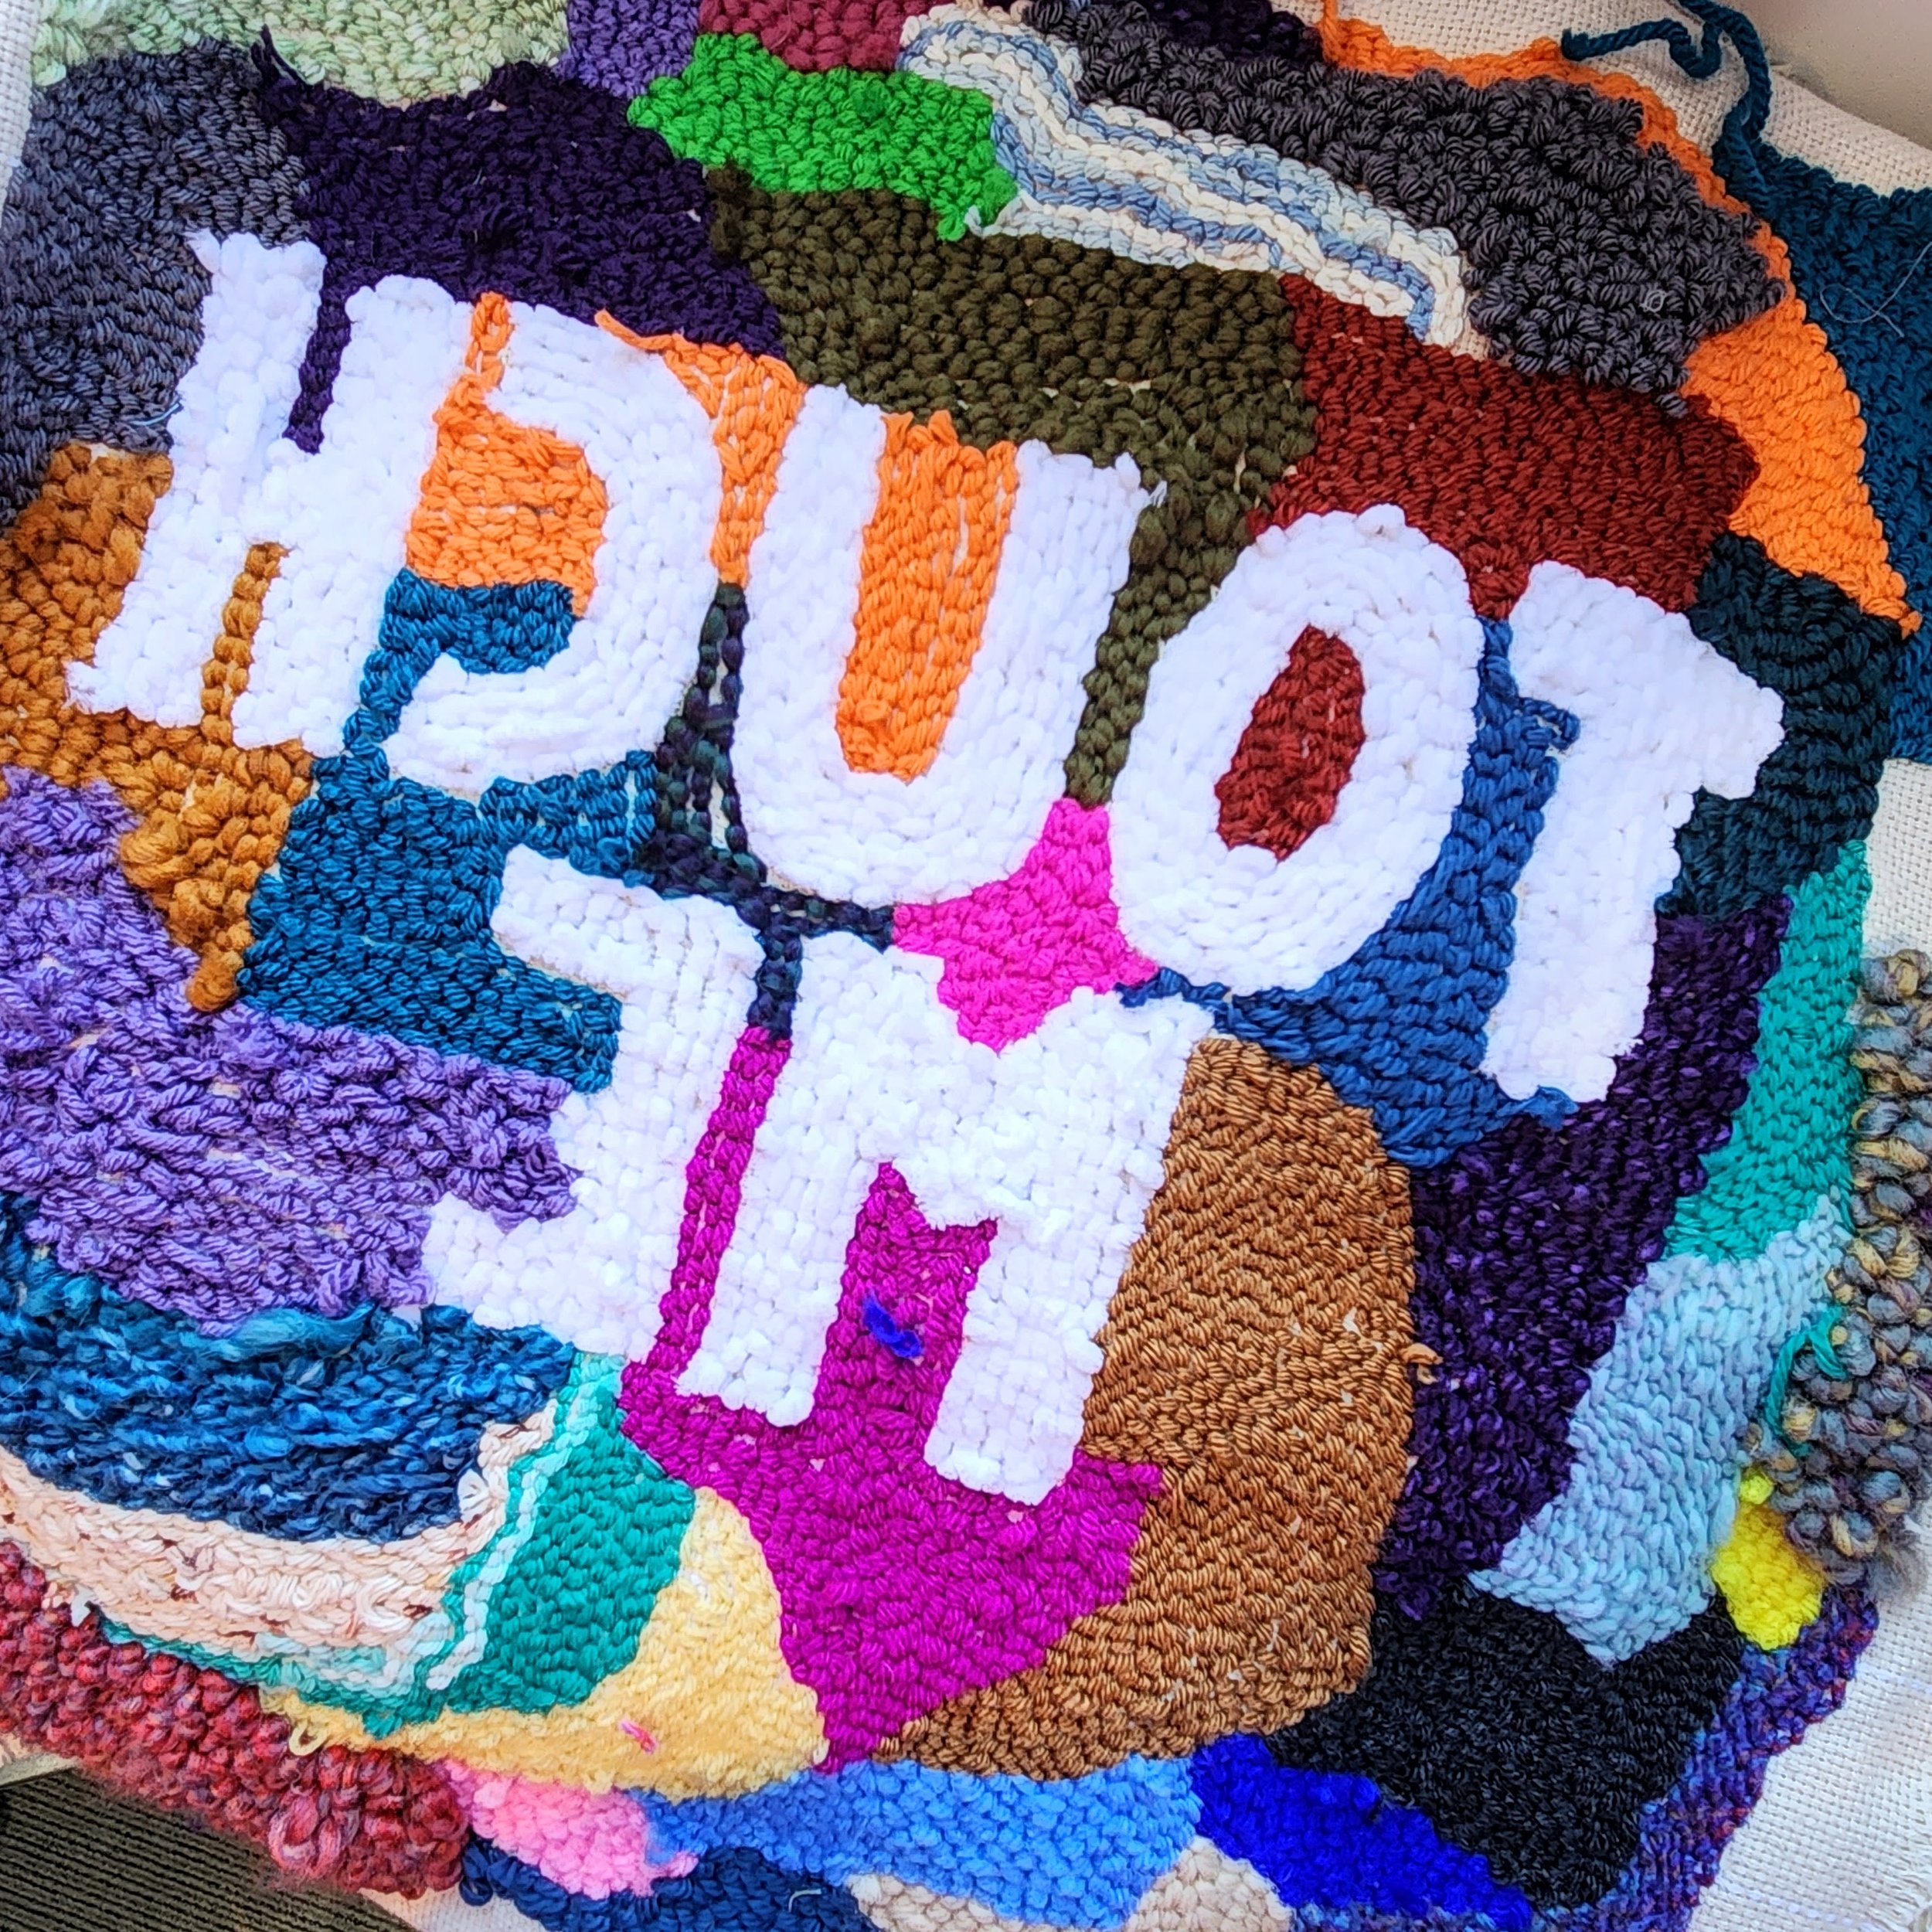
A bit too on the nose?

In December I dug into my daughters’ craft supplies, augmented by yarn scraps from a dear friend who knits, and experimented with punch needle. Each day I used one little ball of yarn to randomly fill a space. It’s easy to do and doesn’t take long at all. Indeed, some morning’s I was at it for only 5-10 minutes. In the crazy days of the winter holiday season it was just about perfect.

We had a ball of that ultra soft acrylic yarn in white. A fake chenille? It was the right choice for the directions.

I’ve been thinking about touch a lot this winter. Realizing, mostly, how important it is to me. Not that I am a huge smuggler or hugger, but I do love a good hand hold. I was reading about how you can get your own body to release dopamine and serotonin and reduce cortisol (the stress hormone) through non-sexual touch. I found myself gently petting or rubbing my own hands in a calming gesture. My husband thought I was weird, if I’m being honest, but I found it very helpful.

Thinking about touch and seeing the benefit of these simple hand movements for myself also made me realize that this is part of why I like hand work. Using your hands isn’t just useful for the task at hand. It activates something else, something associated with the sense of touch outside of the brain’s task. When I am getting stressed or ansty I tend to feel an energy in my hands that is distracting and uncomfortable. I am often looking for an outlet to ‘get it out’. The more hand work I do, the more active my hands are in a positive way, the less I feel that bad energy.

Punch needle itself is practically fool proof with the right tools. Obviously some yarns and tools are easier to work with. It really does help, as well, to use the right base cloth. If I were to do this again I would upgrade our punch, the cheap plastic one we had was nice for being adjustable, but not very comfortable in the hand.

One of the things I quite liked is that the back is/can be as neat as the front. Depending on whether you used the punch from the front or the back it changes what you see, but both work. Varying the thickness and type of yarn as well as the depth of the punch meant I have a lot of textural and visual variation in the piece. Being open to the scrappy nature of this comes naturally for me as a quilter. If I hadn’t used words I could have chosen which side to display.

In the end, I mounted the piece on an old dollar store canvas with a staple gun. We don’t need another pillow in this house and I liked the visual of a mounted piece.