"quilts"

Wish for Peace

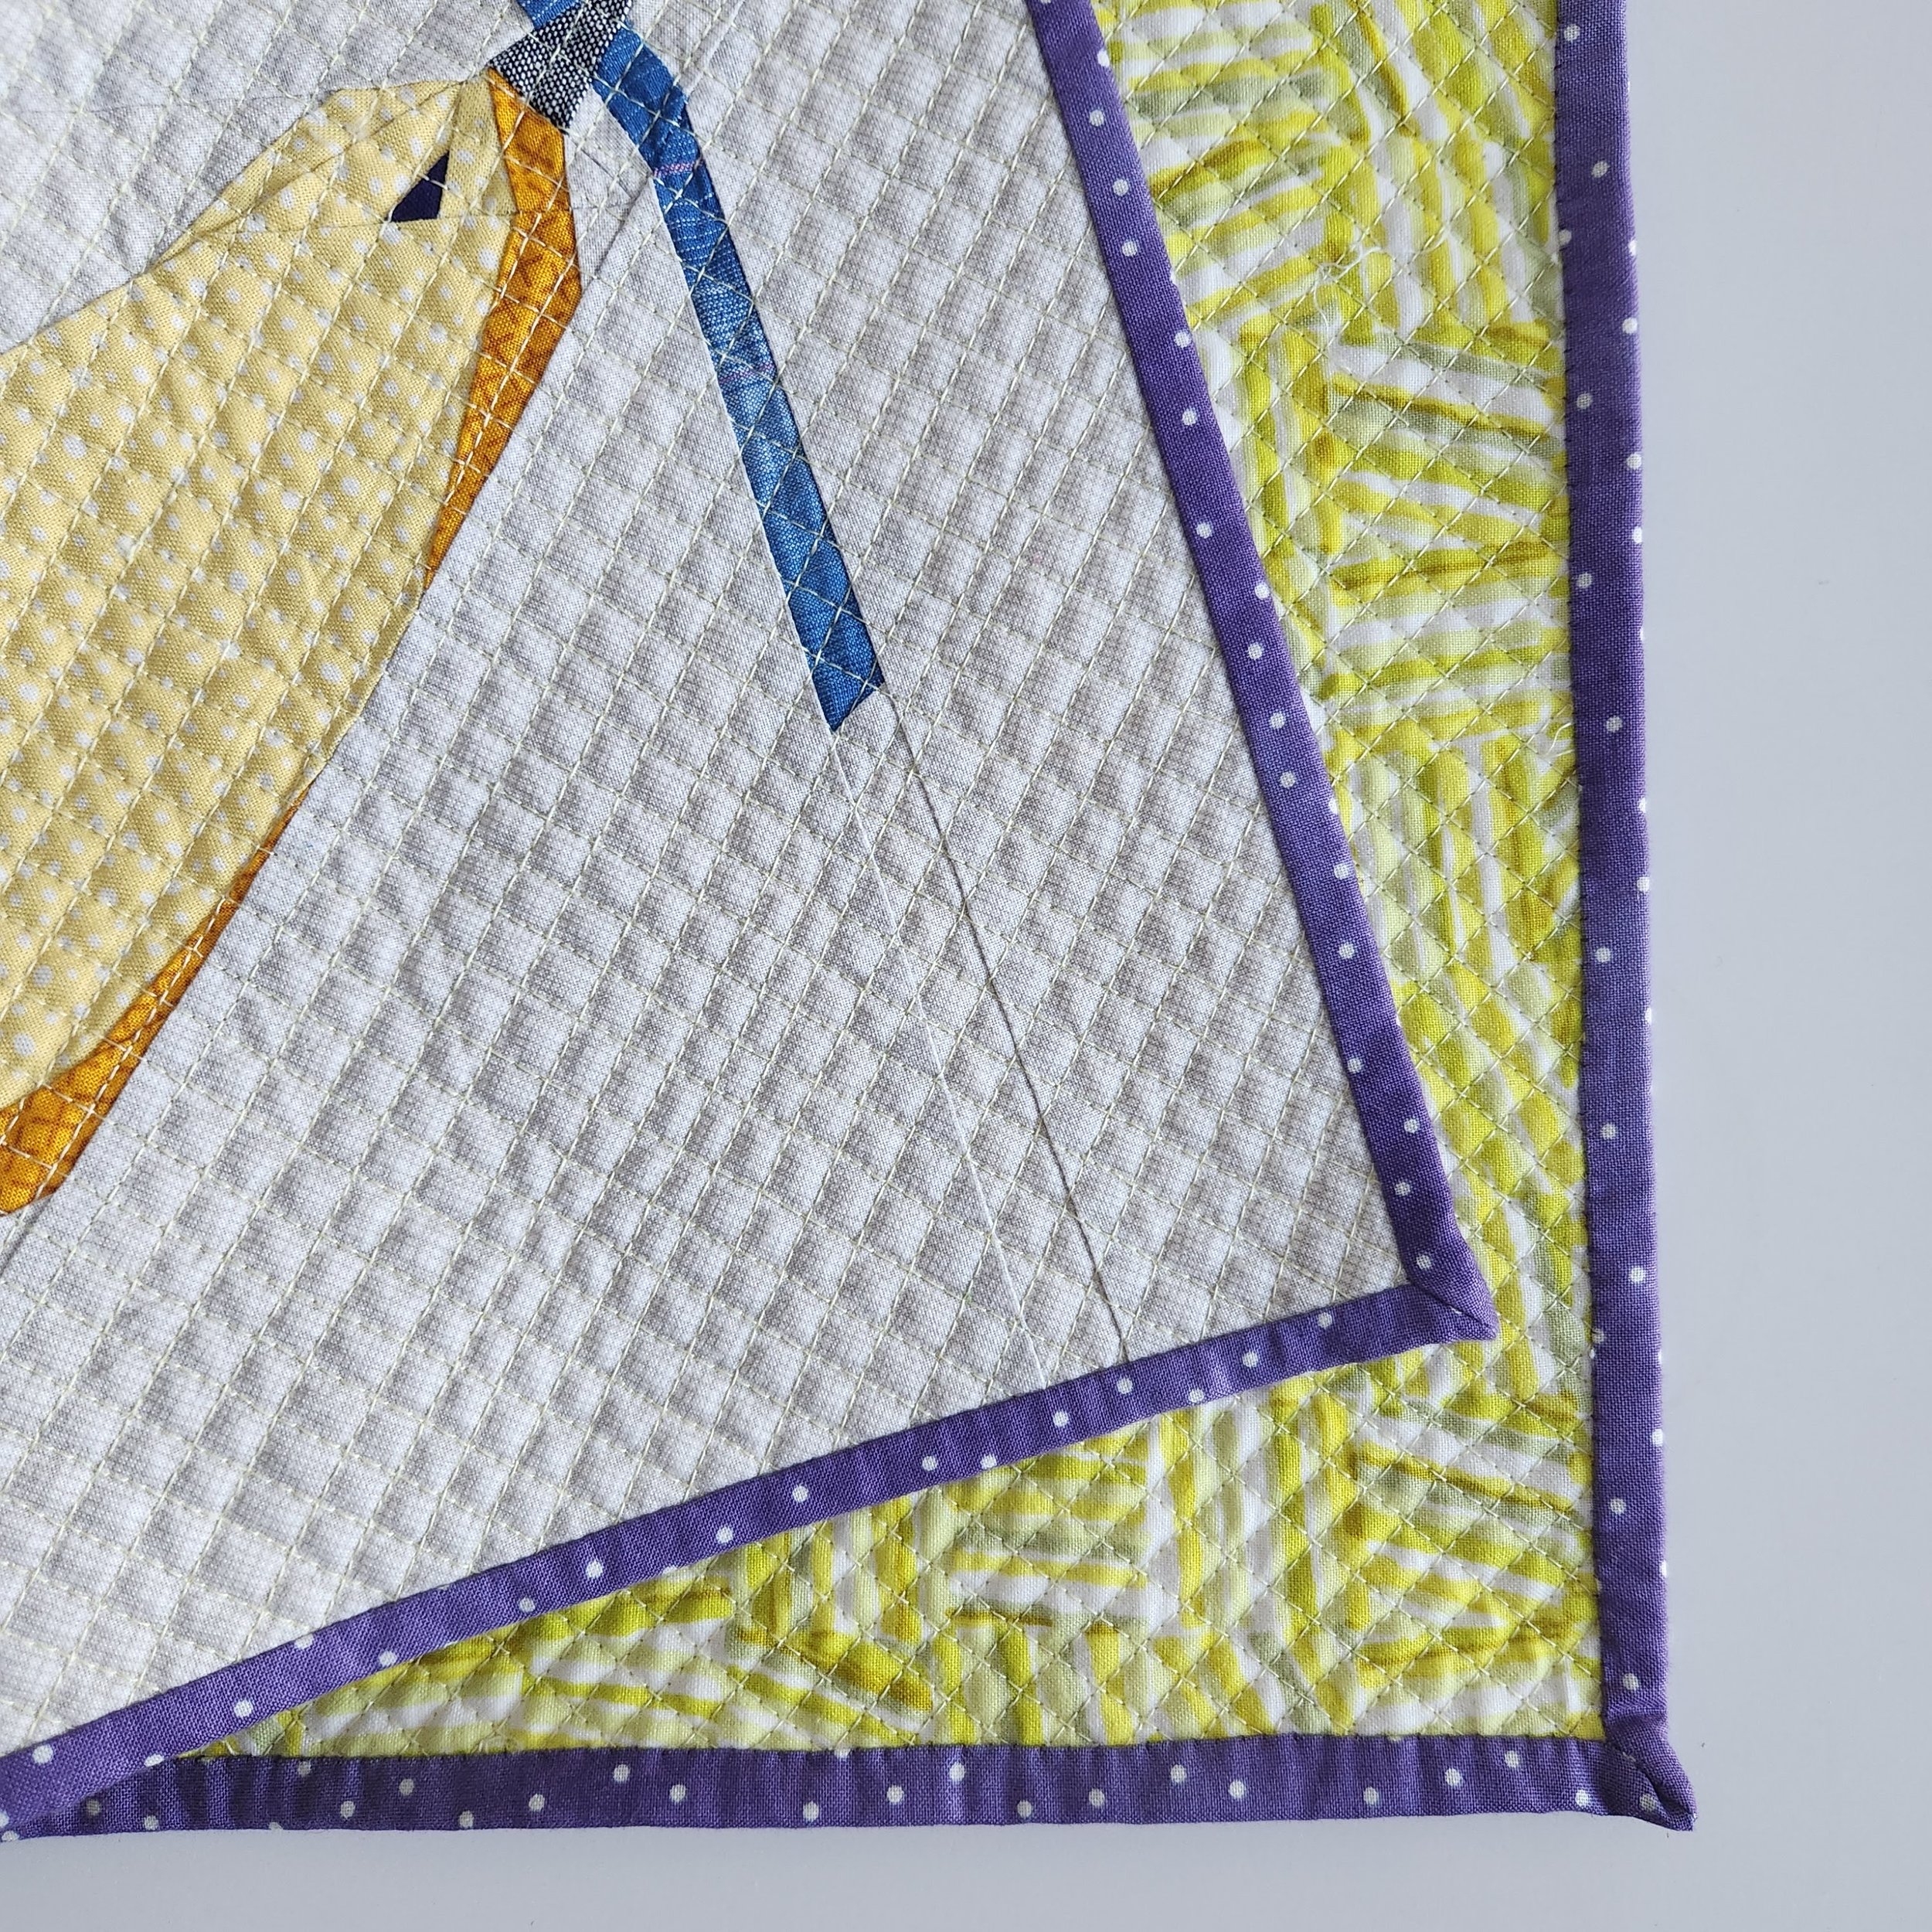
Searching for peace. The world is scary and depressing and dark these days. I won't lie, it's getting to me a bit. So in a search for a dopamine hit a few weeks back I looked for a quilt to finish. I had this gorgeous block - pattern by Tamara Kate Designs - that was perfect. On theme plus a 21" square so a quick finish. It's not going to solve any of the world's problems or bring us all peace, but one ray of sunshine means I can face it a bit better and with a more loving heart.

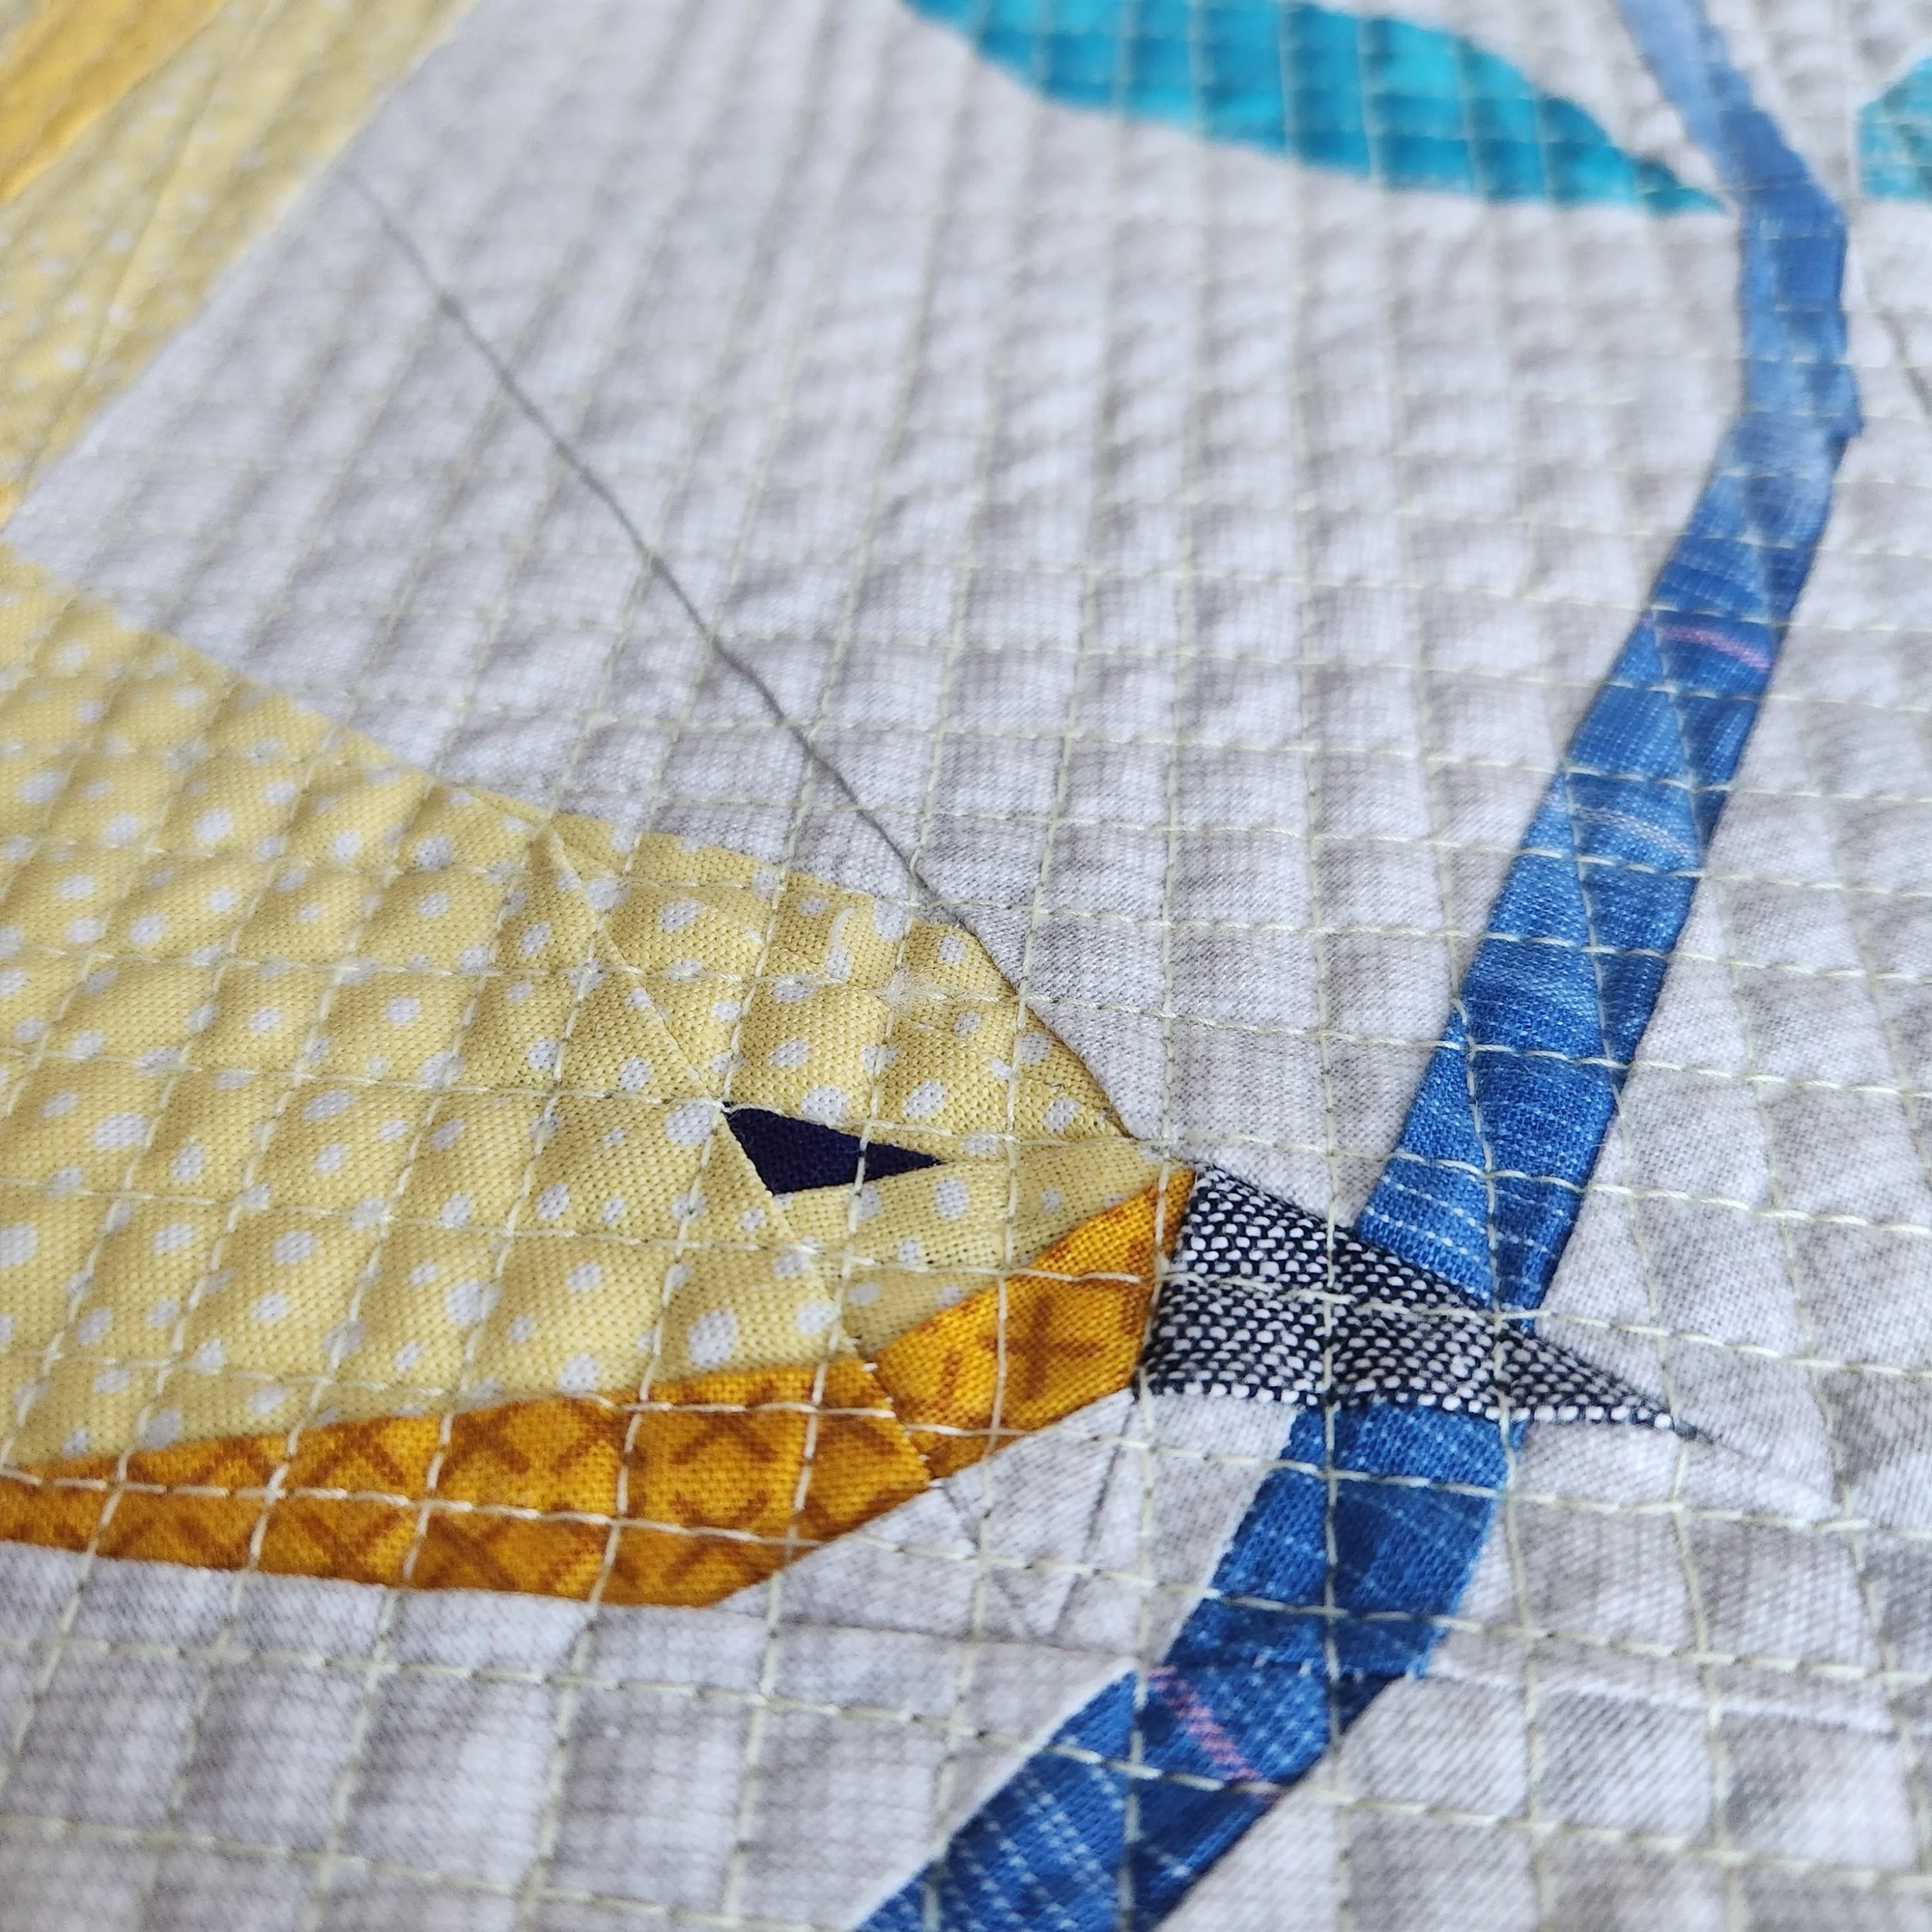
I’d actually made the block nearly 2 years ago, shortly after the war in Ukraine started. The paper pieced pattern is fantastic. To quilt it I used a scrap of my usual cotton batting and stitched a tight grid (1/4”) on the diagonal with a random pale yellow thread I found in the sewing room. It’s probably a Presencia, if I had to guess. To bind the mini I used a purple, to complement and be a bit of a pop.

Quilters' Playcation Adventure Sewalong 2024 - Getting Started

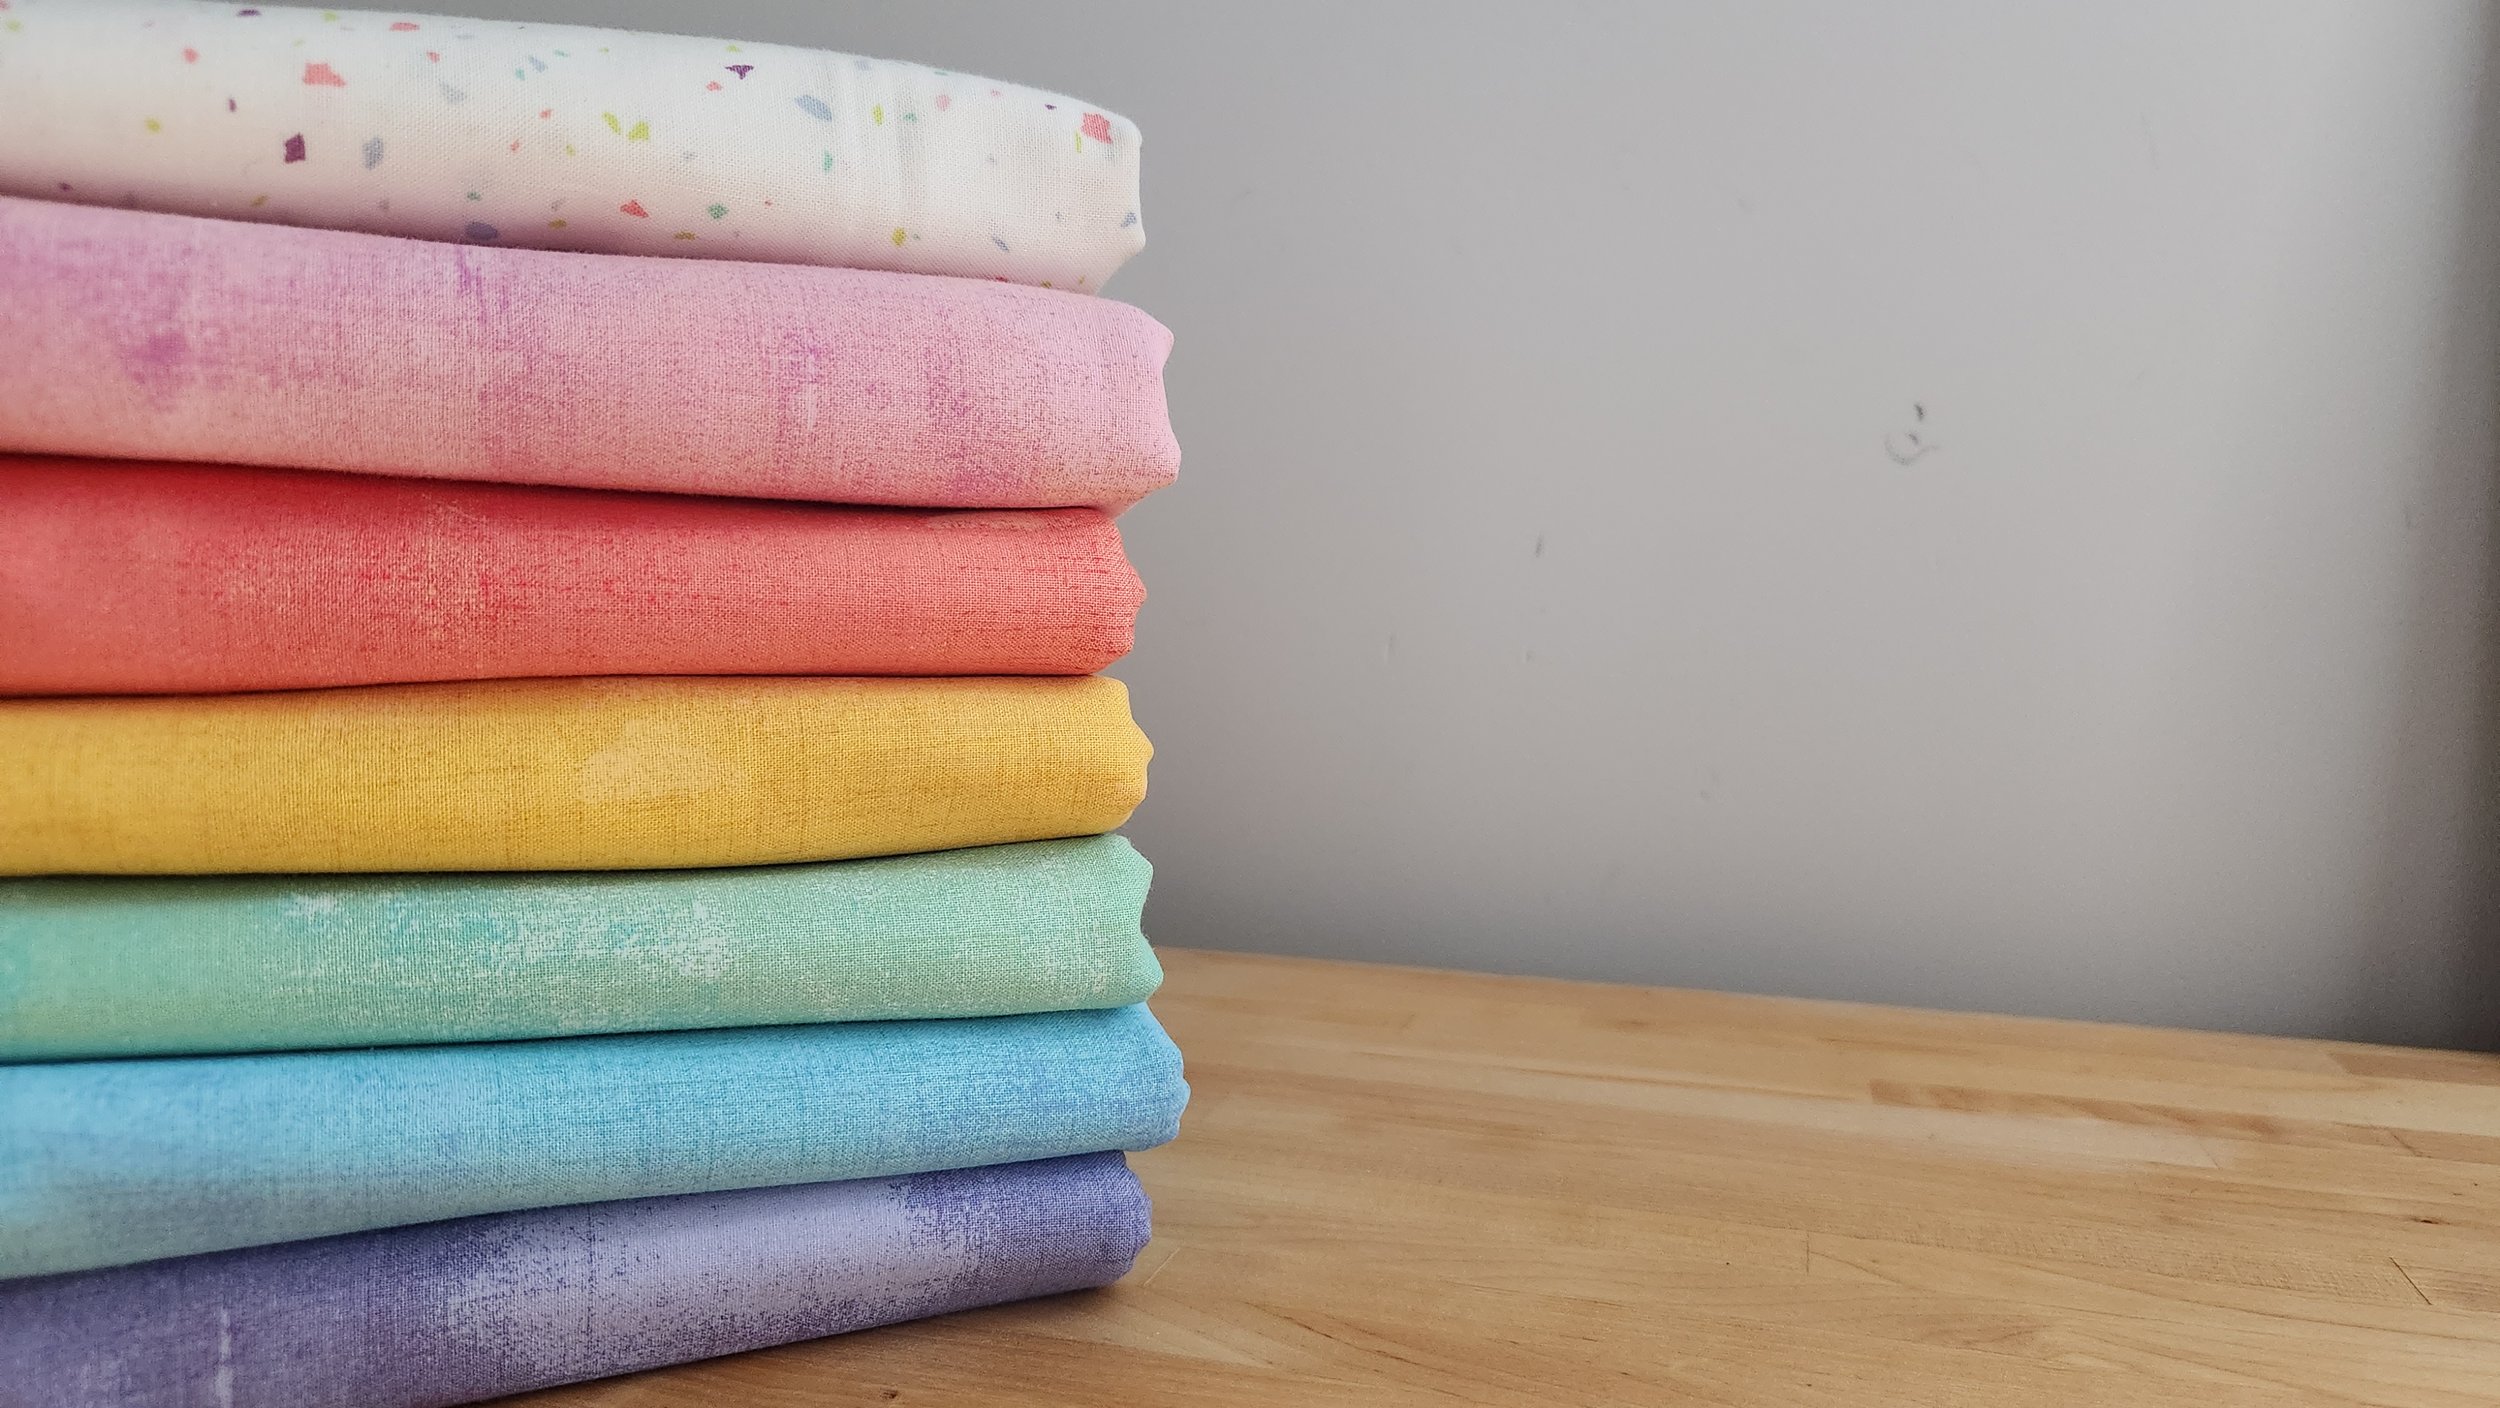
Stack of pastel rainbow fabric with Adventure Sewalong dates

It’s back!!!

The 2024 Quilters’ Playcation Adventure Sewalong starts next Tuesday, January 9. Weekly, for 49 weeks, I will lead you through a free, live improv quilt block tutorial. Like 2023, this year’s instalment of the Adventure Sewalong has a theme. Rainbows will be our inspiration, our guide, our joy on this playful adventure. Seriously, who doesn’t love a rainbow?!

DETAILS

Tuesday

10 AM Mountain

Starts January 9

Live on Instagram @cheryl_arkison

Saved to You Tube each week

COLOUR SCHEME NOTES

With a rainbow theme the colour scheme seems kind of obvious. That doesn’t mean you have to go with the obvious though. Not all rainbows have to be deeply saturated. Those are gorgeous rainbows, for sure, but you have a lot of other options.

  • Pastel or low volume in rainbow order

  • Neutrals

  • A colour combo you love, not even in rainbow order

  • A favourite fabric bundle that deserves to be used

  • Monochromatic in value gradiation

  • Analogous colours like red, pink, and orange, for example

  • Use your scraps as they come to you

You will need a background colour as well. It doesn’t necessarily have to be white or black, either. Think about this background as a good complement or highlight to your rainbow.

Solids or prints will both work, you always have that choice. I would simply recommend that you use one or the other, not both. The exception being that your background can work as the opposite, as strong frame for your rainbows.

FABRIC REQUIREMENTS

The total fabric needed will depend, in large part, on your block size. The bigger the block you make, the more fabric you will use. We will take advantage of any scraps as much as possible, so know that you will be maximizing your fabrics.

Start with 1-2 meters/yards of each of your rainbow fabrics. Mix and match, as needed. Same for the background.

If you buy fabric for this sew along, as I did for one of my versions, take note of any fabric colours or names. Save them somewhere you won’t lose them. Then, if necessary, it will be easier to repurchase fabrics.

SIZING

One of the reasons I went with 49 weeks this year is that 49 blocks gives us a nice 7 x 7 quilt block layout if you make square blocks. You don’t need to make all the blocks, but if you do, then this is what you will end up with.

How big you make your blocks is up to you. As you will hear me say many times, you will want to make at least a handful of blocks before you decide on a final size. But if you want to aim for a certain size finished quilt (at some point) then here are some sizing suggestions for you:

6.5” blocks = 42” square quilt

8.5” blocks = 56” square quilt

9.5” blocks = 63” square quilt

10.5” blocks = 70” square quilt

12.5’ blocks = 84” square quilt

Simply use this as a guide. It’s pretty easy to do the math, or even ignore the math, no matter what size you blocks end up being!

Like I always say, come to play without the expectation that your make HAS TO BE SOMETHING. So come, have fun, make a block or not. You are under no obligation to turn what you make into anything.

This is what I am going to play with for version 1 of my own rainbow. I’m already working on a different saturated rainbow quilt so I decided to go pastel. After a survey of my stash I realized that I didn’t have what I wanted on hand so I went shopping. I had a stack of solids in my hands, I did, then I got distracted. First I went to a tone on tone mix. Then my fear of the fabric running out got strong so I changed gears slightly. I picked out all the Grunge options in the store and made myself a pleasing pastel rainbow. Yes, I took my own advice and took note of the colour names just in case I run out. My background is this fun, creamy terrazzo print. I debated a denim, but decided to lean in to the fresh and soft look of the pastels instead.

The second version I am going to make all comes from my stash. My one and only fabric collection - Tag - came out back in 2017. I keep using the fabrics, but when you get a bolt of each, you have to work to use it all! So I decided to make a monochromatic gradiation with the fabrics. The bold, large scale print on top will be the background.

These are going to give me two very different rainbow themed quilts. I am very excited to see where I end up! That’s improv for you: starting without knowing where you are going to end up. So let’s have fun on this year’s Quilters’ Playcation Adventure Sewalong!

Scandi Village Quilt Top!

This quilt is a total escape. It was in the making of it and now when I look at it. Dreams of snowy villages in Sweden, mountain forests in Norway, and fairytales of Scandinavia. One day I will plan a trip and this quilt will come with me for an extension of the magic.

Over the last year and a bit I’ve spent moments playing with these blocks. Like most of my quilts, they started with an idea and a willingness to experiment. With early successI was motivated to both keep going and offer this as a Party through the Quilters’ Playcation. Loads of other have made their own Scandi Villages, all with an individual twist. Each block is improvised - free hand cut and sewn - and unique. Because each block ends up a different size putting it together becomes a puzzle. Thankfully, it is an easy puzzle to do. Seriously, there is no math, nothing fancy, and 99% of the time nothing but straight seams.

It is surprisingly hard to get a good picture of this quilt top. The scale of the houses means there are a lot of blocks. So it is see the overall quilt top or details. The largest house is about 4” and the smallest is less than 2”. None of the trees are bigger than 3”. I LOVE working small! That being said, I have a handful of blocks blown up big that may be its own quilt or become the back of this one.

To take pictures my son came with me to my favourite spot of urban forest to throw rocks on the ice, climb trees, and snap a few pics. We try to get outside everyday, even in the winter. But when we come home, we can still have the forest with us!

These little houses are so easy and so addictive to make. Yes, I started another version. This next one will have a dark background, so it looks like a village/forest at night. When we were having the last party someone suggested we add Northern Lights and now you know I am going to be hunting down my best greens to do that!

But first! I need to figure out how I am going to quilt this one…

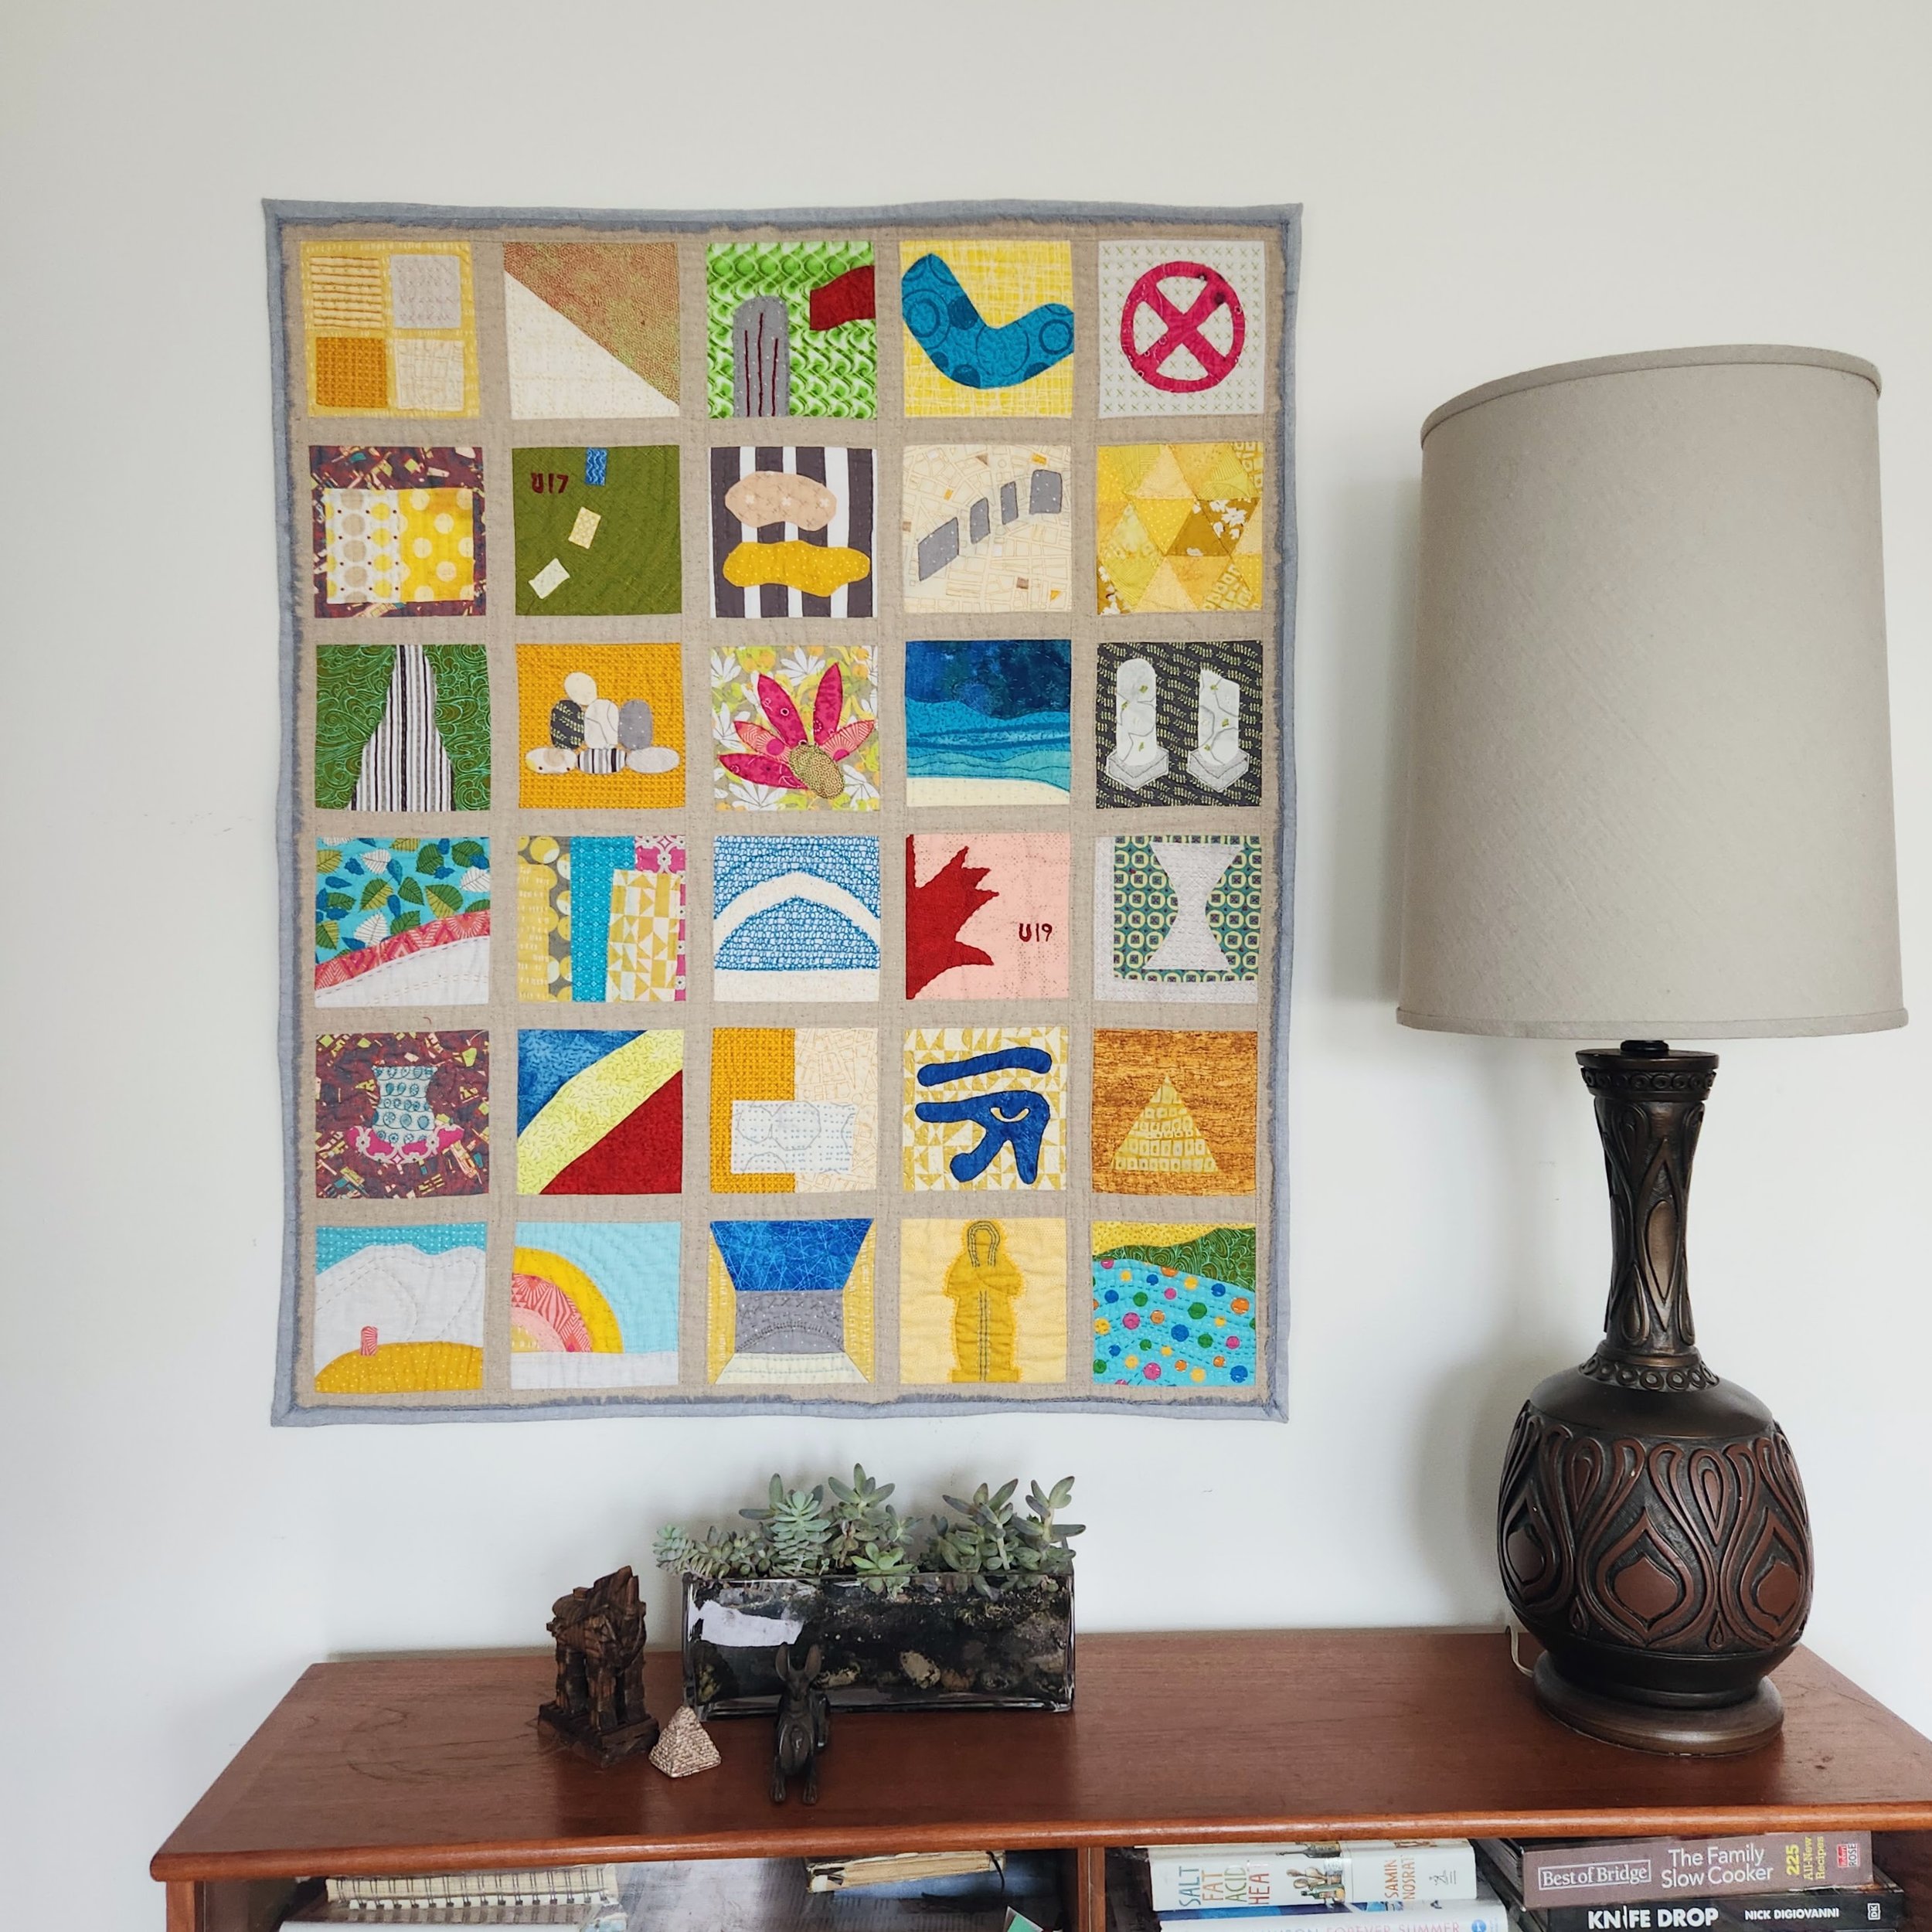
Sadiya - Our Trip Diary Quilt from Egypt and Turkey

Sadiya

36”x 42”

Our trip is long over, the tastes gone from our mouth, the smells disappeared, the noise in the distance. All we have left are our memories.

Our journey to Egypt and Turkey this summer was beyond memorable. I am so glad that my last minute decision to bring sewing supplies resulted in this special piece. I’ve been sitting with all the memories as I stitched it. Opting for hand quilting/embroidery in all the blocks meant I’ve been sitting with it nearly daily for a few months. Bit sad to be done, really, because that means the trip is truly in the past.

Make sure to check out the post I made right after the trip with block and trip details.

To see details of the stitching on each finished block, I made a reel that you can see here. It was a lot of fun to pick stitches and patterns to both highlight block elements and sometimes reference the original block inspiration. I played around with thread weights, brands, and colours. Not to mention, a collection of stitch options!

While the back of the quilt is not a perfect reflection of the front, I did try hard to be as neat as possible. This meant thinking through my movements as I stitched, burying knots, and a constant aiming for consistency. Oh, and a pick a busy print to give yourself a break!

The binding was a special experiment. Inspired by ancient linen seen in the Grand Egyptian Museum I wanted a fringe element. Knowing that linen frays so nicely I embraced this instead of fighting it. Stay tuned for a tutorial on that.

In our house we have a no quilts on the wall rule. Considering that vast number of quilts here, I think it is a pretty fair rule. But even my husband agreed we could break it for this special quilt. Now to find the perfect spot to hang it so we can all smile at our shared memories. Oh wait, I guess I have to sew a sleeve on it first!

In case you missed it, here is the small quilt I made with the scraps from this one.